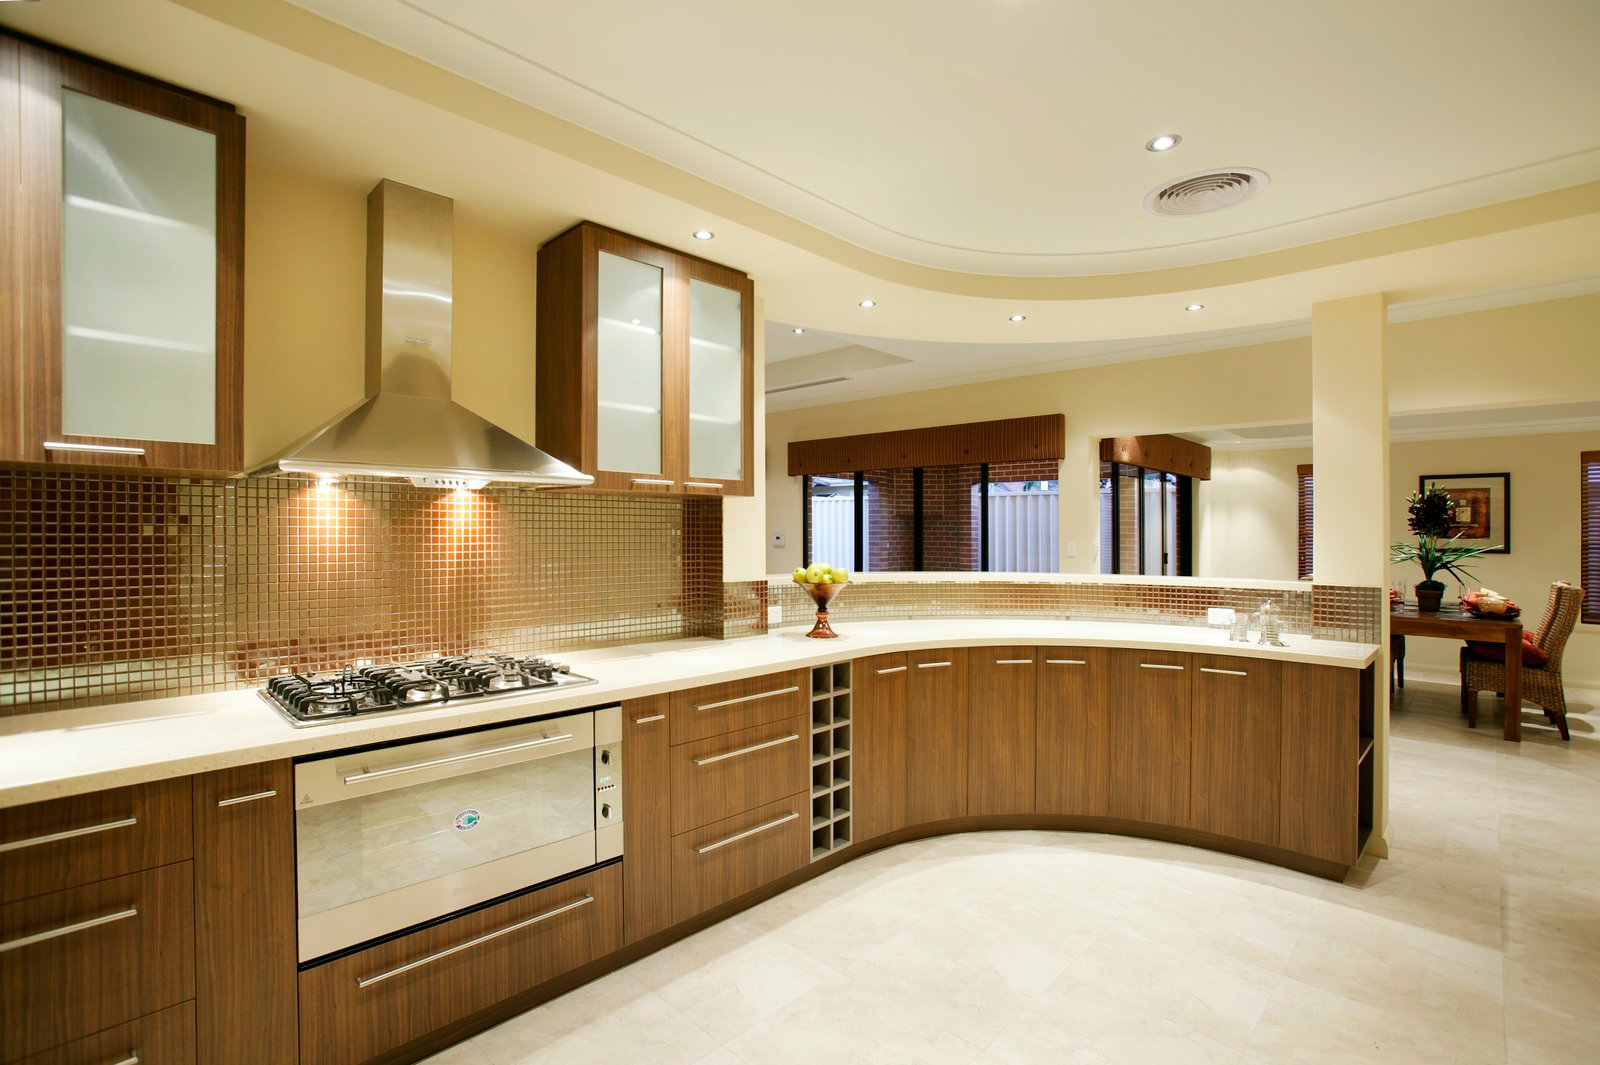
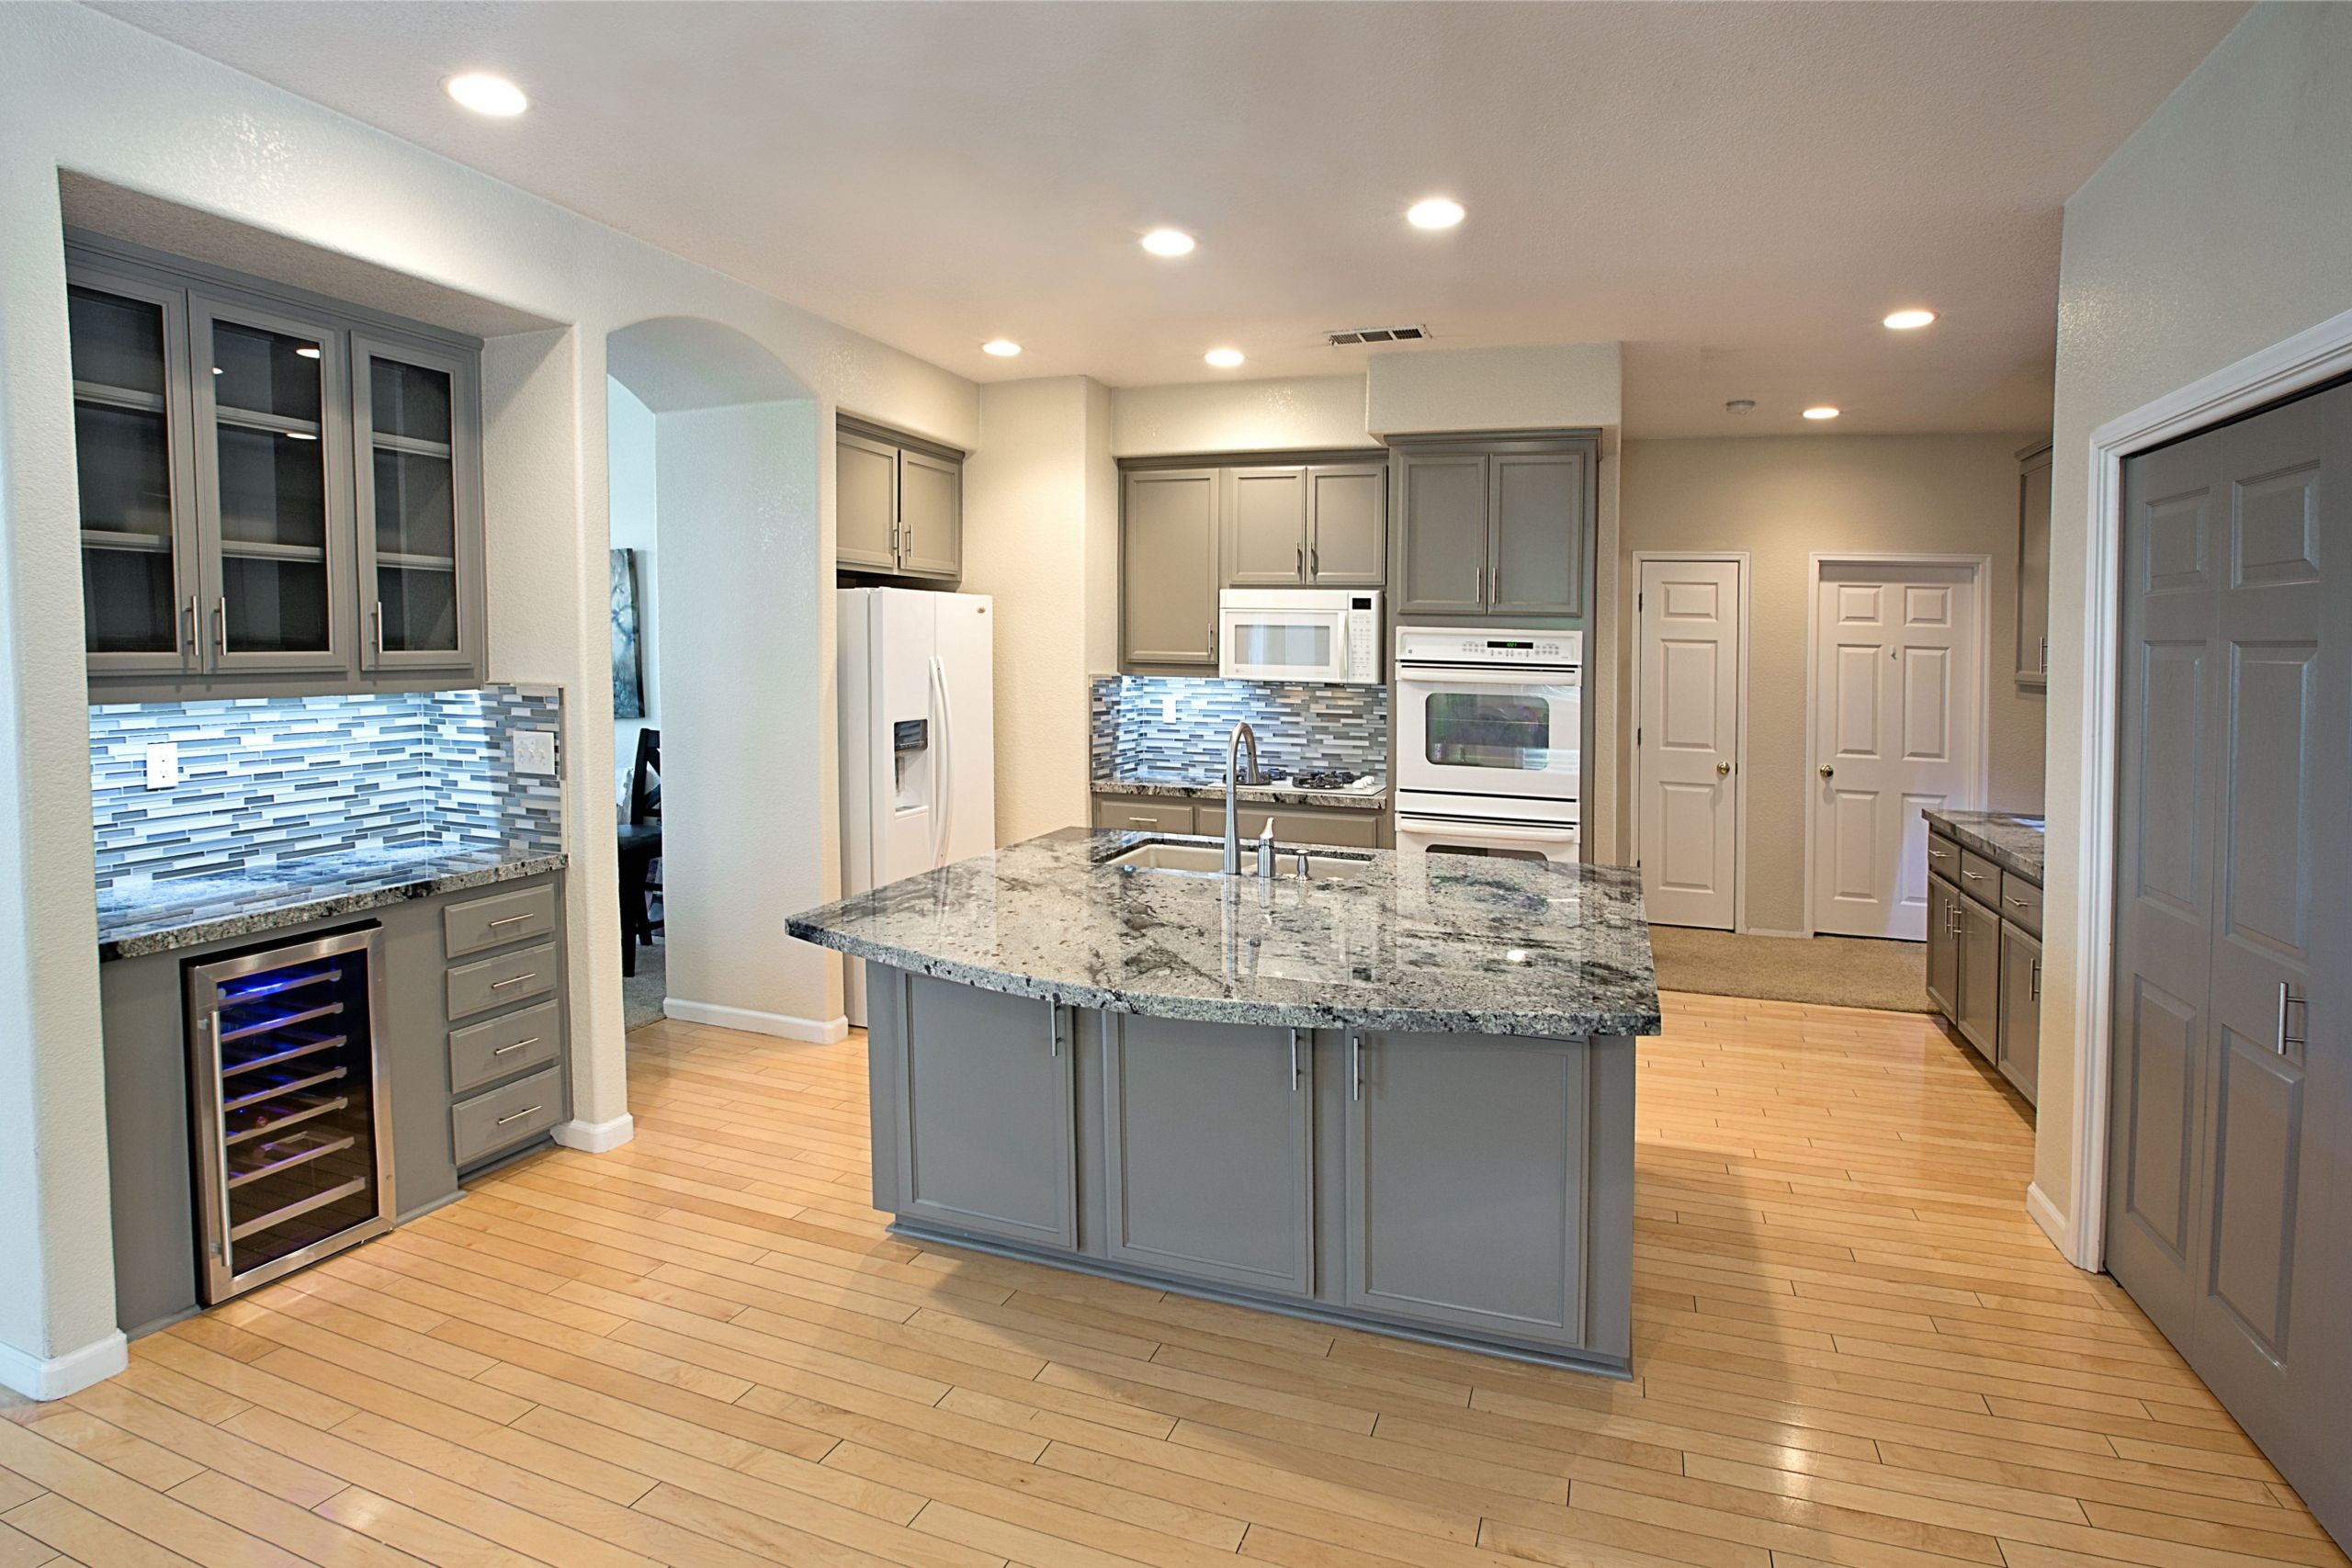
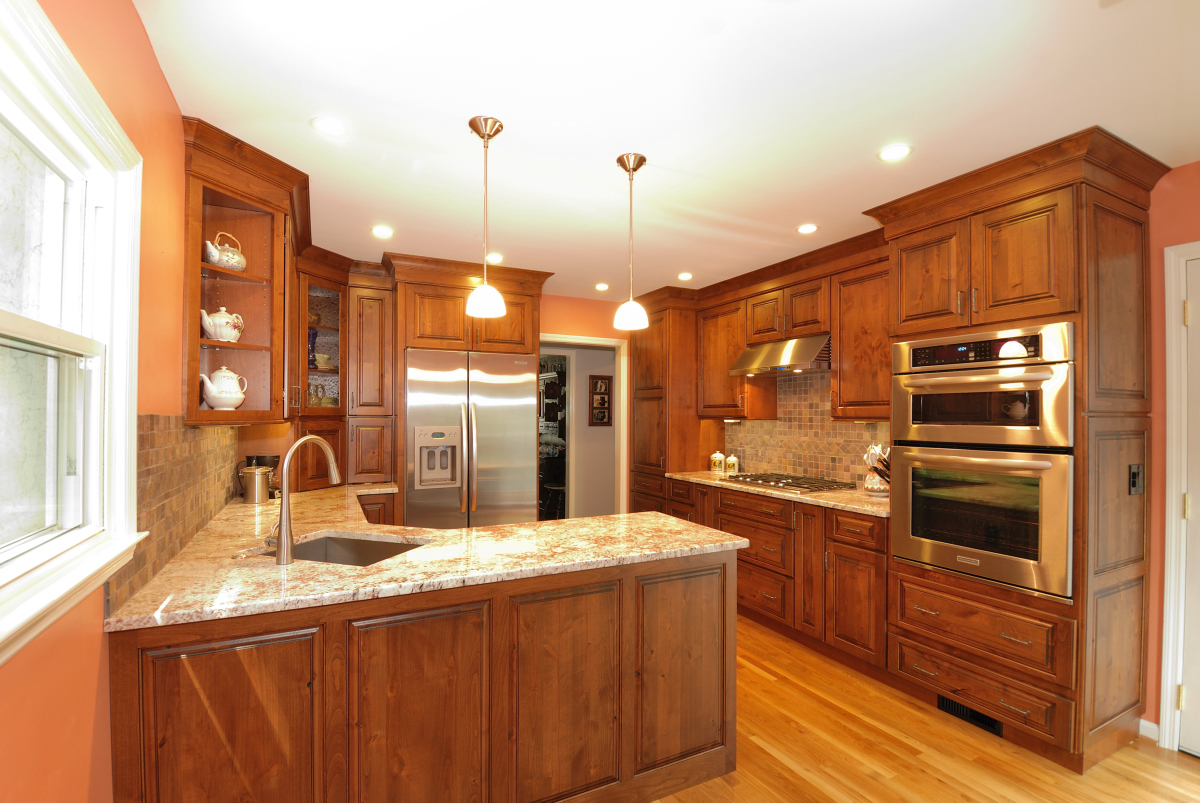
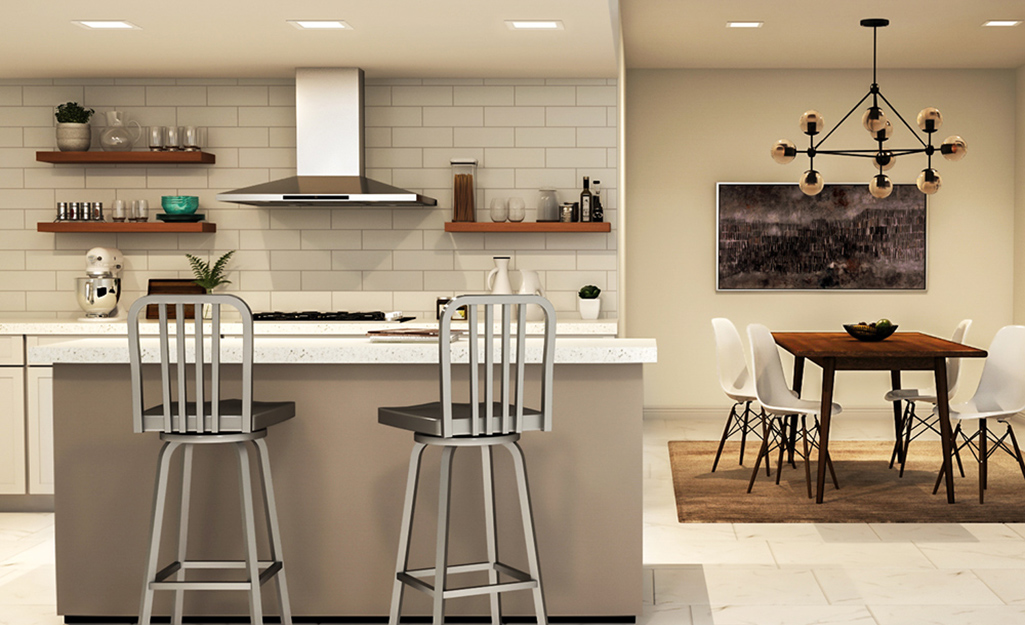
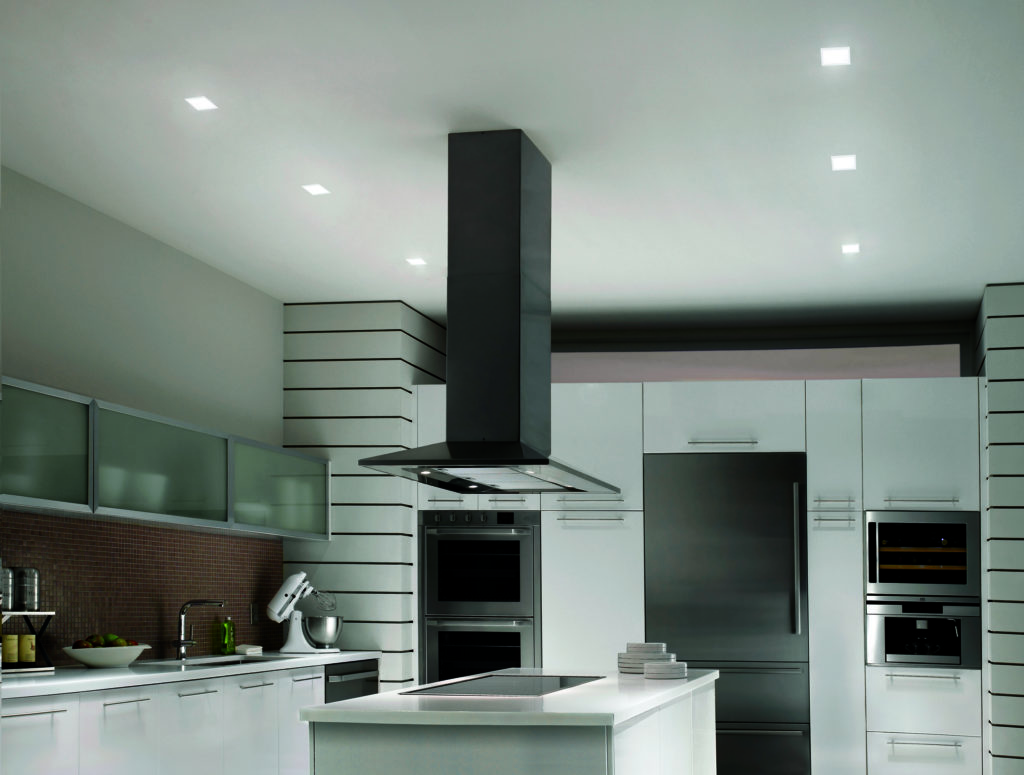
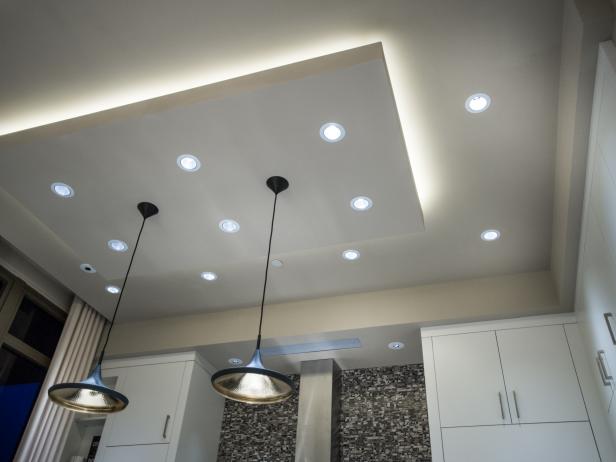
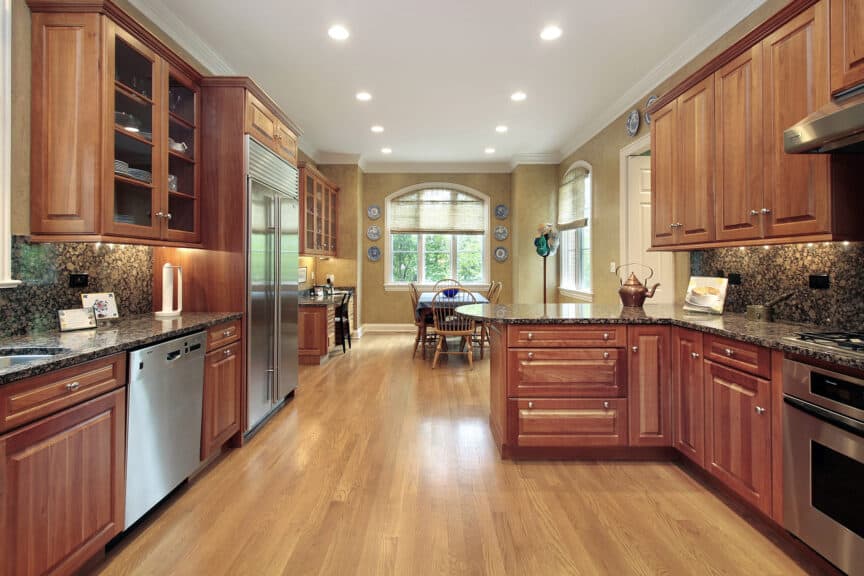
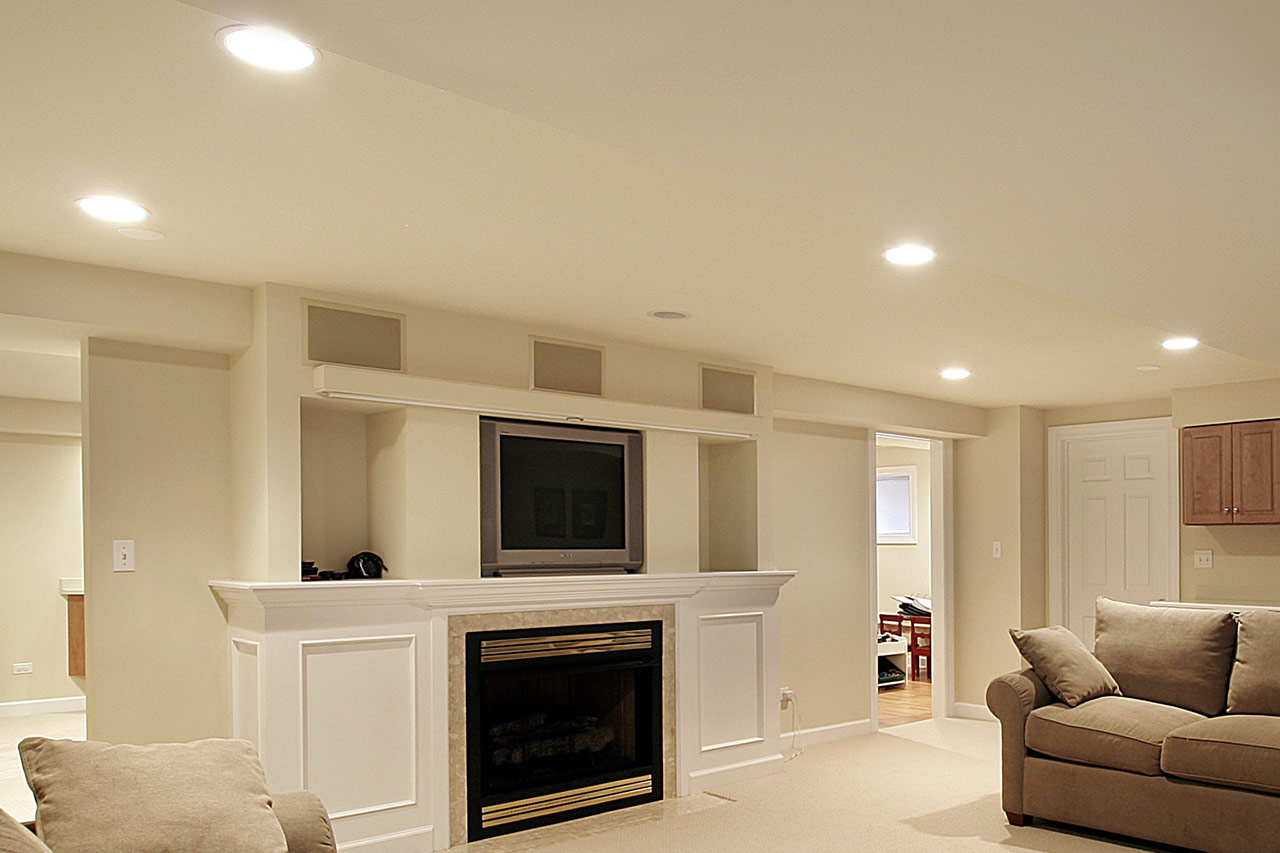
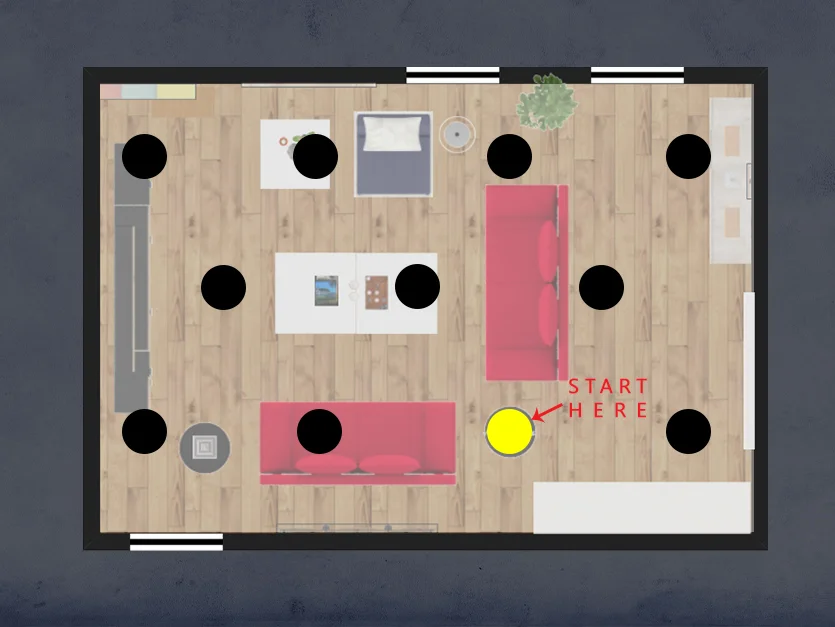
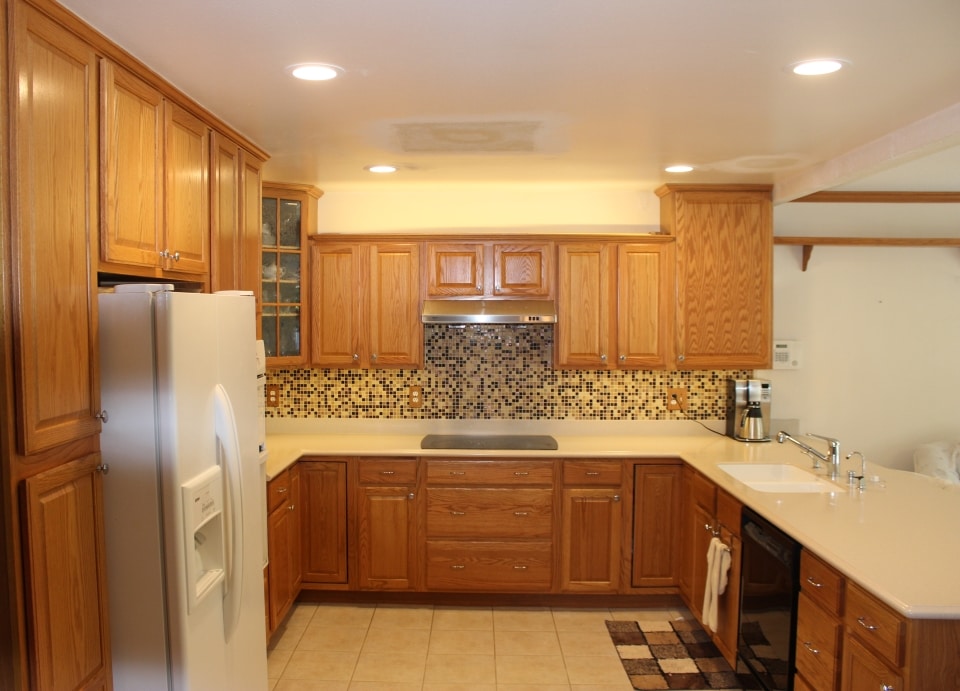
When it comes to designing the lighting layout for your 10x14 kitchen, recessed lighting is a popular choice for its sleek and modern look. But where should you place these lights to achieve the best results? The key to successful recessed lighting placement is to create a balance between function and aesthetics. You want to ensure that the lights are positioned in a way that provides enough illumination for your daily tasks while also adding to the overall design of your kitchen. Start by considering the different areas of your kitchen and how you use them. For example, you may want to have brighter lights over the sink and stove, while a softer, ambient light may be more suitable for the dining area. Another important factor to consider is the size and shape of your kitchen. In a 10x14 space, you may want to use a grid pattern for your recessed lights, with lights placed every 4-6 feet. This will provide even lighting throughout the room and avoid any dark spots. Remember to also take into account any existing fixtures or features in your kitchen, such as cabinets, islands, or windows, and adjust your lighting placement accordingly.1. Recessed Lighting Placement for a 10x14 Kitchen


1. Recessed Lighting Placement for a 10x14 Kitchen


Designing a recessed lighting layout for your 10x14 kitchen may seem daunting, but with a few simple steps, you can create a plan that works for your space. First, determine the function of each area in your kitchen and how much light is needed. As mentioned earlier, brighter lights may be necessary for prep areas, while dimmer lights can create a more inviting atmosphere for dining or entertaining. Next, decide on the type and size of recessed lights you want to use. This will depend on the overall style of your kitchen and the amount of light output you require. Keep in mind that larger lights will provide more light, but may also be more noticeable and take up more space. Once you have your lights and their placement decided, it's time to create a plan. Use graph paper or an online planner to map out your kitchen and mark where each light will go. This will help you visualize the final result and make any necessary adjustments before installation. Remember to also consider the wiring and electrical requirements for your recessed lights. It's important to consult a professional electrician to ensure that your lighting layout adheres to safety standards and codes.2. How to Design a Recessed Lighting Layout for a 10x14 Kitchen

2. How to Design a Recessed Lighting Layout for a 10x14 Kitchen


Installing recessed lighting in a 10x14 kitchen may require some basic electrical knowledge and tools, but it can be a DIY project for those who are comfortable with this type of work. Before starting, make sure you have all the necessary materials, including the recessed lights, wiring, and any necessary tools. It's also important to turn off the power to the area where you will be working to avoid any accidents. Begin by marking the locations for your lights according to your plan. Then, using a hole saw, cut holes in the ceiling for the lights to fit into. Next, run the wiring from the power source to each light location, connecting them as needed. Once the wiring is in place, install the recessed lights according to the manufacturer's instructions. This may involve securing them to the ceiling with clips or screws and connecting the wiring to the light fixtures. Finally, turn the power back on and test your lights. If everything is working properly, you can patch up any remaining holes in the ceiling and enjoy your newly installed recessed lighting.3. Tips for Installing Recessed Lighting in a 10x14 Kitchen


3. Tips for Installing Recessed Lighting in a 10x14 Kitchen

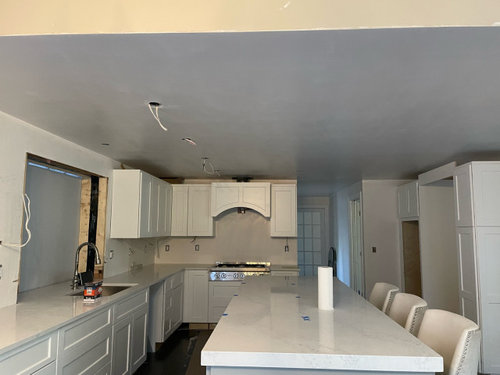
:max_bytes(150000):strip_icc()/kitchenrecessedlighting-GettyImages-155383268-dec5caad600541ff81cbdd6d06846c66.jpg)


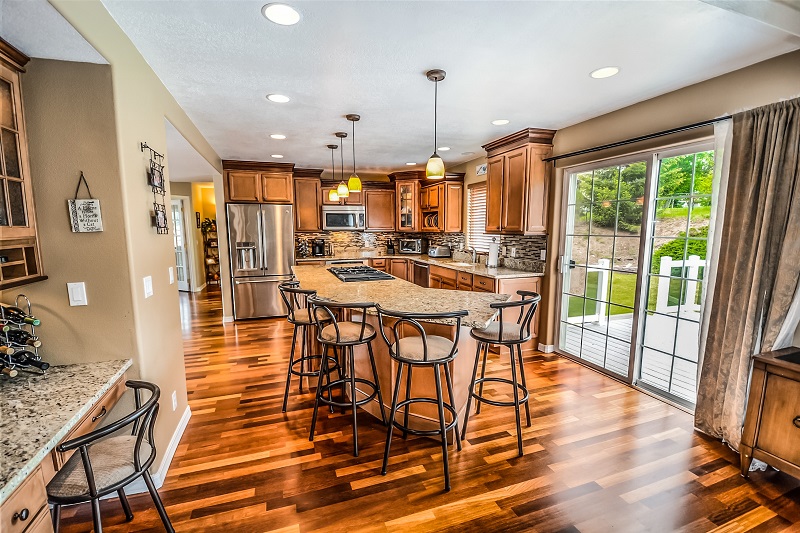
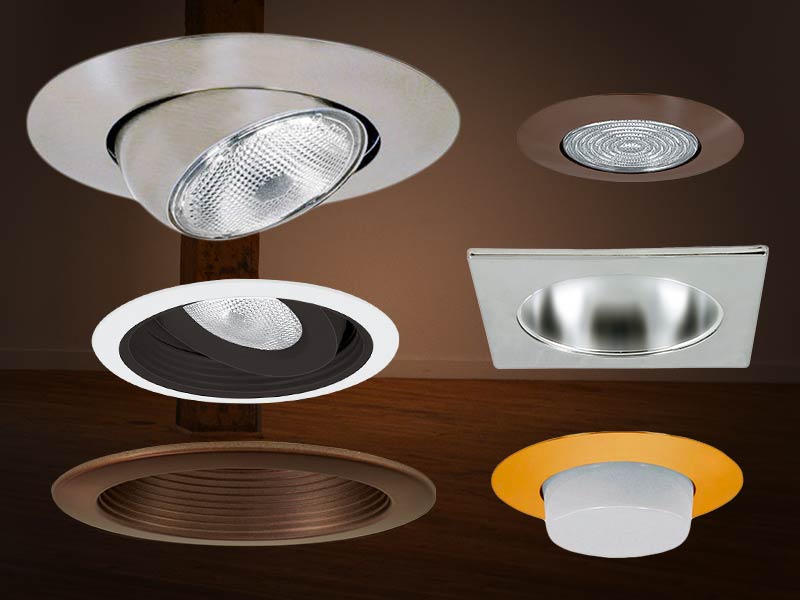
To make the most out of your recessed lighting in a 10x14 kitchen, there are a few best practices to keep in mind. First, consider using LED lights for their energy efficiency and long lifespan. They may be more expensive upfront, but they will save you money in the long run. It's also important to choose the right color temperature for your lights. In a kitchen, a warm white (around 3000K) is usually the most flattering and inviting. However, if you have a lot of natural light or prefer a brighter, more modern look, a cool white (around 4000K) may be a better option. Another tip is to install dimmer switches for your recessed lights. This will allow you to adjust the lighting according to your needs and create different moods in your kitchen. Lastly, don't be afraid to mix and match different types of lighting in your kitchen. Recessed lights can work well alongside pendant lights, under cabinet lights, or even a statement chandelier for added visual interest.4. Best Practices for Recessed Lighting in a 10x14 Kitchen

4. Best Practices for Recessed Lighting in a 10x14 Kitchen


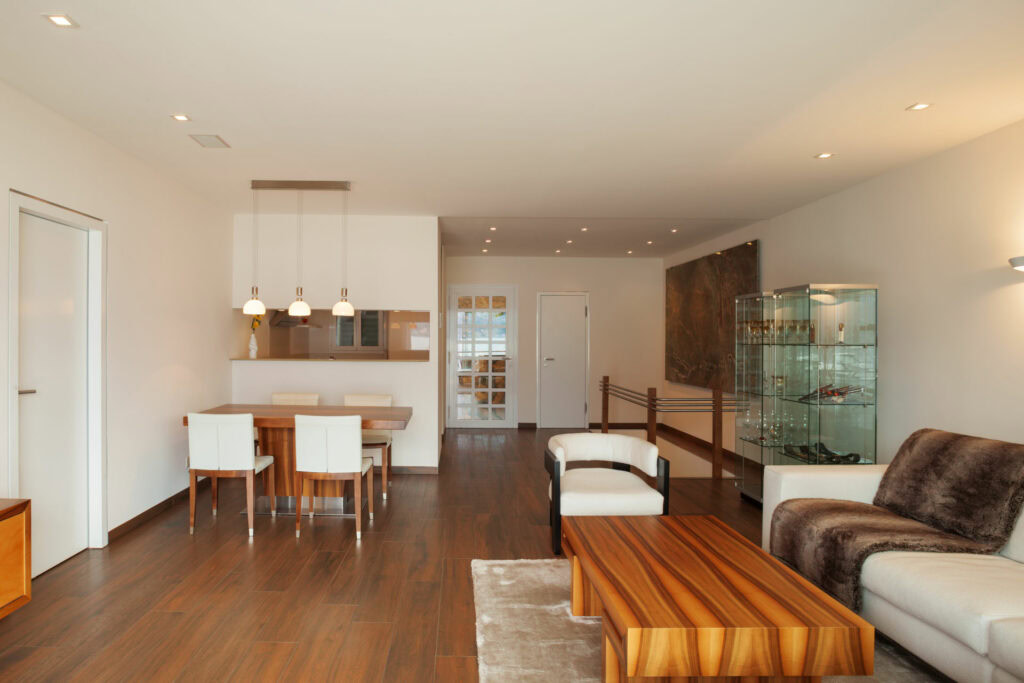
The size and spacing of your recessed lights will play a significant role in the overall look and functionality of your 10x14 kitchen. For a 10x14 space, you will typically need around 8-10 lights. However, the exact number will depend on the size of your lights and the amount of light output you desire. As for spacing, a good rule of thumb is to have lights every 4-6 feet in a grid pattern. This will provide even illumination throughout the room and avoid any dark spots. However, you can adjust the spacing according to your specific needs and preferences. Keep in mind that larger lights will require more space between them to avoid overcrowding and shadows. On the other hand, smaller lights may need to be placed closer together to achieve the desired lighting effect.5. Choosing the Right Size and Spacing for Recessed Lighting in a 10x14 Kitchen


5. Choosing the Right Size and Spacing for Recessed Lighting in a 10x14 Kitchen
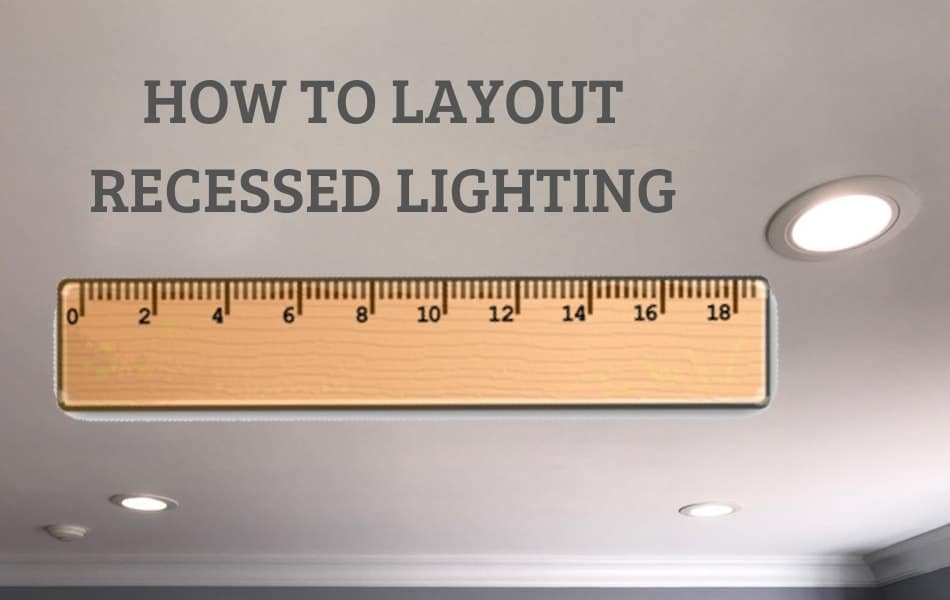


If you're unsure of how to create a recessed lighting plan for your 10x14 kitchen, here is a step-by-step guide to help you: 1. Measure your kitchen and draw a scaled floor plan on graph paper or use an online planner. 2. Mark out the areas in your kitchen and determine the function of each space. 3. Decide on the type and size of recessed lights you want to use. 4. Based on the size and shape of your kitchen, determine the number of lights needed and their placement. 5. Use a hole saw to cut holes in the ceiling for the lights to fit into. 6. Run wiring from the power source to each light location, connecting them as needed. 7. Install the recessed lights according to the manufacturer's instructions. 8. Turn the power back on and test your lights. 9. Make any necessary adjustments to your lighting plan before patching up any remaining holes in the ceiling. 10. Enjoy your new recessed lighting layout!6. Step-by-Step Guide for Creating a Recessed Lighting Plan for a 10x14 Kitchen


6. Step-by-Step Guide for Creating a Recessed Lighting Plan for a 10x14 Kitchen


While planning the lighting layout for your 10x14 kitchen, it's important to avoid these common mistakes: - Not considering the function and purpose of each area in the kitchen. - Using too few or too many lights, resulting in uneven lighting or a cluttered look. - Not taking into account the size and shape of the kitchen and how it may affect the placement of lights. - Forgetting to factor in any existing fixtures or features in the kitchen, which may affect lighting placement. - Neglecting to consult a professional electrician for safety and code compliance. By keeping these mistakes in mind, you can create a well-planned and functional recessed lighting layout for your 10x14 kitchen.7. Common Mistakes to Avoid When Planning Recessed Lighting in a 10x14 Kitchen


7. Common Mistakes to Avoid When Planning Recessed Lighting in a 10x14 Kitchen


If you're unsure of how many recessed lights you need for your 10x14 kitchen, you can use a simple formula to calculate the number: Number of lights = (Length of room + Width of room) / Distance between lights For example, if your 10x14 kitchen has a length of 10 feet and a width of 14 feet, and you want to place the lights every 4 feet, the calculation would be: (10 + 14) / 4 = 6. This means you would need 6 lights for your kitchen. Remember to also consider any existing fixtures or features in your kitchen and make adjustments as needed.8. How to Calculate the Number of Recessed Lights Needed for a 10x14 Kitchen


8. How to Calculate the Number of Recessed Lights Needed for a 10x14 Kitchen


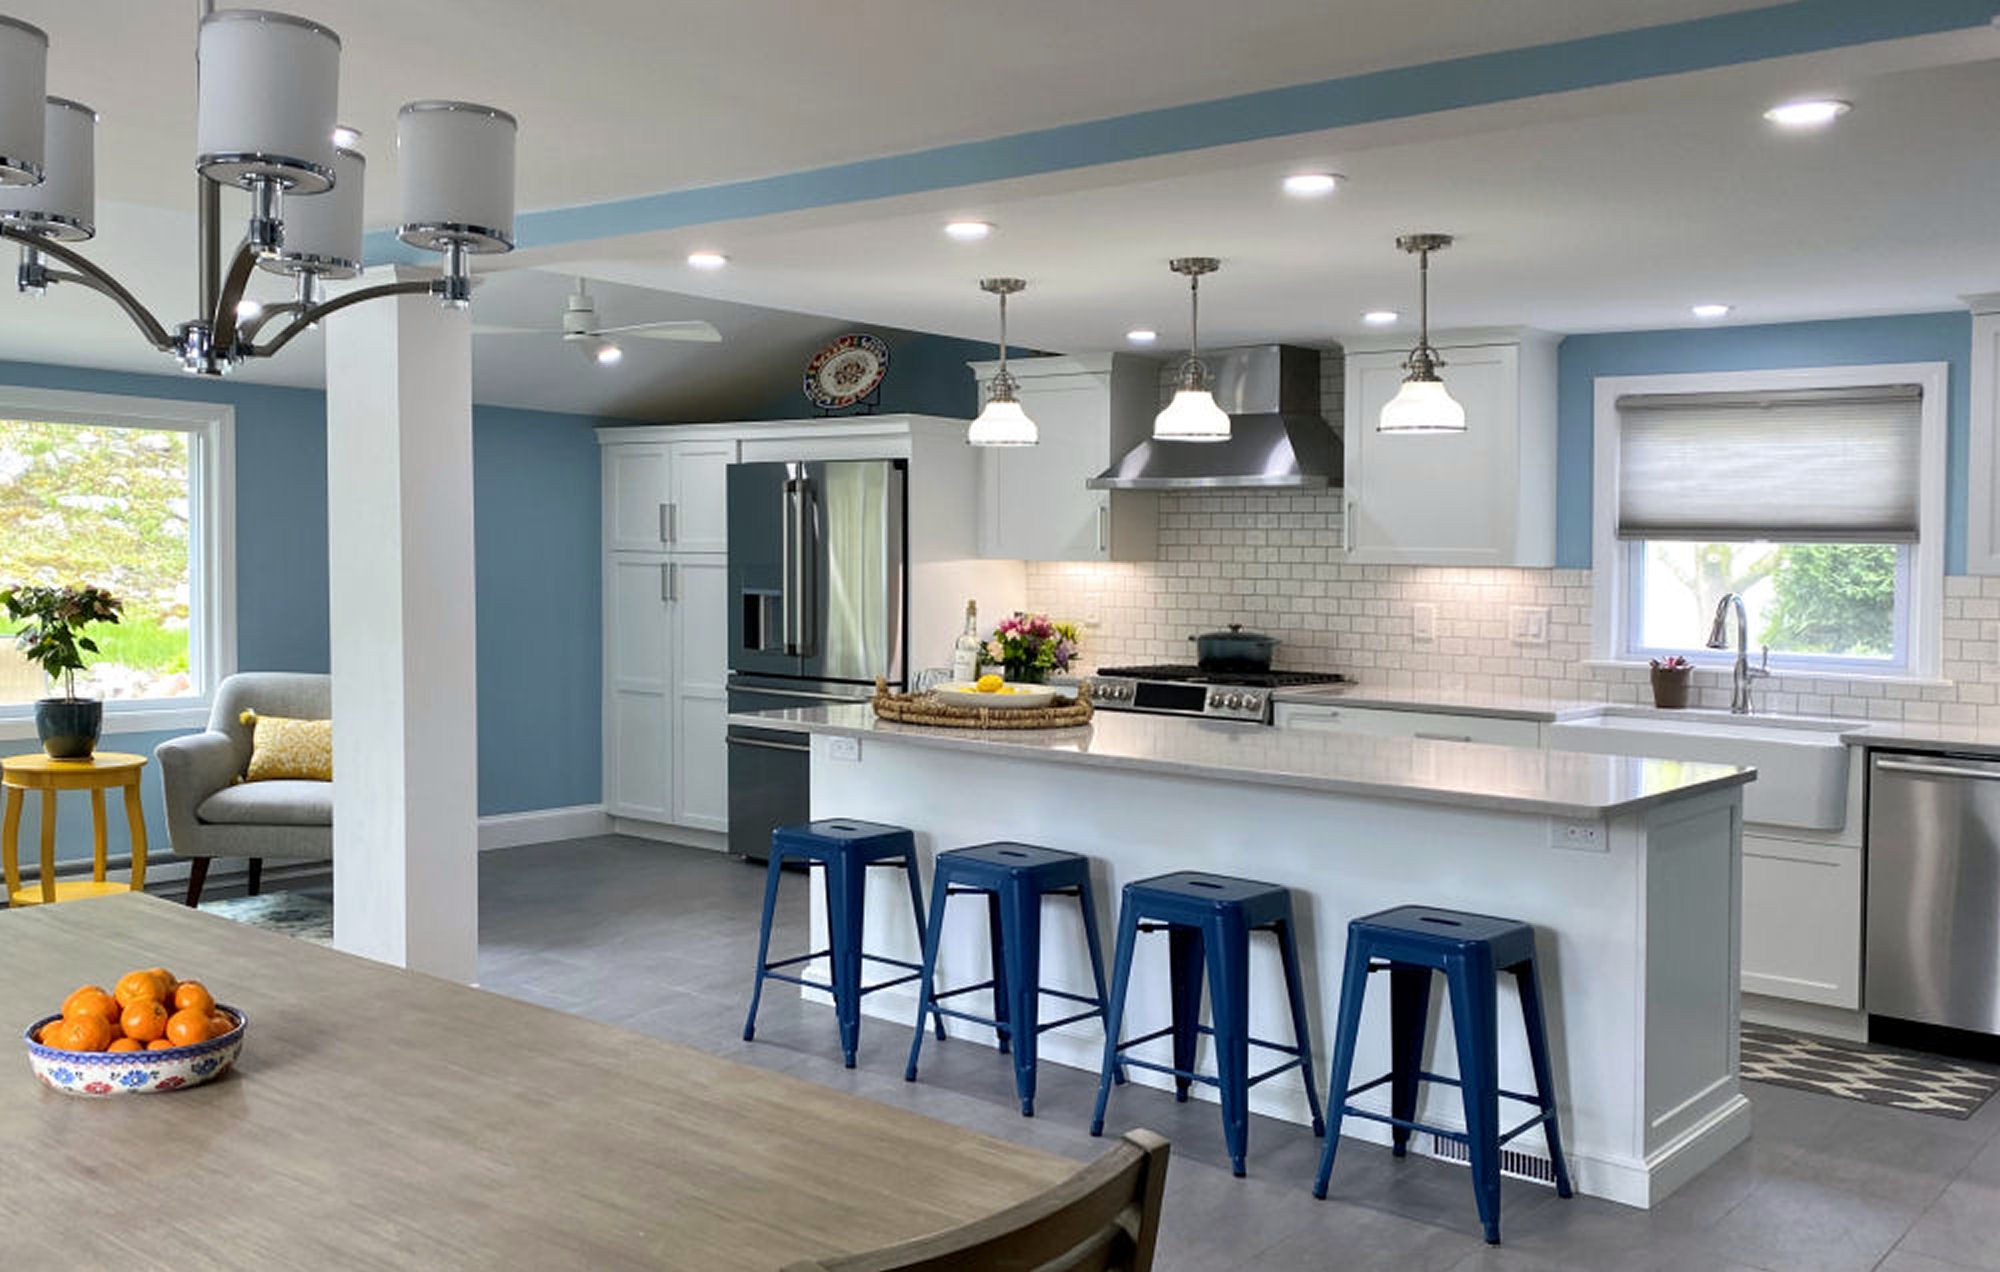
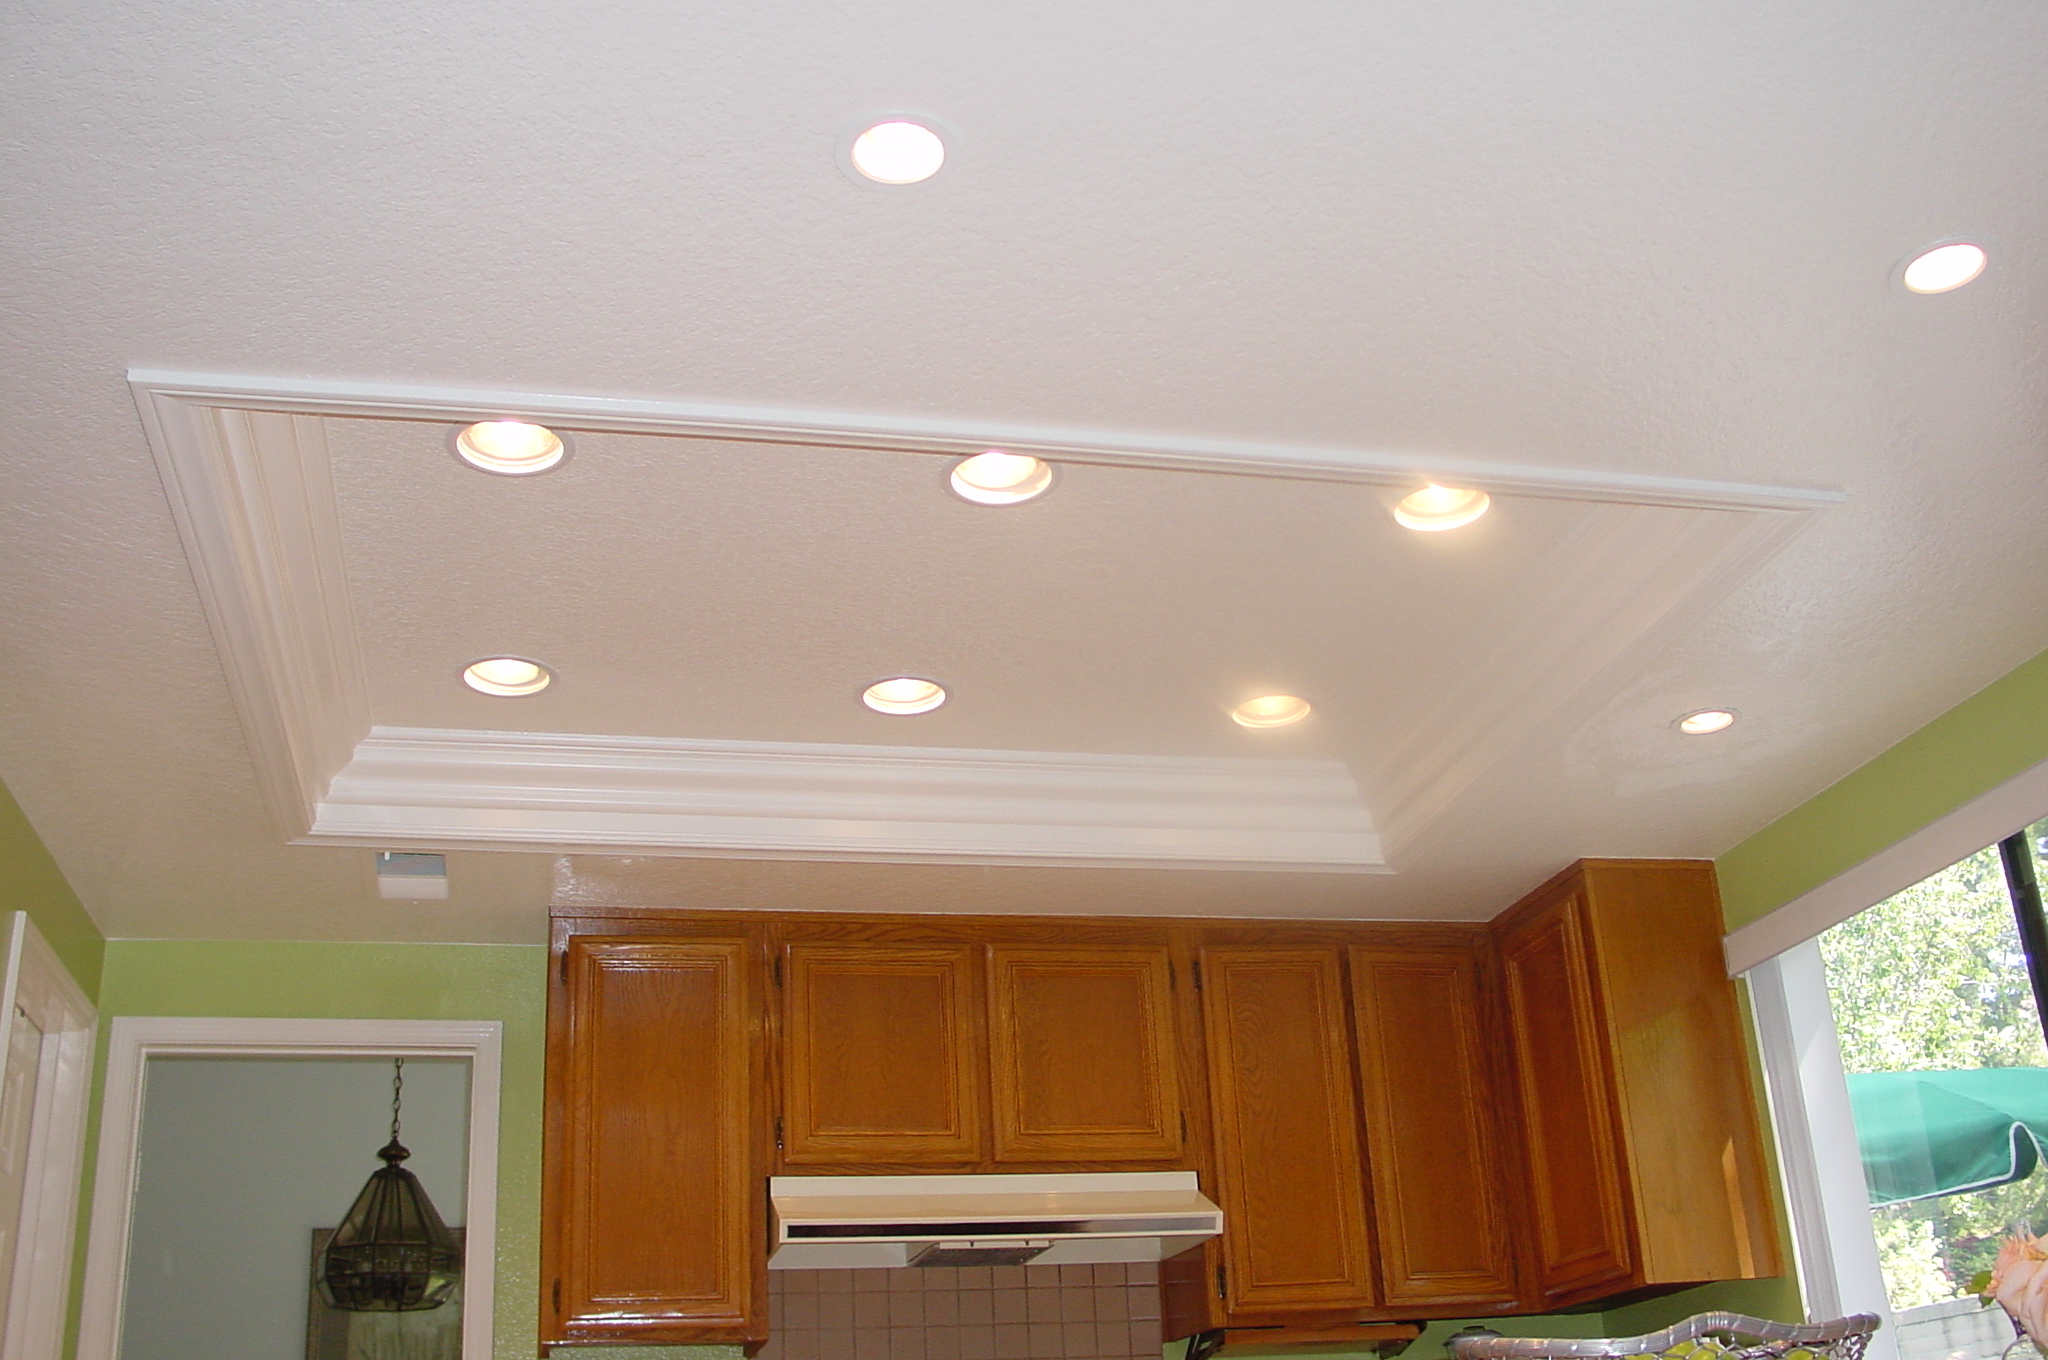
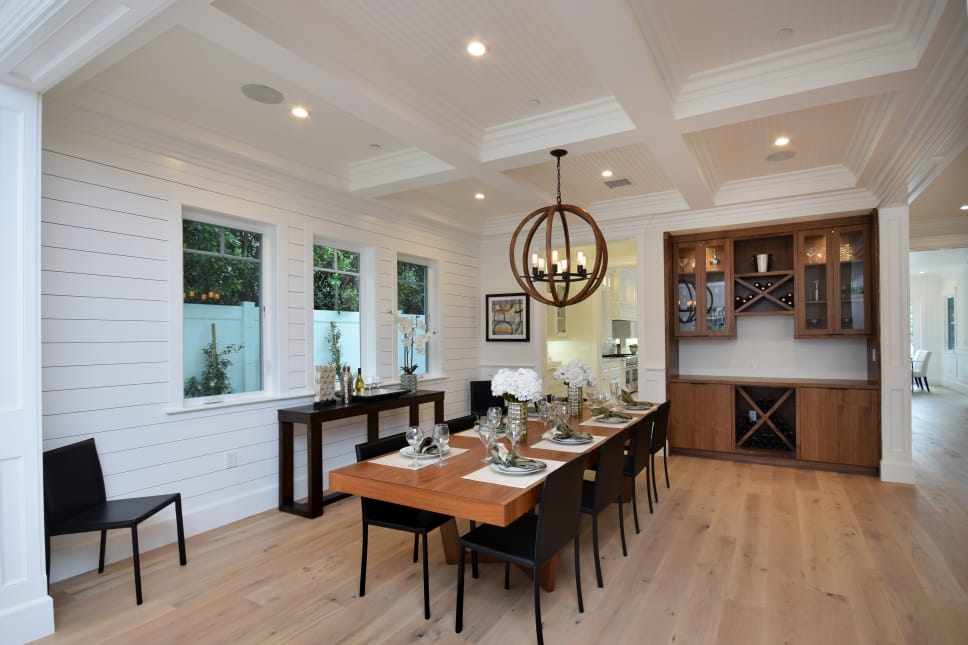
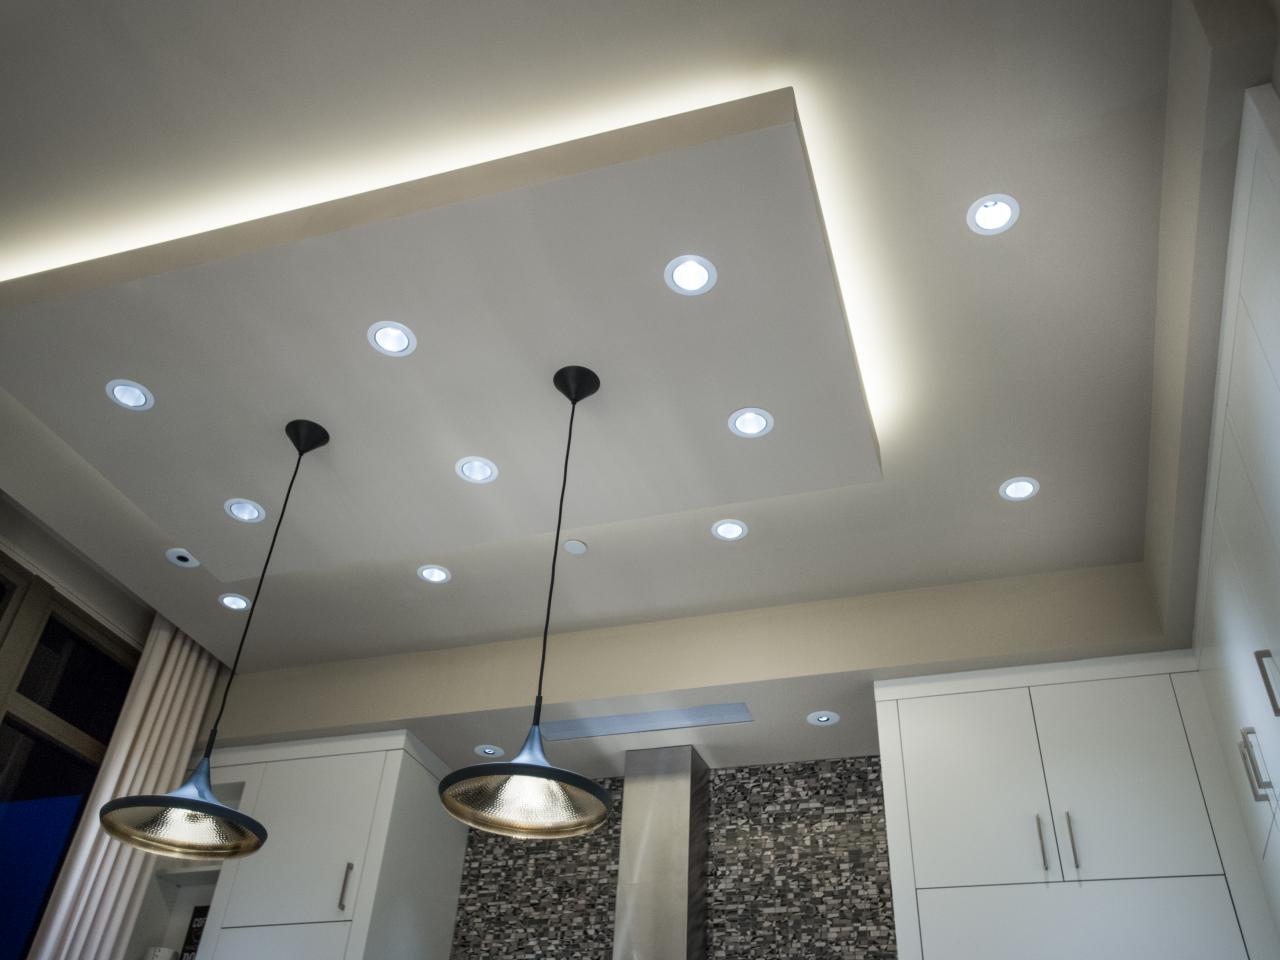
Recessed lighting doesn't have to be limited to a basic grid pattern in your 10x14 kitchen. Consider these creative ideas to incorporate recessed lights into your kitchen design: - Use recessed lights in a tray ceiling for an elegant and modern look. - Install recessed lights inside glass cabinets to highlight your dishes and create a warm glow. - Place recessed lights above open shelves to showcase your favorite kitchen items. - Use recessed lights to highlight a feature wall or backsplash. - Install recessed lights under cabinets for task lighting and a more spacious feel. With a little creativity, you can make your recessed lighting an integral part of your kitchen design.9. Creative Ideas for Incorporating Recessed Lighting in a 10x14 Kitchen

9. Creative Ideas for Incorporating Recessed Lighting in a 10x14 Kitchen


If you're on a budget, there are still ways to incorporate recessed lighting into your 10x14 kitchen without breaking the bank: - Use LED retrofit kits to convert existing fixtures into recessed lights. - Opt for smaller, more affordable recessed lights. - Install a dimmer switch to control the brightness of your lights instead of purchasing more expensive dimmable lights. - Shop around and compare prices from different retailers or online sources. Remember, recessed lighting is an investment that can add value and functionality to your kitchen, so it's worth considering even if it means saving up for it over time.10. Budget-Friendly Options for Recessed Lighting in a 10x14 Kitchen


10. Budget-Friendly Options for Recessed Lighting in a 10x14 Kitchen


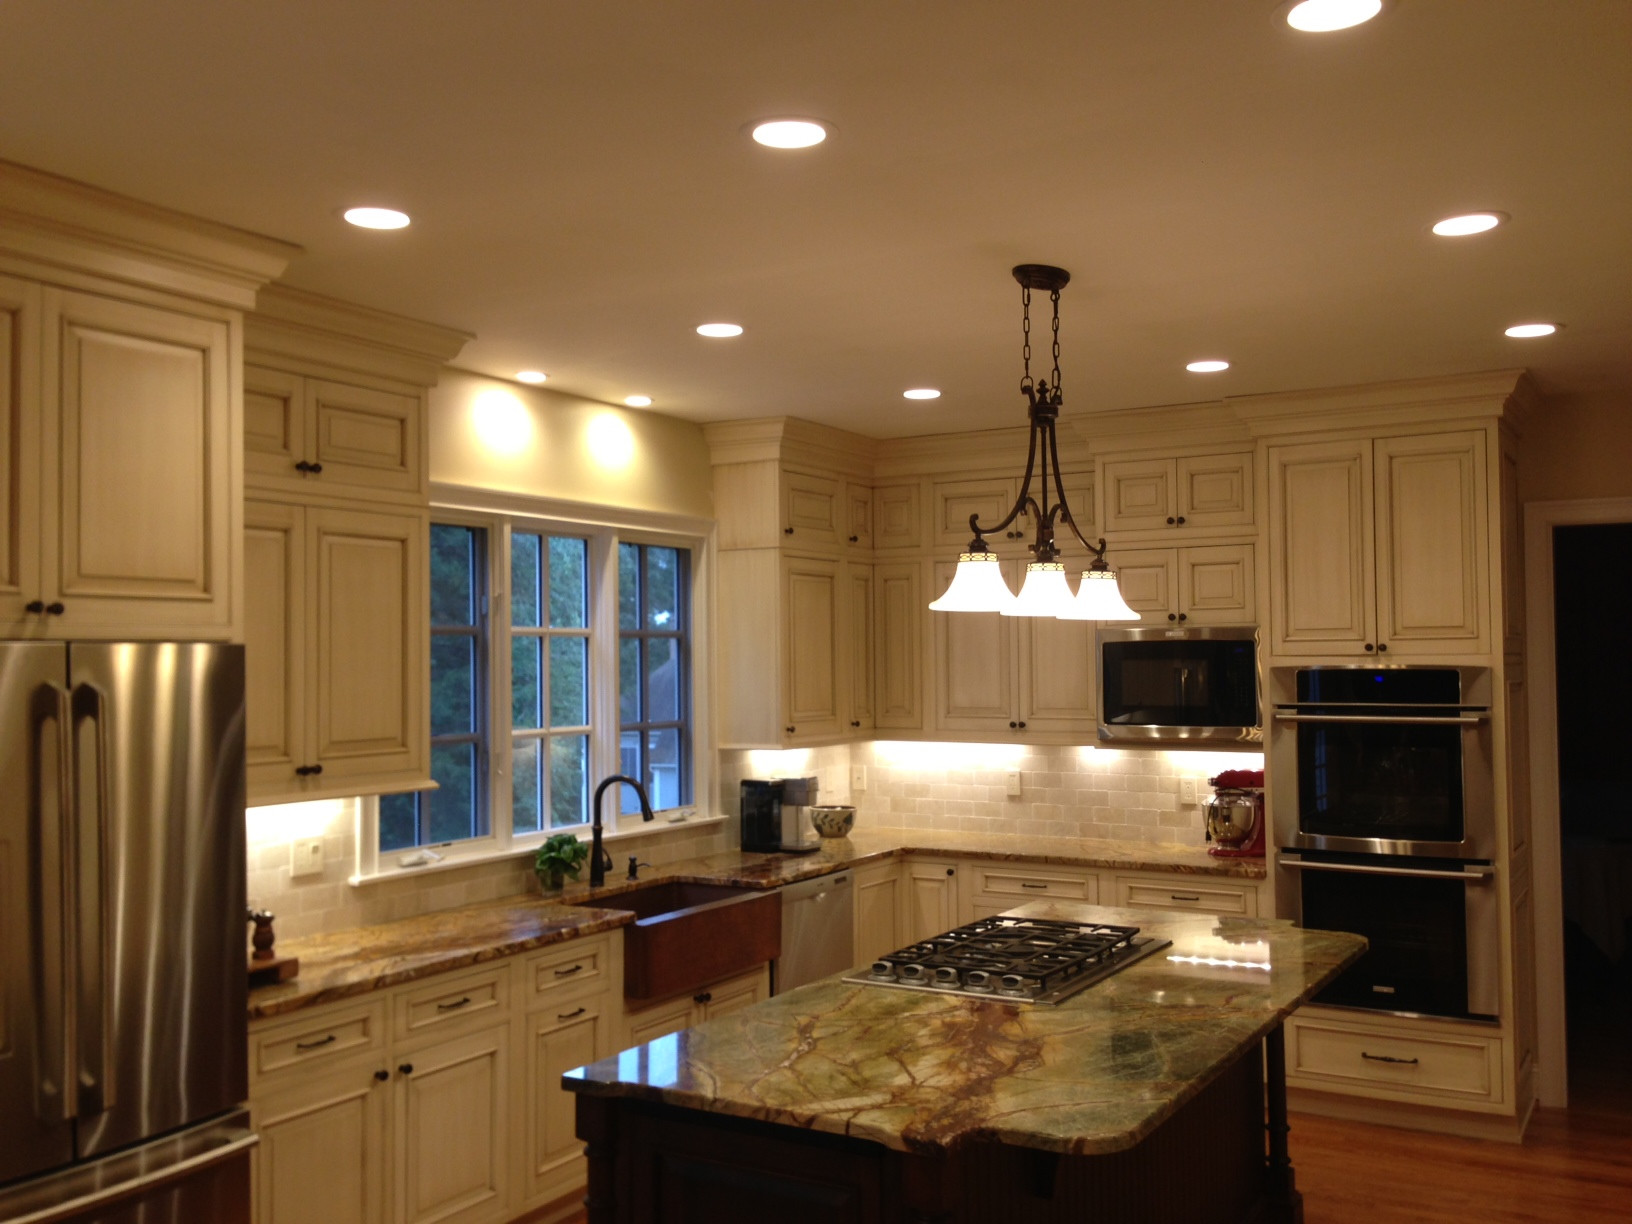
The Importance of Proper Recessed Lighting Layout

Lighting plays a crucial role in the overall design of a house, especially in the kitchen. With the rise of open-concept living spaces, the kitchen has become more than just a place for cooking and preparing meals. It has become a multifunctional space where families gather and entertain guests. This is why having a well-designed lighting plan is essential, and recessed lighting has become a popular choice for its sleek and modern look, as well as its versatility.
When it comes to planning the layout of recessed lighting for a 10x14 kitchen, there are a few important factors to consider. First, the size and shape of the kitchen must be taken into account. A 10x14 kitchen is considered to be on the smaller side, so it is important to maximize the use of space and avoid overcrowding the ceiling with too many lights. Additionally, the placement of cabinets, appliances, and furniture should also be considered to ensure that the lighting provides adequate illumination for all areas.
Another crucial factor to consider is the functionality of the kitchen. Is it primarily used for cooking and preparing meals, or is it also a space for dining and entertaining? This will determine the lighting needs and where the recessed lights should be placed. For example, if the kitchen is also used for dining, it is important to have lighting above the dining area to create a warm and inviting ambiance.
One of the most important aspects of proper recessed lighting layout is layering . This means using a combination of different types of lighting to create depth and dimension in the space. In a 10x14 kitchen, a good lighting plan would include ambient lighting, task lighting, and accent lighting. Ambient lighting provides overall illumination, task lighting is used for specific tasks such as cooking, and accent lighting adds visual interest and highlights certain features in the kitchen.
In conclusion, proper recessed lighting layout is crucial for creating a functional and aesthetically pleasing kitchen. It is important to consider the size and shape of the kitchen, its functionality, and the different types of lighting needed to create a well-lit and inviting space. With these factors in mind, you can create a recessed lighting layout that not only meets your practical needs but also enhances the overall design of your kitchen.