Do you have an air mattress with a pesky leak? Don't worry, patching an air mattress seam is easier than you think. With the right materials and a few simple steps, you can have your air mattress looking and functioning like new in no time. Follow this guide for the best way to patch an air mattress seam.How to Patch an Air Mattress Seam

How to Patch an Air Mattress Seam


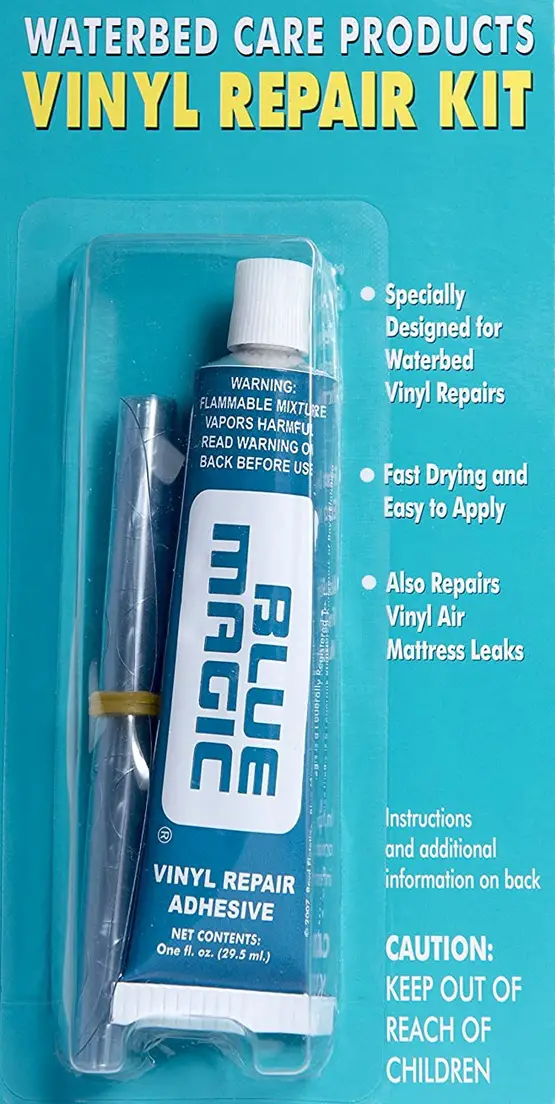
The best way to patch an air mattress seam is by using a patch kit specifically designed for air mattresses. These kits can be found at most stores that sell air mattresses or camping gear. They usually come with everything you need to patch your mattress, including adhesive patches, a patch roller, and instructions.Best Way to Patch an Air Mattress Seam

Best Way to Patch an Air Mattress Seam


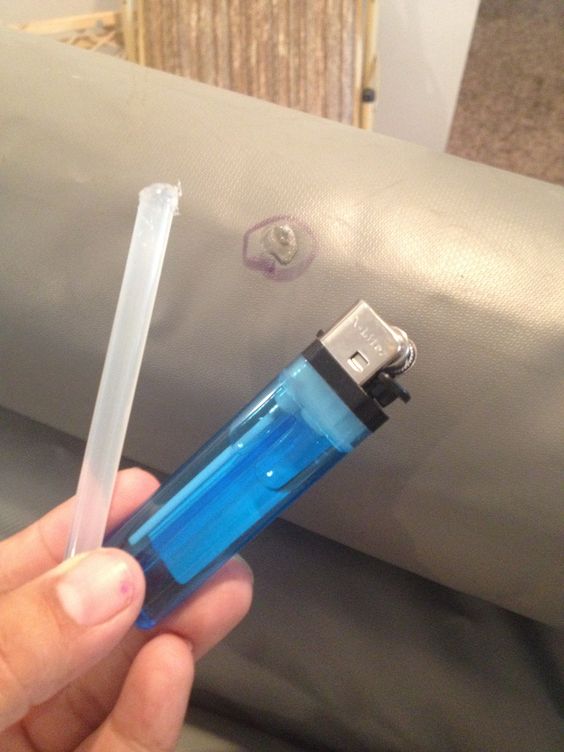
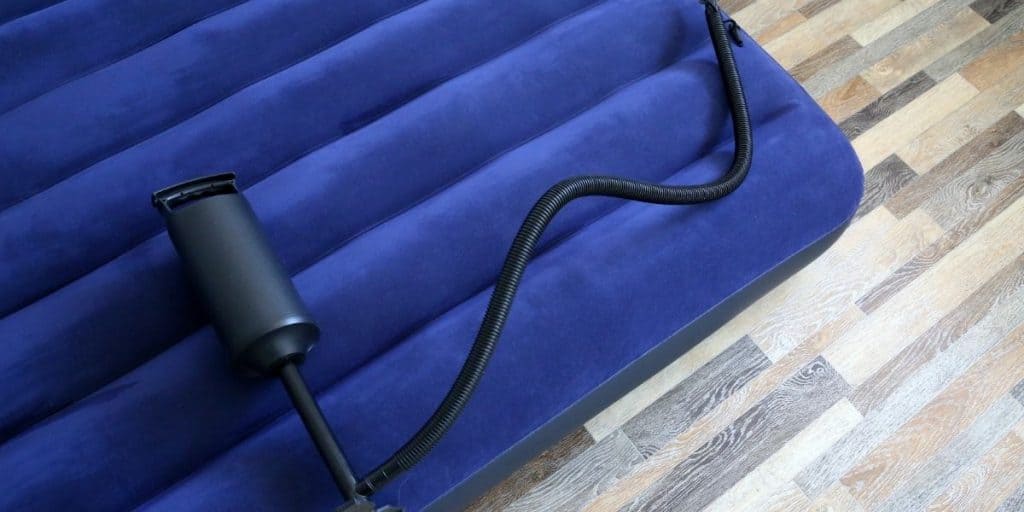
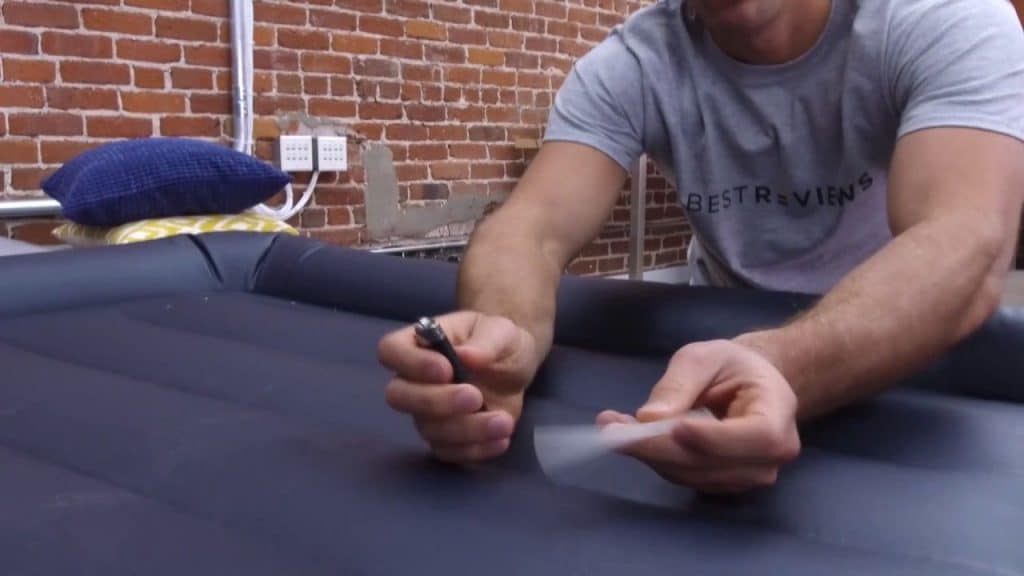
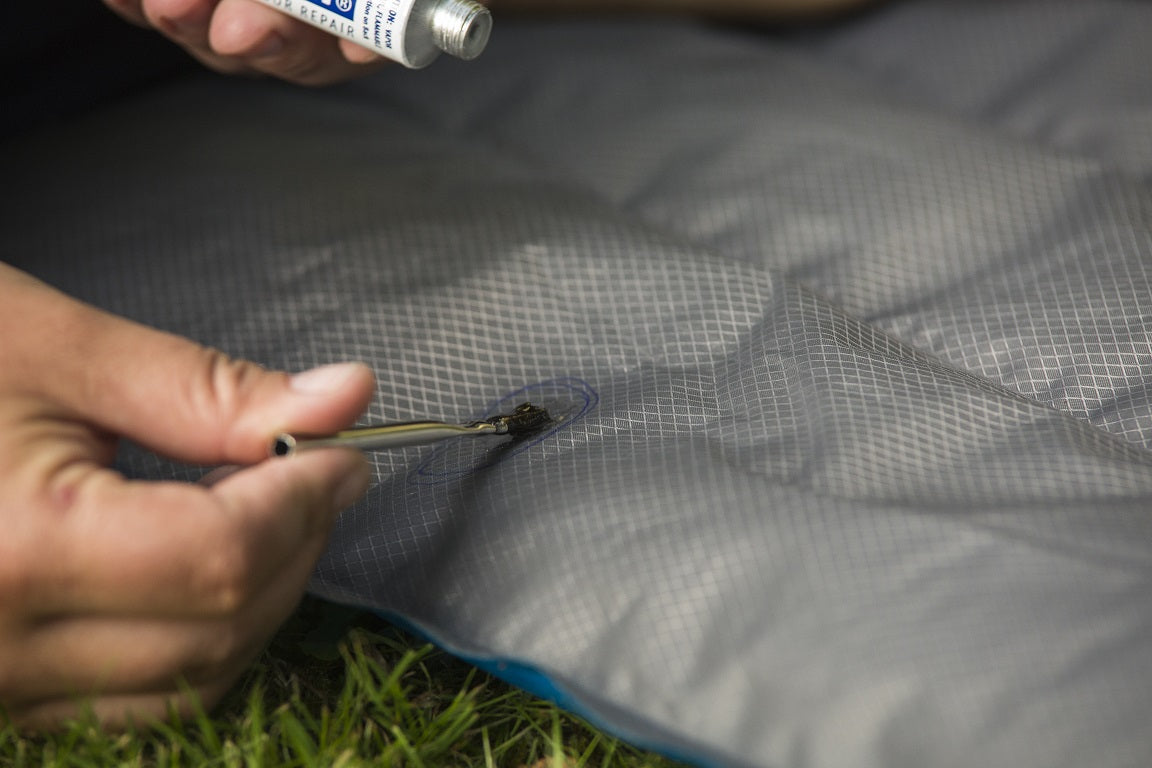
Patching an air mattress seam is a simple process that can be done in just a few steps. First, locate the leak by inflating the mattress and listening for the sound of escaping air. Once you have found the leak, follow the instructions on your patch kit to cut and apply the adhesive patch over the hole. Use the patch roller to ensure a secure seal.Easy Steps to Patch an Air Mattress Seam


Easy Steps to Patch an Air Mattress Seam


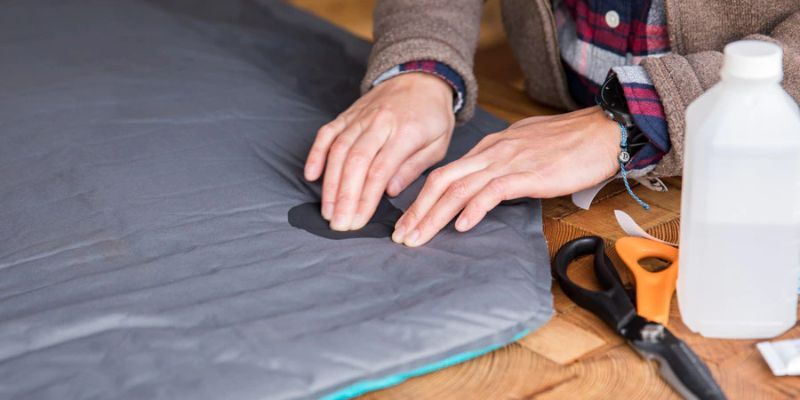
If you don't have a patch kit on hand, you can still patch your air mattress seam using a few household items. Start by cleaning the area around the leak with rubbing alcohol and letting it dry completely. Then, cut a piece of duct tape or a vinyl repair patch to cover the hole. Apply the adhesive side to the mattress and use a flat object to smooth out any wrinkles or air bubbles.DIY Guide for Patching an Air Mattress Seam


DIY Guide for Patching an Air Mattress Seam


If you need a quick fix for your air mattress seam, try using a hot glue gun. Start by deflating the mattress and cleaning the area around the leak with rubbing alcohol. Then, apply a small amount of hot glue to cover the hole and smooth it out with a flat object. This method should only be used as a temporary solution, as the glue may not hold up over time.Quick and Effective Method to Patch an Air Mattress Seam


Quick and Effective Method to Patch an Air Mattress Seam

To successfully patch an air mattress seam, you will need the following materials:Materials Needed to Patch an Air Mattress Seam

Materials Needed to Patch an Air Mattress Seam
Here are some helpful tips to keep in mind when patching your air mattress seam:Tips for Successfully Patching an Air Mattress Seam


Tips for Successfully Patching an Air Mattress Seam


:max_bytes(150000):strip_icc()/81QHm8NXr2L._AC_SL1500_1-17bafdc326cf4922b0d8acca4d9b5639.jpg)
While patching an air mattress seam is a simple process, there are a few common mistakes that can lead to a failed patch. Avoid these mistakes to ensure a successful repair:Common Mistakes to Avoid When Patching an Air Mattress Seam


Common Mistakes to Avoid When Patching an Air Mattress Seam


If you're not sure where the leak is coming from, try submerging the inflated mattress in a bathtub filled with water. Look for any bubbles escaping from the mattress to locate the leak. Once you have found the leak, follow the steps outlined in this guide to patch it up and get your air mattress back in working condition.How to Find and Repair a Leak in an Air Mattress Seam


How to Find and Repair a Leak in an Air Mattress Seam


Using a patch kit is the most reliable and long-lasting method for patching an air mattress seam. These kits are specifically designed for air mattresses and come with all the necessary materials and instructions. Keep a patch kit on hand for any future leaks, and you'll be able to fix them quickly and easily.Using a Patch Kit to Fix an Air Mattress Seam


Using a Patch Kit to Fix an Air Mattress Seam

Patching an Air Mattress Seam: A Simple Solution for a Common Household Problem

Introduction
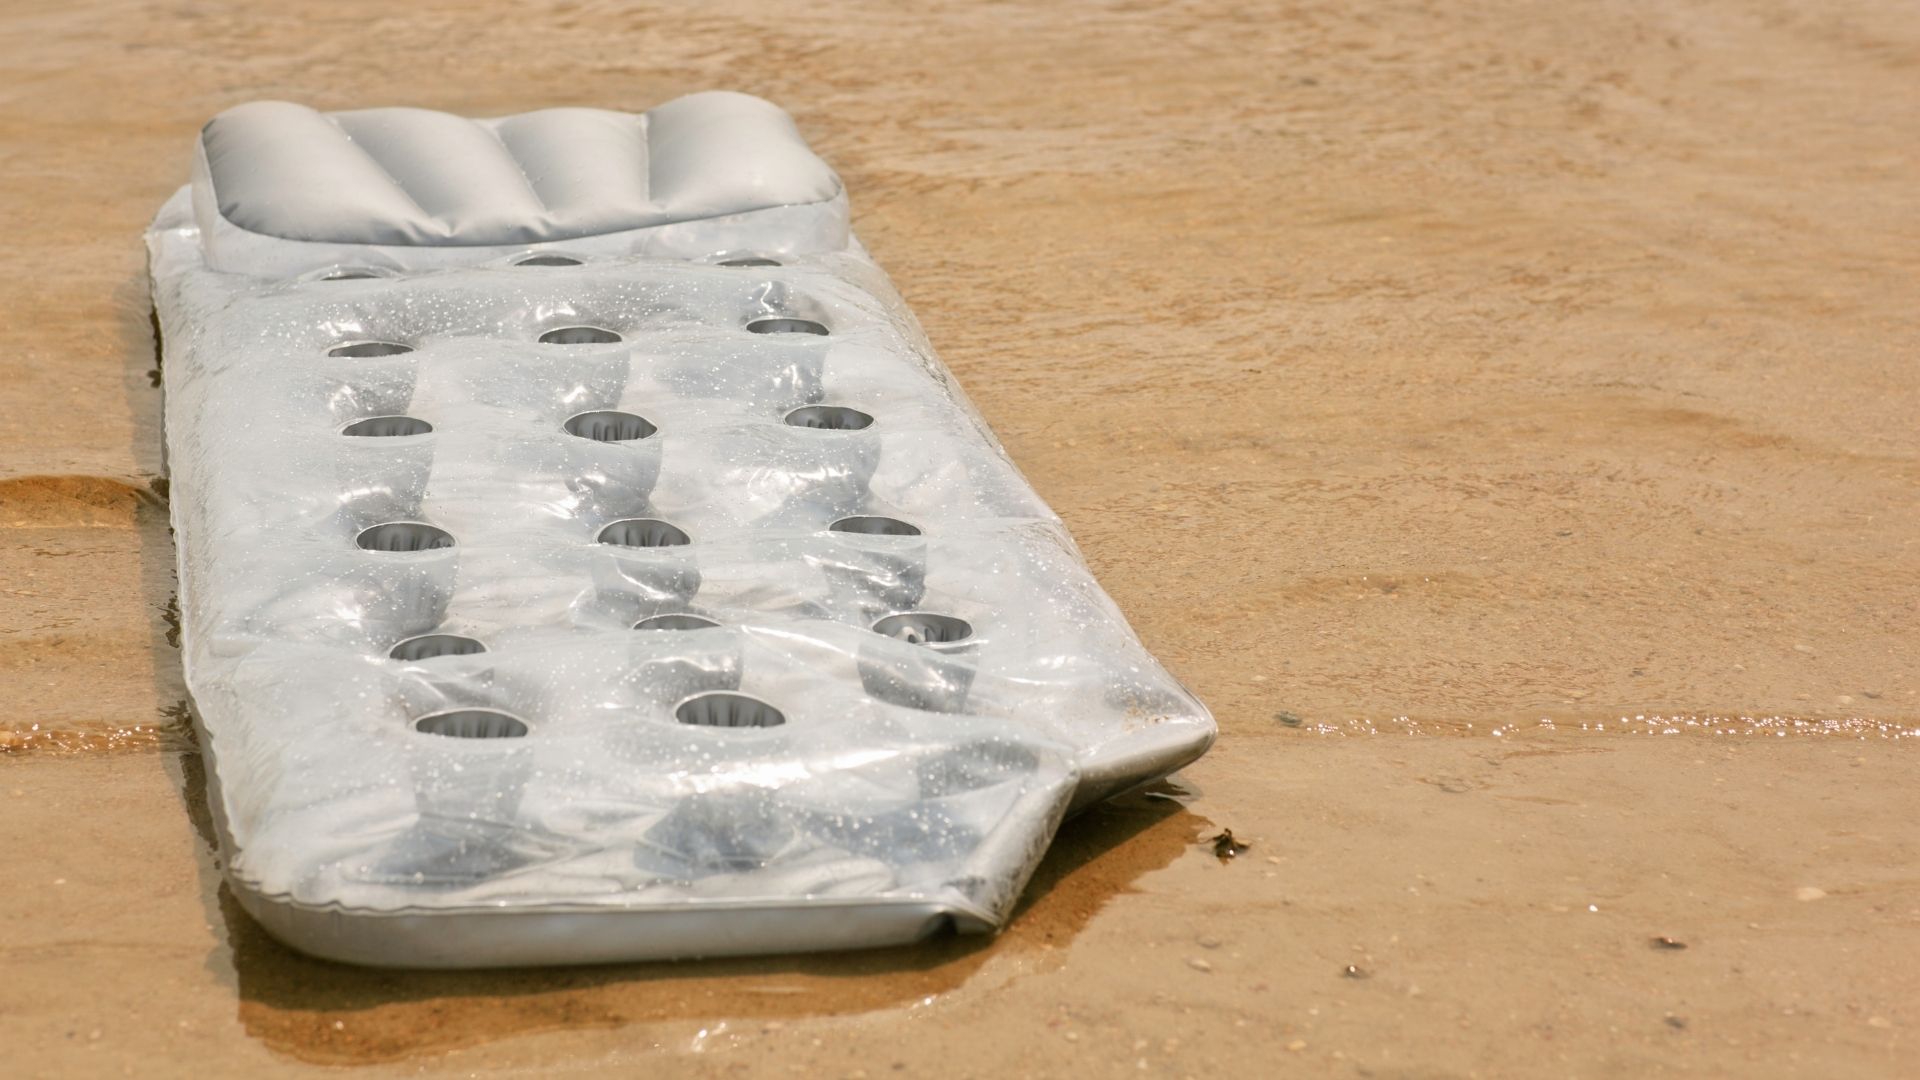
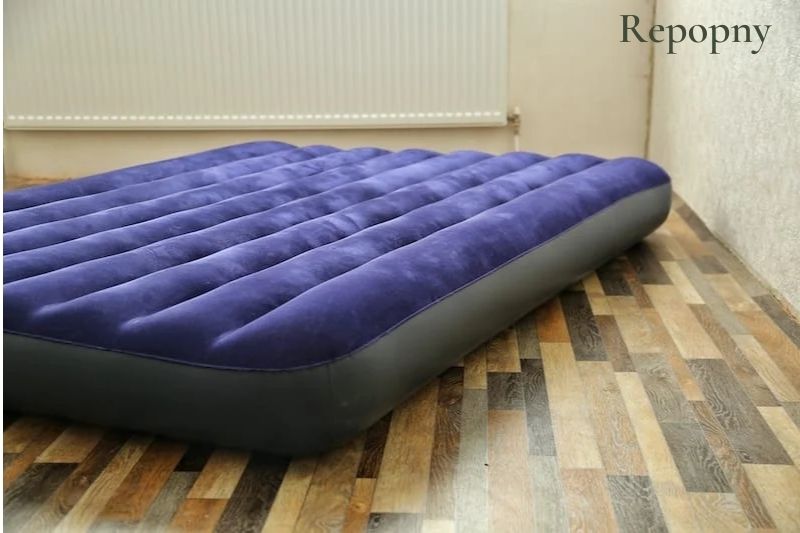
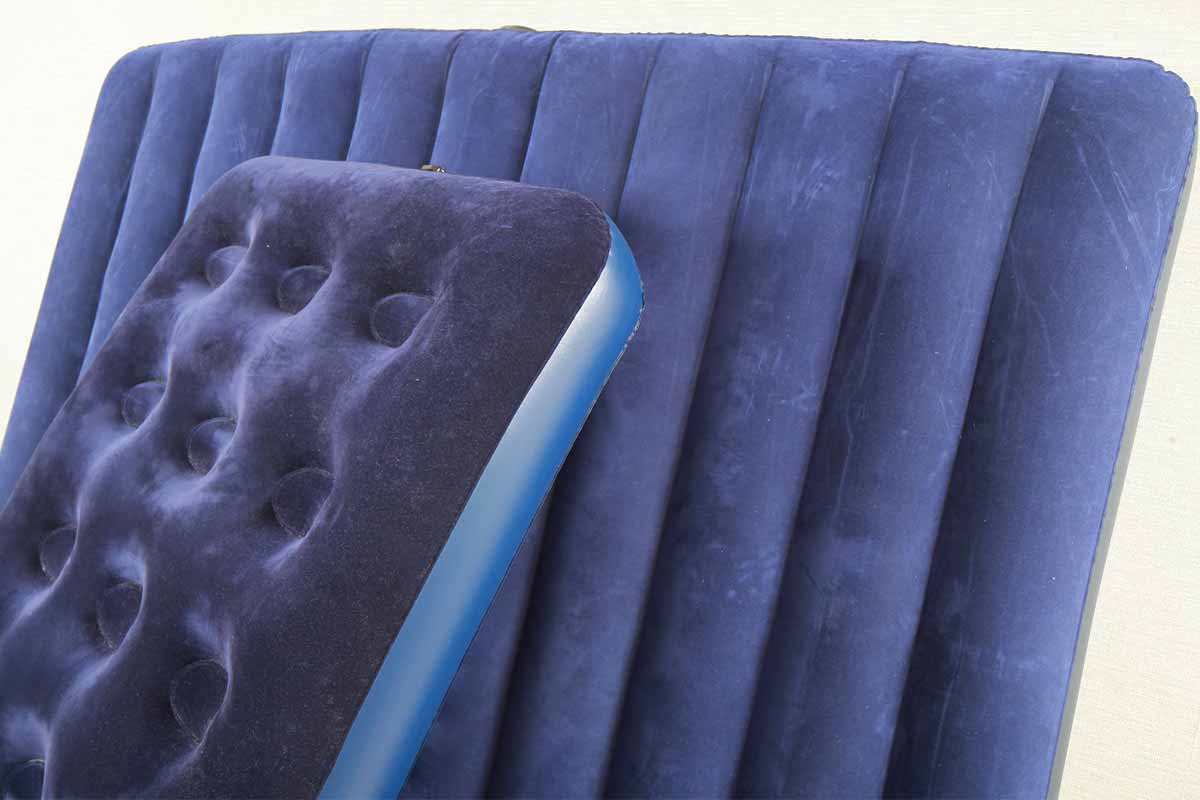
 When it comes to household items, an air mattress is a versatile and convenient piece of furniture to have. Whether you have guests staying over or need a comfortable sleeping arrangement for a camping trip, an air mattress can come in handy. However, just like any other item, it is prone to wear and tear. One of the most common issues with air mattresses is a punctured or torn seam, which can cause leaks and render the mattress unusable. But don't worry, patching an air mattress seam is a simple and cost-effective solution that can save your mattress and your wallet.
Identifying the Problem
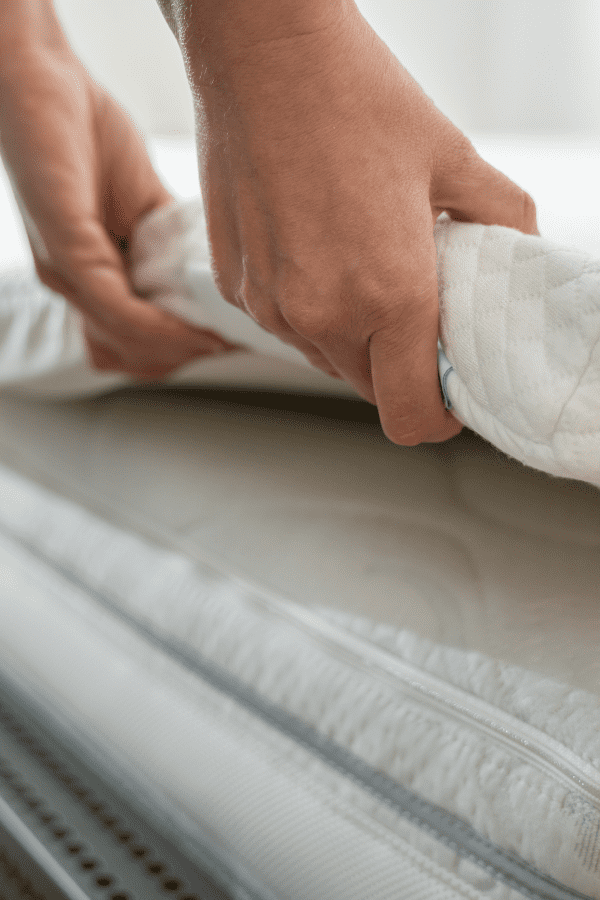
 Before we dive into the solution, it is essential to understand the root cause of the problem. The seam of an air mattress is the area where the top and bottom layers of the mattress are joined together. This seam is often made of thin material and can be easily damaged by sharp objects or excessive weight. Additionally, over time, the constant inflation and deflation of the mattress can also weaken the seam, making it more susceptible to tears and punctures.
Gathering the Materials
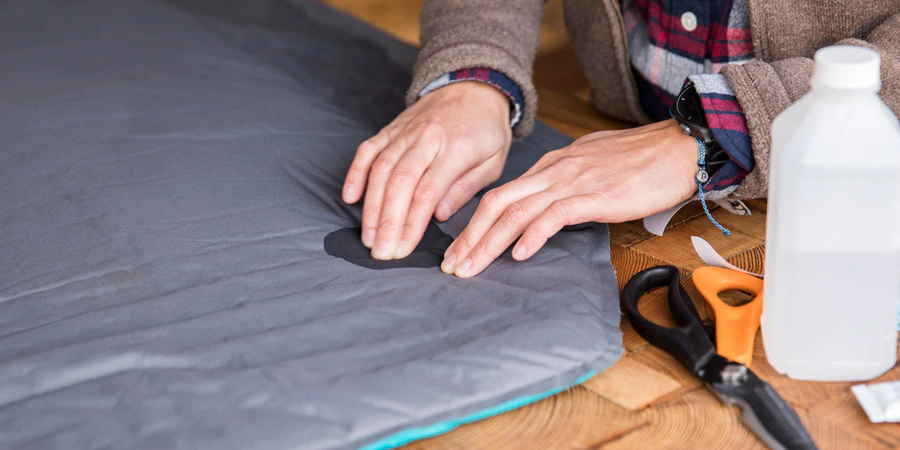
 To patch an air mattress seam, you will need a few household items that you probably already have lying around. These include
duct tape, rubbing alcohol, scissors, and a patch kit specifically designed for air mattresses.
You can find a patch kit at most hardware or outdoor stores, and it usually comes with a patch and adhesive to seal the seam.
To patch an air mattress seam, you will need a few household items that you probably already have lying around. These include
duct tape, rubbing alcohol, scissors, and a patch kit specifically designed for air mattresses.
You can find a patch kit at most hardware or outdoor stores, and it usually comes with a patch and adhesive to seal the seam.
Step-by-Step Guide
 Now that you have all the necessary materials let's get started on how to patch an air mattress seam.
1. Begin by
deflating and cleaning
the mattress. Make sure to remove any debris or dirt from the area around the seam.
2. Next,
cut a piece of duct tape
that is slightly larger than the tear or puncture in the seam.
3. Clean the damaged area with rubbing alcohol to
remove any residue or oils
that could affect the adhesive's effectiveness.
4.
Apply the duct tape
to the damaged area, making sure to press down firmly to create a strong bond.
5.
Allow the duct tape to dry
for a few minutes before proceeding to the next step.
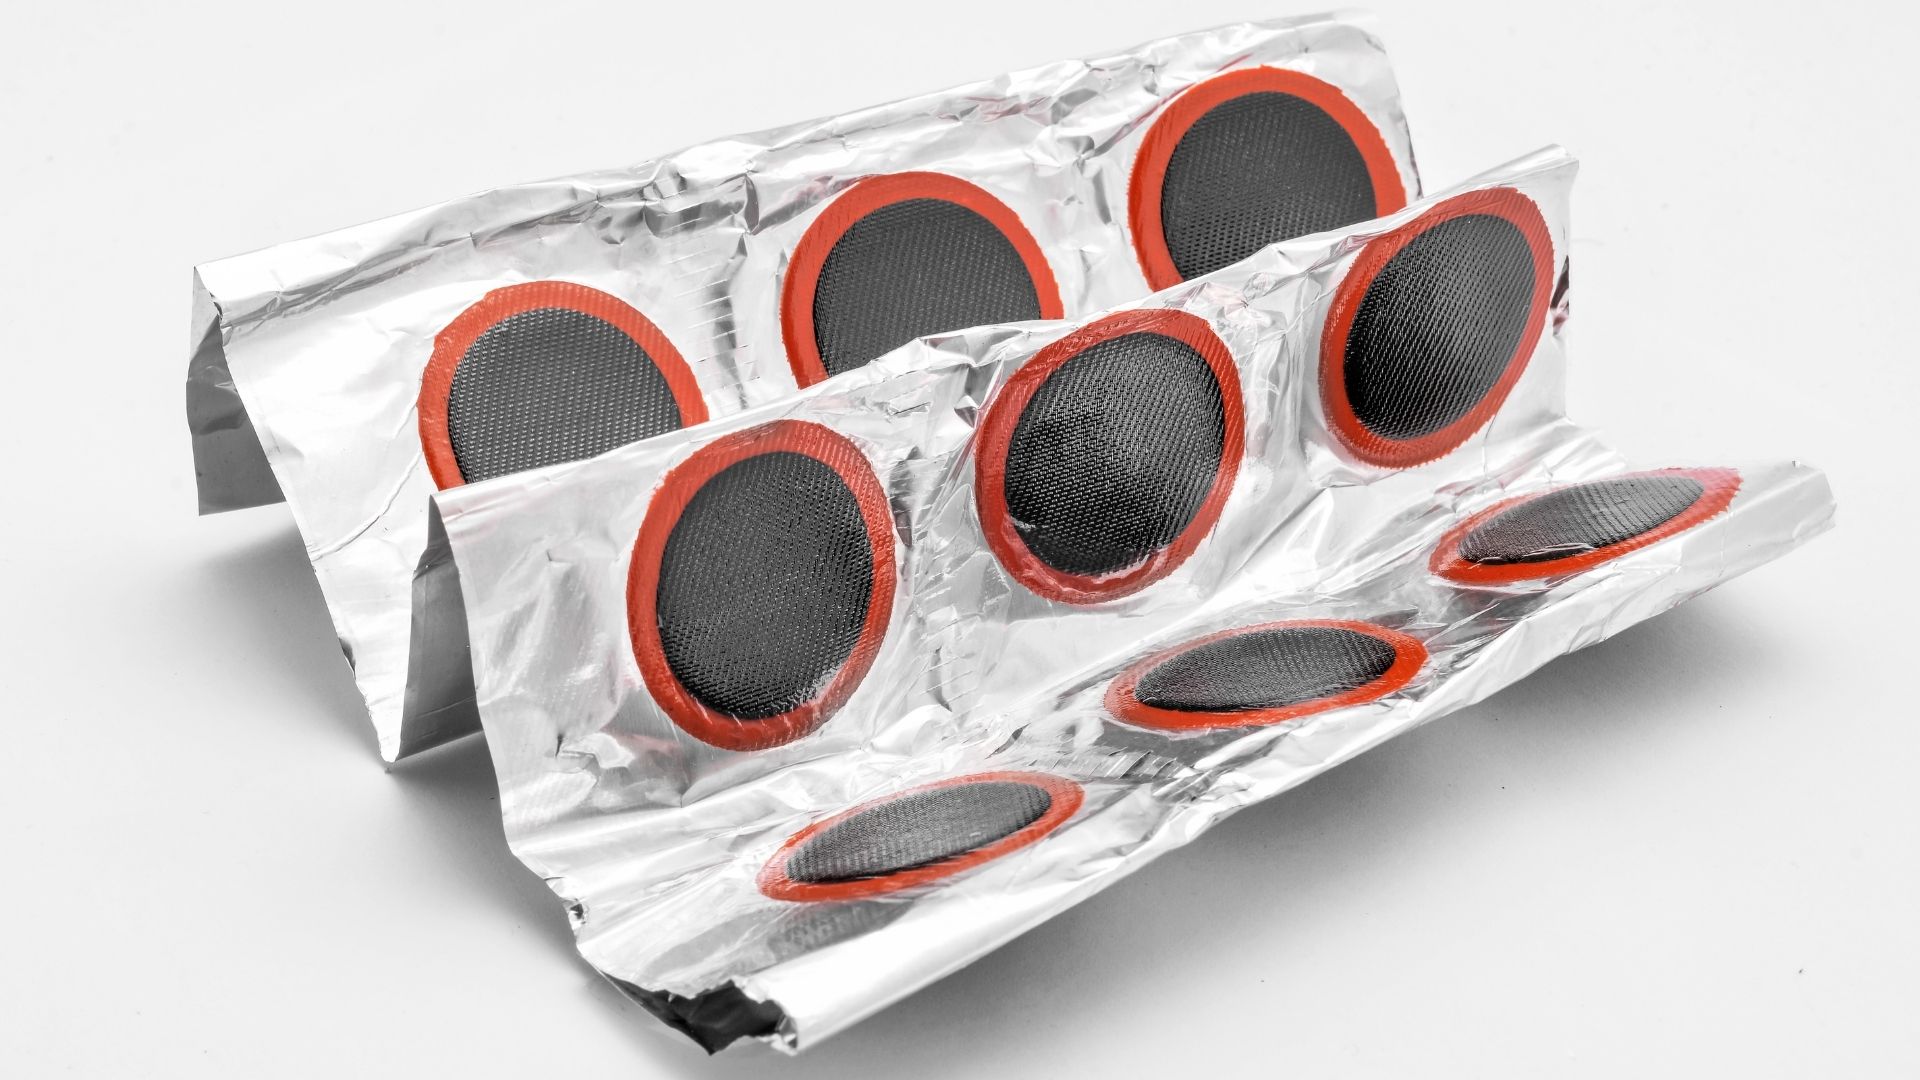
6. Once the duct tape is dry,
cut a piece of patch
from the patch kit that is slightly larger than the taped area.
7.
Apply the adhesive
from the patch kit to the back of the patch and carefully place it over the taped area, pressing down firmly to ensure a secure bond.
8.
Allow the patch to dry
for the recommended time stated on the patch kit.
Now that you have all the necessary materials let's get started on how to patch an air mattress seam.
1. Begin by
deflating and cleaning
the mattress. Make sure to remove any debris or dirt from the area around the seam.
2. Next,
cut a piece of duct tape
that is slightly larger than the tear or puncture in the seam.
3. Clean the damaged area with rubbing alcohol to
remove any residue or oils
that could affect the adhesive's effectiveness.
4.
Apply the duct tape
to the damaged area, making sure to press down firmly to create a strong bond.
5.
Allow the duct tape to dry
for a few minutes before proceeding to the next step.
6. Once the duct tape is dry,
cut a piece of patch
from the patch kit that is slightly larger than the taped area.
7.
Apply the adhesive
from the patch kit to the back of the patch and carefully place it over the taped area, pressing down firmly to ensure a secure bond.
8.
Allow the patch to dry
for the recommended time stated on the patch kit.
Preventative Measures
 To avoid future tears or punctures in your air mattress seam, there are a few preventative measures you can take. Firstly, avoid placing sharp objects near or on the mattress. If you are using the mattress outdoors, make sure to clear the ground of any sharp rocks or debris before setting it up. Secondly, try not to overinflate the mattress as it can put unnecessary strain on the seam. Lastly, if possible,
invest in a higher quality air mattress
with a thicker seam to prevent future issues.
To avoid future tears or punctures in your air mattress seam, there are a few preventative measures you can take. Firstly, avoid placing sharp objects near or on the mattress. If you are using the mattress outdoors, make sure to clear the ground of any sharp rocks or debris before setting it up. Secondly, try not to overinflate the mattress as it can put unnecessary strain on the seam. Lastly, if possible,
invest in a higher quality air mattress
with a thicker seam to prevent future issues.
In Conclusion
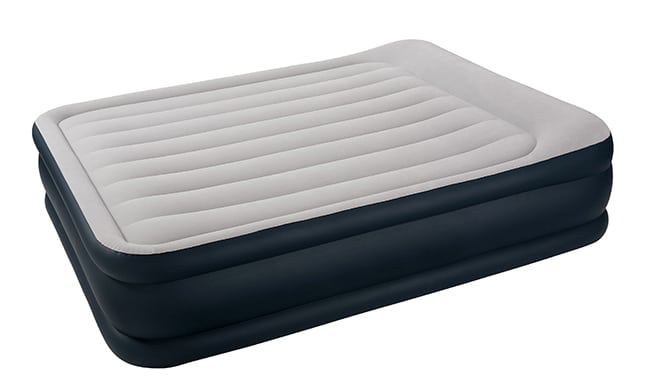
:max_bytes(150000):strip_icc()/inflatable-mattress-in-an-empty-room-1165771286-cdef8878a02c456188562f33c8f66d5d.jpg) Patching an air mattress seam is a simple and effective solution that can save you from having to purchase a new mattress. By following the steps outlined above and taking preventative measures, you can extend the life of your air mattress and save money in the long run. So don't let a damaged seam deflate your plans, use these tips to patch it up and get back to enjoying a comfortable night's sleep.
Patching an air mattress seam is a simple and effective solution that can save you from having to purchase a new mattress. By following the steps outlined above and taking preventative measures, you can extend the life of your air mattress and save money in the long run. So don't let a damaged seam deflate your plans, use these tips to patch it up and get back to enjoying a comfortable night's sleep.