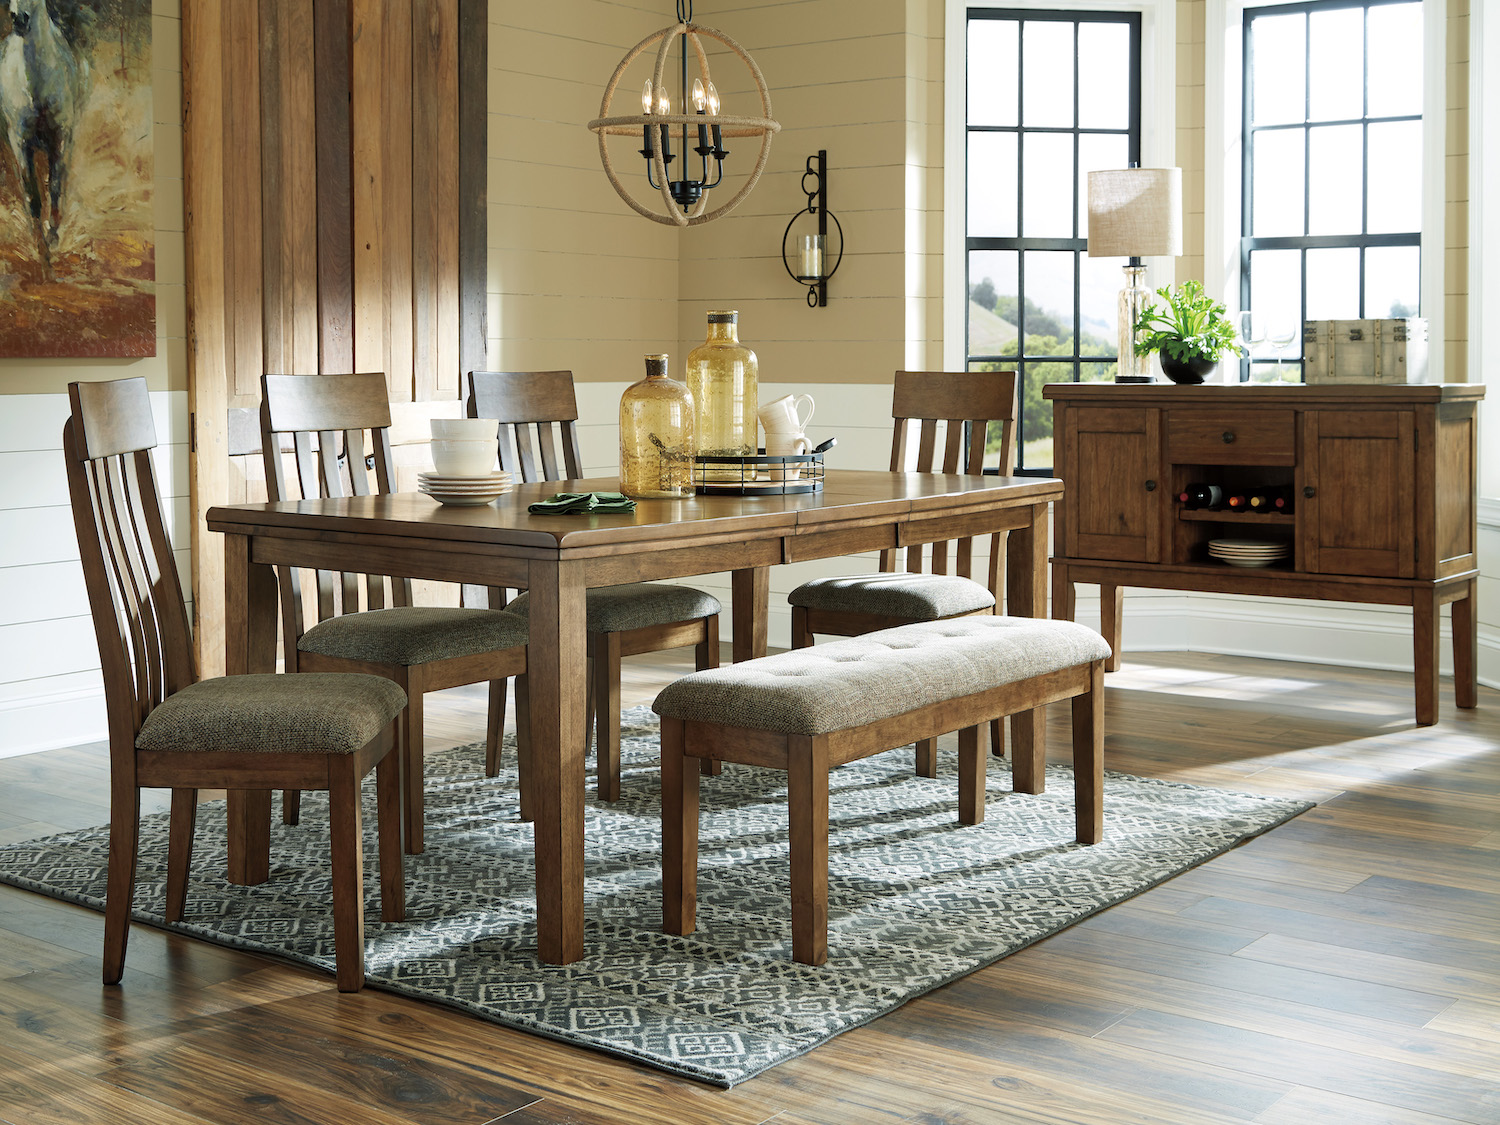
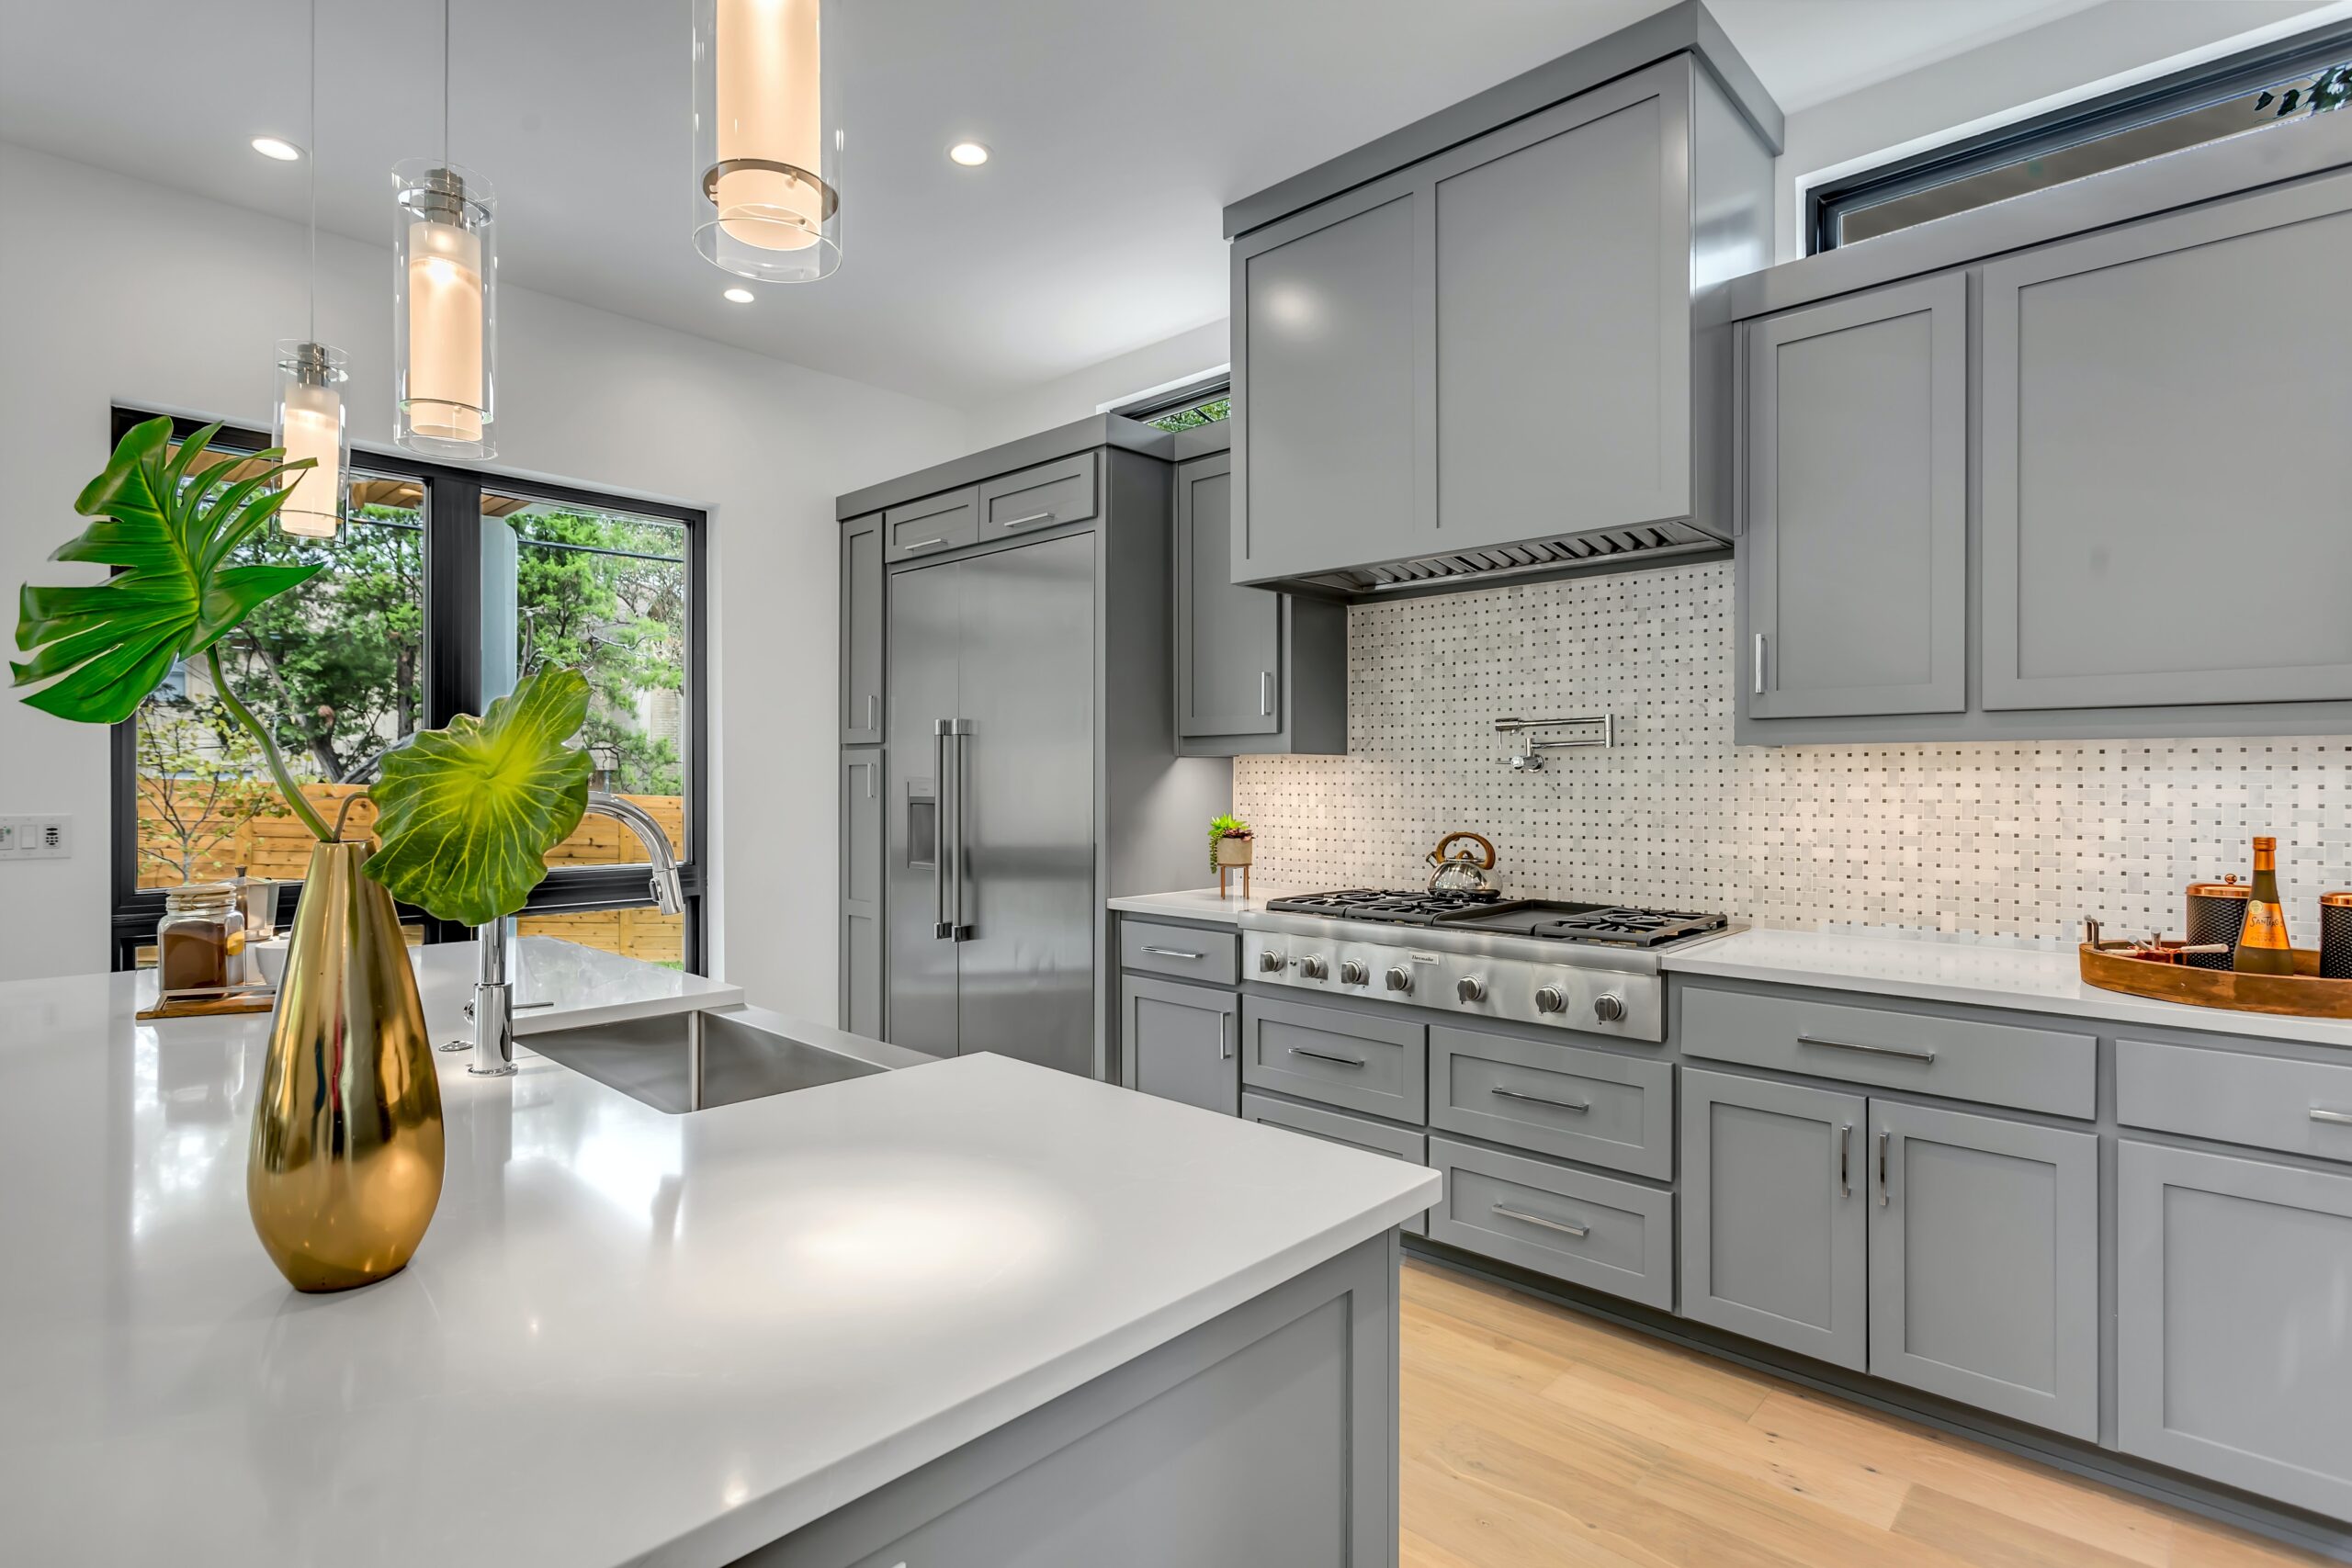
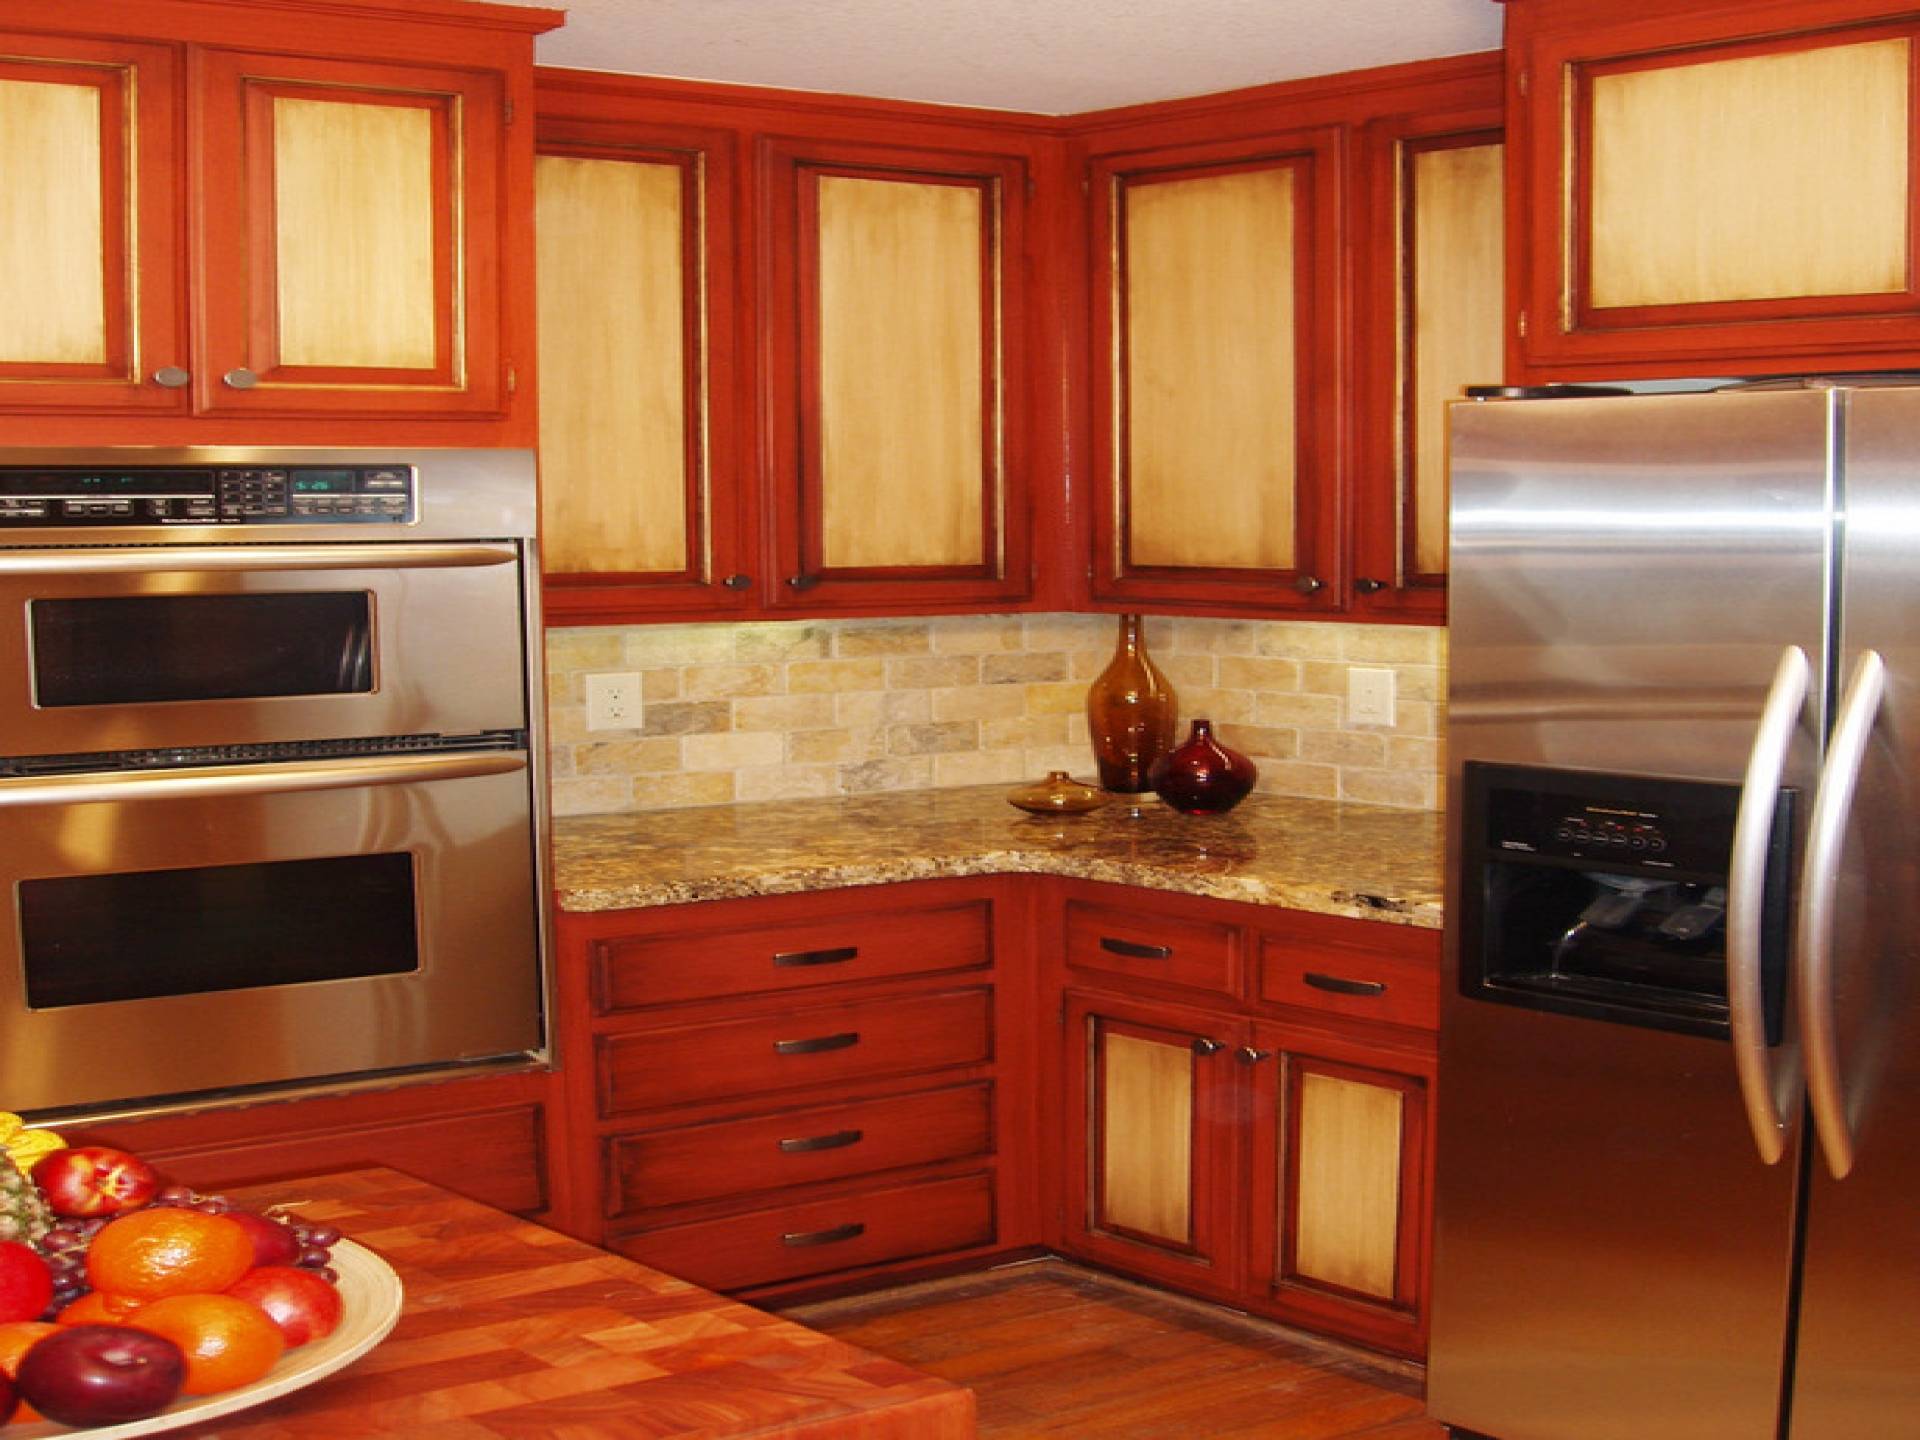
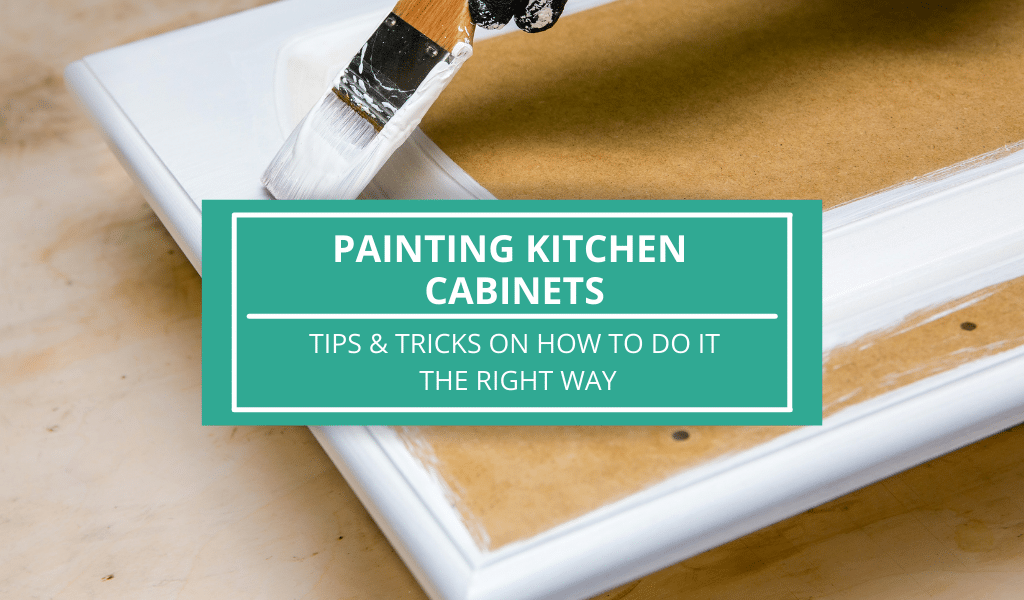
Painting kitchen cabinets can be a daunting task, but with the right tips and techniques, you can transform your outdated cabinets into a stunning focal point for your kitchen. Here are 7 tips to help you achieve a successful painting project for your kitchen cabinets.Painting Kitchen Cabinets: 7 Tips for a Successful Project

Painting Kitchen Cabinets: 7 Tips for a Successful Project

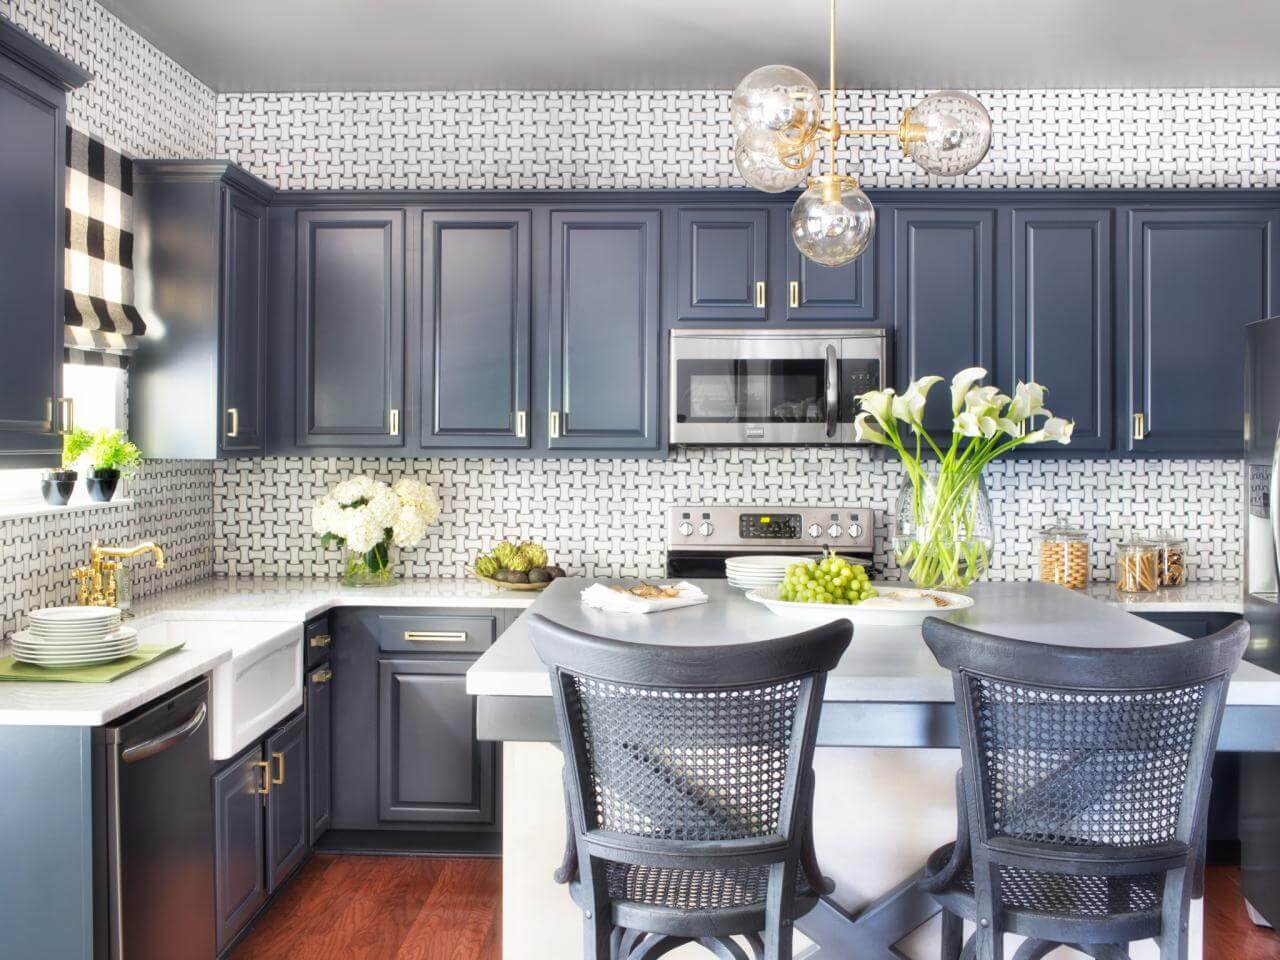


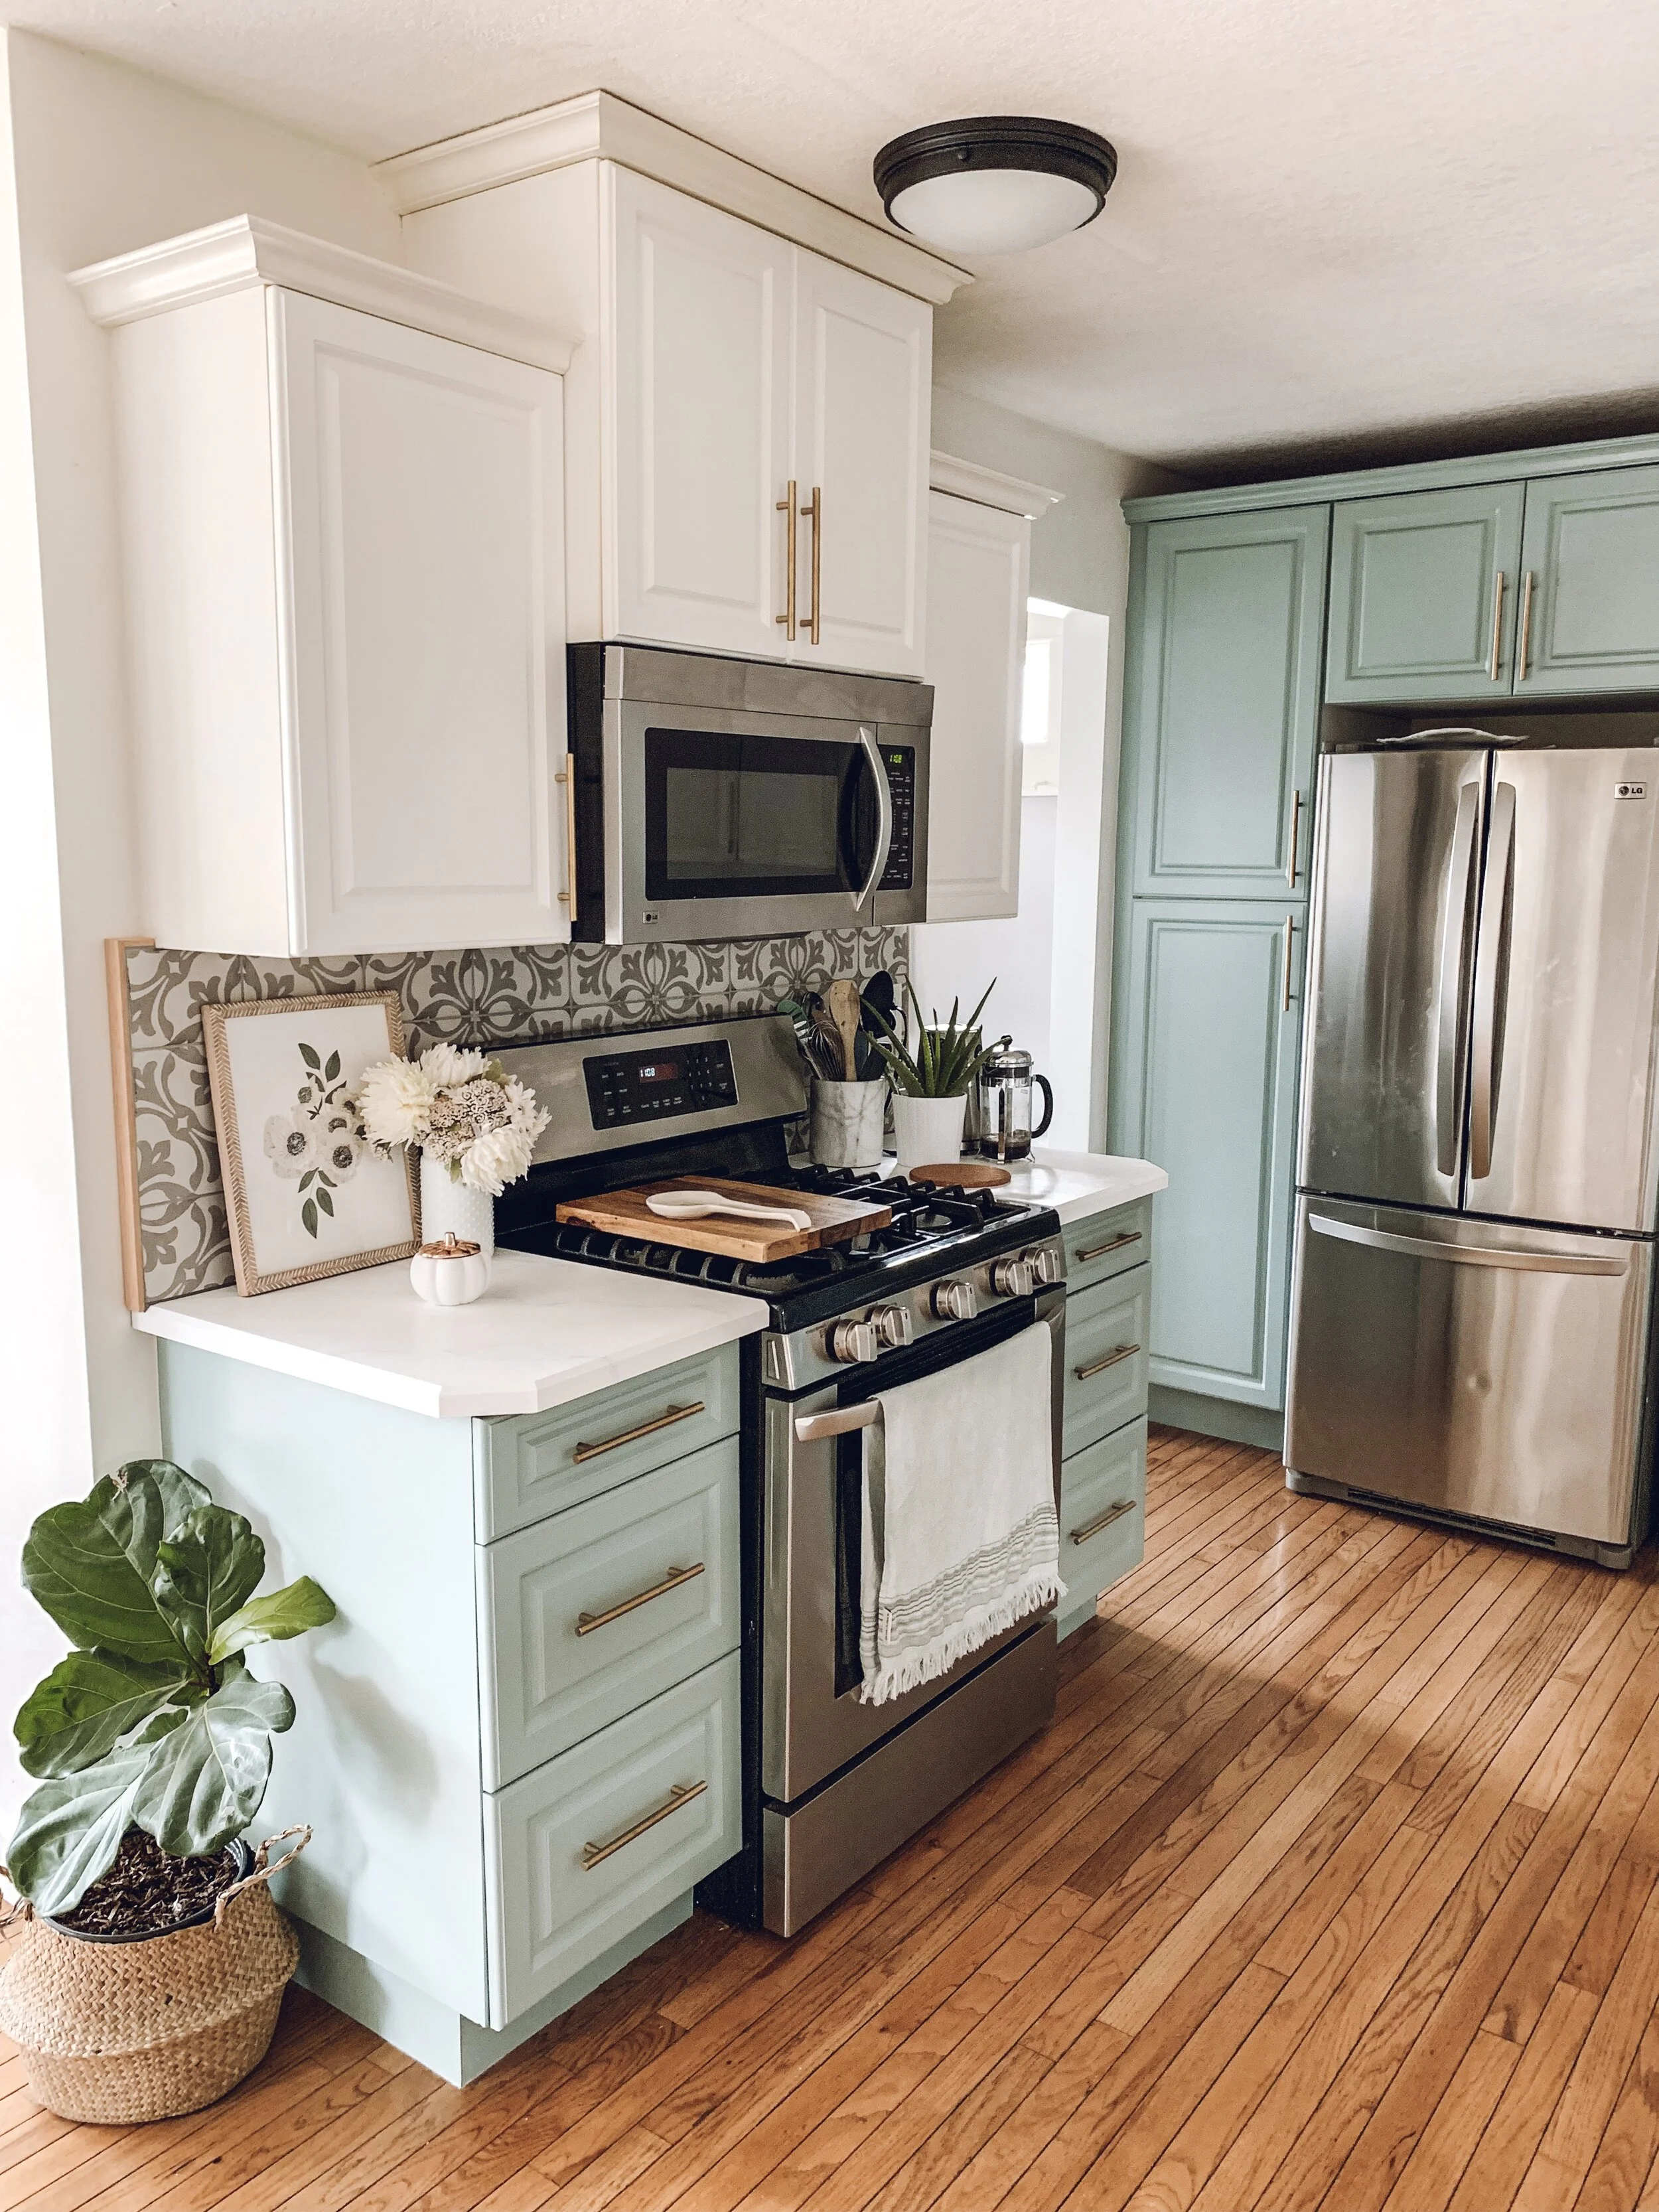
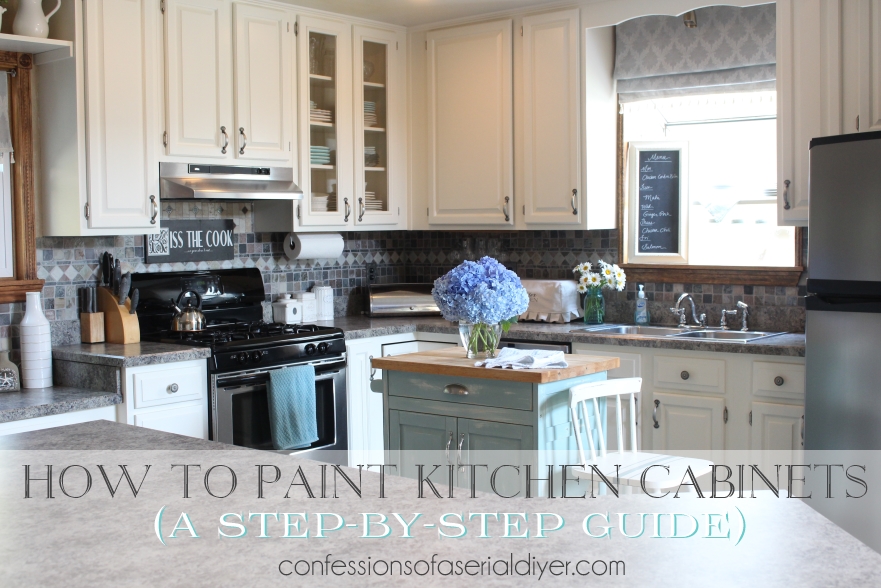
If you're ready to take on the challenge of painting your kitchen cabinets, follow these 9 steps for a flawless finish: Step 1: Prepare Your Cabinets Before you even pick up a paintbrush, you'll need to thoroughly clean and prep your cabinets. Use a degreasing cleaner to remove any built-up grime and then sand them down to create a smooth surface for the paint to adhere to. Step 2: Remove Cabinet Hardware Take off all cabinet hardware, such as handles and hinges, before painting. This will make it easier to paint and ensure a professional-looking finish. Step 3: Prime the Cabinets Priming your cabinets is essential for ensuring the paint sticks and lasts. Use a high-quality primer and apply it in thin, even coats. Be sure to let it dry completely before moving on to the next step. Step 4: Choose Your Paint When it comes to painting kitchen cabinets, it's important to use a high-quality paint that is specifically designed for cabinets and can withstand the wear and tear of a busy kitchen. Satin or semi-gloss finishes are ideal for cabinets. Step 5: Paint the Cabinets Use a brush or roller to apply the paint in thin, even coats. Be sure to paint in the direction of the wood grain for a smooth finish. You may need to apply multiple coats for full coverage. Step 6: Let the Paint Dry Allow the paint to fully dry before moving on to the next step. This may take a few hours, depending on the type of paint you use. Step 7: Sand and Repeat Once the first coat is dry, lightly sand the cabinets to remove any brush strokes or imperfections. Then, apply a second coat of paint and let it dry completely. Step 8: Add a Protective Coat To protect your newly painted cabinets from scratches and stains, add a clear protective coat. This will also give your cabinets a beautiful sheen. Step 9: Reinstall Hardware Once everything is dry, reinstall your cabinet hardware and enjoy your newly painted kitchen cabinets!How to Paint Kitchen Cabinets in 9 Steps

How to Paint Kitchen Cabinets in 9 Steps


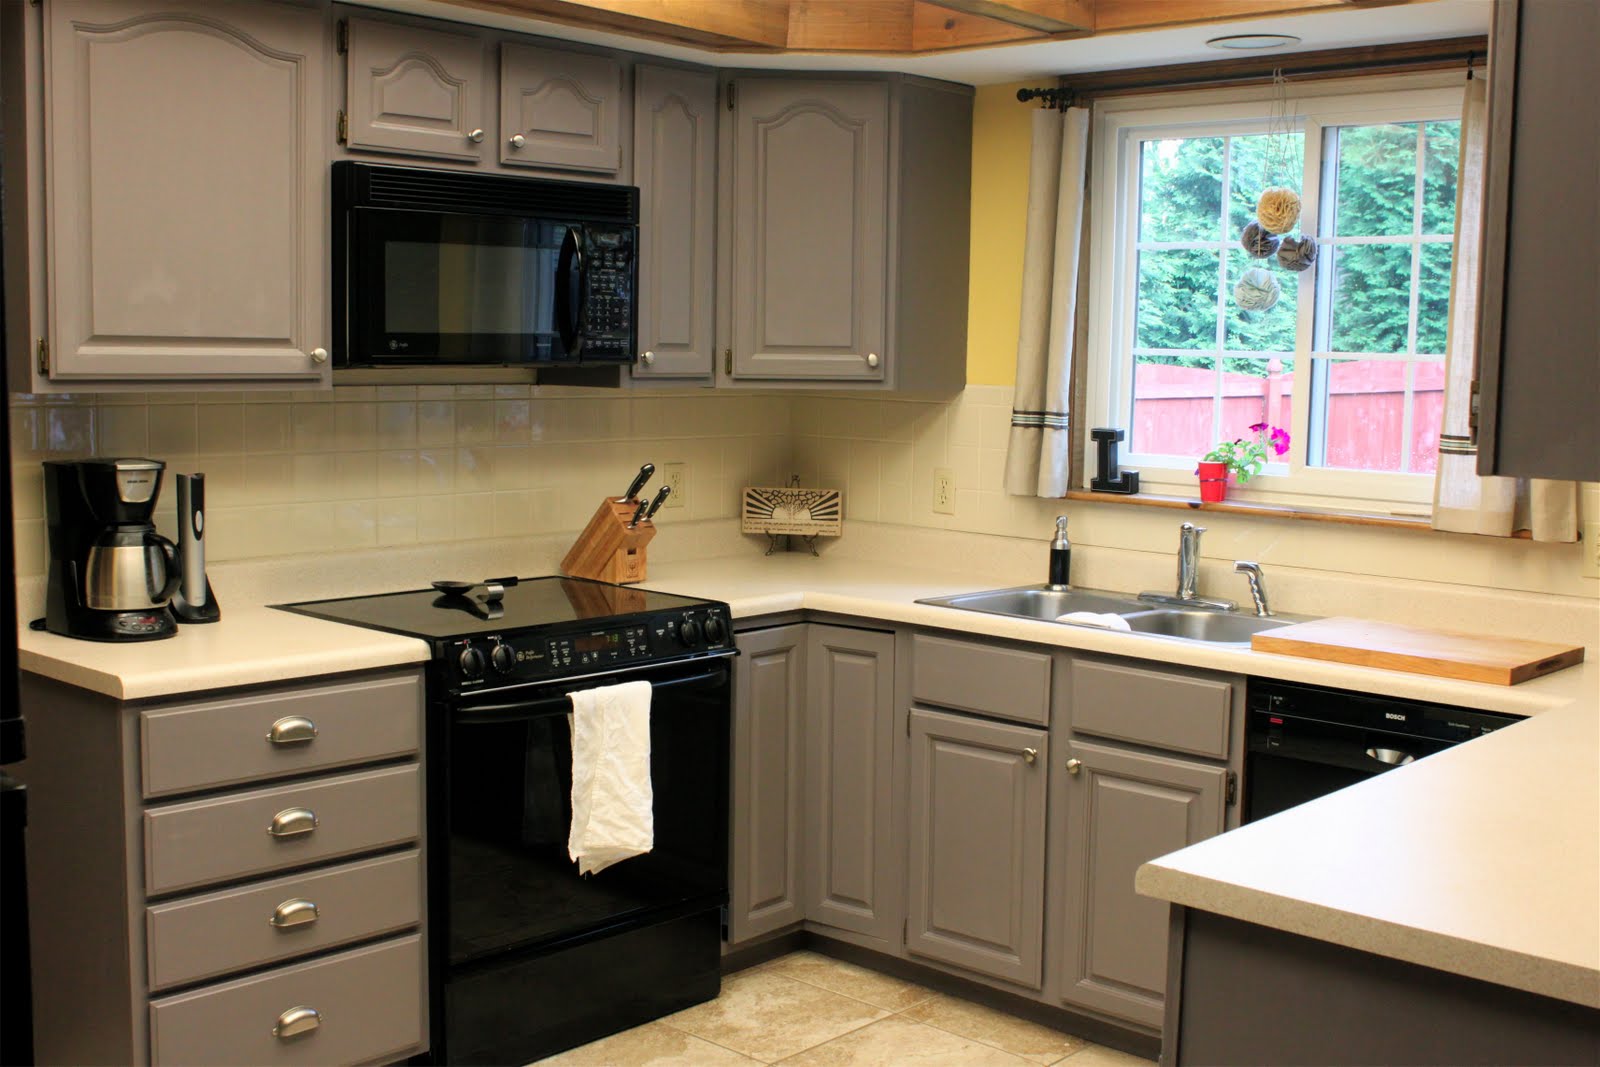
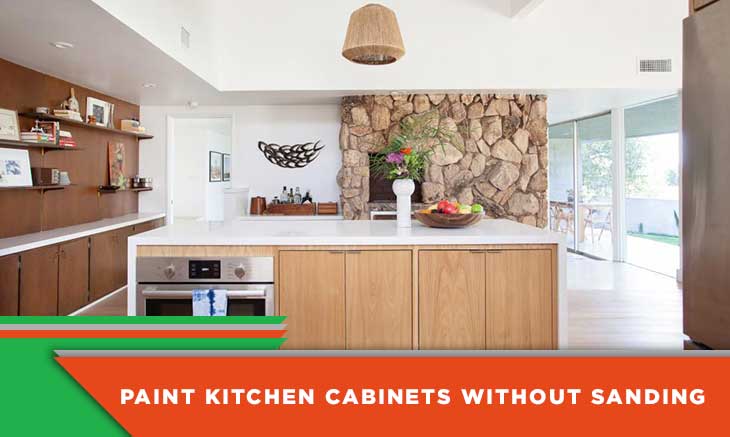
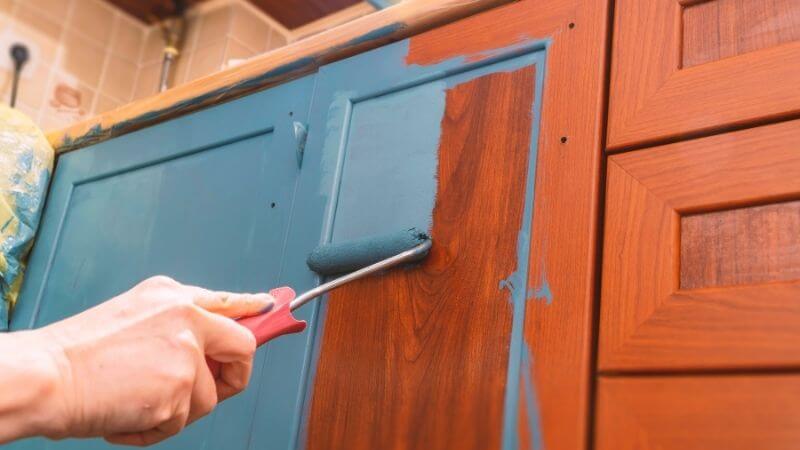
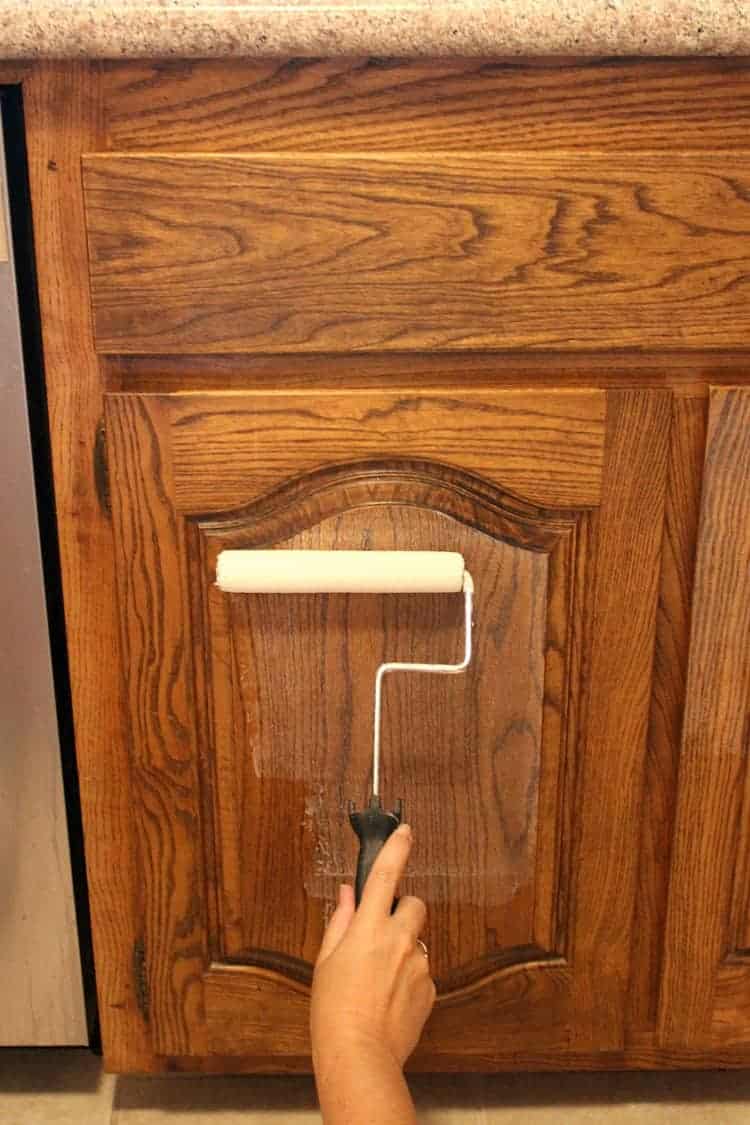
If the thought of sanding your kitchen cabinets is overwhelming, don't worry! You can still achieve a professional-looking finish without sanding. Here's how: Step 1: Clean and Degrease As with any painting project, it's important to thoroughly clean and degrease your cabinets before painting. Use a degreasing cleaner to remove any built-up grime or grease. Step 2: Choose a Deglosser A deglosser is a liquid solution that removes the glossy finish from your cabinets, making it easier for the paint to adhere. Be sure to choose a high-quality deglosser and follow the instructions carefully. Step 3: Prime the Cabinets After deglossing, prime your cabinets with a high-quality primer. This will help the paint stick and last without the need for sanding. Step 4: Choose Your Paint Select a high-quality paint that is specifically designed for cabinets and doesn't require sanding. Satin or semi-gloss finishes are best for kitchen cabinets. Step 5: Paint the Cabinets Use a brush or roller to apply the paint in thin, even coats. Be sure to paint in the direction of the wood grain for a smooth finish. You may need to apply multiple coats for full coverage. Step 6: Let the Paint Dry Allow the paint to fully dry before adding a protective coat and reinstalling hardware.How to Paint Kitchen Cabinets Without Sanding


How to Paint Kitchen Cabinets Without Sanding


/cdn.vox-cdn.com/uploads/chorus_image/image/66181129/iStock_1152705690.7.jpg)
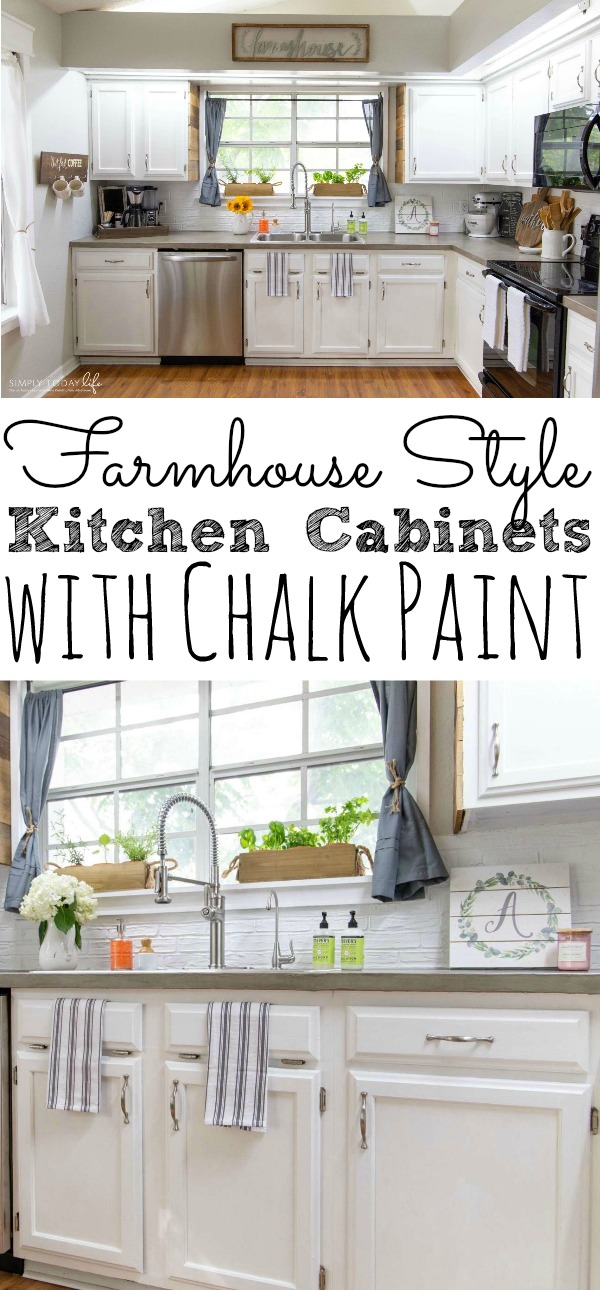
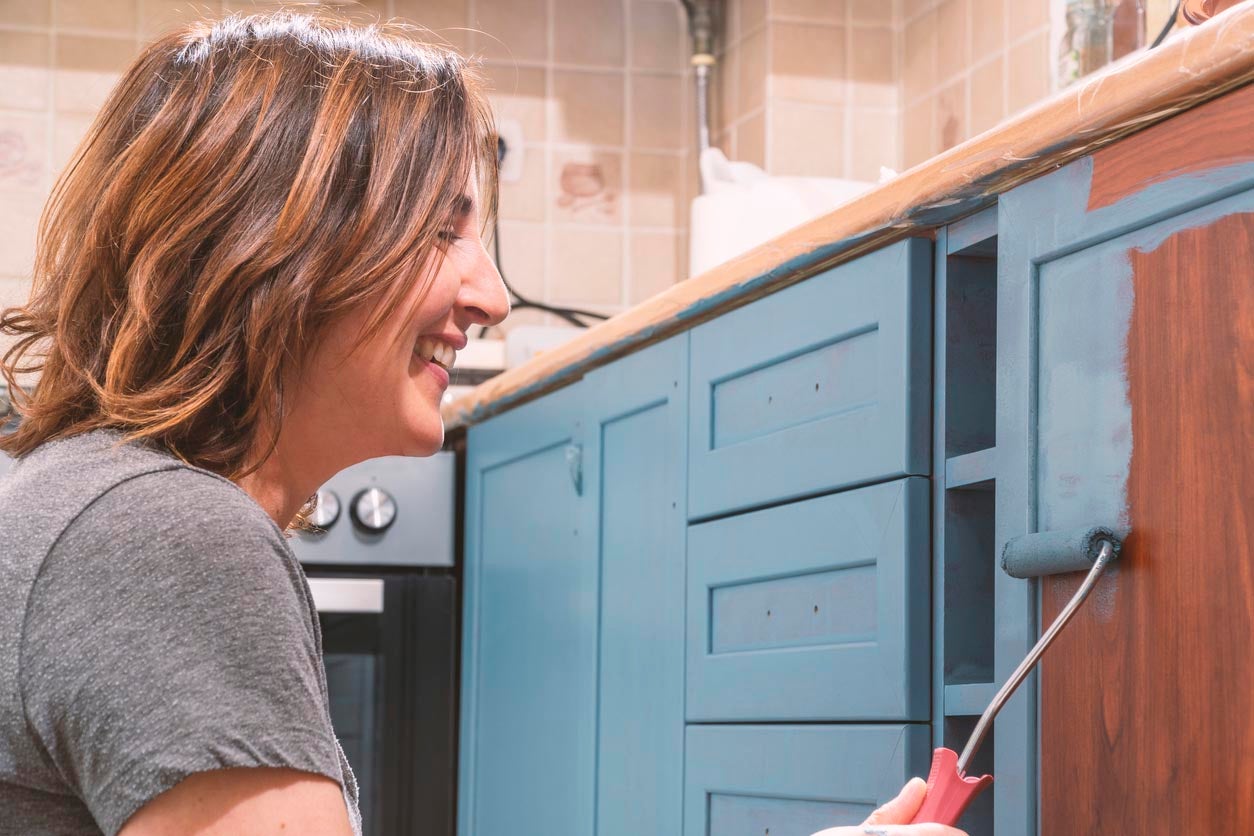
If you want your kitchen cabinets to look like they were professionally painted, follow these tips: Tip 1: Use a Good Quality Paintbrush The type of paintbrush you use can make a big difference in the final result. Invest in a high-quality brush for a smoother finish and fewer brushstrokes. Tip 2: Don't Rush Take your time and don't rush through the painting process. This will ensure a professional-looking finish and prevent mistakes. Tip 3: Use Light Coats When painting cabinets, it's better to use light coats and build up the coverage gradually. This will prevent drips and create a smoother finish. Tip 4: Use a Paint Sprayer If you have a lot of cabinets to paint, consider using a paint sprayer for a more even and efficient application.How to Paint Kitchen Cabinets Like a Pro


How to Paint Kitchen Cabinets Like a Pro


For a quick and easy kitchen cabinet painting project, follow these 5 steps: Step 1: Clean and Prep As with any painting project, start by thoroughly cleaning and prepping your cabinets. This will ensure the paint adheres properly. Step 2: Prime the Cabinets Using a high-quality primer, prime your cabinets to create a smooth surface for the paint to stick to. Step 3: Choose Your Paint Select a high-quality paint in the color and finish of your choice. Satin or semi-gloss finishes are best for kitchen cabinets. Step 4: Paint the Cabinets Using a brush or roller, apply the paint in thin, even coats. Be sure to follow the wood grain for a smooth finish. Step 5: Let the Paint Dry Allow the paint to fully dry before adding a protective coat and reinstalling hardware.How to Paint Kitchen Cabinets in 5 Easy Steps
/DesignedbyEmilyHendersonDesign_PhotobySaraTramp_33-468a90bab29049818c24ab5eee4bdfc1.jpg)

How to Paint Kitchen Cabinets in 5 Easy Steps


If you're new to painting and need a step-by-step guide, here's how to paint your kitchen cabinets: Step 1: Gather Supplies Before starting, make sure you have all the necessary supplies, including paint, primer, brushes, rollers, and protective gear. Step 2: Clean and Prep Thoroughly clean and prep your cabinets by removing all hardware, degreasing, and sanding. Step 3: Prime the Cabinets Use a high-quality primer to create a smooth surface for the paint to adhere to. Step 4: Choose Your Paint Select a high-quality paint in the color and finish of your choice. Satin or semi-gloss finishes are best for kitchen cabinets. Step 5: Paint the Cabinets Using a brush or roller, apply the paint in thin, even coats. Be sure to follow the wood grain for a smooth finish. Step 6: Let the Paint Dry Allow the paint to fully dry before adding a protective coat and reinstalling hardware. Step 7: Add a Protective Coat To protect your newly painted cabinets, add a clear protective coat for a beautiful sheen and added durability. Step 8: Reinstall Hardware Once everything is dry, reinstall your cabinet hardware and enjoy your newly painted kitchen cabinets!How to Paint Kitchen Cabinets: Step-by-Step Guide


How to Paint Kitchen Cabinets: Step-by-Step Guide


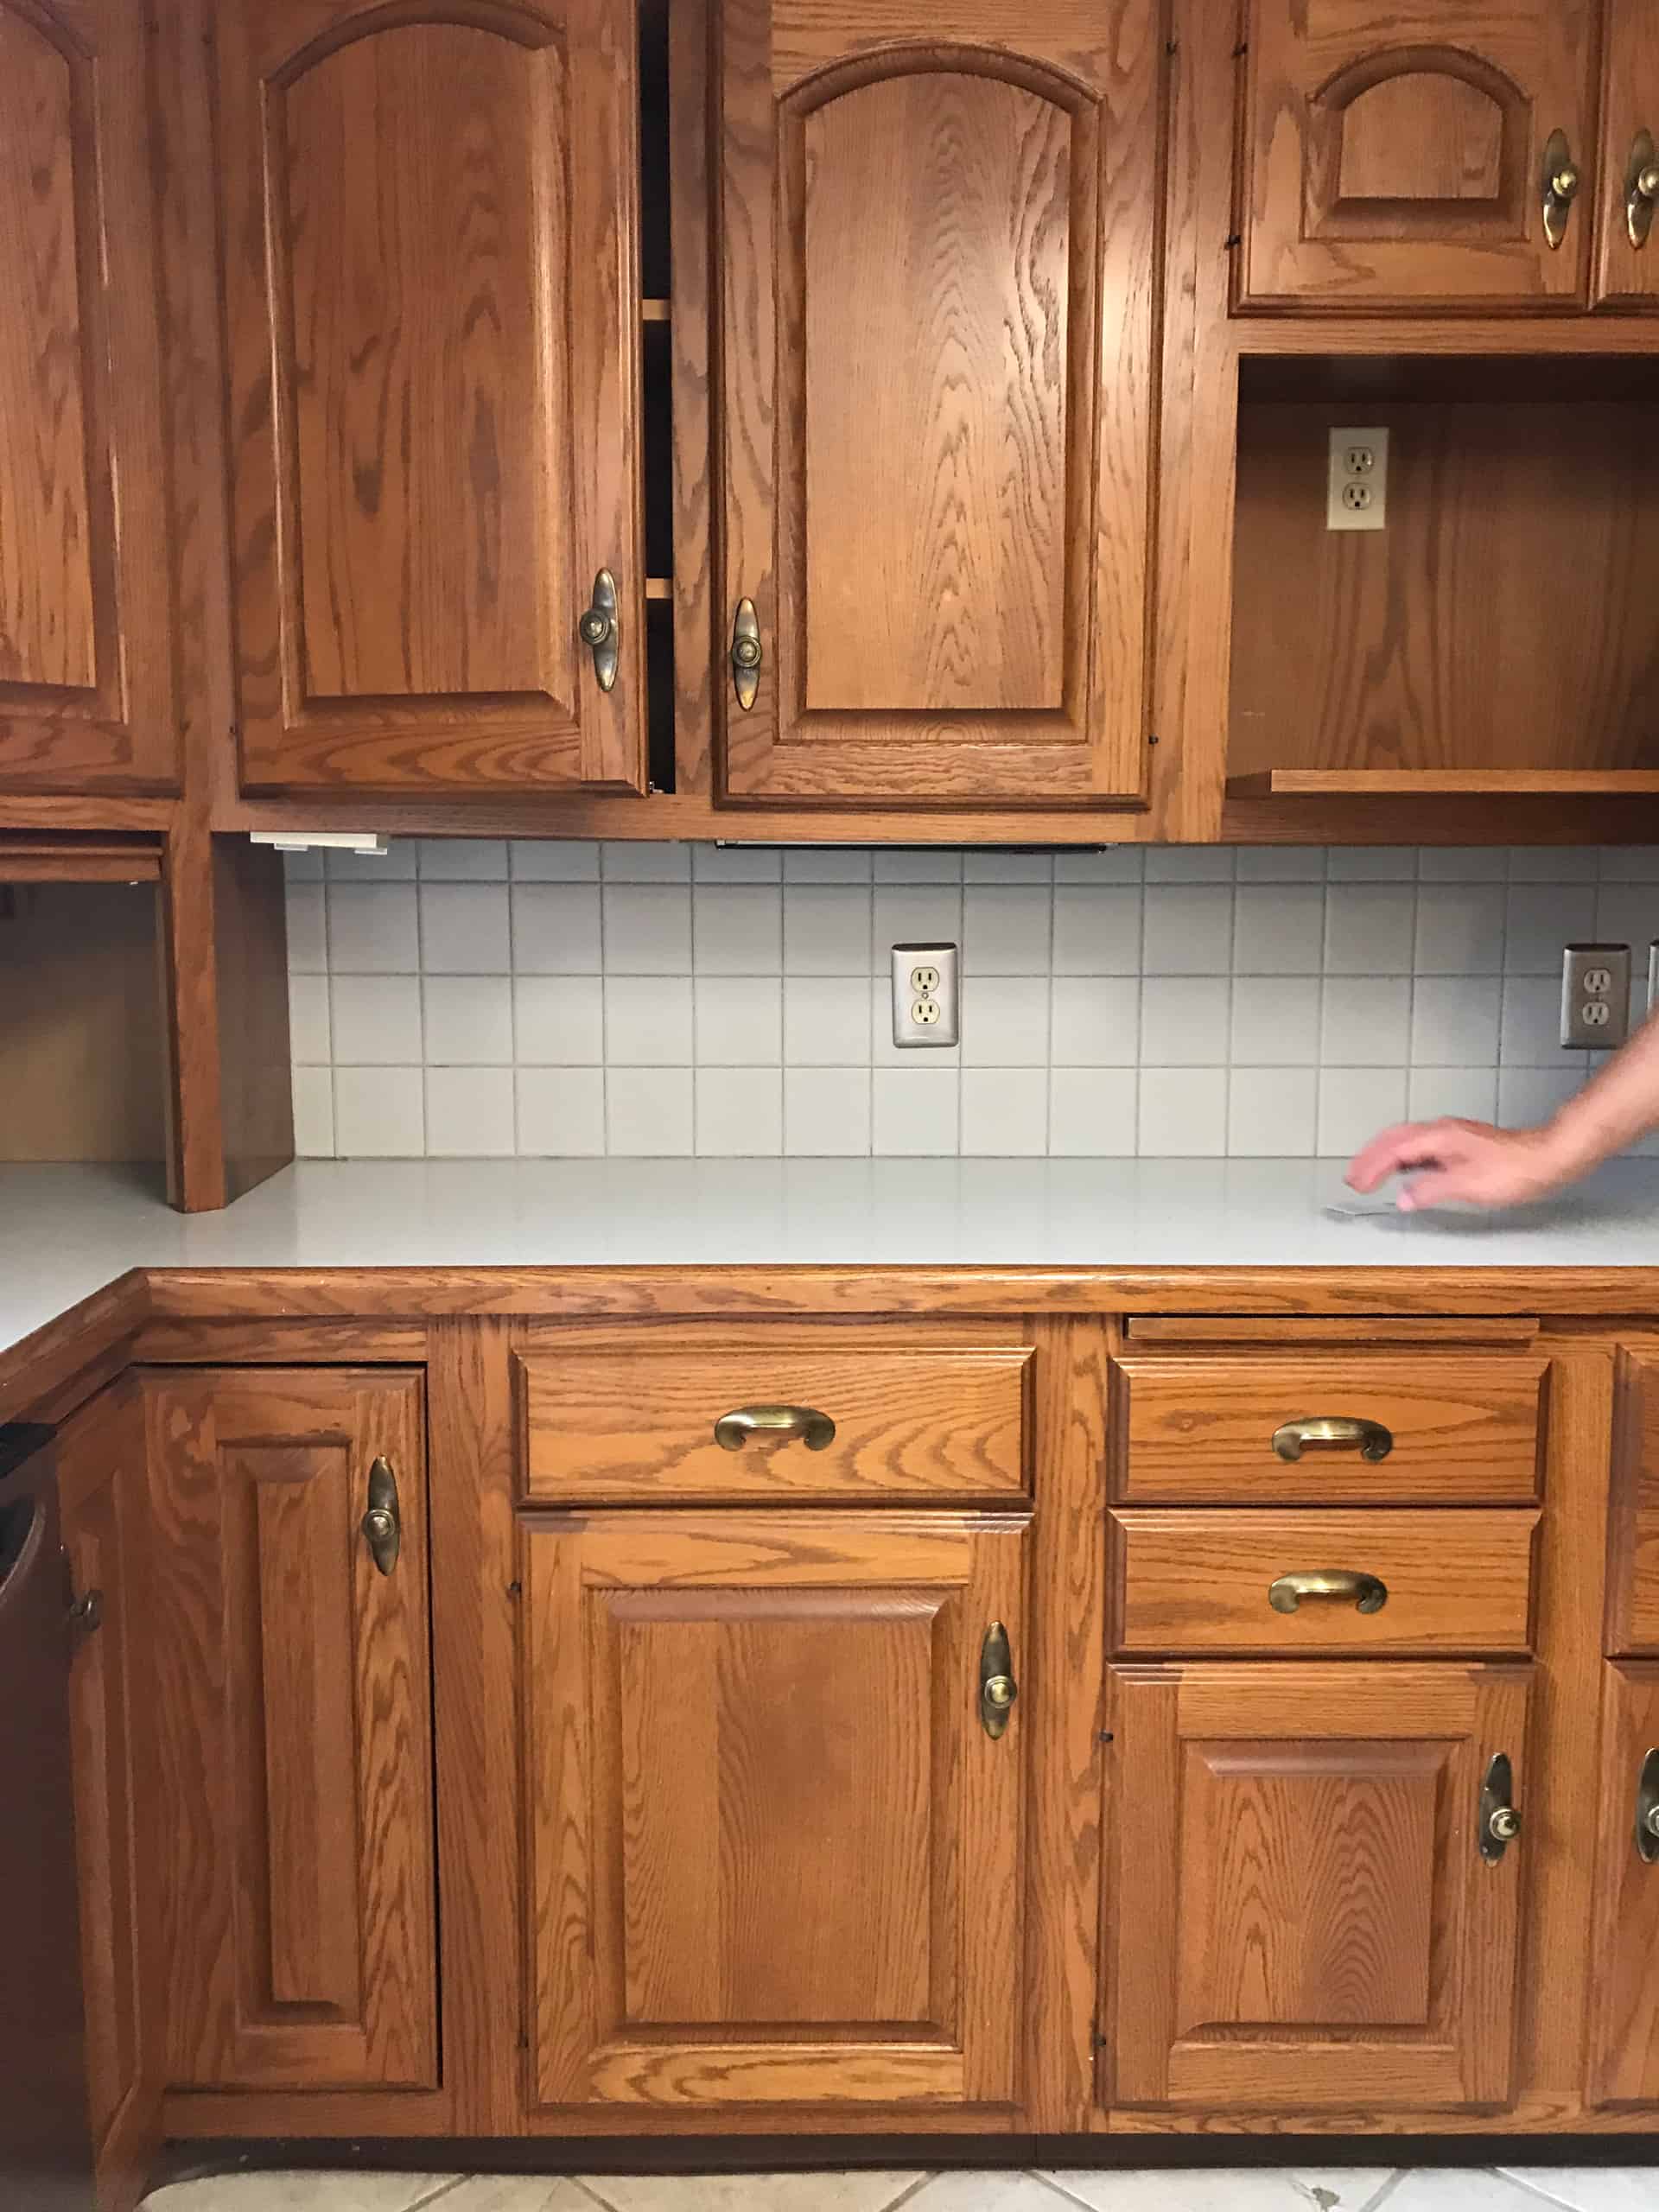
If you're looking for a more detailed guide, follow these 10 easy steps for painting your kitchen cabinets: Step 1: Remove Cabinet Doors and Hardware Take off all cabinet doors and hardware, including handles and hinges, before painting. Step 2: Clean and Degrease Thoroughly clean and degrease your cabinets using a degreasing cleaner. Step 3: Sand the Cabinets Using a fine-grit sandpaper, sand the cabinets to create a smooth surface for the paint to adhere to. Step 4: Wipe Down Cabinets After sanding, use a damp cloth to wipe down the cabinets and remove any dust. Step 5: Prime the Cabinets Using a high-quality primer, prime the cabinets to ensure the paint sticks and lasts. Step 6: Choose Your Paint Select a high-quality paint in the color and finish of your choice. Satin or semi-gloss finishes are best for kitchen cabinets. Step 7: Paint the Cabinets Using a brush or roller, apply the paint in thin, even coats. Be sure to follow the wood grain for a smooth finish. Step 8: Let the Paint Dry Allow the paint to fully dry before adding a second coat and letting it dry again. Step 9: Add a Protective Coat To protect your newly painted cabinets, add a clear protective coat for a beautiful sheen and added durability. Step 10: Reinstall Doors and Hardware Once everything is dry, reinstall your cabinet doors and hardware and enjoy your newly painted kitchen cabinets!How to Paint Kitchen Cabinets in 10 Easy Steps

How to Paint Kitchen Cabinets in 10 Easy Steps

If you're new to painting and feeling overwhelmed, don't worry! Follow this beginner's guide for painting your kitchen cabinets: Step 1: Gather Supplies Before starting, make sure you have all the necessary supplies, including paint, primer, brushes, rollers, and protective gear. Step 2: Clean and Prep Thoroughly clean and prep your cabinets by removing all hardware, degreasing, and sanding. Step 3: Prime the Cabinets Use a high-quality primer to create a smooth surface for the paint to adhere to. Step 4: Choose Your Paint Select a high-quality paint in the color and finish of your choice. Satin or semi-gloss finishes are best for kitchen cabinets. Step 5: Paint the Cabinets Using a brush or roller, apply the paint in thin, even coats. Be sure to follow the wood grain for a smooth finish. Step 6: Let the Paint Dry Allow the paint to fully dry before adding a protective coat and reinstalling hardware. Step 7: Add a Protective Coat To protect your newly painted cabinets, add a clear protective coat for a beautiful sheen and added durability. Step 8: Reinstall Hardware Once everything is dry, reinstall your cabinet hardware and enjoy your newly painted kitchen cabinets!How to Paint Kitchen Cabinets: A Beginner's Guide
How to Paint Kitchen Cabinets: A Beginner's Guide

For a successful kitchen cabinet painting project, here are some helpful tips and tricks: Tip 1: Label Cabinet Doors and Hardware Before removing cabinet doors and hardware, label them to make it easier to reinstall them in the right place. Tip 2: Use a Tack Cloth After sanding, use a tack cloth to remove any dust or debris from the cabinets before painting. Tip 3: Work in a Well-Ventilated Area Make sure you have good ventilation when painting to avoid inhaling fumes. Tip 4: Keep a Damp Cloth Handy Have a damp cloth on hand to quickly wipe up any mistakes or drips. Tip 5: Use a Paint Sprayer for a Professional Finish If you have a lot of cabinets to paint, consider using a paint sprayer for a more even and efficient application.How to Paint Kitchen Cabinets: Tips and Tricks

How to Paint Kitchen Cabinets: Tips and Tricks


For the ultimate guide to painting kitchen cabinets, follow these steps:How to Paint Kitchen Cabinets: The Ultimate Guide


How to Paint Kitchen Cabinets: The Ultimate Guide

Transform Your Kitchen with a Fresh Coat of Paint

Why Painting Around Your Kitchen Cabinets Can Make a Big Impact
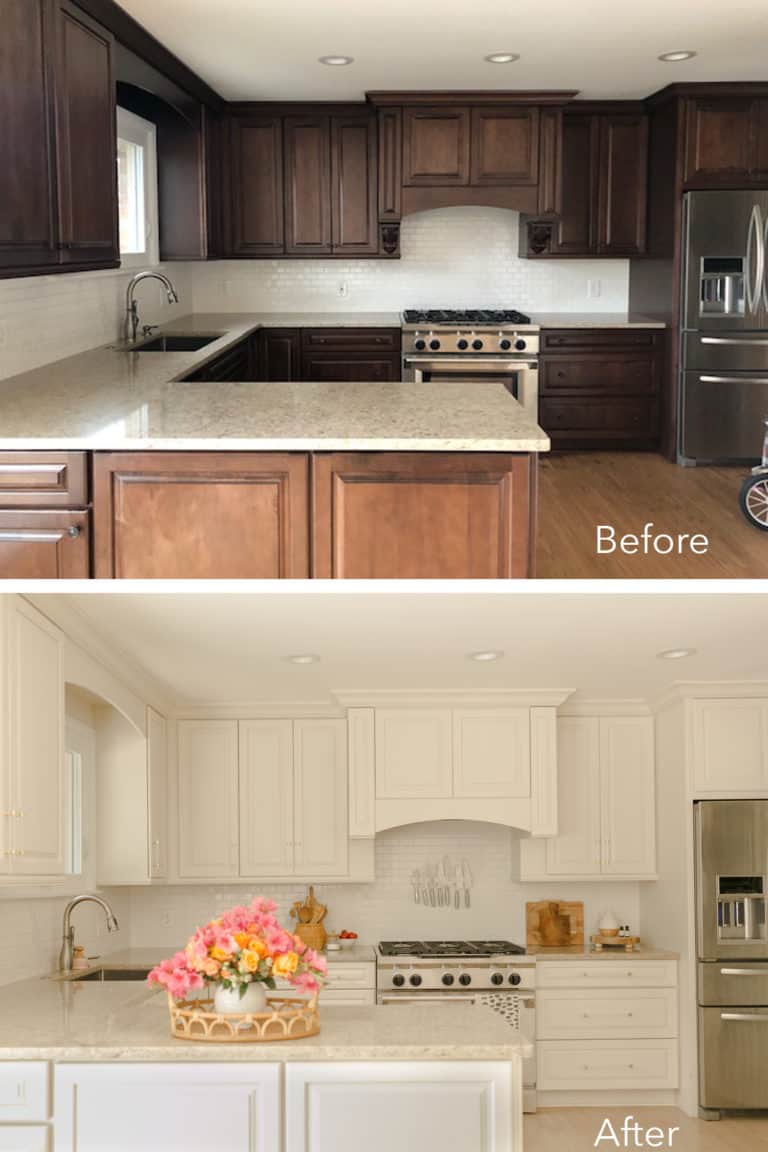
 When it comes to updating the look of your kitchen, many homeowners immediately think of replacing or refacing their cabinets. However, this can be a costly and time-consuming task. If you're looking for a more budget-friendly and efficient way to give your kitchen a new look, consider painting the walls around your cabinets. Not only is this a simple and cost-effective solution, but it can also make a big impact on the overall design of your kitchen.
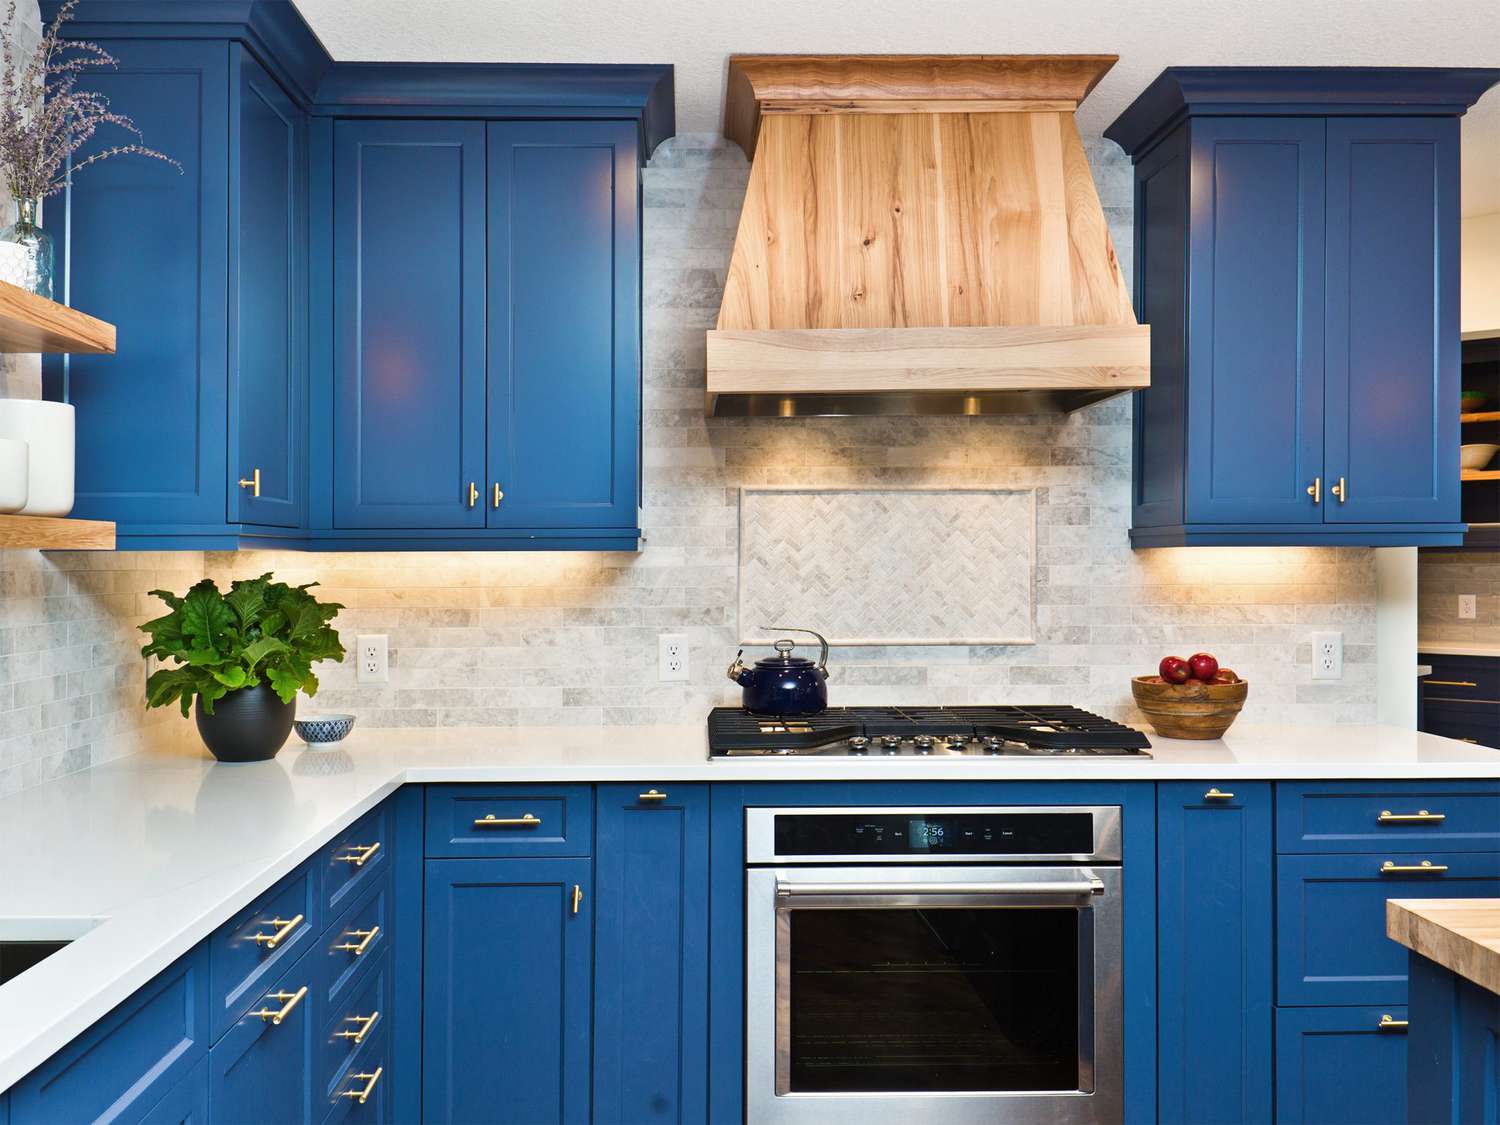
Enhance Your Cabinet Color
Painting the walls around your cabinets can help enhance the color of your cabinets. Whether you have wood cabinets that can be complemented by a warm, neutral color or white cabinets that can be made to pop with a bold, contrasting color, painting the walls around your cabinets can bring new life to your kitchen. This is especially beneficial if you're working with older cabinets that may have faded or lost their luster over time.
Create a Cohesive Look
If you have a mix of different cabinet styles in your kitchen, painting the walls around them can help create a cohesive look. By using the same color on the walls, it can tie all of the cabinets together and make them look like they were meant to be together. This is also a great way to hide any mismatched or dated cabinets, making your kitchen look more modern and put-together.
Add Depth and Dimension
Painting the walls around your cabinets can also add depth and dimension to your kitchen. By using a darker color on the walls, it can create a contrast that makes the cabinets stand out and gives the illusion of a larger space. On the other hand, using a lighter color can create a sense of openness and make your kitchen feel brighter and more spacious.
Express Your Style
Lastly, painting the walls around your kitchen cabinets gives you the opportunity to express your personal style. Whether you want a bold and colorful kitchen or a more subtle and calming space, the walls around your cabinets can serve as a canvas for you to showcase your unique design aesthetic. You can even use different techniques, such as stenciling or creating an accent wall, to add even more personality to your kitchen.
In conclusion, painting the walls around your kitchen cabinets is a simple and budget-friendly way to transform the look of your kitchen. With the right color choice, you can enhance your cabinets, create a cohesive look, add depth and dimension, and express your personal style. So, before you consider replacing or refacing your cabinets, give painting a try and see the big impact it can make in your kitchen.
When it comes to updating the look of your kitchen, many homeowners immediately think of replacing or refacing their cabinets. However, this can be a costly and time-consuming task. If you're looking for a more budget-friendly and efficient way to give your kitchen a new look, consider painting the walls around your cabinets. Not only is this a simple and cost-effective solution, but it can also make a big impact on the overall design of your kitchen.
Enhance Your Cabinet Color
Painting the walls around your cabinets can help enhance the color of your cabinets. Whether you have wood cabinets that can be complemented by a warm, neutral color or white cabinets that can be made to pop with a bold, contrasting color, painting the walls around your cabinets can bring new life to your kitchen. This is especially beneficial if you're working with older cabinets that may have faded or lost their luster over time.
Create a Cohesive Look
If you have a mix of different cabinet styles in your kitchen, painting the walls around them can help create a cohesive look. By using the same color on the walls, it can tie all of the cabinets together and make them look like they were meant to be together. This is also a great way to hide any mismatched or dated cabinets, making your kitchen look more modern and put-together.
Add Depth and Dimension
Painting the walls around your cabinets can also add depth and dimension to your kitchen. By using a darker color on the walls, it can create a contrast that makes the cabinets stand out and gives the illusion of a larger space. On the other hand, using a lighter color can create a sense of openness and make your kitchen feel brighter and more spacious.
Express Your Style
Lastly, painting the walls around your kitchen cabinets gives you the opportunity to express your personal style. Whether you want a bold and colorful kitchen or a more subtle and calming space, the walls around your cabinets can serve as a canvas for you to showcase your unique design aesthetic. You can even use different techniques, such as stenciling or creating an accent wall, to add even more personality to your kitchen.
In conclusion, painting the walls around your kitchen cabinets is a simple and budget-friendly way to transform the look of your kitchen. With the right color choice, you can enhance your cabinets, create a cohesive look, add depth and dimension, and express your personal style. So, before you consider replacing or refacing your cabinets, give painting a try and see the big impact it can make in your kitchen.