Are you tired of looking at your old, worn-out kitchen sink faucet? Instead of replacing it, why not give it a fresh new look with some paint? Painting your kitchen sink faucet is a simple and budget-friendly way to upgrade your kitchen without breaking the bank. In this tutorial, we'll show you how to paint your kitchen sink faucet in just a few easy steps.1. How to Paint a Kitchen Sink Faucet


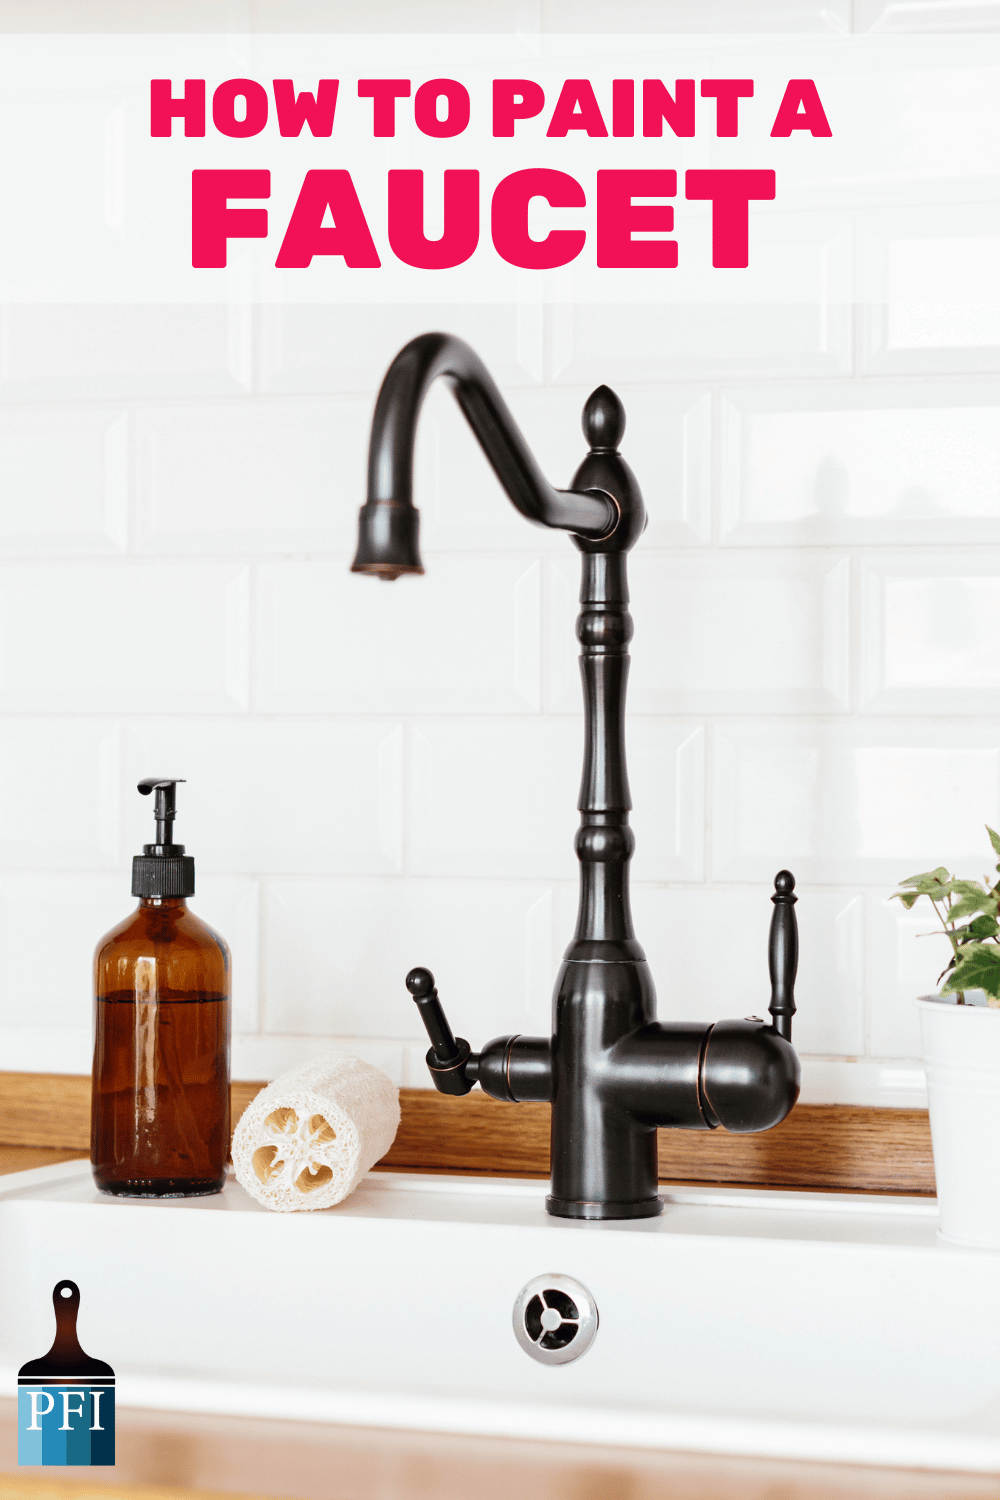
1. How to Paint a Kitchen Sink Faucet


If you're the type of person who loves taking on DIY projects, then painting your kitchen sink faucet is the perfect project for you. Not only will it give your kitchen a new and improved look, but it's also a fun and creative way to express your personal style. In this tutorial, we'll guide you through the process of painting your kitchen sink faucet from start to finish.2. DIY Kitchen Sink Faucet Painting Tutorial


2. DIY Kitchen Sink Faucet Painting Tutorial


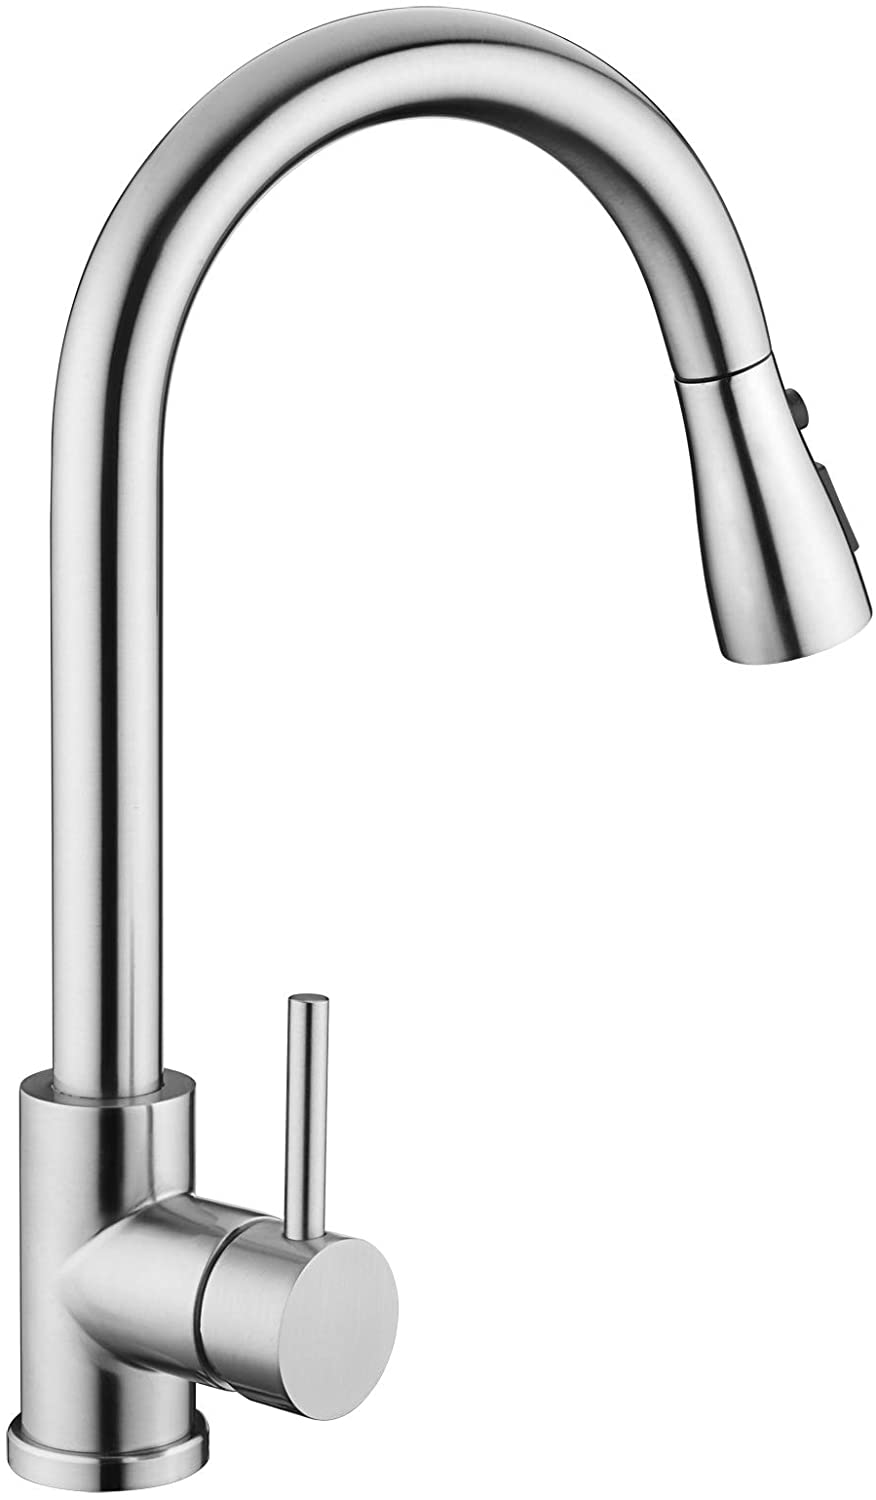
When it comes to painting your kitchen sink faucet, it's important to choose the right type of paint. Since faucets are constantly exposed to water and other liquids, you'll need a paint that can withstand this type of environment. The best paint for kitchen sink faucets is a high-quality enamel paint. Look for a paint that is specifically designed for metal surfaces and is water-resistant.3. Best Paint for Kitchen Sink Faucets


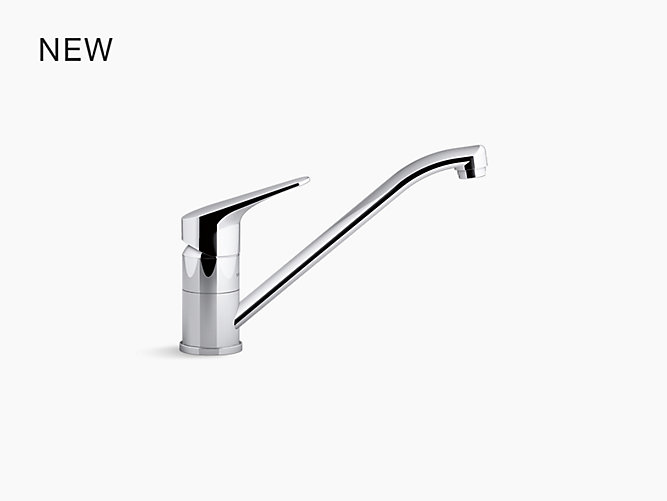
3. Best Paint for Kitchen Sink Faucets


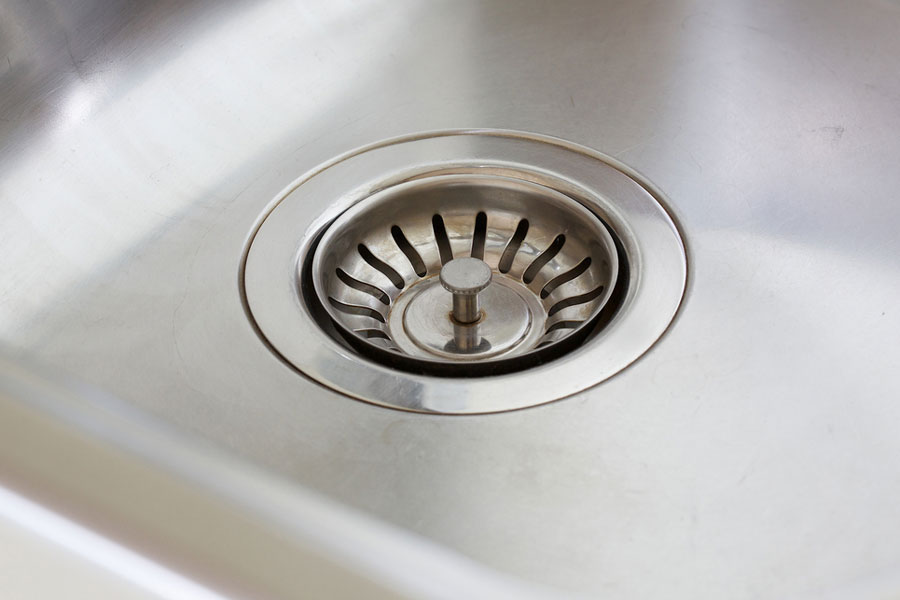
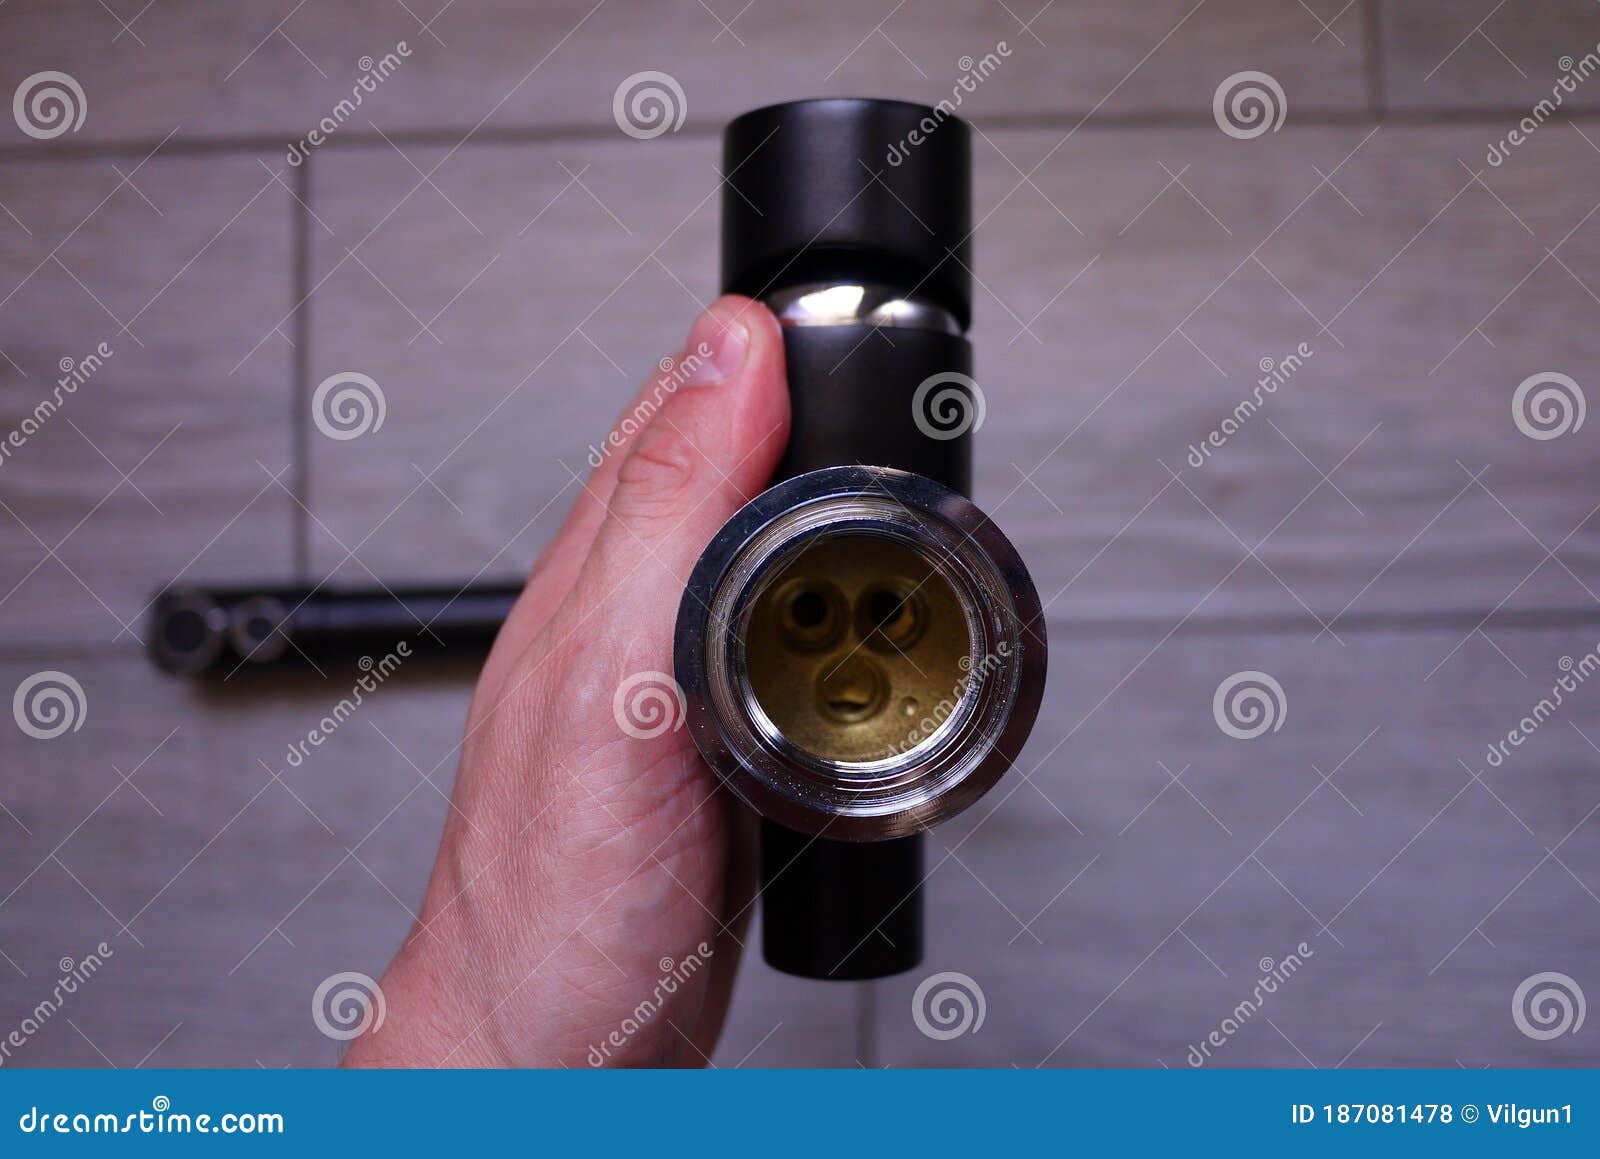
Before you start painting your kitchen sink faucet, there are a few things you should keep in mind to ensure a successful outcome. First, make sure to thoroughly clean your faucet with a degreaser and rinse it with water. This will help the paint adhere better to the surface. Additionally, make sure to cover any areas you don't want to get paint on, such as the sink and surrounding countertops.4. Tips for Painting a Kitchen Sink Faucet

4. Tips for Painting a Kitchen Sink Faucet
:max_bytes(150000):strip_icc()/utility-sink-faucet-2718831-hero-85feab9ab9fc4c8498483e418fd8c82c.jpg)
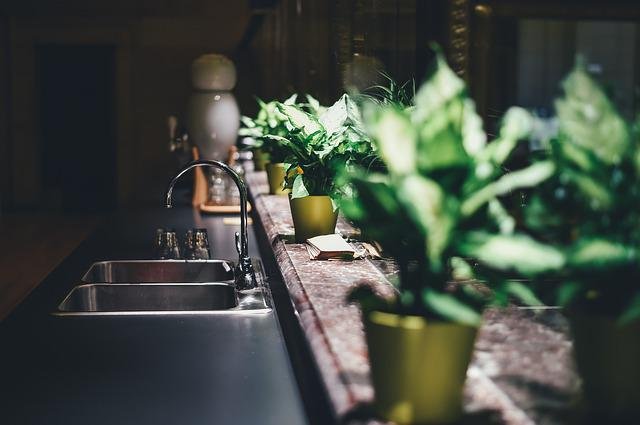
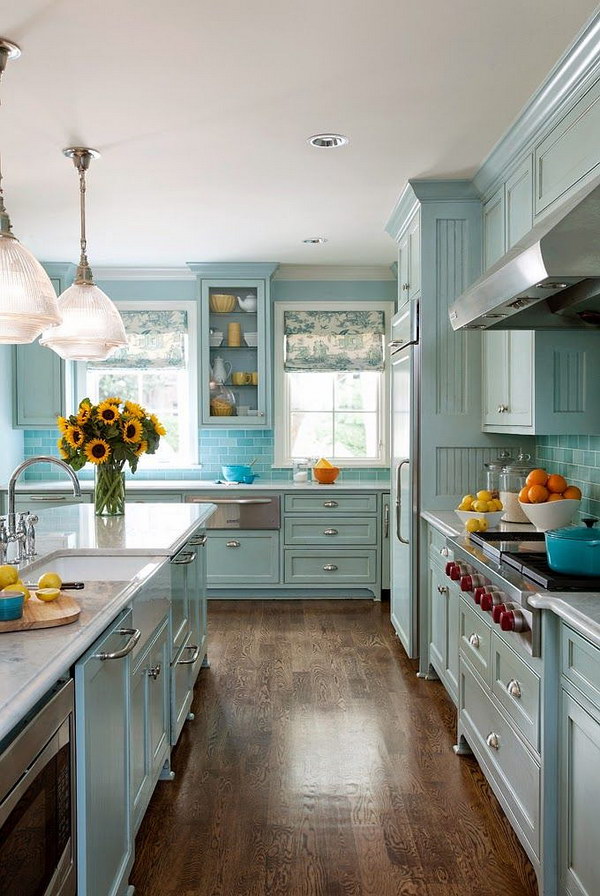
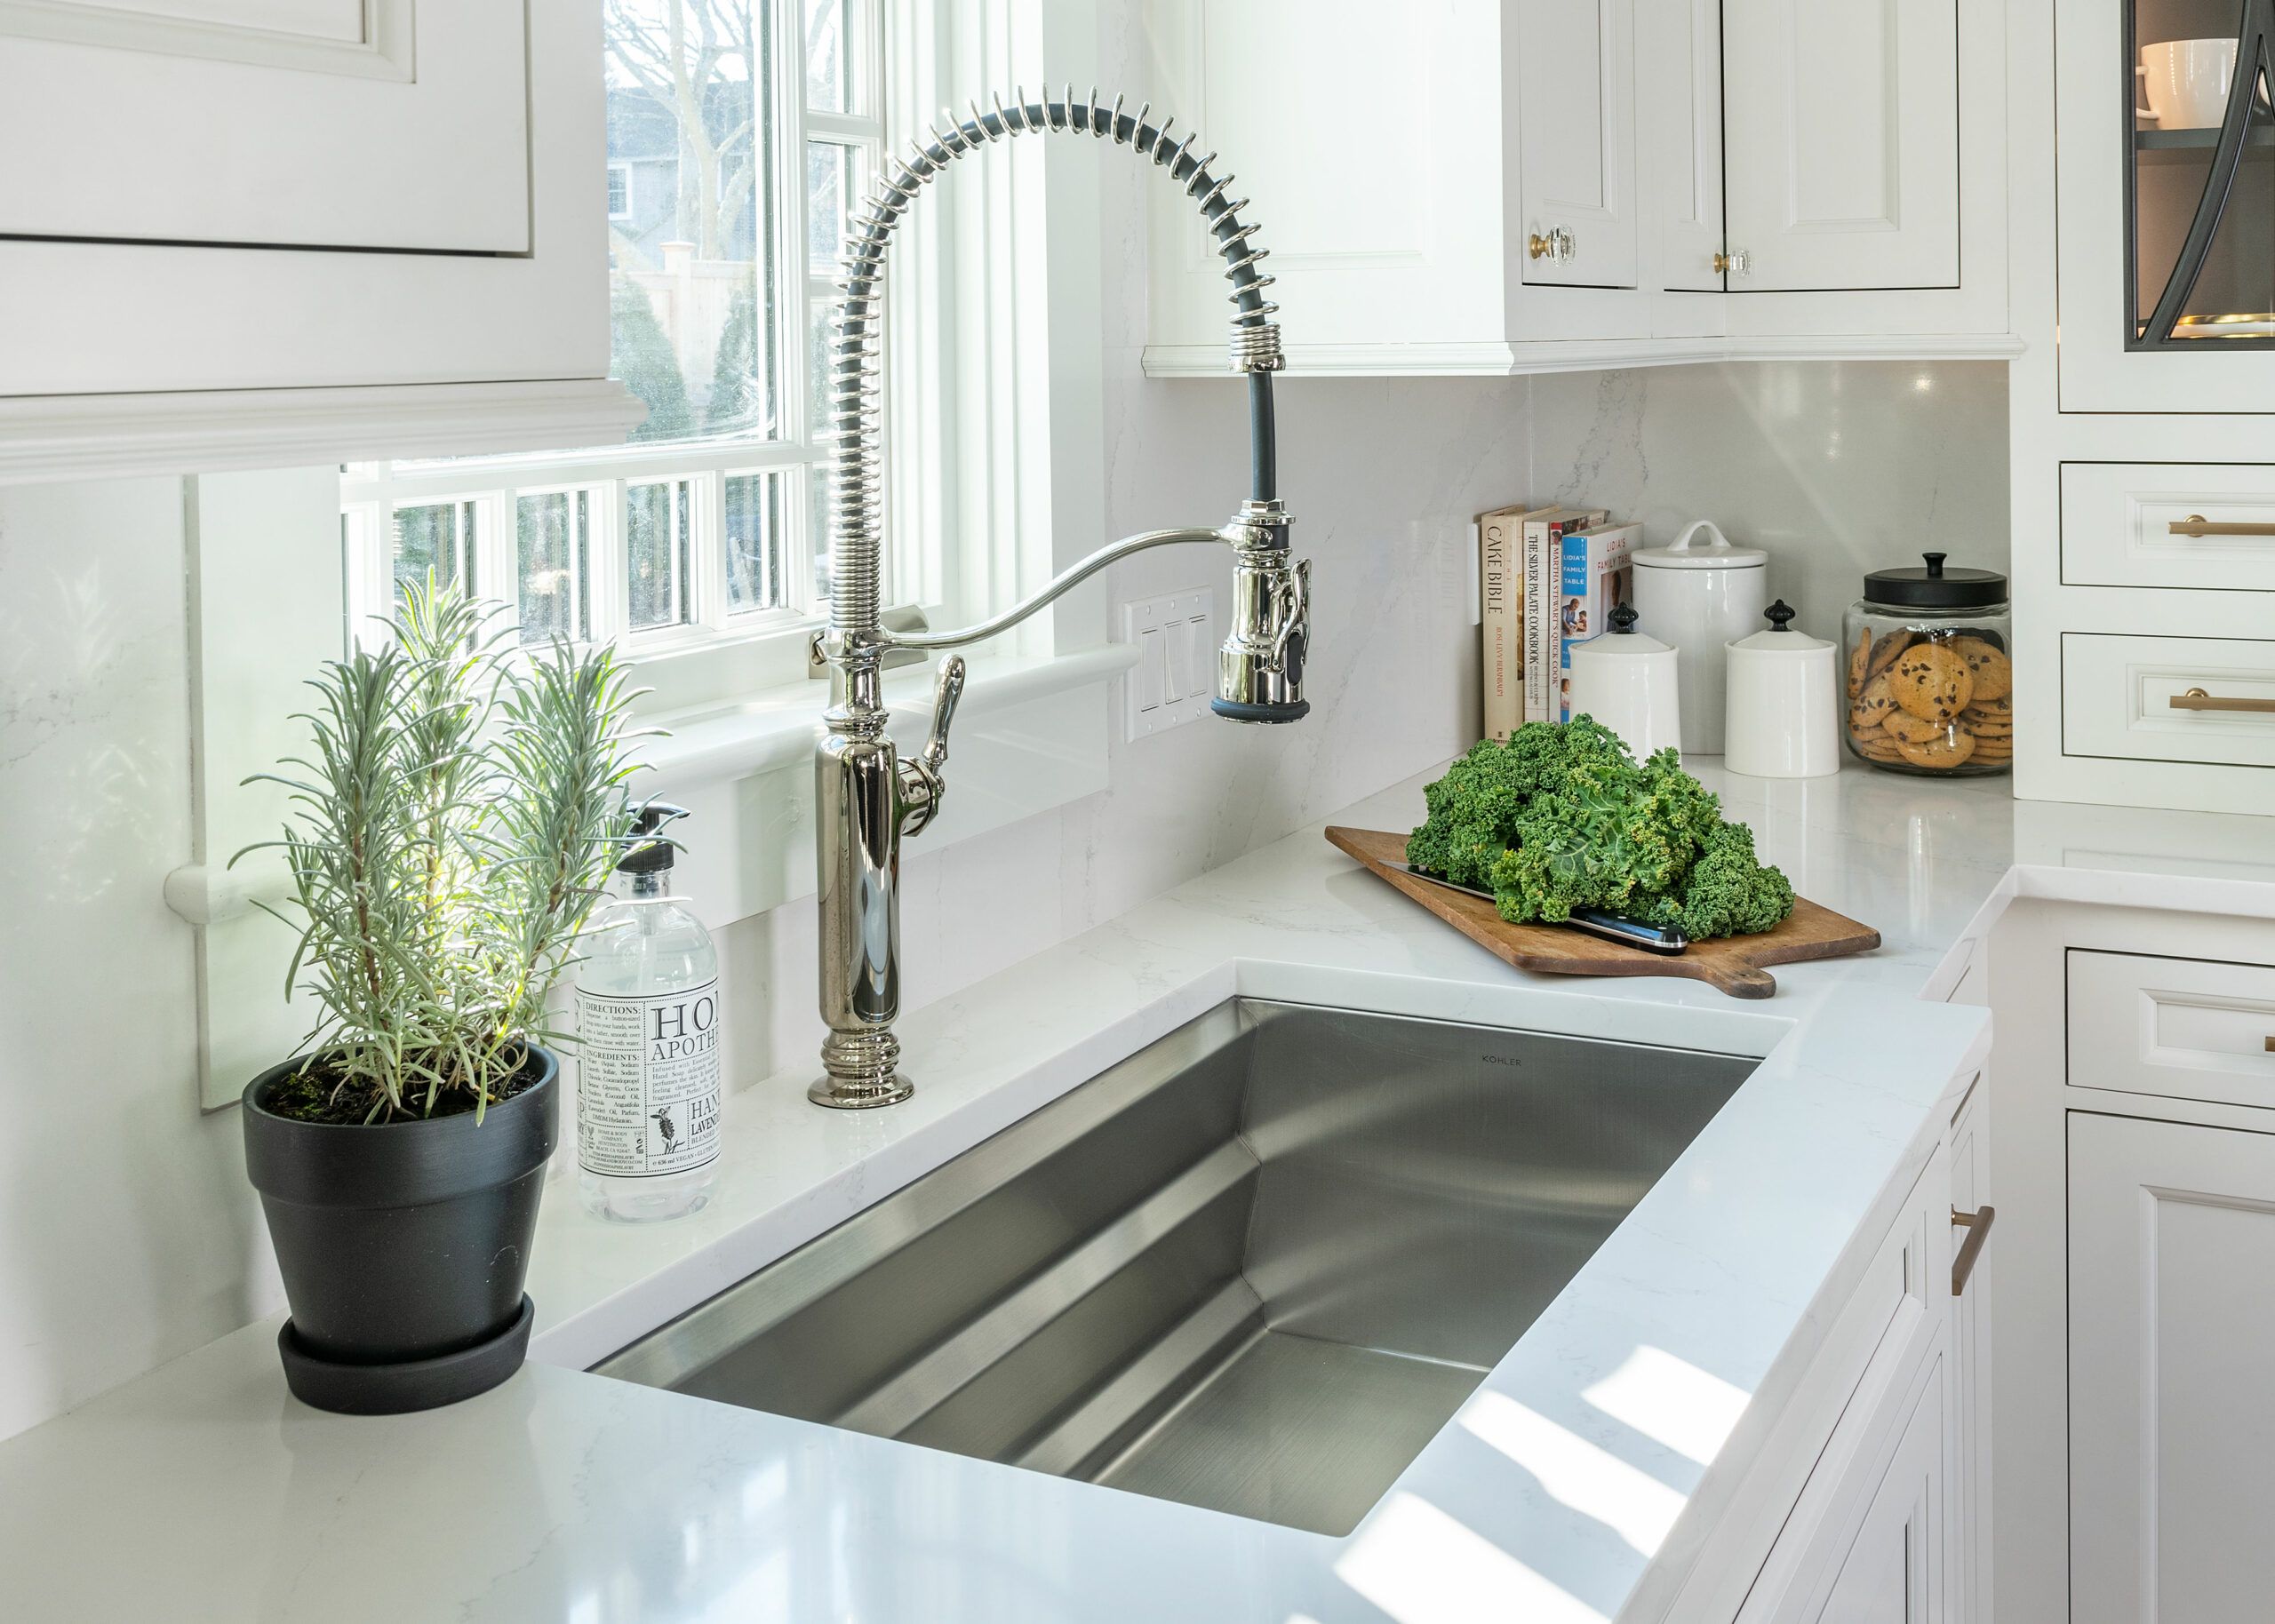
One of the best things about painting your kitchen sink faucet is the transformation it can bring to your entire kitchen. By choosing a bold and vibrant color, you can add a pop of color and personality to your kitchen. Alternatively, a neutral color can give your kitchen a modern and elegant look. Whichever color you choose, a painted sink faucet can completely change the look and feel of your kitchen.5. Transform Your Kitchen with a Painted Sink Faucet


5. Transform Your Kitchen with a Painted Sink Faucet


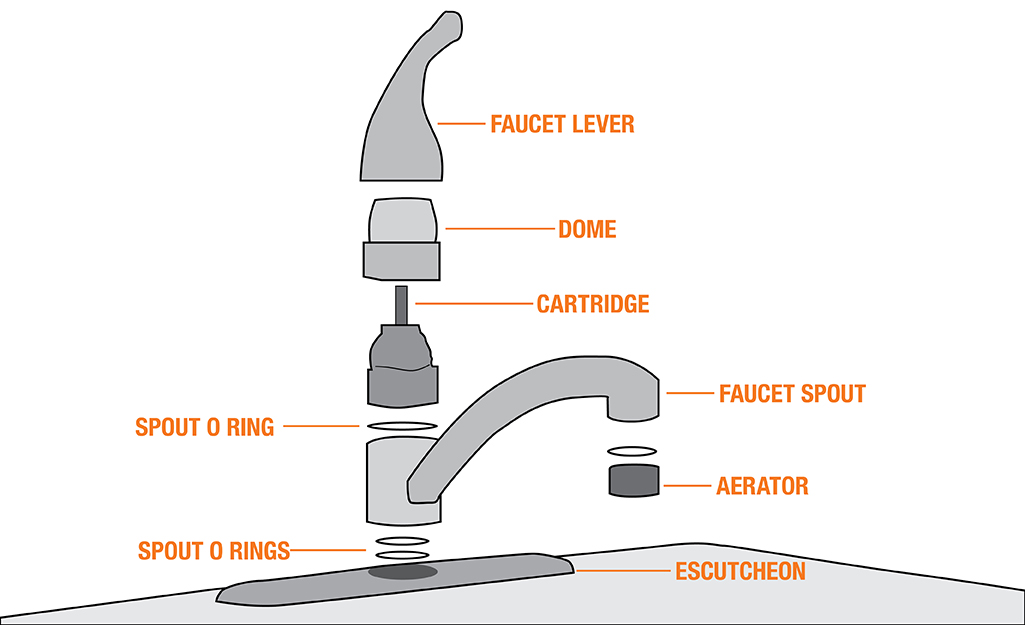


Now let's get into the nitty-gritty of how to actually paint your kitchen sink faucet. Follow these simple steps for a successful painting project: Step 1: Gather your materials. You will need a high-quality enamel paint, a paintbrush, painter's tape, degreaser, and a clean cloth. Step 2: Clean the faucet. Use a degreaser to thoroughly clean the faucet and remove any dirt or grime. Rinse with water and dry with a clean cloth. Step 3: Tape off the area. Cover any areas you don't want to get paint on, such as the sink and countertop, with painter's tape. Step 4: Apply the paint. Use a paintbrush to apply the paint evenly on all surfaces of the faucet. You may need to apply multiple coats for full coverage. Let the paint dry completely between coats. Step 5: Remove the tape. Once the paint is dry, carefully remove the painter's tape. Step 6: Let the paint cure. Let the paint cure for at least 24 hours before using your newly painted sink faucet.6. Step-by-Step Guide to Painting a Kitchen Sink Faucet

6. Step-by-Step Guide to Painting a Kitchen Sink Faucet


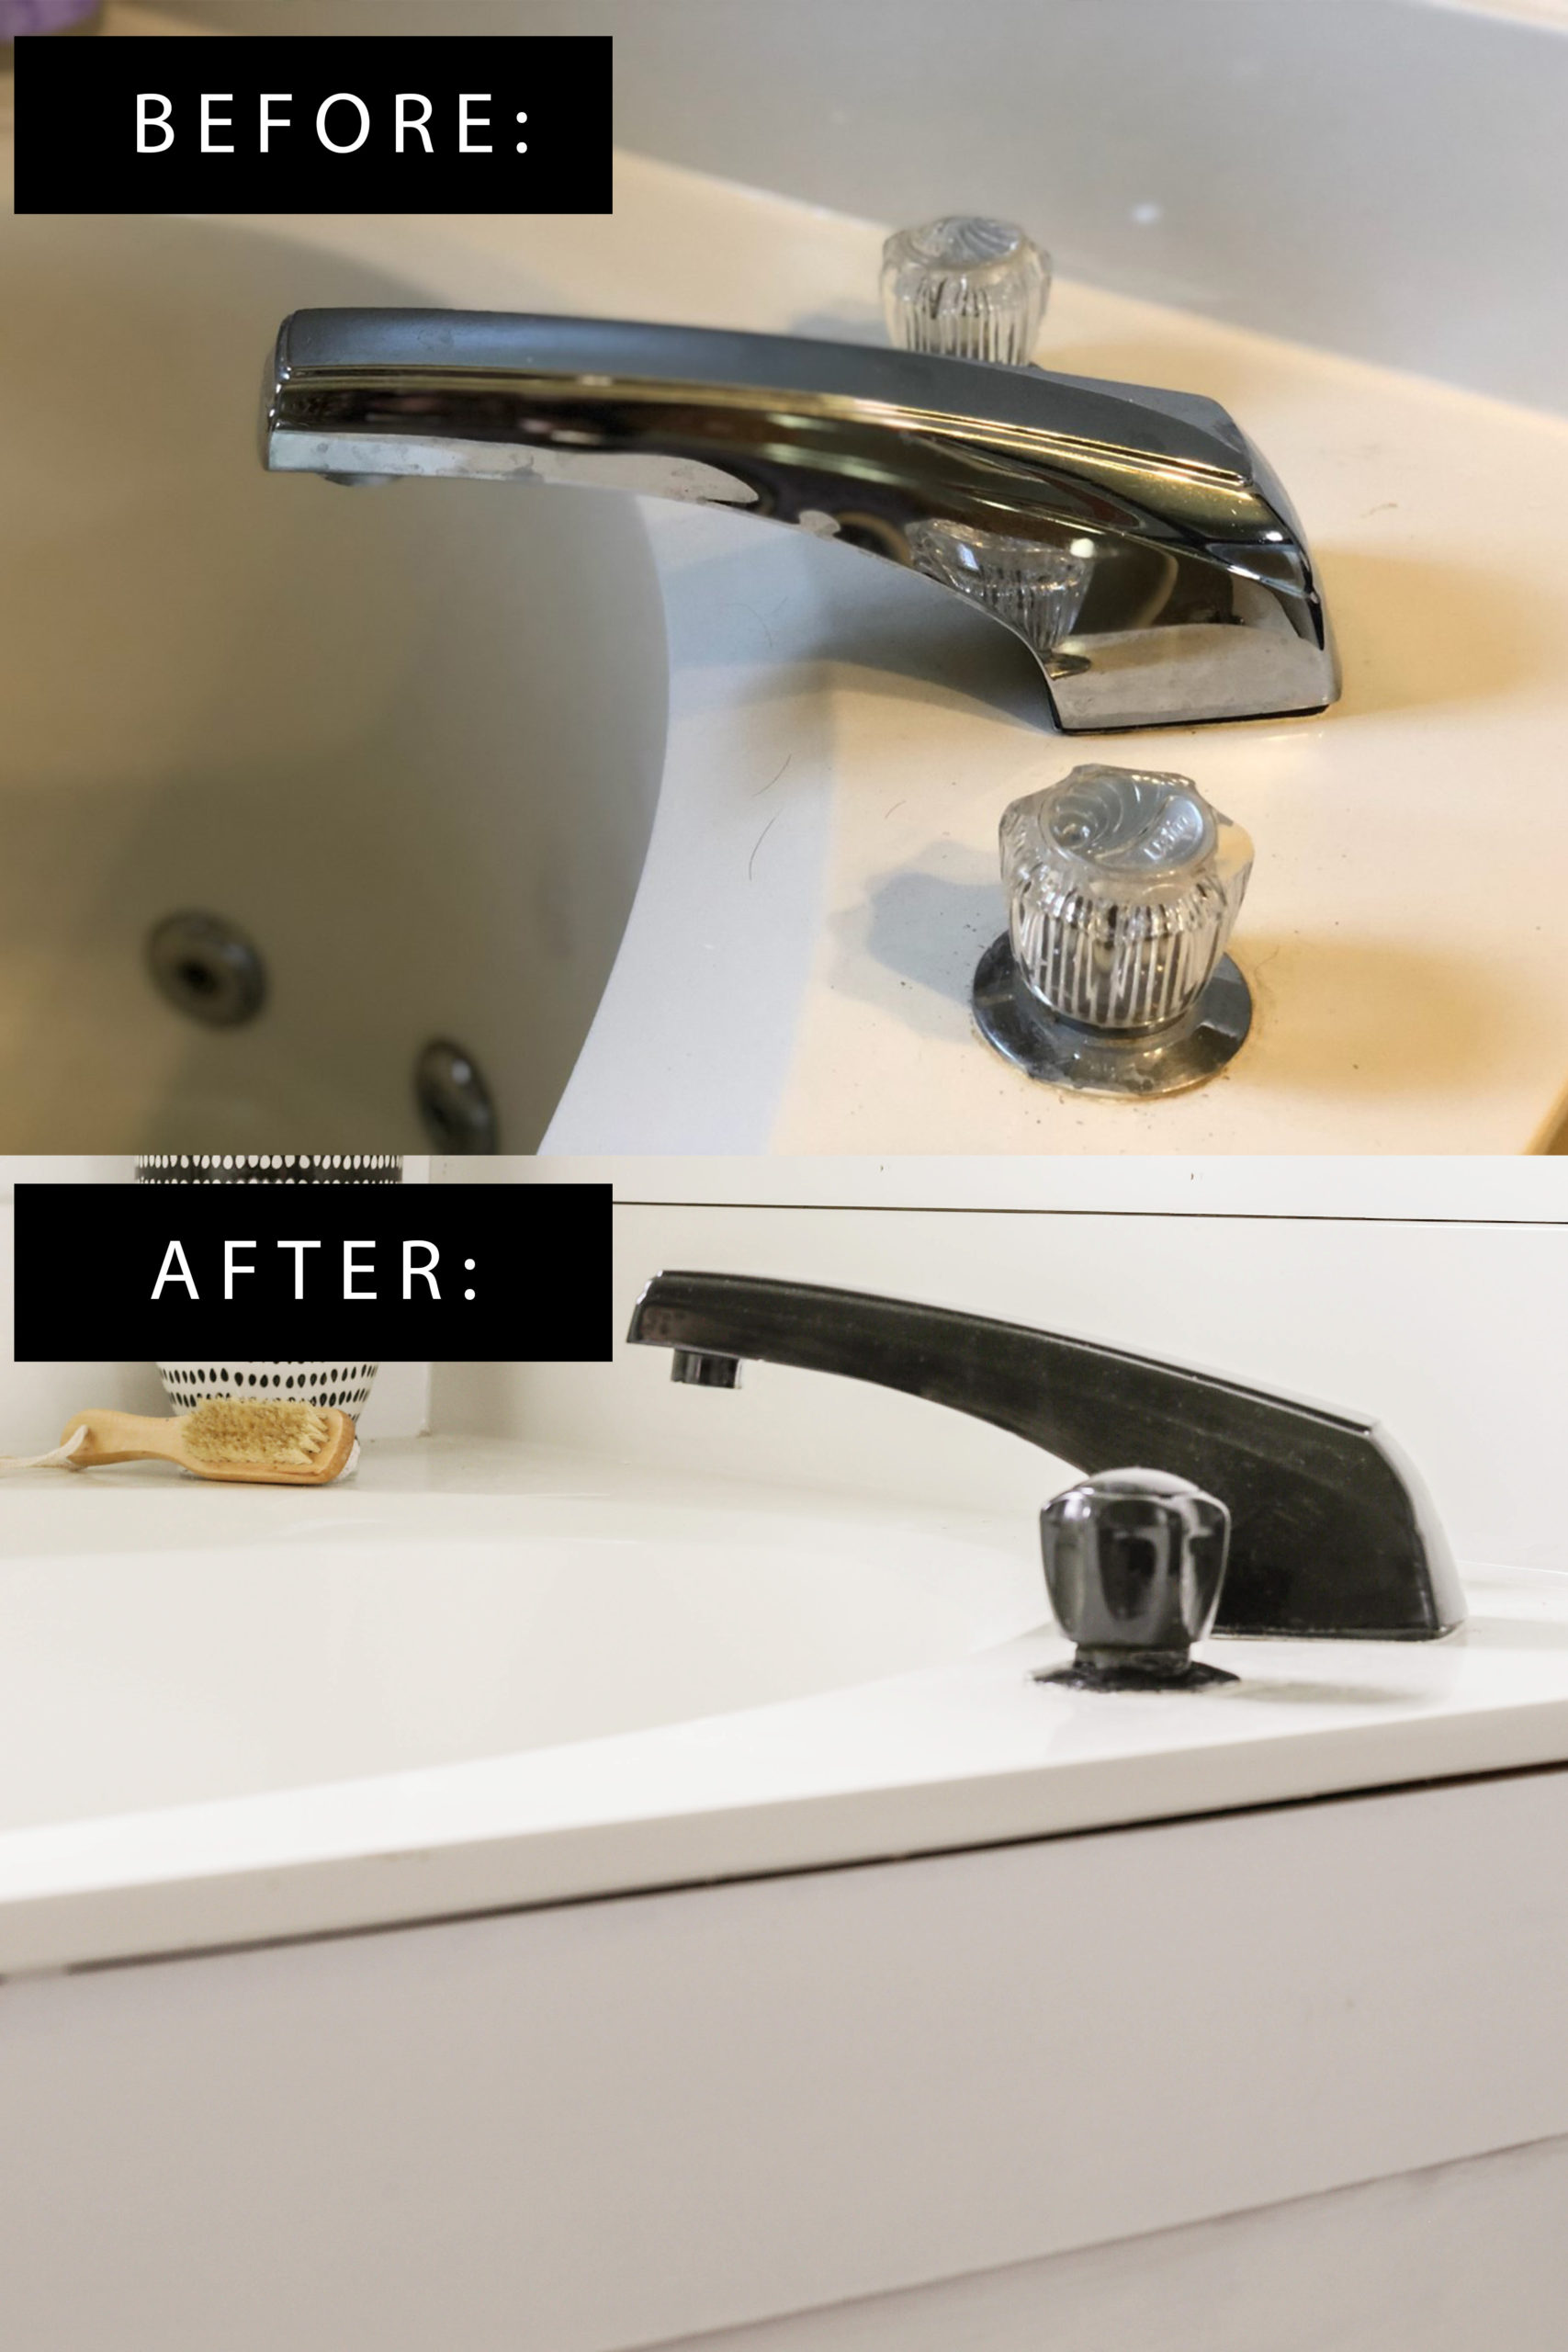
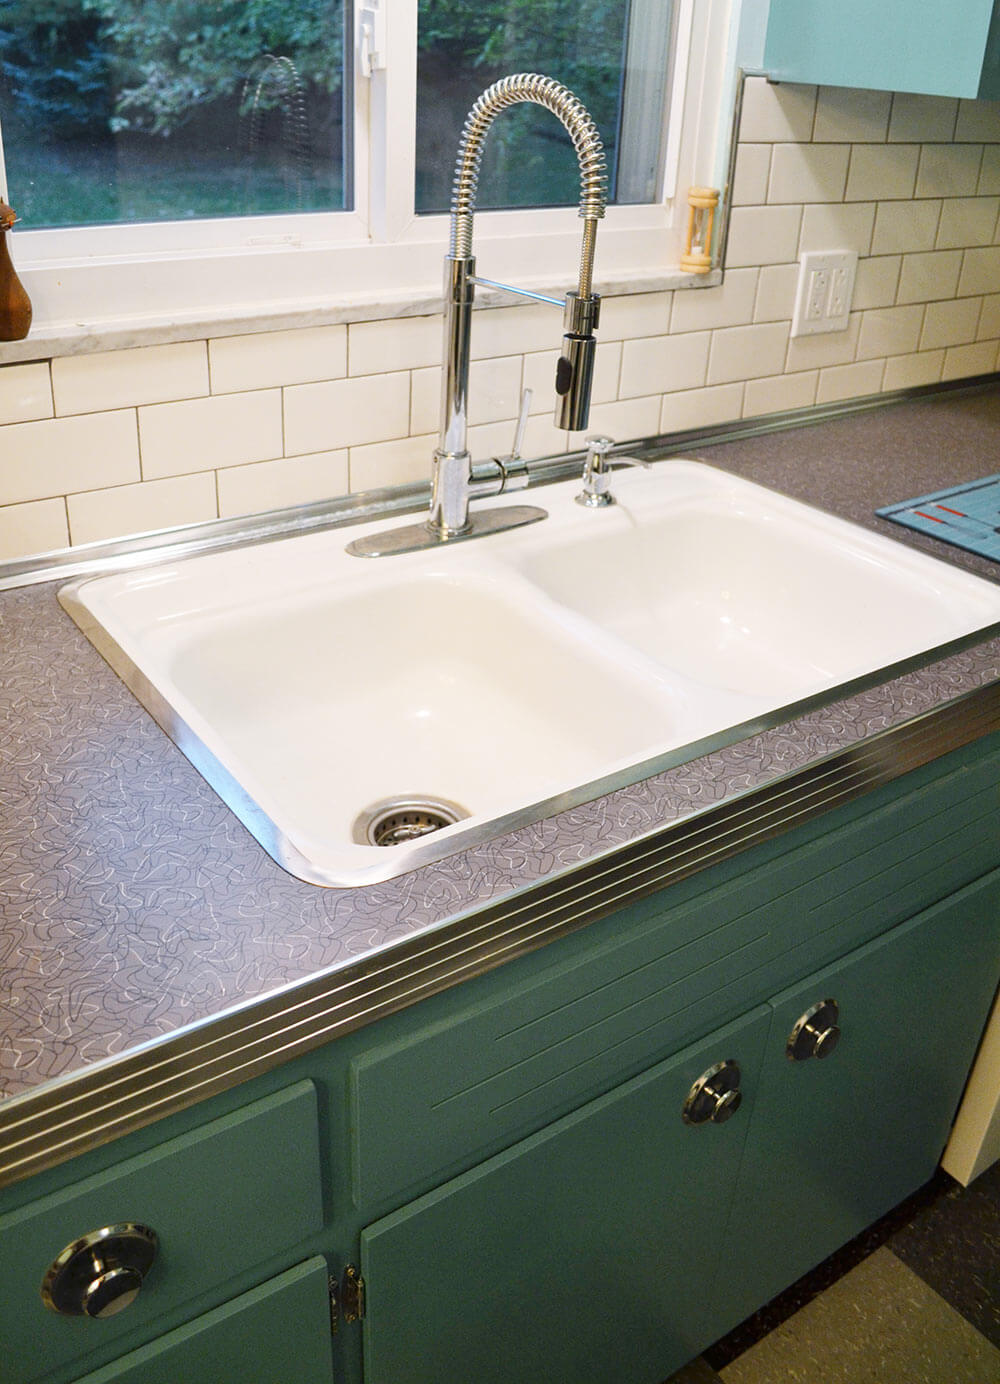
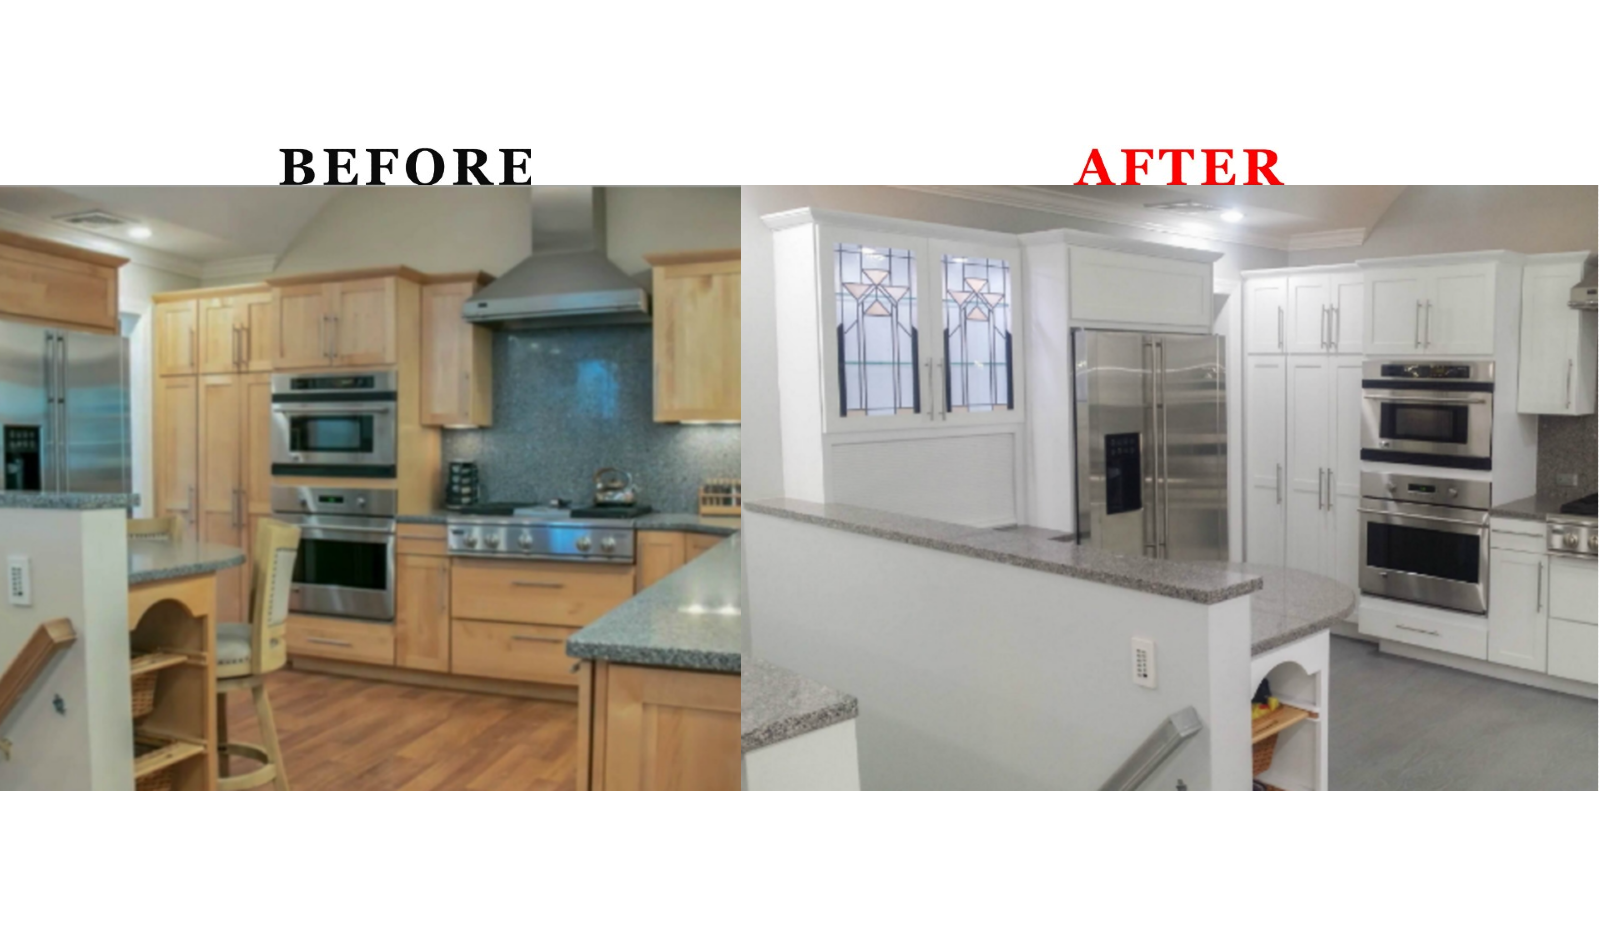
Still not convinced that painting your kitchen sink faucet can make a big difference? Just take a look at some before and after photos of painted sink faucets. You'll be amazed at how a simple coat of paint can completely transform the look of your kitchen. Don't be afraid to get creative and experiment with different colors and finishes.7. Before and After: Painting a Kitchen Sink Faucet


7. Before and After: Painting a Kitchen Sink Faucet

Choosing the right color for your painted kitchen sink faucet can seem like a daunting task. You want to make sure it complements your kitchen's overall color scheme and adds a touch of style. A good tip is to choose a color that contrasts with your kitchen's color palette. For example, if your kitchen has mostly white and neutral tones, a bold and bright color like red or blue will make your sink faucet stand out.8. How to Choose the Right Color for Your Painted Kitchen Sink Faucet
8. How to Choose the Right Color for Your Painted Kitchen Sink Faucet
When it comes to upgrading your kitchen sink faucet, you may be torn between painting it or replacing it altogether. While both options have their pros and cons, painting your faucet is the more budget-friendly and eco-friendly choice. Plus, painting offers more customization options as you can choose from a wide range of colors and finishes. If your faucet is in good condition and just needs a little refresh, then painting is definitely the way to go.9. Painting vs. Replacing a Kitchen Sink Faucet: Which is Better?


9. Painting vs. Replacing a Kitchen Sink Faucet: Which is Better?
If you're looking for some creative inspiration for painting your kitchen sink faucet, we've got you covered. Here are a few ideas to get your creative juices flowing: 1. Two-tone faucet: Paint the base of your faucet in a different color than the spout and handles for a unique and eye-catching look. 2. Metallic finish: Use a metallic paint to give your faucet a sleek and modern look. 3. Ombre faucet: Create an ombre effect by using different shades of the same color for a subtle yet stylish look. 4. Patterned faucet: Use stencils to add a fun and playful pattern to your faucet. Just make sure to use a waterproof sealant on top to protect the design. With these tips and ideas, you're now ready to transform your kitchen with a painted sink faucet. Not only is it a budget-friendly option, but it's also a fun and creative way to add a personal touch to your kitchen. So go ahead and give your old faucet a fresh new look with a coat of paint – you won't regret it!10. Creative Ideas for Painting Your Kitchen Sink Faucet
/DesignedbyEmilyHendersonDesign_PhotobySaraTramp_33-468a90bab29049818c24ab5eee4bdfc1.jpg)


10. Creative Ideas for Painting Your Kitchen Sink Faucet


Why Painting Your Kitchen Sink Faucet Can Transform Your Entire Kitchen Design
Revamp Your Kitchen Design with a Fresh Coat of Paint
 Are you tired of your outdated and dull kitchen design? Do you want to give your kitchen a new look without breaking the bank? Look no further than your kitchen sink faucet. Yes, you read that right. Painting your kitchen sink faucet can completely transform the look and feel of your kitchen, giving it a fresh and modern touch.
Painting
your kitchen sink faucet is a simple and cost-effective way to upgrade your kitchen design. It allows you to change the color and finish of your faucet without having to replace it entirely. Plus, with a wide range of
paint
options available in the market, you can easily find the perfect color and finish to match your kitchen's style and aesthetic.
Are you tired of your outdated and dull kitchen design? Do you want to give your kitchen a new look without breaking the bank? Look no further than your kitchen sink faucet. Yes, you read that right. Painting your kitchen sink faucet can completely transform the look and feel of your kitchen, giving it a fresh and modern touch.
Painting
your kitchen sink faucet is a simple and cost-effective way to upgrade your kitchen design. It allows you to change the color and finish of your faucet without having to replace it entirely. Plus, with a wide range of
paint
options available in the market, you can easily find the perfect color and finish to match your kitchen's style and aesthetic.
The Benefits of Painting Your Kitchen Sink Faucet
 Besides the obvious aesthetic appeal, there are several other benefits to painting your kitchen sink faucet. For starters, it's a quick and easy DIY project that can be completed in just a few hours. All you need is some sandpaper, primer,
paint
, and a clear sealant. With the right tools and techniques, you can achieve a professional-looking finish without spending a fortune.
Another benefit is that
painting
your kitchen sink faucet allows you to customize and personalize your kitchen design. You can choose to match the faucet with your kitchen's color scheme or make it stand out as a statement piece. It's a great way to add a pop of color or introduce a new design element into your kitchen without having to make any major changes.
Besides the obvious aesthetic appeal, there are several other benefits to painting your kitchen sink faucet. For starters, it's a quick and easy DIY project that can be completed in just a few hours. All you need is some sandpaper, primer,
paint
, and a clear sealant. With the right tools and techniques, you can achieve a professional-looking finish without spending a fortune.
Another benefit is that
painting
your kitchen sink faucet allows you to customize and personalize your kitchen design. You can choose to match the faucet with your kitchen's color scheme or make it stand out as a statement piece. It's a great way to add a pop of color or introduce a new design element into your kitchen without having to make any major changes.
Tips for Painting Your Kitchen Sink Faucet
 Before you start painting your kitchen sink faucet, there are a few things you should keep in mind. Firstly, make sure to clean the faucet thoroughly before applying any
paint
. This will ensure that the
paint
adheres properly and prevents any chipping or peeling in the future.
Secondly, use a high-quality primer and
paint
specifically designed for metal surfaces. This will ensure a smooth and durable finish that can withstand daily use and water exposure. Lastly, don't forget to apply a clear sealant once the
paint
has dried to protect it from scratches and stains.
In conclusion,
painting
your kitchen sink faucet can have a significant impact on your kitchen design. It's a simple and budget-friendly way to give your kitchen a much-needed makeover. So why wait? Grab your
paint
brushes and start transforming your kitchen today.
Before you start painting your kitchen sink faucet, there are a few things you should keep in mind. Firstly, make sure to clean the faucet thoroughly before applying any
paint
. This will ensure that the
paint
adheres properly and prevents any chipping or peeling in the future.
Secondly, use a high-quality primer and
paint
specifically designed for metal surfaces. This will ensure a smooth and durable finish that can withstand daily use and water exposure. Lastly, don't forget to apply a clear sealant once the
paint
has dried to protect it from scratches and stains.
In conclusion,
painting
your kitchen sink faucet can have a significant impact on your kitchen design. It's a simple and budget-friendly way to give your kitchen a much-needed makeover. So why wait? Grab your
paint
brushes and start transforming your kitchen today.

/cdn.vox-cdn.com/uploads/chorus_image/image/59950371/blueduck.0.0.jpg)