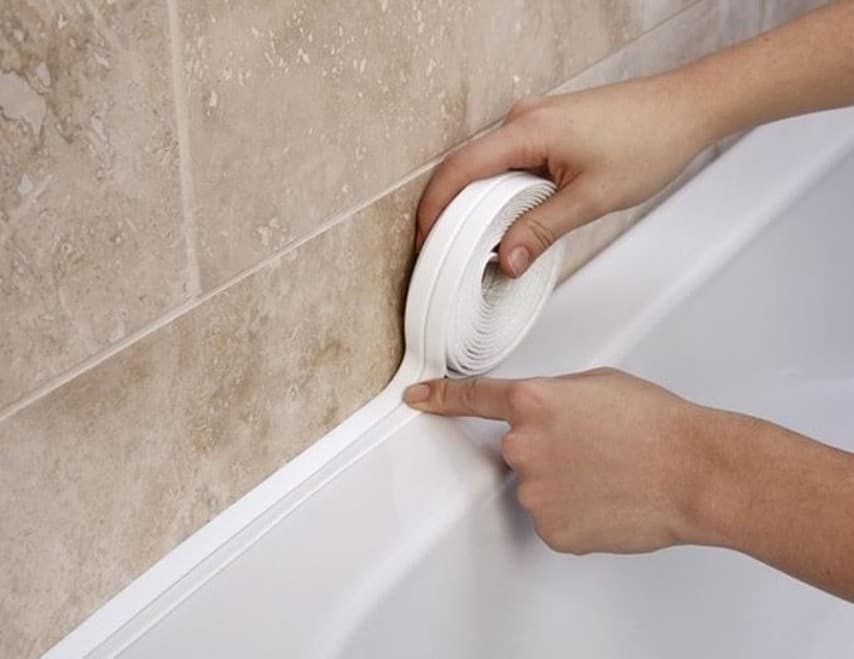
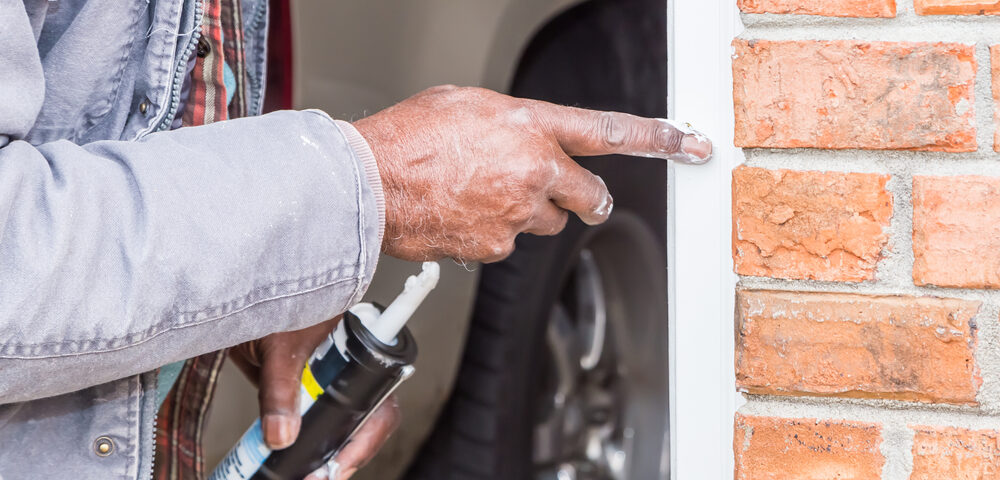
If you've recently used Loctite Kitchen and Bath Caulk for a home renovation project, you may have encountered the frustrating issue of it not drying properly. This can be a major setback, especially if you're on a tight schedule. But fear not, we're here to help you troubleshoot and fix the problem. 1. Loctite Kitchen and Bath Caulk Not Drying


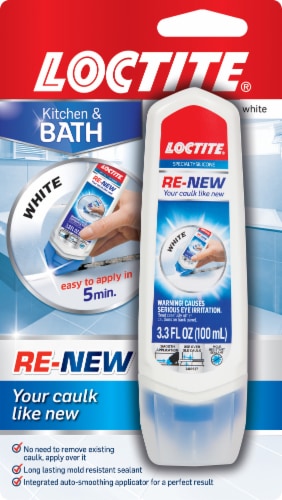
1. Loctite Kitchen and Bath Caulk Not Drying


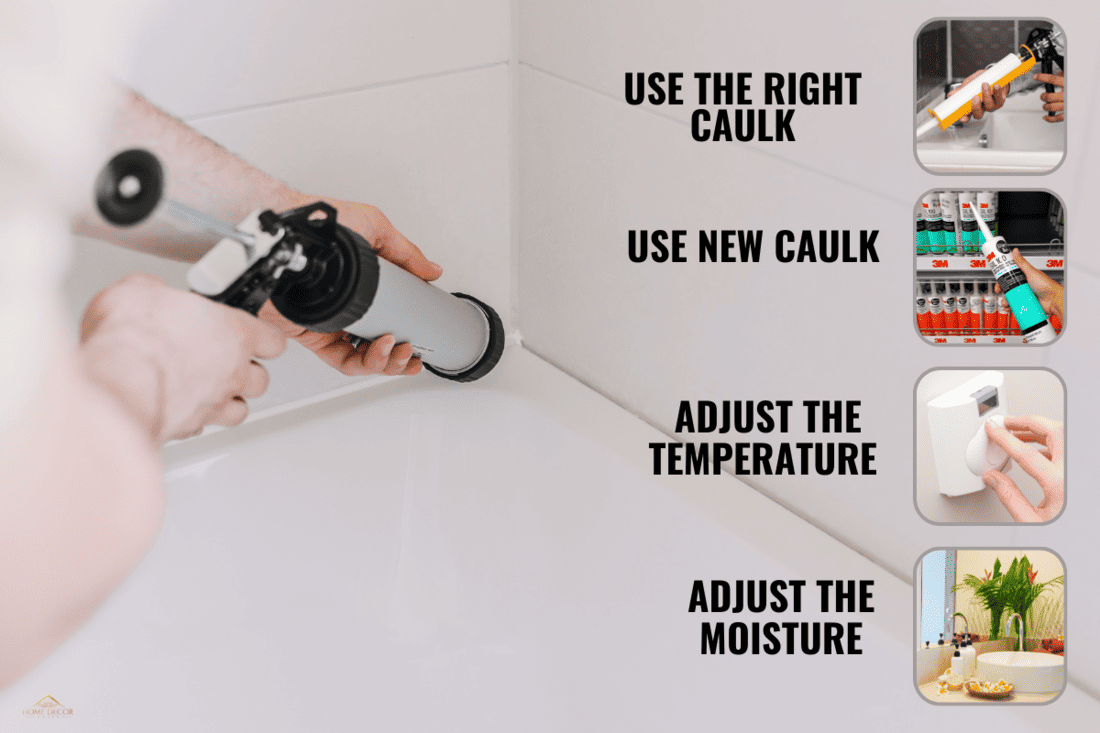
The first step in fixing this issue is to identify why the caulk isn't drying. One common reason is humidity. If the room or area you're caulking is humid or has poor ventilation, it can significantly slow down the drying process. In this case, it's best to wait for a drier day or use a dehumidifier to speed up the process. If humidity isn't the issue, then it could be due to improper application. Make sure you follow the instructions on the product label carefully. If you applied too much caulk, it can take longer to dry. Use a damp cloth to remove any excess caulk and allow it to dry properly. 2. How to Fix Loctite Kitchen and Bath Caulk Not Drying


2. How to Fix Loctite Kitchen and Bath Caulk Not Drying


If you've tried the above solutions and the caulk still isn't drying, then it could be a problem with the caulk itself. Check the expiration date on the tube and make sure it hasn't expired. If it has, then it may have lost its effectiveness and won't dry properly. Another issue could be with the surface you're applying the caulk on. Make sure it's clean and dry before applying the caulk. If there's any residue or moisture on the surface, it can prevent the caulk from drying. Use a cleaner specifically designed for removing silicone residue to clean the area before reapplying the caulk. 3. Troubleshooting Loctite Kitchen and Bath Caulk Not Drying

3. Troubleshooting Loctite Kitchen and Bath Caulk Not Drying


In some cases, the caulk may appear to be dry on the surface, but it's still wet underneath. This can happen if the caulk is too thick or if it's applied too heavily. The best way to fix this is to remove the caulk and start over. Use a caulk removal tool or a razor blade to carefully scrape off the caulk and then reapply it using a thinner layer. If you're still experiencing issues with the caulk not drying properly, try using a hairdryer on the low heat setting to speed up the drying process. Hold the hairdryer a few inches away from the caulk and move it back and forth until it's dry. Just be careful not to overheat the caulk, as it can cause it to crack or shrink. 4. Loctite Kitchen and Bath Caulk Not Drying Properly

4. Loctite Kitchen and Bath Caulk Not Drying Properly


Aside from humidity and improper application, there could be other factors causing the caulk to not dry properly. One possible reason is that the caulk is old or has been stored in extreme temperatures. This can affect its effectiveness and cause it to take longer to dry or not dry at all. Always make sure to store the caulk in a cool, dry place and check the expiration date before using it. If you've used Loctite Kitchen and Bath Caulk before with no issues, then it could be a bad batch. Contact Loctite customer service for assistance and they may be able to provide a replacement or refund. 5. Reasons Why Loctite Kitchen and Bath Caulk is Not Drying
5. Reasons Why Loctite Kitchen and Bath Caulk is Not Drying


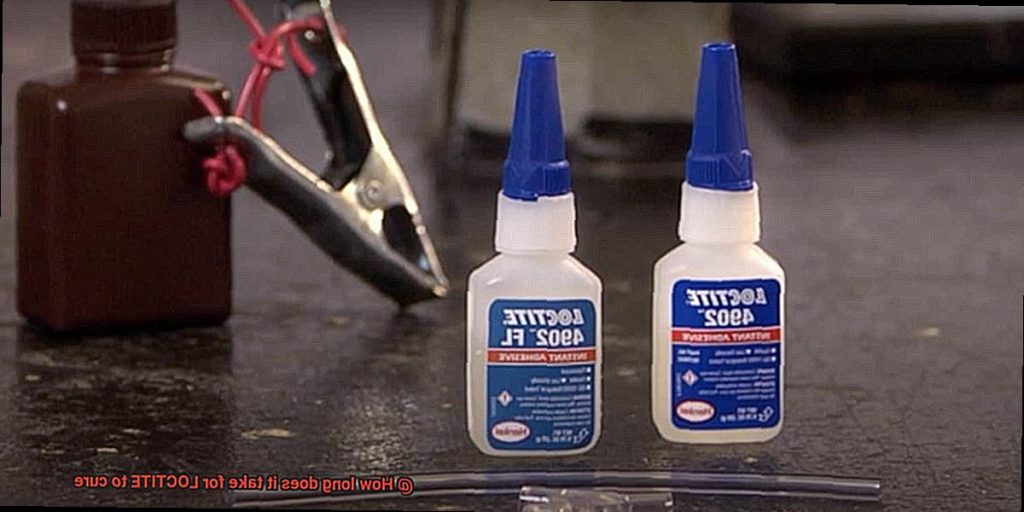
The drying time for Loctite Kitchen and Bath Caulk can vary depending on the humidity and temperature of the room, as well as the thickness of the caulk layer. On average, it can take anywhere from 24 to 48 hours for the caulk to fully dry and cure. However, it's always best to refer to the product label for specific drying times. 6. How Long Does it Take for Loctite Kitchen and Bath Caulk to Dry?


6. How Long Does it Take for Loctite Kitchen and Bath Caulk to Dry?


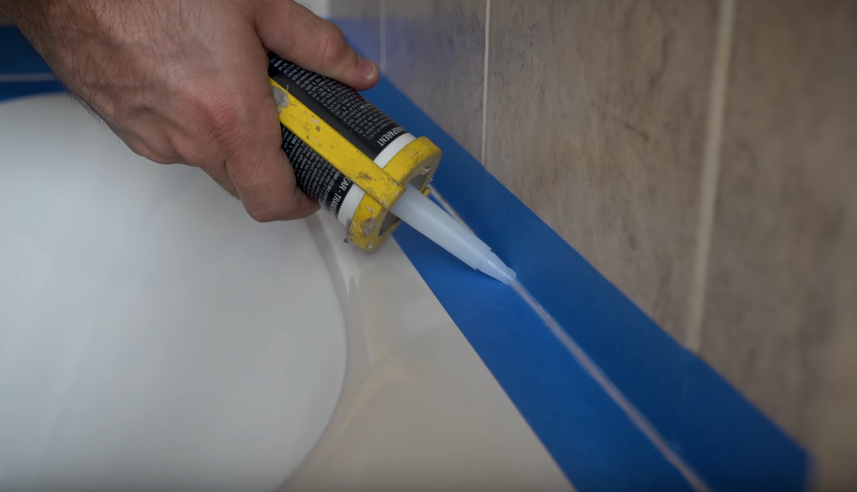
To avoid encountering issues with the caulk not drying, here are some tips to keep in mind when using Loctite Kitchen and Bath Caulk: - Check the expiration date and make sure the caulk is still within its shelf life before using it. - Clean and dry the surface before applying the caulk to ensure proper adhesion. - Use a thin and even layer of caulk to prevent it from taking too long to dry. - Use a dehumidifier or a fan to reduce humidity in the room and speed up the drying process.7. Tips for Ensuring Loctite Kitchen and Bath Caulk Dries Properly

7. Tips for Ensuring Loctite Kitchen and Bath Caulk Dries Properly


One of the most common mistakes people make when using Loctite Kitchen and Bath Caulk is applying it too thickly. This can cause it to take longer to dry and may even prevent it from drying completely. Another mistake is not properly preparing the surface before applying the caulk. Any residue or moisture can affect the caulk's ability to dry properly. Make sure to follow the instructions on the product label to avoid these mistakes. 8. Common Mistakes When Using Loctite Kitchen and Bath Caulk

8. Common Mistakes When Using Loctite Kitchen and Bath Caulk


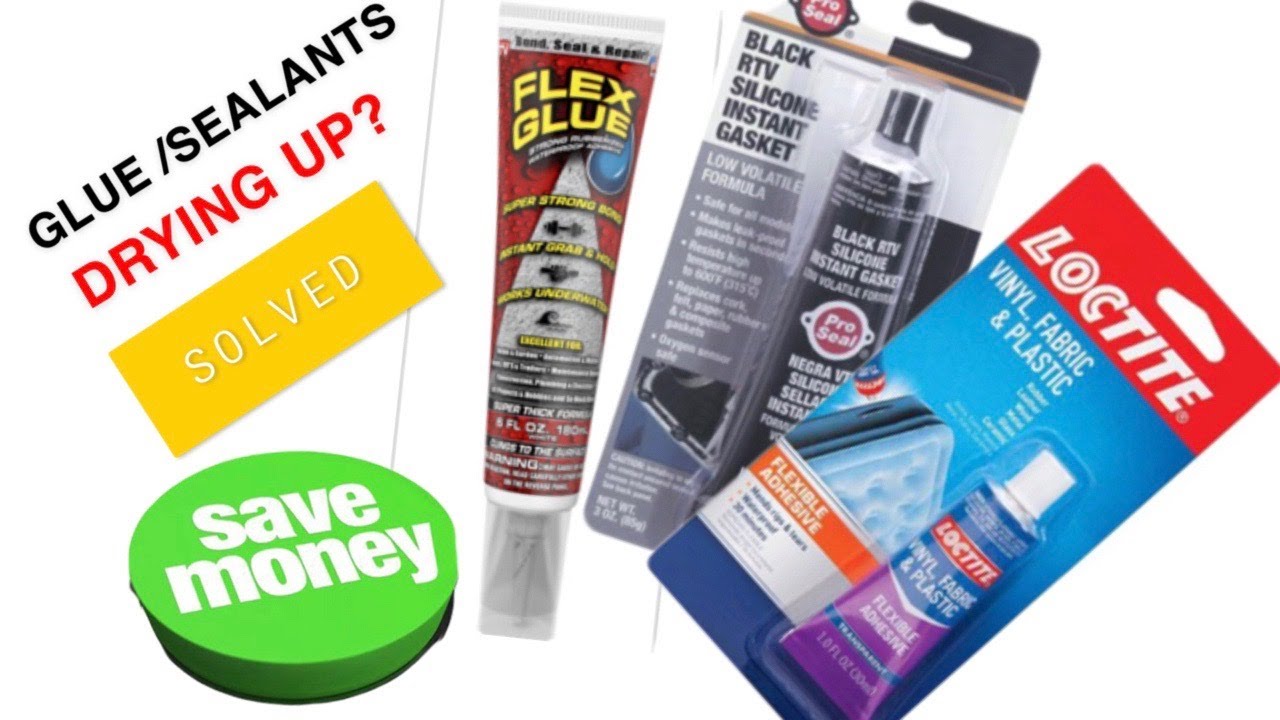
If you're in a hurry and need a caulk that dries faster, there are alternatives to Loctite Kitchen and Bath Caulk that may suit your needs better. Some options include silicone caulk that is specifically designed for faster drying times, as well as hybrid polymer sealants that can dry and cure within a few hours. Just make sure to do your research and choose a product that is suitable for your project. 9. Alternatives to Loctite Kitchen and Bath Caulk for a Faster Drying Time

9. Alternatives to Loctite Kitchen and Bath Caulk for a Faster Drying Time


If you've tried all the troubleshooting tips and the caulk still isn't drying properly, don't hesitate to reach out to Loctite's customer service for assistance. They may be able to provide further troubleshooting advice or offer a replacement or refund if necessary. Don't let a caulk that won't dry ruin your home renovation project - with the right steps and tools, you can fix the issue and achieve a professional-looking finish. 10. Contacting Loctite Customer Service for Help with Kitchen and Bath Caulk Not Drying


10. Contacting Loctite Customer Service for Help with Kitchen and Bath Caulk Not Drying


Why You Should Consider Using Loctite Kitchen and Bath for Your Next Home Renovation Project

Efficient and Durable Adhesive Solution

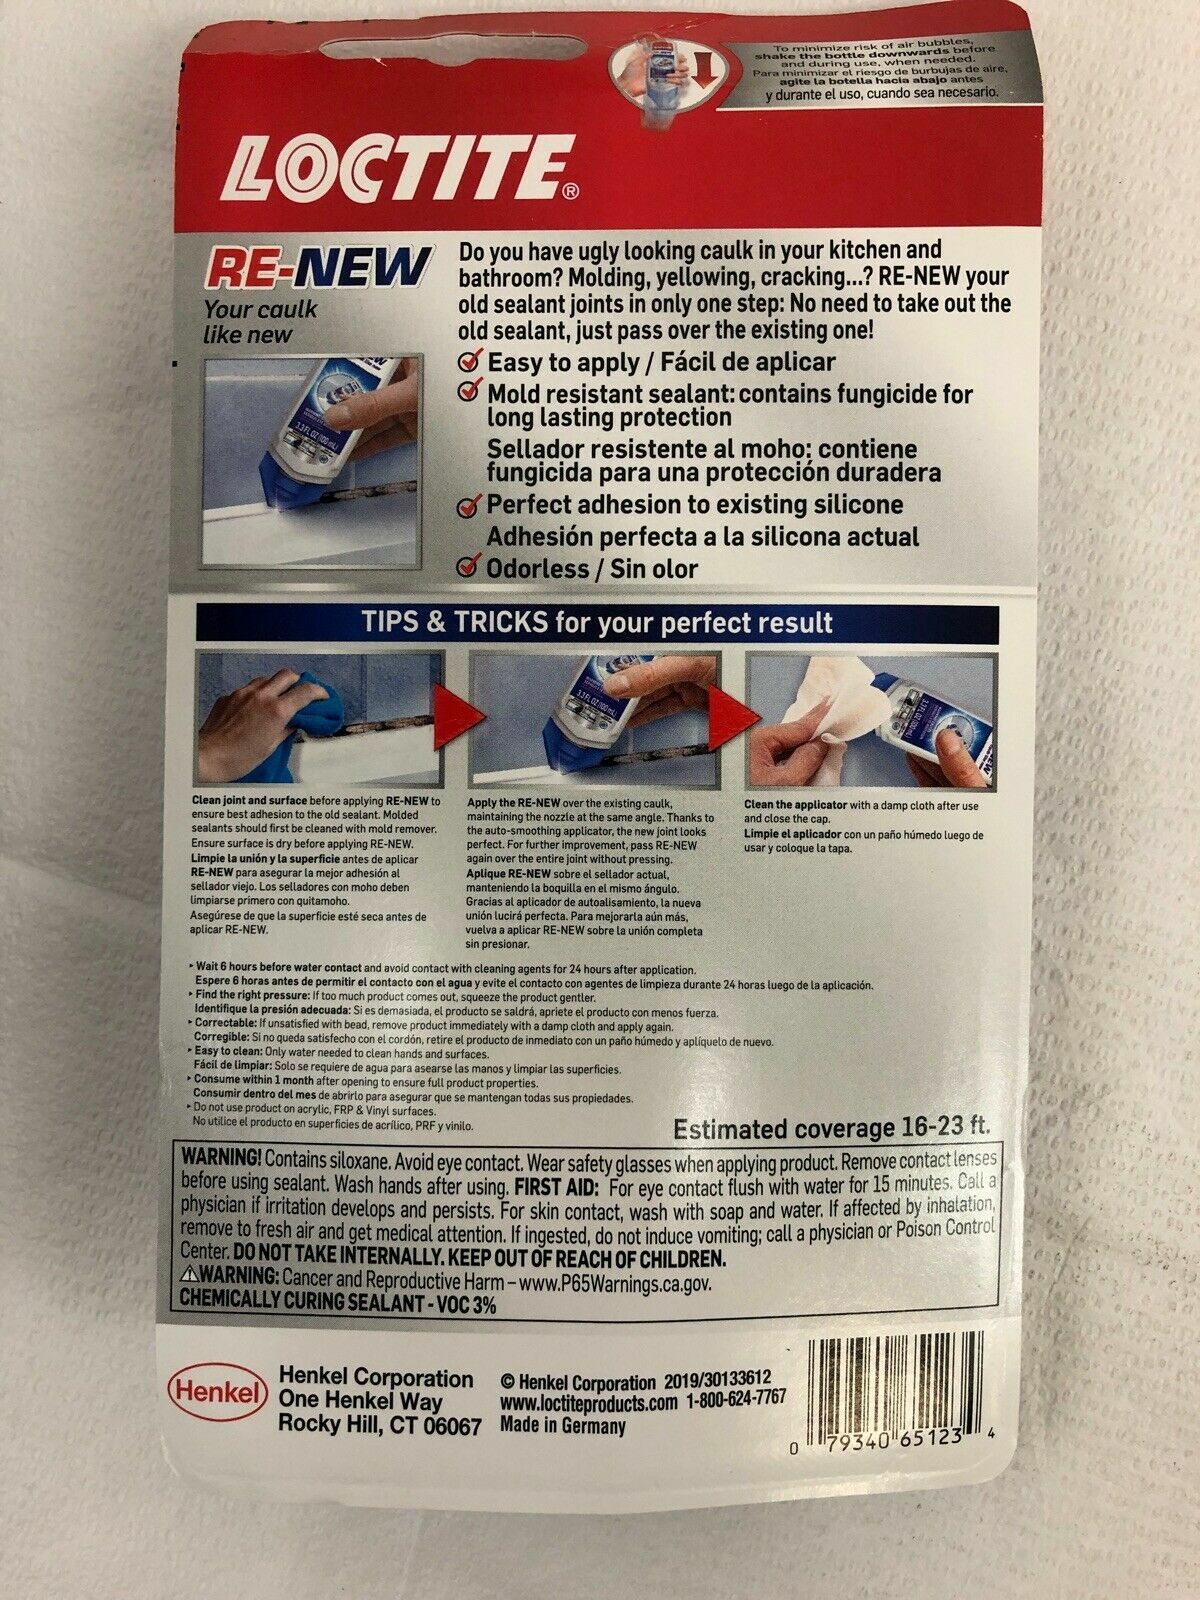
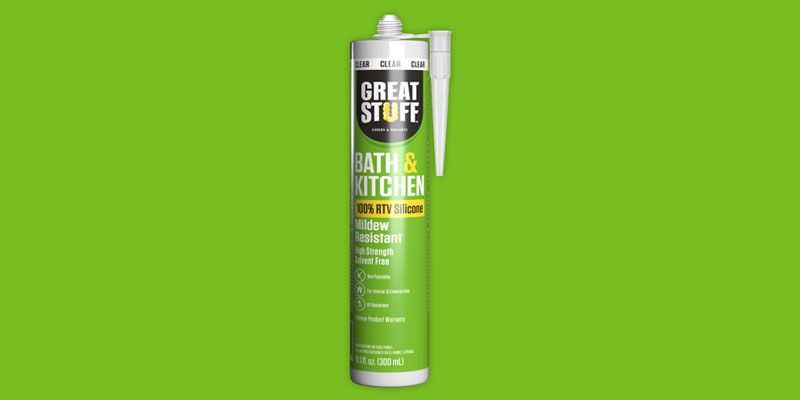
When it comes to home renovation projects, it's important to use the right products to ensure the best results. One product that has gained popularity among homeowners and professionals alike is Loctite Kitchen and Bath. As the name suggests, this adhesive is specifically designed for use in areas with high moisture, such as kitchens and bathrooms. However, some users have reported issues with the product not drying properly. In this article, we will explore the potential causes for this and why Loctite Kitchen and Bath should still be your go-to choice for your next renovation project.
The Main Cause of Loctite Kitchen and Bath Not Drying

The main reason why Loctite Kitchen and Bath may not be drying properly is due to improper application. This adhesive is designed to be used in small amounts, with a thin layer applied to one surface before being pressed together with the other surface. If too much adhesive is applied, it can take longer to dry and may even remain tacky. Additionally, applying the adhesive in a thick layer can also hinder the drying process. Therefore, it is important to follow the instructions on the packaging carefully and use only the recommended amount of adhesive.
The Solution: Proper Application Techniques

To ensure that your Loctite Kitchen and Bath adhesive dries properly, it is important to follow the recommended application techniques. This includes using a thin layer of adhesive, applying it evenly, and pressing the surfaces together firmly. It is also important to allow the adhesive to dry for the recommended amount of time before using the bonded surfaces. By following these simple steps, you can ensure that your Loctite Kitchen and Bath adhesive sets properly and provides a strong and durable bond.
The Benefits of Using Loctite Kitchen and Bath
Despite the potential issue of the adhesive not drying properly, there are still many benefits to using Loctite Kitchen and Bath for your home renovation projects. This adhesive is specifically designed for use in wet and humid environments, making it perfect for areas like kitchens and bathrooms. It also has a high resistance to water, heat, and mildew, ensuring that your bond will last for years to come. Additionally, it is suitable for a variety of materials, including ceramic, glass, and most plastics, making it a versatile choice for any project.
Conclusion
In conclusion, Loctite Kitchen and Bath is a reliable and efficient adhesive solution for your home renovation projects. While some users may experience issues with the product not drying properly, this can easily be avoided by following the proper application techniques. With its durability and resistance to moisture and heat, Loctite Kitchen and Bath remains a top choice for professionals and homeowners alike. So why not give it a try for your next renovation project and see the results for yourself?