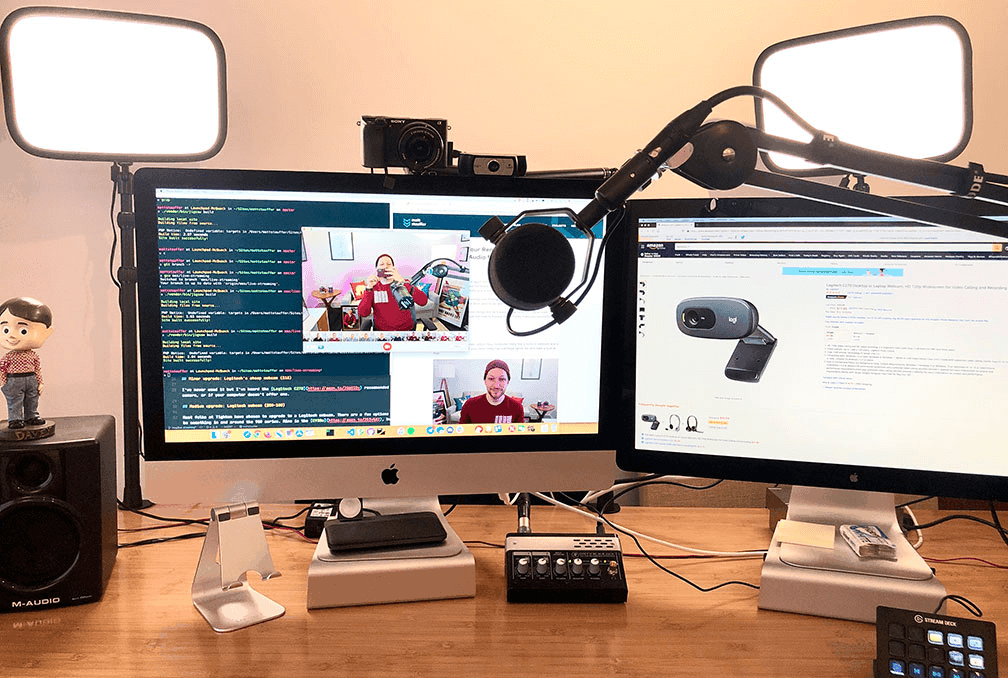
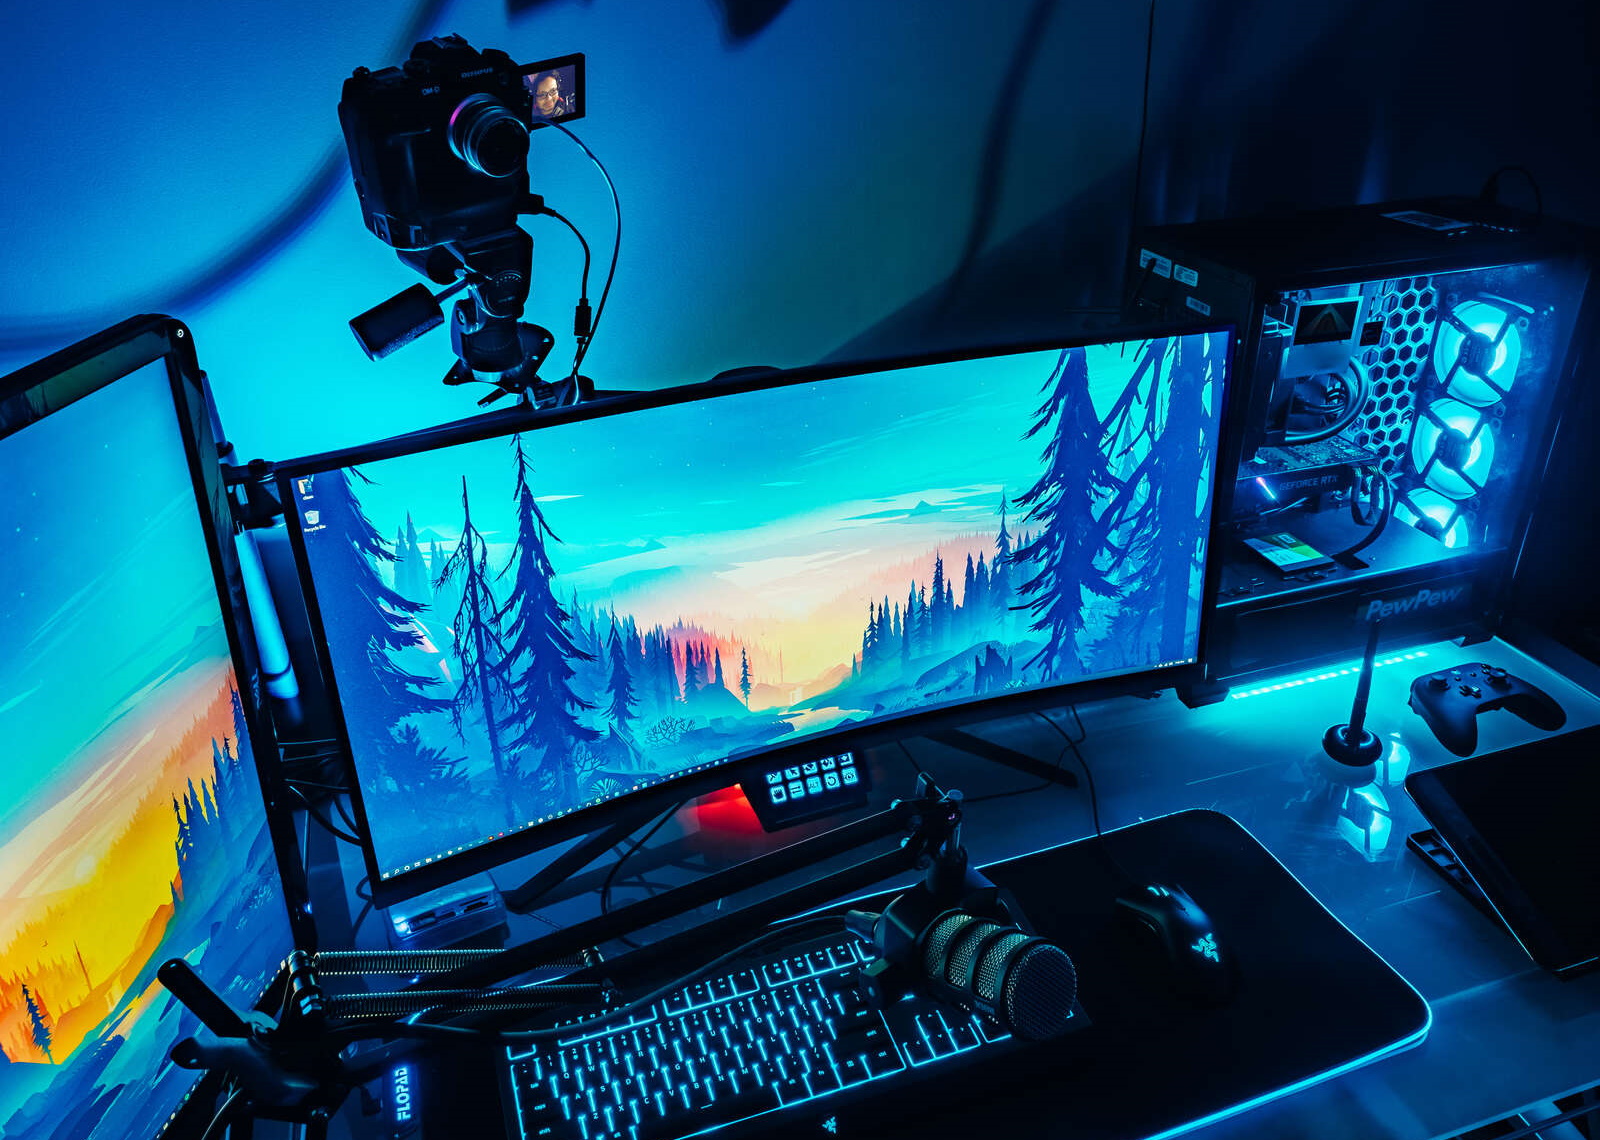
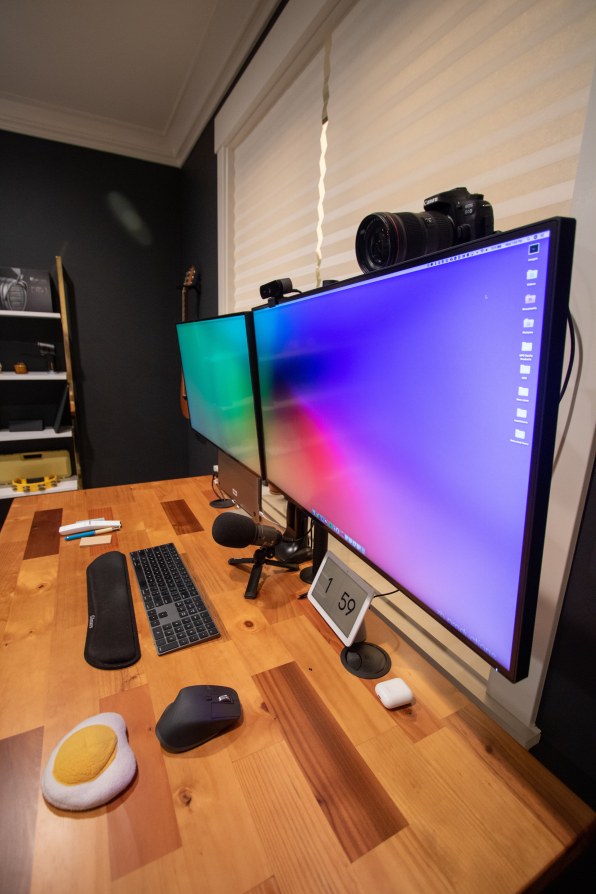
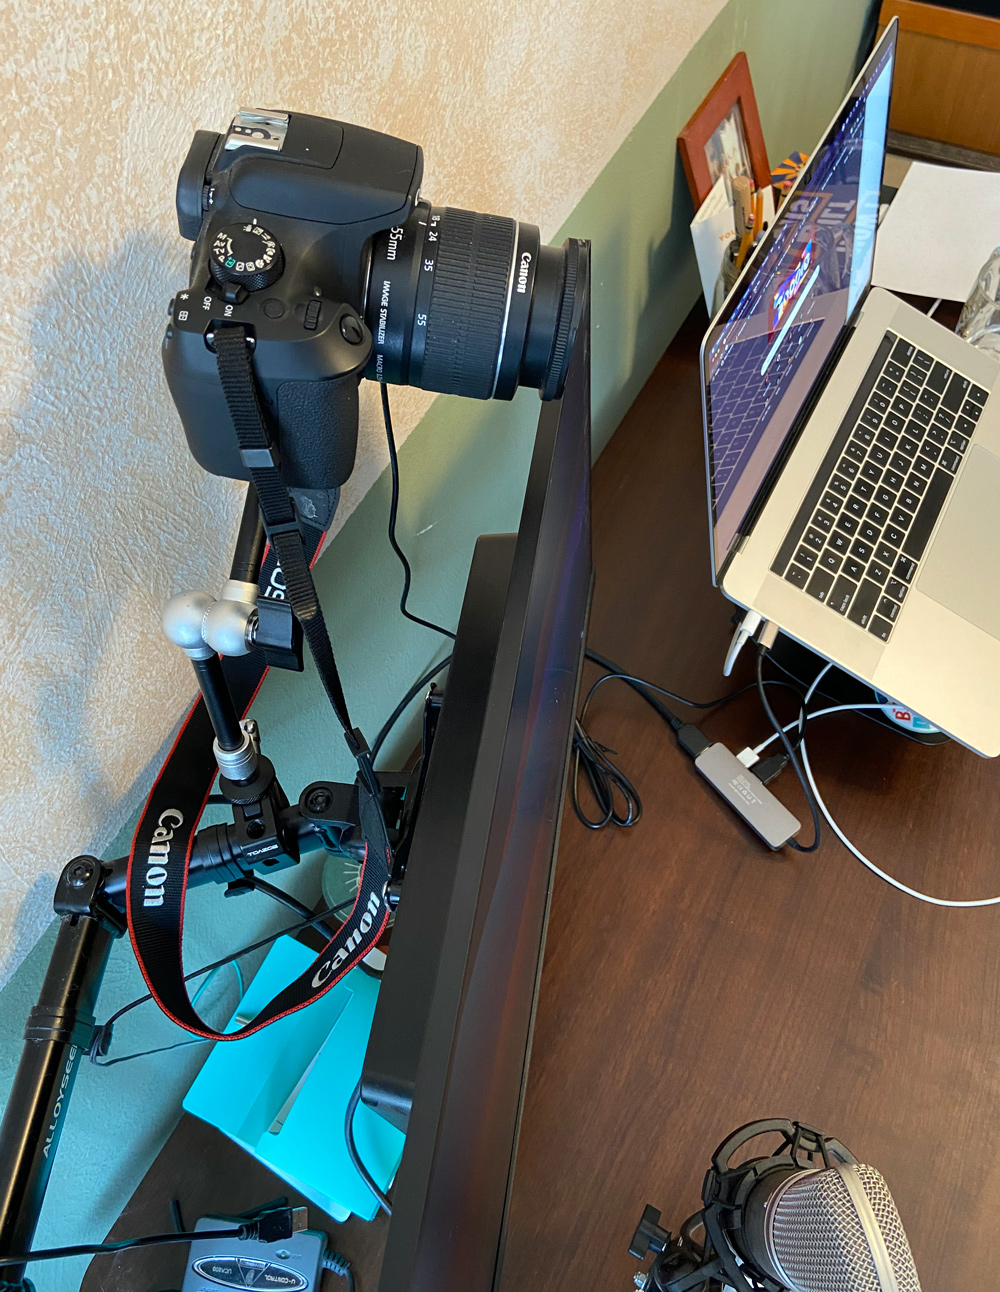
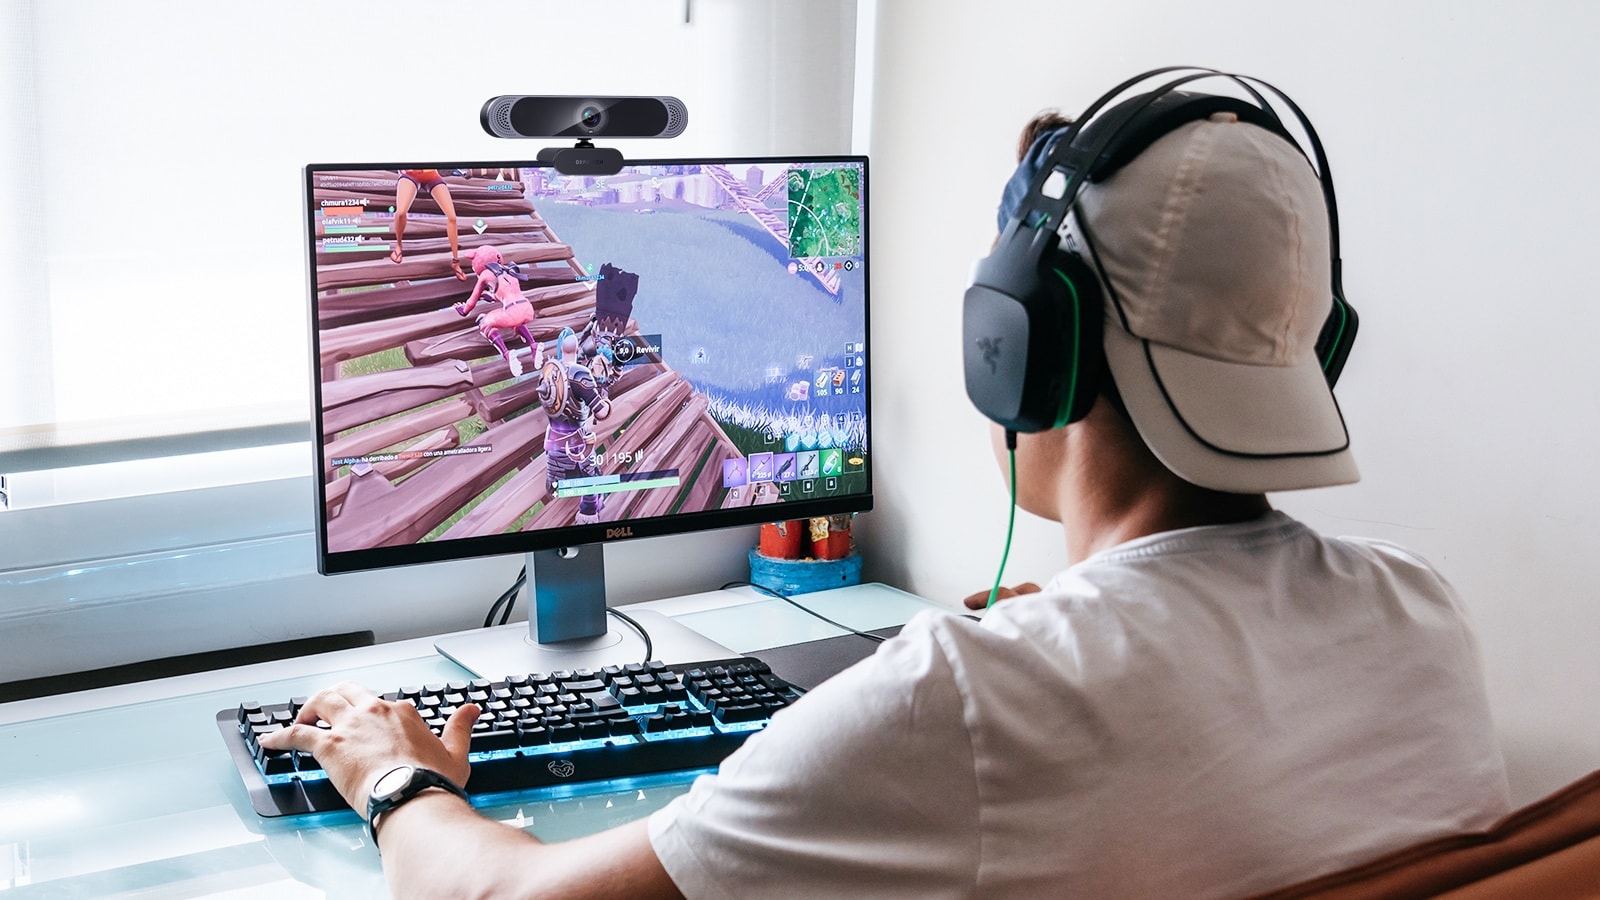
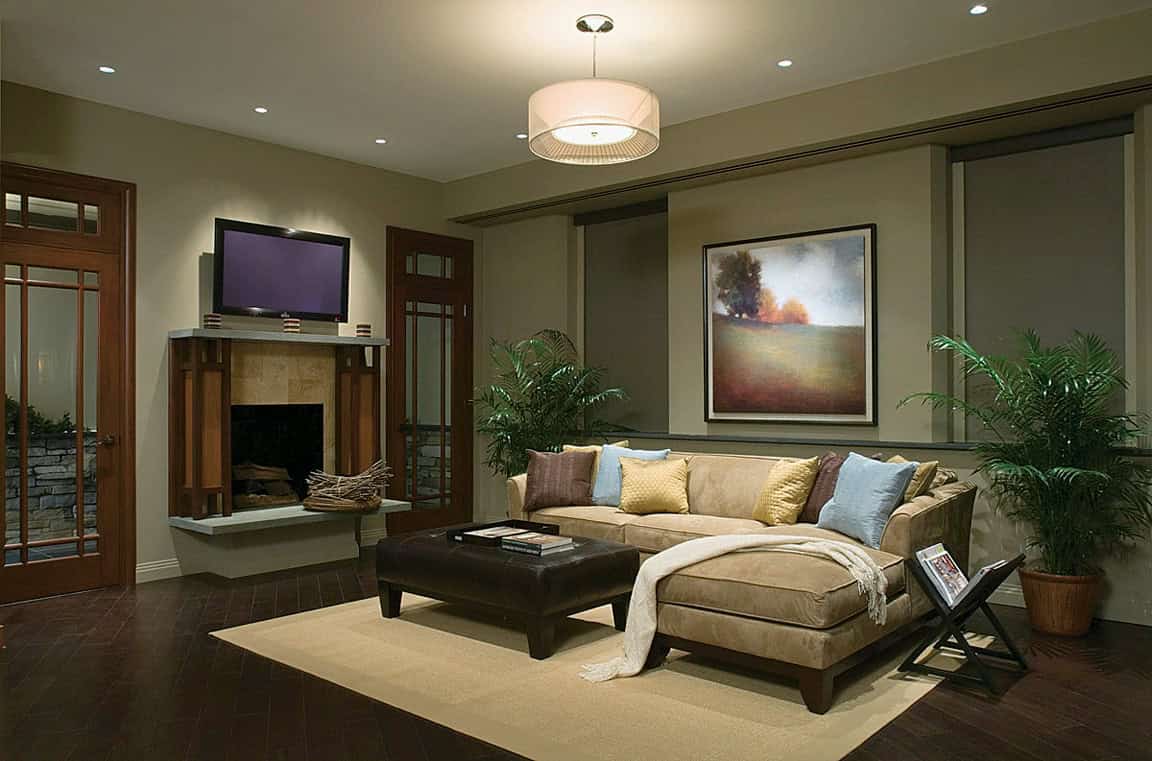
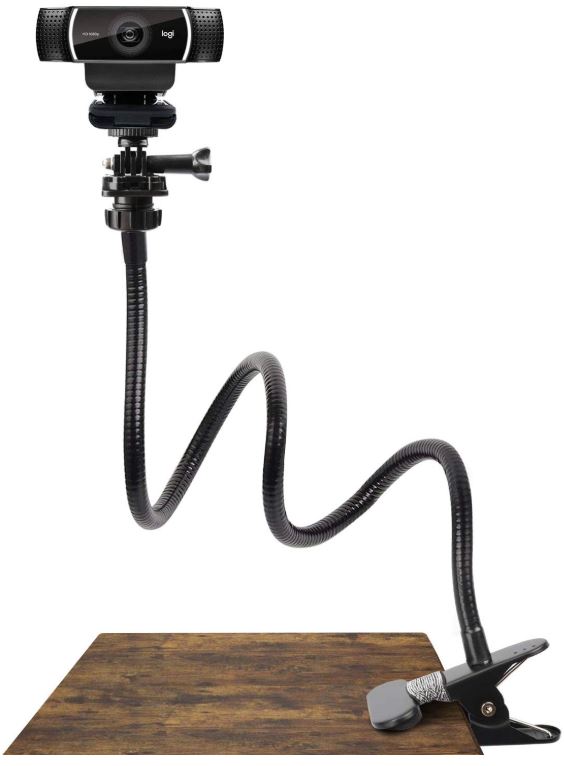
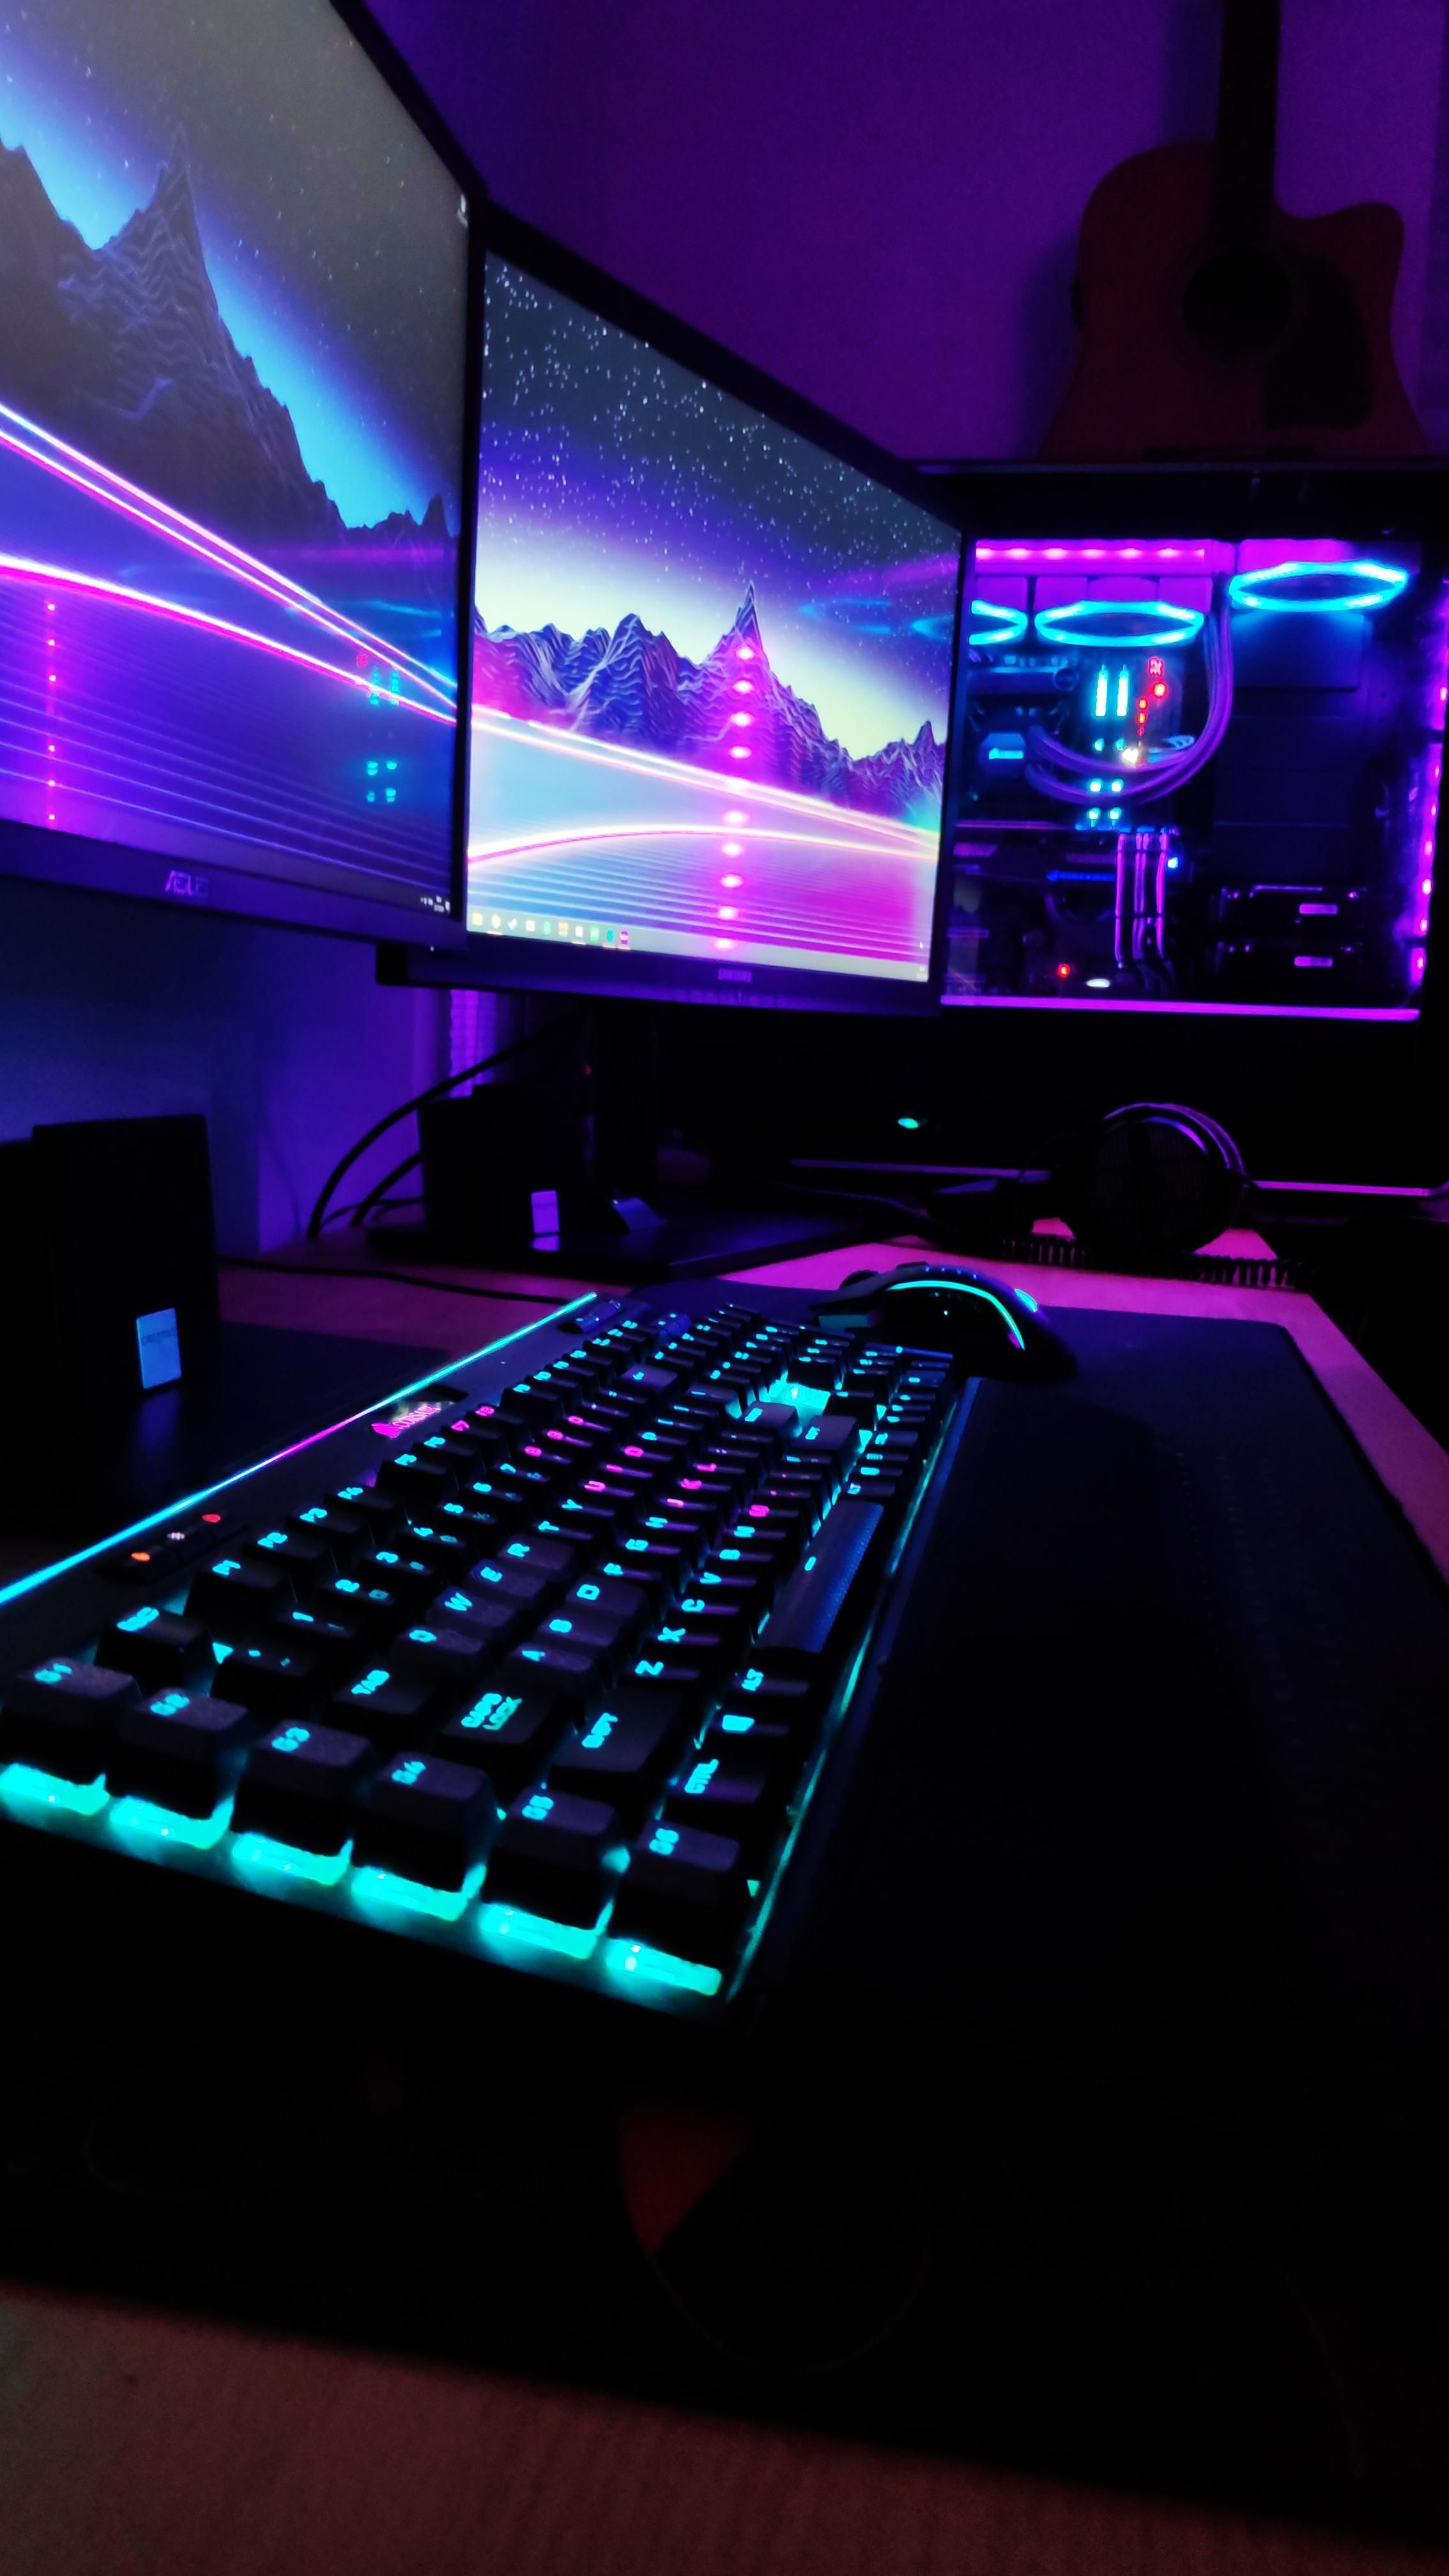
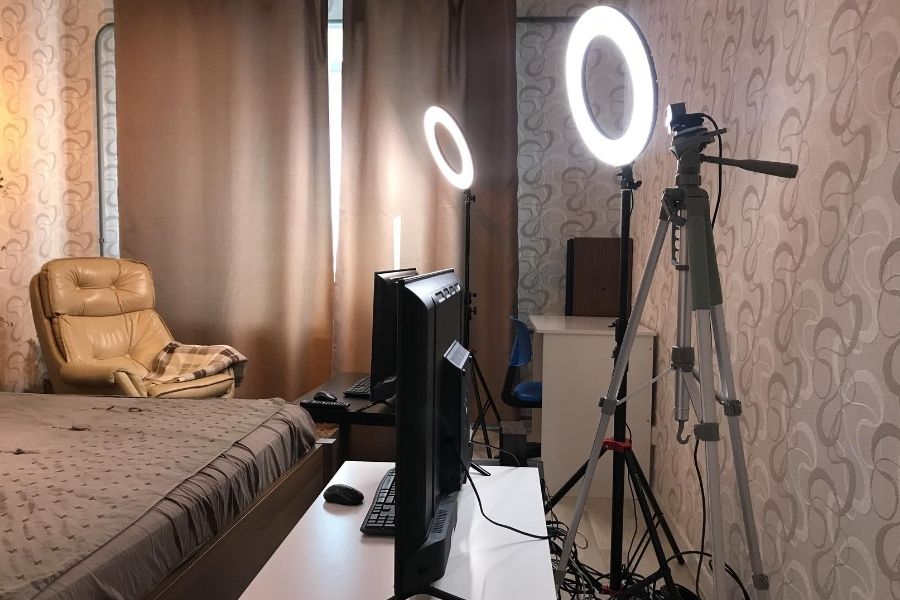
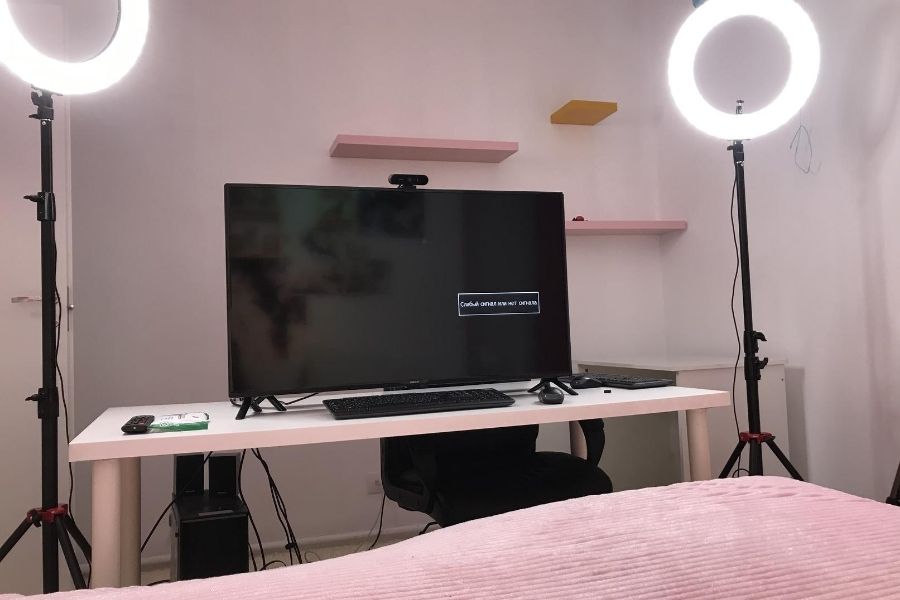
Setting up a webcam in your living room can open up a world of possibilities for virtual meetings, online classes, and remote work. With the right equipment and setup, you can have a professional-quality video conferencing experience right from the comfort of your own home. First, you'll need to choose the right webcam for your living room setup. Look for a high-definition camera with good low-light performance and a wide-angle lens to capture more of the room. Some popular options include the Logitech C920 and the Microsoft LifeCam HD-3000. Next, consider the placement of your webcam. You'll want to position it at eye level, so invest in a tripod or stand if necessary. Make sure the camera is stable and not at risk of falling or being bumped during use. Once your webcam is set up, it's important to test it out and make any necessary adjustments. Check the lighting in your living room and make sure your face is well-lit without being washed out. You may need to add additional lighting sources or adjust the position of your webcam to achieve the best results.1. "How to Set Up a Webcam in Your Living Room"


1. "How to Set Up a Webcam in Your Living Room"


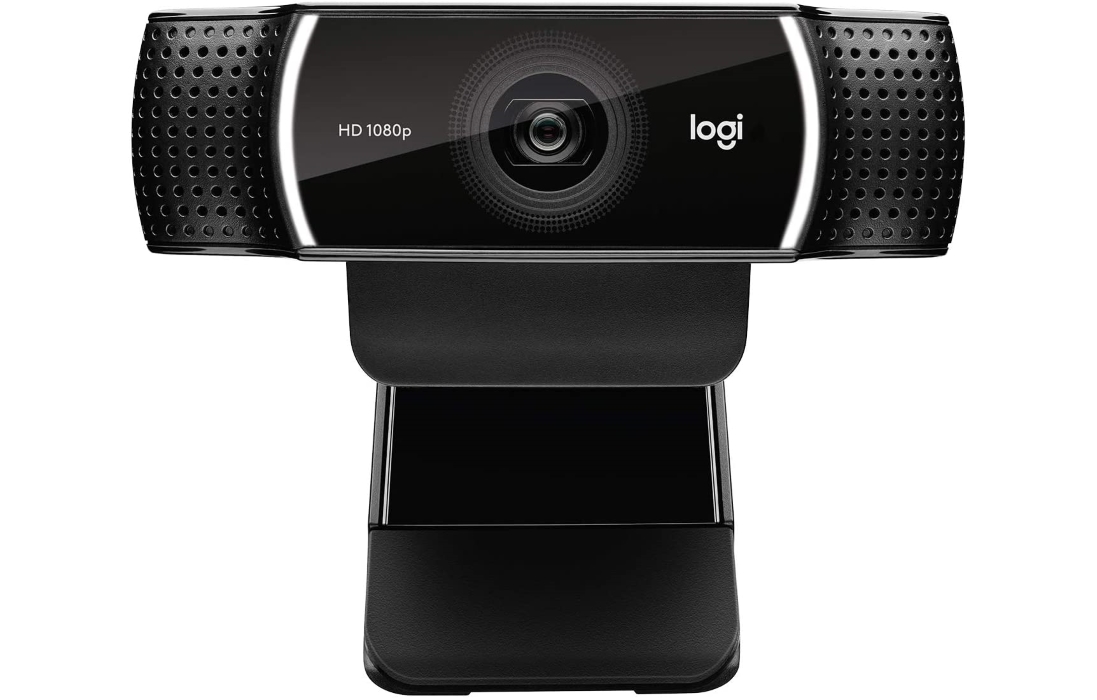
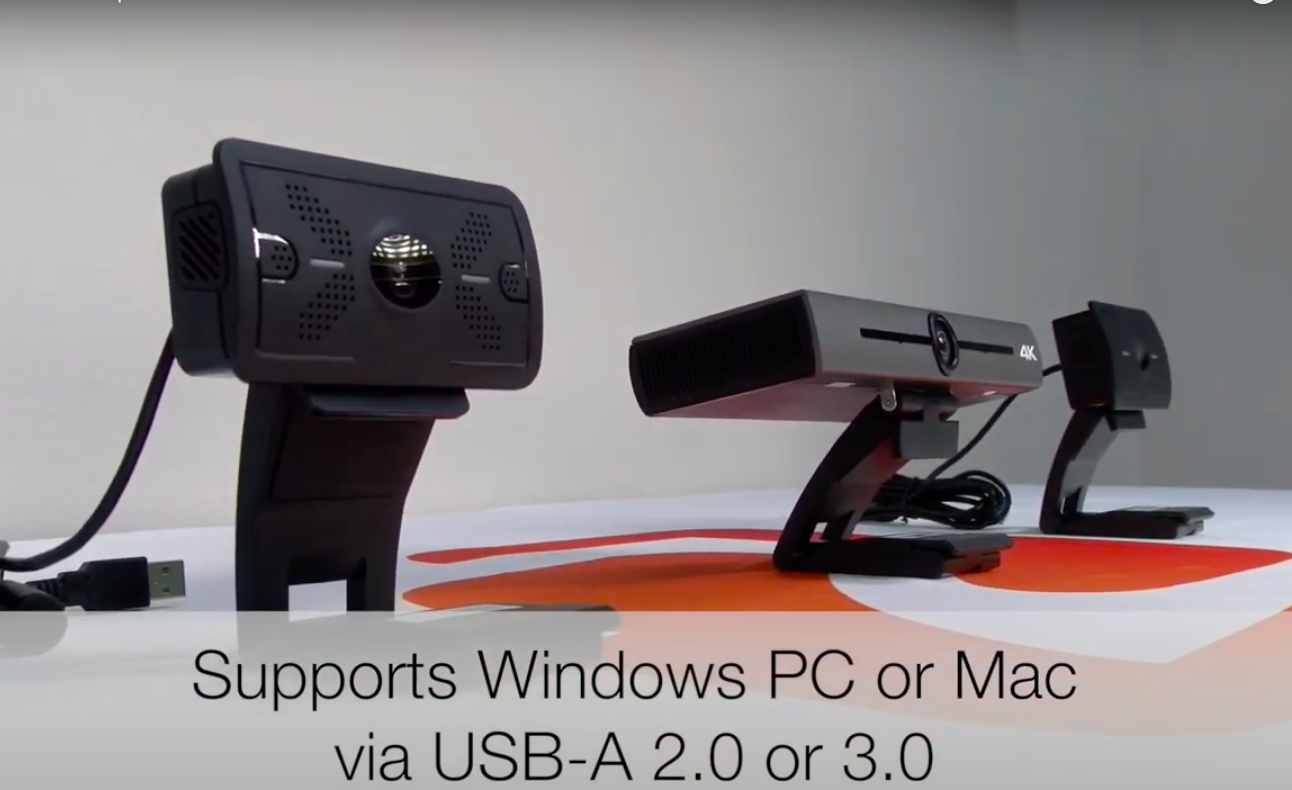
With so many webcams on the market, it can be overwhelming to choose the right one for your living room setup. To help you narrow down your options, here are some of the best webcams for video conferencing in your living room: 1. Logitech C920 - This high-definition webcam offers crystal-clear video and audio, making it a top choice for virtual meetings. 2. Microsoft LifeCam HD-3000 - Affordable and easy to use, the LifeCam HD-3000 is a popular option for home video conferencing. 3. Razer Kiyo - This webcam has a built-in light ring for improved lighting and also offers adjustable focus and exposure settings. 4. Logitech Brio 4K - For the ultimate in video quality, the Logitech Brio offers 4K resolution and advanced features like facial recognition and background replacement. These are just a few of the top webcams on the market, but there are many other options available to suit your specific needs and budget.2. "Best Webcams for Living Room Video Conferencing"


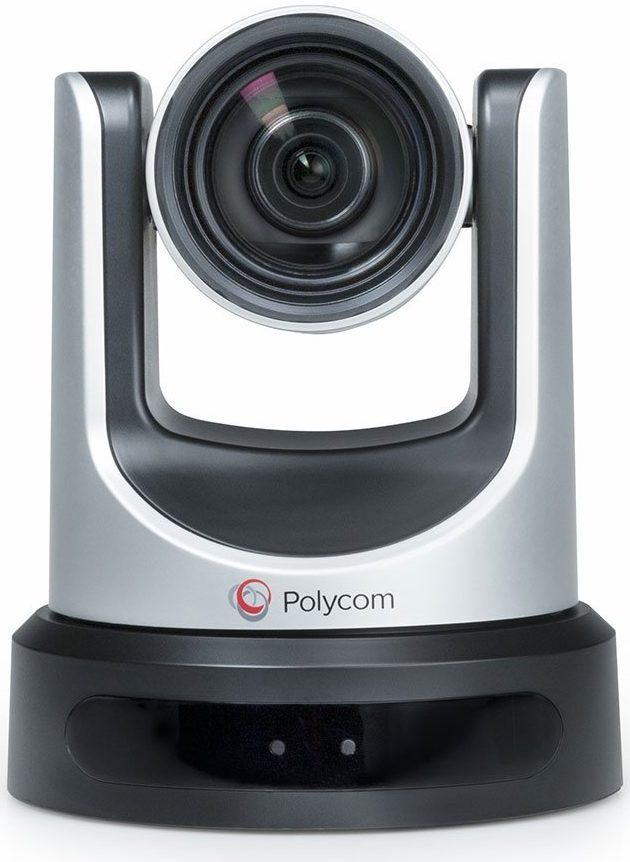
2. "Best Webcams for Living Room Video Conferencing"


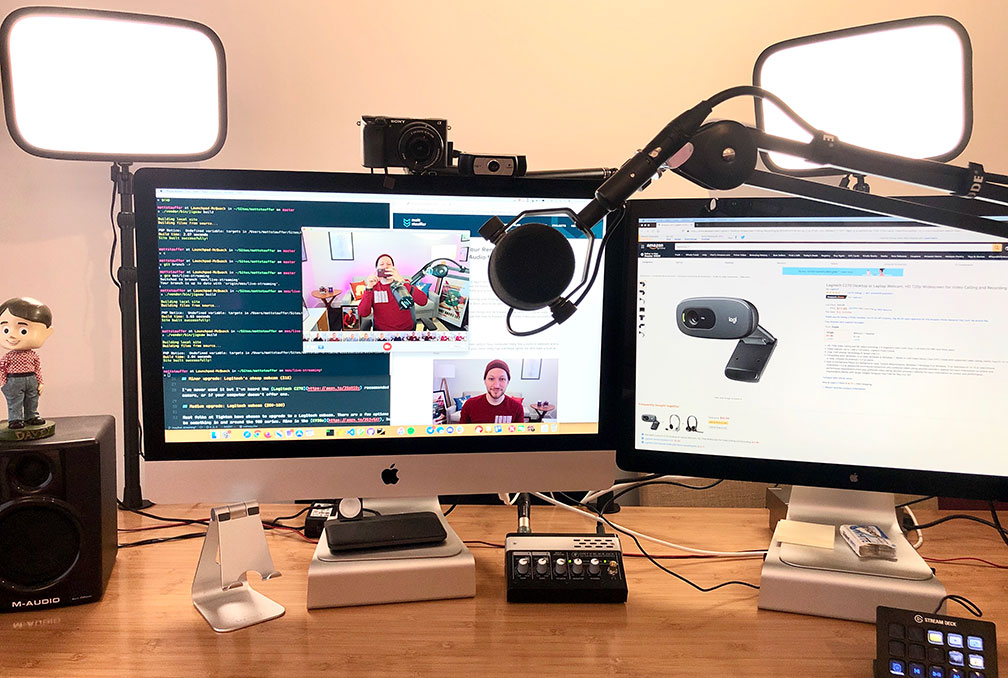
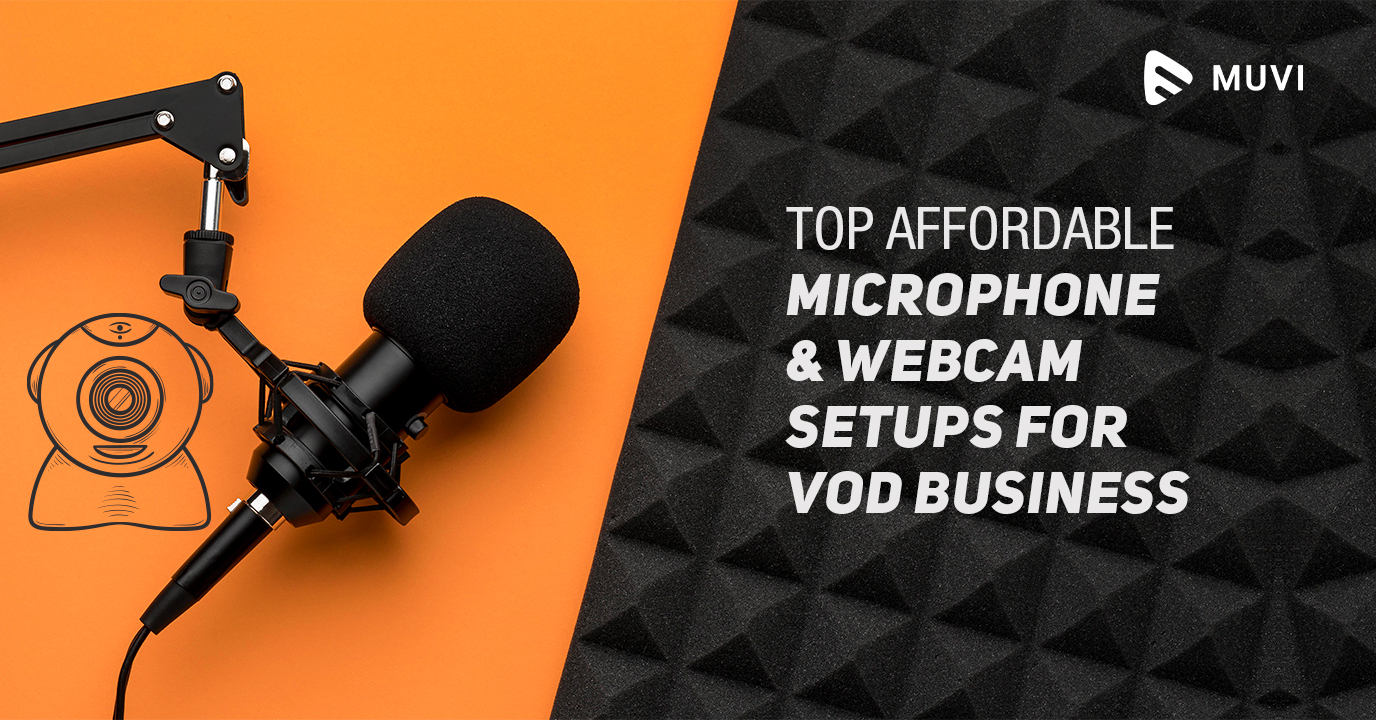
When it comes to setting up a webcam in your living room, there are a few key elements to consider: 1. Lighting - As mentioned earlier, proper lighting is crucial for a professional-looking video. Avoid sitting in front of a window or other bright light source, as this can create a silhouette effect. Instead, try to have soft, diffused lighting in front of you. 2. Background - What appears behind you in your webcam can make a big difference in the overall look of your video. Choose a clean, clutter-free background or use a virtual background to hide any distractions. 3. Sound - While most webcams have built-in microphones, you may want to invest in a separate USB microphone for improved sound quality. This is especially important if you plan on recording videos or participating in virtual meetings frequently. 4. Internet Connection - A stable and fast internet connection is essential for video conferencing. Consider using an ethernet cable instead of relying on Wi-Fi for a more reliable connection. By paying attention to these elements and making adjustments as needed, you can create a professional and seamless webcam setup in your living room.3. "Creating the Perfect Webcam Setup for Your Living Room"


3. "Creating the Perfect Webcam Setup for Your Living Room"


Here are a few additional tips to help you achieve a professional-looking webcam setup in your living room: 1. Dress Appropriately - While it may be tempting to dress casually for video calls from home, it's important to still dress professionally and appropriately for the situation. Avoid busy patterns and colors that can be distracting on camera. 2. Use Headphones - If you're participating in a video call or recording a video, using headphones can help improve sound quality and reduce background noise. 3. Test Your Setup - Before any important video calls or recordings, be sure to test your setup and make any necessary adjustments to ensure everything is working properly. 4. Consider a Green Screen - For a more polished and customizable background, you may want to invest in a green screen and use software to create a virtual background. With these tips in mind, you can elevate your living room webcam setup and make a great impression during video calls and recordings.4. "Tips for a Professional-Looking Living Room Webcam Setup"

4. "Tips for a Professional-Looking Living Room Webcam Setup"


If you're new to setting up a webcam in your living room, don't worry - it's easier than you may think. Here's a step-by-step guide to help you get started: Step 1: Choose Your Webcam - Consider your needs and budget and choose the best webcam for your living room setup. Step 2: Find the Perfect Spot - Position your webcam at eye level, ideally on a stable surface like a tripod or stand. Step 3: Test Your Lighting - Make sure your face is well-lit and adjust your lighting as needed. Step 4: Check Your Sound - Test your microphone and consider using headphones if necessary. Step 5: Connect Your Webcam - Follow the instructions that came with your webcam to connect it to your computer or device. Step 6: Test Your Setup - Before any important calls or recordings, test your webcam setup and make any necessary adjustments. With these simple steps, you'll be ready to use your webcam for virtual meetings, online classes, and more.5. "The Ultimate Guide to Setting Up a Webcam in Your Living Room"


5. "The Ultimate Guide to Setting Up a Webcam in Your Living Room"


You don't need to break the bank to create a professional-looking webcam setup in your living room. Here are some affordable ideas to consider: 1. Use What You Have - Look around your home for items you can repurpose, such as a stack of books to prop up your webcam or a lamp for additional lighting. 2. DIY Backgrounds - Instead of investing in a green screen, get creative and make your own background using fabric, wallpaper, or even a sheet. 3. Natural Lighting - If you have a window in your living room, try positioning your webcam in front of it to take advantage of natural lighting. 4. Apps and Software - Instead of buying expensive equipment, consider using apps and software to enhance your webcam setup. For example, you can use a virtual background app or adjust your camera's settings through your computer's built-in camera software. With a little creativity and resourcefulness, you can create an affordable living room webcam setup that looks and functions just as well as a more expensive one.6. "Affordable Living Room Webcam Setup Ideas"

6. "Affordable Living Room Webcam Setup Ideas"


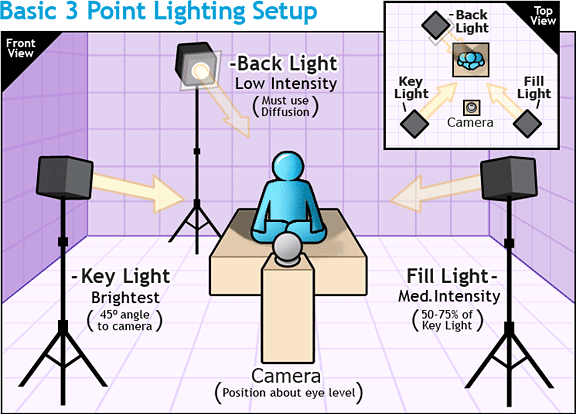
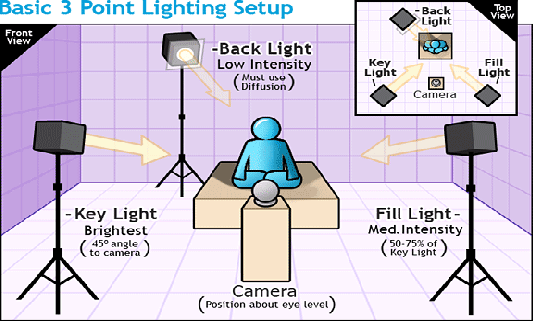
Lighting is arguably one of the most important aspects of a successful webcam setup in your living room. Here are some tips for maximizing lighting for your setup: 1. Face the Light - Make sure your face is facing the light source to avoid casting shadows. 2. Use Multiple Light Sources - Instead of relying on one overhead light, try using multiple lamps or softbox lights to create balanced lighting. 3. Avoid Harsh Light - Harsh, direct light can create unflattering shadows and make your face look washed out. Use diffusers or filters to soften the light. 4. Test Different Setups - Don't be afraid to experiment with different lighting setups and adjust as needed until you find the perfect balance for your living room webcam setup. By paying attention to your lighting and making adjustments as needed, you can create a professional and flattering appearance on camera.7. "Maximizing Lighting for Your Living Room Webcam Setup"


7. "Maximizing Lighting for Your Living Room Webcam Setup"


The placement of your webcam can make a big difference in the overall quality of your video calls. Here's how to position it for the best results: 1. Eye Level - As mentioned earlier, your webcam should be positioned at eye level for the most natural and flattering angle. 2. Centered - Make sure your camera is centered and not tilted to one side. This will give a balanced and symmetrical appearance. 3. Distance - Sit at a comfortable distance from your webcam, not too close or too far away. This will ensure you are clearly in frame without taking up too much space. 4. Background - Consider what appears in the background of your video and adjust your positioning as needed to minimize distractions. By following these tips, you can position your webcam for the best possible video calls in your living room.8. "How to Position Your Webcam for the Best Living Room Video Calls"

8. "How to Position Your Webcam for the Best Living Room Video Calls"


If you want to take your living room webcam setup to the next level, consider creating a virtual background. This can hide any clutter or distractions in your real background and give a more professional appearance. There are many apps and software that allow you to create virtual backgrounds, or you can make your own using a green screen and editing software. Choose a background that fits your personal or professional brand, and make sure it is well-lit and not too busy or distracting.9. "Creating a Virtual Background for Your Living Room Webcam Setup"


9. "Creating a Virtual Background for Your Living Room Webcam Setup"


Even with the best equipment and setup, there may be some common issues that arise when using a webcam in your living room. Here are a few troubleshooting tips: 1. Poor Lighting - If your lighting is not ideal, try adding additional light sources or adjusting the position of your webcam. 2. Background Noise - If you're experiencing background noise, try using headphones or moving to a quieter area of your home. 3. Technical Difficulties - If your webcam is not working properly, try restarting your device or checking for updates. You may also need to adjust your camera and microphone settings in your computer's settings. If you're still having issues, consult the user manual for your webcam or reach out to customer support for assistance. In conclusion, setting up a webcam in your living room can greatly enhance your virtual communication and work experiences. By following these tips and troubleshooting any issues, you can create a professional and functional living room webcam setup that meets your needs and budget. So go ahead and get started on setting up your own living room webcam today!10. "Troubleshooting Common Issues with Living Room Webcam Setups"


10. "Troubleshooting Common Issues with Living Room Webcam Setups"


Transforming Your Living Room with a Webcam Setup

Creating the Perfect Design for Your Living Room
 When it comes to designing your living room, there are a plethora of options to choose from. From furniture and decor to color schemes and layout, every element plays a crucial role in creating the perfect space for you and your family. However, with the rise of technology, there is now a new element to consider when designing your living room –
webcam setup
.
A living room webcam setup allows you to easily connect with family and friends, attend virtual meetings, and even participate in online events from the comfort of your own home. It has become an essential component of modern living room design, providing convenience, flexibility, and connectivity. In this article, we will explore the various ways in which a webcam setup can transform your living room into a functional and stylish space.
When it comes to designing your living room, there are a plethora of options to choose from. From furniture and decor to color schemes and layout, every element plays a crucial role in creating the perfect space for you and your family. However, with the rise of technology, there is now a new element to consider when designing your living room –
webcam setup
.
A living room webcam setup allows you to easily connect with family and friends, attend virtual meetings, and even participate in online events from the comfort of your own home. It has become an essential component of modern living room design, providing convenience, flexibility, and connectivity. In this article, we will explore the various ways in which a webcam setup can transform your living room into a functional and stylish space.
Maximizing Space and Functionality
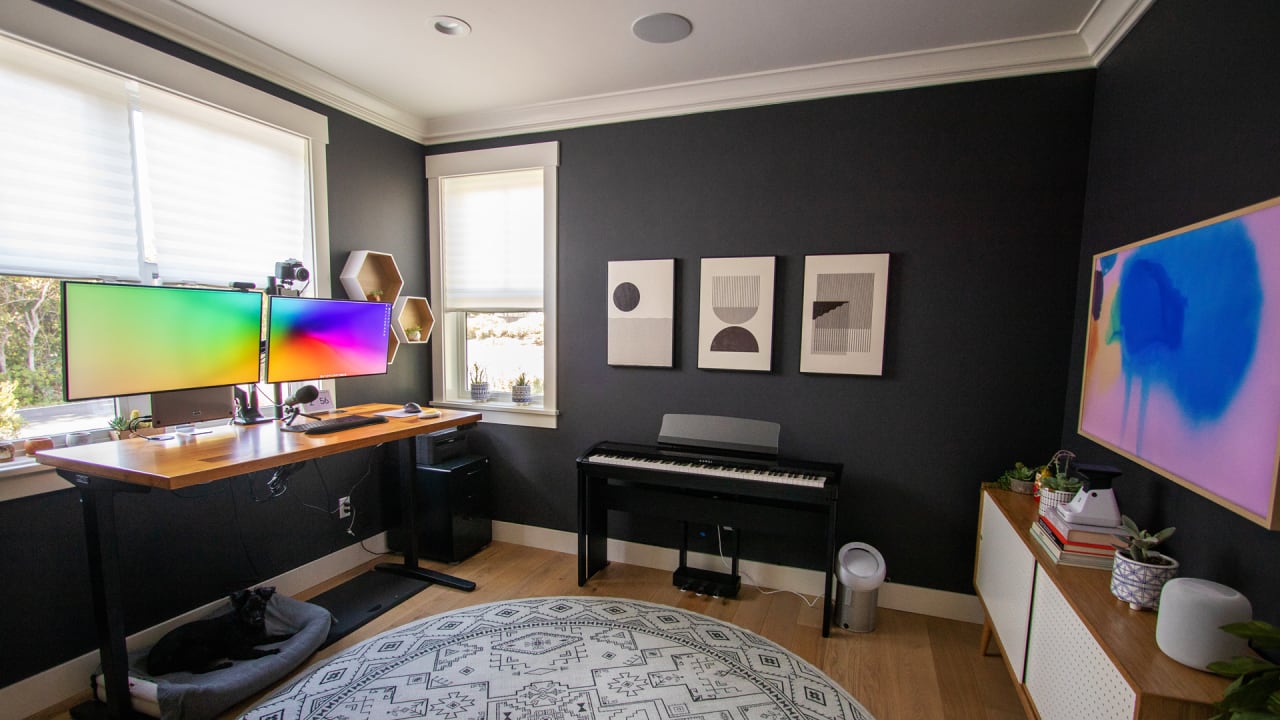
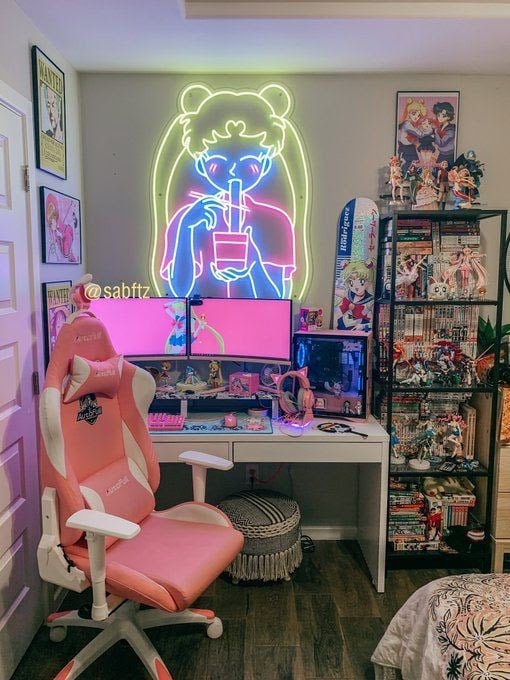
 One of the biggest advantages of incorporating a webcam setup into your living room design is the ability to maximize space and functionality. Traditional living room setups often involve a bulky desktop computer or laptop taking up valuable space on a desk or table. With a webcam setup, however, all you need is a small and compact webcam, freeing up space for other essential pieces of furniture or decor. This creates a more open and spacious atmosphere, making your living room feel larger and more inviting.
Moreover, a webcam setup allows you to easily switch between work and leisure activities. You can simply adjust the angle and positioning of the webcam to suit your needs, whether it be for attending online meetings or catching up with friends and family. This versatility adds a level of functionality to your living room, making it a multi-purpose space for all your needs.
One of the biggest advantages of incorporating a webcam setup into your living room design is the ability to maximize space and functionality. Traditional living room setups often involve a bulky desktop computer or laptop taking up valuable space on a desk or table. With a webcam setup, however, all you need is a small and compact webcam, freeing up space for other essential pieces of furniture or decor. This creates a more open and spacious atmosphere, making your living room feel larger and more inviting.
Moreover, a webcam setup allows you to easily switch between work and leisure activities. You can simply adjust the angle and positioning of the webcam to suit your needs, whether it be for attending online meetings or catching up with friends and family. This versatility adds a level of functionality to your living room, making it a multi-purpose space for all your needs.
Enhancing Aesthetics and Style
 In addition to its practical benefits, a webcam setup can also enhance the overall aesthetics and style of your living room. With sleek and modern designs, webcams can easily blend in with your existing decor, adding a touch of sophistication to your space. They come in a variety of colors and styles, allowing you to choose one that complements your living room's color scheme and theme.
Moreover, webcams can also serve as a decorative element in your living room. You can place them on a shelf or mount them on the wall, adding a unique and eye-catching touch to your living room design. With the right placement and design, a webcam setup can seamlessly integrate into your living room, elevating its overall style and appeal.
In addition to its practical benefits, a webcam setup can also enhance the overall aesthetics and style of your living room. With sleek and modern designs, webcams can easily blend in with your existing decor, adding a touch of sophistication to your space. They come in a variety of colors and styles, allowing you to choose one that complements your living room's color scheme and theme.
Moreover, webcams can also serve as a decorative element in your living room. You can place them on a shelf or mount them on the wall, adding a unique and eye-catching touch to your living room design. With the right placement and design, a webcam setup can seamlessly integrate into your living room, elevating its overall style and appeal.
Conclusion
 In conclusion, a living room webcam setup is a must-have addition to any modern house design. It not only maximizes space and functionality but also enhances the aesthetics and style of your living room. With its convenience, flexibility, and connectivity, a webcam setup is the perfect way to transform your living room into a versatile and stylish space. So why wait? Start incorporating a webcam setup into your living room design today and experience the many benefits it has to offer.