Installing a new kitchen sink drain can seem like a daunting task, but with the right tools and know-how, it can easily be done in a few simple steps. Follow these instructions to successfully install a kitchen sink drain in your home. Step 1: Gather Your Materials Before you begin, make sure you have all the necessary materials for the job. This includes a new kitchen sink drain, plumber's putty, a wrench, and a screwdriver. It's also a good idea to have a bucket or towel handy to catch any water that may spill out during the process. Step 2: Prepare the Sink Area Start by removing any old drain pieces or debris from the sink area. Thoroughly clean the area around the drain hole and remove any excess sealant or putty. Step 3: Apply Plumber's Putty Roll a small amount of plumber's putty into a thin rope and place it around the bottom of the drain flange. This will create a watertight seal between the sink and the drain. Step 4: Insert the Drain Flange Place the drain flange into the drain hole and press down gently to secure it in place. Wipe away any excess putty that may have oozed out around the edges. Step 5: Attach the Drain Body From underneath the sink, screw the drain body onto the flange until it is snug. Use a wrench to tighten it if necessary. Step 6: Connect the P-Trap Attach the P-trap to the drain body and the main drain line. Use a wrench to tighten the connections and ensure there are no leaks. Step 7: Test the Drain Run water into the sink and check for any leaks. If everything looks good, congratulations, you have successfully installed a kitchen sink drain!How to Install a Kitchen Sink Drain


How to Install a Kitchen Sink Drain

/how-to-install-a-sink-drain-2718789-hero-b5b99f72b5a24bb2ae8364e60539cece.jpg)

:max_bytes(150000):strip_icc()/how-to-install-a-sink-drain-2718789-hero-24e898006ed94c9593a2a268b57989a3.jpg)


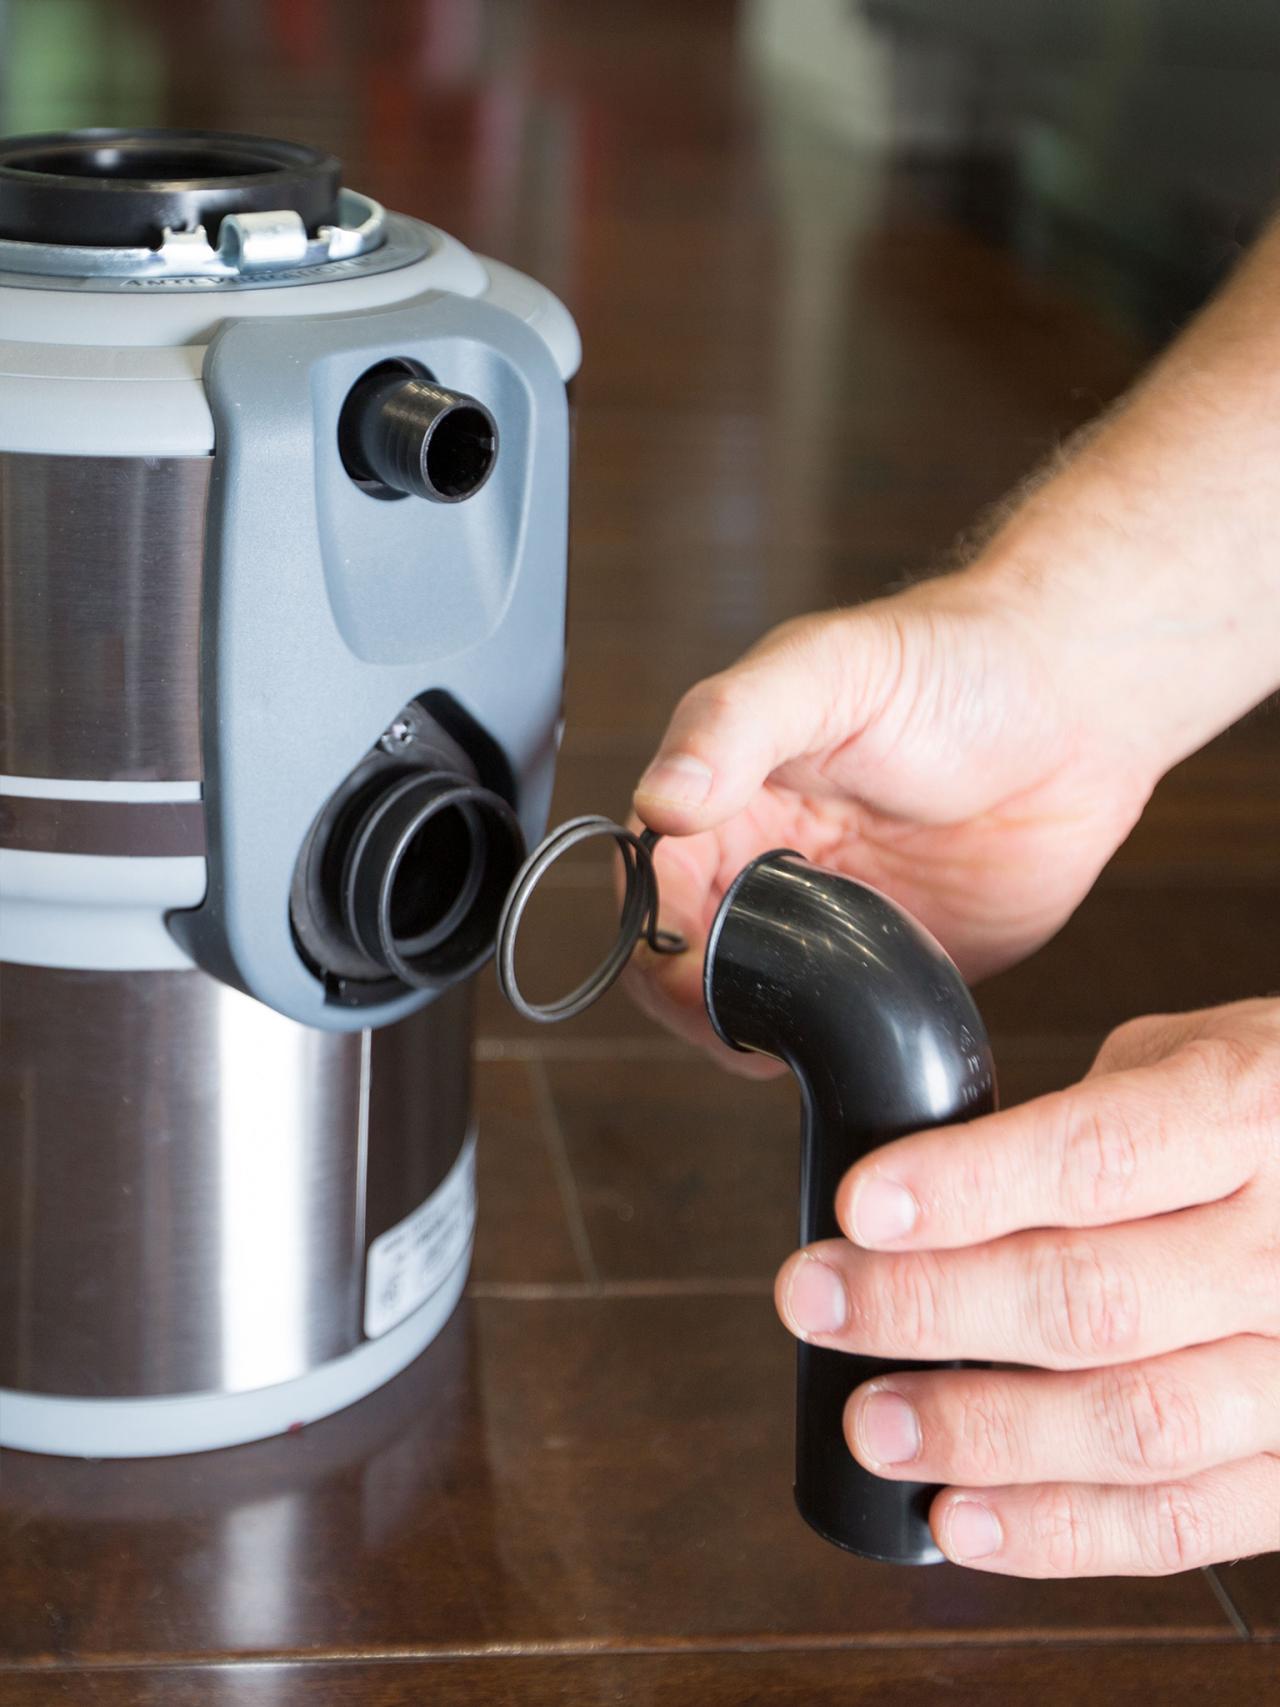
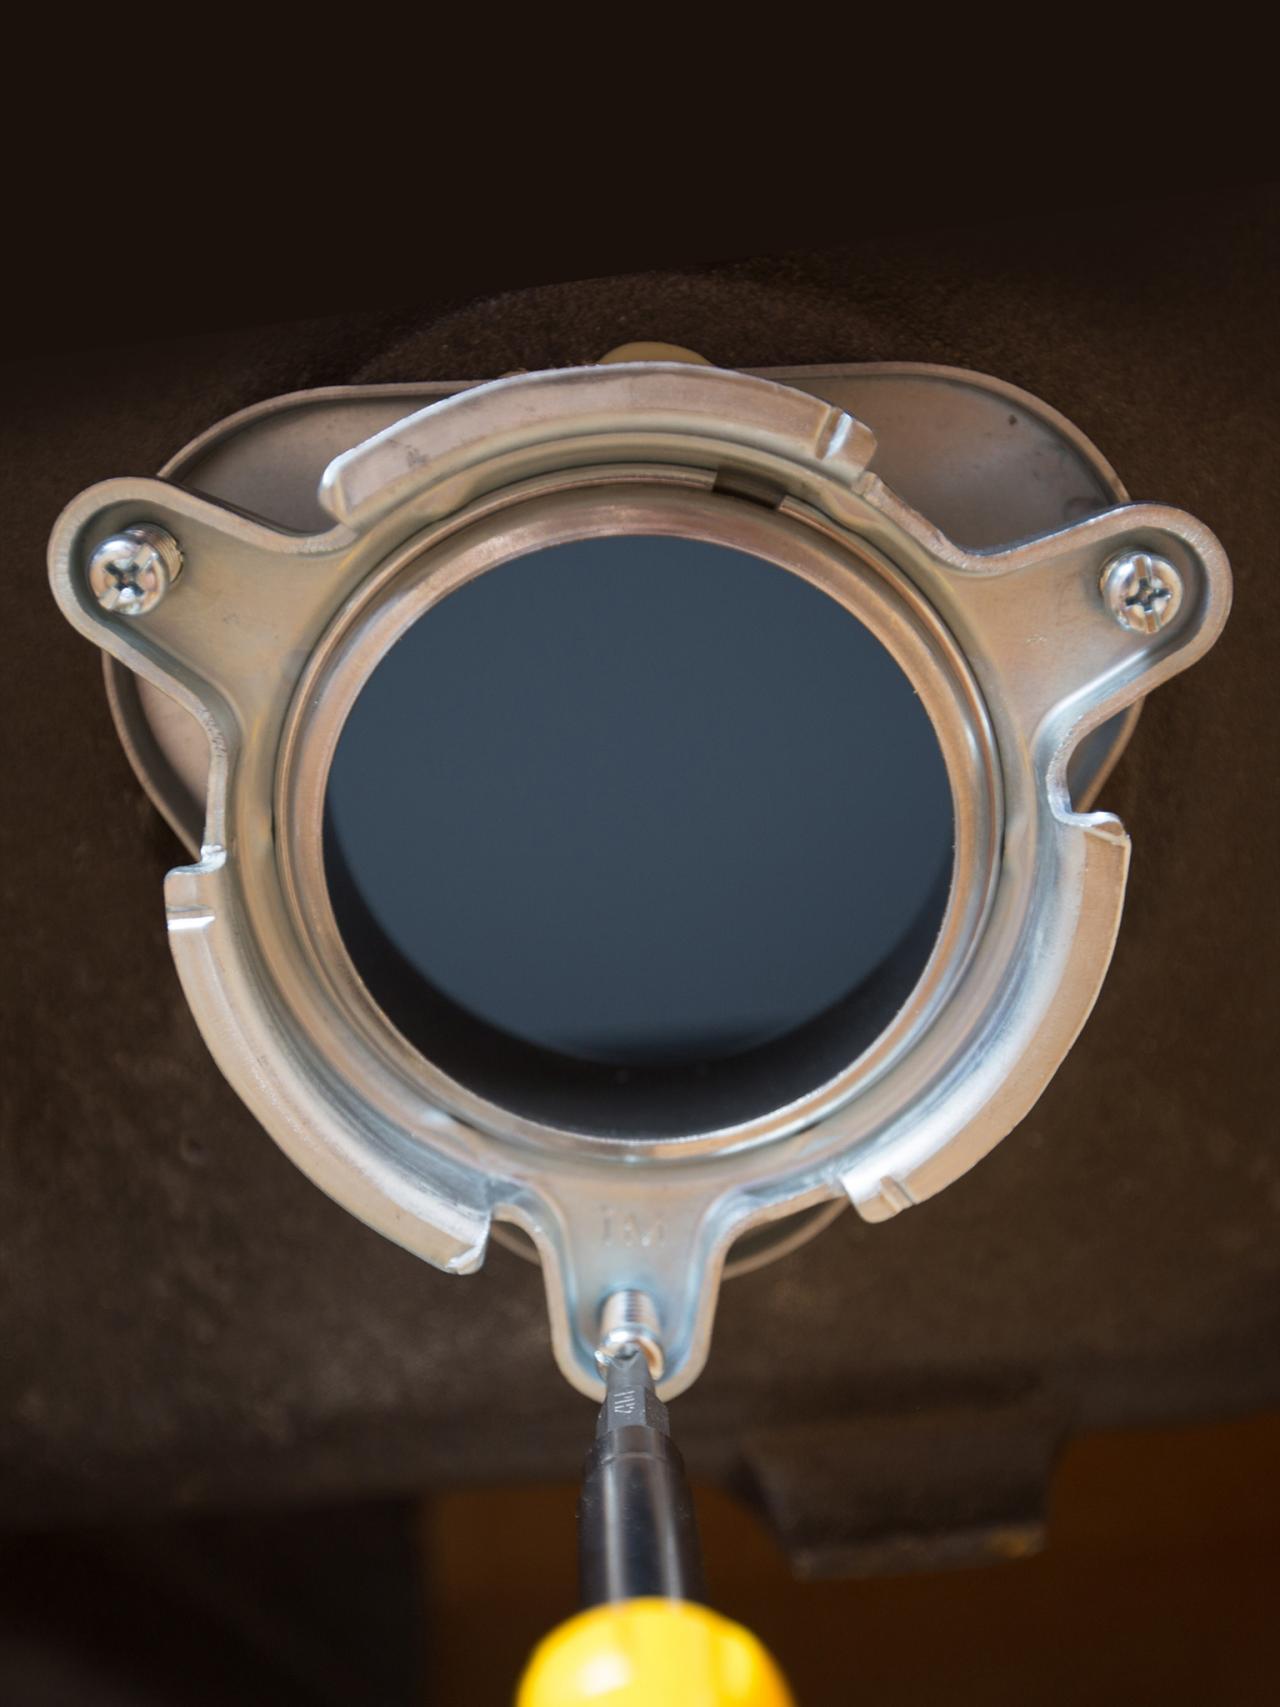
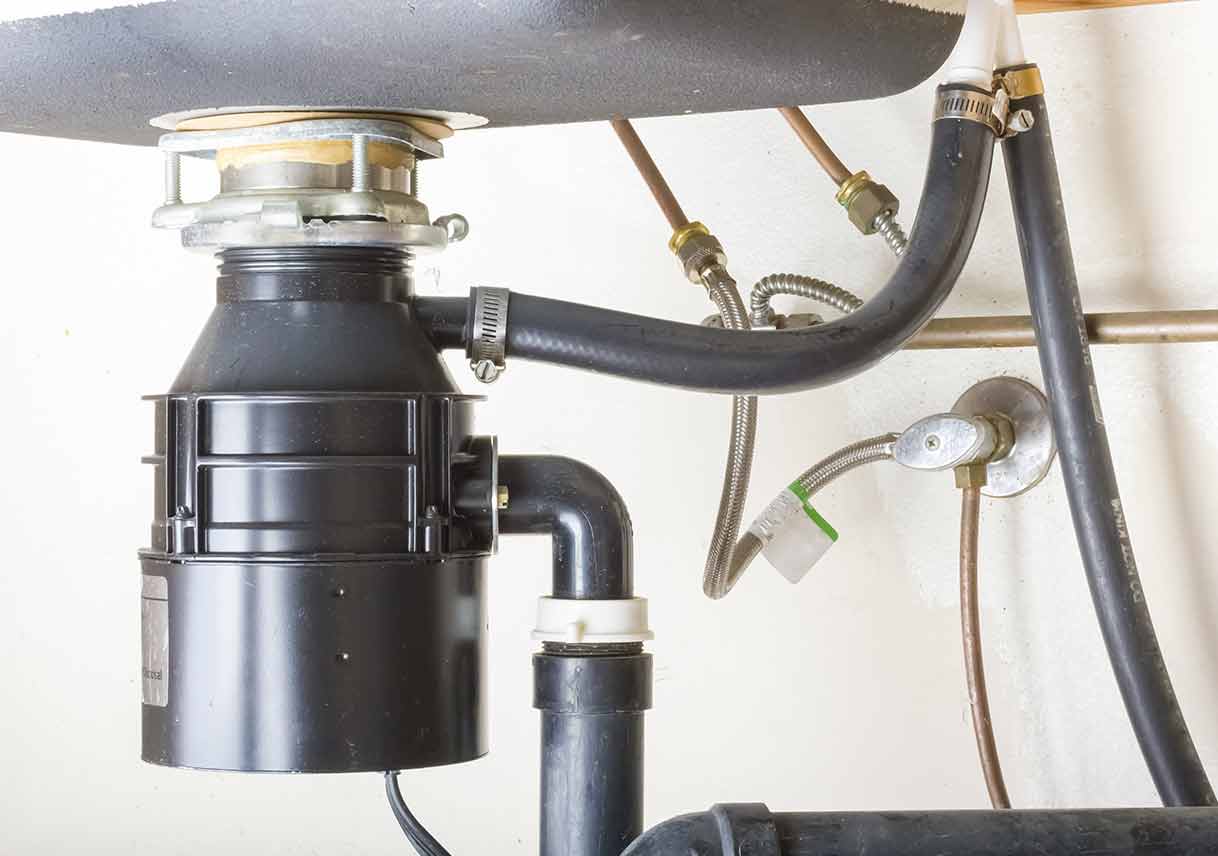
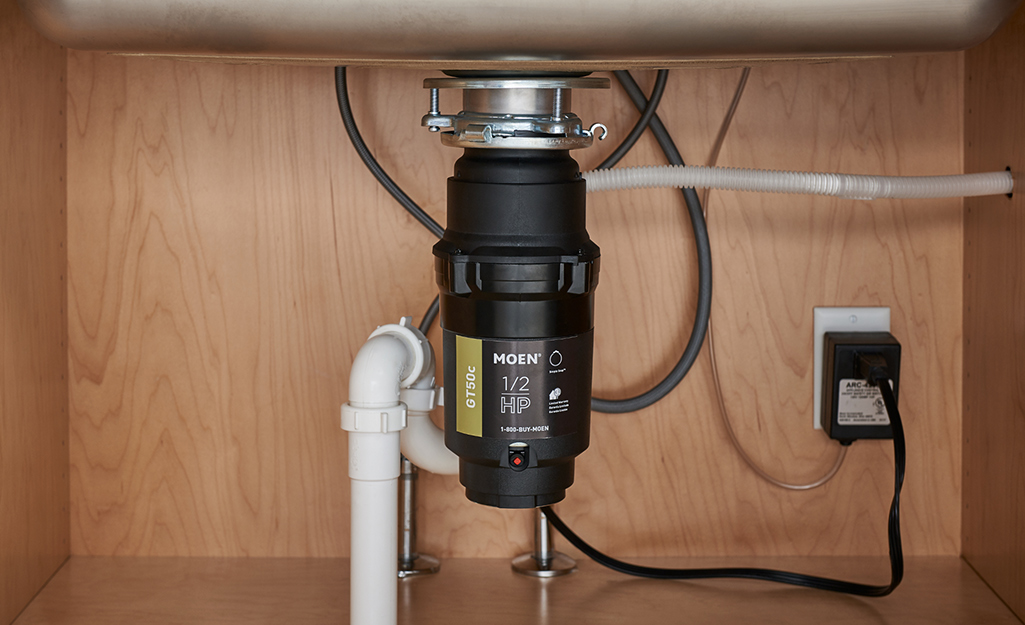
Adding a garbage disposal to your kitchen sink can make clean-up a breeze. Follow these easy steps to install a garbage disposal in your home. Step 1: Prepare the Area Before you begin, make sure to turn off the power to the area where you will be working. This may involve turning off the circuit breaker or unplugging the power source. Then, remove any old plumbing pieces or debris from under the sink. Step 2: Attach the Mounting Bracket Place the mounting bracket onto the drain hole and secure it in place with the screws provided. Make sure it is centered and level. Step 3: Mount the Disposal Unit Place the disposal unit onto the mounting bracket and twist it into place. Use a screwdriver to secure it in place. Step 4: Attach the Drain Pipe Connect the drain pipe to the disposal unit, making sure to tighten the connection with a wrench. Then, attach the other end of the pipe to the main drain line. Step 5: Connect the Power Plug in the power source or turn the circuit breaker back on. Test the disposal by running water and turning it on. Step 6: Troubleshoot if Necessary If the disposal is not working properly, check the reset button on the bottom of the unit. If it continues to not work, you may need to call a professional plumber.How to Install a Garbage Disposal
How to Install a Garbage Disposal


:max_bytes(150000):strip_icc()/garbage-disposal-installation-1824830-hero-1dcd7b5b05d44a2cb367e31692500c8c.jpg)


Replacing a kitchen sink drain may be necessary if the current one is damaged or leaking. Follow these steps to successfully replace a kitchen sink drain. Step 1: Remove the Old Drain Start by removing all old plumbing pieces and debris from under the sink. Then, use a wrench to loosen and remove the drain body from the drain hole. Step 2: Clean the Area Thoroughly clean the area around the drain hole, removing any old sealant or putty. Step 3: Apply Plumber's Putty Roll a thin rope of plumber's putty and place it around the bottom of the new drain flange. This will create a watertight seal. Step 4: Install the New Drain Place the new drain flange into the drain hole and press down gently. Wipe away any excess putty. Step 5: Connect the Drain Body From underneath the sink, screw the drain body onto the flange until it is snug. Use a wrench to tighten it if necessary. Step 6: Attach the P-Trap Attach the P-trap to the drain body and the main drain line. Use a wrench to tighten the connections and check for leaks. Step 7: Test the Drain Run water into the sink and check for any leaks. If everything looks good, you have successfully replaced your kitchen sink drain.How to Replace a Kitchen Sink Drain


How to Replace a Kitchen Sink Drain
:no_upscale()/cdn.vox-cdn.com/uploads/chorus_asset/file/19495086/drain_0.jpg)


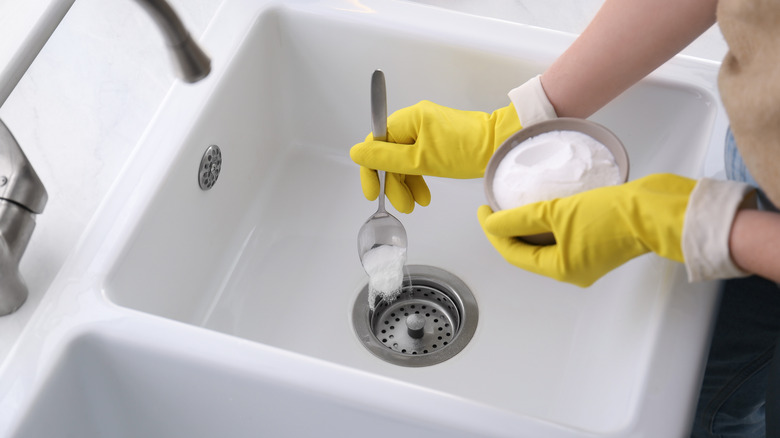
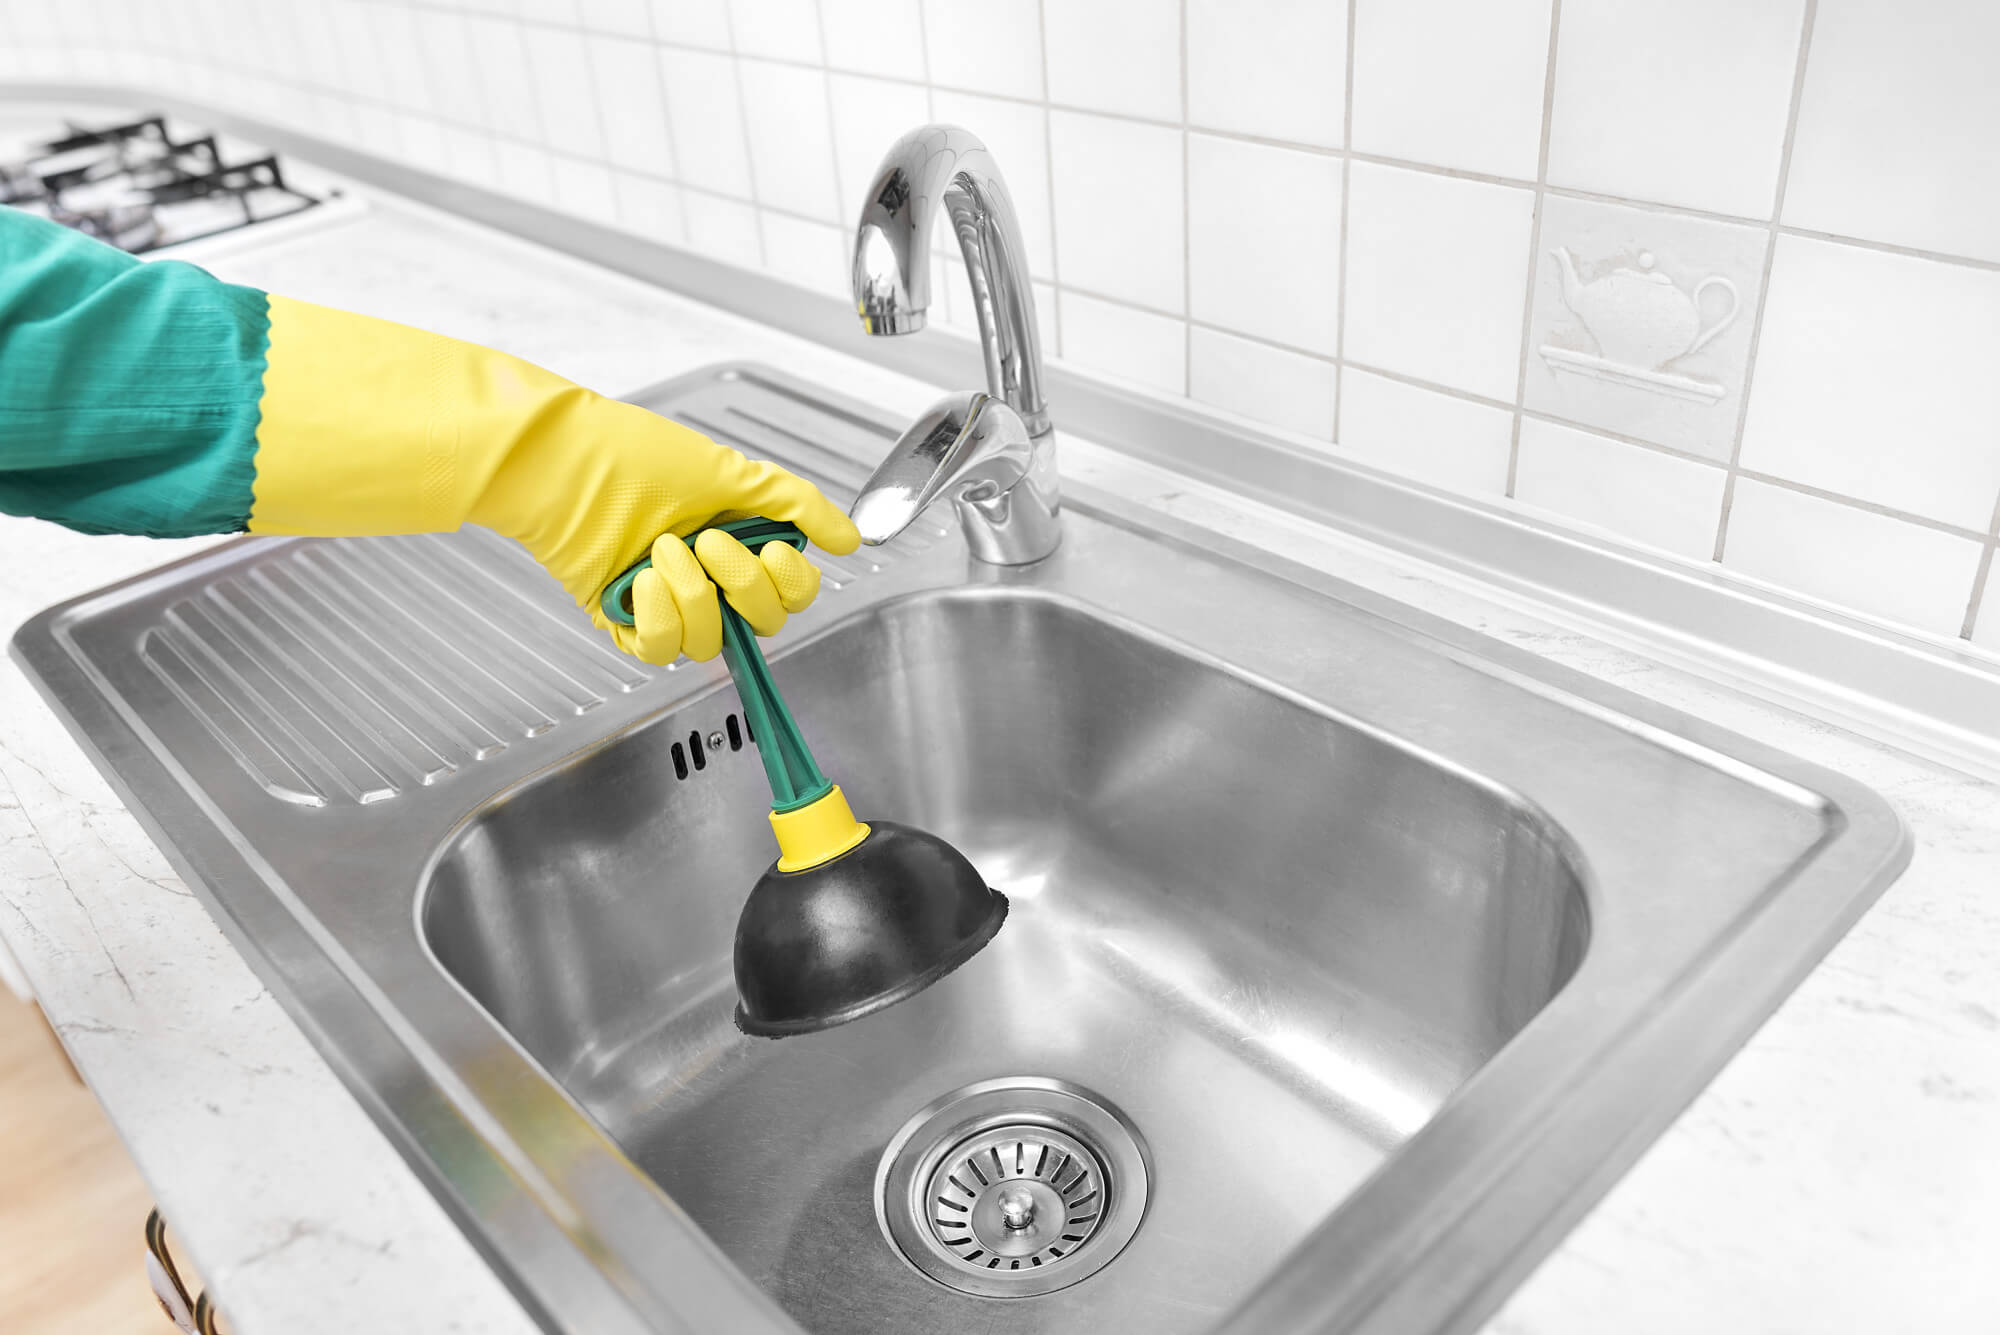
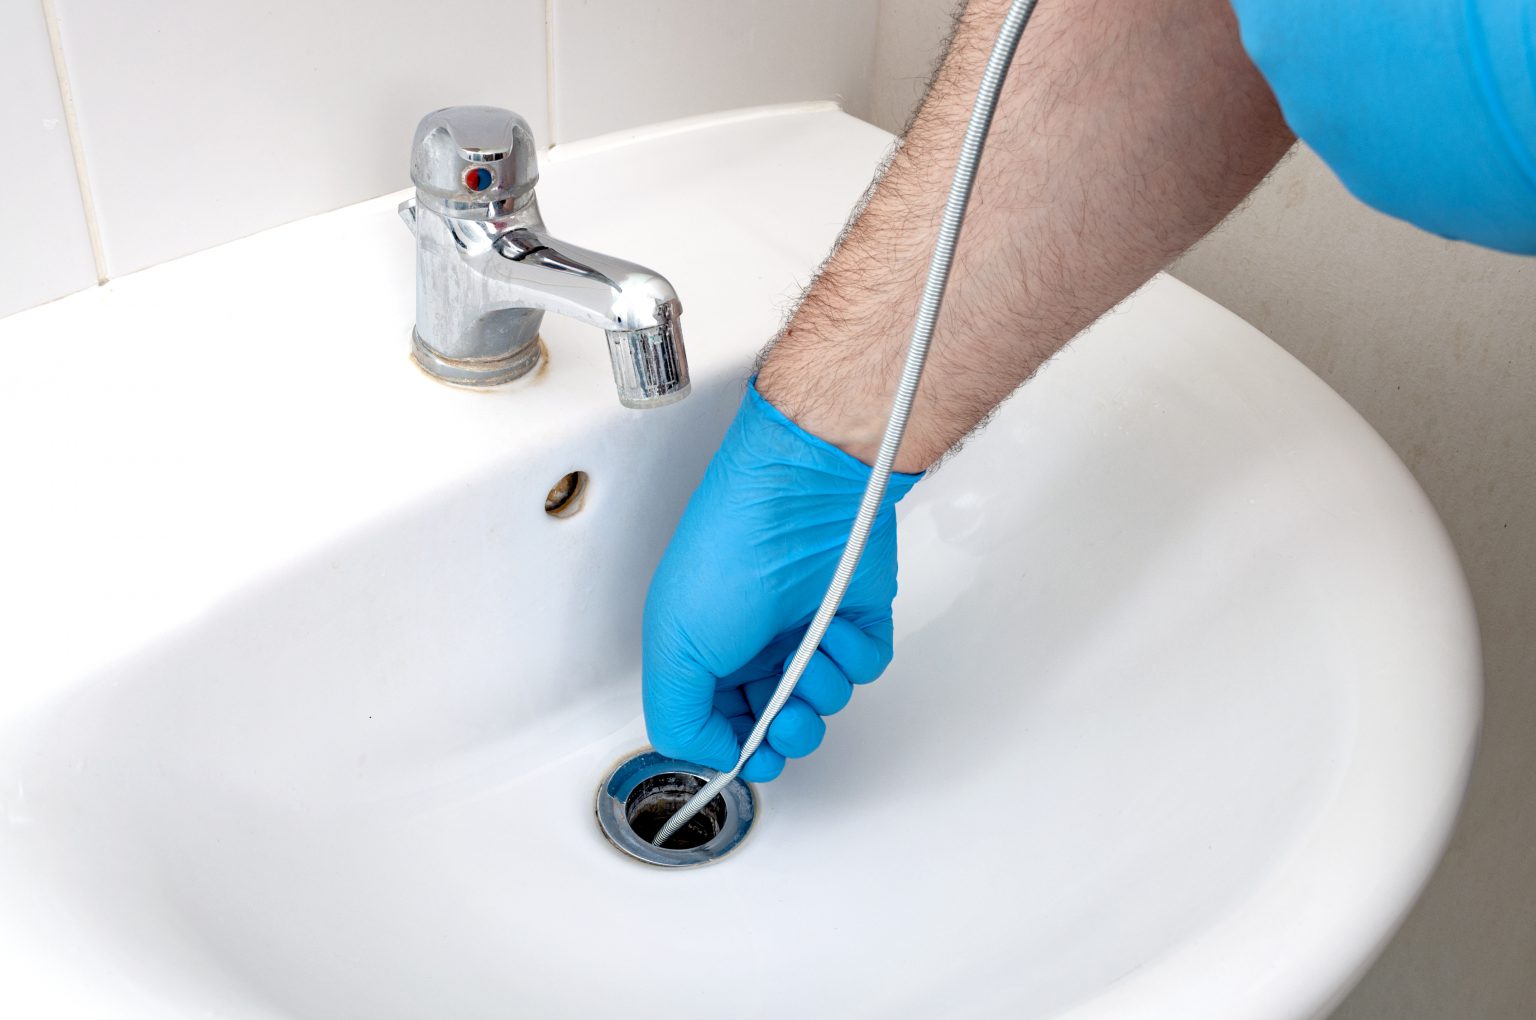
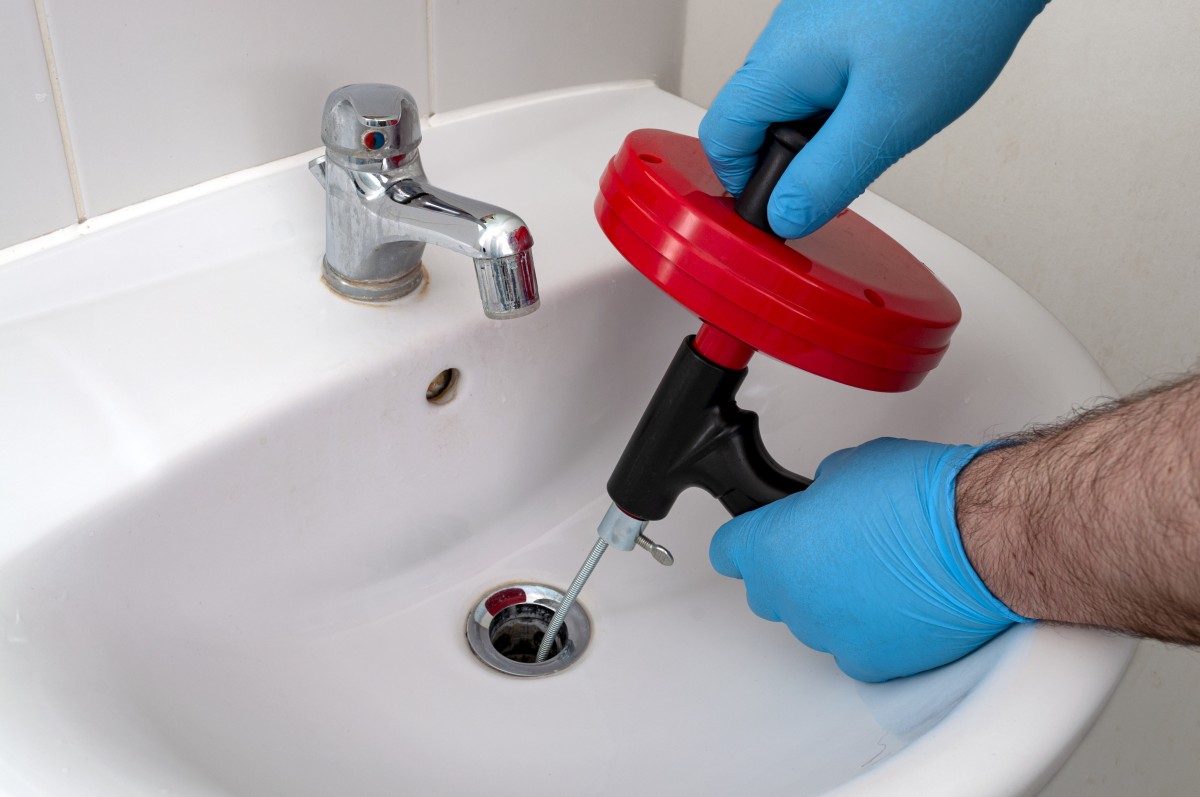
A clogged kitchen sink drain can be a major inconvenience. Follow these steps to easily unclog your kitchen sink drain. Step 1: Remove Debris Start by removing any visible debris from the drain, such as food scraps or hair. Step 2: Try a Plunger Place a plunger over the drain and push down and pull up several times to create suction. This may help loosen the clog. Step 3: Use a Drain Snake If the plunger does not work, try using a drain snake to push through the clog and break it up. Step 4: Try a Homemade Solution If the clog is not too severe, you can try pouring a mixture of hot water, vinegar, and baking soda down the drain to break up the clog. Step 5: Call a Professional If none of these methods work, it may be time to call a professional plumber to unclog your kitchen sink drain.How to Unclog a Kitchen Sink Drain


How to Unclog a Kitchen Sink Drain

:max_bytes(150000):strip_icc()/freshen-and-unclog-drain-with-baking-soda-1900466-22-bbf940b70afa4d5abef0c54da23b1d3f.jpg)


A leaky kitchen sink drain can cause damage to your cabinets and floors if left untreated. Follow these steps to fix a leaky kitchen sink drain. Step 1: Identify the Source of the Leak First, determine where the leak is coming from. It could be from a loose connection, a damaged gasket, or a cracked pipe. Step 2: Tighten Connections If the leak is coming from a loose connection, use a wrench to tighten it and stop the leak. Step 3: Replace Gasket or O-Ring If the leak is coming from a damaged gasket or o-ring, you will need to replace it. Make sure to turn off the water supply before removing the old gasket and installing the new one. Step 4: Repair Cracked Pipe If the leak is coming from a cracked pipe, you may need to replace the entire section of pipe. This may require the help of a professional plumber. Step 5: Test for Leaks Once the repairs are made, turn the water supply back on and test for any remaining leaks. If there are none, you have successfully fixed your leaky kitchen sink drain.How to Fix a Leaky Kitchen Sink Drain


How to Fix a Leaky Kitchen Sink Drain


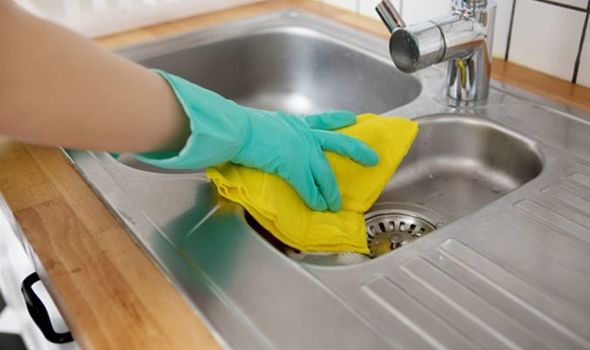
Cleaning your kitchen sink drain is an important part of maintaining a hygienic kitchen. Follow these steps to effectively clean your kitchen sink drain. Step 1: Remove Debris Start by removing any visible debris from the drain, such as food scraps or hair. Step 2: Use a Plunger Place a plunger over the drain and push down and pull up several times to create suction. This will help remove any built-up debris in the drain. Step 3: Pour Boiling Water Down the Drain Boil a pot of water and carefully pour it down the drain. This will help break up any grease or oils that may be clogging the drain. Step 4: Use a Homemade Solution If your drain still appears dirty or smelly, try pouring a mixture of hot water, vinegar, and baking soda down the drain. Let it sit for a few minutes before rinsing with hot water. Step 5: Regular Maintenance To prevent future clogs and buildup, make sure to regularly clean your kitchen sink drain by pouring hot water down it once a week.How to Clean a Kitchen Sink Drain


How to Clean a Kitchen Sink Drain


:max_bytes(150000):strip_icc()/how-to-clean-a-kitchen-sink-and-drain-01-5660035-a1d8afe3894346f9a579e66c55e64b7d.jpg)
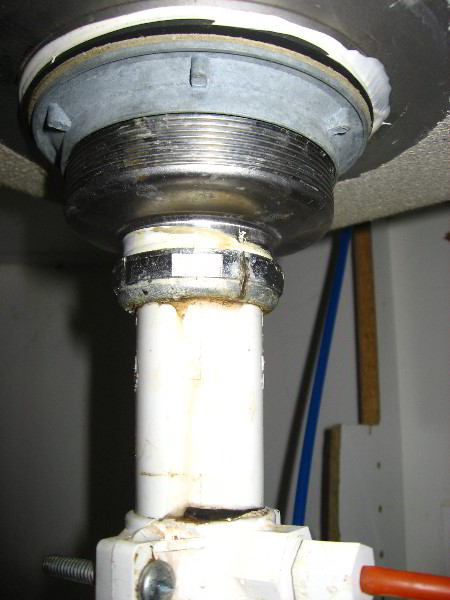
If you need to replace your kitchen sink drain or perform other repairs, you may need to remove the existing drain. Follow these steps to successfully remove a kitchen sink drain. Step 1: Clear the Area Start by removing any old plumbing pieces and debris from under the sink. Step 2: Disconnect the P-Trap Use a wrench to loosen and disconnect the P-trap from the main drain line. Have a bucket or towel handy to catch any water that may spill out. Step 3: Remove the Drain Body Using a wrench, unscrew the drain body from the bottom of the sink. This may take some force, so be patient and careful. Step 4: Remove the Drain Flange Once the drain body is removed, you should be able to easily remove the drain flange from the top of the sink. Step 5: Clean the Area Thoroughly clean the area around the drain hole, removing any old sealant or putty. Step 6: Repeat Steps in Reverse To reinstall the drain, simply repeat the steps in reverse, starting with applying plumber's putty to the new drain flange.How to Remove a Kitchen Sink Drain


How to Remove a Kitchen Sink Drain


If your kitchen sink drain is damaged or leaking, you may be able to repair it rather than replacing it. Follow these steps to successfully repair a kitchen sink drain. Step 1: Identify the Problem First, determine the source of the problem. It could be a loose connection, a damaged gasket, or a cracked pipe. Step 2: Tighten Connections If the issue is a loose connection, use a wrench to tighten it and stop the leak. Step 3: Replace Gasket or O-Ring If the issue is a damaged gasket or o-ring, you will need to replace it. Make sure to turn off the water supply before removing the old gasket and installing the new one. Step 4: Repair Cracked Pipe If the issue is a cracked pipe, you may be able to repair it with a patch or sealant. If the damage is extensive, you may need to replace the entire section of pipe. Step 5: Test for Leaks Once the repairs are made, turn the water supply back on and test for any remaining leaks. If there are none, you have successfully repaired your kitchen sink drain.How to Repair a Kitchen Sink Drain

How to Repair a Kitchen Sink Drain


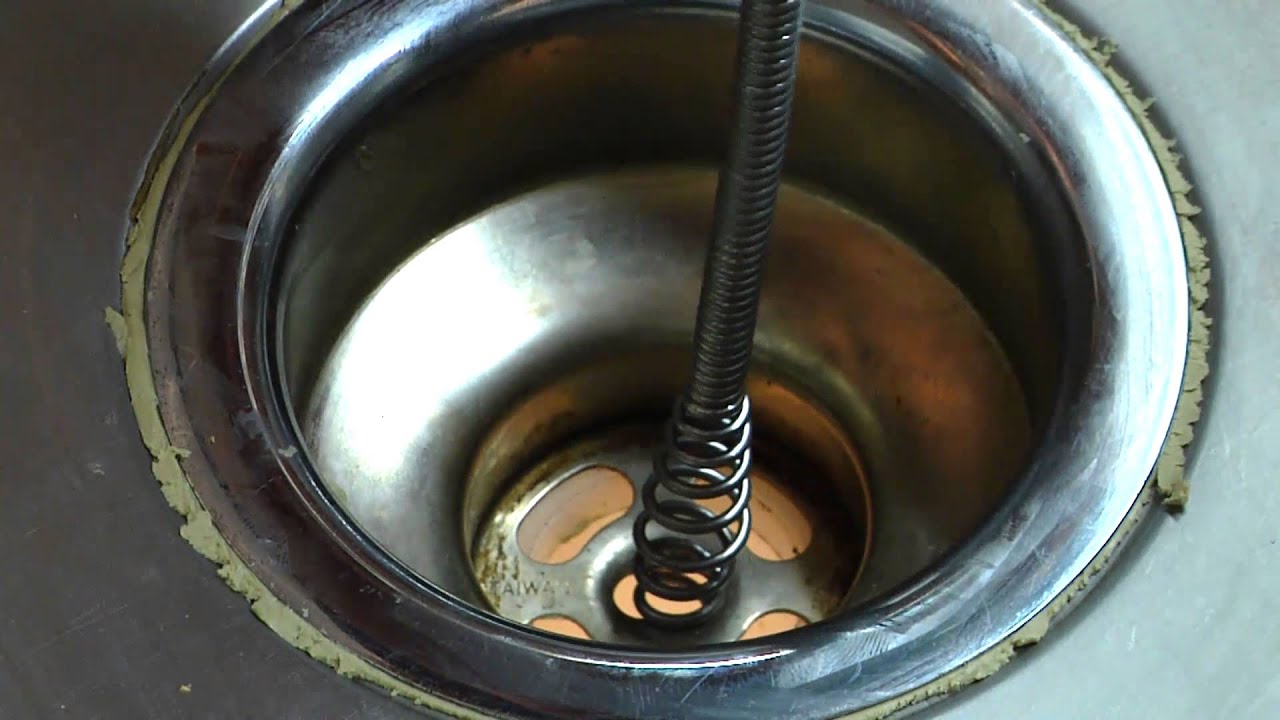
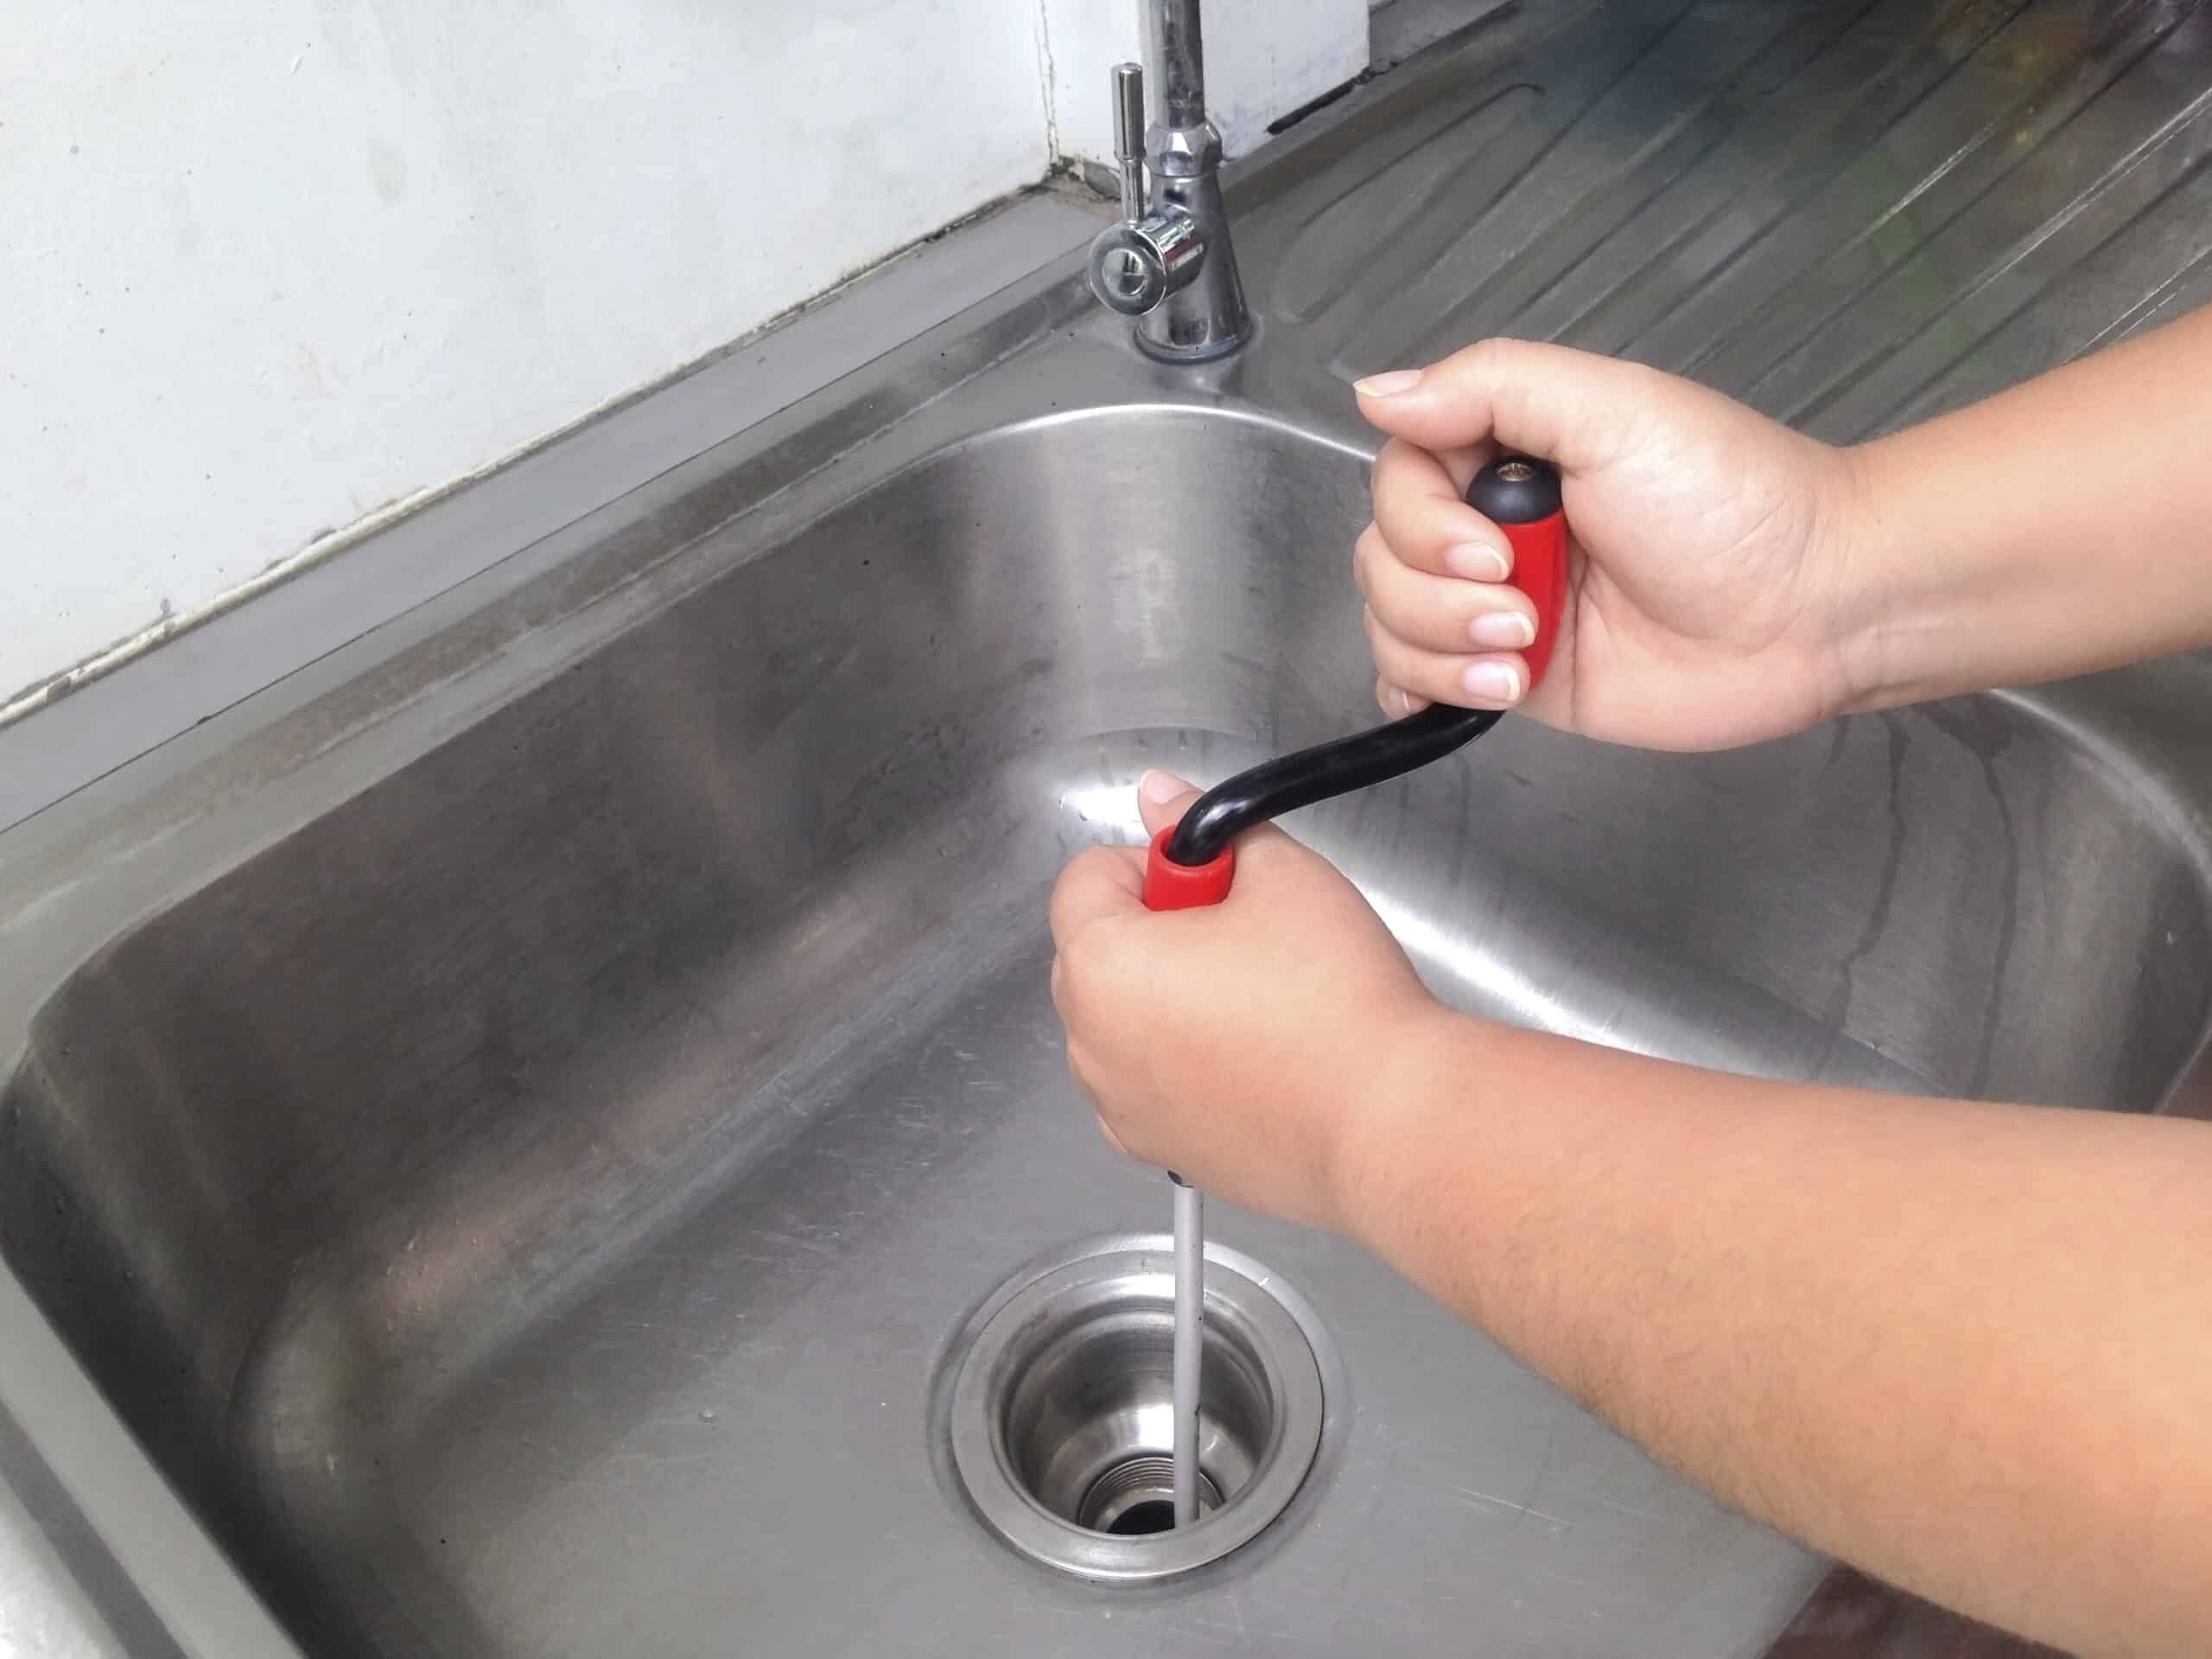
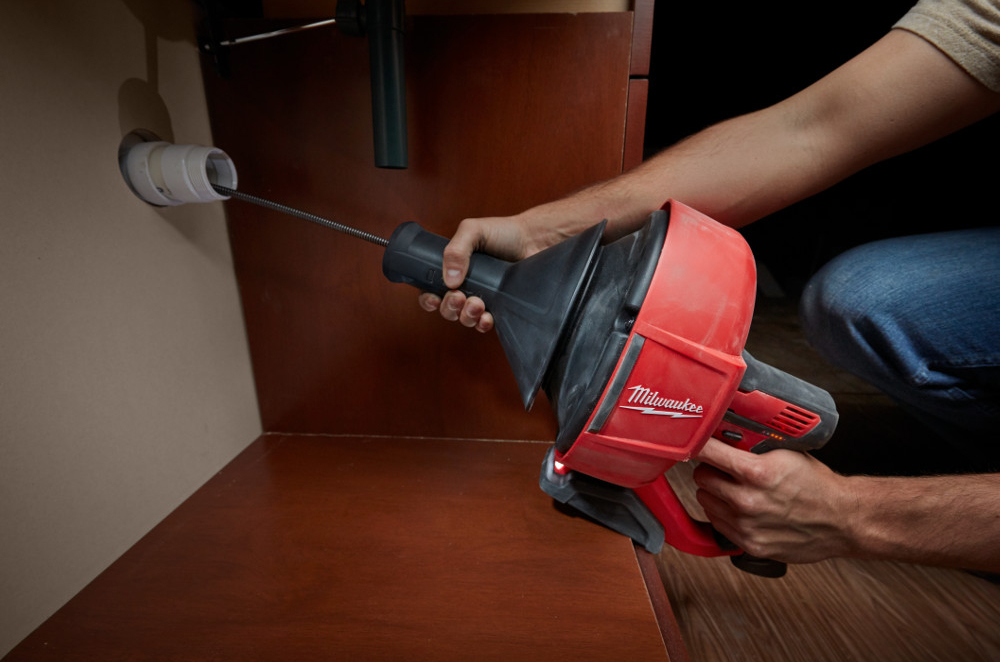
If your kitchen sink drain is clogged, using a drain snake can help remove the blockage. Follow these steps to successfully snake a kitchen sink drain. Step 1: Prepare the Area Before you begin, make sure to clear the area around the drain and remove any debris or standing water. Step 2: Insert the Snake Insert the end of the snake into the drain and begin slowly turning the handle to push it further into the pipe. Step 3: Break Up the Clog Once the snake reaches the clog, continue turning the handle to break it up and push it through the pipe. Step 4: Remove the Snake Once the clog has been broken up, slowly pull the snake out of the drain, being careful not to spill any debris. Step 5: Test the Drain Run water into the sink and check to see if the clog has been cleared. If not, you may need to repeat the process or call a professional plumber.How to Snake a Kitchen Sink Drain


How to Snake a Kitchen Sink Drain


Kitchen Sink Plumbing: The Importance of Proper Drainage and Disposal

The Role of Plumbing in House Design
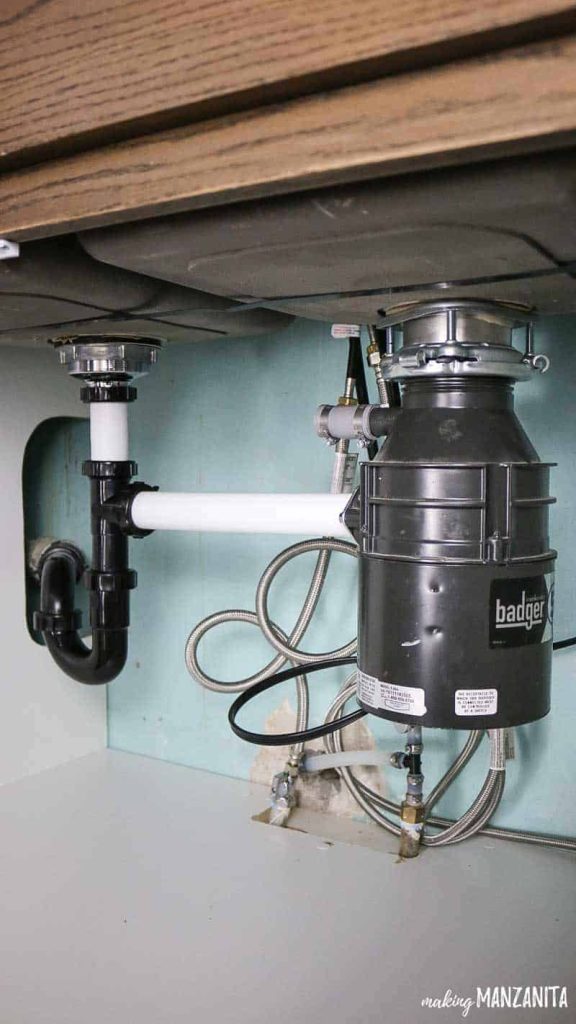
 Plumbing is an essential aspect of house design, providing a safe and efficient way to supply water and remove waste. In the kitchen, the plumbing system is responsible for ensuring that water flows smoothly to the sink and that waste is properly disposed of through the drain. When it comes to the kitchen sink, it is important to have a proper drainage system in place, especially if you have a disposal unit installed. Let's take a closer look at kitchen sink plumbing, specifically single drain with disposal, and why it is crucial for a well-functioning kitchen.
The Benefits of a Single Drain with Disposal
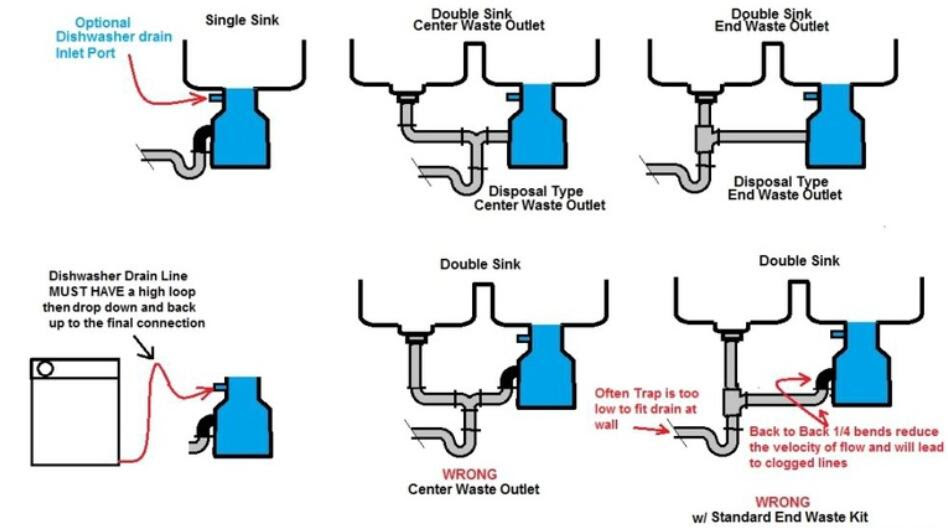
 A single drain with disposal means that all the wastewater from your kitchen sink, including food scraps, flows through one main drain. This type of plumbing setup is not only more efficient, but it also saves space and reduces the chances of clogs or leaks. With a disposal unit, food scraps can be ground up and flushed down the drain, eliminating the need for a separate garbage disposal system. This not only saves time and effort, but also helps to keep your kitchen smelling fresh and clean.
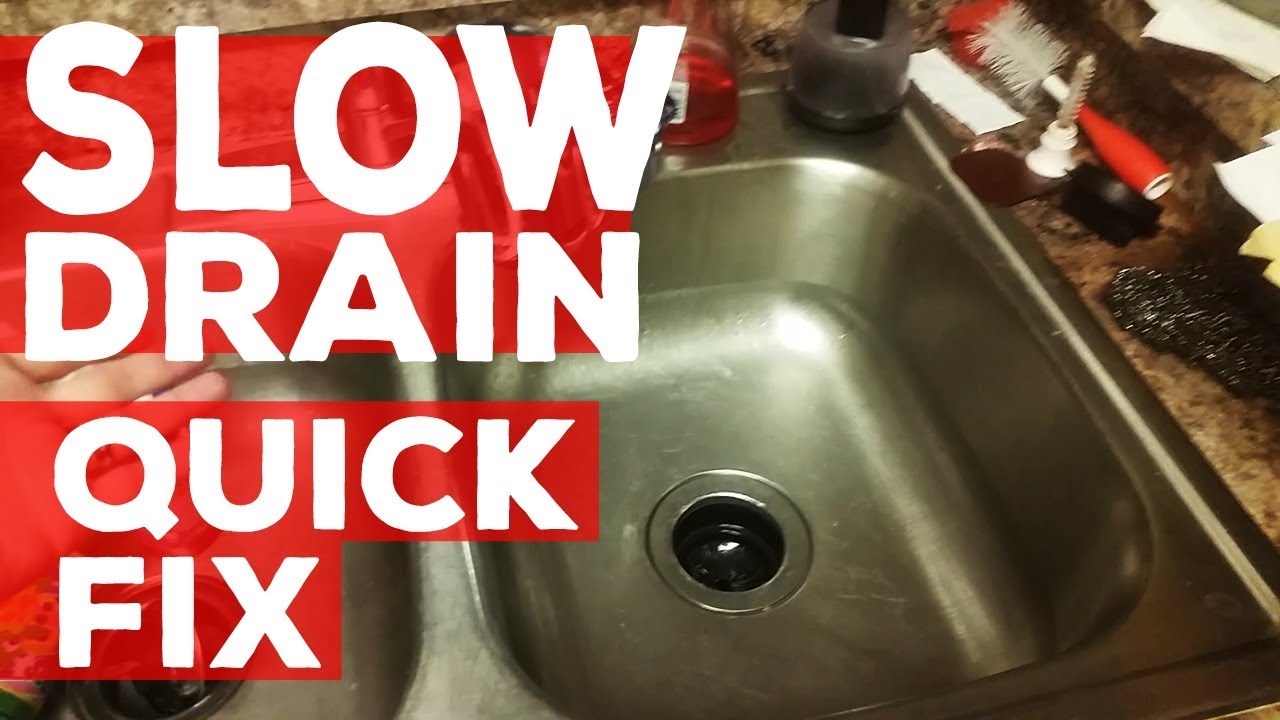
The Importance of Proper Drainage
/how-to-install-a-sink-drain-2718789-hero-24e898006ed94c9593a2a268b57989a3.jpg) Having a well-designed and properly functioning drainage system is essential for any kitchen sink. Without it, you may experience slow draining, clogs, and even foul odors. This is especially true if you have a disposal unit, as food particles can easily get stuck in the pipes and cause blockages. In addition, improper drainage can also lead to water damage and mold growth, which can be costly and hazardous to your health.
Having a well-designed and properly functioning drainage system is essential for any kitchen sink. Without it, you may experience slow draining, clogs, and even foul odors. This is especially true if you have a disposal unit, as food particles can easily get stuck in the pipes and cause blockages. In addition, improper drainage can also lead to water damage and mold growth, which can be costly and hazardous to your health.
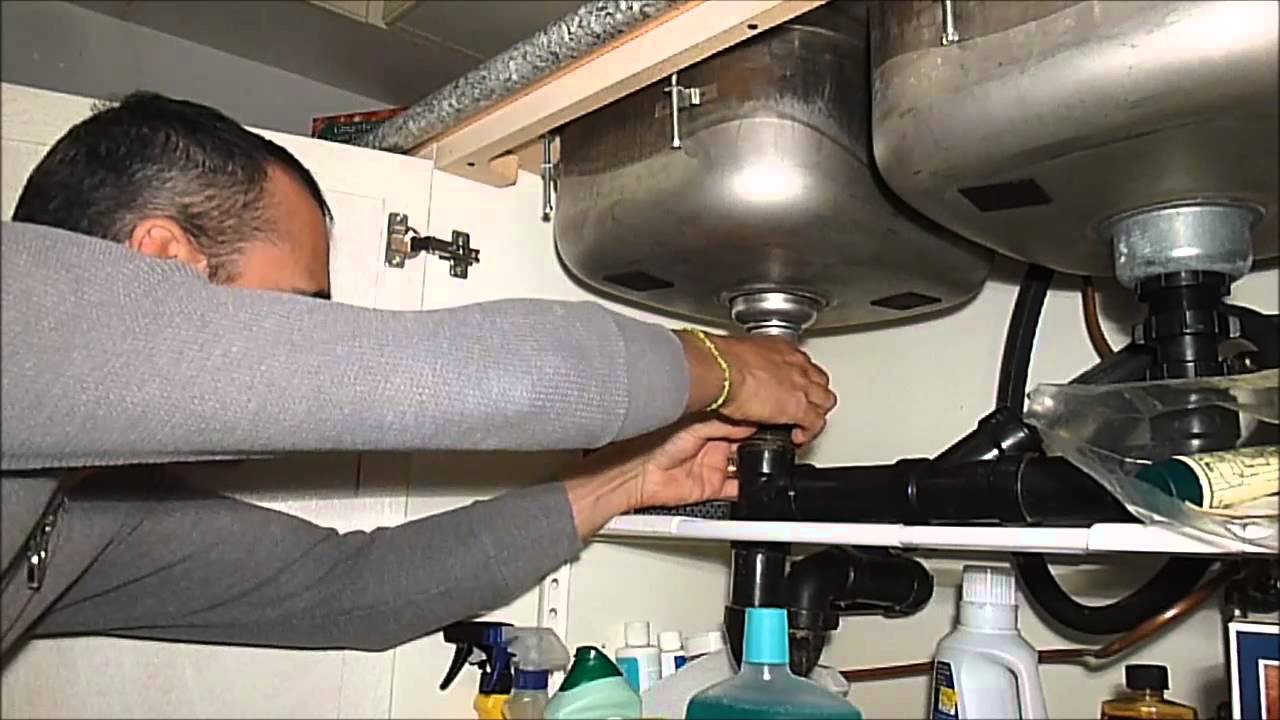
The Role of Professional Installation
 When it comes to kitchen sink plumbing, it is best to leave it to the professionals. A licensed plumber can ensure that your single drain with disposal is installed correctly and meets all safety and building codes. They can also help you choose the right materials and equipment for your specific needs, as well as provide maintenance and repair services to keep your plumbing system running smoothly.
In Conclusion
 Proper kitchen sink plumbing, including a single drain with disposal, is crucial for the overall functionality and hygiene of your kitchen. It is important to prioritize this aspect of house design and seek professional help for installation and maintenance. With a well-designed and properly functioning plumbing system, you can enjoy a clean and efficient kitchen for years to come.