Installing a kitchen sink j clip may seem like a daunting task, but with the right tools and knowledge, it can be a simple and straightforward process. In this guide, we will walk you through the steps of installing a kitchen sink j clip, ensuring that your sink stays securely in place for years to come.How to Install a Kitchen Sink J Clip


How to Install a Kitchen Sink J Clip


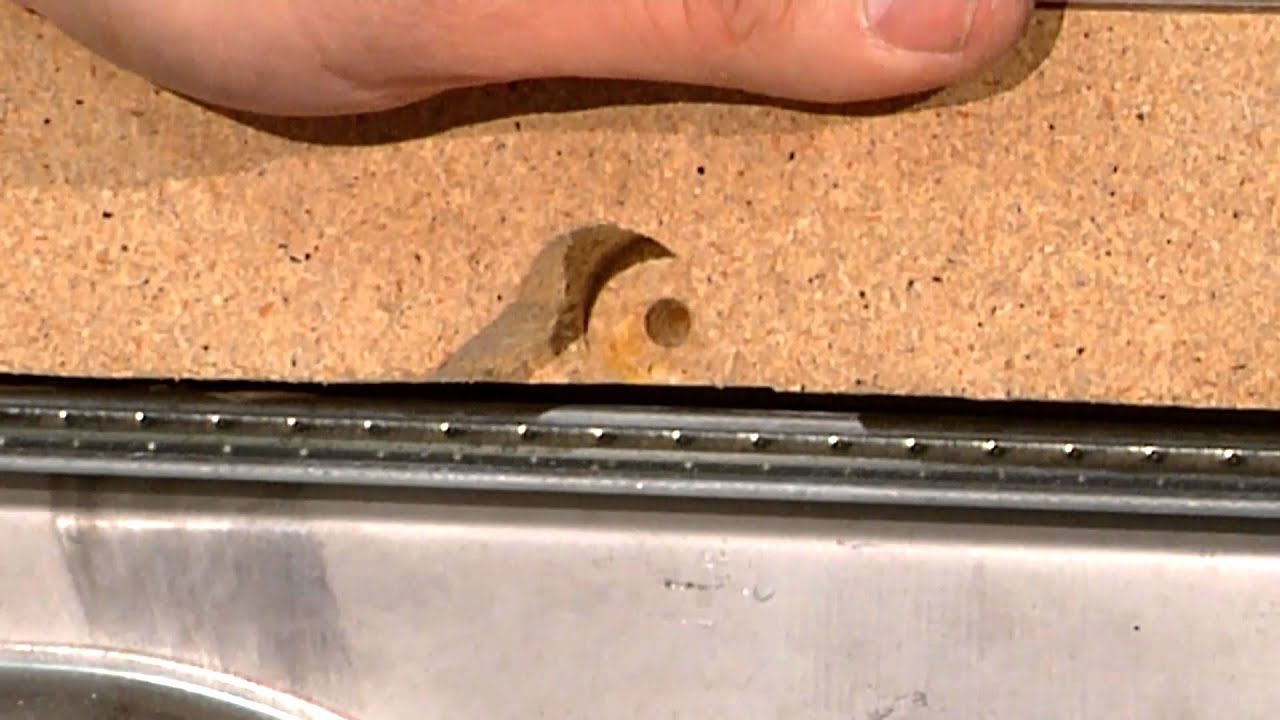
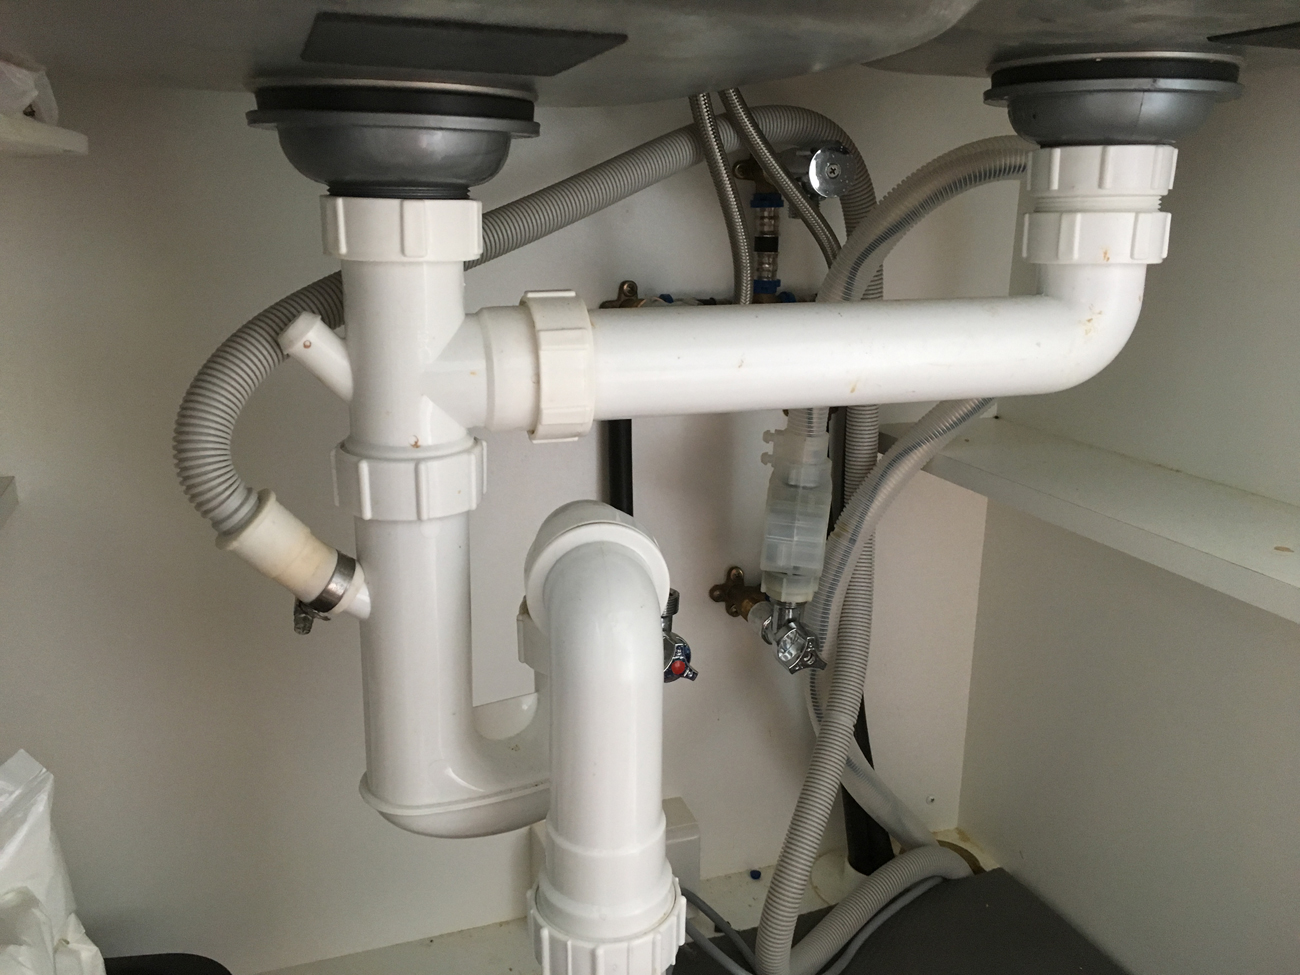
If you are installing a new kitchen sink, it is important to also install a j clip to secure it in place. Here's a step-by-step guide on how to install a kitchen sink j clip: Step 1: Start by measuring the length and width of your sink's rim. This will determine the size of the j clip you will need. Step 2: Use a jigsaw to cut a groove in the countertop where the sink will be placed. This will allow the j clip to fit snugly into the groove. Step 3: Place the j clip into the groove, making sure it is centered and level. Step 4: Drill pilot holes through the j clip and into the countertop. This will help prevent the wood from splitting when you screw in the j clip. Step 5: Secure the j clip in place with screws, making sure it is tightly fastened to the countertop. Step 6: Place the sink into the j clip and press down firmly to ensure it is secure. Step 7: Attach the sink to the countertop with the appropriate hardware provided by the manufacturer. Step 8: Apply a bead of caulk around the edge of the sink to prevent water from seeping underneath. Step 9: Let the caulk dry completely before using the sink.Step-by-Step Guide for Installing a Kitchen Sink J Clip


Step-by-Step Guide for Installing a Kitchen Sink J Clip


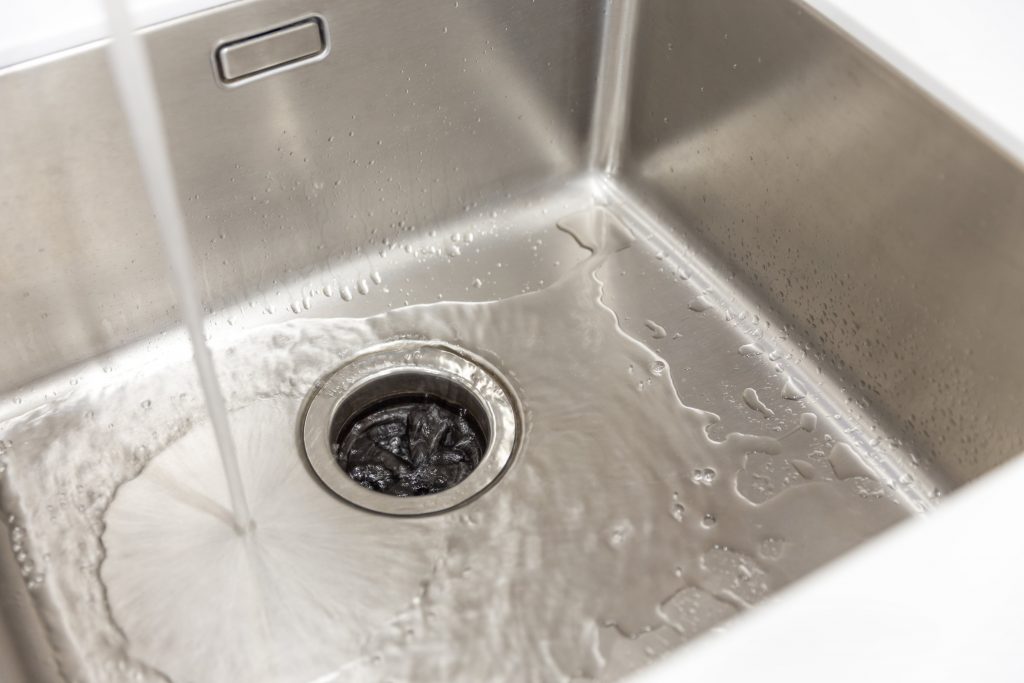
:no_upscale()/cdn.vox-cdn.com/uploads/chorus_asset/file/19495086/drain_0.jpg)

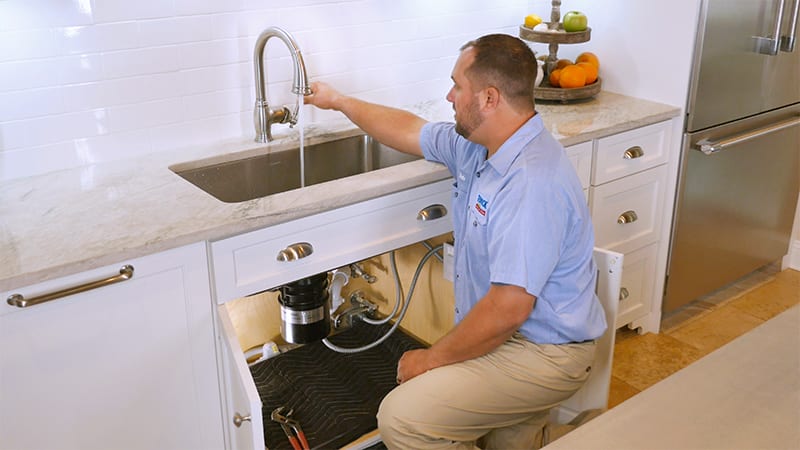
Here are some tips to make your kitchen sink j clip installation process even easier: Tip 1: Use a silicone caulk instead of a latex-based caulk for better water resistance. Tip 2: Place a weight, such as a bag of rice, on top of the sink while the caulk dries to ensure a tight seal. Tip 3: If your sink has a garbage disposal, make sure to install the j clip before installing the disposal.Easy Kitchen Sink J Clip Installation Tips


Easy Kitchen Sink J Clip Installation Tips


If you prefer visual instructions, here is a helpful DIY tutorial video on how to install a kitchen sink j clip: (Insert video here)DIY Kitchen Sink J Clip Installation Tutorial


DIY Kitchen Sink J Clip Installation Tutorial


Here are the tools you will need to successfully install a kitchen sink j clip: - Jigsaw - Drill - Screws - Silicone caulk - ScrewdriverTools Needed for Installing a Kitchen Sink J Clip


Tools Needed for Installing a Kitchen Sink J Clip


Follow these best practices to ensure a smooth and successful kitchen sink j clip installation: - Measure twice, cut once. It is important to accurately measure the size of your sink's rim and the groove to ensure a proper fit for the j clip. - Use the appropriate tools. Using the wrong tools can lead to a faulty installation and potential damage to your sink or countertop. - Read the manufacturer's instructions. Make sure to follow the specific instructions provided by the manufacturer of your sink and j clip for the best results.Best Practices for Installing a Kitchen Sink J Clip


Best Practices for Installing a Kitchen Sink J Clip


Here are some common mistakes to avoid when installing a kitchen sink j clip: - Not measuring accurately. As mentioned before, accurate measurements are crucial for a successful installation. - Skipping the pilot holes. Skipping this step can cause the wood to split and compromise the stability of your sink. - Not securing the j clip tightly enough. A loose j clip can cause your sink to shift and potentially lead to leaks or damage.Common Mistakes to Avoid When Installing a Kitchen Sink J Clip


Common Mistakes to Avoid When Installing a Kitchen Sink J Clip


Here are some expert tips from professionals to help you with your kitchen sink j clip installation: - Use a carpenter's level. This will ensure that your j clip is perfectly level, preventing any future issues with the sink's stability. - Apply a generous amount of caulk. This will help prevent any water from seeping underneath the sink and causing damage. - Have a helper. Installing a j clip can be a two-person job, especially if your sink is heavy.Expert Tips for Installing a Kitchen Sink J Clip


Expert Tips for Installing a Kitchen Sink J Clip


If you prefer visual instructions, here is a helpful video tutorial on how to install a kitchen sink j clip: (Insert video here)Video Tutorial: How to Install a Kitchen Sink J Clip

Video Tutorial: How to Install a Kitchen Sink J Clip


If you encounter any issues during your kitchen sink j clip installation, here are some troubleshooting tips: - Sink not level. If your sink is not level, try adjusting the j clip and tightening the screws. - Water leaking. If you notice water leaking from the sink, double-check the caulk seal and make sure it is completely dry before using the sink. - Sink not securely in place. If your sink seems loose, check the tightness of the j clip and screws. You may also need to add more caulk around the edges. - J clip not fitting. If the j clip does not fit into the groove, it may be too big. Try using a jigsaw to widen the groove slightly. Now that you know how to install a kitchen sink j clip, you can confidently tackle this project on your own. Remember to follow these tips and best practices for a successful and secure installation. Happy DIY-ing!Troubleshooting Guide for Kitchen Sink J Clip Installation


Troubleshooting Guide for Kitchen Sink J Clip Installation


Kitchen Sink J Clip Installation: A Crucial Step in House Design
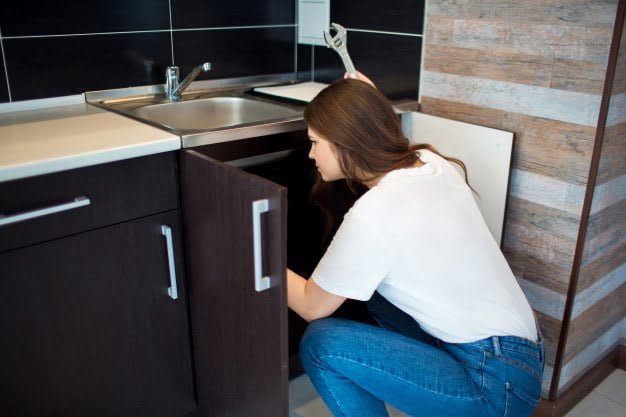
/how-to-install-a-sink-drain-2718789-hero-24e898006ed94c9593a2a268b57989a3.jpg)
Why Kitchen Sink J Clips Matter
 When it comes to designing a kitchen, every detail counts. From the appliances to the cabinets, each element plays a crucial role in creating a functional and visually appealing space. One often overlooked aspect of kitchen design is the installation of
kitchen sink J clips
. These small, but mighty clips are essential for securing the sink to the countertop and ensuring its stability. Without proper installation, the sink can become loose over time, causing leaks and potential damage to the surrounding areas. Therefore, understanding how to properly install kitchen sink J clips is crucial for any homeowner or designer.
When it comes to designing a kitchen, every detail counts. From the appliances to the cabinets, each element plays a crucial role in creating a functional and visually appealing space. One often overlooked aspect of kitchen design is the installation of
kitchen sink J clips
. These small, but mighty clips are essential for securing the sink to the countertop and ensuring its stability. Without proper installation, the sink can become loose over time, causing leaks and potential damage to the surrounding areas. Therefore, understanding how to properly install kitchen sink J clips is crucial for any homeowner or designer.
The Installation Process
 The first step in installing kitchen sink J clips is to make sure you have all the necessary tools and materials. This includes a power drill, screws, and of course, the J clips themselves. It's important to
choose J clips that are specifically designed for your sink model
to ensure a proper fit. Once you have all the materials, the next step is to determine how many J clips you will need. This will depend on the size and weight of your sink, but a general rule of thumb is to use one clip for every foot of sink length.
The first step in installing kitchen sink J clips is to make sure you have all the necessary tools and materials. This includes a power drill, screws, and of course, the J clips themselves. It's important to
choose J clips that are specifically designed for your sink model
to ensure a proper fit. Once you have all the materials, the next step is to determine how many J clips you will need. This will depend on the size and weight of your sink, but a general rule of thumb is to use one clip for every foot of sink length.
The Importance of Proper Installation
 Properly installing kitchen sink J clips is crucial for the overall stability and functionality of your sink. The clips not only secure the sink to the countertop but also help distribute the weight of the sink and its contents evenly. This helps prevent any potential damage to the sink or countertop, as well as minimize the risk of leaks. Additionally, a well-installed sink will make cleaning and maintenance easier, as there will be no wobbling or movement.
Final Thoughts
 In conclusion,
kitchen sink J clip installation should not be overlooked
in the design process. It may seem like a small detail, but it can have a big impact on the overall functionality and longevity of your kitchen sink. By following the proper installation process and using high-quality J clips, you can ensure a stable and secure sink that will last for years to come. Don't cut corners when it comes to this important step in house design, and your kitchen will thank you.
In conclusion,
kitchen sink J clip installation should not be overlooked
in the design process. It may seem like a small detail, but it can have a big impact on the overall functionality and longevity of your kitchen sink. By following the proper installation process and using high-quality J clips, you can ensure a stable and secure sink that will last for years to come. Don't cut corners when it comes to this important step in house design, and your kitchen will thank you.