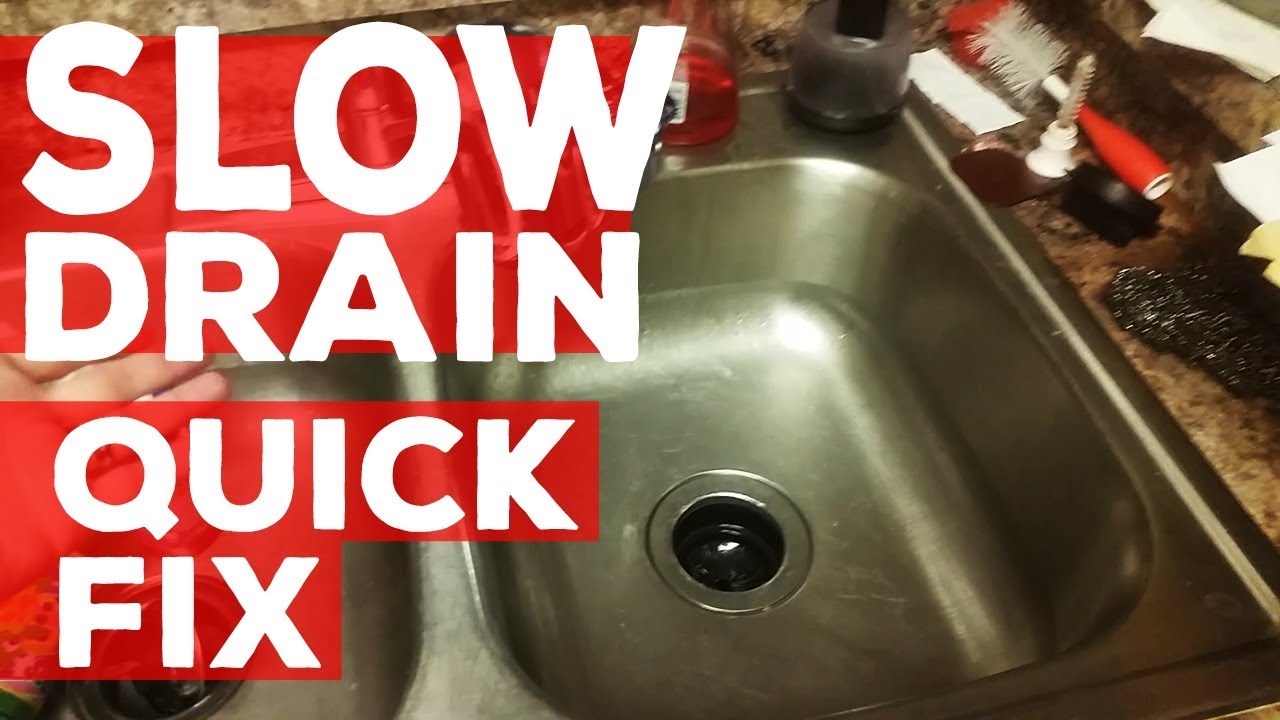
If you're looking to upgrade your kitchen, installing a new sink is a great way to start. But before you can enjoy your shiny new sink, you'll need to install a kitchen sink drain. Don't let the thought of plumbing scare you – with the right tools and a little know-how, you can easily install a kitchen sink drain in just a few simple steps. In this guide, we'll walk you through the process of installing a kitchen sink drain, so you can get back to cooking and cleaning in no time.How to Install a Kitchen Sink Drain


How to Install a Kitchen Sink Drain
/how-to-install-a-sink-drain-2718789-hero-b5b99f72b5a24bb2ae8364e60539cece.jpg)


Installing a kitchen sink drain may seem like a daunting task, but it can actually be done in just six easy steps. Here's what you'll need to do:How to Install a Kitchen Sink Drain in 6 Easy Steps


How to Install a Kitchen Sink Drain in 6 Easy Steps

:max_bytes(150000):strip_icc()/how-to-install-a-sink-drain-2718789-04-5715d67f5b7d41429d42bf705bb70e2c.jpg)


Before you get started, make sure you have all the necessary tools and materials on hand. These may include a wrench, plumber's putty, silicone caulk, a screwdriver, and the new kitchen sink drain. Once you have everything you need, follow these simple steps:Kitchen Sink Drain Installation Guide


Kitchen Sink Drain Installation Guide


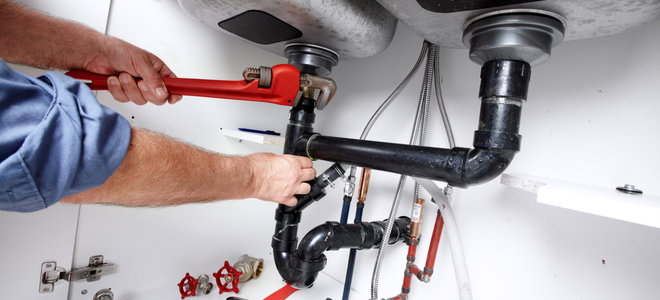
Step 1: Remove the old drain – The first step is to remove the old drain. Using a wrench, unscrew the drain and remove it from the sink. If there is any old putty or caulk around the drain hole, scrape it off with a putty knife. Step 2: Prepare the new drain – Take your new kitchen sink drain and apply a thin layer of plumber's putty around the underside of the flange. This will help create a watertight seal between the drain and the sink. Step 3: Insert the drain – Carefully insert the drain into the drain hole in the sink. Make sure it is centered and press down firmly to secure it in place. Step 4: Secure the drain – Underneath the sink, place the rubber gasket and mounting nut onto the drain. Tighten the nut with a wrench to secure the drain in place. Be careful not to overtighten, as this can cause damage to the sink. Step 5: Connect the drain – Next, connect the tailpiece to the drain and secure it with a slip nut. You may need to cut the tailpiece to fit your specific sink height. Make sure all connections are tight to prevent any leaks. Step 6: Apply caulk – Once everything is connected and secure, apply a bead of silicone caulk around the edge of the drain where it meets the sink. This will provide an extra layer of protection against leaks.Step-by-Step Guide to Installing a Kitchen Sink Drain


Step-by-Step Guide to Installing a Kitchen Sink Drain


Now that you know the basic steps for installing a kitchen sink drain, here are a few additional things to keep in mind: Choose the right size drain – Kitchen sink drains come in different sizes, so make sure you choose one that is compatible with your sink. If you're unsure, take measurements of your sink and bring them to the store to ensure you get the right size. Make sure the drain is level – Before securing the drain, make sure it is level. If it isn't, adjust it as needed so that the water will drain properly. Don't forget the garbage disposal – If you have a garbage disposal, you'll need to install it onto the drain before attaching it to the sink. Follow the manufacturer's instructions for the proper installation process.Kitchen Sink Drain Installation: Everything You Need to Know

Kitchen Sink Drain Installation: Everything You Need to Know
/how-to-install-a-sink-drain-2718789-hero-24e898006ed94c9593a2a268b57989a3.jpg)


If you prefer to learn by watching, there are plenty of helpful DIY tutorials available online that can guide you through the process of installing a kitchen sink drain. These tutorials often include step-by-step instructions, visual aids, and helpful tips to make the installation process even easier.DIY Kitchen Sink Drain Installation Tutorial


DIY Kitchen Sink Drain Installation Tutorial


Here are a few tips and tricks to keep in mind as you install your kitchen sink drain: Use a basket strainer – A basket strainer is a great addition to a kitchen sink drain as it helps catch any large food particles before they clog your pipes. This will help prevent any future plumbing issues. Don't overtighten – As mentioned earlier, overtightening can cause damage to your sink and drain. Use just enough force to create a secure connection without damaging any parts. Be mindful of leaks – If you notice any leaks after installation, make sure to address them immediately. This may involve tightening connections or reapplying caulk or putty.Installing a Kitchen Sink Drain: Tips and Tricks

Installing a Kitchen Sink Drain: Tips and Tricks

With the right tools, materials, and instructions, installing a kitchen sink drain is a simple and straightforward process. Whether you're a seasoned DIYer or a beginner, you can easily tackle this project and enjoy a fully functional and stylish kitchen sink in no time.Kitchen Sink Drain Installation Made Simple
Kitchen Sink Drain Installation Made Simple


If you're still feeling unsure about the installation process, there are plenty of comprehensive guides available online that can walk you through each step in detail. These guides often include troubleshooting tips and frequently asked questions to help you along the way.How to Install a Kitchen Sink Drain: A Comprehensive Guide

How to Install a Kitchen Sink Drain: A Comprehensive Guide
:max_bytes(150000):strip_icc()/how-to-install-a-sink-drain-2718789-07-e20d2b61c2d4497b8738ed41060537ba.jpg)
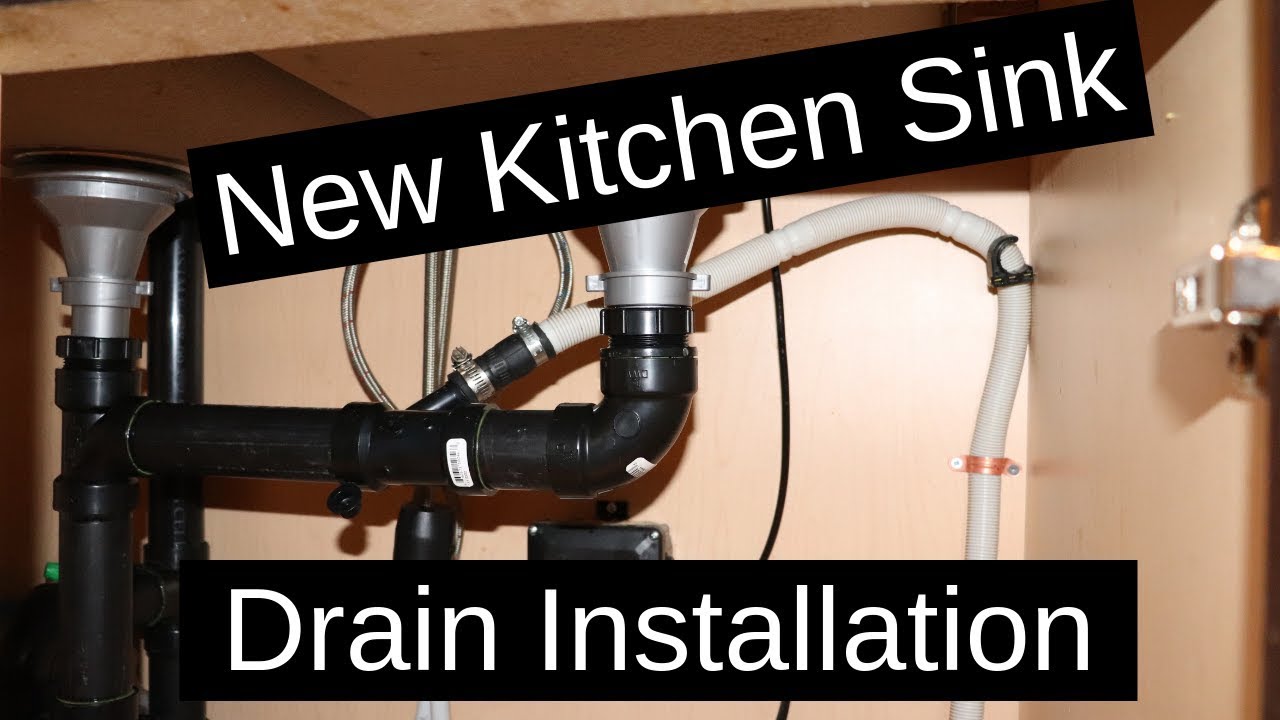
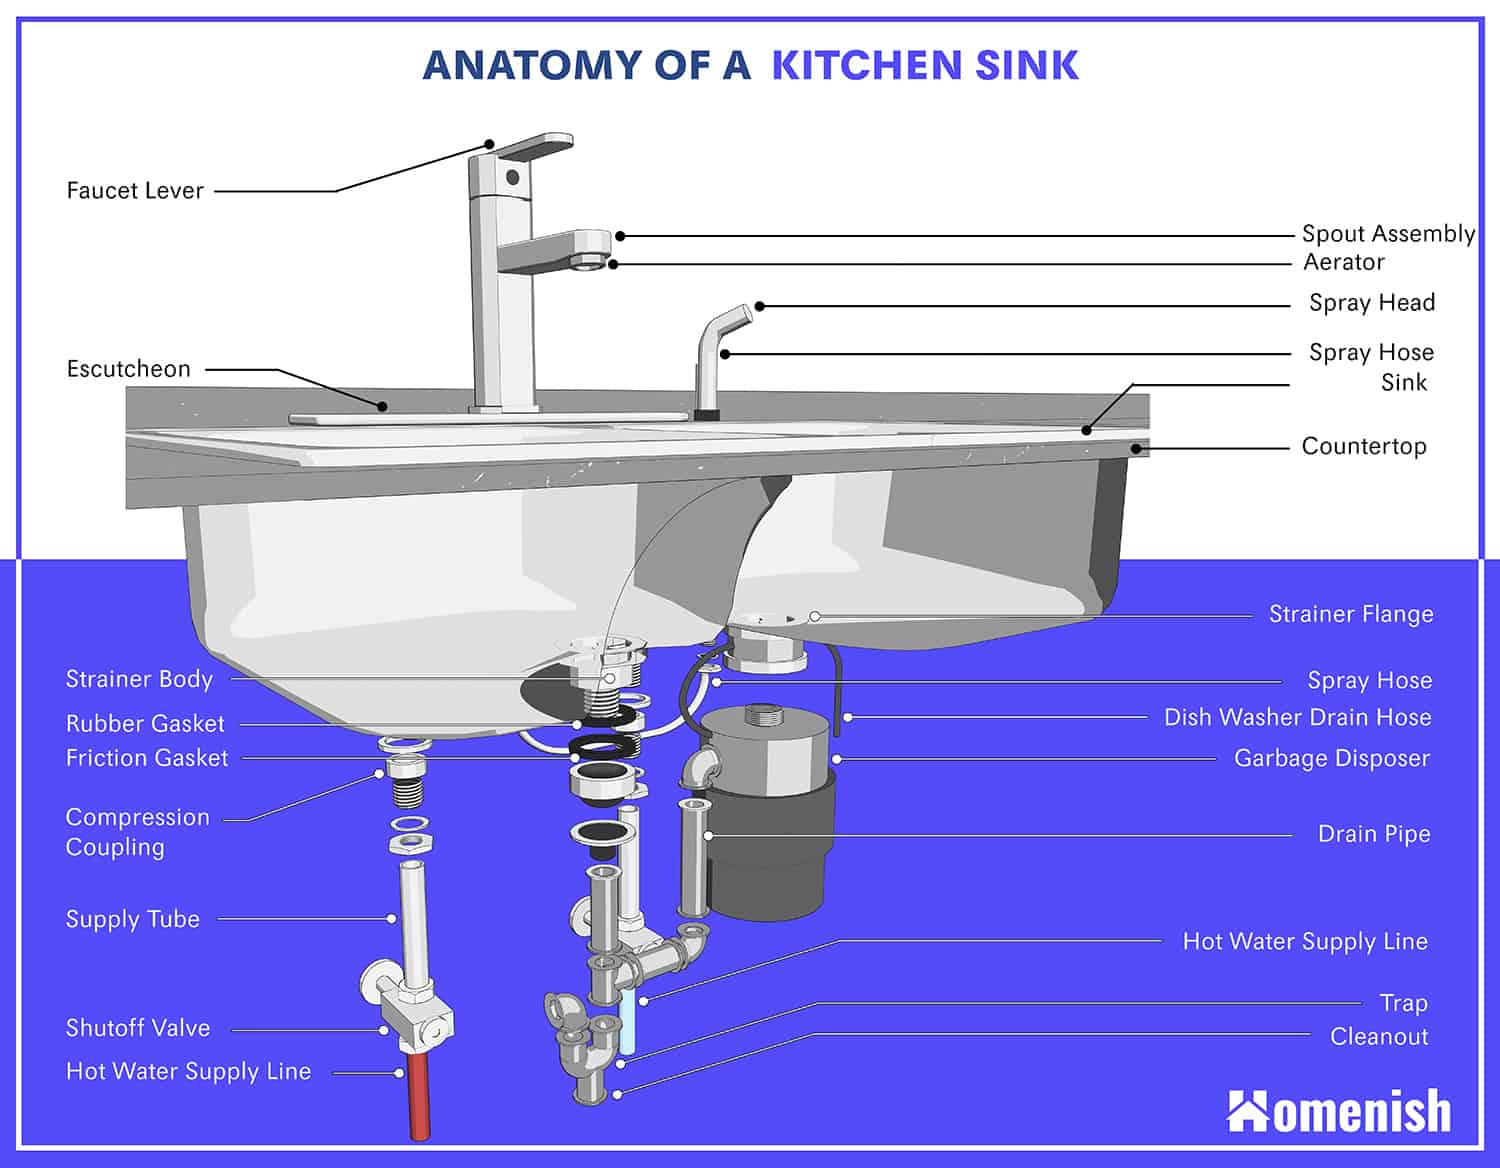
For a visual representation of the installation process, many manufacturers provide detailed diagrams and instructions with their kitchen sink drains. These can be helpful to refer to as you install your new drain, ensuring that you don't miss any important steps.Kitchen Sink Drain Installation Diagram and Instructions
Kitchen Sink Drain Installation Diagram and Instructions


Why Proper Kitchen Sink Drain Installation is Essential for Your Home's Design

The Importance of a Well-Functioning Kitchen Sink
:max_bytes(150000):strip_icc()/how-to-install-a-sink-drain-2718789-hero-24e898006ed94c9593a2a268b57989a3.jpg) The kitchen sink is an essential part of any household. It is where we wash our hands, dishes, and prepare food. Therefore, it is crucial to ensure that our kitchen sink is functioning properly. One of the key components of a well-functioning kitchen sink is its drain. Without proper installation, a kitchen sink drain can cause various issues, such as clogs, leaks, and unpleasant odors. In this article, we will discuss the importance of proper kitchen sink drain installation and provide a step-by-step guide on how to install it correctly.
The kitchen sink is an essential part of any household. It is where we wash our hands, dishes, and prepare food. Therefore, it is crucial to ensure that our kitchen sink is functioning properly. One of the key components of a well-functioning kitchen sink is its drain. Without proper installation, a kitchen sink drain can cause various issues, such as clogs, leaks, and unpleasant odors. In this article, we will discuss the importance of proper kitchen sink drain installation and provide a step-by-step guide on how to install it correctly.
Ensuring Efficient Water Flow
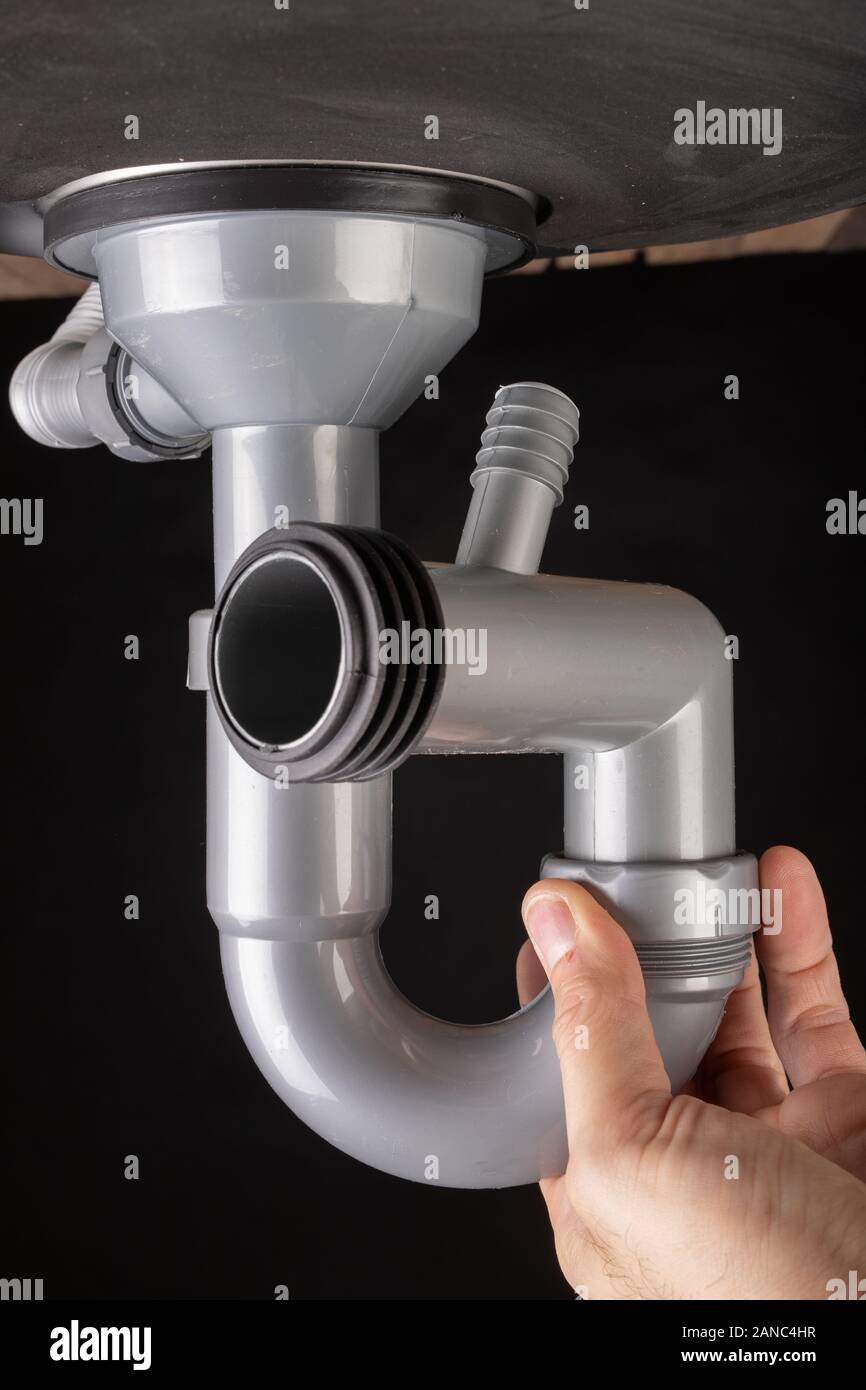
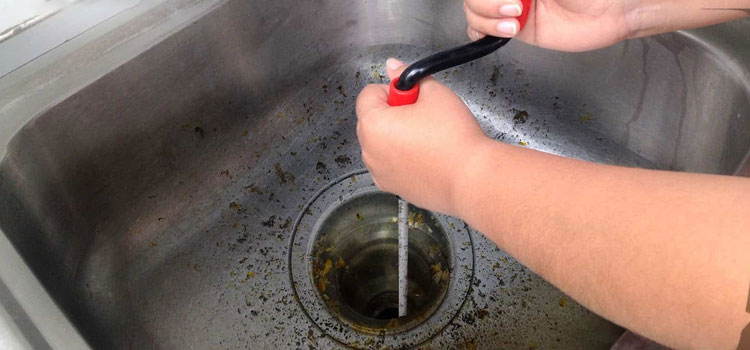
 The primary purpose of a kitchen sink drain is to remove wastewater from the sink and send it to the main sewer line. A clogged or poorly installed drain can result in slow water flow, which can be frustrating and time-consuming. It can also lead to standing water in the sink, creating an unhygienic environment. Proper installation of the drain ensures efficient water flow, making your daily tasks in the kitchen more manageable and hassle-free.
Preventing Costly Repairs
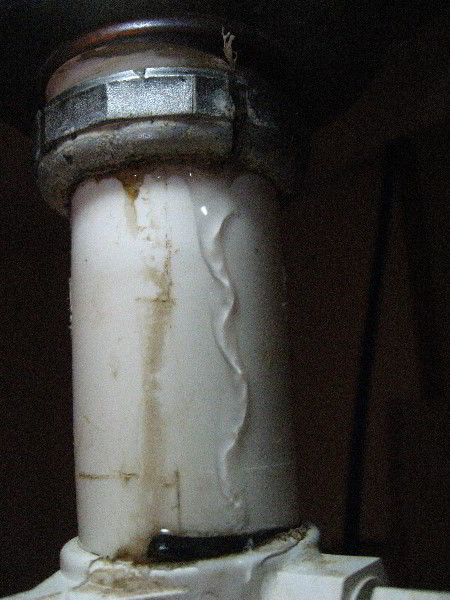
 A poorly installed kitchen sink drain can also lead to costly repairs in the long run. If the drain is not installed correctly, it can cause leaks, which can damage your cabinets, countertops, and even the walls. These repairs not only require time and effort but can also be expensive. By following the proper installation process, you can avoid these issues and save yourself from unnecessary expenses.
Enhancing the Aesthetic Appeal of Your Kitchen
 Apart from its functional aspect, a kitchen sink also contributes to the overall design of your kitchen. A poorly installed drain can ruin the aesthetic appeal of your kitchen. Visible pipes, leaks, and unpleasant odors can make your kitchen look unappealing and unhygienic. On the other hand, a well-installed drain can enhance the visual appeal of your kitchen, making it a more inviting and pleasant space.
How to Install a Kitchen Sink Drain
 Now that we have established the importance of proper kitchen sink drain installation, let's discuss the steps involved in the process. First, start by gathering all the necessary tools and materials, such as a sink drain kit, plumber's putty, and a wrench. Next, follow the manufacturer's instructions to assemble the drain and attach it to the sink's bottom. Secure the connections with a wrench, and then apply plumber's putty around the drain's edges before placing it in the sink's drain hole. Finally, connect the drain to the main sewer line, and test for any leaks.
In Conclusion
, a well-functioning and visually appealing kitchen sink is essential for any home's design. By following the proper installation process, you can ensure efficient water flow, prevent costly repairs, and enhance the aesthetic appeal of your kitchen. Don't overlook the importance of proper kitchen sink drain installation and enjoy a functional and beautiful kitchen for years to come.
Now that we have established the importance of proper kitchen sink drain installation, let's discuss the steps involved in the process. First, start by gathering all the necessary tools and materials, such as a sink drain kit, plumber's putty, and a wrench. Next, follow the manufacturer's instructions to assemble the drain and attach it to the sink's bottom. Secure the connections with a wrench, and then apply plumber's putty around the drain's edges before placing it in the sink's drain hole. Finally, connect the drain to the main sewer line, and test for any leaks.
In Conclusion
, a well-functioning and visually appealing kitchen sink is essential for any home's design. By following the proper installation process, you can ensure efficient water flow, prevent costly repairs, and enhance the aesthetic appeal of your kitchen. Don't overlook the importance of proper kitchen sink drain installation and enjoy a functional and beautiful kitchen for years to come.