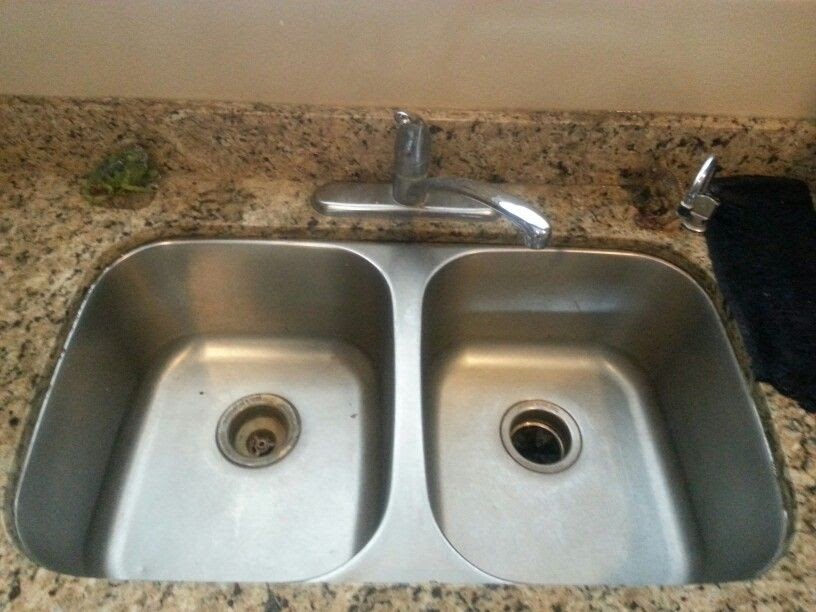
Before starting the caulking process, it is important to properly prepare the area around your kitchen sink. Make sure to remove any old caulk and thoroughly clean the area with a mild cleaner. Use a putty knife to scrape off any excess caulk and wipe the area with a damp cloth. This will ensure a smooth and clean surface for the new caulk to adhere to.1. Preparing the Sink and Area


How to Caulk a Kitchen Sink: 12 Steps (with Pictures) - wikiHow


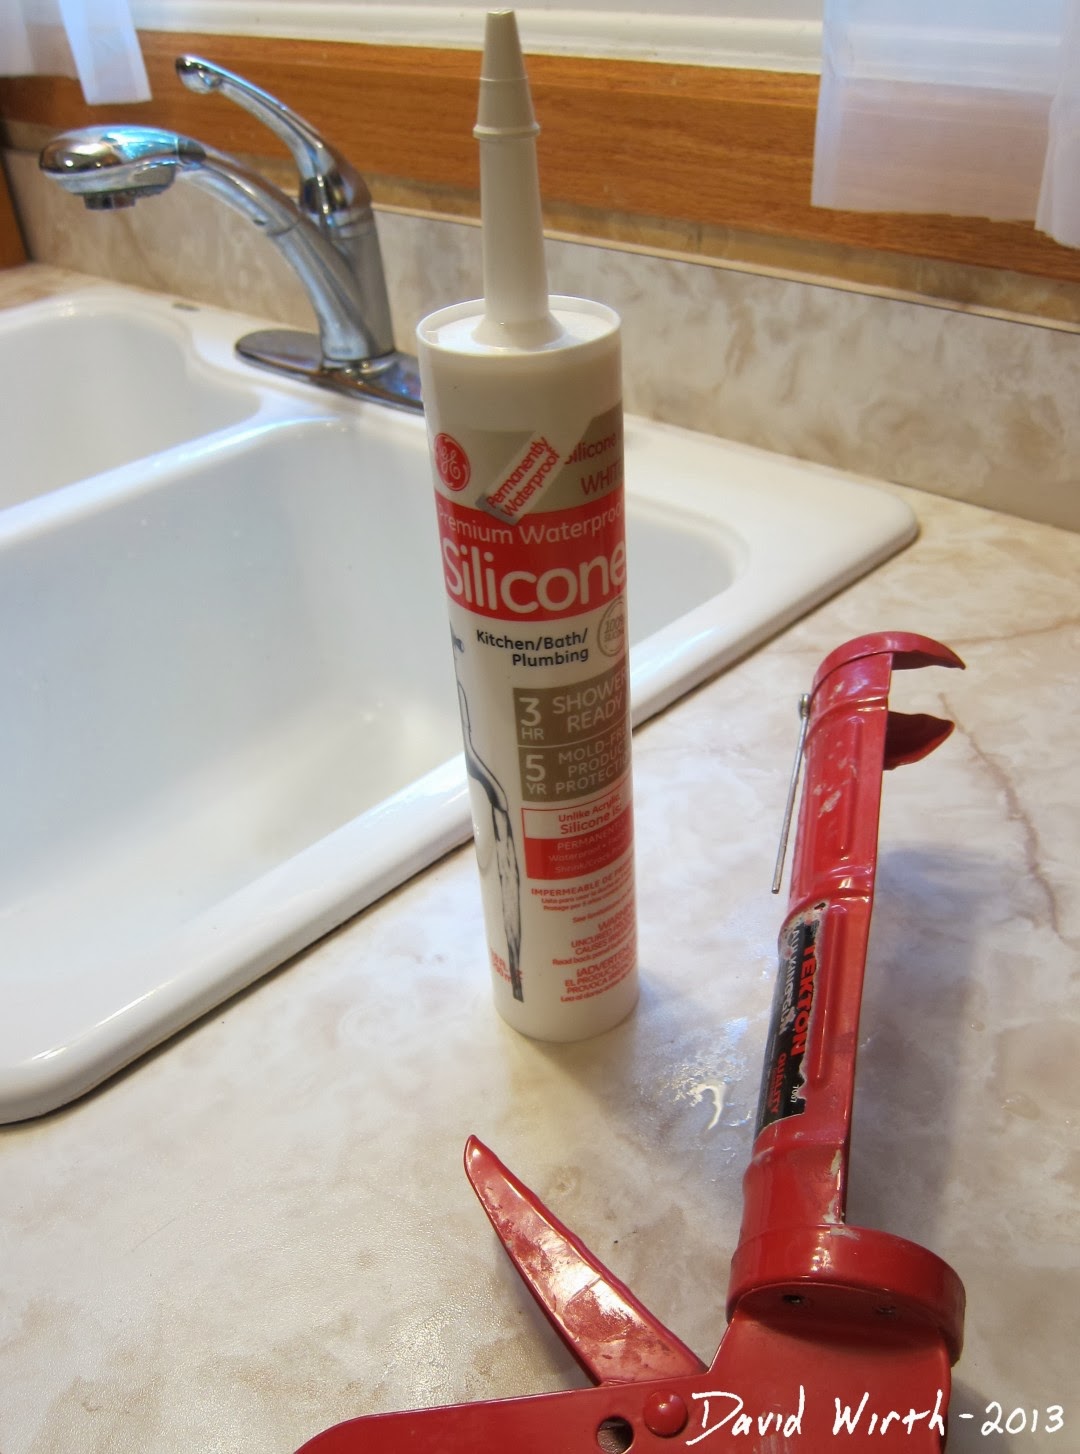
There are many different types of caulk available, so it is important to choose the right one for your kitchen sink. Look for a waterproof and mold resistant caulk that is specifically designed for use in kitchens and bathrooms. Silicone or silicone-based caulks are the best option for sealing around sinks as they provide a strong and flexible seal.2. Choosing the Right Caulk
How to Caulk a Kitchen Sink: 12 Steps (with Pictures) - wikiHow
Before applying the caulk, you will need to cut the tip of the caulk tube at a 45-degree angle. This will allow for a smooth and even application. Use a utility knife or caulk gun to cut the tip, making sure to not cut it too large or too small.3. Cutting the Tip of the Caulk Tube
How to Caulk a Kitchen Sink: 12 Steps (with Pictures) - wikiHow


If you are new to caulking, it is a good idea to practice on a scrap piece of cardboard or a small area before applying the caulk to your sink. This will help you get a feel for the caulk and ensure a more professional finish.4. Practice First
How to Caulk a Kitchen Sink: 12 Steps (with Pictures) - wikiHow
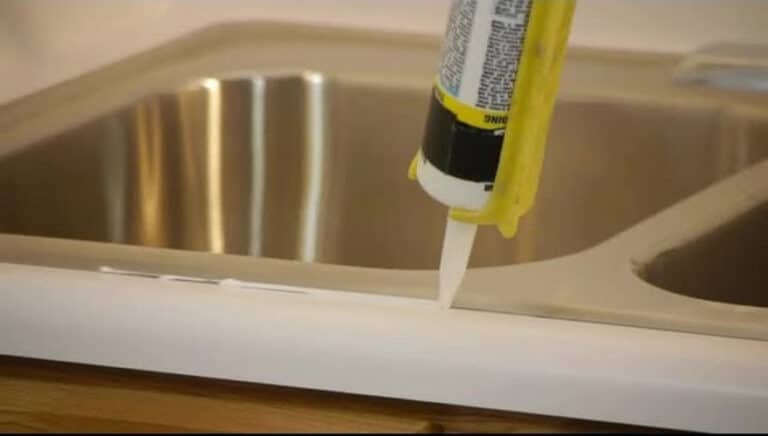
Start by holding the caulk gun at a 45-degree angle and apply a thin and even bead of caulk along the edge of the sink. Use a steady and consistent pressure to squeeze the caulk out. It is important to work quickly and smoothly to avoid any gaps or breaks in the caulk line.5. Begin Caulking

How to Caulk a Kitchen Sink: 12 Steps (with Pictures) - wikiHow

After applying the caulk, use your finger to smooth out the line and remove any excess caulk. Wet your finger with a small amount of water and run it along the caulk line, using gentle pressure to create a smooth and even finish.6. Use Your Finger

How to Caulk a Kitchen Sink: 12 Steps (with Pictures) - wikiHow
If you make any mistakes or get caulk on areas that you don't want it, use a damp cloth to clean it up immediately. Once the caulk dries, it can be difficult to remove.7. Clean Any Mistakes
How to Caulk a Kitchen Sink: 12 Steps (with Pictures) - wikiHow
If you prefer, you can use a caulk tool instead of your finger to smooth out the caulk line. These tools are specifically designed to create a professional and even finish.8. Use a Caulk Tool

.jpg)

How to Caulk a Kitchen Sink: 12 Steps (with Pictures) - wikiHow
After applying the caulk, let it dry for at least 24 hours before using your sink. This will ensure that the caulk has fully cured and will provide a strong and waterproof seal.9. Let It Dry
How to Caulk a Kitchen Sink: 12 Steps (with Pictures) - wikiHow
To ensure that your caulk remains in good condition, it is important to regularly clean and maintain your sink area. Use a mild cleaner and a soft cloth to clean the caulk line and remove any build-up of dirt or grime.10. Regular Maintenance
How to Caulk a Kitchen Sink: 12 Steps (with Pictures) - wikiHow
Importance of Properly Caulking Your Kitchen Sink

Prevents Water Damage
 Properly caulking your kitchen sink is an essential task in maintaining the overall design and functionality of your kitchen. One of the main reasons for caulking is to prevent water damage.
Water can seep through gaps and cracks in the caulking and cause damage to your cabinets, countertops, and even the surrounding walls.
This can lead to costly repairs and renovations. By taking the time to properly caulk your kitchen sink, you can prevent these issues and save yourself from potential headaches and expenses in the future.
Properly caulking your kitchen sink is an essential task in maintaining the overall design and functionality of your kitchen. One of the main reasons for caulking is to prevent water damage.
Water can seep through gaps and cracks in the caulking and cause damage to your cabinets, countertops, and even the surrounding walls.
This can lead to costly repairs and renovations. By taking the time to properly caulk your kitchen sink, you can prevent these issues and save yourself from potential headaches and expenses in the future.
Keeps Your Kitchen Clean
 Another reason to invest in proper kitchen sink caulking is to keep your kitchen clean.
Water and other liquids can easily seep through gaps in the caulking, causing mold and mildew to grow.
Not only is this unsightly, but it can also pose health risks to you and your family. With well-sealed caulking, you can prevent these issues and maintain a clean and hygienic kitchen.
Another reason to invest in proper kitchen sink caulking is to keep your kitchen clean.
Water and other liquids can easily seep through gaps in the caulking, causing mold and mildew to grow.
Not only is this unsightly, but it can also pose health risks to you and your family. With well-sealed caulking, you can prevent these issues and maintain a clean and hygienic kitchen.
Improves Aesthetics
 Caulking not only serves a functional purpose but also contributes to the overall design of your kitchen.
With neatly applied and properly color-matched caulking, you can achieve a seamless and polished look for your sink and countertops.
This small detail can make a big impact on the overall aesthetic of your kitchen and add value to your home.
Caulking not only serves a functional purpose but also contributes to the overall design of your kitchen.
With neatly applied and properly color-matched caulking, you can achieve a seamless and polished look for your sink and countertops.
This small detail can make a big impact on the overall aesthetic of your kitchen and add value to your home.
Increases Longevity of Your Sink
 Properly caulking your kitchen sink can also help prolong its lifespan.
Excess water and moisture can cause damage to the sink and its fixtures, leading to rust and corrosion.
By preventing water from seeping into these areas through proper caulking, you can ensure that your sink stays in good condition for a longer period of time.
Properly caulking your kitchen sink can also help prolong its lifespan.
Excess water and moisture can cause damage to the sink and its fixtures, leading to rust and corrosion.
By preventing water from seeping into these areas through proper caulking, you can ensure that your sink stays in good condition for a longer period of time.
Conclusion
 In conclusion, caulking your kitchen sink is an important task that should not be overlooked.
It not only prevents water damage and keeps your kitchen clean, but it also improves the overall aesthetics and longevity of your sink.
Taking the time to properly caulk your kitchen sink is a small investment that can save you from potential headaches and expenses in the future. So, make sure to pay attention to this important detail in your kitchen design.
In conclusion, caulking your kitchen sink is an important task that should not be overlooked.
It not only prevents water damage and keeps your kitchen clean, but it also improves the overall aesthetics and longevity of your sink.
Taking the time to properly caulk your kitchen sink is a small investment that can save you from potential headaches and expenses in the future. So, make sure to pay attention to this important detail in your kitchen design.


/172788935-56a49f413df78cf772834e90.jpg)

