Installing an undermount bathroom sink can be a great way to add a touch of elegance and modernity to your bathroom. This type of sink is installed underneath the countertop, giving a seamless and clean look to the overall design. However, it may seem like a daunting task to install one yourself. But fear not, with the right tools and a little bit of DIY know-how, you can easily install an undermount bathroom sink in no time. Here is a step-by-step guide to help you through the process.Undermount Bathroom Sink Installation Guide


Undermount Bathroom Sink Installation Guide


Before you begin the installation process, it is important to gather all the necessary tools and materials. You will need a drill, drill bits, a screwdriver, a utility knife, silicone adhesive, a caulk gun, and a measuring tape. Make sure to also have safety goggles and gloves on hand for protection.How to Install an Undermount Bathroom Sink


How to Install an Undermount Bathroom Sink


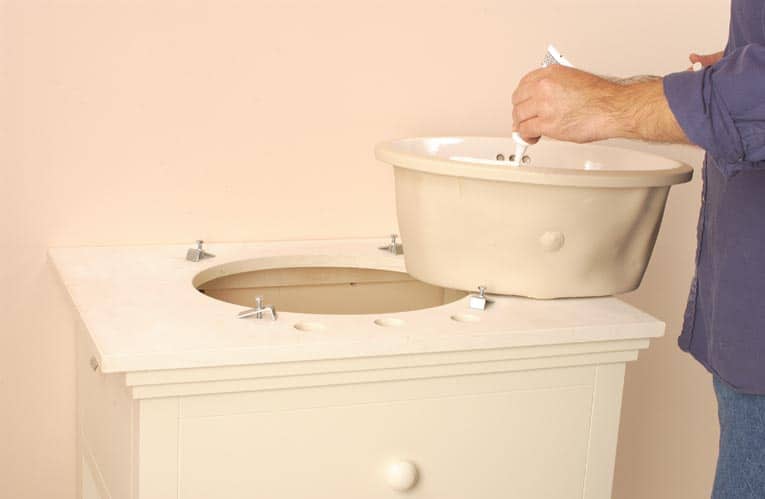

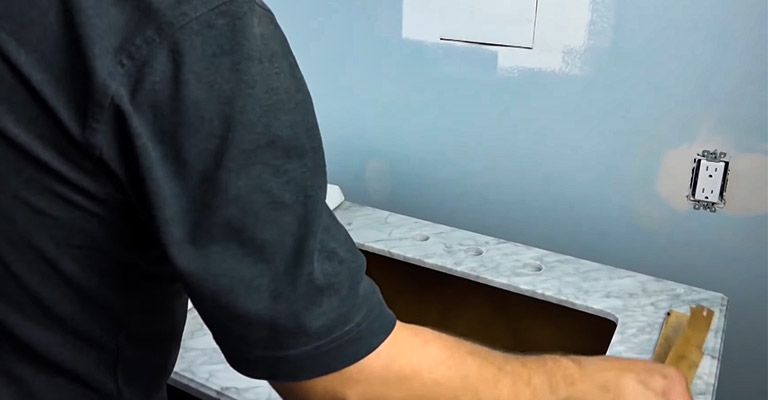
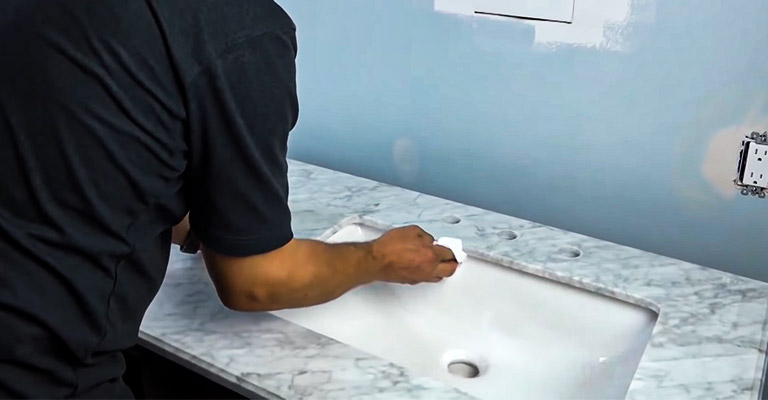
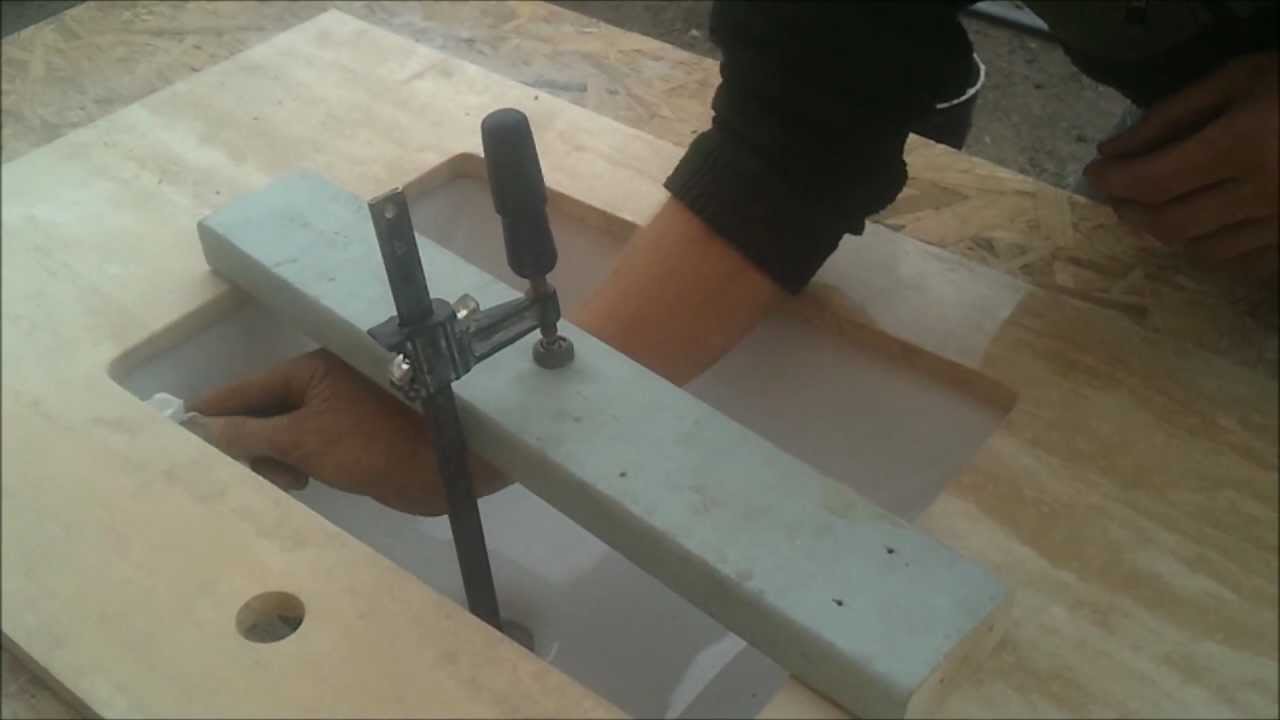
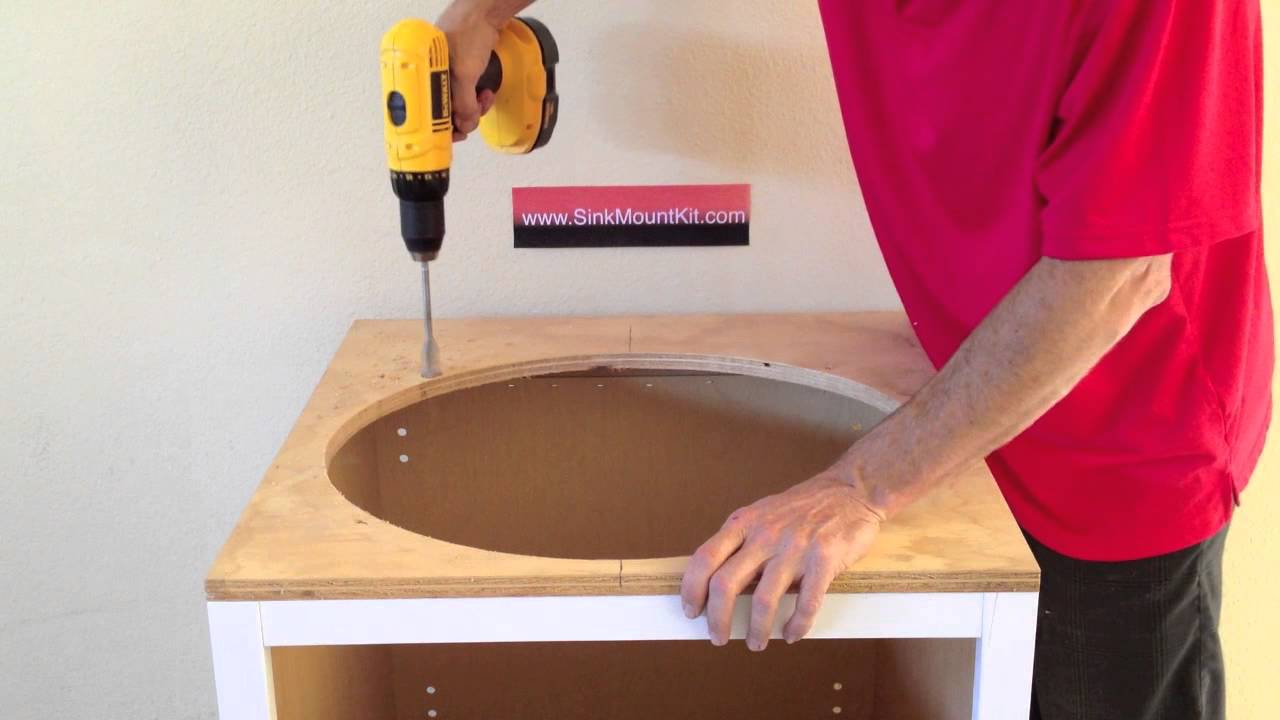
Step 1: Measure and mark the position where you want to install the sink. It is recommended to have at least 2 inches of space between the sink and the edge of the countertop. Step 2: Use a utility knife to cut along the marked lines on the countertop. This will create a template for the sink to fit into. Step 3: Drill pilot holes along the edges of the template. This will make it easier to cut the countertop with a jigsaw. Step 4: Use a jigsaw to cut along the marked lines on the countertop. Make sure to follow the template carefully. Step 5: Place the sink into the hole and check for a proper fit. If necessary, use a sanding block to smooth out any rough edges. Step 6: Apply a thick layer of silicone adhesive around the edges of the sink. Make sure to cover the entire perimeter. Step 7: Carefully place the sink back into the hole, pressing down firmly to ensure proper adhesion. Step 8: Use a screwdriver to secure the mounting clips underneath the sink. These will help hold the sink in place while the adhesive dries. Step 9: Let the adhesive dry for at least 24 hours before removing the mounting clips. Step 10: Use a caulk gun to apply a thin layer of silicone caulk around the edges of the sink to create a watertight seal.Step-by-Step Guide for Installing an Undermount Bathroom Sink


Step-by-Step Guide for Installing an Undermount Bathroom Sink


Installing an undermount bathroom sink can be a fun and rewarding DIY project. Not only will it save you money on hiring a professional, but it will also give you a sense of accomplishment and pride in your own handiwork. Just make sure to follow the steps carefully and take your time to ensure a proper and secure installation.DIY Undermount Bathroom Sink Installation
DIY Undermount Bathroom Sink Installation


Here are some helpful tips to keep in mind when installing an undermount bathroom sink: • Make sure to measure and mark the position of the sink accurately to avoid any mistakes. • Wear safety goggles and gloves to protect yourself from any potential injuries. • Use a high-quality silicone adhesive for a strong and lasting hold. • Let the adhesive dry completely before removing the mounting clips or using the sink.Tips for Installing an Undermount Bathroom Sink


Tips for Installing an Undermount Bathroom Sink

Installing an undermount bathroom sink may seem like a simple task, but there are a few things you should keep in mind before starting the process. Make sure to choose a sink that is the right size and style for your bathroom, and check the weight-bearing capacity of your countertop to ensure it can support the weight of the sink and water.Undermount Bathroom Sink Installation: What You Need to Know


Undermount Bathroom Sink Installation: What You Need to Know

If you are new to DIY projects, it is always helpful to have a comprehensive guide to follow. This will ensure that you do not miss any important steps and that your installation is done correctly. Make sure to read through the instructions carefully and take your time to avoid any mistakes.Installing an Undermount Bathroom Sink: A Comprehensive Guide

Installing an Undermount Bathroom Sink: A Comprehensive Guide

The process of installing an undermount bathroom sink may seem intimidating, but it is actually quite simple. With the right tools and a bit of patience, you can easily complete the installation process in just a few hours. Just remember to measure carefully, use high-quality materials, and take your time to ensure a proper and secure installation.The Process of Installing an Undermount Bathroom Sink


The Process of Installing an Undermount Bathroom Sink
While installing an undermount bathroom sink may seem like a straightforward task, there are some common mistakes that can easily be avoided. These include not measuring accurately, using low-quality materials, and rushing through the process. Taking your time and paying attention to detail will ensure a successful and long-lasting installation.Undermount Bathroom Sink Installation: Common Mistakes to Avoid


Undermount Bathroom Sink Installation: Common Mistakes to Avoid
If you are still feeling unsure about installing an undermount bathroom sink yourself, here are some expert tips to help guide you through the process: • Make sure to follow the manufacturer's instructions for the specific sink you are installing. • Use a level to ensure the sink is properly aligned before securing it with mounting clips. • If you are not confident in your DIY skills, it is always best to hire a professional to avoid any potential mistakes. With these tips and a bit of patience, you can easily install an undermount bathroom sink and give your bathroom a sleek and modern look. Just remember to measure accurately, use high-quality materials, and take your time to ensure a proper and secure installation. Happy DIY-ing!Expert Tips for Installing an Undermount Bathroom Sink

Expert Tips for Installing an Undermount Bathroom Sink

Benefits of Installing an Undermount Bathroom Sink

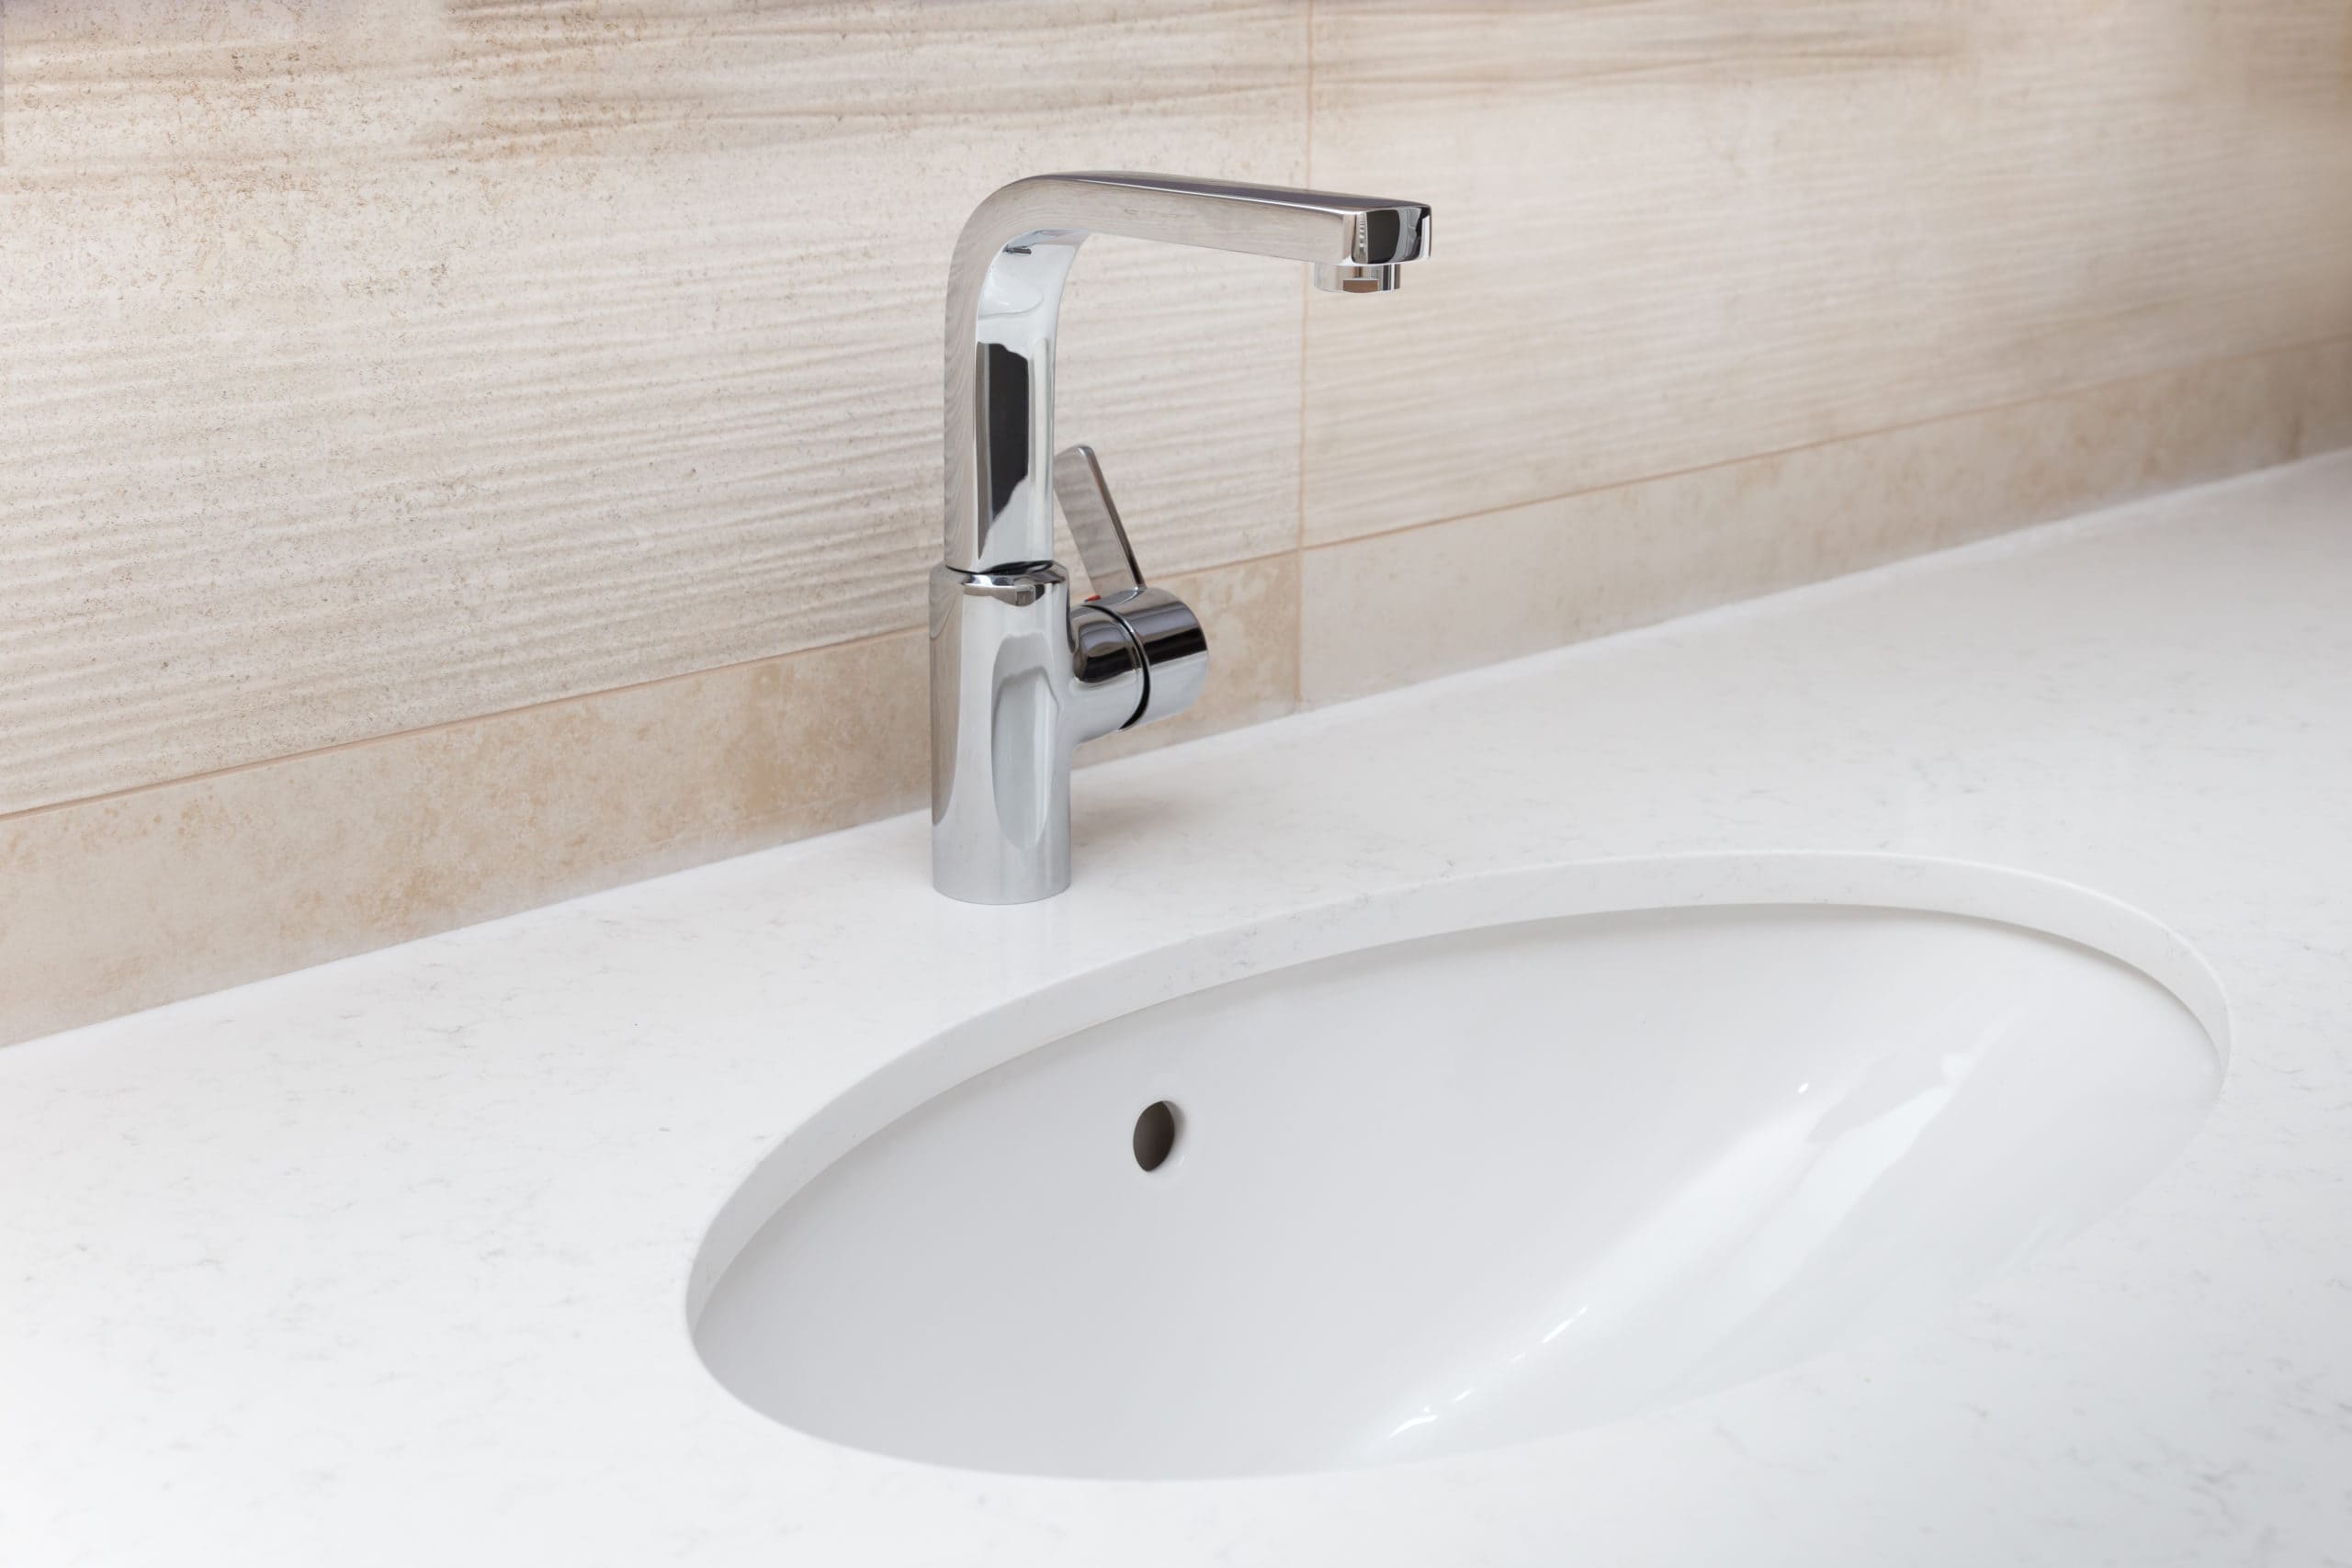
Enhances Aesthetics and Space Saving
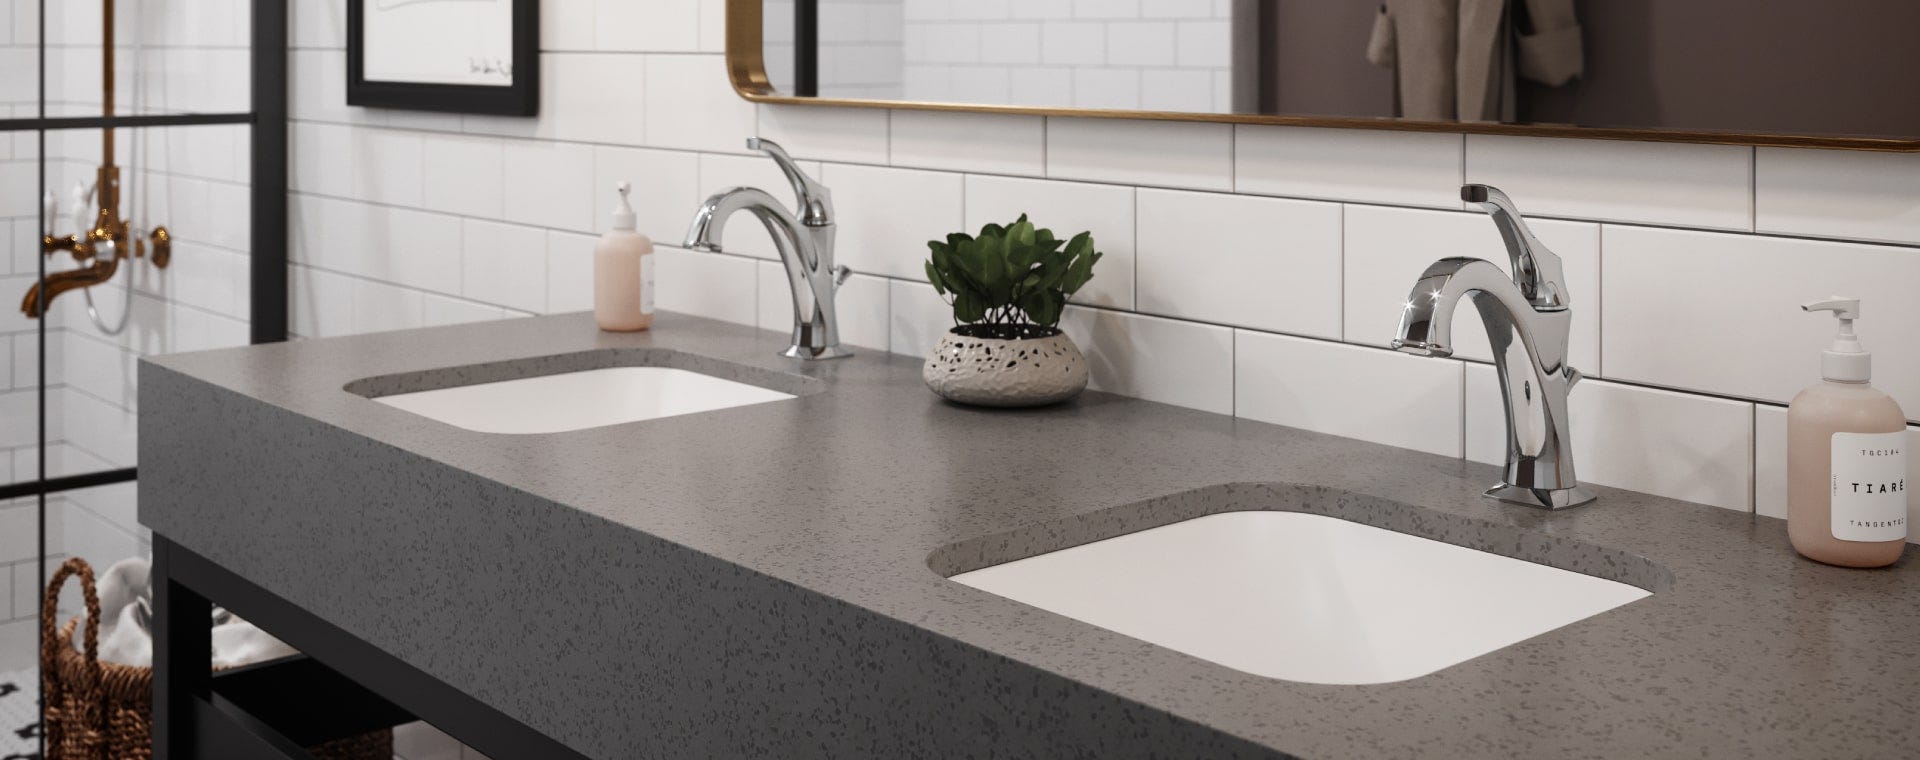
 When it comes to designing your bathroom, every detail matters.
Installing an undermount bathroom sink
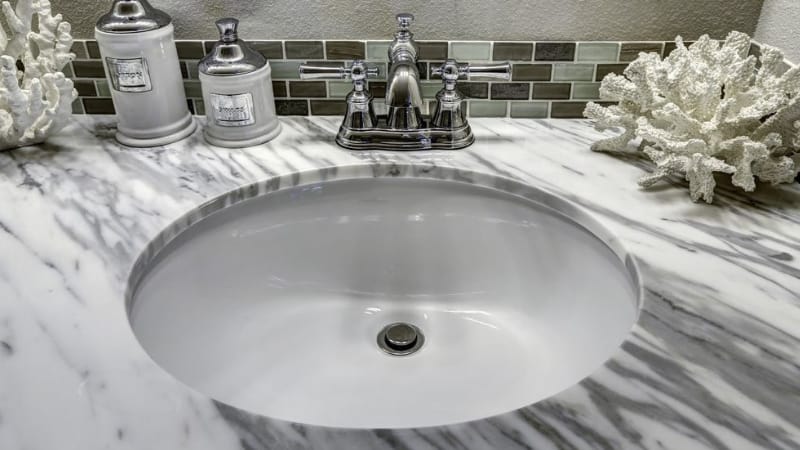
not only adds a touch of elegance to your bathroom, but it also makes the space look more spacious and open. Unlike traditional sinks that sit on top of the counter, undermount sinks are installed underneath the countertop, leaving a smooth and seamless surface. This creates a modern and sleek look, making your bathroom feel more luxurious and organized.
When it comes to designing your bathroom, every detail matters.
Installing an undermount bathroom sink
not only adds a touch of elegance to your bathroom, but it also makes the space look more spacious and open. Unlike traditional sinks that sit on top of the counter, undermount sinks are installed underneath the countertop, leaving a smooth and seamless surface. This creates a modern and sleek look, making your bathroom feel more luxurious and organized.
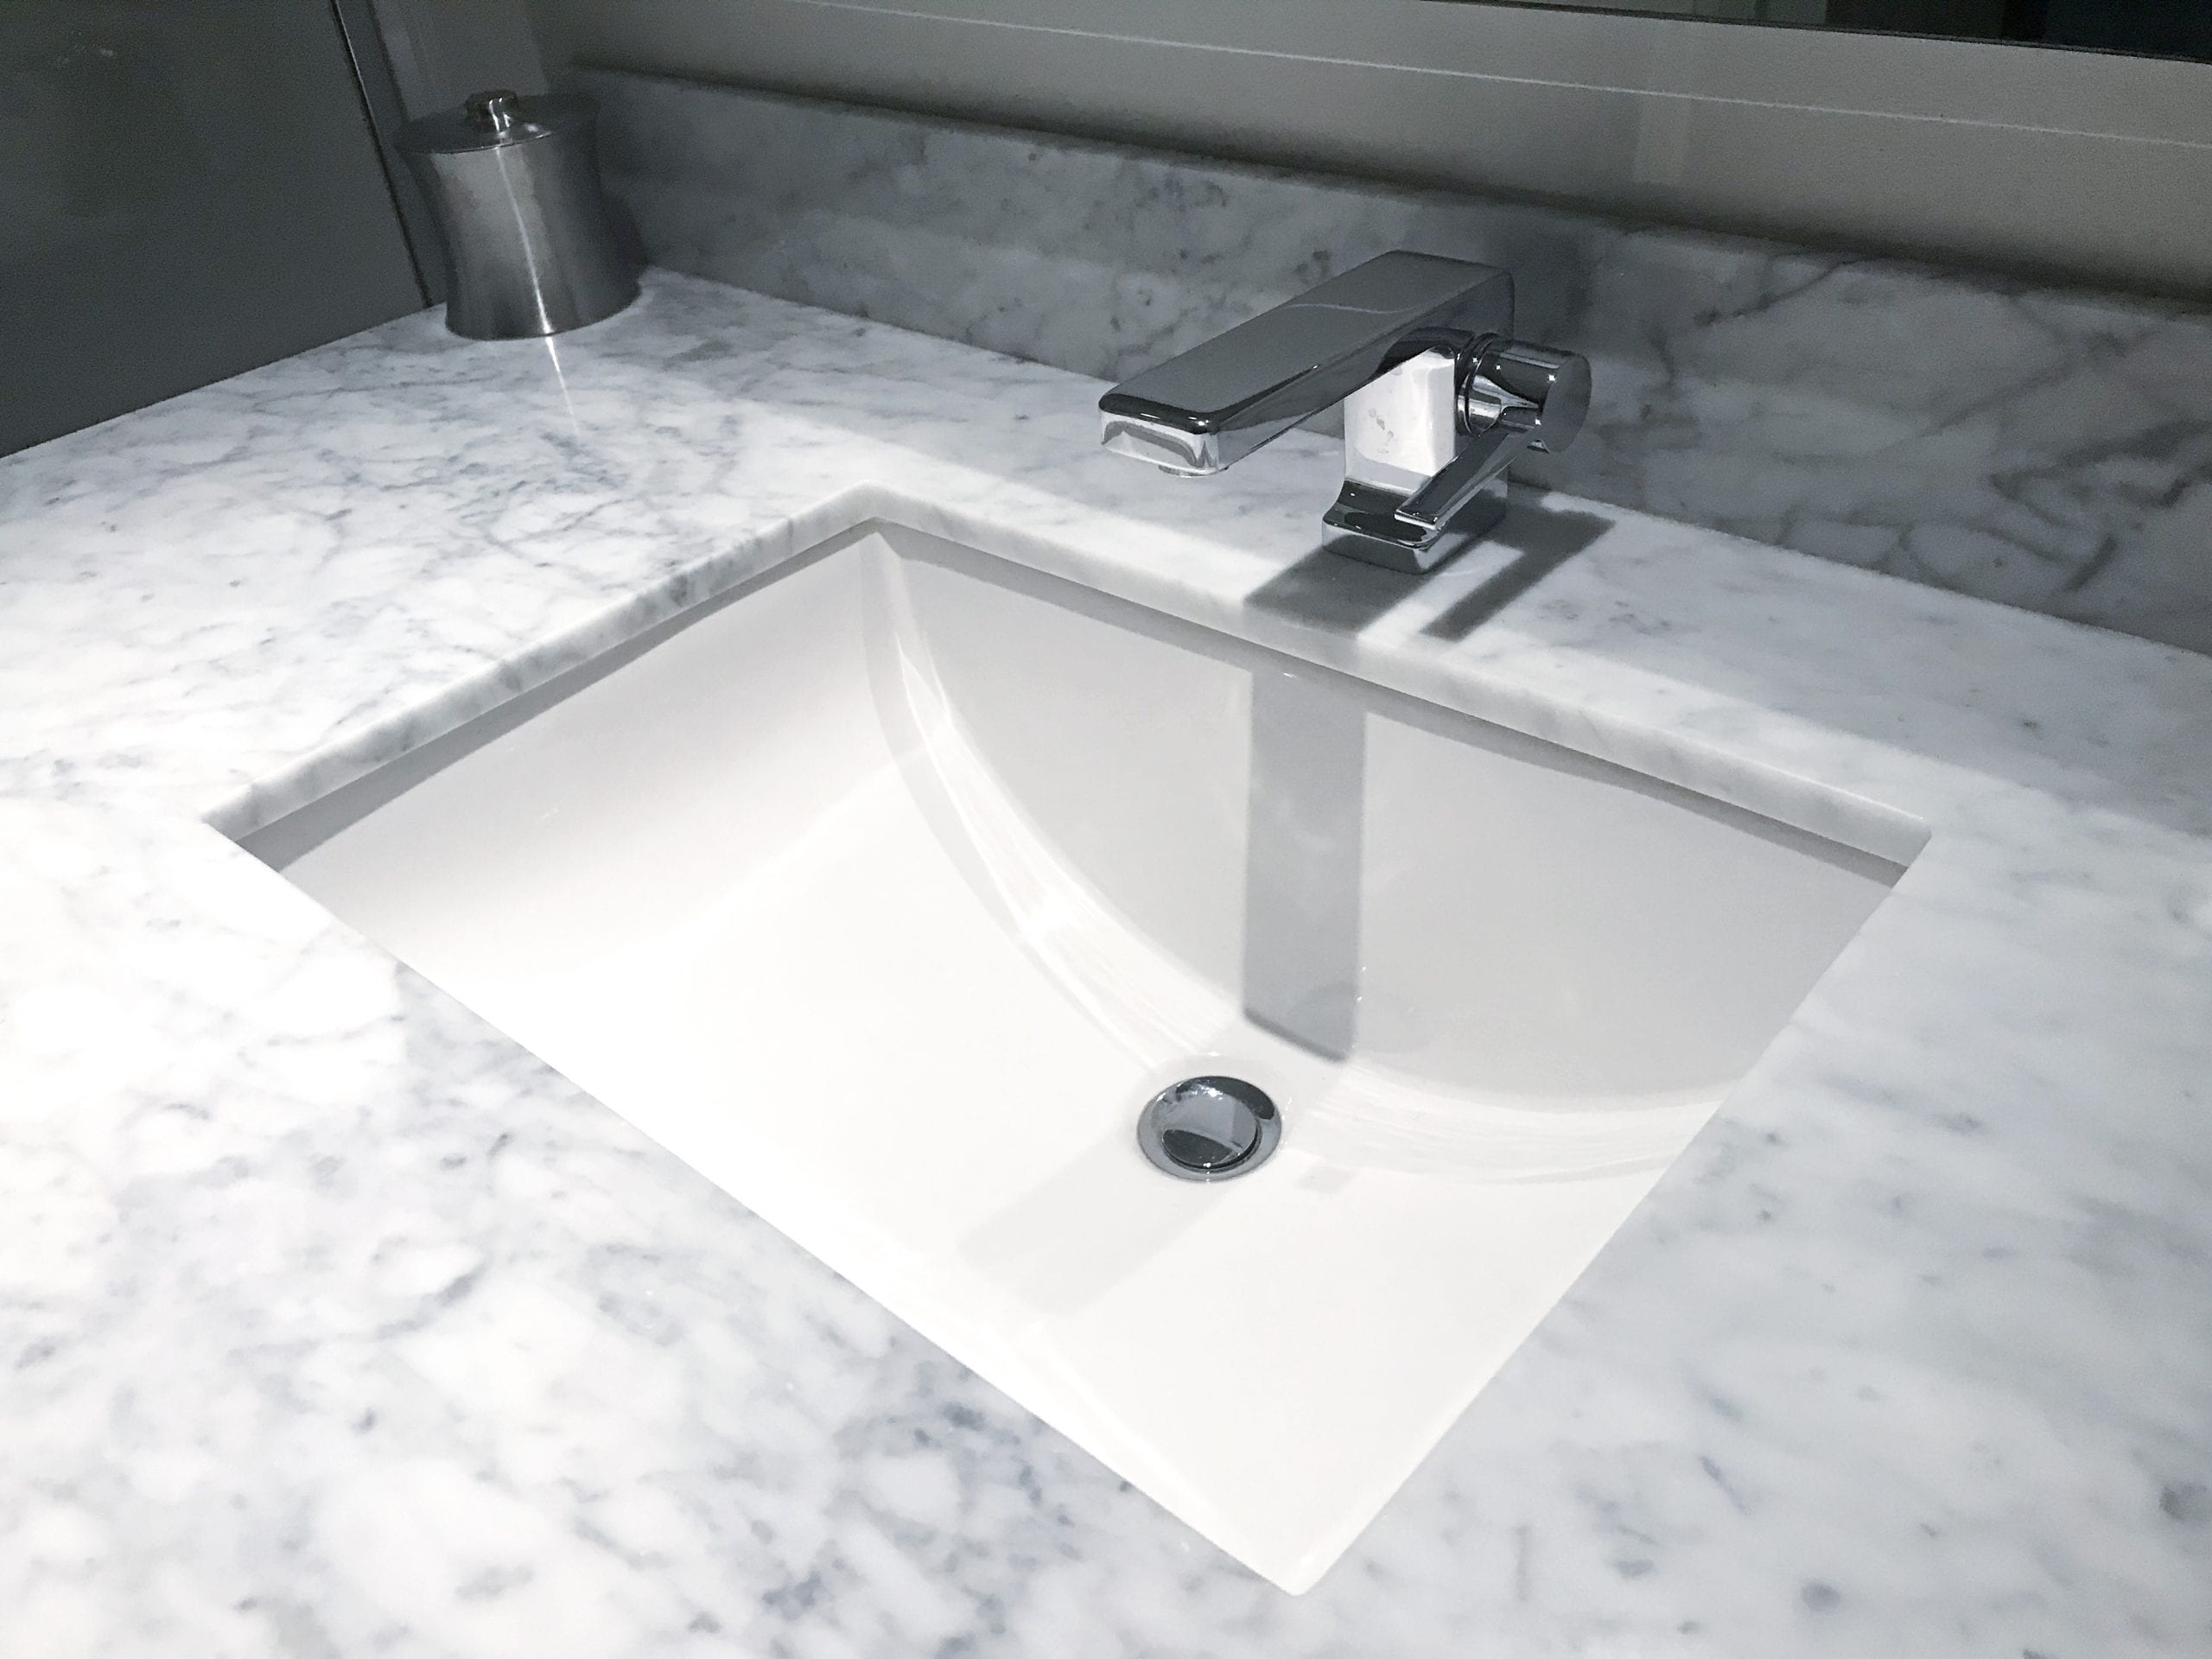
Easy to Clean and Maintain
 One of the major advantages of
undermount bathroom sinks
is the ease of cleaning and maintenance. With traditional sinks, dirt and grime can easily get trapped between the sink and countertop, making it difficult to clean. However, with undermount sinks, there are no edges or crevices for dirt to accumulate, making it easier to wipe down and keep clean. This not only saves you time and effort, but it also promotes better hygiene in your bathroom.
One of the major advantages of
undermount bathroom sinks
is the ease of cleaning and maintenance. With traditional sinks, dirt and grime can easily get trapped between the sink and countertop, making it difficult to clean. However, with undermount sinks, there are no edges or crevices for dirt to accumulate, making it easier to wipe down and keep clean. This not only saves you time and effort, but it also promotes better hygiene in your bathroom.
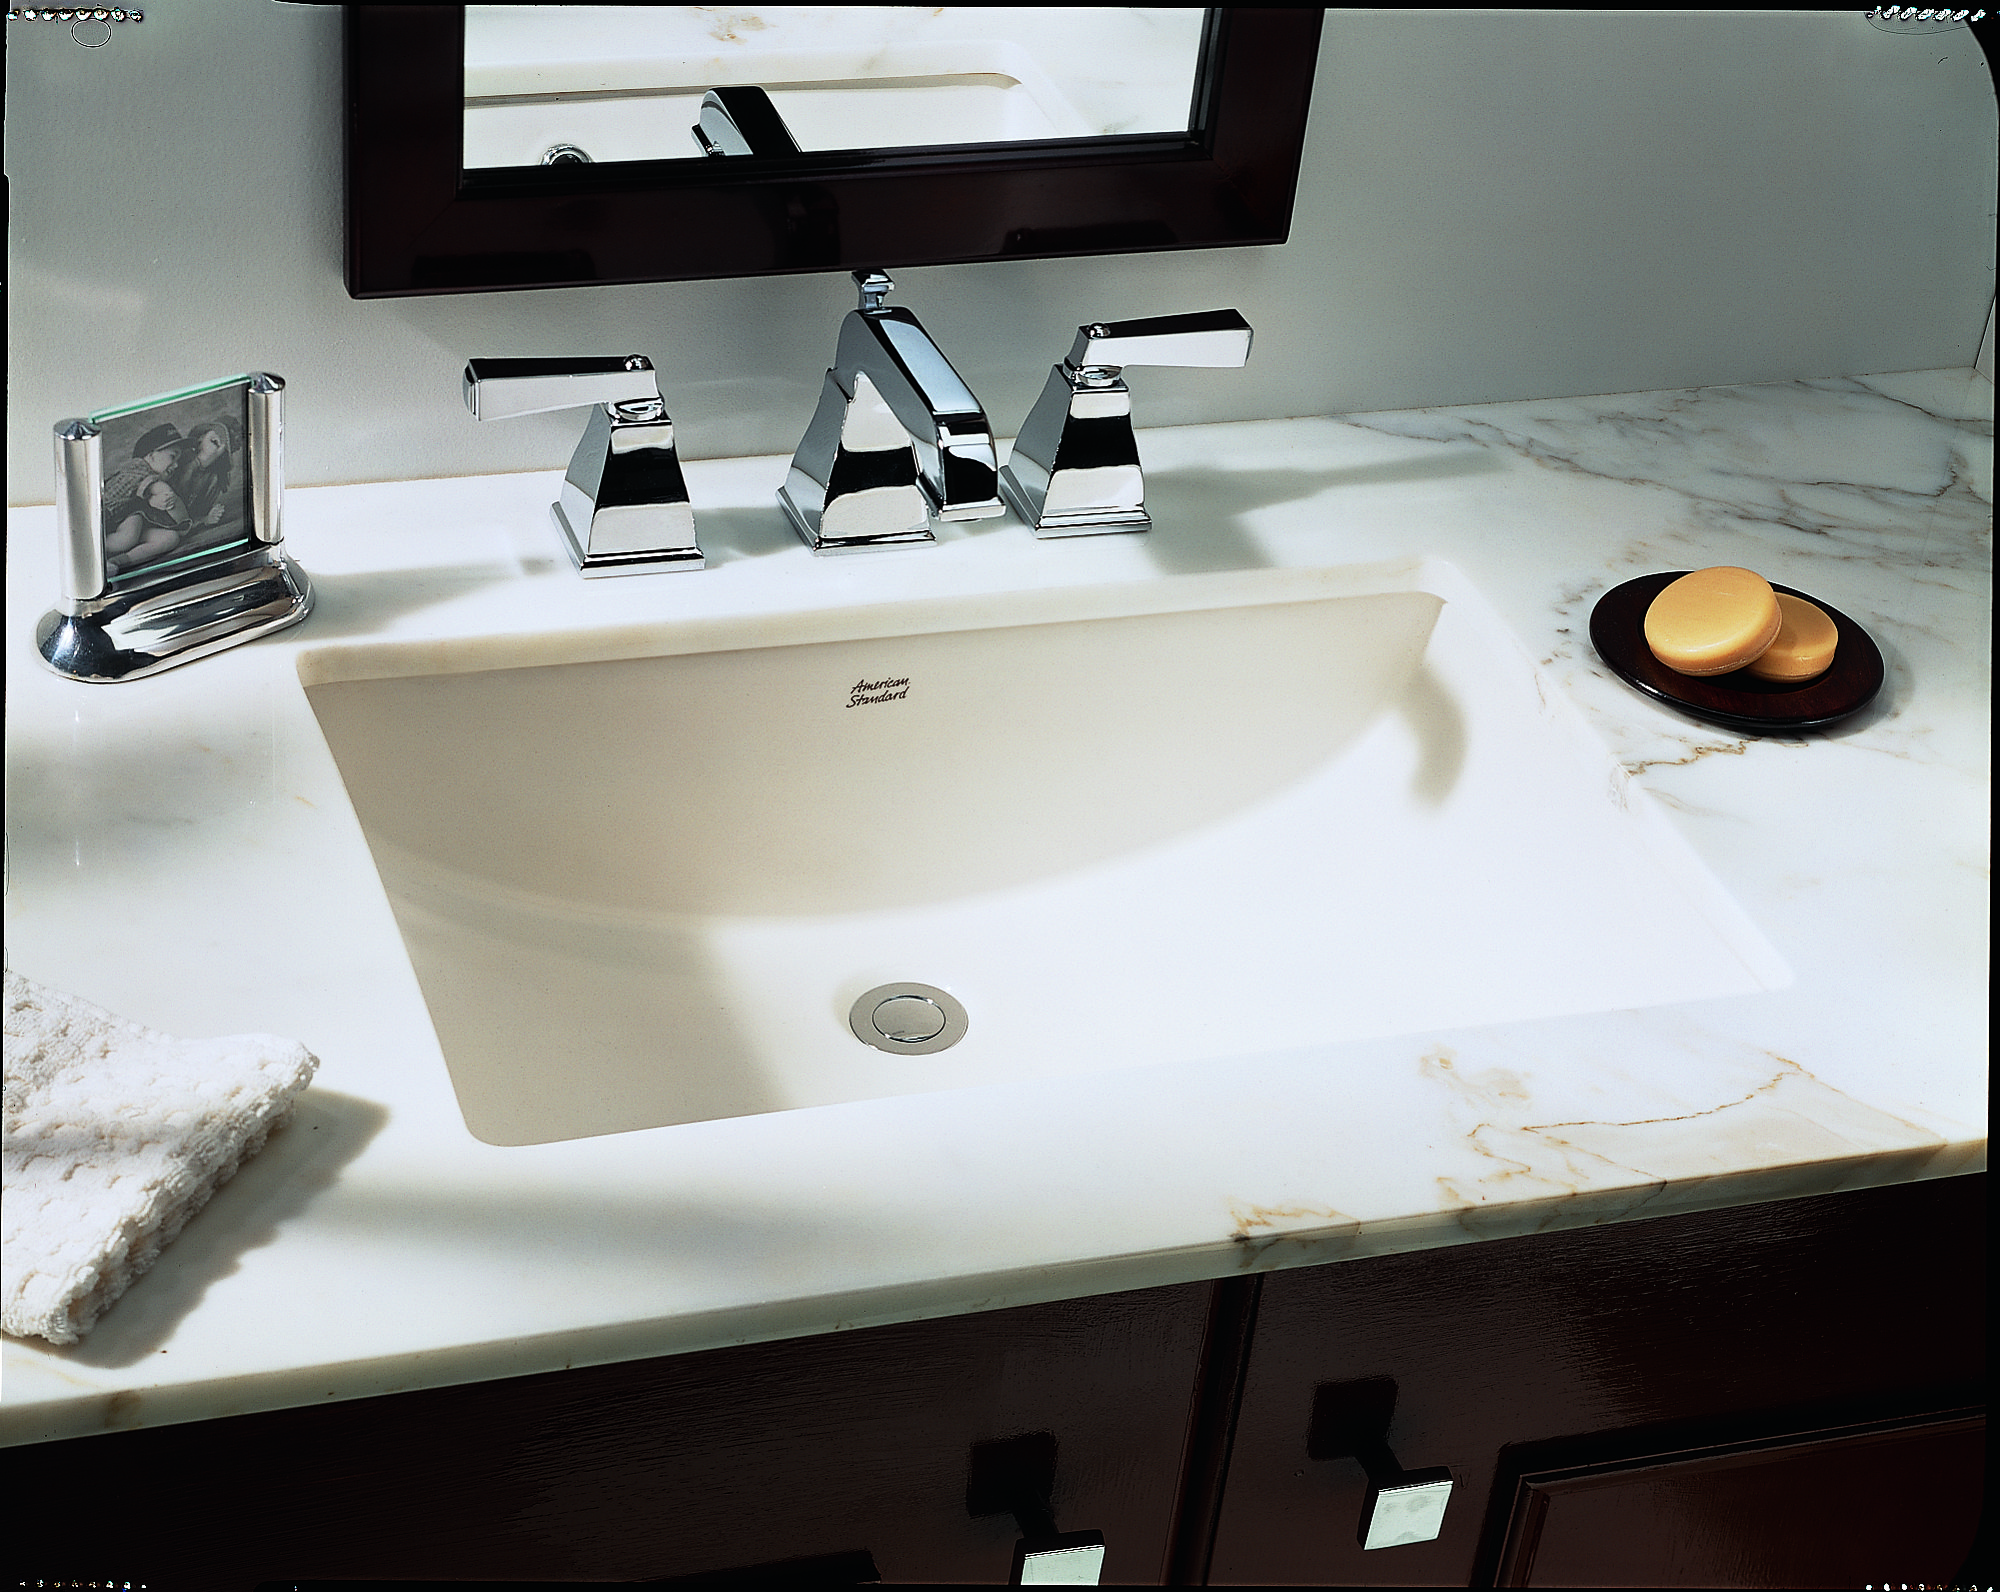
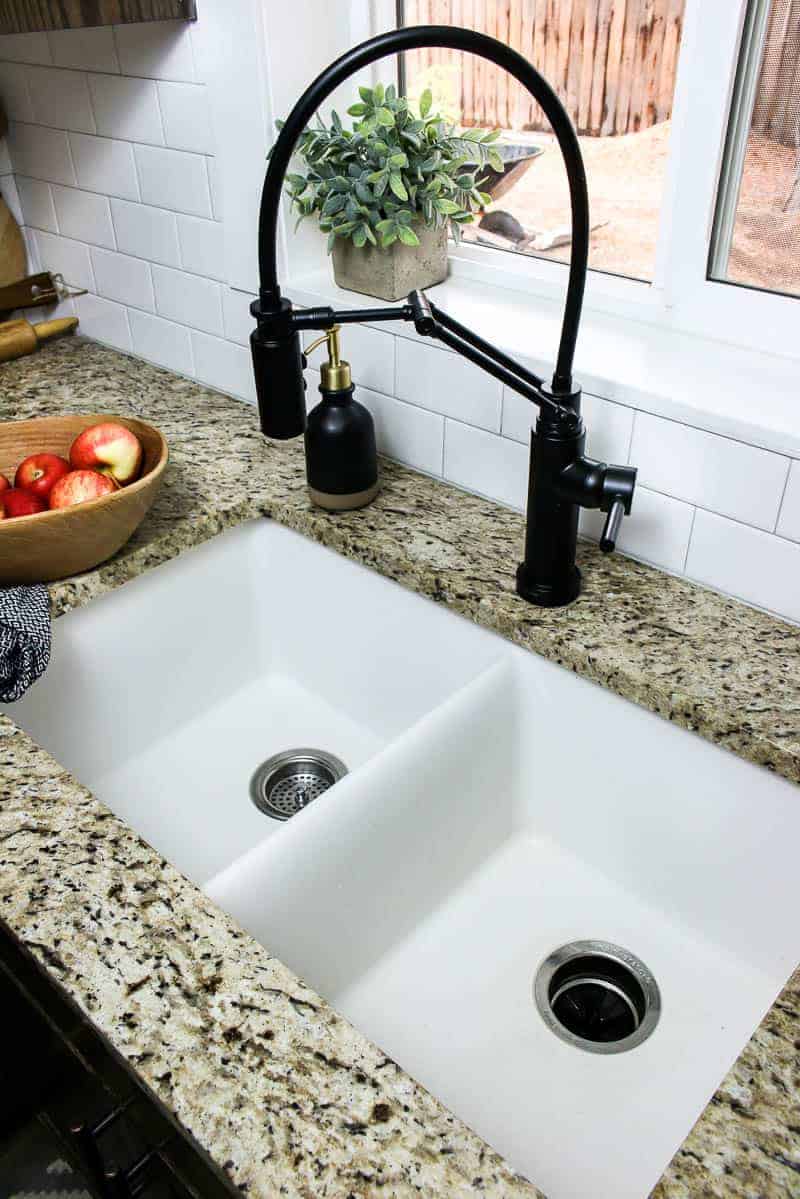
Customizable Options
 Another great benefit of
undermount bathroom sinks
is the variety of options available in terms of size, shape, and material. You can choose from different sizes to fit your specific bathroom needs, whether it's a small powder room or a spacious master bathroom. Undermount sinks also come in various shapes, such as round, oval, square, or rectangular, allowing you to choose the one that best suits your style and needs. Moreover, they are available in different materials, such as ceramic, porcelain, granite, or stainless steel, giving you the freedom to design your bathroom according to your preference.
Another great benefit of
undermount bathroom sinks
is the variety of options available in terms of size, shape, and material. You can choose from different sizes to fit your specific bathroom needs, whether it's a small powder room or a spacious master bathroom. Undermount sinks also come in various shapes, such as round, oval, square, or rectangular, allowing you to choose the one that best suits your style and needs. Moreover, they are available in different materials, such as ceramic, porcelain, granite, or stainless steel, giving you the freedom to design your bathroom according to your preference.
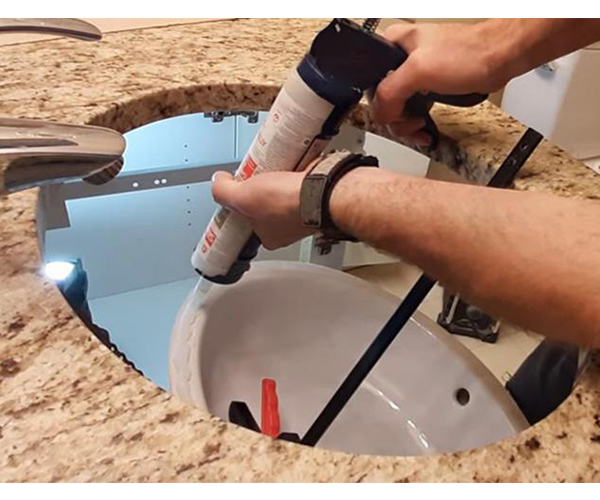
Increased Durability
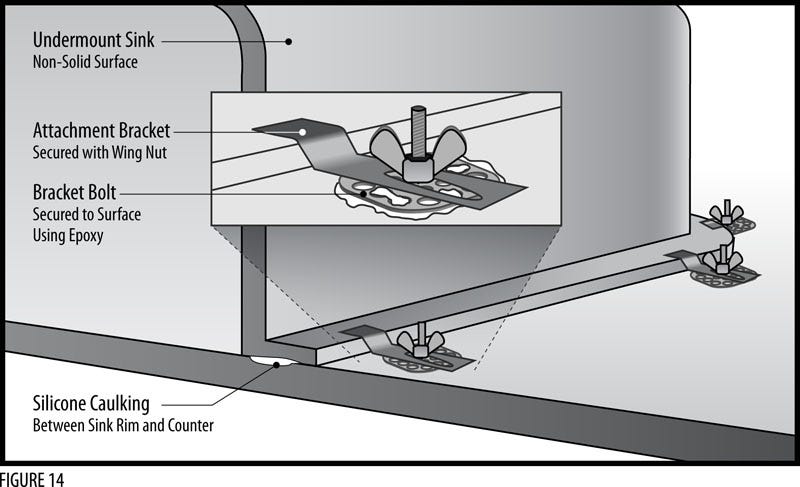
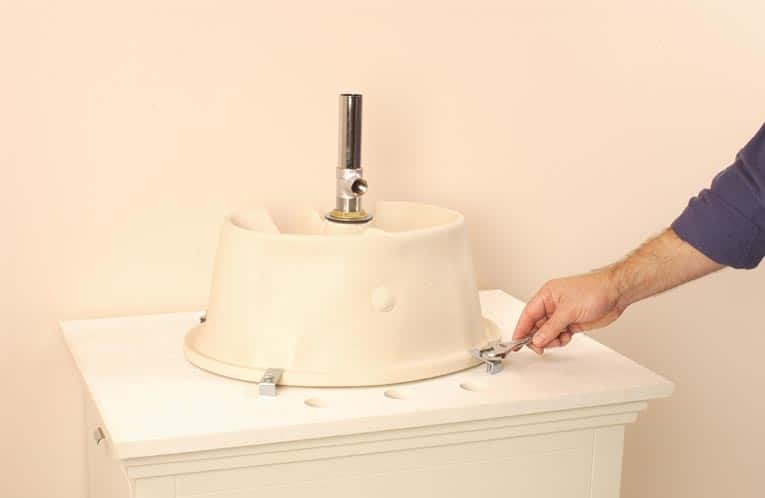
:max_bytes(150000):strip_icc()/8_IMG_3767-56a4a2753df78cf772835b72.JPG) Undermount bathroom sinks are installed with strong adhesive and clips, making them more durable than traditional sinks. This installation method also ensures that the sink is securely attached to the countertop, preventing any movement or damage over time. Additionally, undermount sinks are usually made of high-quality materials, making them more resistant to scratches, stains, and chipping, ensuring long-lasting use.
In conclusion,
installing an undermount bathroom sink
is a great choice for those who want to upgrade the look and functionality of their bathroom. With its sleek design, easy maintenance, customizable options, and durability, it's no wonder why undermount sinks have become a popular choice in modern bathroom design. So why wait? Transform your bathroom into a luxurious and organized space by installing an undermount bathroom sink today!
Undermount bathroom sinks are installed with strong adhesive and clips, making them more durable than traditional sinks. This installation method also ensures that the sink is securely attached to the countertop, preventing any movement or damage over time. Additionally, undermount sinks are usually made of high-quality materials, making them more resistant to scratches, stains, and chipping, ensuring long-lasting use.
In conclusion,
installing an undermount bathroom sink
is a great choice for those who want to upgrade the look and functionality of their bathroom. With its sleek design, easy maintenance, customizable options, and durability, it's no wonder why undermount sinks have become a popular choice in modern bathroom design. So why wait? Transform your bathroom into a luxurious and organized space by installing an undermount bathroom sink today!