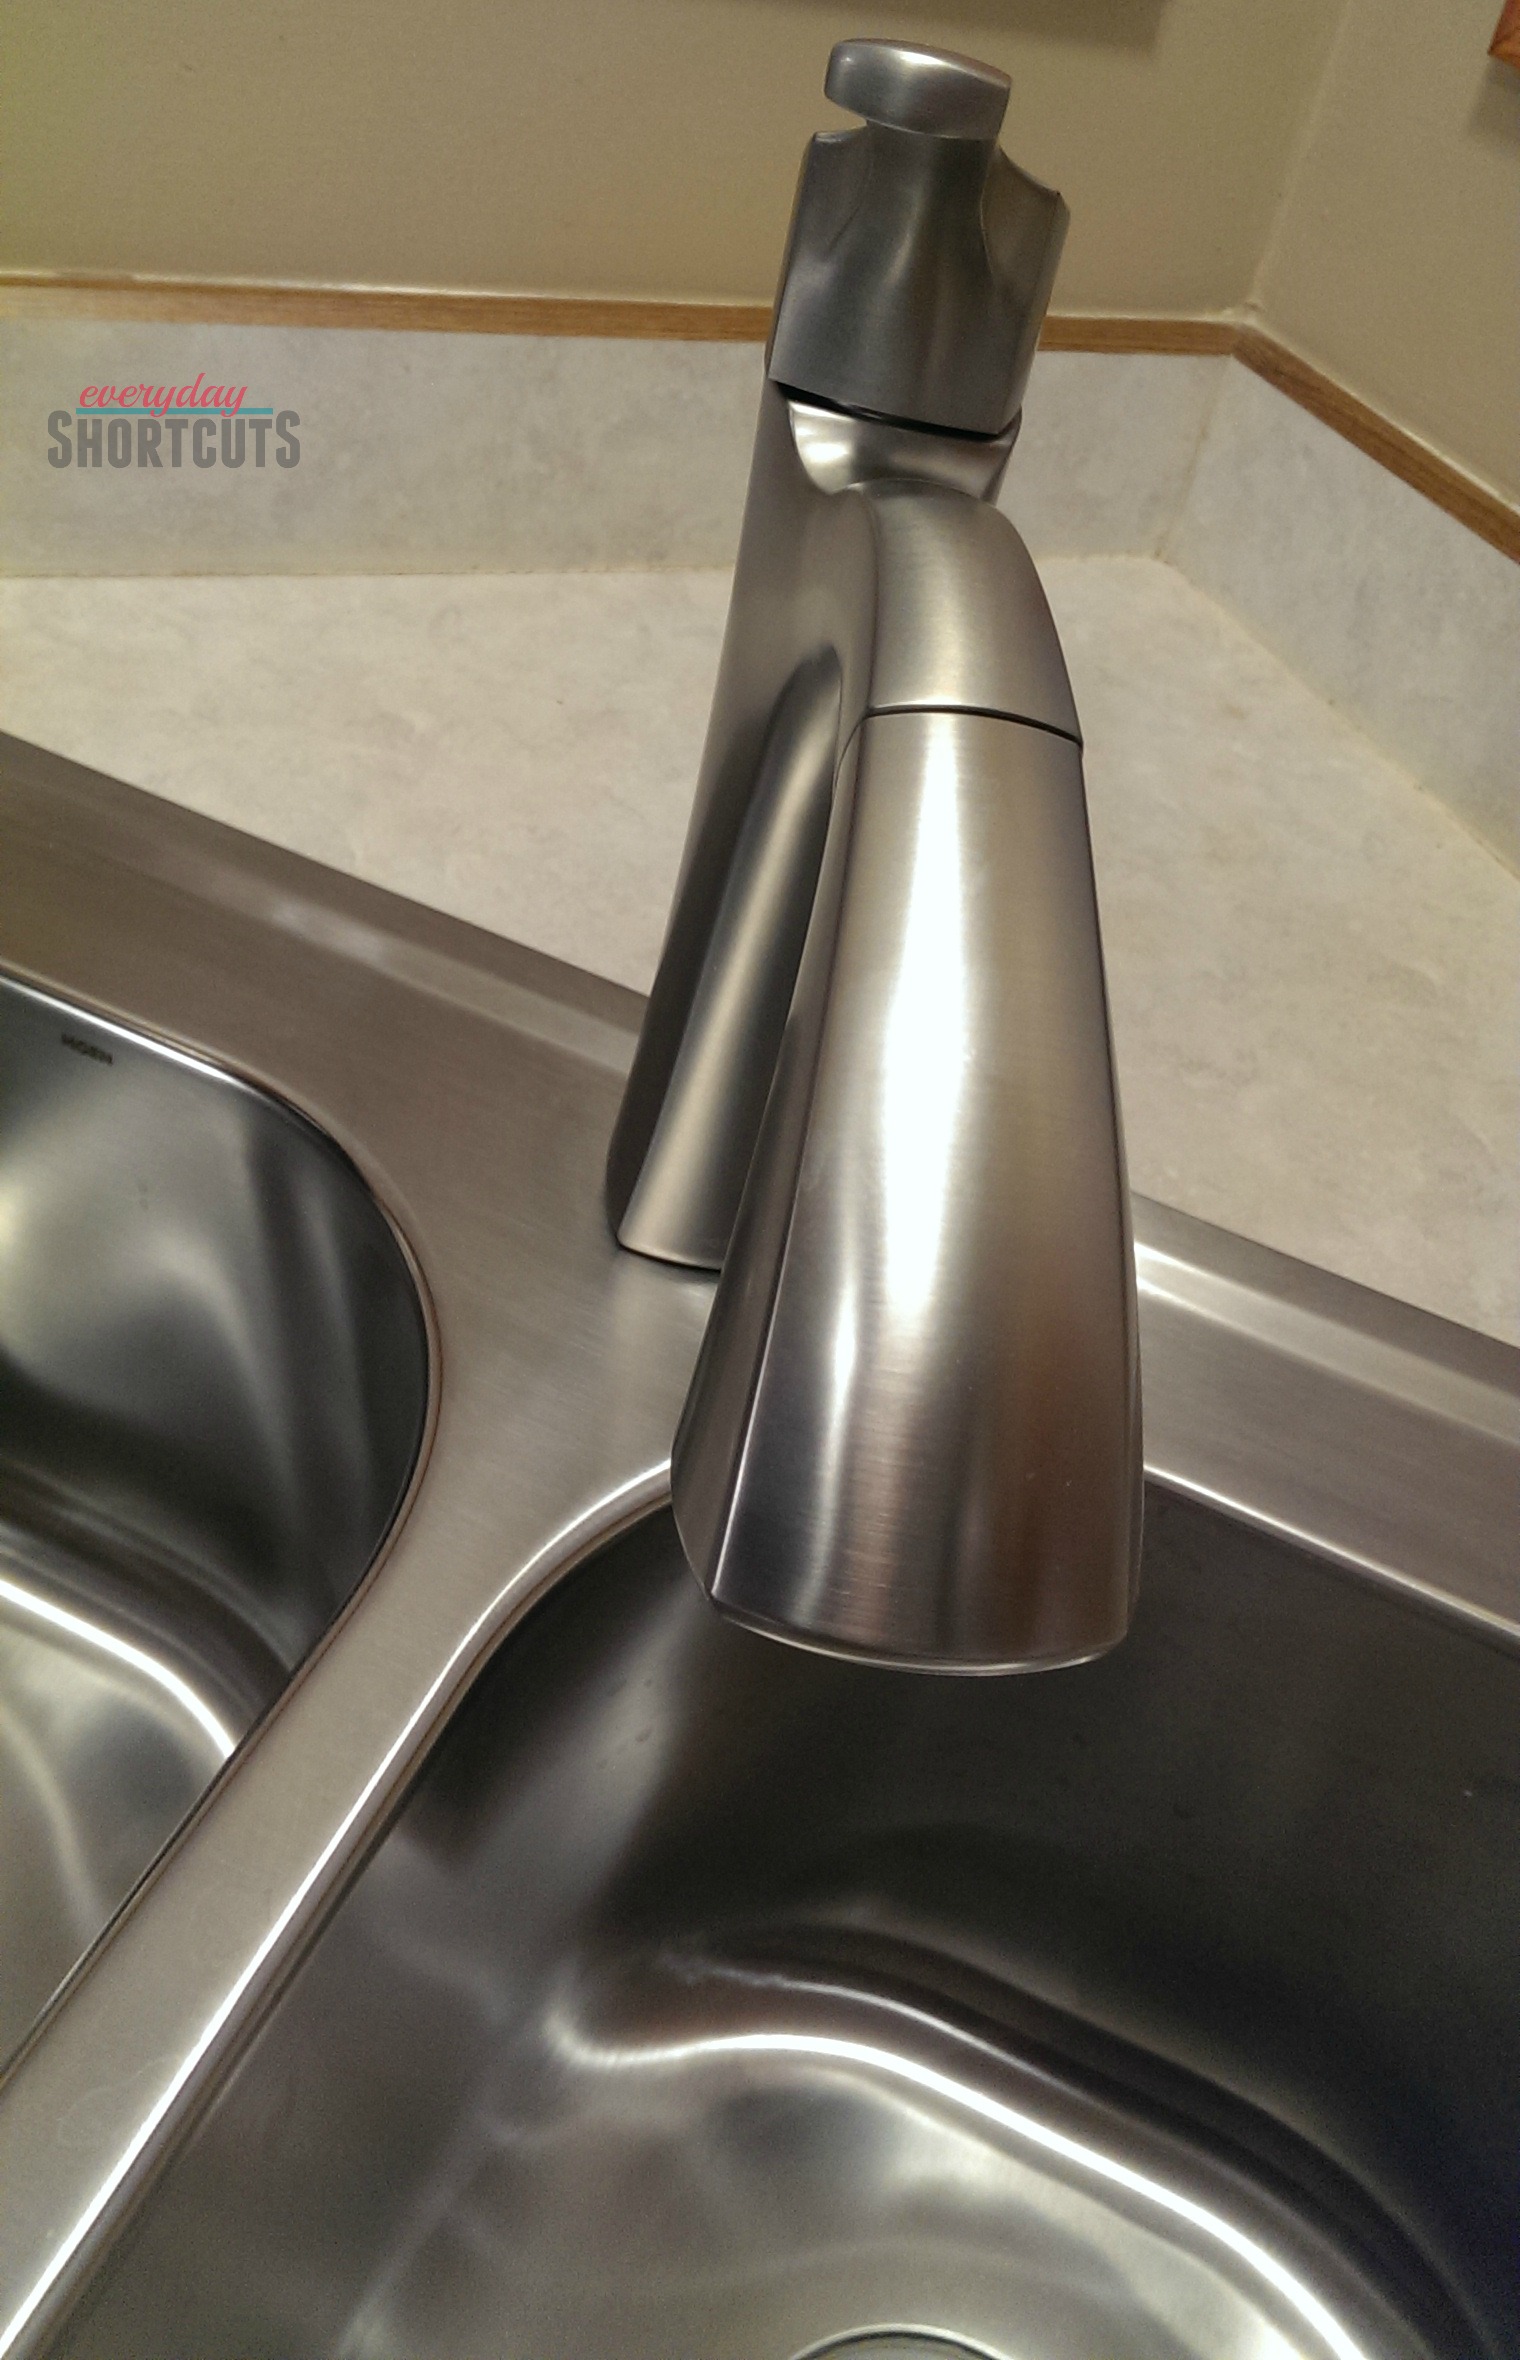
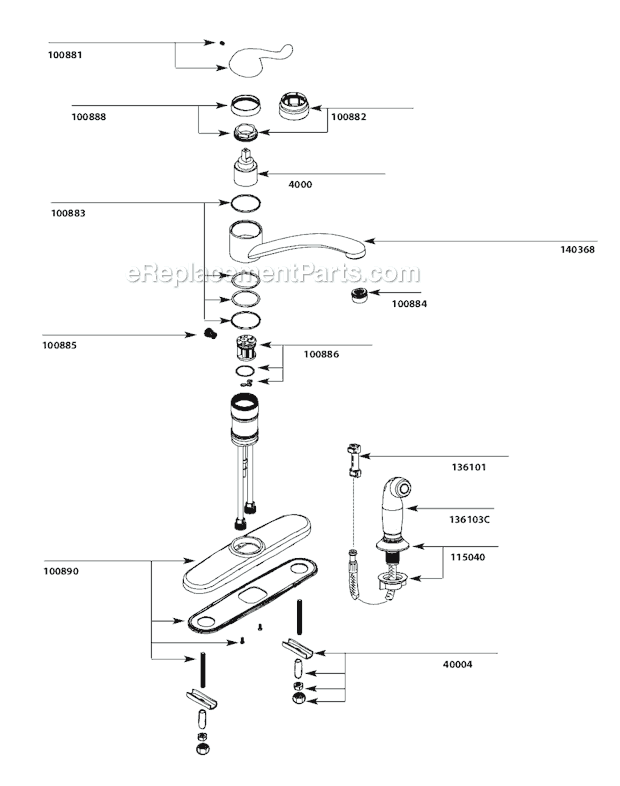
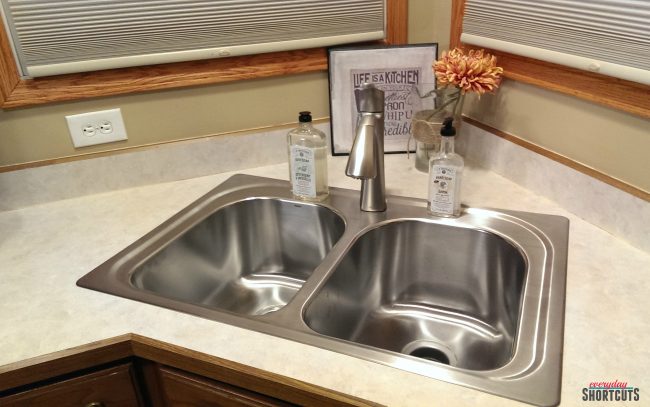
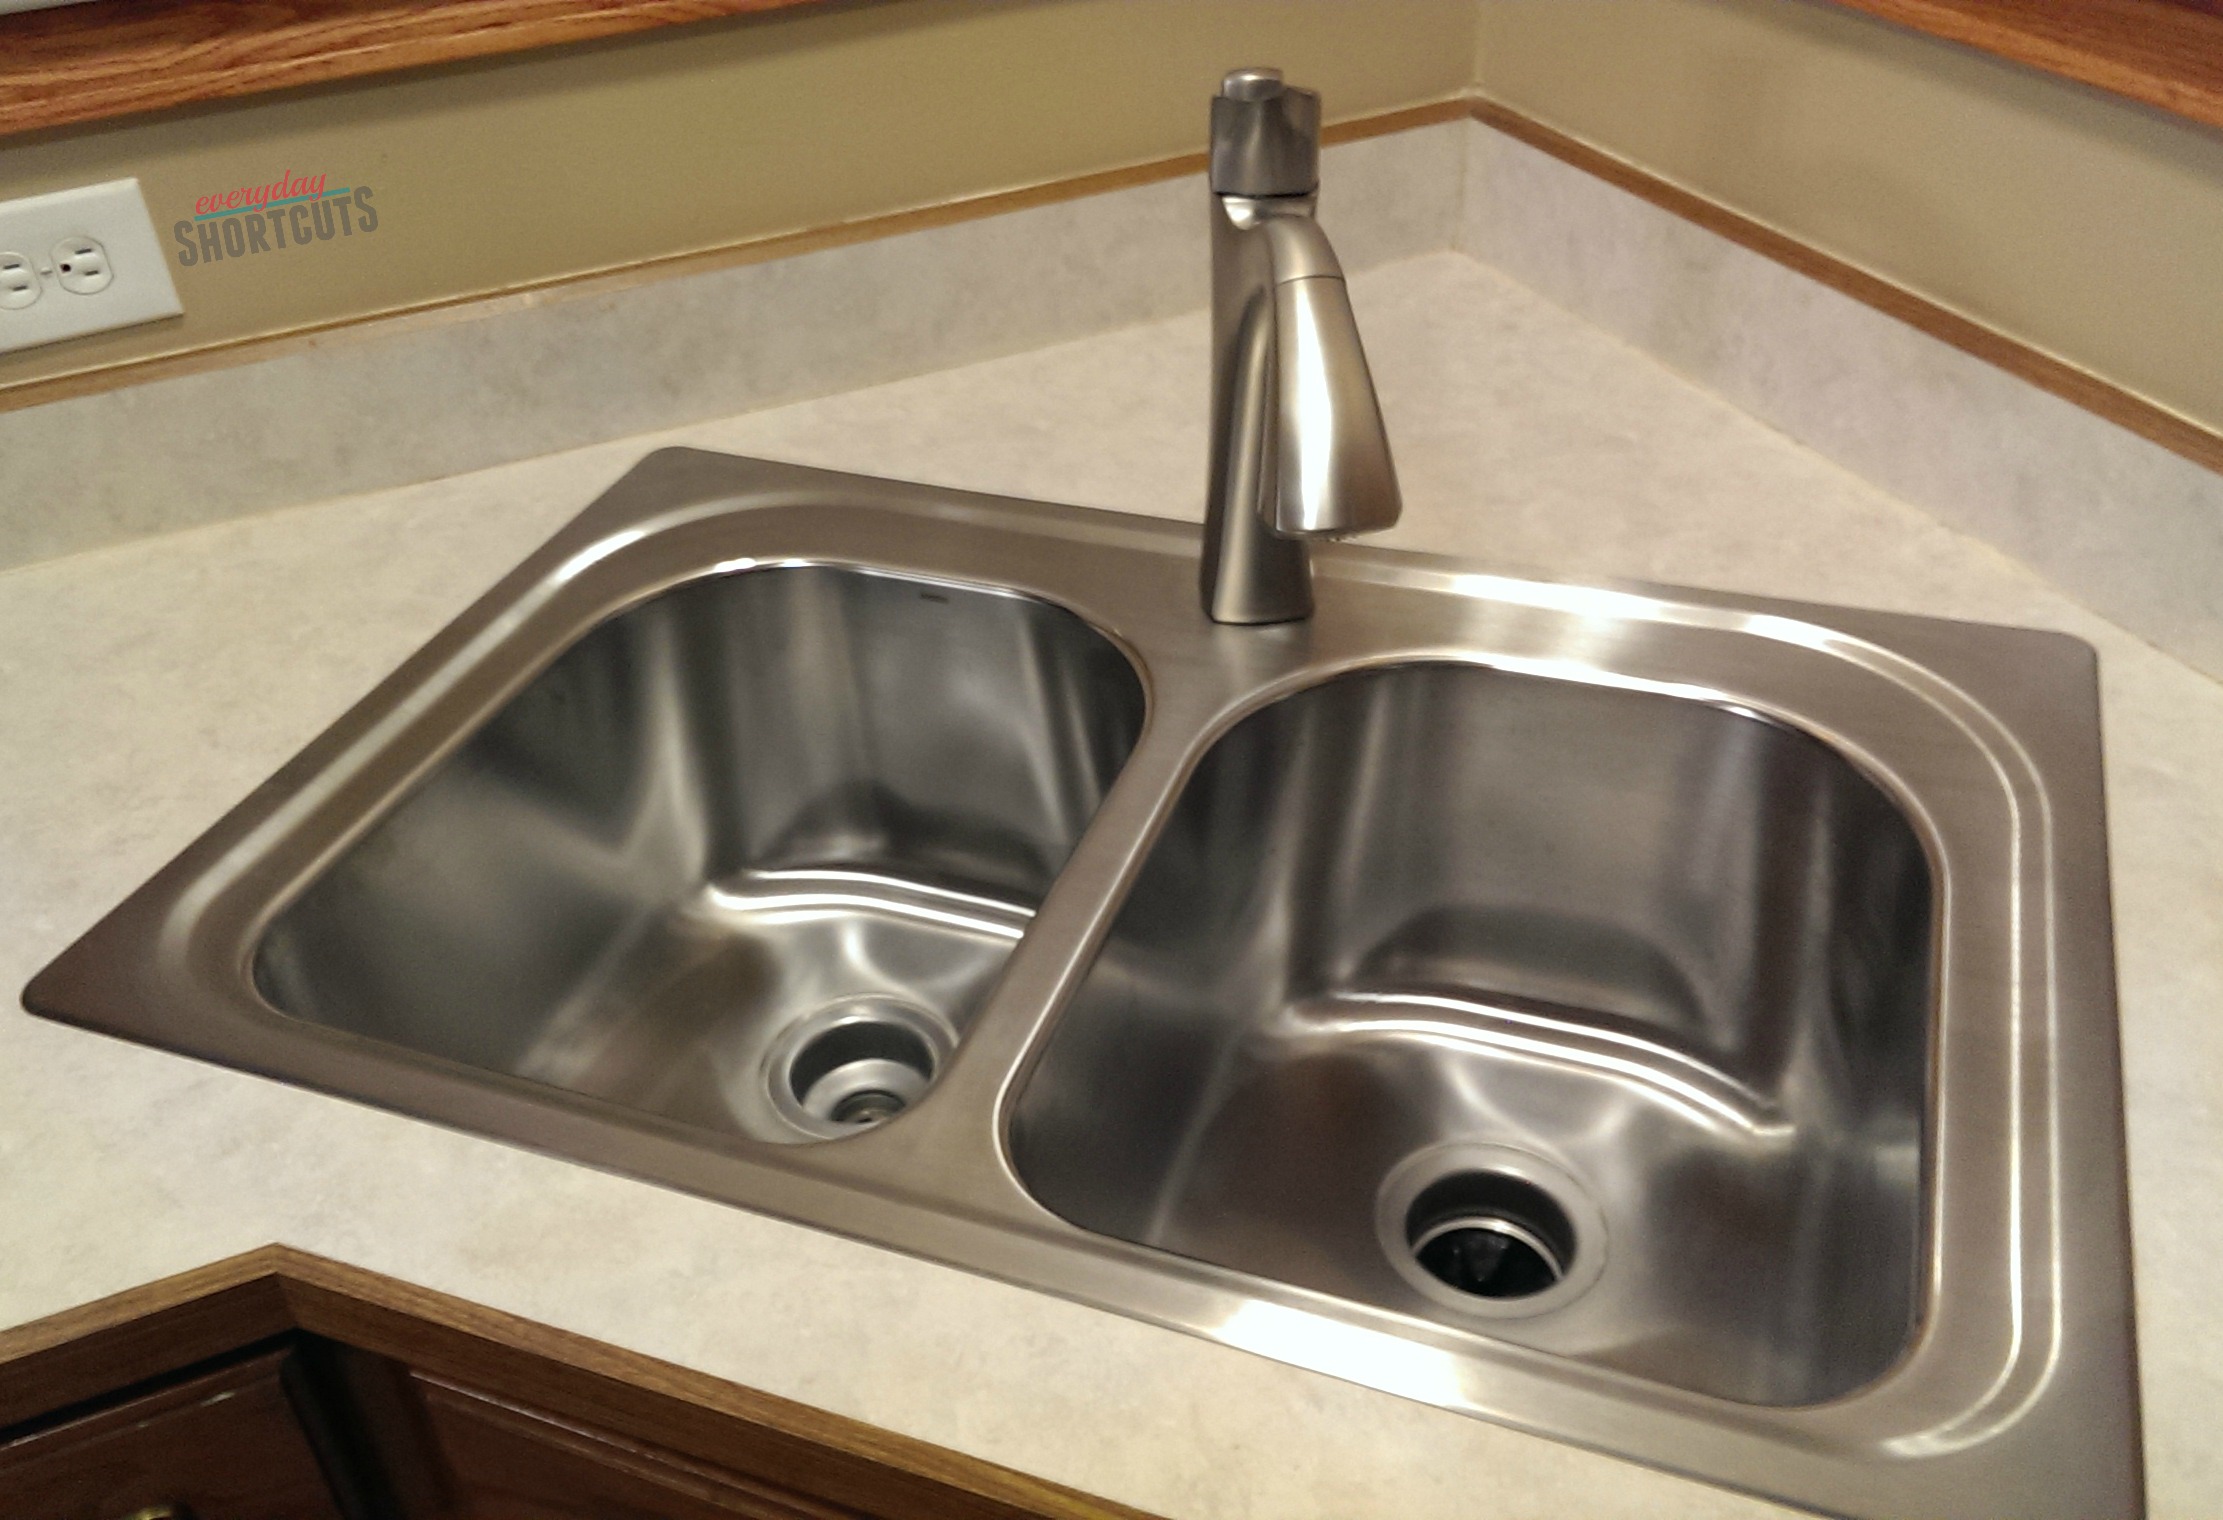
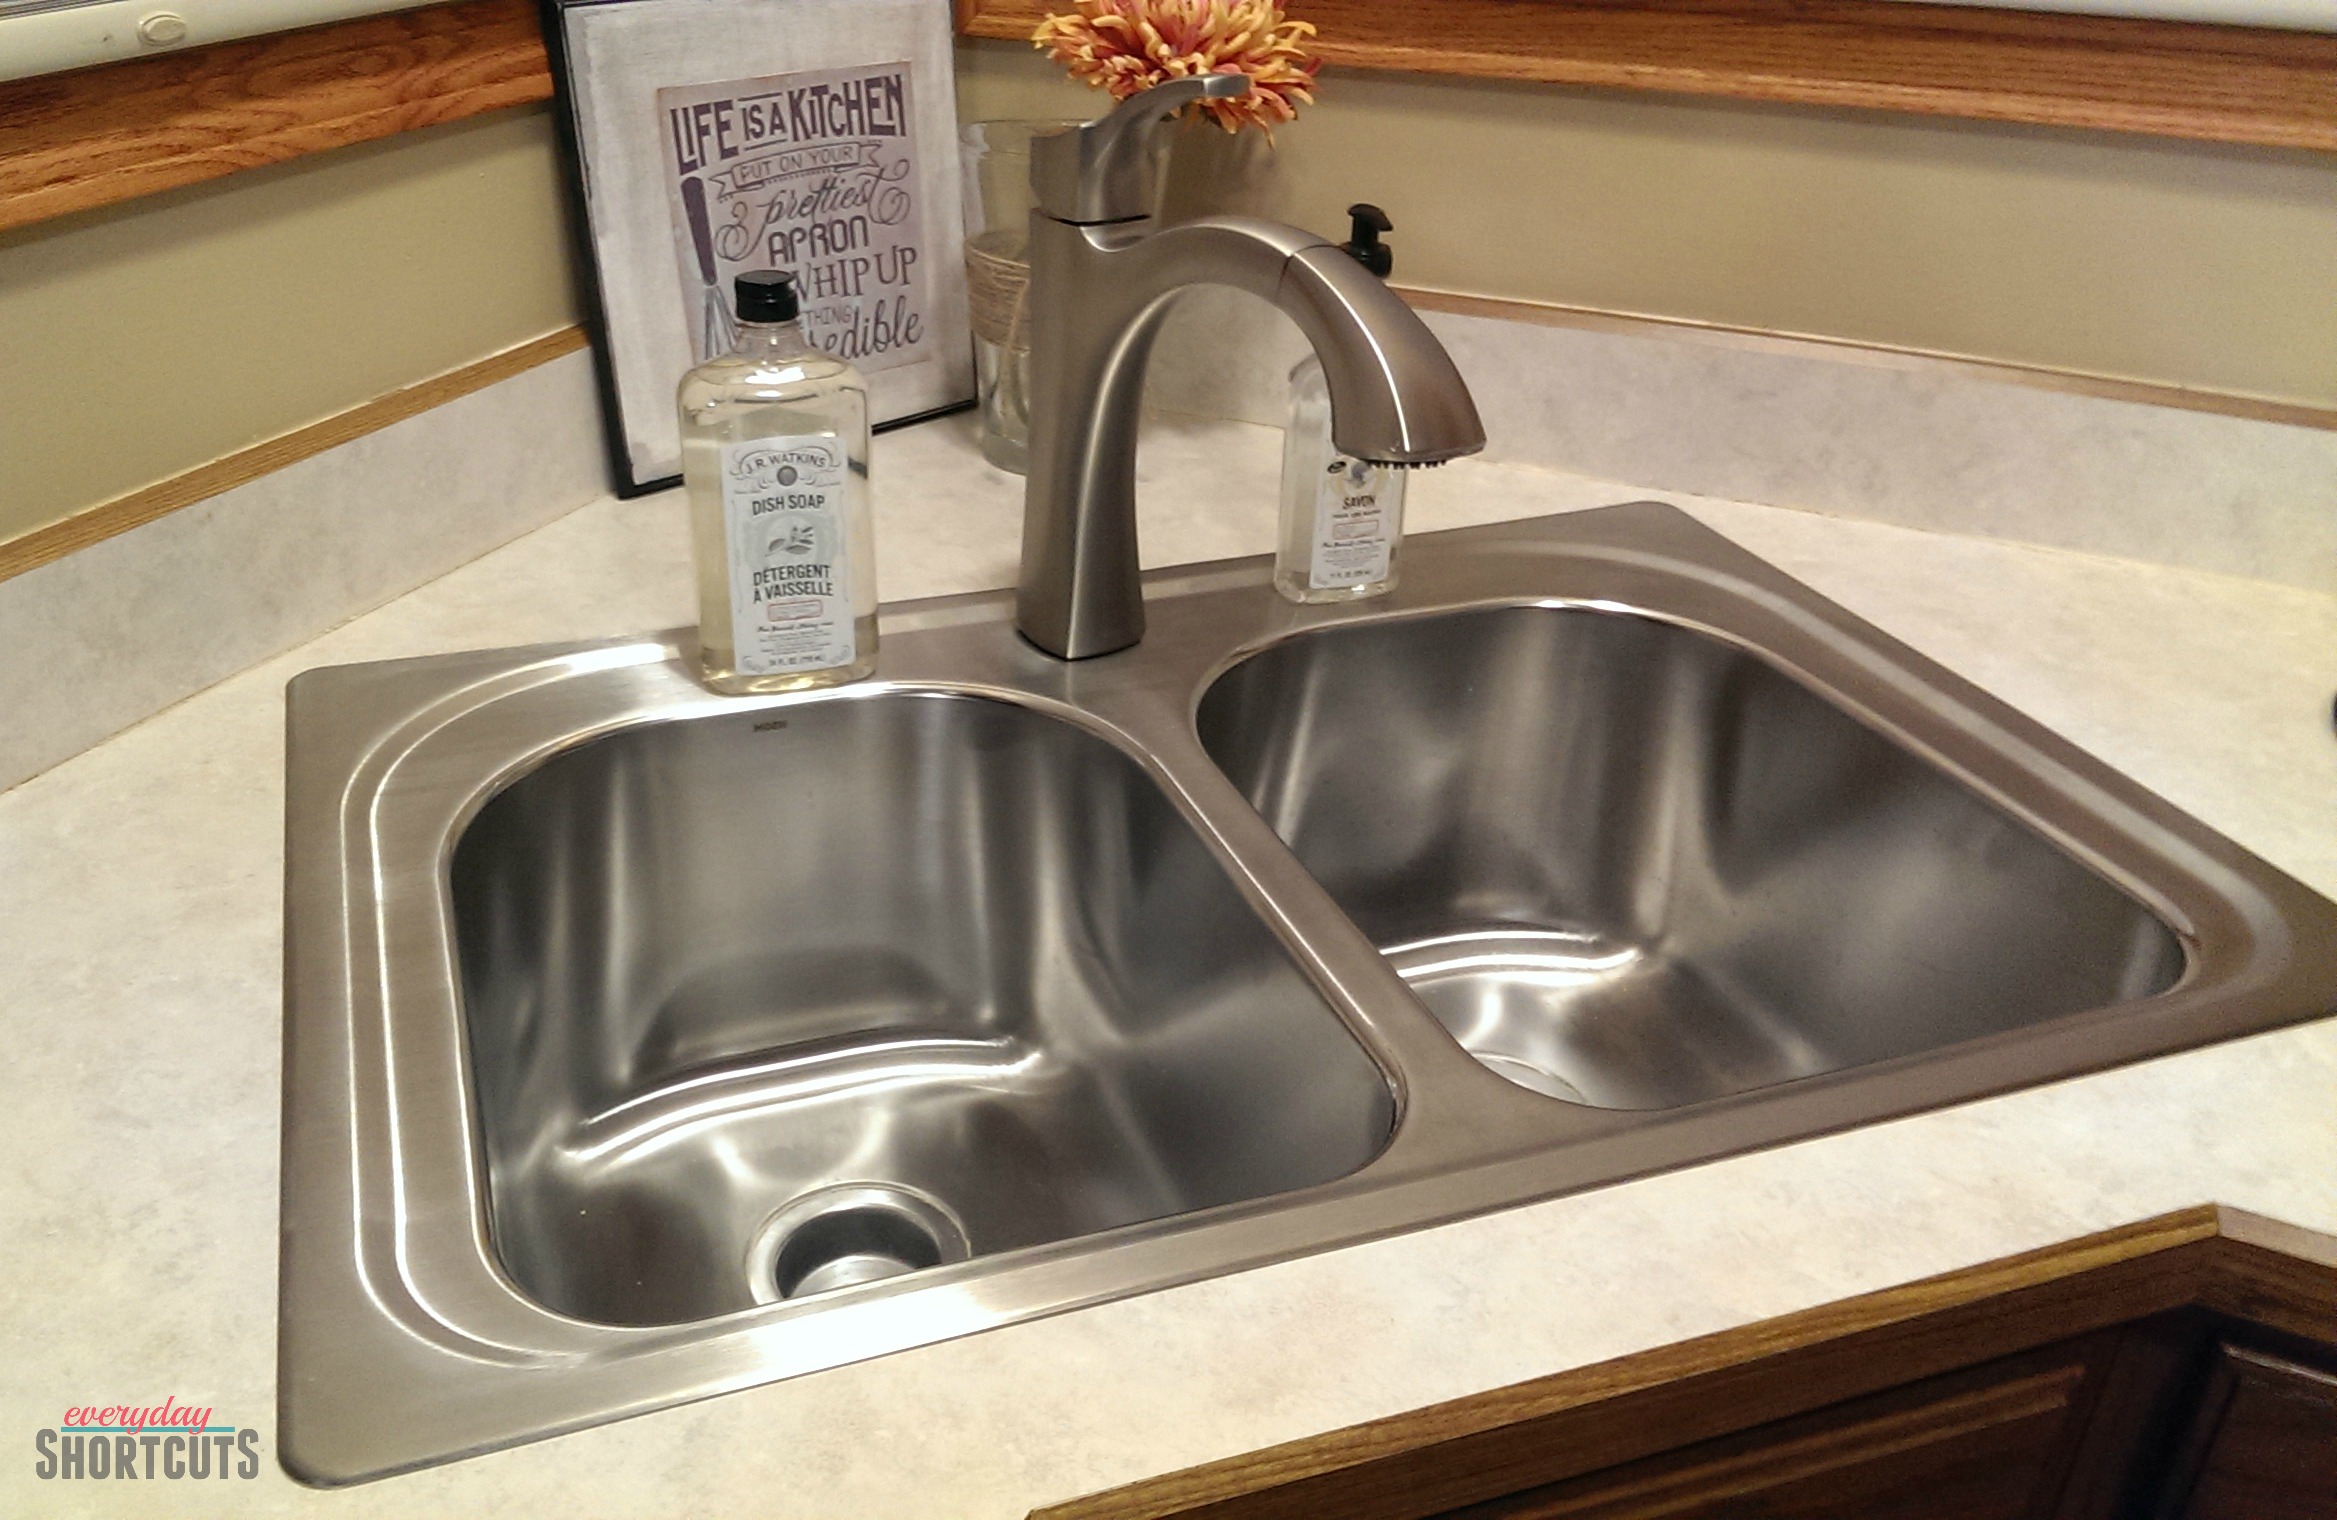
Are you looking to give your kitchen a fresh and updated look? One simple change that can make a big impact is installing a new Moen kitchen sink faucet. Moen is a trusted brand known for its quality and durability, making it a popular choice among homeowners. With the right tools and a little know-how, you can easily install a Moen kitchen sink faucet yourself and save money on hiring a professional. Follow this step-by-step guide for a successful installation process.How to Install a Moen Kitchen Sink Faucet
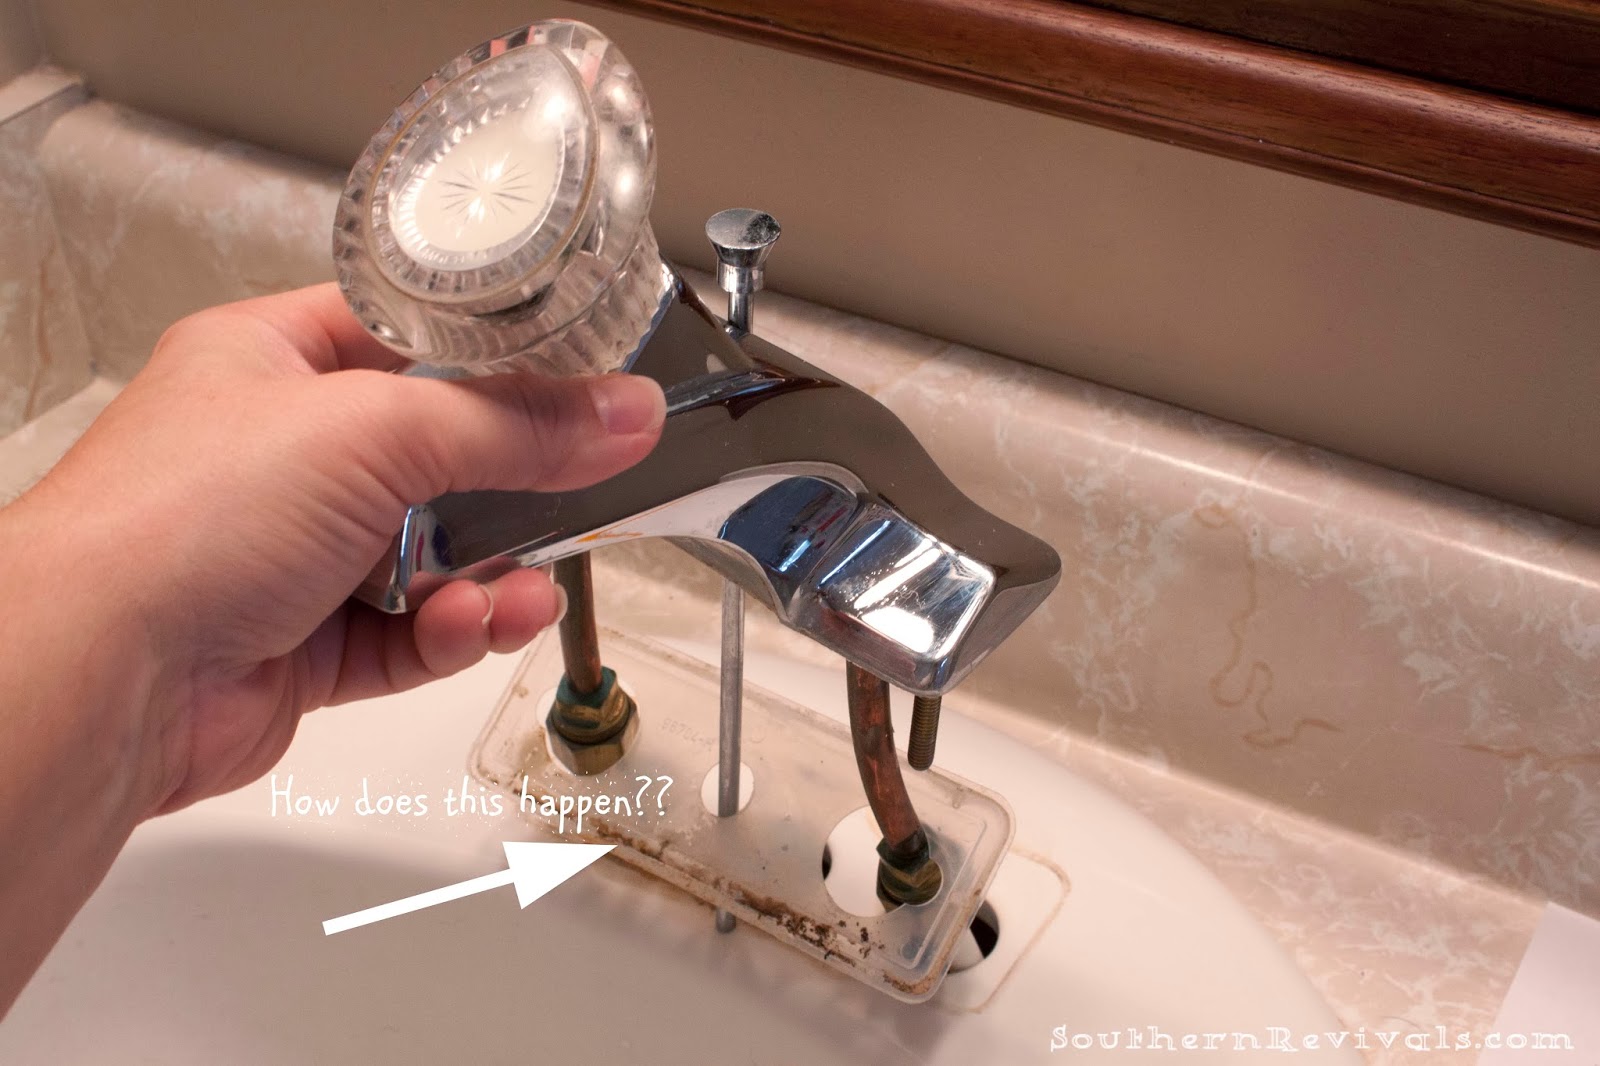
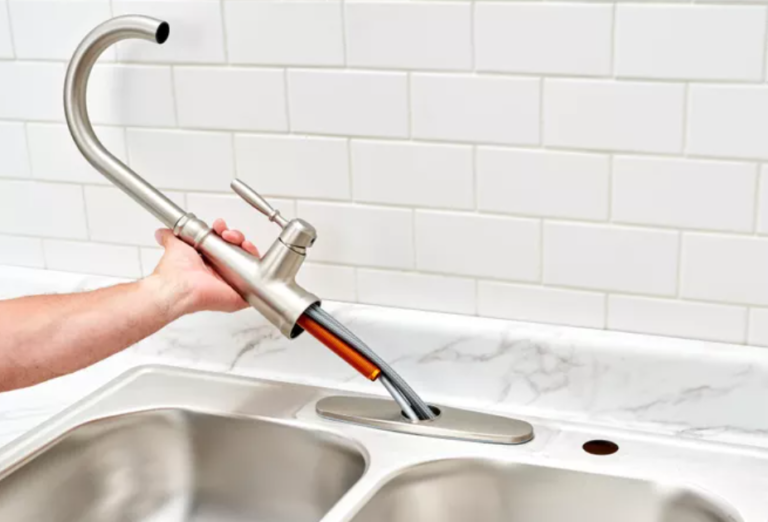
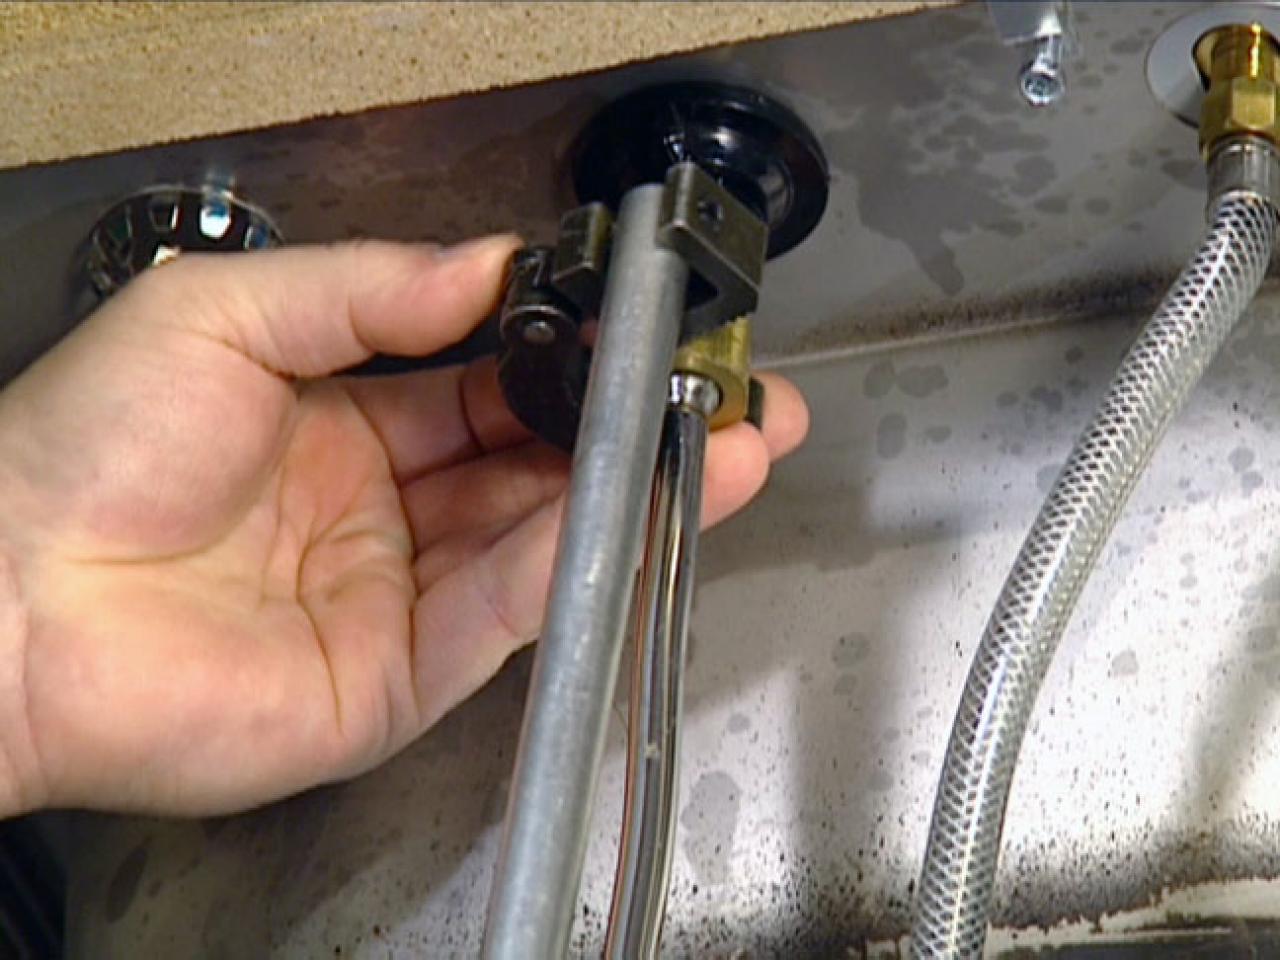
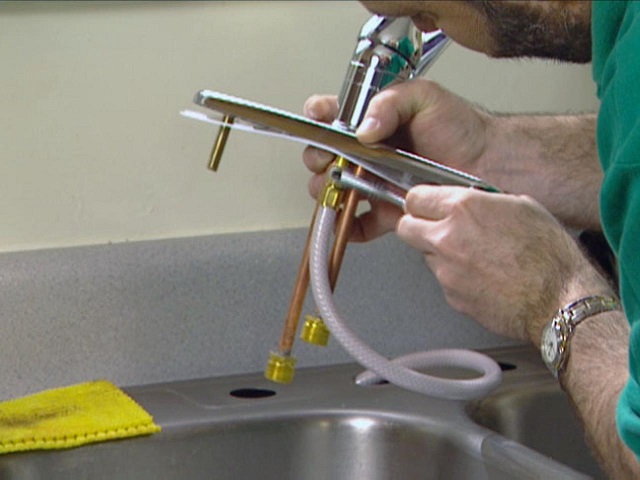
Moen kitchen sink faucet installation is a straightforward process that can be completed in a few hours. Before you begin, make sure you have all the necessary tools and materials, including a new Moen faucet, adjustable wrench, plumber's tape, and silicone sealant. Once you have everything you need, follow these steps: Step 1: Start by turning off the water supply to your kitchen sink. Look for the shut-off valves under the sink and turn them clockwise to shut off the water flow. If you cannot locate the shut-off valves, turn off the main water supply to your house. Step 2: Once the water is turned off, turn on the faucet to release any remaining water pressure. This will prevent any water from spilling out during the installation process. Step 3: Use a wrench to disconnect the supply lines from the old faucet. Keep a towel handy to catch any water that may drip out. Step 4: Remove the old faucet by loosening the mounting nuts underneath the sink. You may need a basin wrench for this step. Once the nuts are removed, lift the old faucet out of the sink. Step 5: If you are installing a new sink along with the new faucet, now is the time to do so. Make sure to follow the manufacturer's instructions for the sink installation. Step 6: Place the new Moen faucet in the mounting holes on the sink. Make sure it is centered and straight before tightening the mounting nuts from underneath the sink. Step 7: Once the faucet is securely in place, attach the supply lines to the new faucet. Use plumber's tape on the threads for a tight seal. Step 8: Turn the water supply back on and check for any leaks. If you notice any, tighten the connections or use plumber's tape to fix the issue. Step 9: Apply a thin layer of silicone sealant around the base of the faucet to prevent any water from seeping underneath. Step 10: Test out your new Moen kitchen sink faucet by turning on the water and checking for proper water flow and temperature.Installing a Moen Kitchen Sink Faucet: Step-by-Step Guide
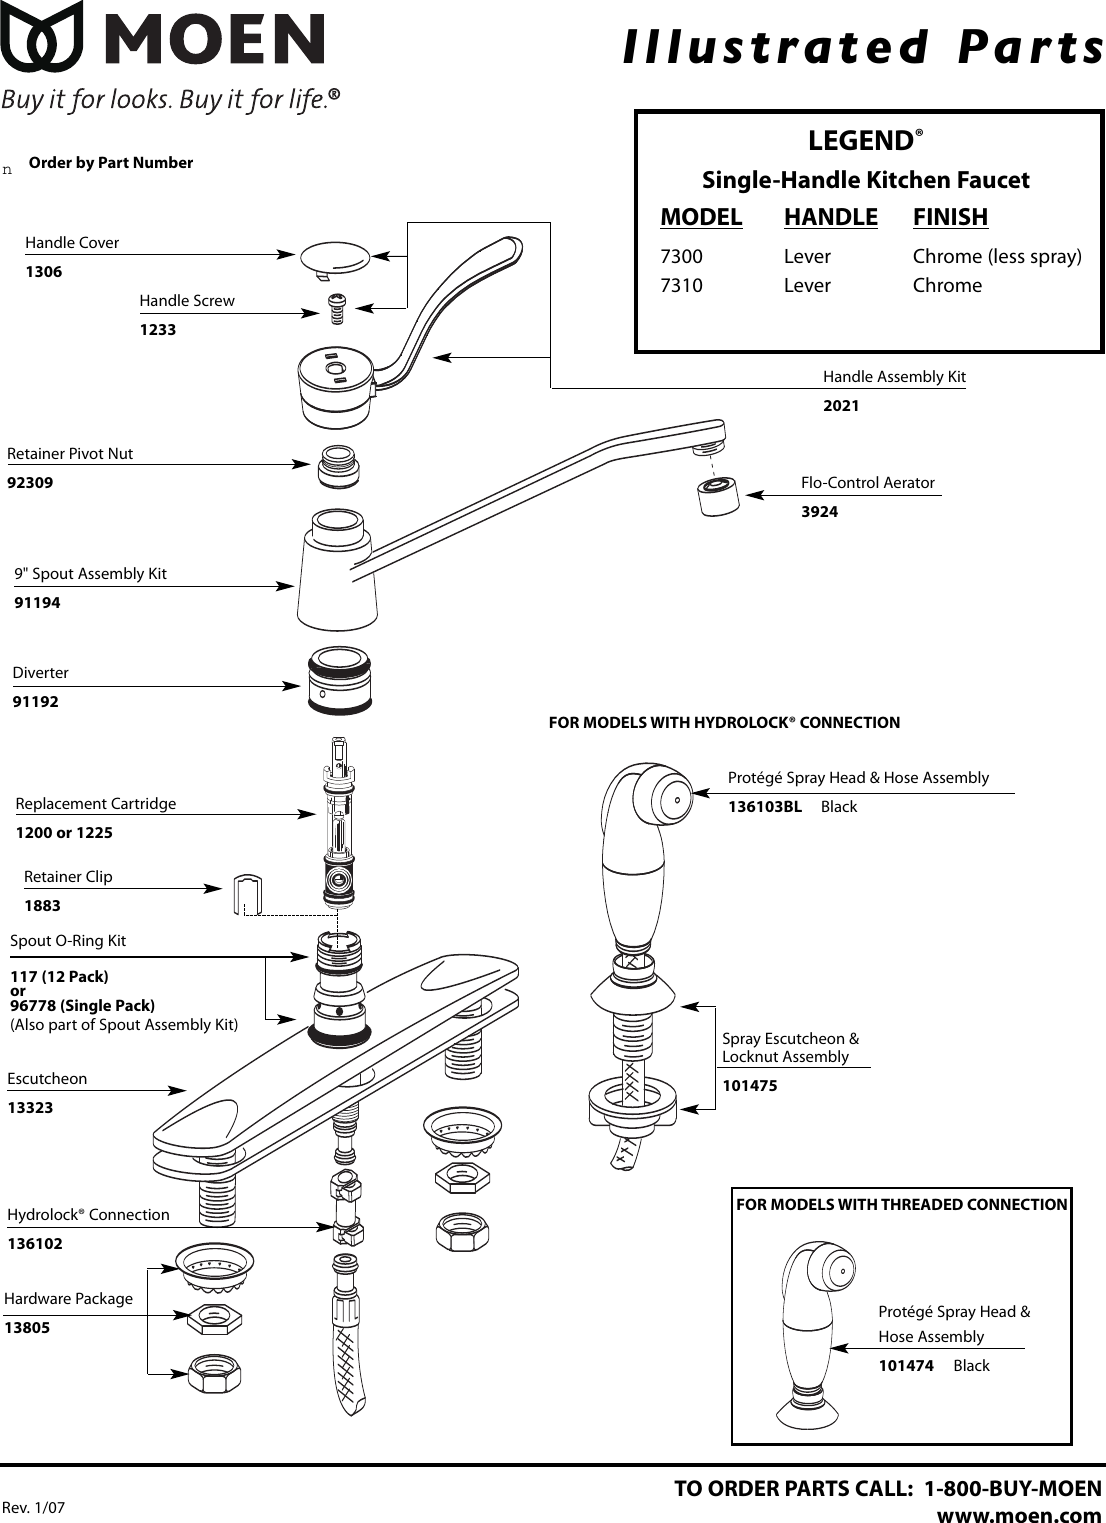
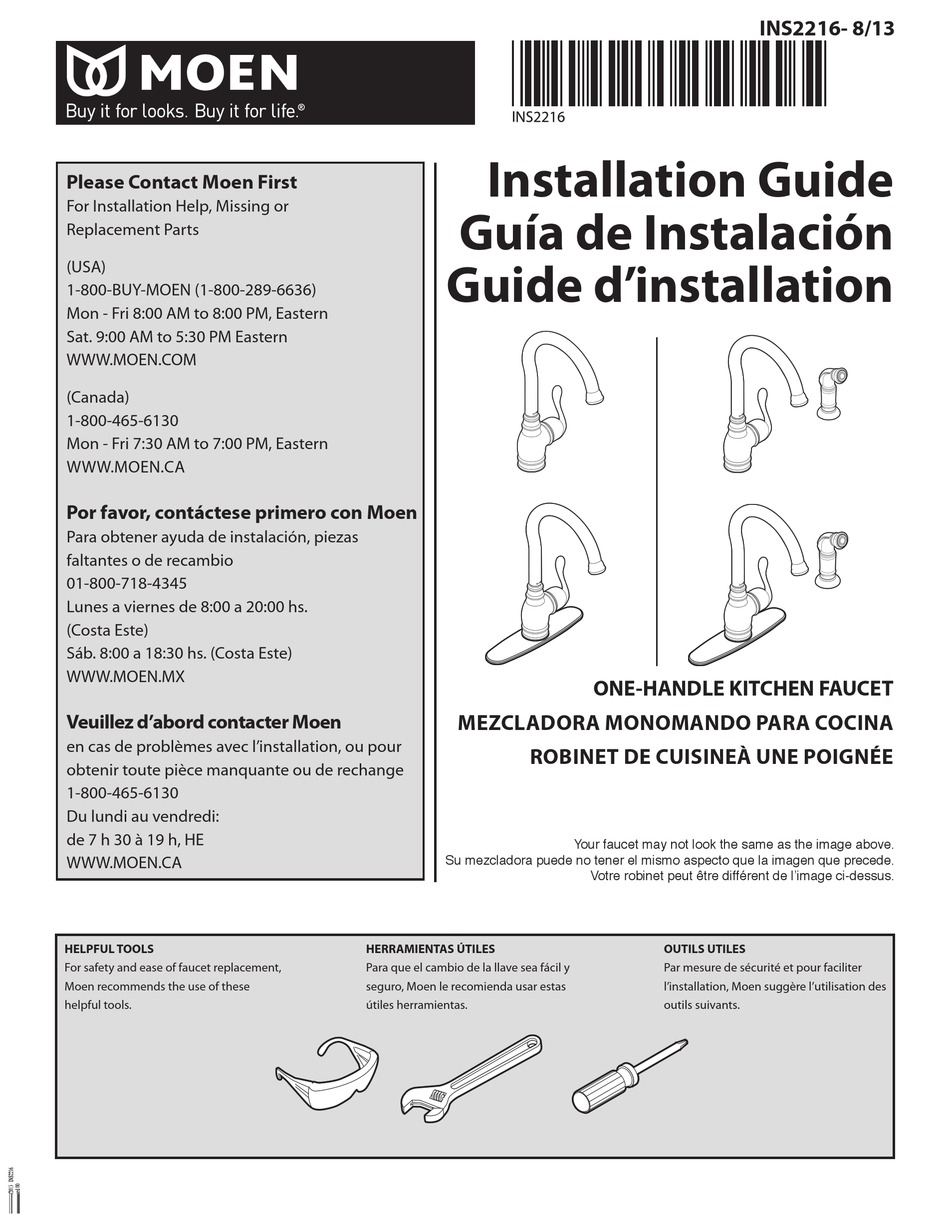
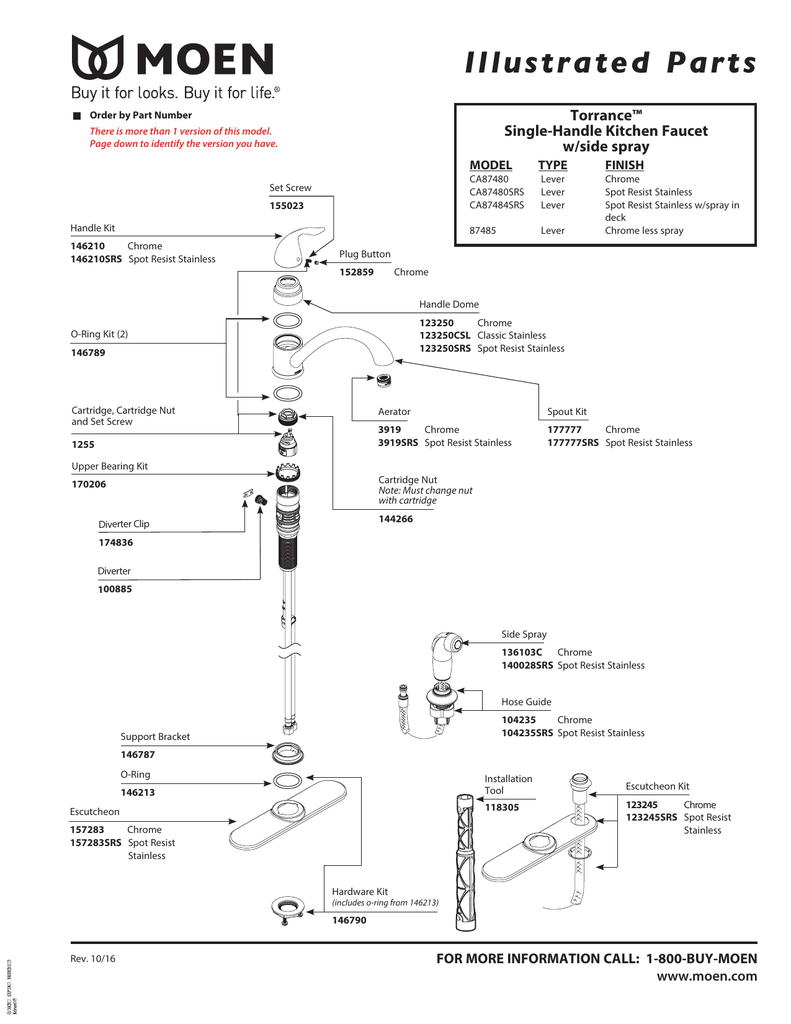
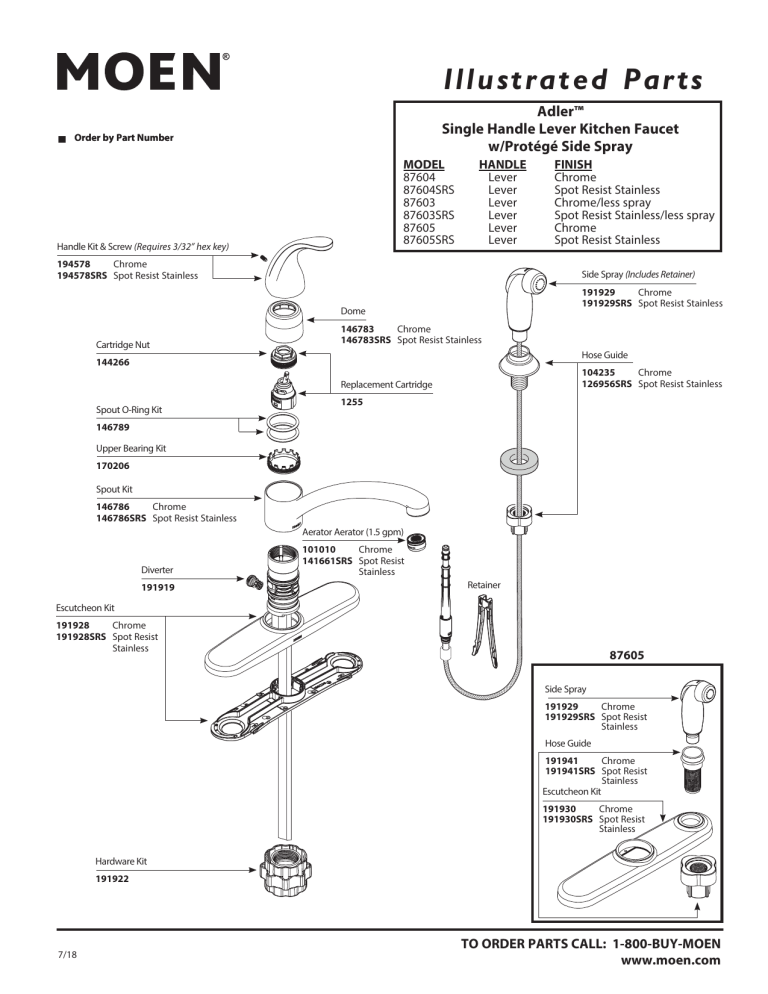
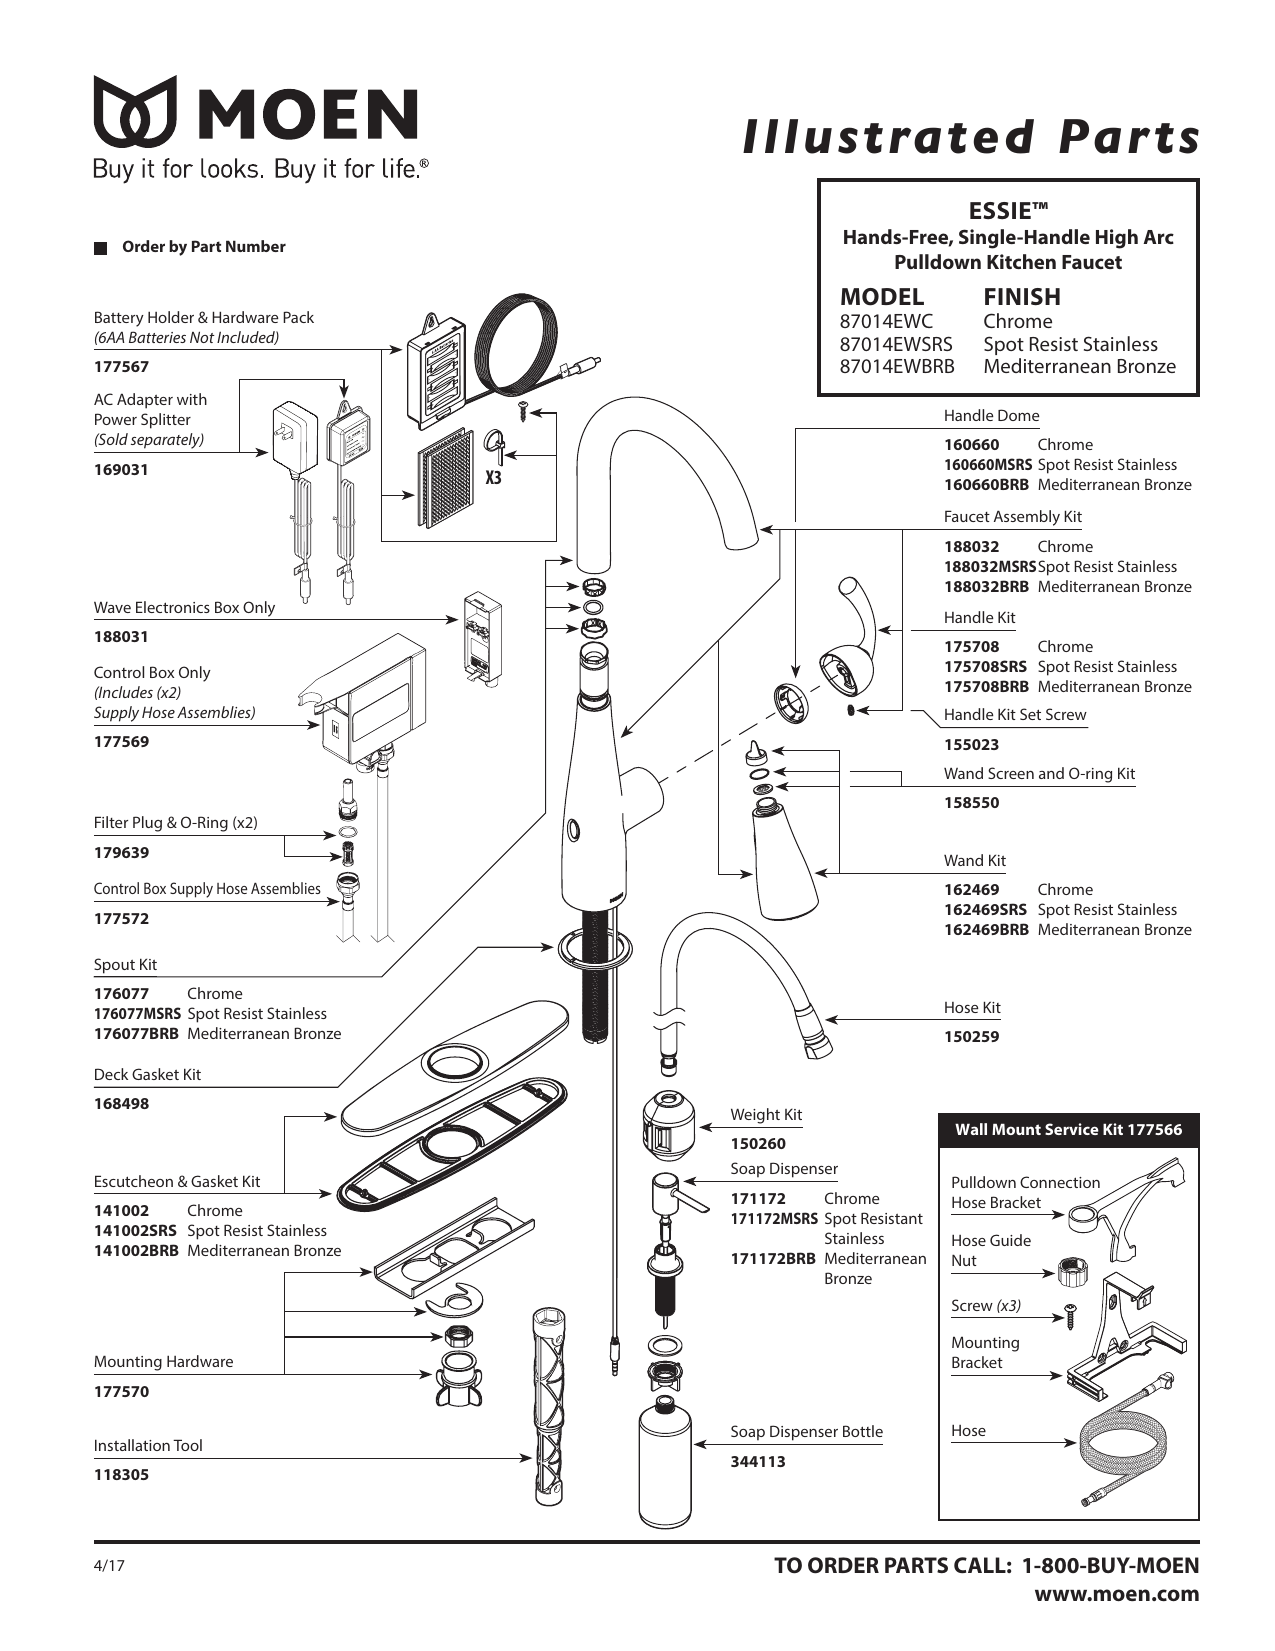
If you need more detailed instructions, you can refer to the Moen kitchen sink faucet installation guide provided by the manufacturer. It will include specific instructions for your particular faucet model, including any additional steps or tools needed for installation.Moen Kitchen Sink Faucet Installation Instructions
Installing a Moen kitchen sink faucet is a great DIY project that can save you money and give your kitchen a new look. Just make sure to follow the instructions carefully and have all the necessary tools and materials before beginning the installation process. If you are unsure or uncomfortable with any step, it's always best to consult a professional plumber.DIY: Installing a Moen Kitchen Sink Faucet
For a quick and easy Moen kitchen sink faucet installation, follow this step-by-step guide. With a little patience and some basic tools, you will have a new faucet installed in no time.Step-by-Step Guide for Installing a Moen Kitchen Sink Faucet
Don't let the thought of installing a Moen kitchen sink faucet intimidate you. With the right tools and instructions, it can be a straightforward and easy process. Plus, you'll save money by not hiring a professional plumber.Easy Installation of a Moen Kitchen Sink Faucet
Here are a few tips and tricks to keep in mind when installing a Moen kitchen sink faucet: - Before beginning the installation, read through the instructions provided by the manufacturer. - Make sure you have all the necessary tools and materials before starting the installation process. - Take your time and double-check your work to avoid any mistakes or leaks. - If you encounter any issues, don't be afraid to consult a professional plumber for assistance.Installing a Moen Kitchen Sink Faucet: Tips and Tricks
If you already have a Moen kitchen sink faucet installed and just want to update the look, you can easily replace it with a new one. Simply follow the same steps for installation, but instead of removing the old faucet, you will need to remove it from the sink first.How to Replace and Install a Moen Kitchen Sink Faucet
This comprehensive guide has provided you with all the information you need to know for installing a Moen kitchen sink faucet. With the right tools and instructions, you can easily complete this project and give your kitchen a fresh and updated look.Moen Kitchen Sink Faucet Installation: A Comprehensive Guide
To recap, here are the quick and easy steps for installing a Moen kitchen sink faucet: Step 1: Turn off the water supply. Step 2: Disconnect the supply lines from the old faucet. Step 3: Remove the old faucet. Step 4: Place the new faucet in the mounting holes and secure it with mounting nuts. Step 5: Attach the supply lines to the new faucet. Step 6: Turn the water supply back on and check for leaks. Step 7: Apply silicone sealant around the base of the faucet. Step 8: Test the new faucet for proper water flow and temperature. By following these steps and using the tips and tricks provided, you can easily install a Moen kitchen sink faucet and update the look of your kitchen. Enjoy your new faucet and the money you saved by doing it yourself!Quick and Easy Steps for Installing a Moen Kitchen Sink Faucet
Why Choose a Moen Kitchen Sink Faucet?

Durability and Quality
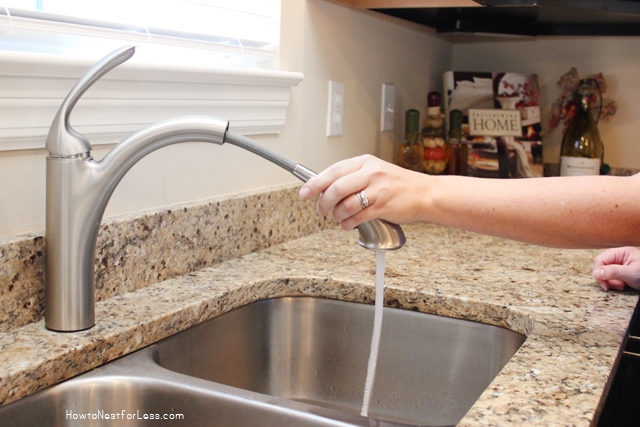 When it comes to your kitchen sink faucet, durability and quality are essential factors to consider. This is where Moen stands out from the rest.
Moen
has been a trusted brand in the plumbing industry for over 80 years, and their products are known for their exceptional durability and quality. Their kitchen sink faucets are made with top-notch materials such as solid brass, stainless steel, and ceramic disc valves, ensuring long-lasting and reliable performance. So, if you want a faucet that can withstand the daily wear and tear of a busy kitchen, a
Moen
kitchen sink faucet is the way to go.
Stylish Designs
 Apart from being durable and high-quality,
Moen
kitchen sink faucets also come in a variety of stylish designs to suit any kitchen aesthetic. Whether you prefer a traditional, modern, or industrial look,
Moen
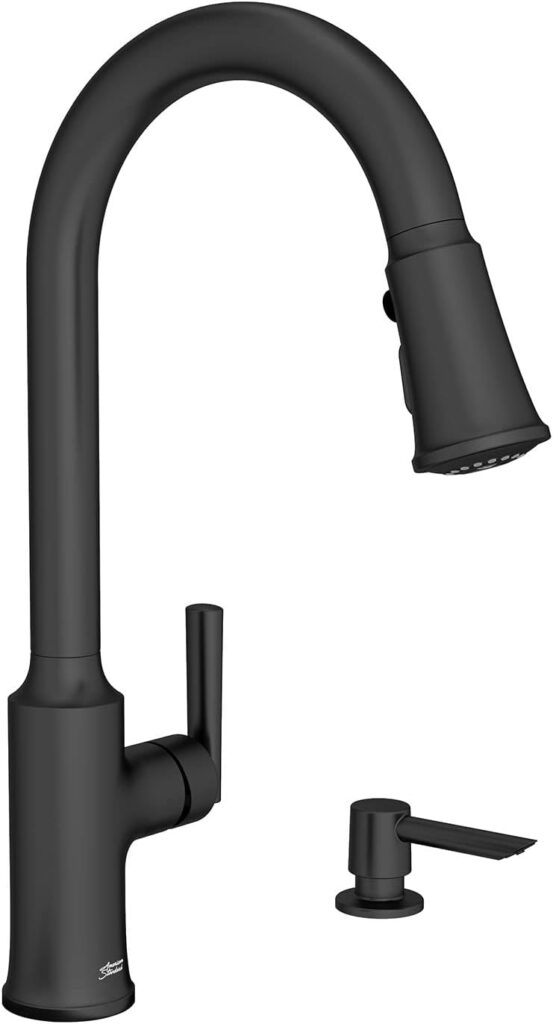
has a faucet to match your style. You can choose from different finishes such as chrome, brushed nickel, matte black, and more, to add a touch of elegance to your kitchen. With their sleek and timeless designs,
Moen
kitchen sink faucets can transform the look of your kitchen and make it stand out.
Convenient Features
 In addition to durability and style,
Moen
kitchen sink faucets also offer convenient features that make your daily tasks easier. Many
Moen
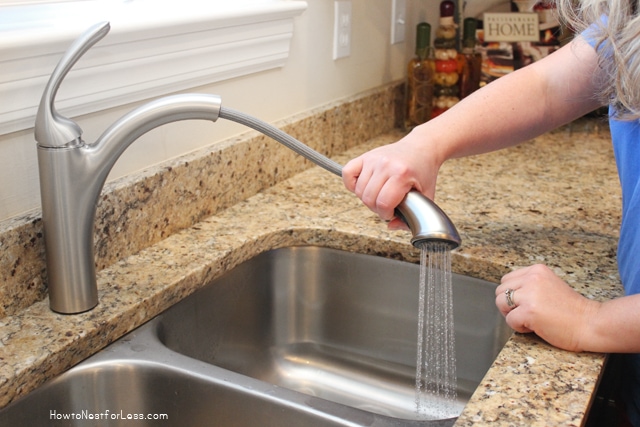
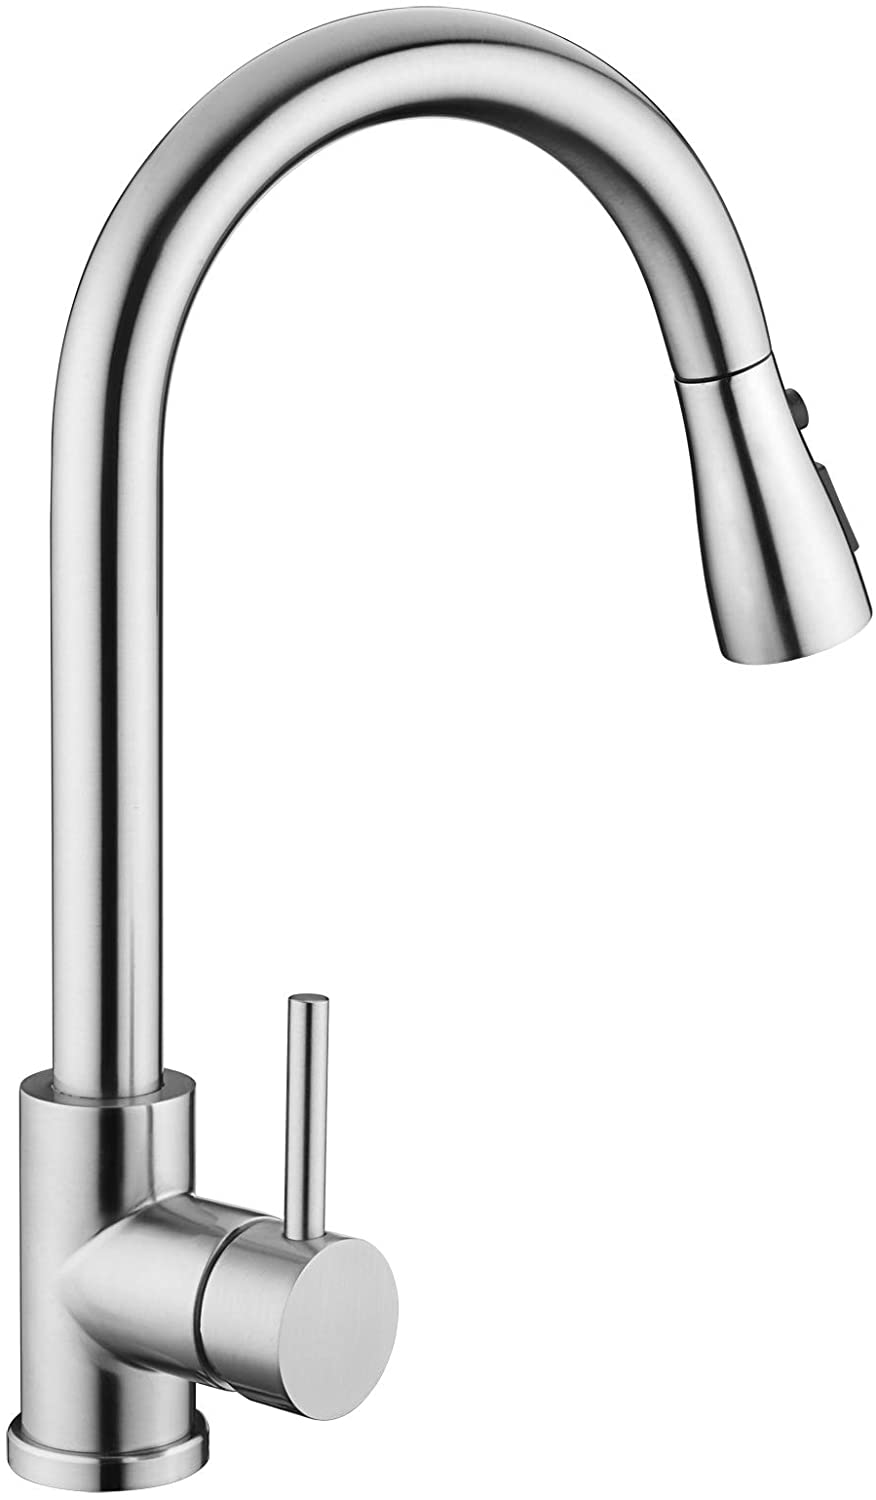
faucets come with a pull-down or pull-out sprayer, making it effortless to clean dishes and fill pots with ease. Some models also have a high-arc spout, providing more room for larger pots and pans. And with
Moen
's innovative touchless technology, you can turn the faucet on and off with just a wave of your hand, perfect for when your hands are dirty or full. These features not only add convenience but also enhance the overall functionality of your kitchen.
Easy Installation
/installing-a-moen-kitchen-faucet-2718847-05-18a8625ea2ea4e04a984f3df633399cc.jpg) Installing a new kitchen sink faucet can seem like a daunting task, but with
Moen
, it's a breeze.
Moen
kitchen sink faucets come with detailed instructions and all the necessary hardware for installation, making it easy for even non-professionals to do it themselves. Plus,
Moen
's Duralock quick connect system ensures a secure and leak-free connection, saving you time and hassle. So, whether you're remodeling your kitchen or just upgrading your faucet,
Moen
makes the installation process smooth and stress-free.
In conclusion, if you're looking for a durable, stylish, and convenient kitchen sink faucet,
Moen
is the way to go. With their top-notch quality, beautiful designs, convenient features, and easy installation,
Moen
kitchen sink faucets are a smart choice for any household. So, why settle for a mediocre faucet when you can have the best? Upgrade to a
Moen
kitchen sink faucet and experience the difference for yourself.
Installing a new kitchen sink faucet can seem like a daunting task, but with
Moen
, it's a breeze.
Moen
kitchen sink faucets come with detailed instructions and all the necessary hardware for installation, making it easy for even non-professionals to do it themselves. Plus,
Moen
's Duralock quick connect system ensures a secure and leak-free connection, saving you time and hassle. So, whether you're remodeling your kitchen or just upgrading your faucet,
Moen
makes the installation process smooth and stress-free.
In conclusion, if you're looking for a durable, stylish, and convenient kitchen sink faucet,
Moen
is the way to go. With their top-notch quality, beautiful designs, convenient features, and easy installation,
Moen
kitchen sink faucets are a smart choice for any household. So, why settle for a mediocre faucet when you can have the best? Upgrade to a
Moen
kitchen sink faucet and experience the difference for yourself.




:max_bytes(150000):strip_icc()/installing-a-moen-kitchen-faucet-2718847-hero-80764e1087fc4d26919082f212cf3d0a.jpg)


:no_upscale()/cdn.vox-cdn.com/uploads/chorus_asset/file/19495086/drain_0.jpg)


:max_bytes(150000):strip_icc()/installing-a-moen-kitchen-faucet-2718847-07-1f27cf0de8b541f285e702fa58592819.jpg)
