Installing a compression valve under a kitchen sink is a simple and important task that can help prevent leaks and damage to your plumbing. Whether you're replacing an old valve or installing a new one, it's a project that can easily be done on your own with the right tools and materials. In this guide, we'll walk you through the process of installing a compression valve under your kitchen sink step by step.How to Install a Compression Valve Under a Kitchen Sink


How to Install a Compression Valve Under a Kitchen Sink


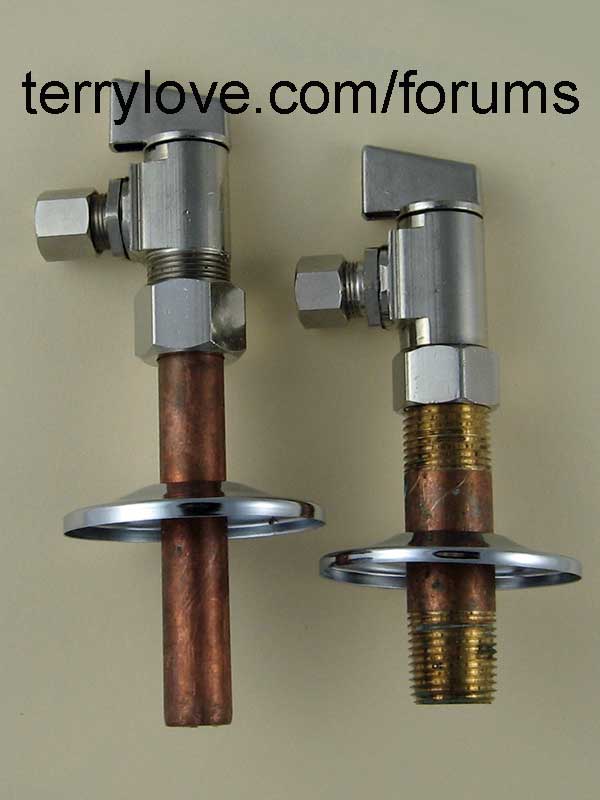
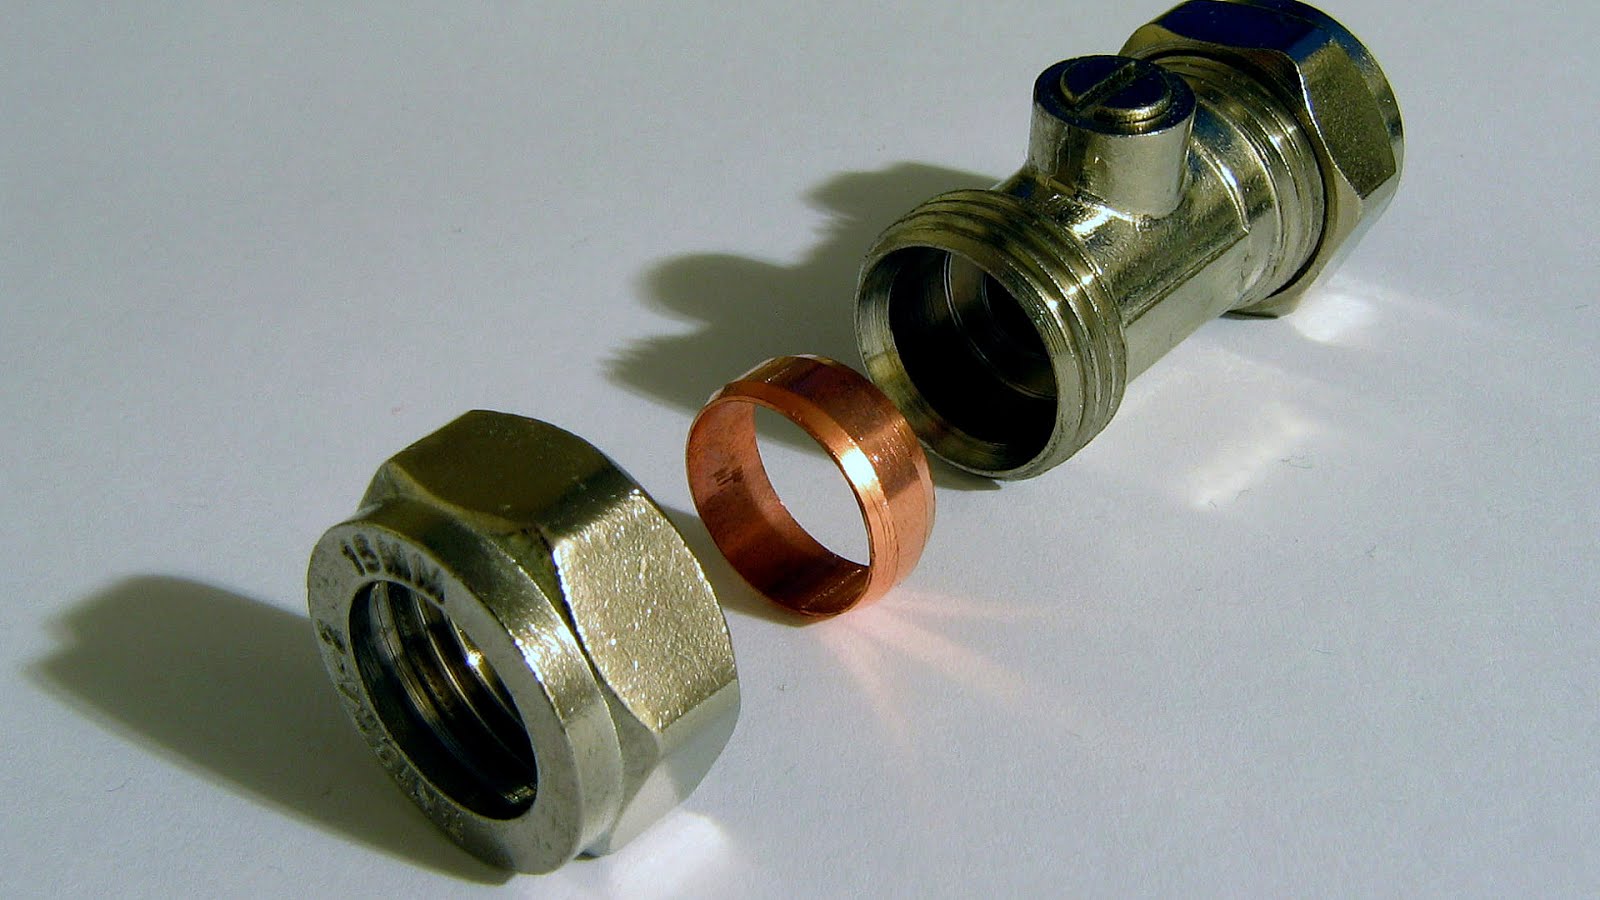
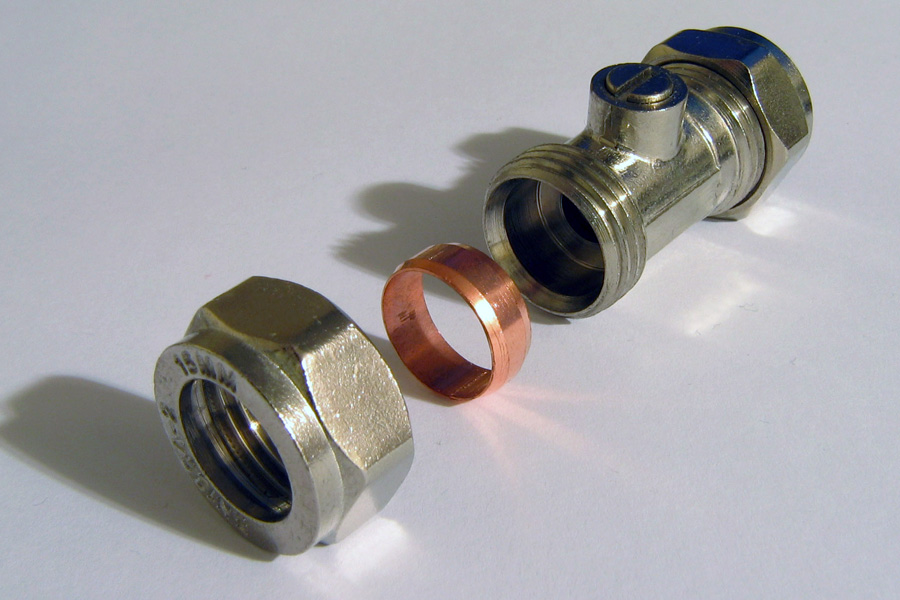
A compression valve, also known as a compression fitting, is a type of valve that is commonly used in plumbing to connect two pipes together. It works by compressing a rubber or plastic gasket between two metal pieces, creating a watertight seal. This type of valve is commonly used for water supply lines, such as those under a kitchen sink. Here's how to install a compression valve under your kitchen sink:How to Install a Compression Valve
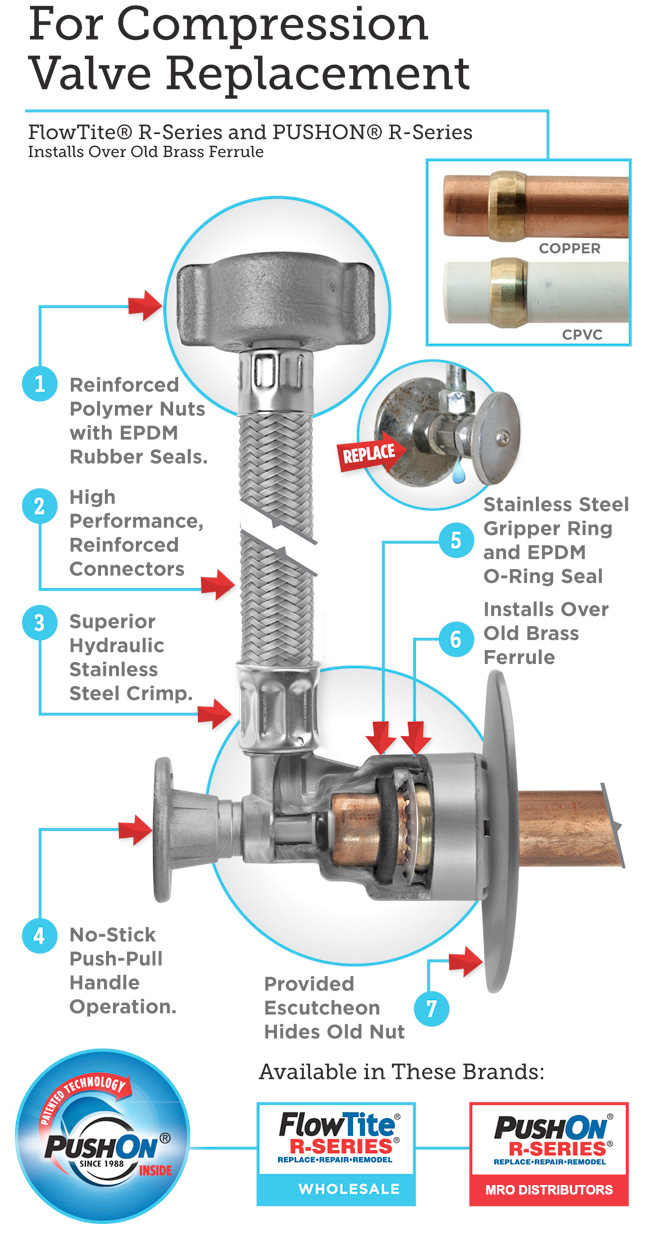

How to Install a Compression Valve


Before you begin, it's important to gather all the necessary tools and materials. You will need a compression valve, a pipe cutter, an adjustable wrench, Teflon tape, and plumber's putty. Once you have everything you need, follow these steps:Installing a Compression Valve Under a Kitchen Sink


Installing a Compression Valve Under a Kitchen Sink


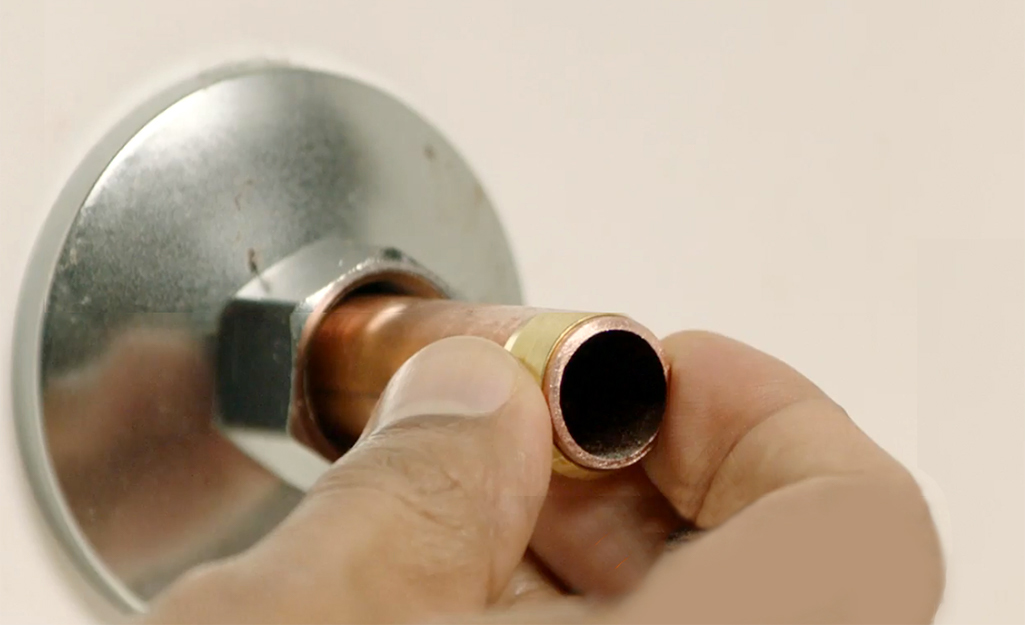
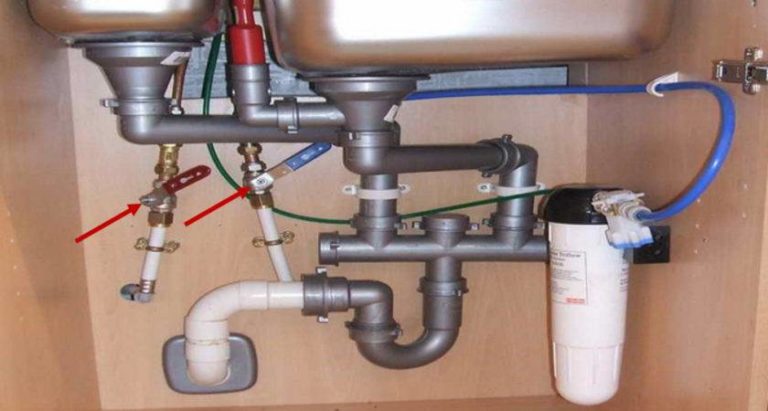
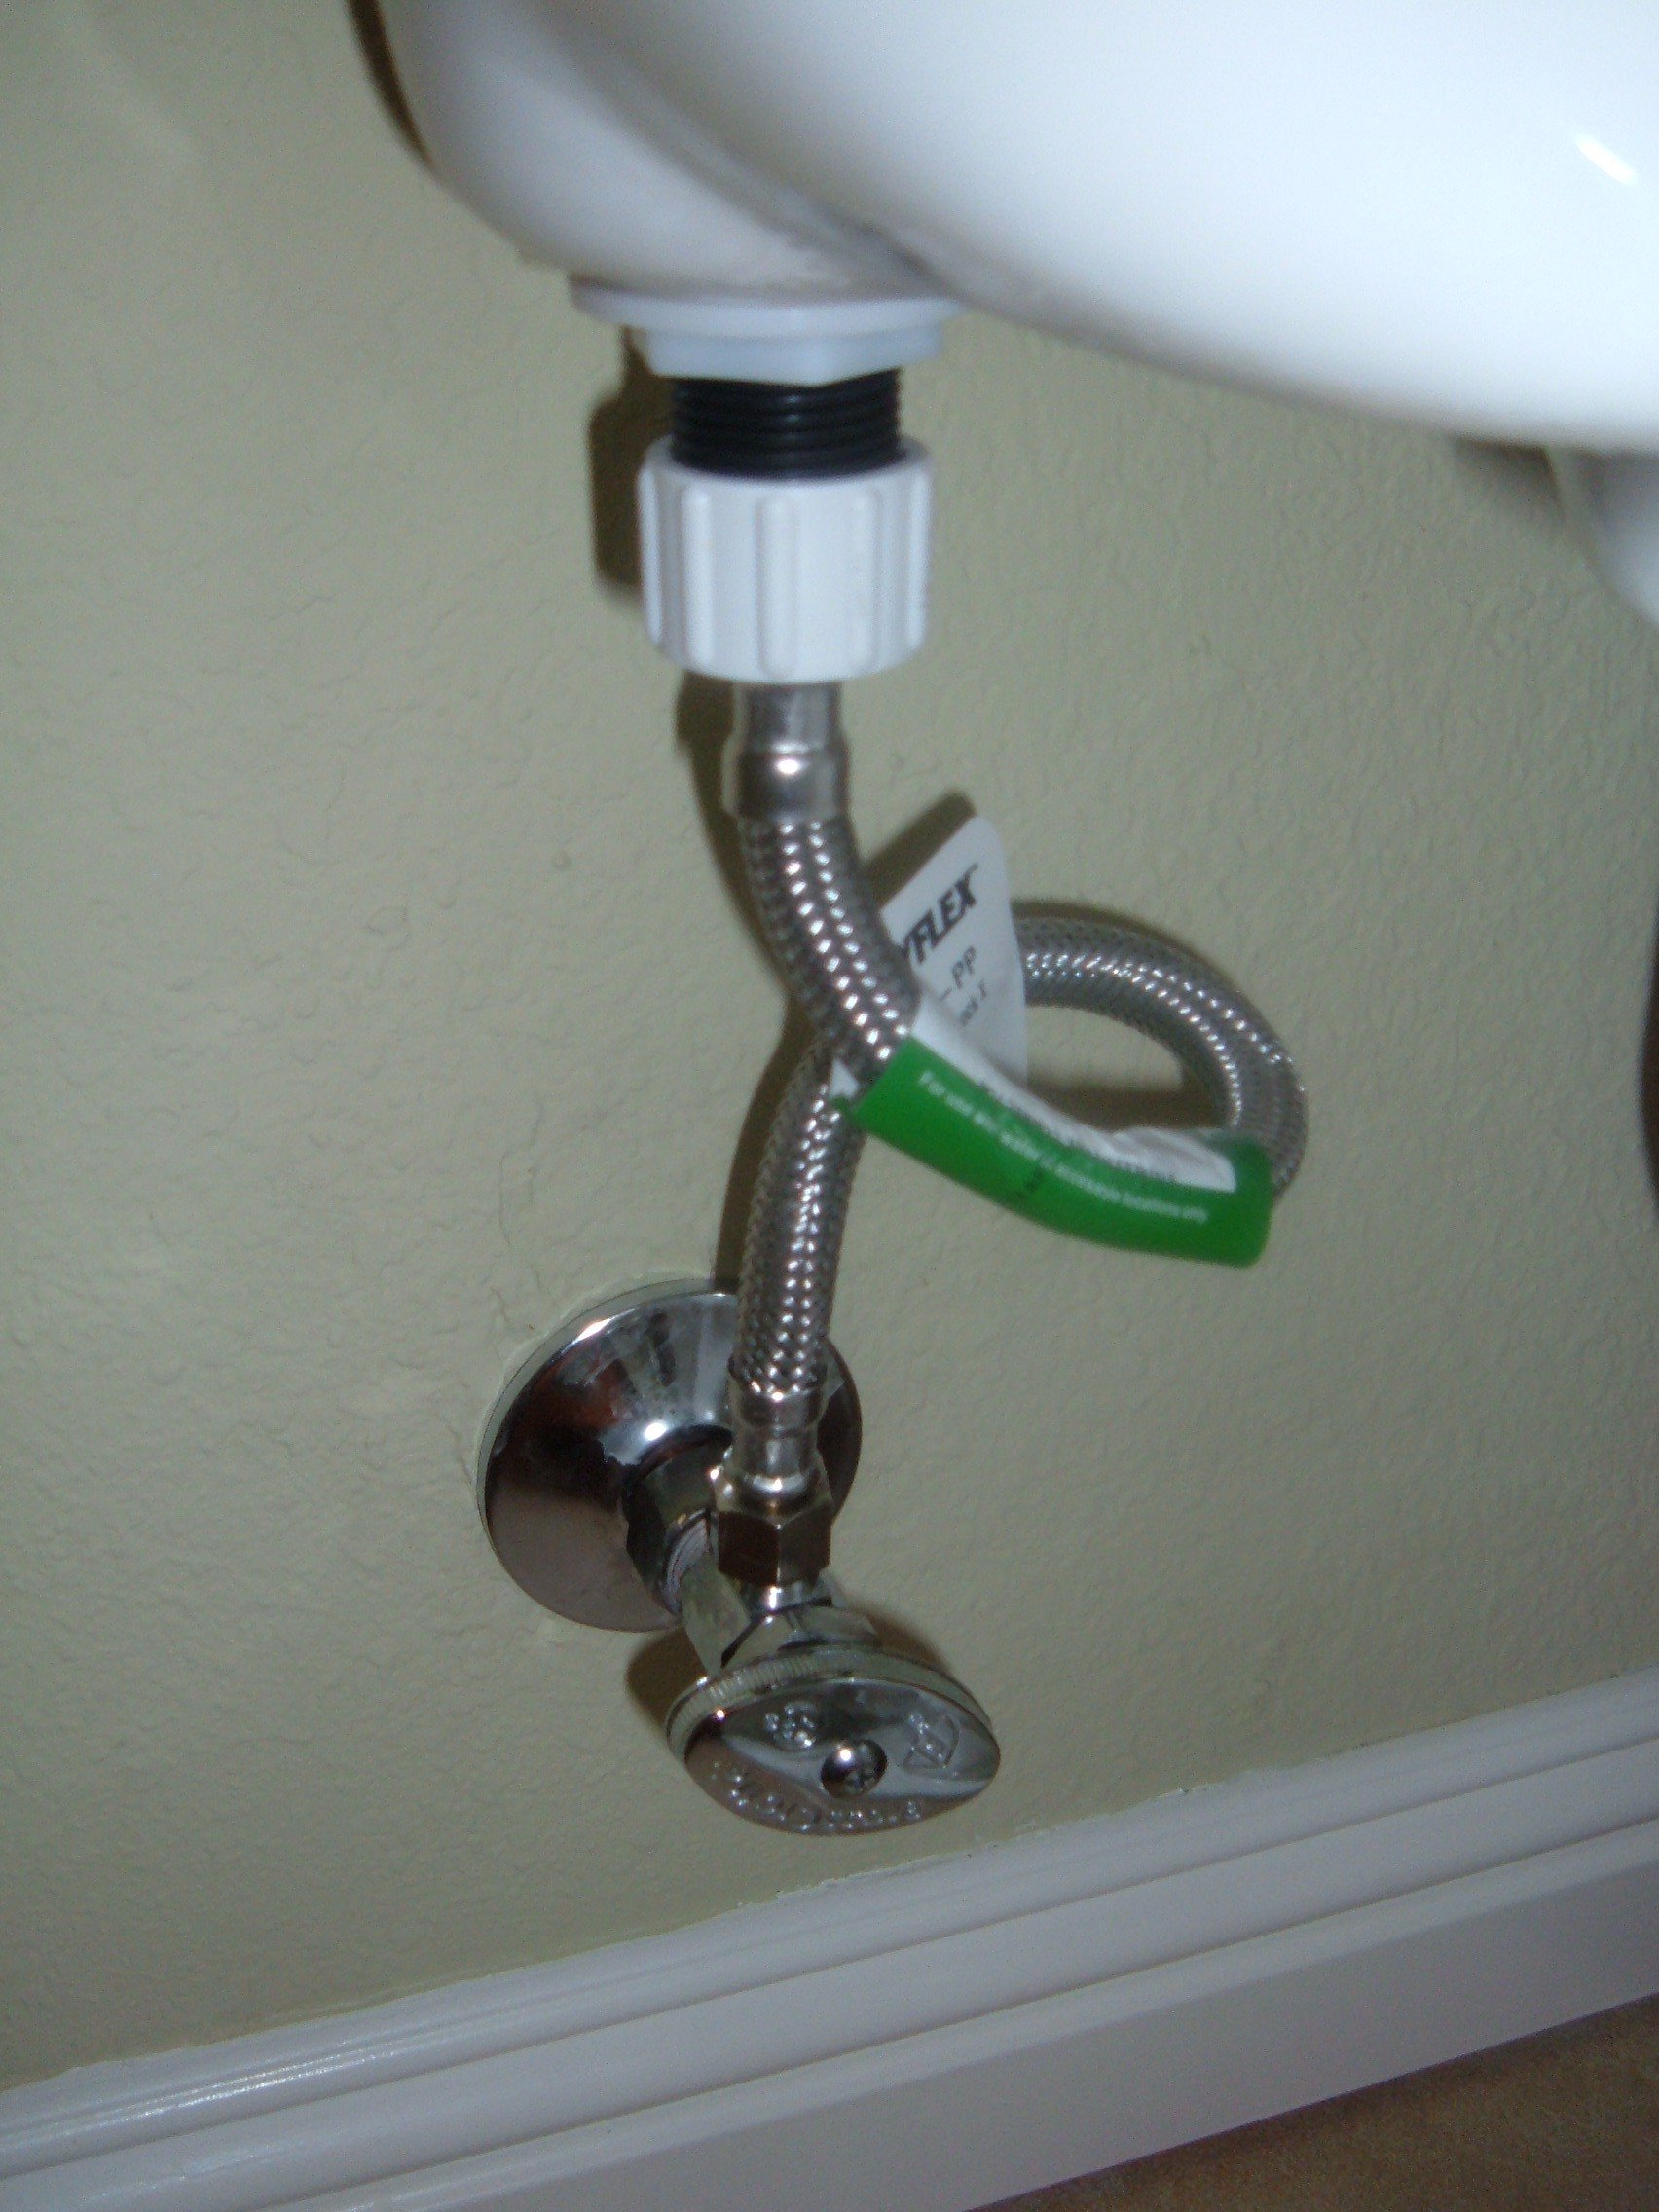
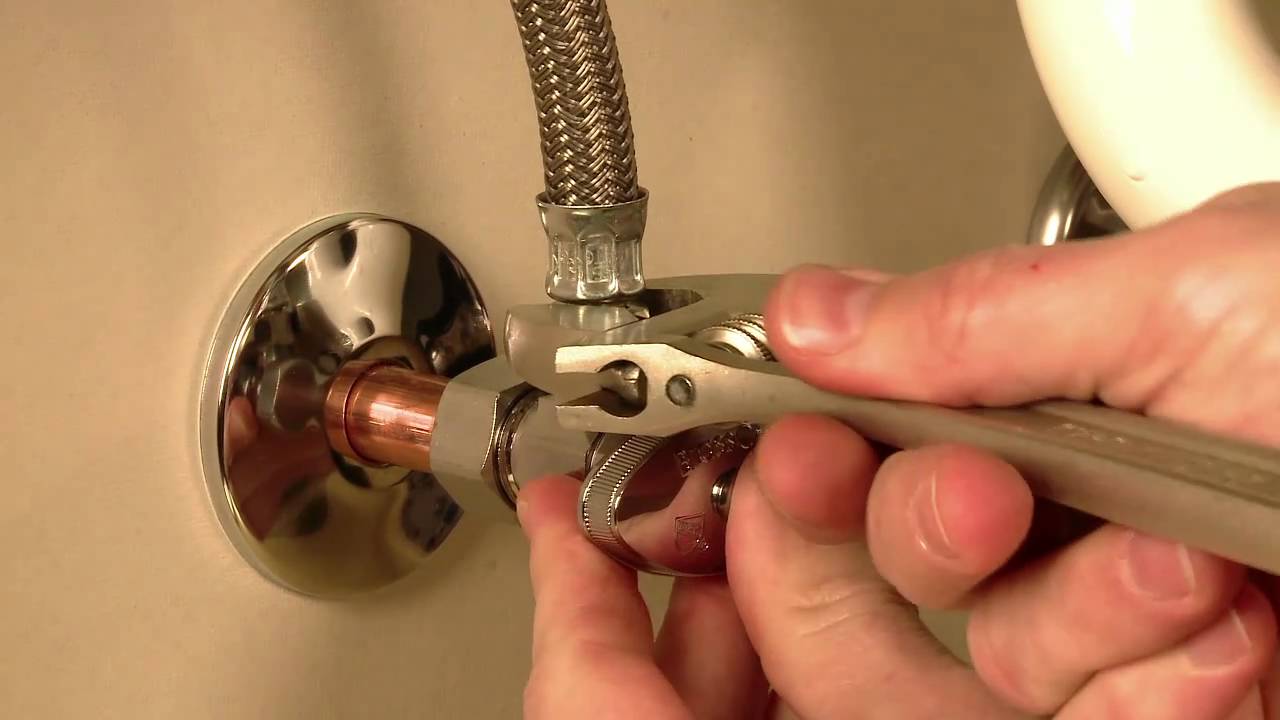
Step 1: Turn off the water supply to your kitchen sink. You can do this by turning off the main water valve or by shutting off the water supply valves under the sink. Step 2: Use a pipe cutter to cut the existing water supply line. Make sure to cut the pipe at a straight angle to ensure a proper fit with the compression valve. Step 3: Use an adjustable wrench to remove the old valve from the pipe. If the valve is stuck, you can use a pipe wrench for extra leverage. Step 4: Clean the end of the pipe with sandpaper or a wire brush to remove any debris or corrosion. Step 5: Apply Teflon tape to the threads of the compression valve. This will create a tight seal and prevent leaks. Step 6: Apply a thin layer of plumber's putty around the edge of the compression valve. This will further ensure a watertight seal. Step 7: Insert the compression valve onto the end of the pipe and tighten it with an adjustable wrench. Step 8: Repeat the process for the other end of the valve, connecting it to the water supply line under the sink. Step 9: Turn the water supply back on and check for any leaks. If you notice any, tighten the valve with the wrench until the leak stops.Step-by-Step Guide for Installing a Compression Valve Under a Kitchen Sink


Compression Valve Installation for Kitchen Sink

Installing a compression valve under a kitchen sink is a relatively simple task that can be done by most DIY enthusiasts. By following the steps outlined above, you can save money on hiring a professional and have the satisfaction of completing the task on your own.DIY: Installing a Compression Valve Under a Kitchen Sink


Step-by-Step Guide for Installing a Compression Valve Under a Kitchen Sink


Before starting the installation process, make sure you have all the necessary tools and materials ready. This includes a compression valve, pipe cutter, adjustable wrench, Teflon tape, and plumber's putty. Having everything on hand will make the installation process smoother and more efficient.Tools and Materials Needed for Installing a Compression Valve Under a Kitchen Sink

DIY: Installing a Compression Valve Under a Kitchen Sink
If you're new to plumbing, here are a few tips to keep in mind when installing a compression valve under your kitchen sink: • Make sure to turn off the water supply before starting the installation process. • Use Teflon tape and plumber's putty to create a tight seal and prevent leaks. • Cut the pipe at a straight angle to ensure a proper fit with the compression valve.Tips for Installing a Compression Valve Under a Kitchen Sink

Tools and Materials Needed for Installing a Compression Valve Under a Kitchen Sink
While installing a compression valve under a kitchen sink is a straightforward process, there are some common mistakes that can lead to problems down the line. These include: • Not turning off the water supply before starting the installation process. • Forgetting to apply Teflon tape or plumber's putty, resulting in leaks. • Not cutting the pipe at a straight angle, causing a poor fit with the compression valve.Common Mistakes to Avoid When Installing a Compression Valve Under a Kitchen Sink


Tips for Installing a Compression Valve Under a Kitchen Sink
If you're not confident in your plumbing skills or don't have the necessary tools and materials, it's best to call a professional to install a compression valve under your kitchen sink. It's important to ensure the valve is installed correctly to prevent future leaks and damage to your plumbing. Now that you know how to install a compression valve under a kitchen sink, you can confidently tackle this project on your own. With the right tools and materials, you can have a watertight seal and peace of mind knowing your plumbing is in good shape. Remember to always turn off the water supply before starting any plumbing project and don't hesitate to call a professional if you're unsure or encounter any issues.When to Call a Professional for Installing a Compression Valve Under a Kitchen Sink


Common Mistakes to Avoid When Installing a Compression Valve Under a Kitchen Sink

Why Install a Compression Valve Under Your Kitchen Sink?

Ensure Efficiency and Convenience in Your Kitchen
 If you’re looking to upgrade your kitchen design, one important aspect to consider is the plumbing system. A well-functioning plumbing system not only ensures the efficient flow of water but also adds to the overall aesthetics of your kitchen. One way to improve your plumbing system is by installing a compression valve under your kitchen sink. This simple yet effective addition can make a significant difference in the functionality and convenience of your kitchen. Here’s why:
Prevents Leaks and Water Damage
A compression valve is designed to regulate the flow of water in a plumbing system. By installing one under your kitchen sink, you can prevent any potential leaks or water damage. The valve works by tightening or loosening the compression nut to control the flow of water. This allows you to quickly shut off the water supply in case of any emergencies, such as a burst pipe or a leaky faucet. By doing so, you can avoid costly repairs and potential water damage to your kitchen.
Easy Maintenance
Unlike other types of valves, a compression valve is easy to maintain. This is because it has a simple design with fewer moving parts, making it less prone to wear and tear. Additionally, the compression nut can be easily tightened or replaced if needed, without the need for any special tools or equipment. This makes it a cost-effective option in the long run, as you won’t have to constantly replace or repair it.
Regulates Water Pressure
Another benefit of installing a compression valve under your kitchen sink is that it allows you to regulate the water pressure. This is particularly useful if you have a high water pressure system, as it can help prevent any potential damage to your appliances and fixtures. By controlling the amount of water flowing through the valve, you can also reduce your water consumption and save on your monthly utility bills.
Improves Aesthetics
Aside from its functional benefits, a compression valve can also enhance the overall look of your kitchen. This is because it is installed under the sink, keeping it hidden from view and creating a clean and clutter-free look. You can also choose from a variety of designs and finishes to match your kitchen’s style and design.
In conclusion, installing a compression valve under your kitchen sink is a simple yet effective way to improve your plumbing system. It not only prevents leaks and water damage but also offers easy maintenance, regulates water pressure, and enhances the aesthetics of your kitchen. So, if you’re looking to upgrade your kitchen design, consider adding a compression valve to your list of improvements. Your kitchen – and your wallet – will thank you.