Are you looking to add a touch of elegance and functionality to your bathroom? Installing a bathroom vanity filler strip can be a great way to do just that. This small, but often overlooked, piece of trim can fill the gaps between your vanity and the wall, making your bathroom look more polished and complete. In this guide, we will walk you through the step-by-step process of installing a bathroom vanity filler strip. How to Install a Bathroom Vanity Filler Strip


How to Install a Bathroom Vanity Filler Strip
Before you begin, it is important to gather all the necessary tools and materials. You will need a measuring tape, a saw, a level, a drill, screws, and the filler strip itself. Make sure to measure the width and height of the gap between your vanity and the wall to ensure you purchase the correct size filler strip. Bathroom Vanity Filler Strip Installation Guide


Bathroom Vanity Filler Strip Installation Guide
:max_bytes(150000):strip_icc()/8_IMG_3767-56a4a2753df78cf772835b72.JPG)
:max_bytes(150000):strip_icc()/155068606-56a4a2985f9b58b7d0d7ef19.jpg)


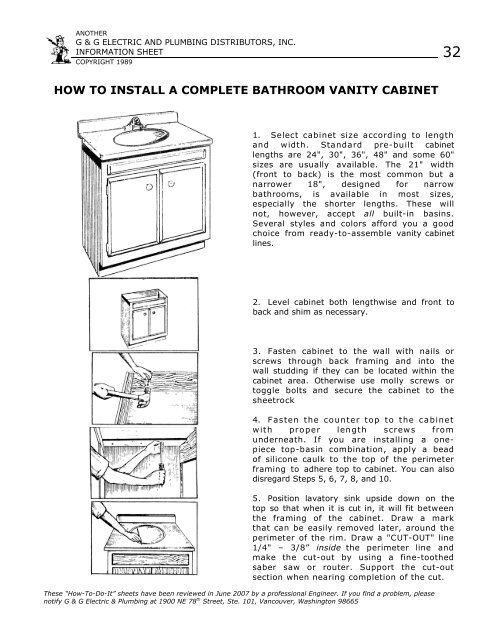
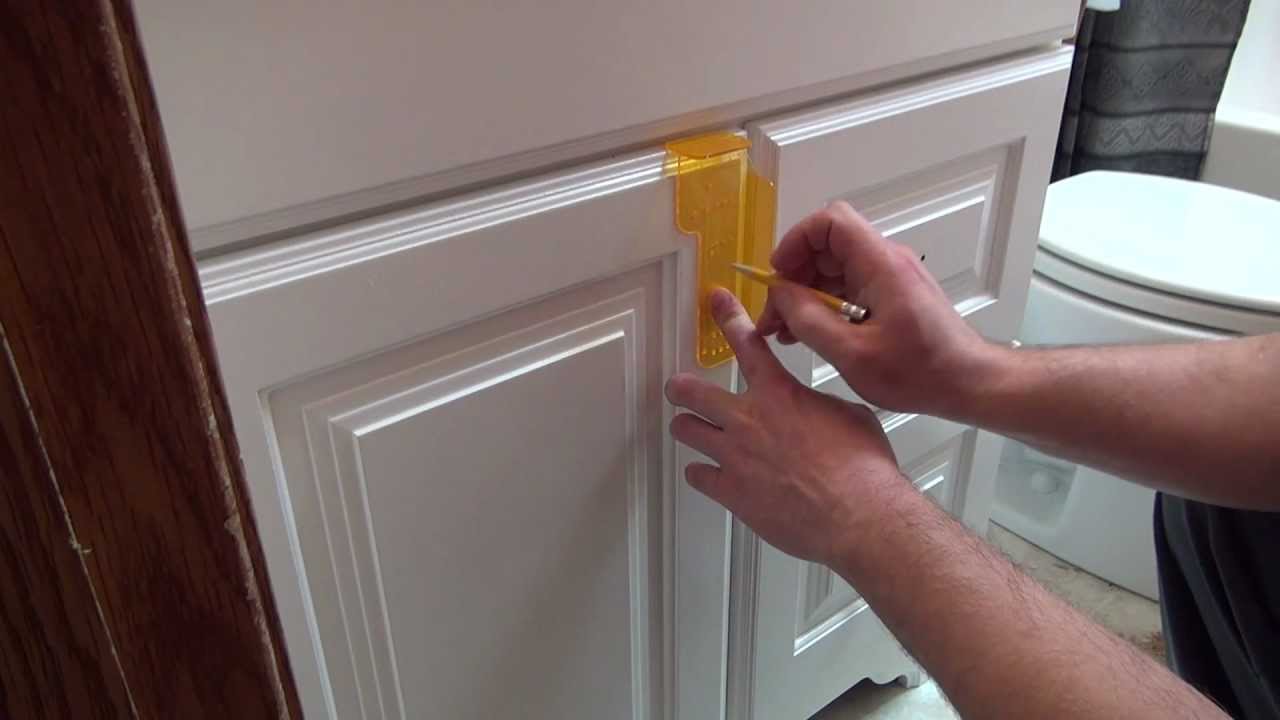
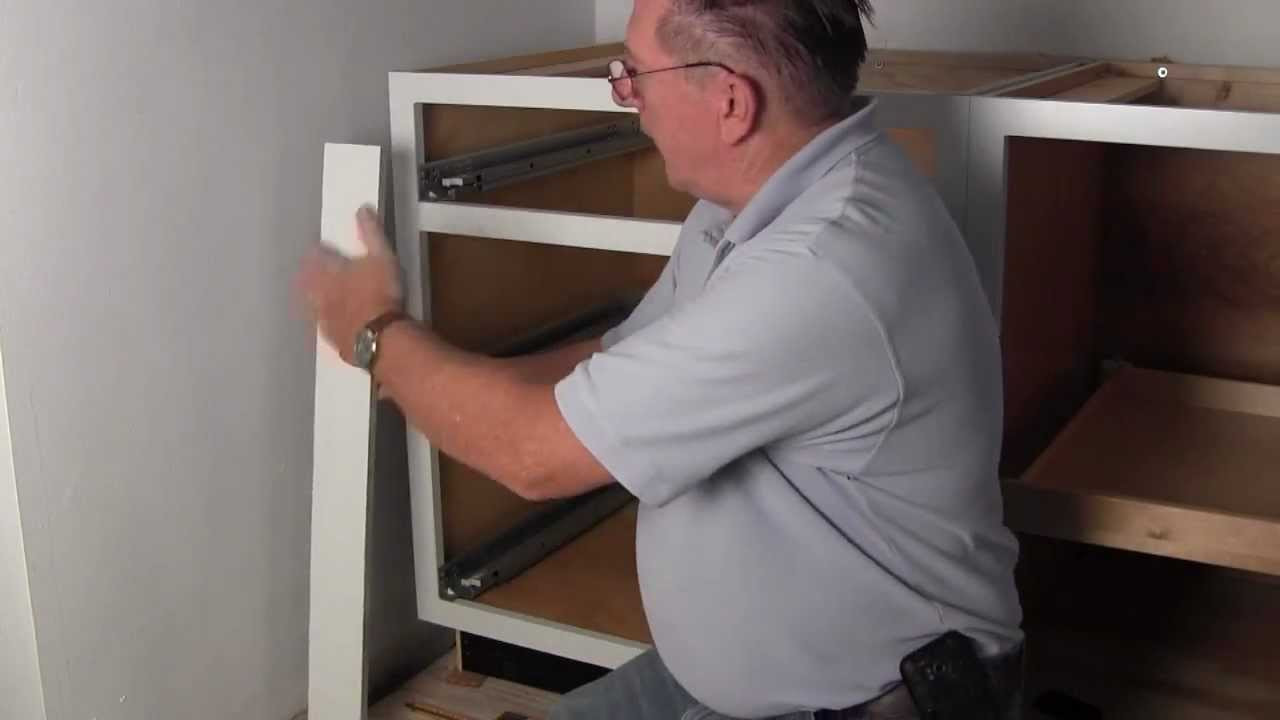
1. Measure and cut the filler strip to fit the gap between your vanity and the wall. It is always better to cut the strip slightly larger than needed, as you can always trim it down later if necessary. 2. Use a level to ensure the filler strip is straight and mark the location of the screw holes on the strip. 3. Drill pilot holes at the marked locations on the filler strip. Make sure to use a drill bit that is slightly smaller than the screws you will be using. 4. Position the filler strip in the gap between the vanity and the wall and secure it in place by screwing it into the vanity and the wall. Step-by-Step Instructions for Installing a Vanity Filler Strip


Step-by-Step Instructions for Installing a Vanity Filler Strip


Installing a bathroom vanity filler strip can be done as a DIY project, but it is important to take your time and follow the instructions carefully. If you are not confident in your abilities, it is always best to hire a professional to ensure the job is done correctly. DIY Bathroom Vanity Filler Strip Installation


DIY Bathroom Vanity Filler Strip Installation


Here are a few tips to keep in mind when installing a bathroom vanity filler strip: - Measure twice, cut once. It is always better to have a larger strip that can be trimmed down, rather than a strip that is too small. - Use a level to ensure the strip is straight. A crooked strip can ruin the overall look of your vanity. - Start with pilot holes and use screws that are appropriate for the type of material your vanity is made of. Tips for Installing a Bathroom Vanity Filler Strip
Tips for Installing a Bathroom Vanity Filler Strip


As mentioned earlier, you will need a few tools to successfully install a bathroom vanity filler strip. These include a measuring tape, a saw, a level, a drill, and screws. It is also helpful to have a pencil and a ruler for marking and measuring. Necessary Tools for Installing a Vanity Filler Strip

Necessary Tools for Installing a Vanity Filler Strip


Here are some common mistakes to avoid when installing a bathroom vanity filler strip: - Not measuring the gap accurately. This can result in a filler strip that is too small or too large. - Not using a level to ensure the strip is straight. A crooked strip can throw off the entire look of your vanity. - Not drilling pilot holes before screwing in the strip. This can cause the strip to crack or split. Common Mistakes to Avoid When Installing a Bathroom Vanity Filler Strip


Common Mistakes to Avoid When Installing a Bathroom Vanity Filler Strip


Here are some best practices to keep in mind when installing a bathroom vanity filler strip: - Take your time and follow the instructions carefully. - Use the appropriate tools for the job. - Double-check your measurements and make sure the strip is straight before securing it in place. Best Practices for Installing a Vanity Filler Strip

Best Practices for Installing a Vanity Filler Strip


Measuring and cutting a bathroom vanity filler strip is a relatively simple process. Start by measuring the width and height of the gap between your vanity and the wall. Then, using a saw, cut the strip to fit the measured dimensions. Remember to cut the strip slightly larger than needed, as you can always trim it down later if necessary. How to Measure and Cut a Bathroom Vanity Filler Strip

How to Measure and Cut a Bathroom Vanity Filler Strip


If you encounter any issues during the installation process, here are some troubleshooting tips: - If the strip is too long, use a saw to trim it down to the correct size. - If the strip is too short, you may need to purchase a new, longer strip and start again. - If the strip is not straight, carefully remove the screws and adjust the position of the strip before re-securing it. With these tips and instructions, you should now be able to successfully install a bathroom vanity filler strip. This small addition can make a big difference in the overall look and functionality of your bathroom. Happy installing! Troubleshooting Common Issues During Bathroom Vanity Filler Strip Installation


Troubleshooting Common Issues During Bathroom Vanity Filler Strip Installation


Why Install a Bathroom Vanity Filler Strip?
:max_bytes(150000):strip_icc()/8_IMG_3767-56a4a2753df78cf772835b72.JPG)
What is a Bathroom Vanity Filler Strip?
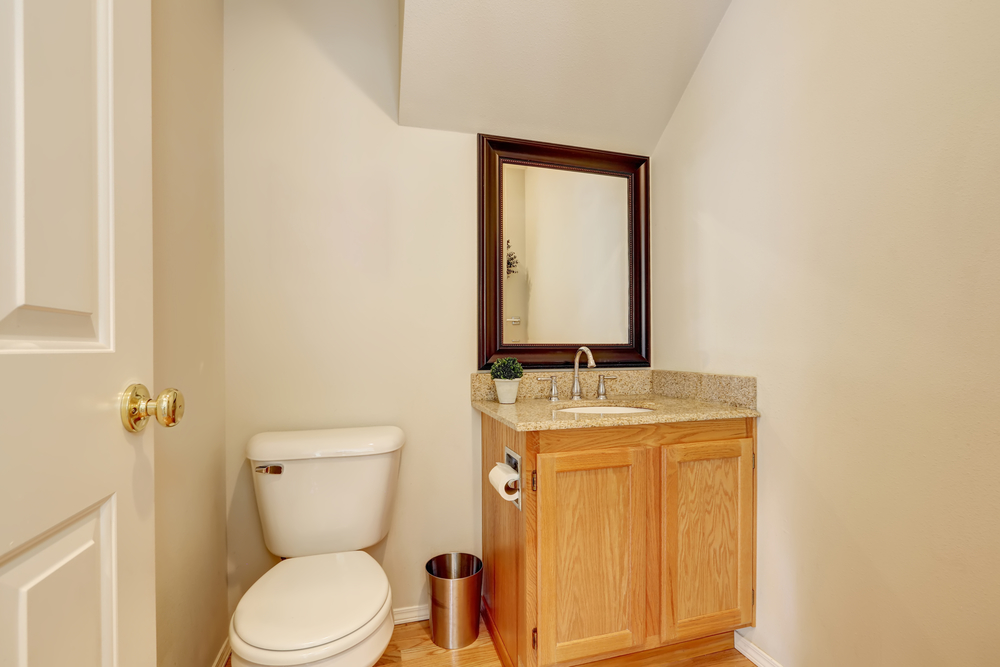
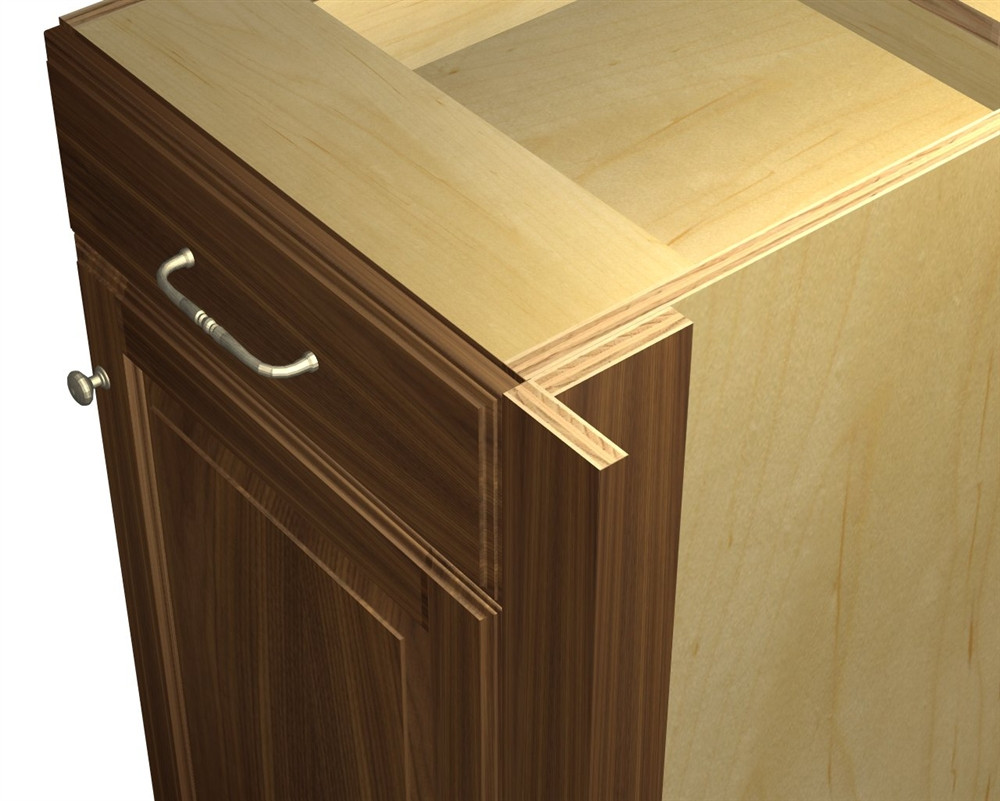
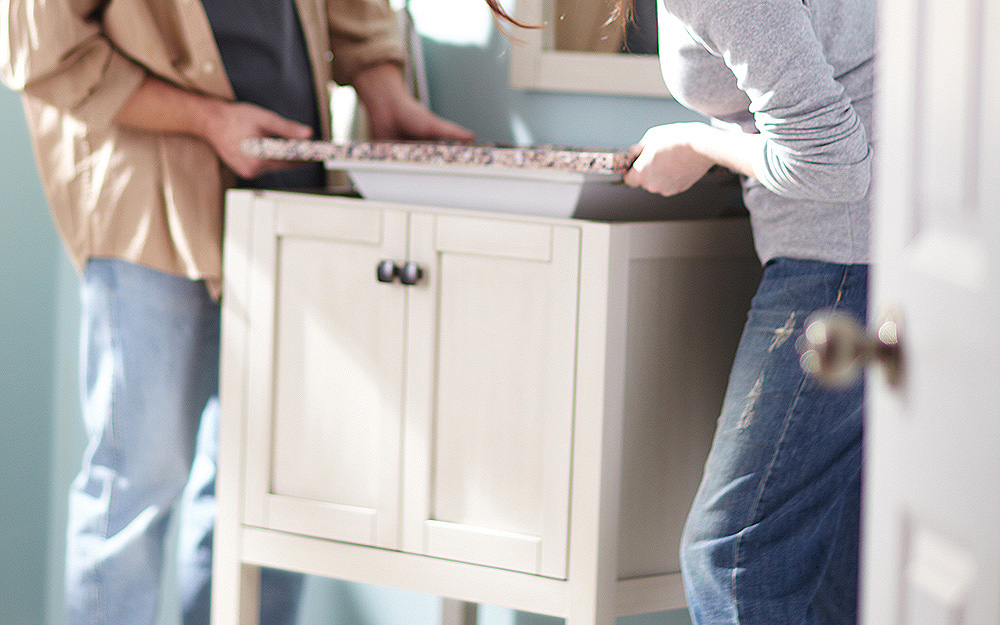
 If you're in the process of designing or renovating your bathroom, you may have come across the term "bathroom vanity filler strip." But what exactly is it? A bathroom vanity filler strip is a narrow piece of wood or other material that is used to fill the gap between the vanity cabinet and the wall. It is typically installed on one or both sides of the vanity to create a seamless and finished look.
The Benefits of Installing a Bathroom Vanity Filler Strip
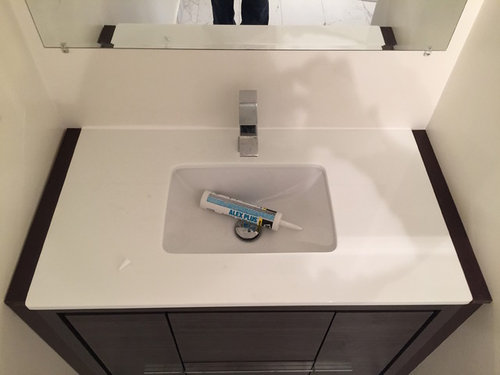
 While it may seem like a small and insignificant detail, installing a bathroom vanity filler strip can actually have several benefits. First and foremost, it helps to create a more polished and cohesive look in your bathroom. Without a filler strip, there can be an unsightly gap between the vanity and the wall, which can also collect dirt and debris. The filler strip also helps to protect the vanity from any potential water damage that may occur due to splashing or spills.
Installing a Bathroom Vanity Filler Strip
Now that you understand the importance of a bathroom vanity filler strip, let's discuss the steps involved in installing one.
While it may seem like a small and insignificant detail, installing a bathroom vanity filler strip can actually have several benefits. First and foremost, it helps to create a more polished and cohesive look in your bathroom. Without a filler strip, there can be an unsightly gap between the vanity and the wall, which can also collect dirt and debris. The filler strip also helps to protect the vanity from any potential water damage that may occur due to splashing or spills.
Installing a Bathroom Vanity Filler Strip
Now that you understand the importance of a bathroom vanity filler strip, let's discuss the steps involved in installing one.
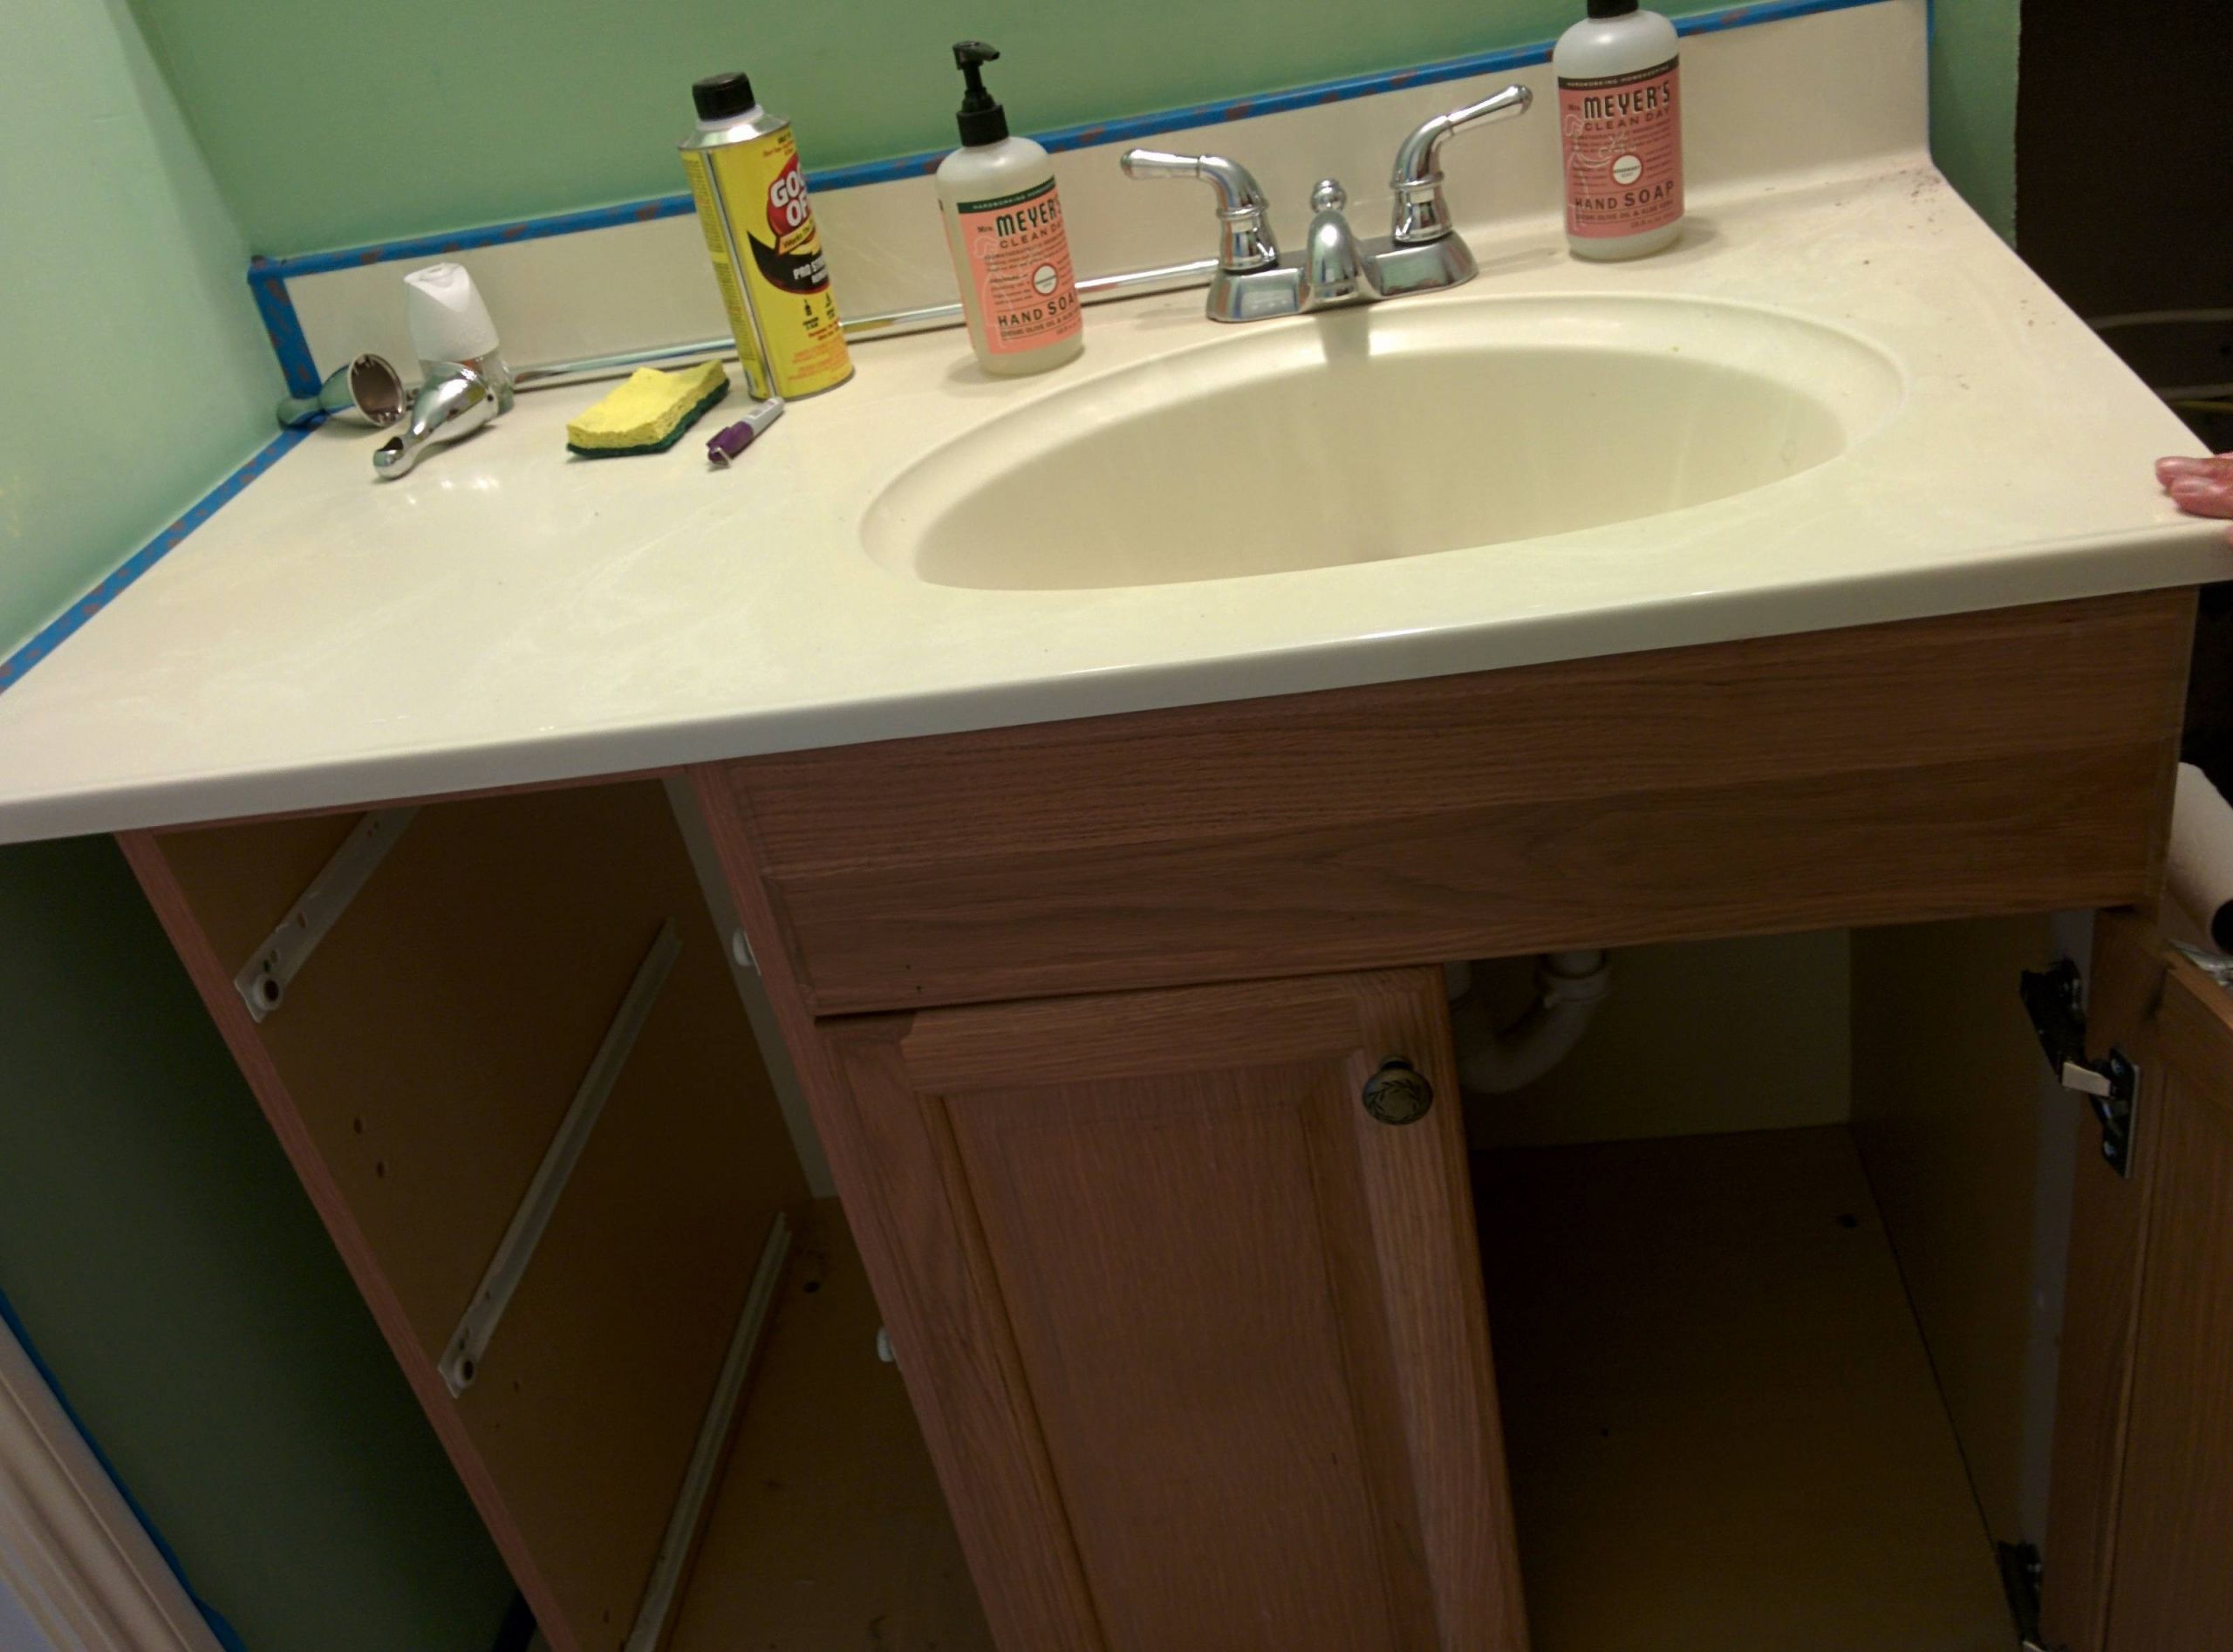
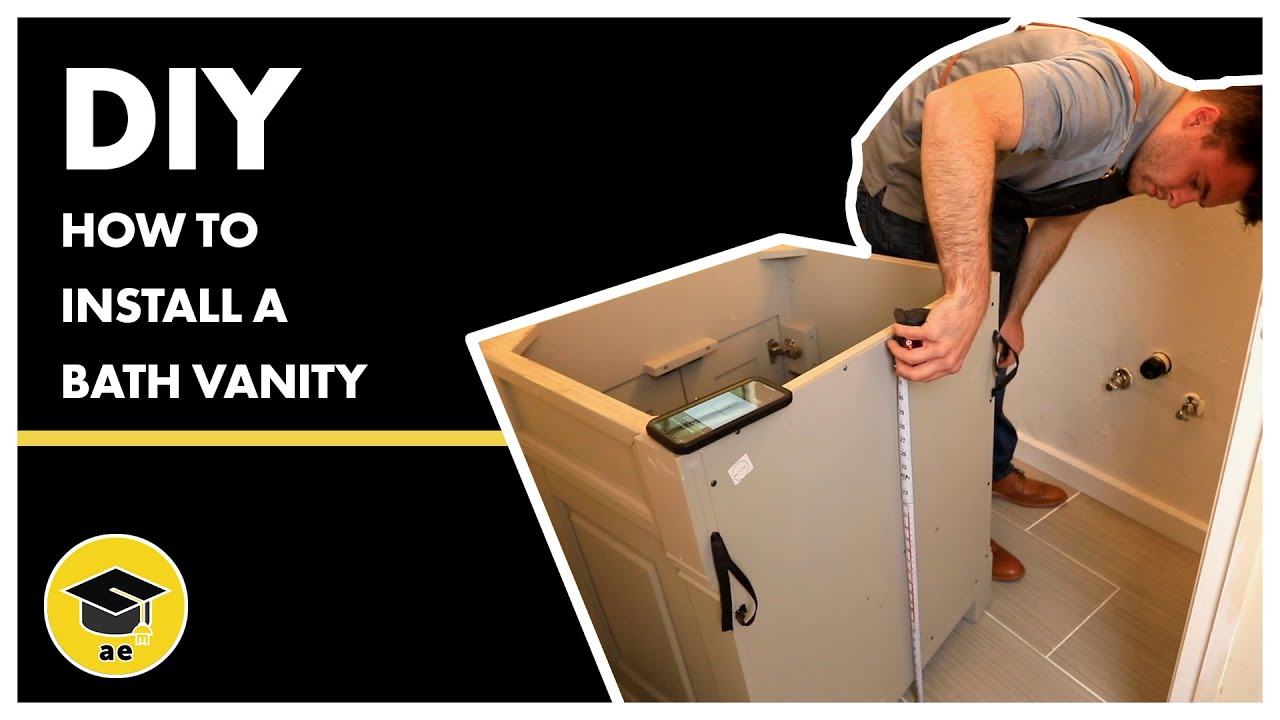
Step 1: Measure the Gap
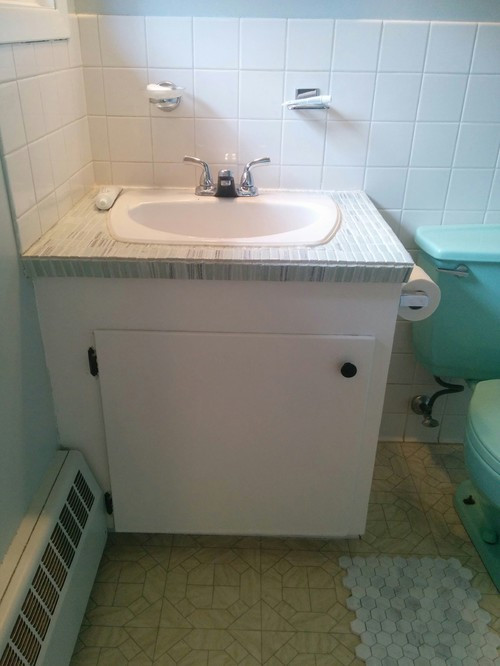
 The first step is to measure the gap between the vanity and the wall. Use a tape measure to get an accurate measurement of the width and height of the gap.
Step 2: Choose the Material
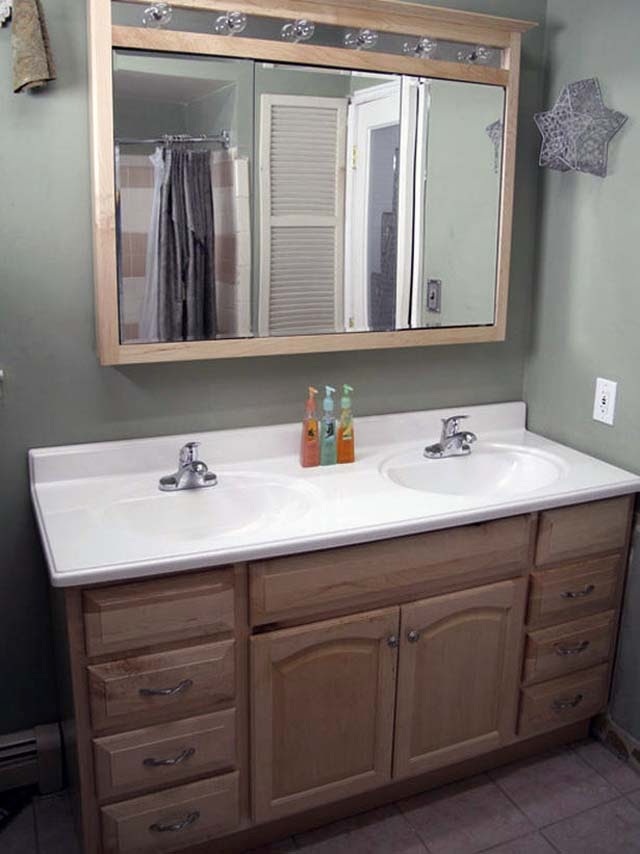
 Next, you'll need to choose the material for your filler strip. Wood is a popular option, but you can also use PVC or laminate. Make sure to choose a material that matches the color and style of your existing vanity.
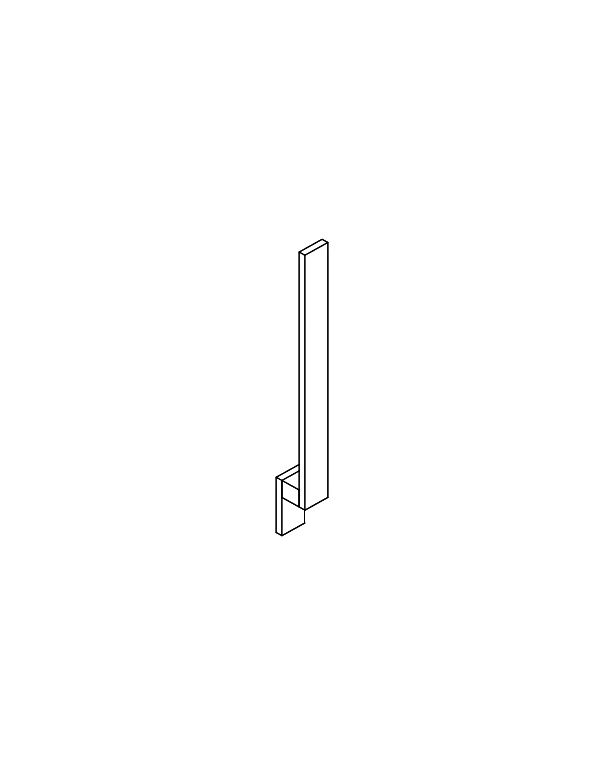
Step 3: Cut the Filler Strip
 Using your measurements, cut the filler strip to the appropriate size. Make sure to leave a little extra length to allow for any adjustments.
Step 4: Install the Filler Strip
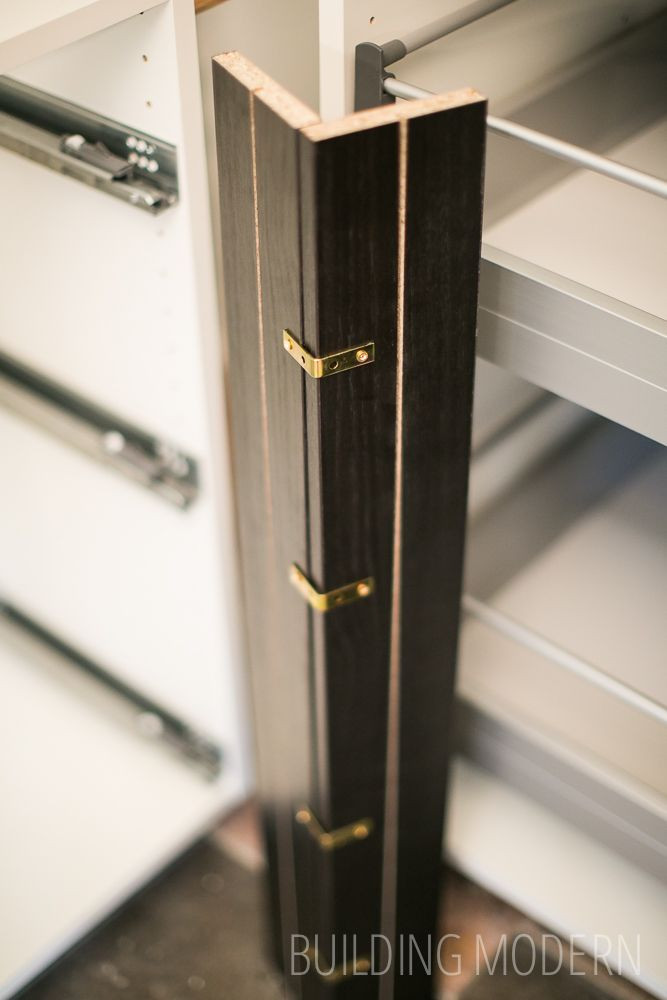
 Using a strong adhesive, attach the filler strip to the side of the vanity, making sure it is flush against the wall. You can also use small finishing nails for added stability.
Step 5: Sand and Paint (Optional)
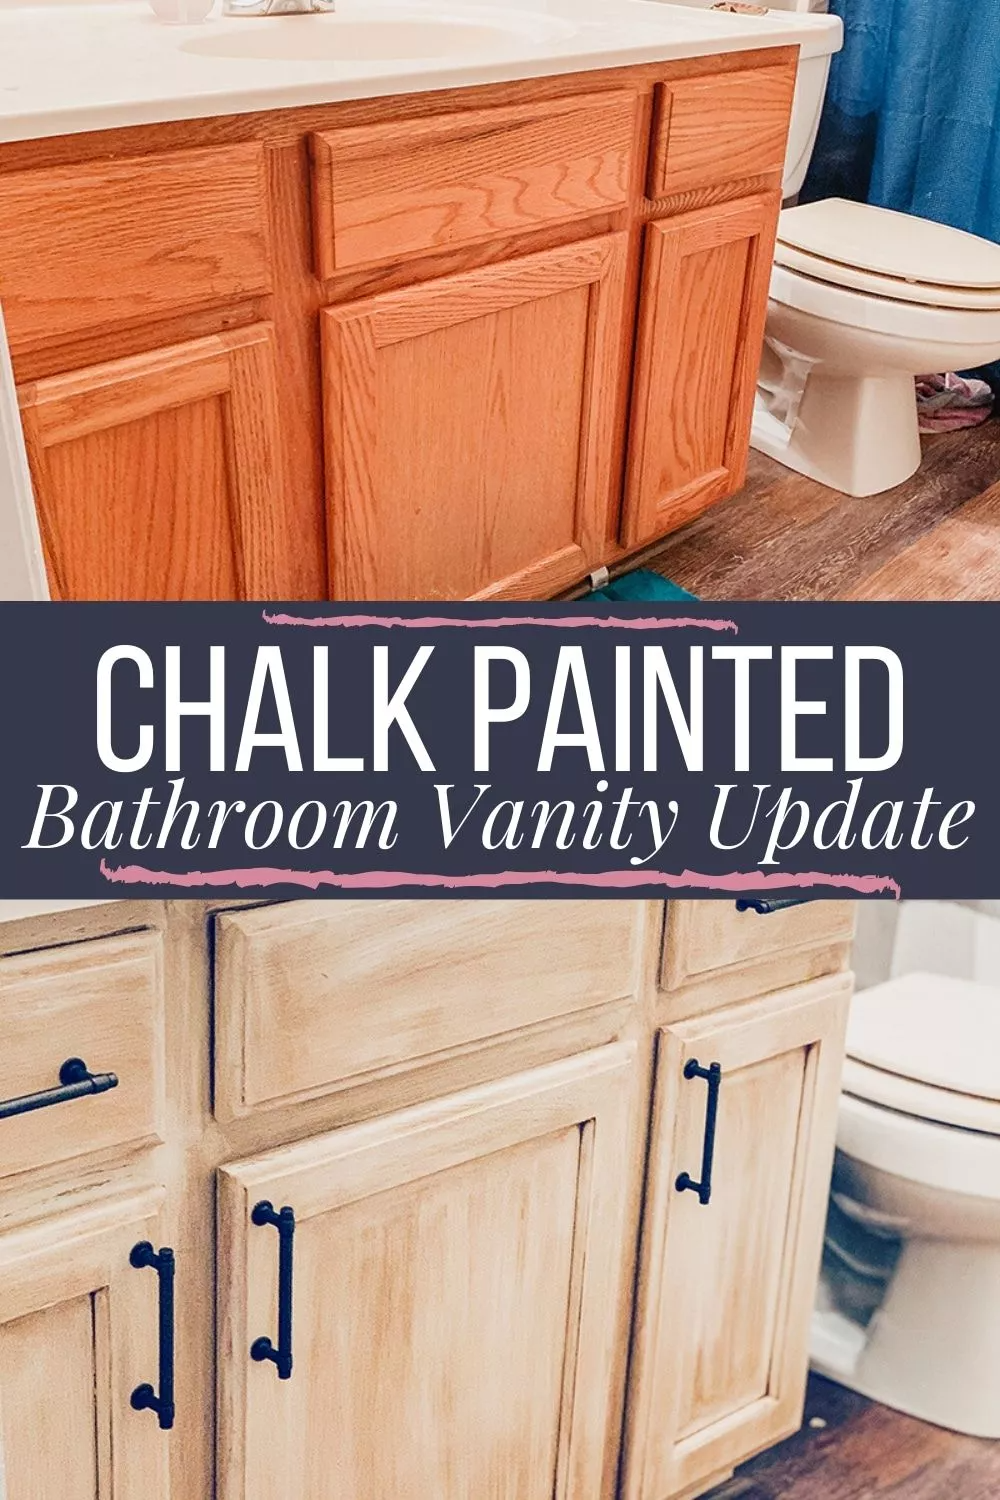
 If you used wood for your filler strip, you may want to sand it down and paint or stain it to match the rest of the vanity. This step is optional, but it can help to create a more cohesive look.
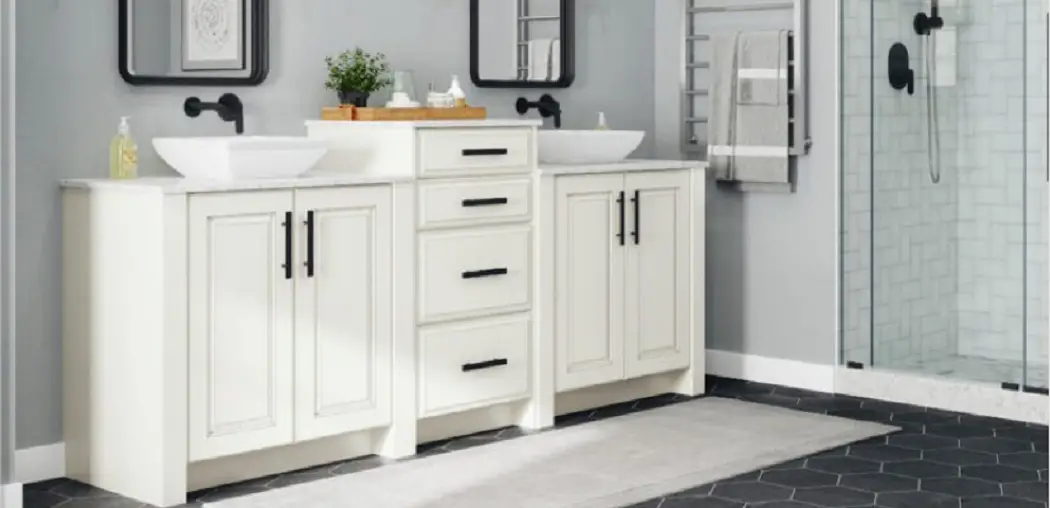
Enjoy a Finished and Professional Look
By following these simple steps, you can easily install a bathroom vanity filler strip and achieve a polished and professional look in your bathroom. Not only does it add a decorative touch, but it also helps to protect your vanity and keep it looking like new. So why wait? Start your bathroom design project today and make sure to include a filler strip for a seamless and finished look.
If you used wood for your filler strip, you may want to sand it down and paint or stain it to match the rest of the vanity. This step is optional, but it can help to create a more cohesive look.
Enjoy a Finished and Professional Look
By following these simple steps, you can easily install a bathroom vanity filler strip and achieve a polished and professional look in your bathroom. Not only does it add a decorative touch, but it also helps to protect your vanity and keep it looking like new. So why wait? Start your bathroom design project today and make sure to include a filler strip for a seamless and finished look.