Are you tired of dealing with a leaky or slow draining bathroom sink? It might be time to replace your old drain and install a new one with silicone. This simple DIY project can save you time and money, and it's an easy enough task for even the most novice handyman. Follow these steps to learn how to install a bathroom sink drain with silicone. How to Install a Bathroom Sink Drain with Silicone


How to Install a Bathroom Sink Drain with Silicone


/bathroom-sink-drain-installation-2718843-01-4955fe1f576b447a91abe51c126d220b.jpg)

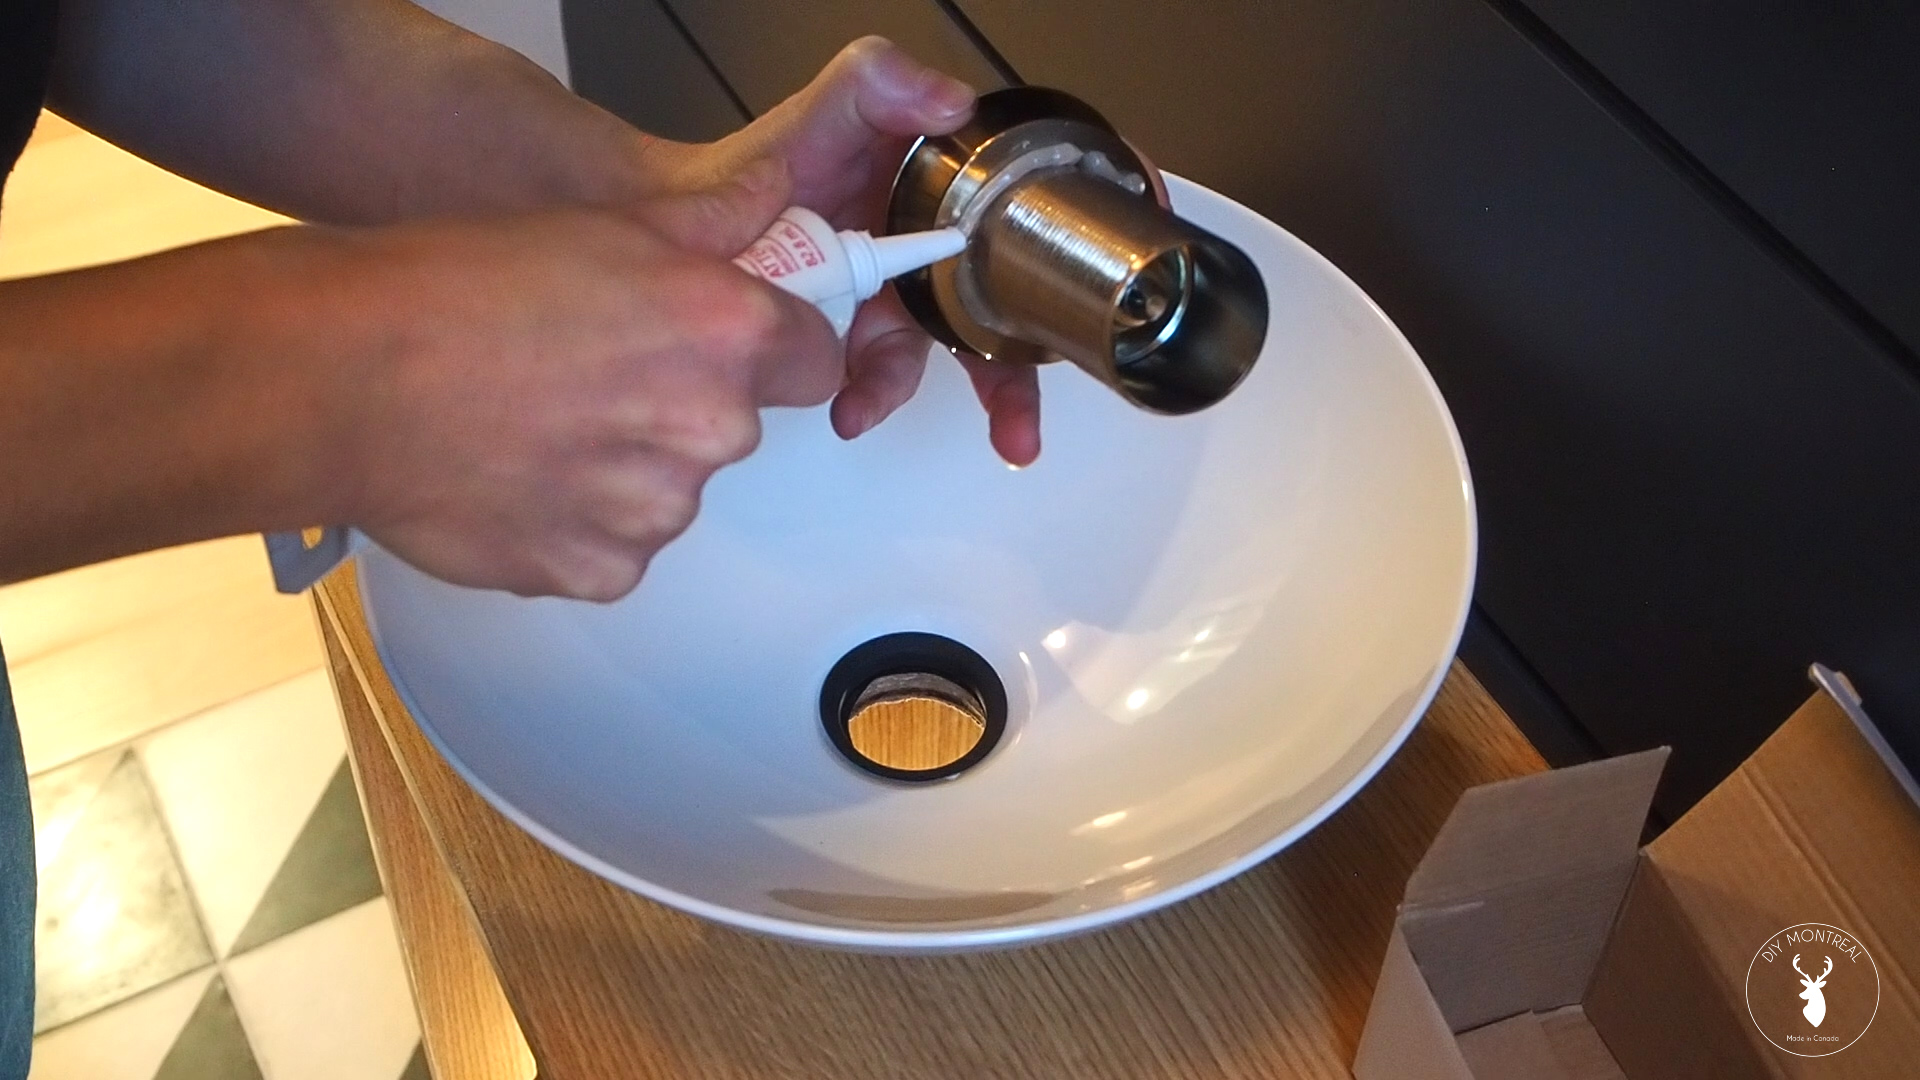
If you have an old drain that's causing problems, it's time to replace it with a new one. Using silicone for the installation will give you a tight seal and ensure that your sink drains properly. Start by removing the old drain by unscrewing it from the bottom of the sink. Once it's removed, clean the area thoroughly with a degreaser and dry it off completely. How to Replace a Bathroom Sink Drain with Silicone


How to Replace a Bathroom Sink Drain with Silicone


Now it's time to install the new drain. Apply a generous amount of silicone around the bottom of the drain and spread it evenly with a putty knife. Carefully place the drain into the sink and screw it tightly into place. Make sure it's level and centered before wiping away any excess silicone. DIY Bathroom Sink Drain Installation with Silicone


DIY Bathroom Sink Drain Installation with Silicone


For those who prefer a more detailed guide, here are the step-by-step instructions for installing a bathroom sink drain with silicone: Step 1: Remove the old drain by unscrewing it from the bottom of the sink. Step 2: Clean the area with a degreaser and dry it off completely. Step 3: Apply a generous amount of silicone around the bottom of the drain. Step 4: Spread the silicone evenly with a putty knife. Step 5: Carefully place the new drain into the sink. Step 6: Screw the drain tightly into place. Step 7: Wipe away any excess silicone. Step-by-Step Guide for Installing a Bathroom Sink Drain with Silicone


Step-by-Step Guide for Installing a Bathroom Sink Drain with Silicone


Here are a few helpful tips to keep in mind when using silicone to install a bathroom sink drain: Tip 1: Use a high-quality silicone product for the best results. Tip 2: Make sure the area is clean and dry before applying silicone. Tip 3: Use a putty knife to spread the silicone evenly and avoid any air pockets. Tip 4: Wipe away any excess silicone before it dries. Tips for Using Silicone to Install a Bathroom Sink Drain

Tips for Using Silicone to Install a Bathroom Sink Drain

While installing a bathroom sink drain with silicone is a simple task, there are some common mistakes that can lead to issues down the road. Here are a few things to avoid: Mistake 1: Not using enough silicone, which can lead to leaks. Mistake 2: Using a low-quality silicone product, which can deteriorate over time. Mistake 3: Applying silicone to a dirty or wet surface, which can compromise the seal. Common Mistakes to Avoid When Installing a Bathroom Sink Drain with Silicone


Common Mistakes to Avoid When Installing a Bathroom Sink Drain with Silicone


When it comes to choosing the best silicone product for installing a bathroom sink drain, look for one that is waterproof, mold resistant, and specifically designed for plumbing applications. Some popular options include GE Silicone II, Dap Kitchen & Bath Silicone, and Red Devil Silicone Sealant. Best Silicone Products for Installing a Bathroom Sink Drain

Best Silicone Products for Installing a Bathroom Sink Drain


To ensure that your bathroom sink drain is properly sealed with silicone, follow these steps: Step 1: Clean and dry the area where the drain will be installed. Step 2: Apply a generous amount of silicone around the bottom of the drain. Step 3: Use a putty knife to spread the silicone evenly. Step 4: Tighten the drain into place and wipe away any excess silicone. How to Properly Seal a Bathroom Sink Drain with Silicone


How to Properly Seal a Bathroom Sink Drain with Silicone


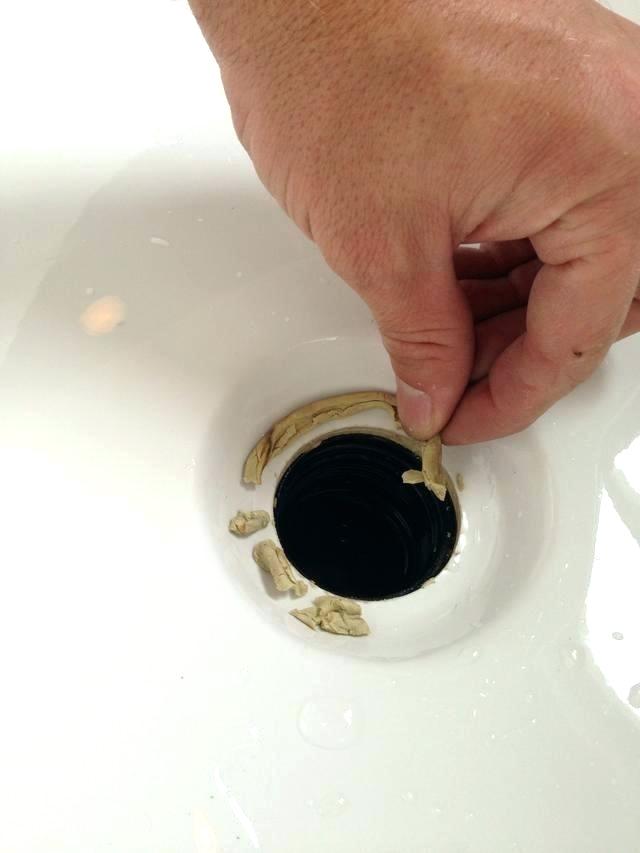
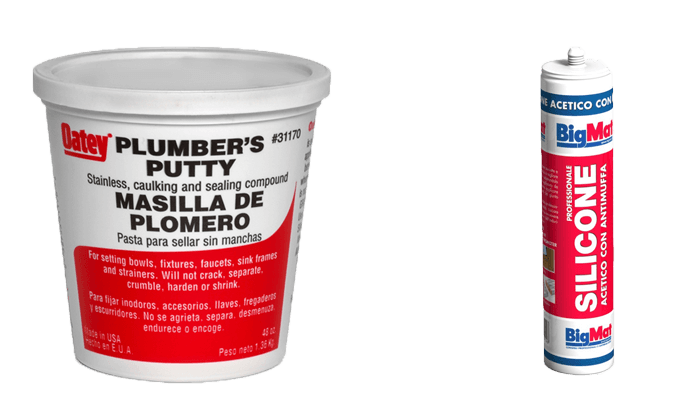
While plumbers putty has traditionally been the go-to product for installing bathroom sink drains, silicone is becoming a more popular choice. So why choose silicone over plumbers putty? Silicone: Provides a watertight seal, is more flexible and durable, and is resistant to mold and mildew. Plumbers Putty: Can dry out and crack over time, is less flexible, and can stain certain surfaces. Silicone vs. Plumbers Putty for Installing a Bathroom Sink Drain


Silicone vs. Plumbers Putty for Installing a Bathroom Sink Drain


If you encounter any issues while installing a bathroom sink drain with silicone, here are some common troubleshooting tips: Issue 1: The silicone isn't adhering properly. Solution 1: Clean and dry the area thoroughly before applying silicone. Issue 2: The silicone is oozing out from under the drain. Solution 2: Wipe away any excess silicone before it dries. Issue 3: The drain is leaking. Solution 3: Make sure the drain is screwed in tightly and that there are no gaps in the silicone seal. Now that you know how to install a bathroom sink drain with silicone, you can say goodbye to leaks and slow draining sinks. With the right product and technique, this simple DIY project can be completed in no time. Enjoy your newly installed drain and the peace of mind that comes with a properly sealed sink. Troubleshooting Common Issues with Silicone Bathroom Sink Drain Installation


Troubleshooting Common Issues with Silicone Bathroom Sink Drain Installation

Why Installing Bathroom Sink Drain Silicone is Crucial for Your House Design

Preserves the Aesthetics of Your Bathroom
 When it comes to designing a bathroom, every detail matters. From the tiles to the fixtures, everything needs to come together to create a cohesive and visually appealing space. That's why it's important to pay attention to even the smallest details like the sink drain.
Bathroom sink drain silicone not only helps to seal and secure the drain in place, but it also adds a finished and polished look to your bathroom. It comes in various colors to match your bathroom's design, making it a subtle yet crucial element in completing the overall look.
When it comes to designing a bathroom, every detail matters. From the tiles to the fixtures, everything needs to come together to create a cohesive and visually appealing space. That's why it's important to pay attention to even the smallest details like the sink drain.
Bathroom sink drain silicone not only helps to seal and secure the drain in place, but it also adds a finished and polished look to your bathroom. It comes in various colors to match your bathroom's design, making it a subtle yet crucial element in completing the overall look.
Prevents Water Damage and Mold Growth
 One of the main functions of bathroom sink drain silicone is to provide a waterproof seal between the sink and the drain. This prevents any water from seeping through and causing damage to the surrounding areas, such as the countertop or cabinets.
Moreover, without a proper seal, water can also seep into the space between the drain and the pipe, creating a breeding ground for mold and mildew. This not only compromises the integrity of your bathroom design but also poses a health risk for you and your family.
One of the main functions of bathroom sink drain silicone is to provide a waterproof seal between the sink and the drain. This prevents any water from seeping through and causing damage to the surrounding areas, such as the countertop or cabinets.
Moreover, without a proper seal, water can also seep into the space between the drain and the pipe, creating a breeding ground for mold and mildew. This not only compromises the integrity of your bathroom design but also poses a health risk for you and your family.
Easy and Cost-Effective Maintenance
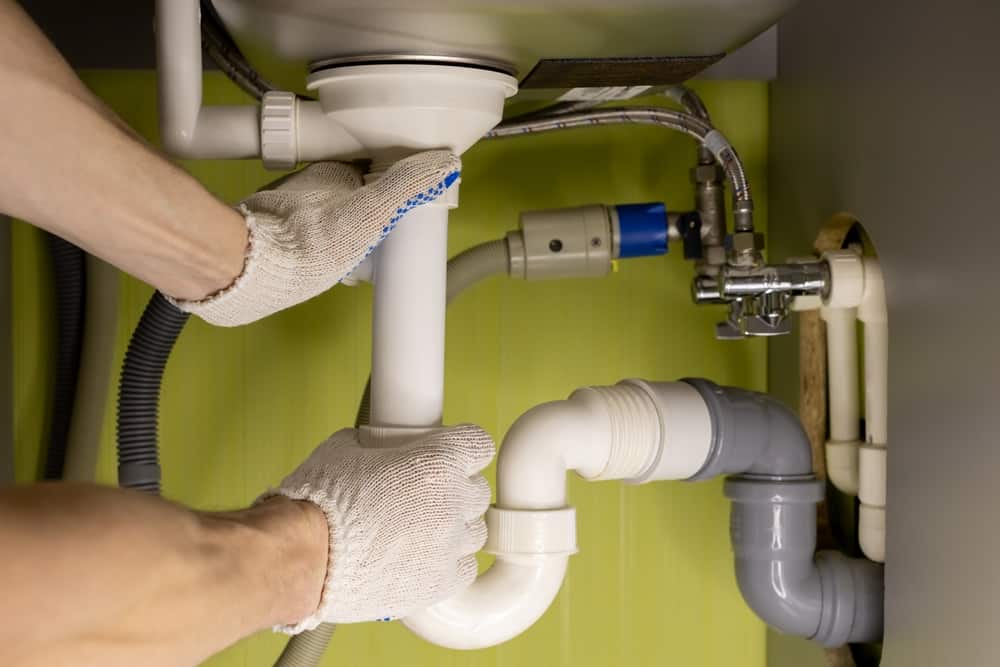
/bathroom-sink-drain-installation-2718843-03-6fee5b9d9f7d475abfe06a95ddb1f695.jpg) Using bathroom sink drain silicone not only prevents future damage but also makes maintenance and repairs easier and more cost-effective. As it creates a tight seal, it reduces the chances of any leaks or clogs, saving you from expensive repairs in the long run.
Additionally, silicone is a durable material that can withstand harsh chemicals and high temperatures, making it easy to clean and maintain. This means you won't have to constantly replace or repair your sink drain, saving you time and money.
In conclusion, installing bathroom sink drain silicone is a crucial step in completing your house design. Not only does it add to the aesthetic appeal of your bathroom, but it also prevents water damage and mold growth, and makes maintenance easier and more cost-effective. Don't overlook this small detail as it can have a big impact on the overall look and functionality of your bathroom.
Using bathroom sink drain silicone not only prevents future damage but also makes maintenance and repairs easier and more cost-effective. As it creates a tight seal, it reduces the chances of any leaks or clogs, saving you from expensive repairs in the long run.
Additionally, silicone is a durable material that can withstand harsh chemicals and high temperatures, making it easy to clean and maintain. This means you won't have to constantly replace or repair your sink drain, saving you time and money.
In conclusion, installing bathroom sink drain silicone is a crucial step in completing your house design. Not only does it add to the aesthetic appeal of your bathroom, but it also prevents water damage and mold growth, and makes maintenance easier and more cost-effective. Don't overlook this small detail as it can have a big impact on the overall look and functionality of your bathroom.