Installing a new kitchen sink may seem like a daunting task, but with the right tools and knowledge, it can be a simple and rewarding DIY project. Whether you’re replacing an old sink or installing a new one, the process is relatively similar. Here’s a step-by-step guide to help you install your new kitchen sink with ease.1. How to Install a Kitchen Sink


1. How to Install a Kitchen Sink


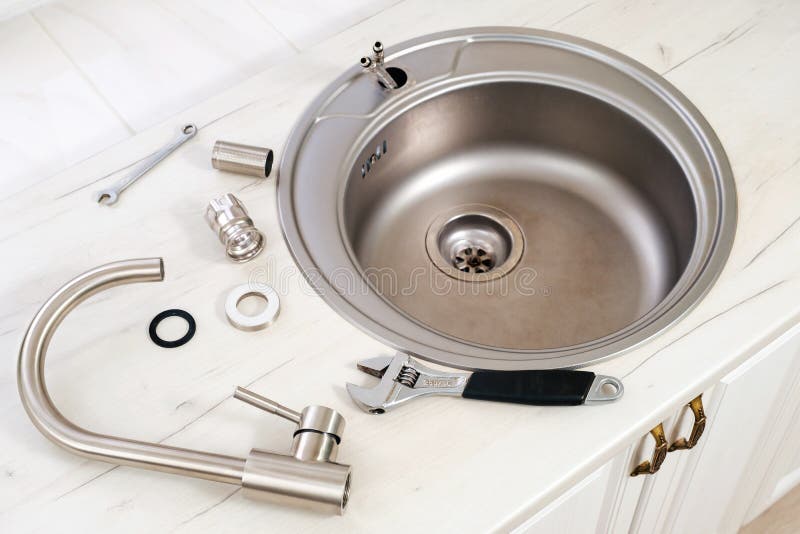
Installing a kitchen sink yourself can save you money and give you a sense of accomplishment. However, it’s important to have the right tools and materials before you begin. Make sure you have a sink installation kit, a wrench, plumber’s putty, and silicone caulk on hand. It’s also helpful to have a helper to assist with lifting and holding the sink in place during the installation process.2. DIY Kitchen Sink Installation


2. DIY Kitchen Sink Installation
/how-to-install-a-sink-drain-2718789-hero-24e898006ed94c9593a2a268b57989a3.jpg)


Step 1: Measure and Cut the Countertop Opening Before you begin, make sure your sink will fit properly in the countertop opening. Measure the dimensions of your new sink and mark them on the countertop. Use a jigsaw to cut along the marked lines, being careful to follow the manufacturer’s instructions for cutting the material of your countertop. Step 2: Prepare the Sink for Installation Before placing the sink in the countertop opening, you’ll need to prepare it for installation. Apply plumber’s putty to the bottom of the sink rim to create a watertight seal. Make sure to cover the entire surface that will come in contact with the countertop. Step 3: Install the Sink With the help of a friend, carefully lift the sink into the countertop opening, making sure it is centered and level. As you lower the sink, make sure the putty creates a tight seal between the sink and the countertop. Step 4: Secure the Sink Once the sink is in place, use a wrench to tighten the mounting clips or brackets to hold the sink in place. Make sure the sink is secure and does not move when you push or pull on it. Step 5: Connect the Plumbing Connect the drain assembly to the sink and attach the water supply lines. Make sure all connections are tight and there are no leaks. If you are replacing an old sink, make sure to use new plumbing parts to ensure a proper fit. Step 6: Apply Silicone Caulk To prevent water from leaking between the sink and the countertop, apply a bead of silicone caulk around the edge of the sink. Smooth the caulk with your finger or a caulk tool for a clean finish. Step 7: Test the Sink Before using your new sink, turn on the water and check for any leaks. Let the water run for a few minutes to make sure everything is functioning properly. If you notice any leaks, tighten the connections or reapply caulk as needed.3. Step-by-Step Guide for Installing a Kitchen Sink


3. Step-by-Step Guide for Installing a Kitchen Sink


:no_upscale()/cdn.vox-cdn.com/uploads/chorus_asset/file/19495086/drain_0.jpg)


- Always follow the manufacturer’s instructions for cutting and installing the sink. - Make sure the sink is level and centered before securing it in place. - Use new plumbing parts if you are replacing an old sink to ensure a proper fit. - Wear safety goggles and gloves when using power tools to cut the countertop. - Use a caulk tool or your finger to smooth out the silicone caulk for a professional finish.4. Tips for Installing a Kitchen Sink


4. Tips for Installing a Kitchen Sink


- Not measuring the sink and countertop opening properly. - Forgetting to apply plumber’s putty to create a watertight seal. - Using old plumbing parts when replacing an old sink. - Not checking for leaks before using the sink. - Tightening the mounting clips or brackets too much, causing damage to the sink or countertop.5. Common Mistakes to Avoid When Installing a Kitchen Sink


5. Common Mistakes to Avoid When Installing a Kitchen Sink


- Sink installation kit - Wrench - Plumber’s putty - Silicone caulk - Jigsaw - Safety goggles and gloves6. Tools and Materials Needed for Installing a Kitchen Sink


6. Tools and Materials Needed for Installing a Kitchen Sink


If you’ve never installed a kitchen sink before, it can seem like a daunting task. However, with the right tools and instructions, even beginners can successfully install a sink. Make sure to properly measure and prepare the sink, and follow the steps carefully for a successful installation.7. Installing a Kitchen Sink: A Beginner's Guide


7. Installing a Kitchen Sink: A Beginner's Guide


If you’re replacing an old sink with a new one, the process is similar to installing a new sink. The main difference is that you will need to remove the old sink and disconnect the plumbing before beginning the installation process. Make sure to properly dispose of the old sink and clean the area before installing the new one.8. How to Replace a Kitchen Sink


8. How to Replace a Kitchen Sink


Before beginning the installation process, it’s important to research and understand the specific requirements for your sink and countertop material. Different materials may require different tools and techniques for installation. Additionally, make sure to properly maintain your sink to prevent any future issues.9. Installing a Kitchen Sink: What You Need to Know


9. Installing a Kitchen Sink: What You Need to Know


If you experience any issues during or after the installation process, don’t panic. Make sure to double-check all connections and adjust as needed. If there are still leaks or other issues, consult the manufacturer’s instructions or seek assistance from a professional plumber. With these tips and a little bit of patience, you can easily install a kitchen sink and give your kitchen a fresh new look. Remember to carefully measure, prepare, and follow the steps for a successful installation. Happy DIY-ing!10. Troubleshooting Common Issues When Installing a Kitchen Sink


10. Troubleshooting Common Issues When Installing a Kitchen Sink


Choosing the Right Kitchen Sink for Your Home

Factors to Consider
 When it comes to designing your dream kitchen,
choosing the right kitchen sink
is an important decision that should not be taken lightly. Not only is the sink a functional aspect of your kitchen, but it can also serve as a focal point and enhance the overall aesthetic of the space. There are several factors to consider when
installing a kitchen sink
to ensure that you make the best choice for your home.
When it comes to designing your dream kitchen,
choosing the right kitchen sink
is an important decision that should not be taken lightly. Not only is the sink a functional aspect of your kitchen, but it can also serve as a focal point and enhance the overall aesthetic of the space. There are several factors to consider when
installing a kitchen sink
to ensure that you make the best choice for your home.
Size and Configuration
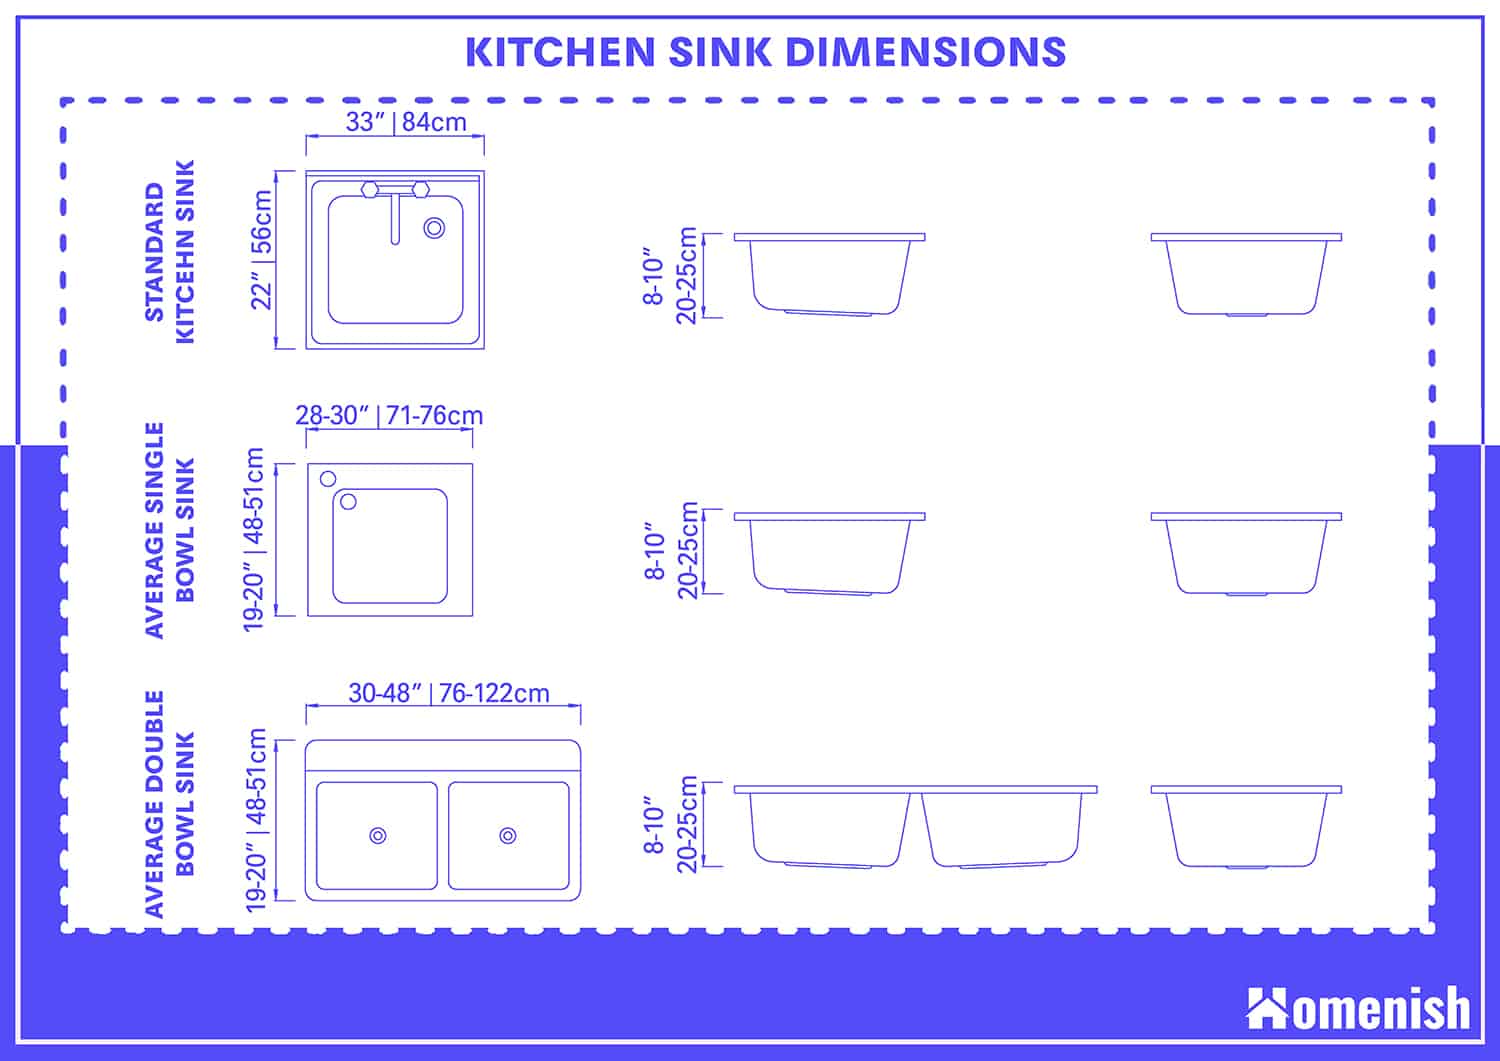
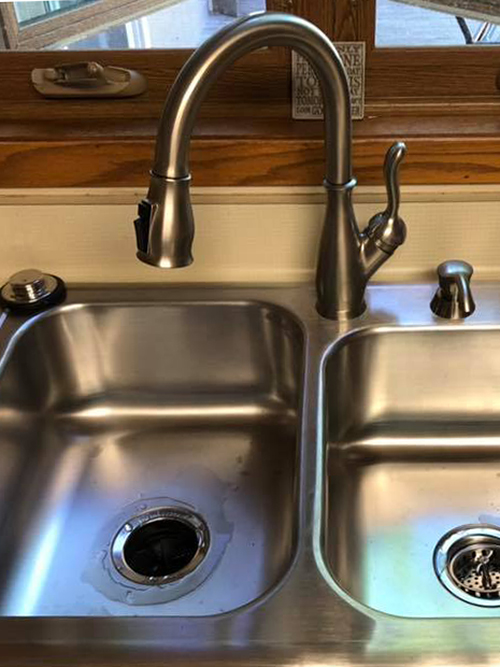
 The first thing to consider when selecting a kitchen sink is its size and configuration. You want to make sure that the sink fits comfortably in the designated space and is large enough to accommodate your daily needs. If you have a smaller kitchen, a single-bowl sink may be the best option to maximize counter space. However, if you have a larger kitchen and do a lot of cooking and cleaning, a double-bowl sink may be more practical. You should also consider the depth of the sink, as a deeper sink can make it easier to wash larger pots and pans.
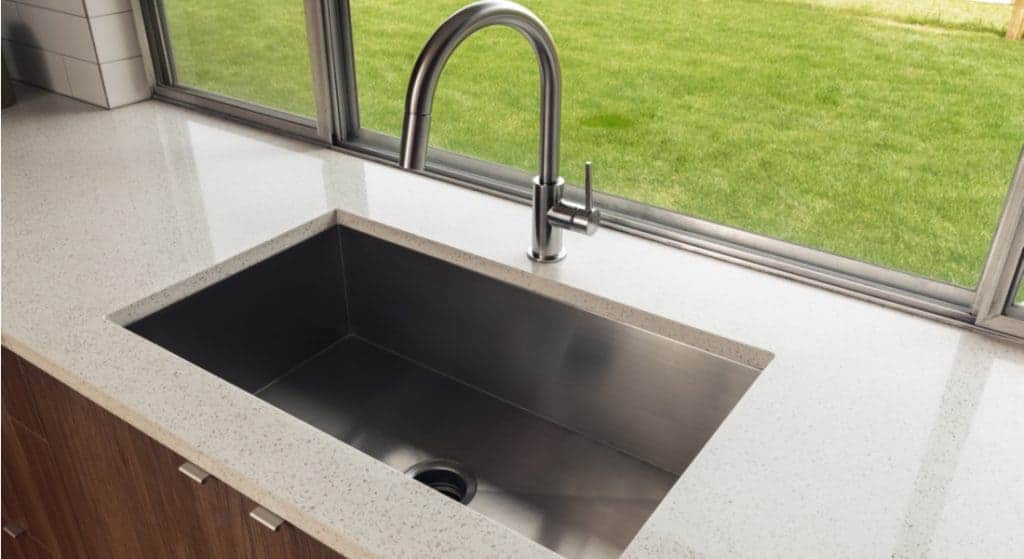
Material and Durability
 The material
of your kitchen sink is another important factor to consider. Stainless steel is a popular choice due to its durability and affordability. However, if you want to add a touch of elegance to your kitchen, you may opt for a porcelain or granite sink. Just keep in mind that these materials may require more maintenance to keep them looking pristine.
The material
of your kitchen sink is another important factor to consider. Stainless steel is a popular choice due to its durability and affordability. However, if you want to add a touch of elegance to your kitchen, you may opt for a porcelain or granite sink. Just keep in mind that these materials may require more maintenance to keep them looking pristine.
Style and Design
 The style and design of your kitchen sink can make a big impact on the overall look of your kitchen. Farmhouse sinks are a popular choice for a rustic or country-style kitchen, while undermount sinks offer a sleek and modern look. You should also consider the faucet and accessories that will accompany your sink, as they can add to the overall design and functionality.
Budget
 Last but not least, you must consider your budget when selecting a kitchen sink.
Installing a kitchen sink
can be a significant expense, especially if you opt for a high-end material or design. It is important to set a budget and stick to it, while also considering the long-term maintenance costs of your chosen sink.
In conclusion,
choosing the right kitchen sink
for your home requires careful consideration of factors such as size, material, style, and budget. By taking the time to research and evaluate your options, you can ensure that your kitchen sink not only meets your daily needs but also enhances the overall design of your kitchen. So, go ahead and make a statement with your kitchen sink!
Last but not least, you must consider your budget when selecting a kitchen sink.
Installing a kitchen sink
can be a significant expense, especially if you opt for a high-end material or design. It is important to set a budget and stick to it, while also considering the long-term maintenance costs of your chosen sink.
In conclusion,
choosing the right kitchen sink
for your home requires careful consideration of factors such as size, material, style, and budget. By taking the time to research and evaluate your options, you can ensure that your kitchen sink not only meets your daily needs but also enhances the overall design of your kitchen. So, go ahead and make a statement with your kitchen sink!


:max_bytes(150000):strip_icc()/DreamCloudLuxuryMediumFirmHybridMattress-5c475f2e46e0fb00011a52c1.jpg)