If you've ever attempted to seal your kitchen sink with grout calk, you may have encountered a common problem - the calk just won't stick. This can be frustrating and leave your sink vulnerable to leaks and water damage. Fortunately, there are several methods you can try to remove grout calk from your kitchen sink and ensure a proper seal.How to Remove Grout Calk from a Kitchen Sink


How to Remove Grout Calk from a Kitchen Sink


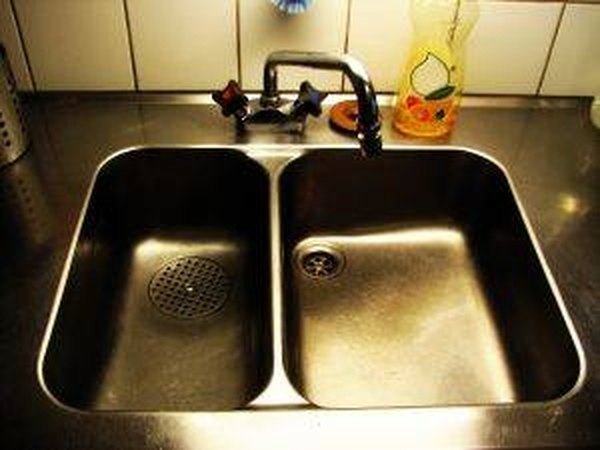
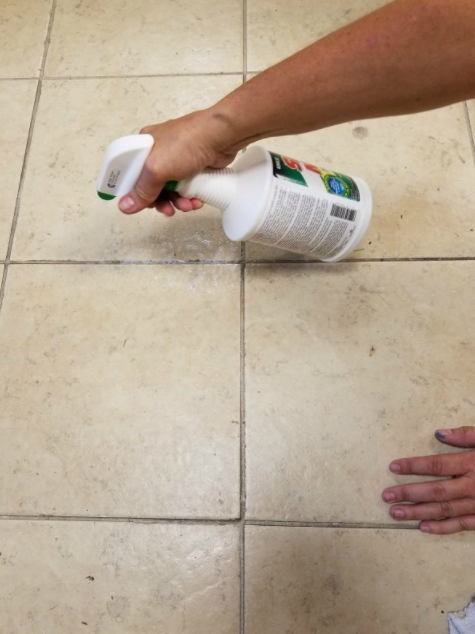
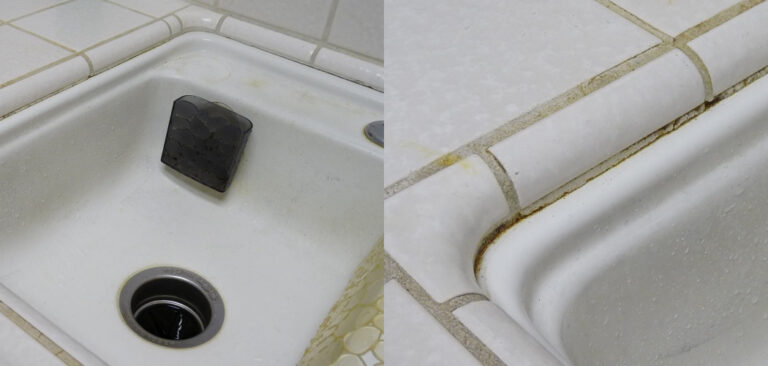
If you've already applied grout calk to your kitchen sink but are left with residue or excess calk, it's important to clean it up before it dries and becomes even more difficult to remove. Start by scraping away as much of the excess calk as possible with a plastic scraper or old credit card. Then, use a mixture of warm water and dish soap to gently scrub away any remaining residue. Rinse thoroughly and dry the sink with a clean cloth.How to Clean Grout Calk Residue from a Kitchen Sink


How to Clean Grout Calk Residue from a Kitchen Sink


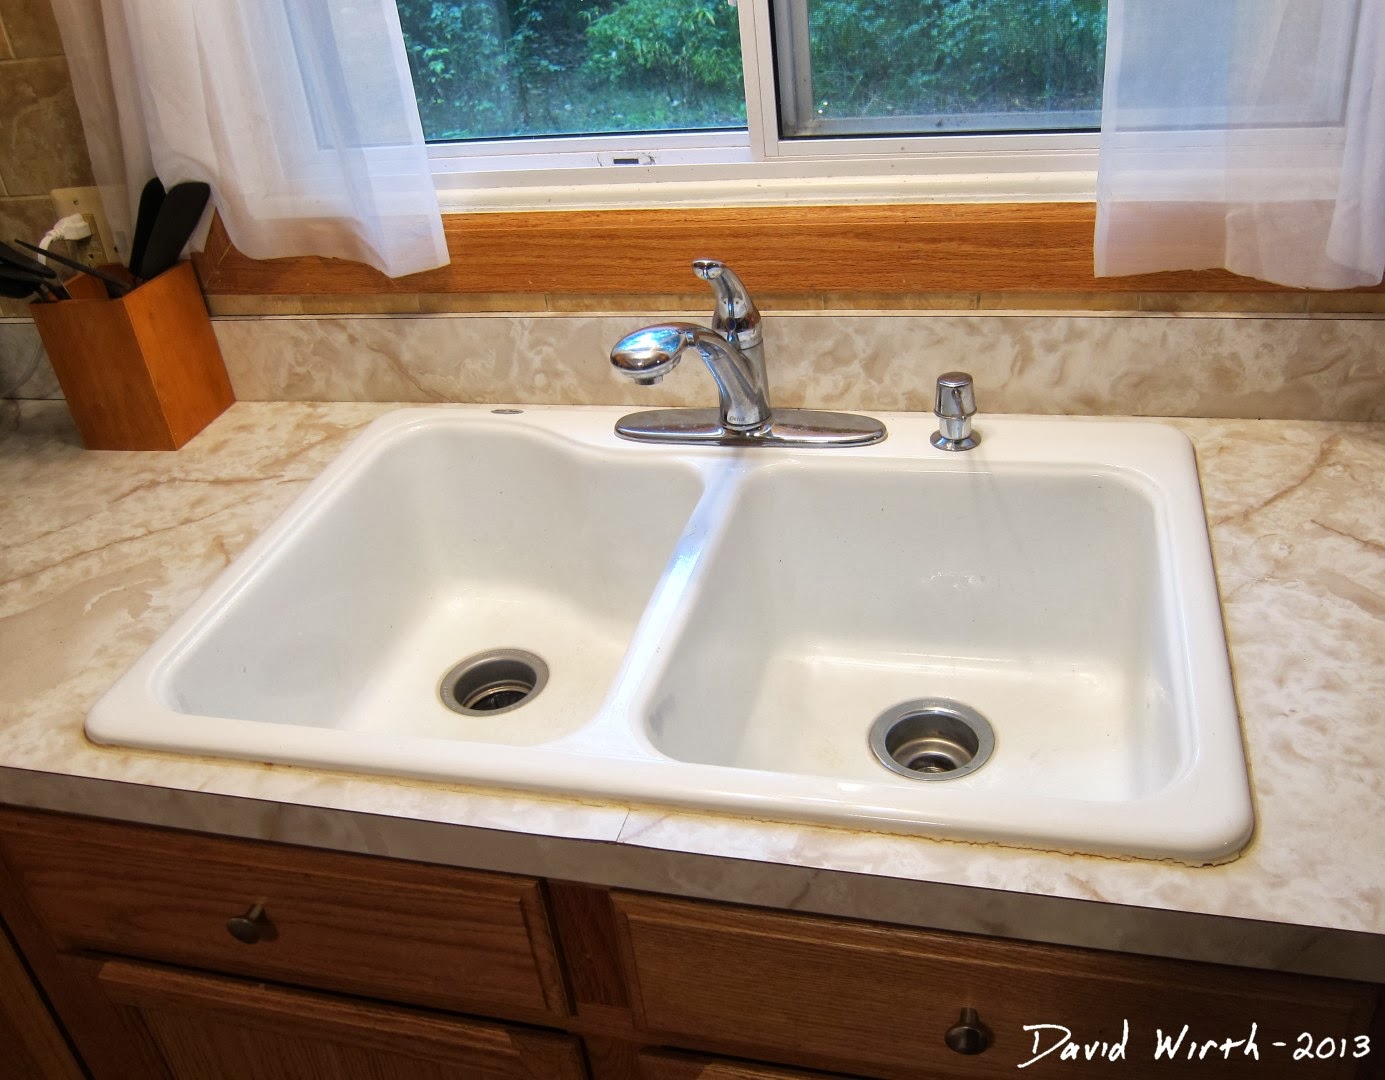
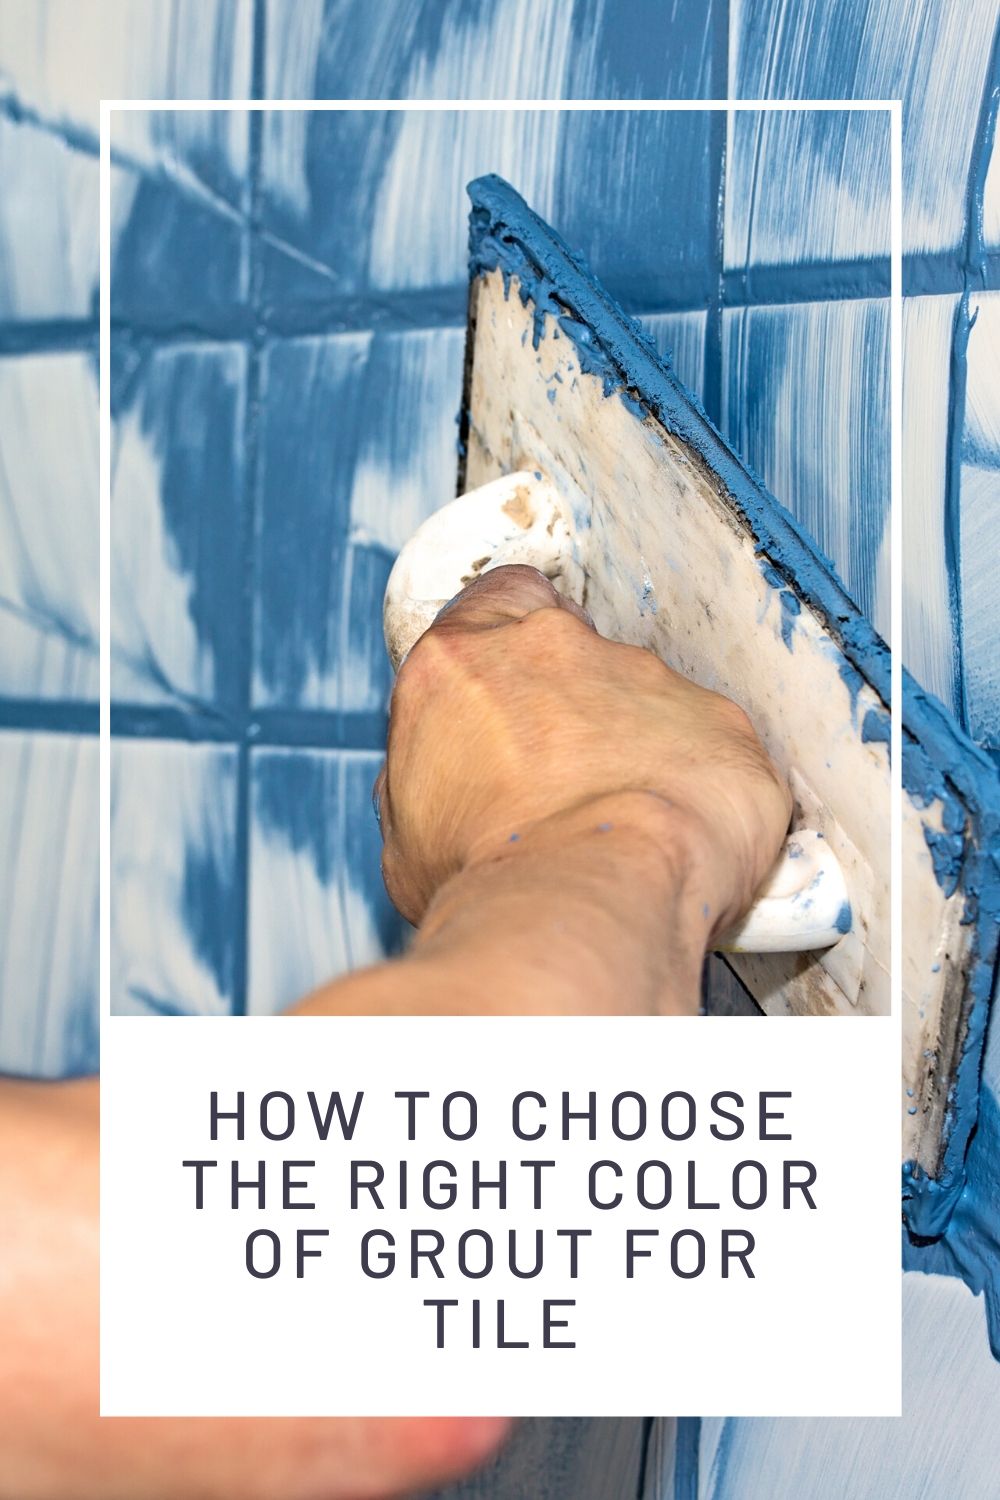
When it comes to choosing the right grout calk for your kitchen sink, it's important to consider the type of materials your sink is made of. For example, if you have a porcelain or ceramic sink, a silicone-based grout calk is recommended as it will adhere well to the smooth surface and provide a waterproof seal. For stainless steel or other metal sinks, a urethane-based calk is a better choice as it will bond better to the porous surface.Best Grout Calk for Kitchen Sinks


Best Grout Calk for Kitchen Sinks


.jpg)


Prevention is key when it comes to avoiding the frustration of grout calk not sticking to your kitchen sink. Before applying calk, make sure the sink is completely clean and dry. Any residue or moisture can prevent the calk from adhering properly. You can also use masking tape to create clean lines and prevent the calk from spreading beyond the intended area.How to Prevent Grout Calk from Sticking to Kitchen Sinks


How to Prevent Grout Calk from Sticking to Kitchen Sinks


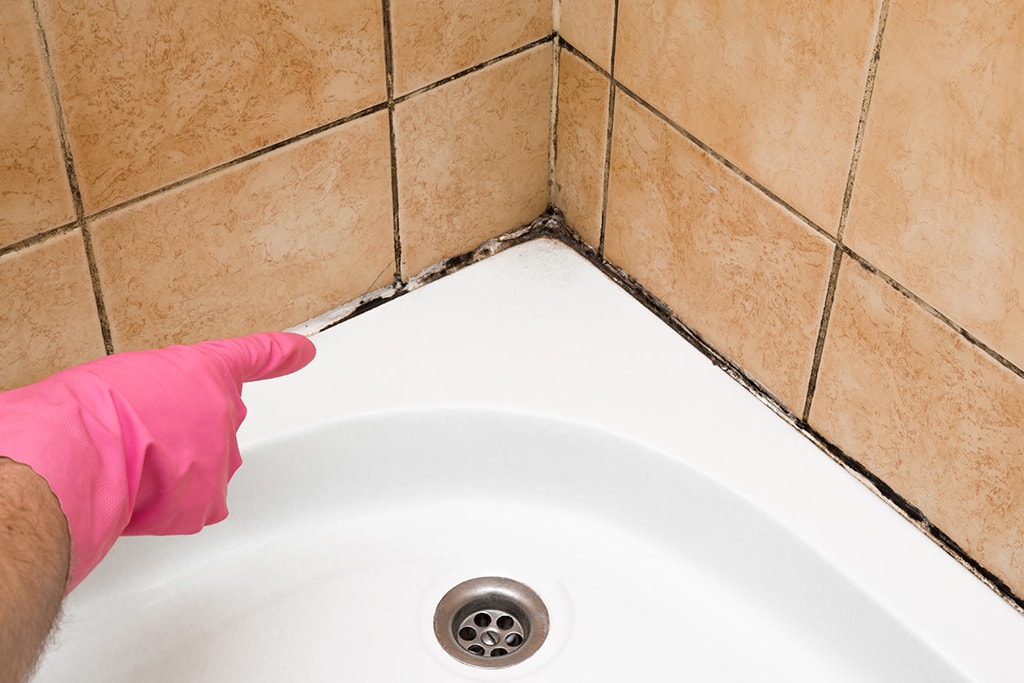
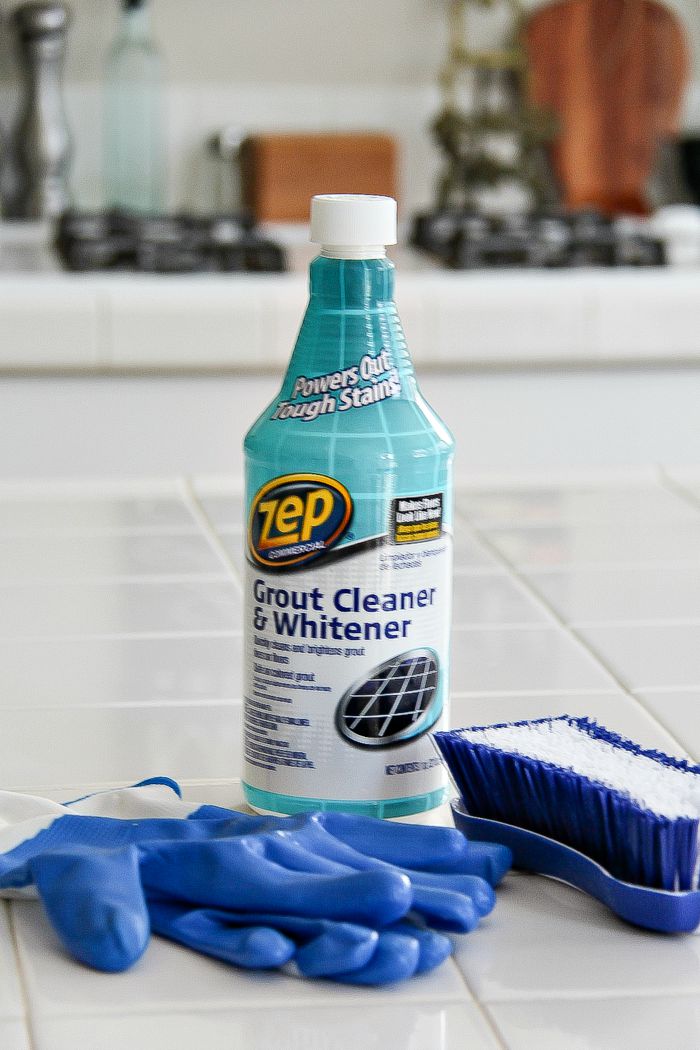
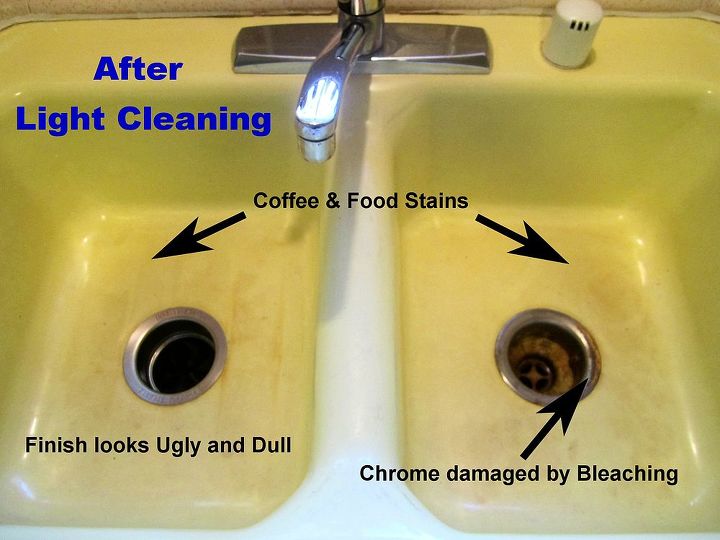
If the grout calk has already dried and hardened in your sink, it may take a bit more effort to remove it. Start by using a scraper or razor blade to gently scrape away as much of the calk as possible. You can also try using a commercial calk remover or a mixture of equal parts vinegar and water. Let the solution sit on the dried calk for a few minutes before scrubbing with a toothbrush or small scrub brush. Rinse and dry thoroughly.Removing Dried Grout Calk from a Kitchen Sink


Removing Dried Grout Calk from a Kitchen Sink
:max_bytes(150000):strip_icc()/remove_tile_grout_in_a_few_simple_steps_1822630_03-5d5a661a967b4aabab4f3411252508a5.jpg)


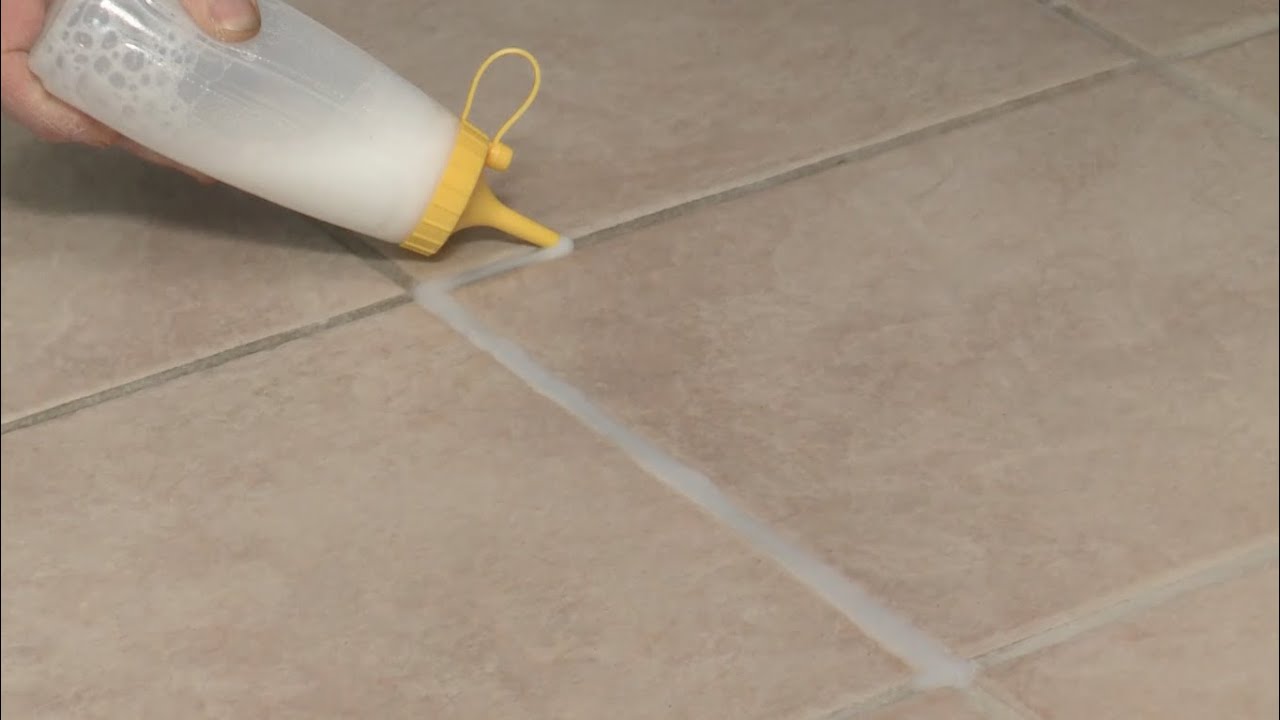
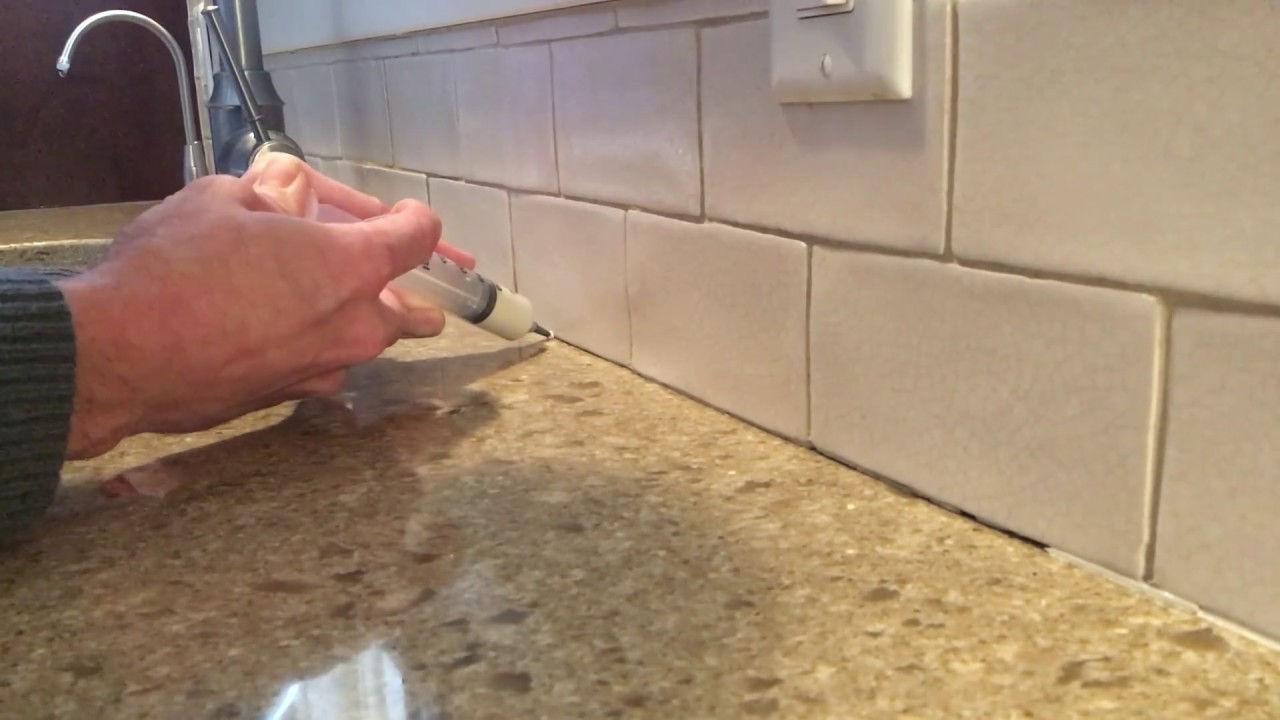
The key to a successful grout calk application is proper technique. Start by cutting the tip of the calk tube at a 45-degree angle. Use a caulking gun to apply an even bead of calk along the edges of the sink. Use your finger or a damp cloth to smooth out the calk and create a neat, even seal. Remove any excess calk before it dries.How to Properly Apply Grout Calk to a Kitchen Sink


How to Properly Apply Grout Calk to a Kitchen Sink


If you've followed all the proper steps and your grout calk is still not sticking, there may be a few reasons why. One common issue is using the wrong type of calk for your sink material, as mentioned earlier. Additionally, if the sink is not completely clean and dry or if the temperature and humidity levels are not optimal, the calk may not adhere properly. It's also possible that the calk has expired or was not stored properly, causing it to lose its adhesive properties.Why Grout Calk May Not Stick to a Kitchen Sink


Why Grout Calk May Not Stick to a Kitchen Sink
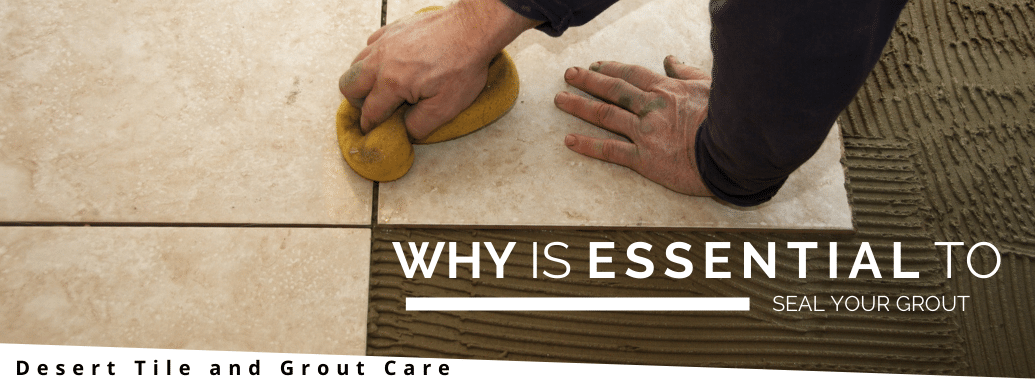


After properly applying grout calk to your kitchen sink, it's important to seal it to ensure a long-lasting and waterproof seal. There are several sealers specifically designed for grout calk that can be applied after the calk has dried. Simply follow the instructions on the sealer product to ensure proper application.How to Seal Grout Calk on a Kitchen Sink


How to Seal Grout Calk on a Kitchen Sink


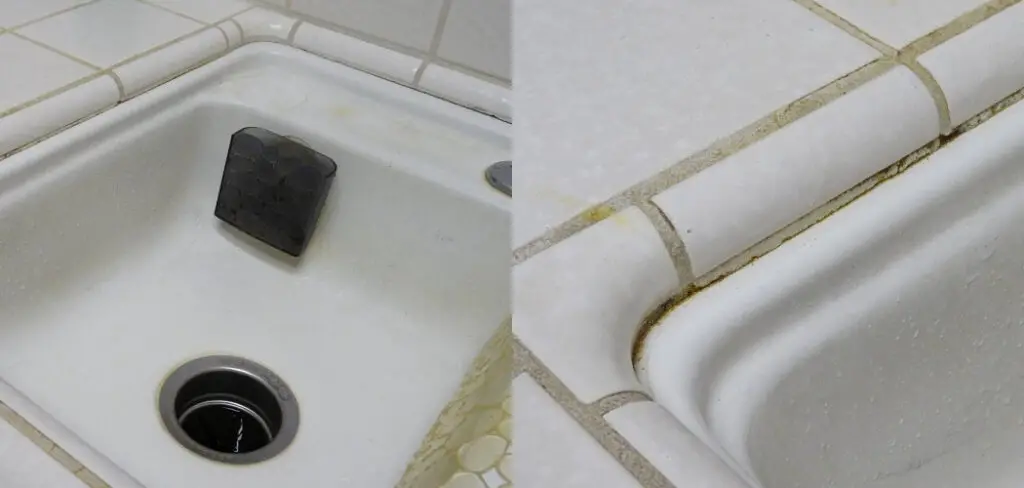
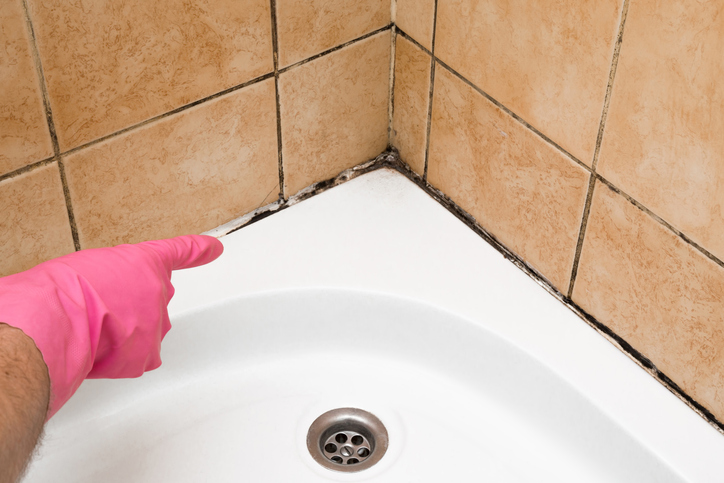
If you've accidentally gotten grout calk on your sink's surface and it has stained, don't panic. There are a few methods you can try to remove the stain without damaging the sink. One option is to use a mixture of baking soda and water to create a paste and gently scrub the stain. You can also try using a commercial stain remover or a mixture of vinegar and water. Be sure to test any product on a small, inconspicuous area first.Tips for Removing Grout Calk Stains from a Kitchen Sink


Tips for Removing Grout Calk Stains from a Kitchen Sink


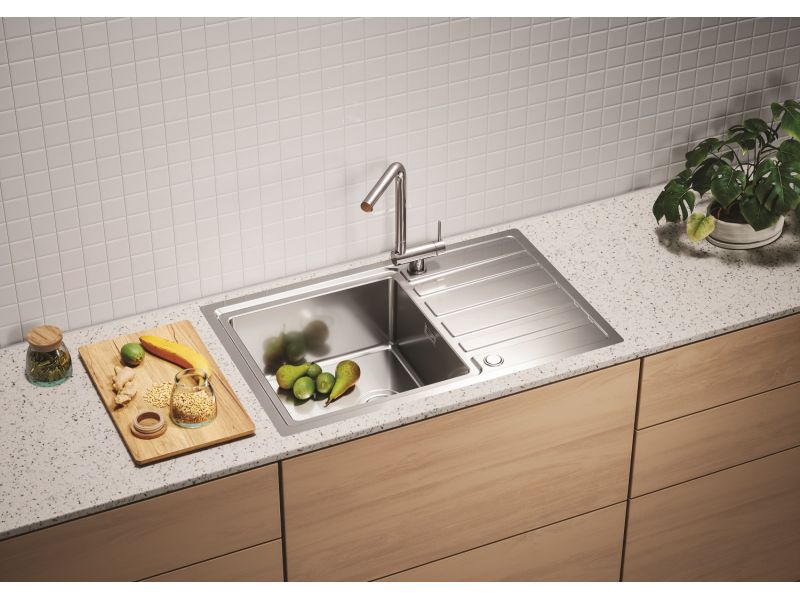
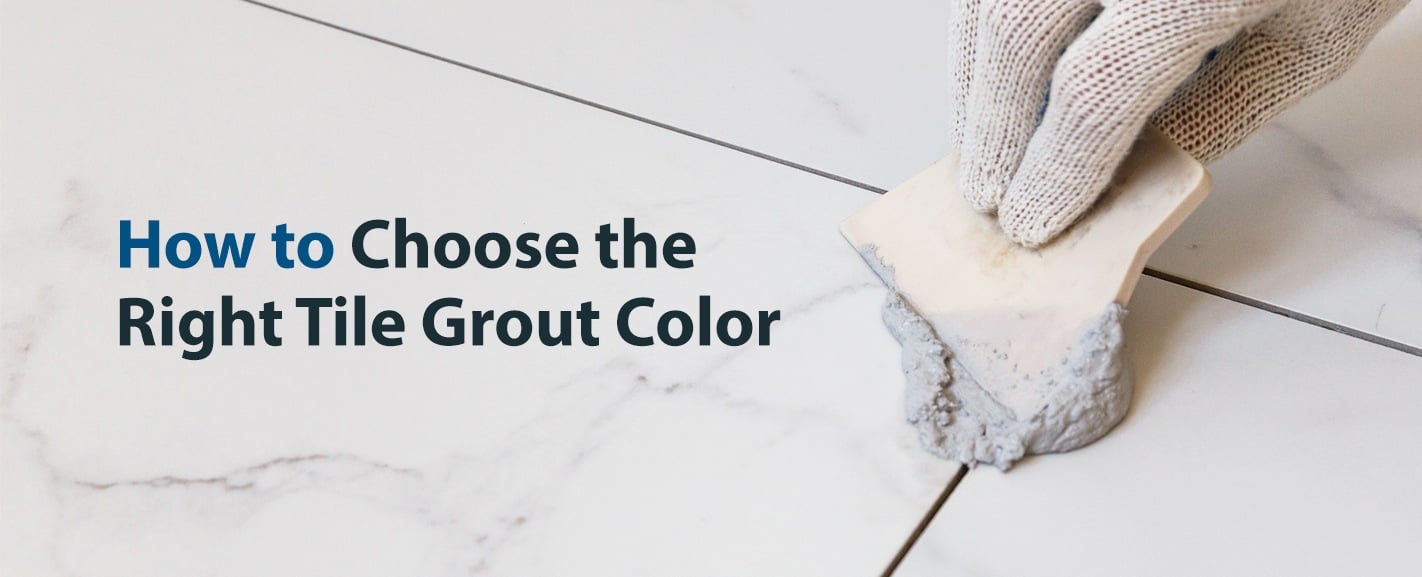
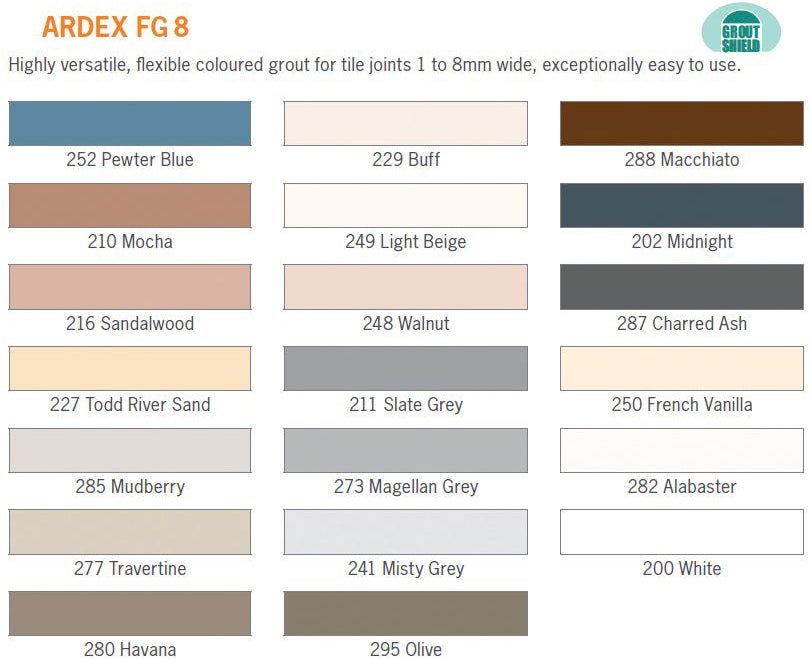
When it comes to choosing the right grout calk for your kitchen sink, it's important to consider not only the material of your sink but also the color. Grout calk comes in a variety of colors, so be sure to choose one that complements your sink and overall kitchen design. It's also important to choose a high-quality calk that is specifically designed for use in kitchens and bathrooms to ensure long-lasting results.How to Choose the Right Grout Calk for Your Kitchen Sink


How to Choose the Right Grout Calk for Your Kitchen Sink


:max_bytes(150000):strip_icc()/Basic-kitchen-sink-types-1821207_color_rev-0b539306b9ef4236a136624ad2a89a4c.jpg)


How to Ensure Your Grout Caulk Sticks to Your Kitchen Sink
The Importance of Proper Grout Caulking
 When it comes to house design, the kitchen is often considered the heart of the home. It's where we gather to cook, eat, and spend time with loved ones. With all the traffic and activity that takes place in the kitchen, it's important to make sure that every aspect is functional and well-maintained. This includes the grout caulk in and around your kitchen sink. Grout caulk not only serves an aesthetic purpose, but also plays a crucial role in preventing water damage and mold growth. However, sometimes it can be frustrating when the grout caulk doesn't stick to the sink properly. In this article, we will discuss some tips to ensure that your grout caulk sticks to your kitchen sink, so you can have a beautiful and functional kitchen.
Choose the Right Type of Grout Caulk
 Before applying any grout caulk to your kitchen sink, it's important to choose the right type for the job. There are various types of grout caulk available in the market, such as silicone, latex, and acrylic. Each type has its own unique properties and is suitable for different surfaces and situations. For kitchen sinks, it's best to use a silicone-based grout caulk as it is waterproof and flexible, making it less prone to cracking and peeling. Additionally, make sure to choose a grout caulk color that matches your sink for a seamless look.
Properly Prepare the Surface
 One of the main reasons why grout caulk may not stick to your kitchen sink is due to improper surface preparation. Before applying the caulk, make sure to thoroughly clean and dry the area. Any dirt, grease, or moisture can hinder the adhesion of the caulk. You can use a degreaser and a scrub brush to clean the sink and surrounding area. Once the surface is clean, use a towel to dry it completely. If the caulk doesn't have a clean and dry surface to adhere to, it won't stick properly.
Apply the Caulk Correctly
 The way you apply the grout caulk can also affect its adhesion. Start by cutting the tip of the caulk tube at a 45-degree angle, and then puncture the inner seal with a nail or screw. This will allow the caulk to flow smoothly. Next, apply the caulk in a continuous and uniform line, ensuring that it fills the gap between the sink and the countertop. You can use a caulk gun for better control and precision. After applying the caulk, use your finger or a caulk tool to smooth and level it. This will also help to remove any air pockets and ensure a strong bond between the caulk and the sink.
Final Thoughts
 In conclusion, grout caulk is an essential element in keeping your kitchen sink in good condition. By choosing the right type of caulk, properly preparing the surface, and applying it correctly, you can ensure that your grout caulk sticks to your kitchen sink and provides a strong and durable seal. Remember to regularly check and maintain your grout caulk to prevent any potential water damage and keep your kitchen looking beautiful.