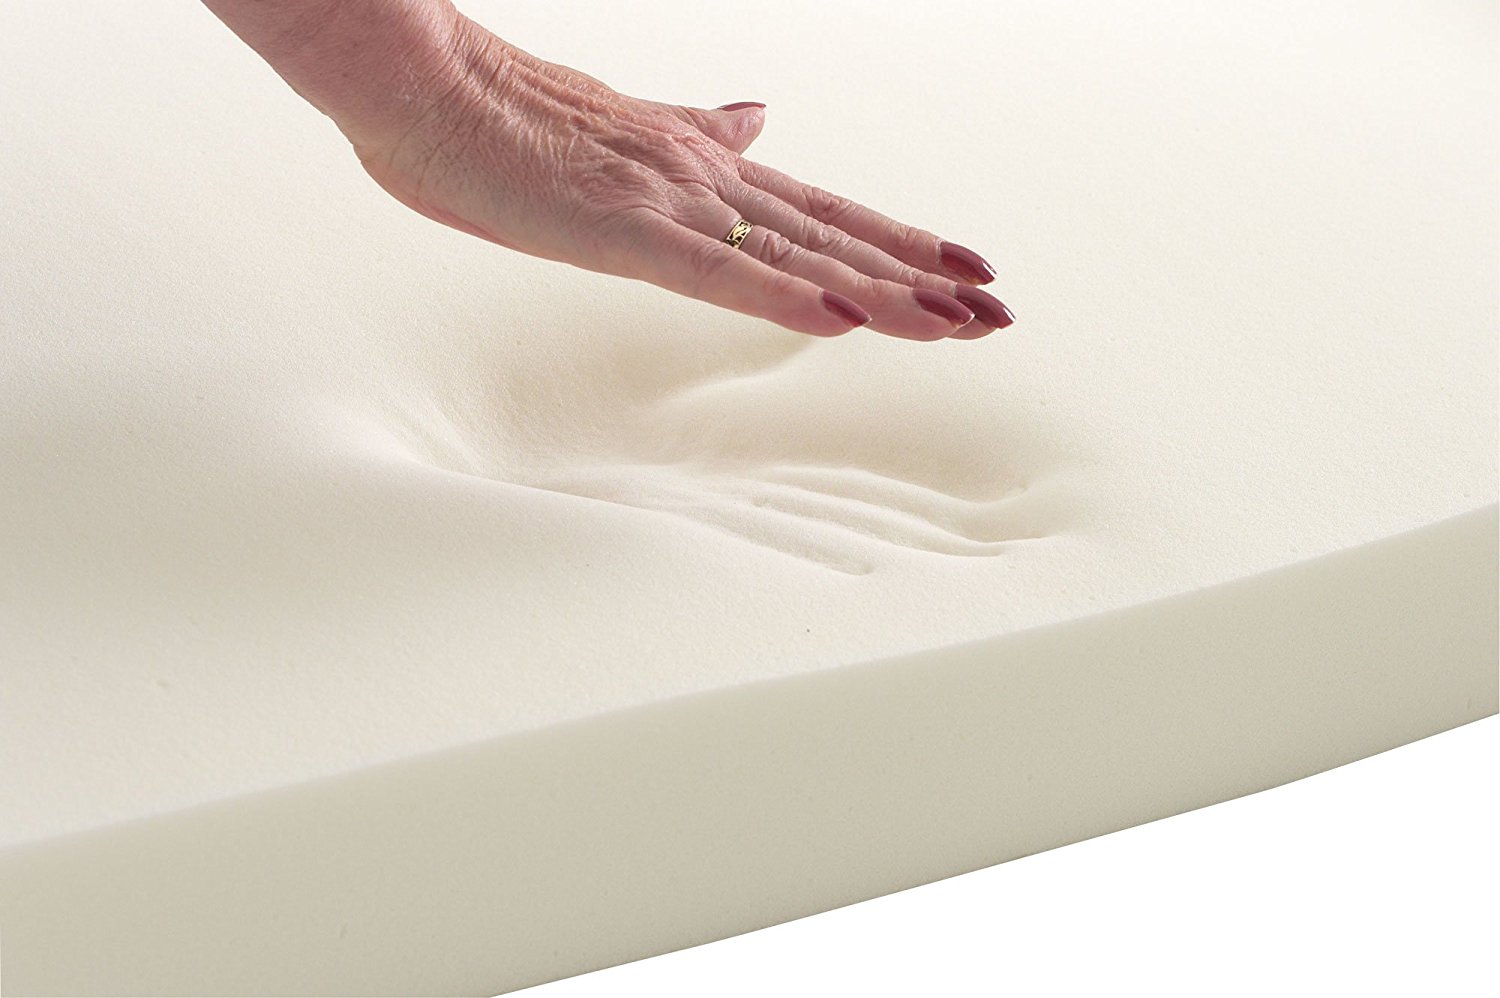
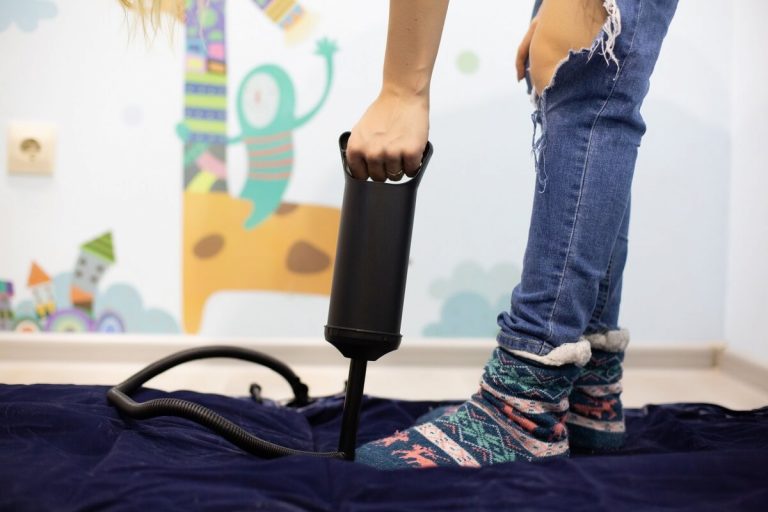
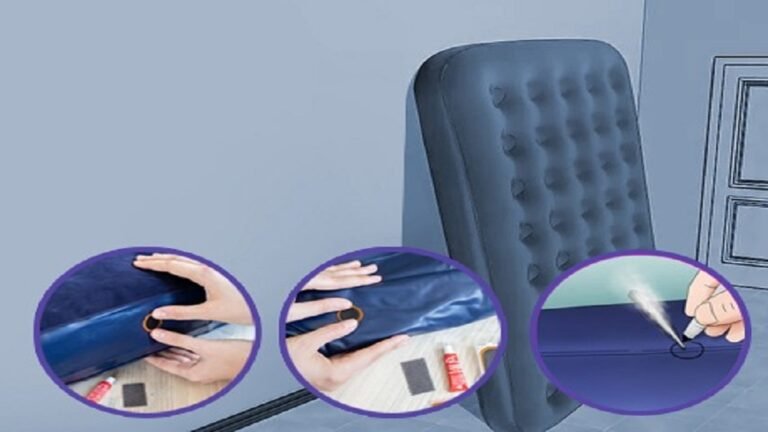
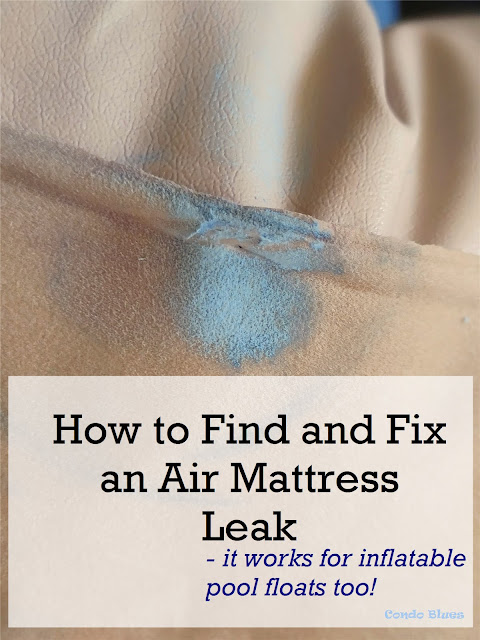
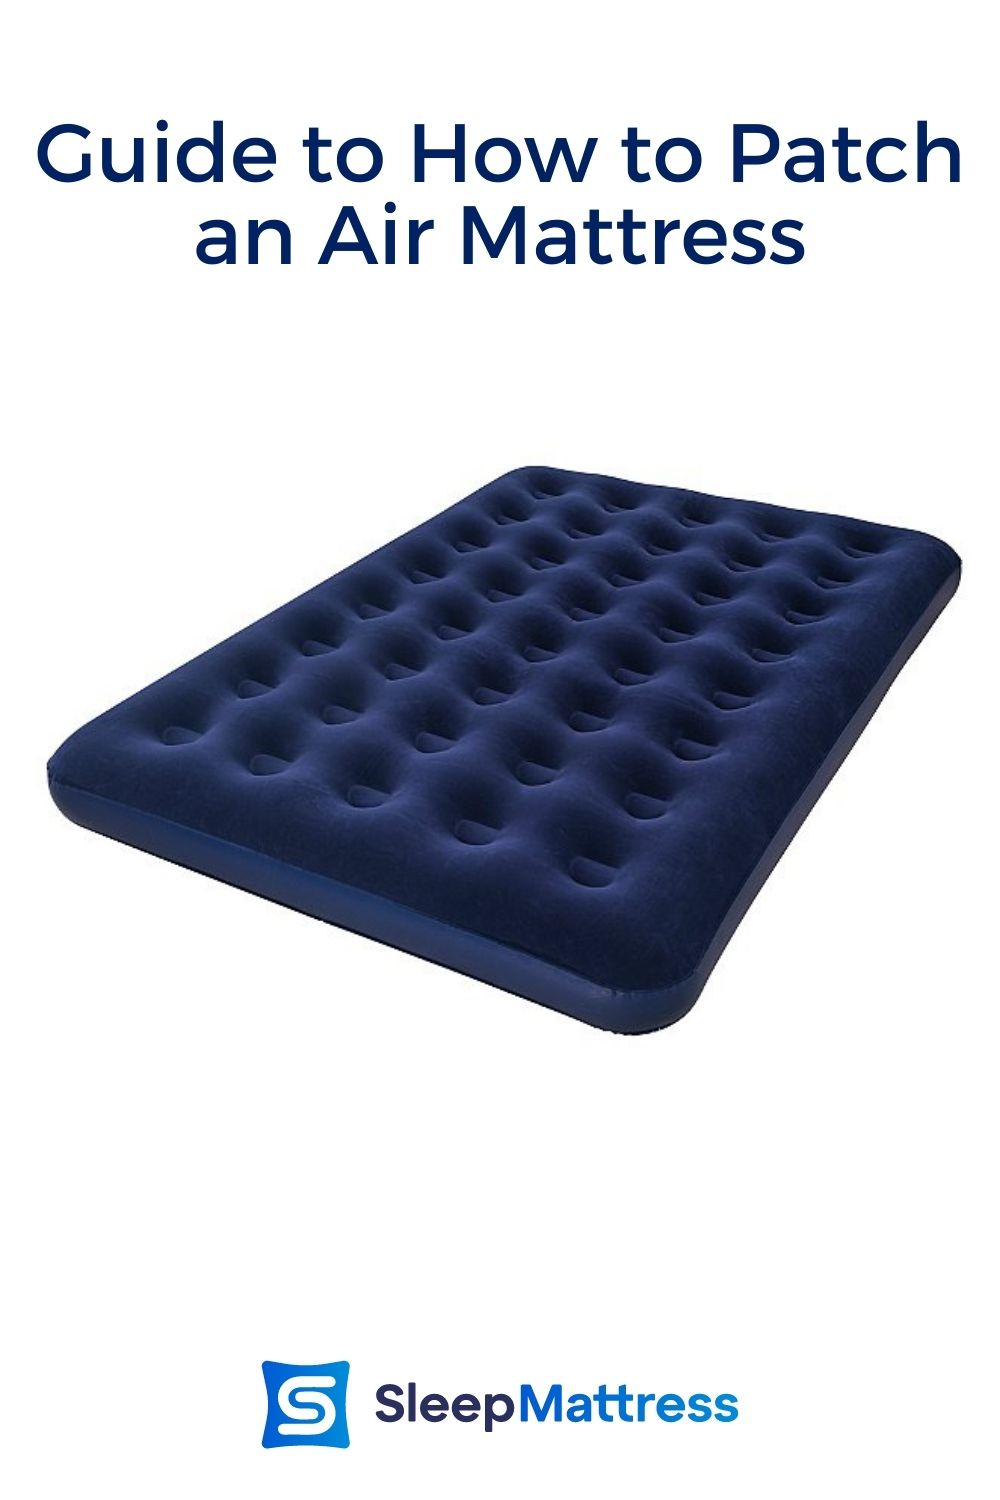
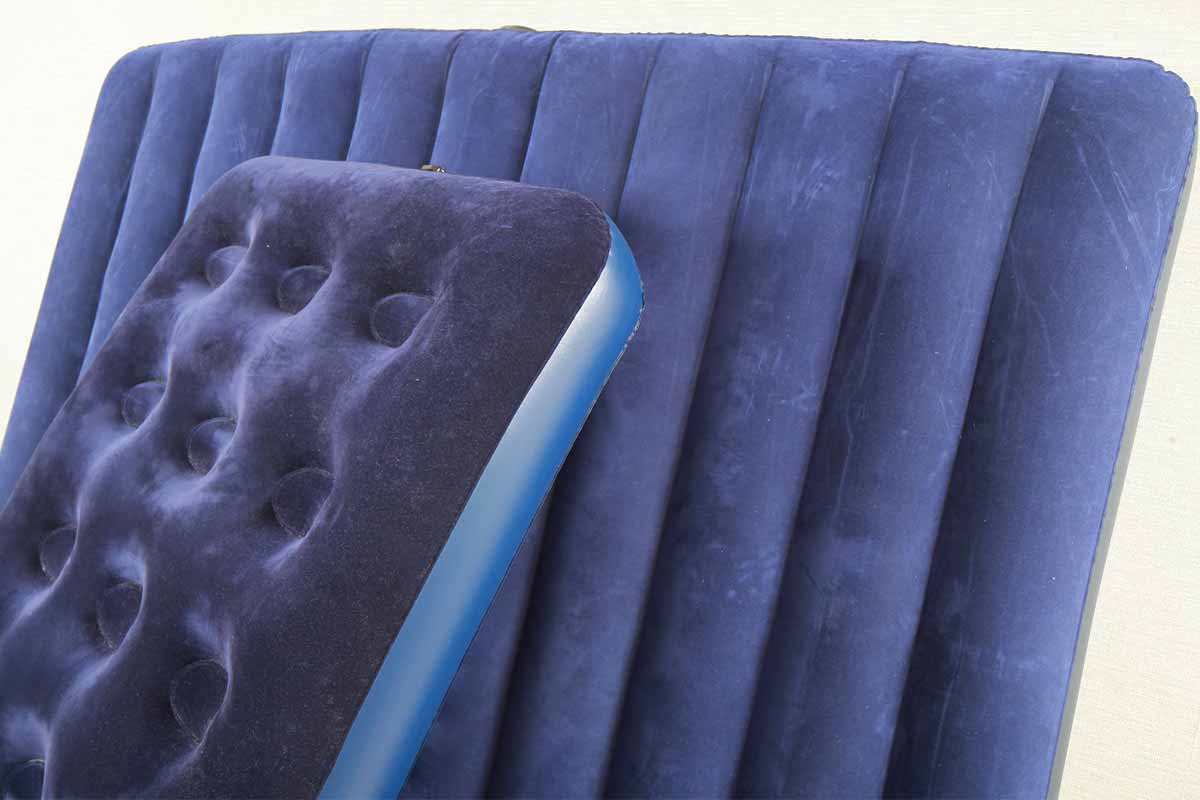
If you've ever woken up in the middle of the night to find yourself sinking into your deflated air mattress, you know how frustrating it can be to deal with a leak. But don't worry, fixing a leak in an air mattress is not as daunting as it may seem. With a few simple steps, you can have your air mattress back to its fully inflated glory in no time. First, you'll need to locate the leak. This can be done by filling your air mattress with air and listening for any hissing sounds. You can also use a spray bottle filled with water and spray it onto the surface of the mattress, looking for bubbles that indicate a leak. Once you've found the leak, it's time to patch it up. There are various methods for patching a leak in an air mattress. One option is to use a patch kit specifically designed for air mattresses. These kits typically include adhesive patches and instructions on how to apply them. Another option is to use household items such as duct tape or super glue. Just make sure to clean and dry the area around the leak before applying the patch.1. Patching a Leak in an Air Mattress


1. Patching a Leak in an Air Mattress


:max_bytes(150000):strip_icc()/81QHm8NXr2L._AC_SL1500_1-17bafdc326cf4922b0d8acca4d9b5639.jpg)

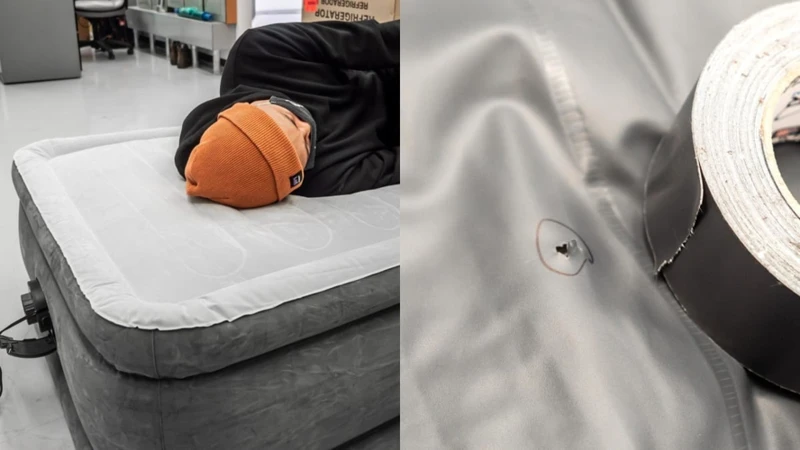
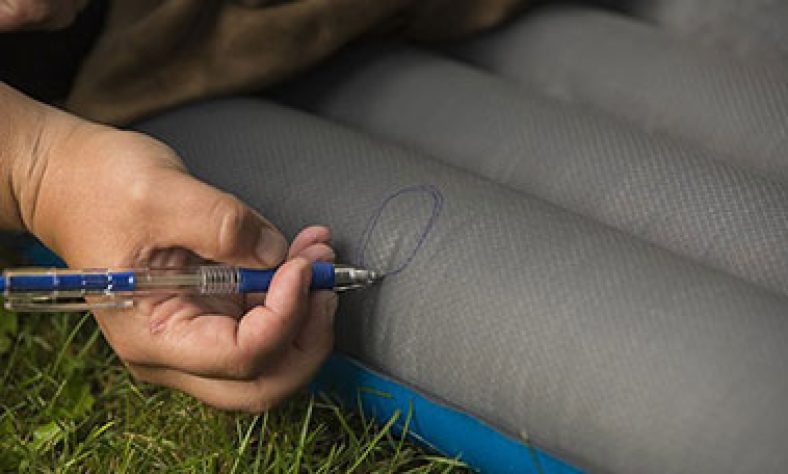
If you want a more permanent solution for fixing a leak in your air mattress, you can try using a vinyl repair kit. These kits are specifically designed for repairing leaks in vinyl materials, which air mattresses are typically made of. They usually come with a vinyl repair patch and adhesive, as well as sandpaper for prepping the surface of the mattress. Simply follow the instructions on the kit to properly patch the leak and ensure a long-lasting fix. Another handy tip for fixing a leak in an air mattress is to use a hot glue gun. This method is especially useful for small and hard-to-reach leaks. Simply heat up the glue gun and apply a small amount of hot glue to the leak. Once the glue has cooled and hardened, it should seal the leak and prevent any further air from escaping.2. How to Fix a Leak in an Air Mattress


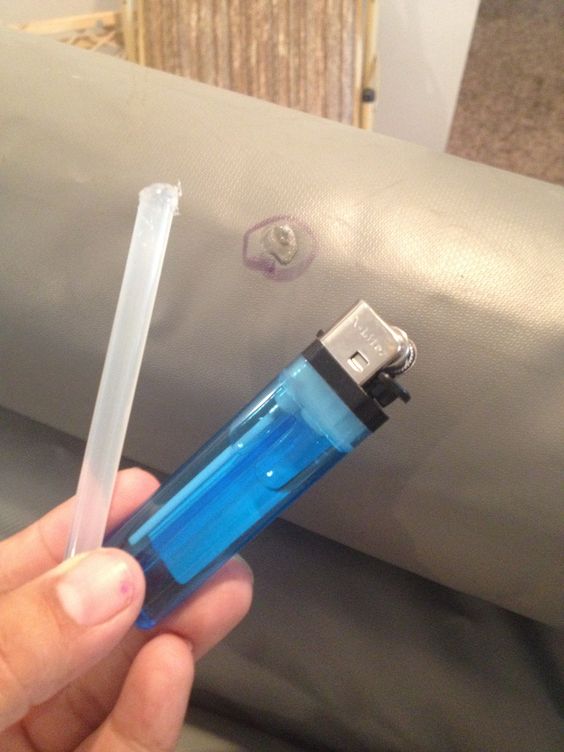
2. How to Fix a Leak in an Air Mattress


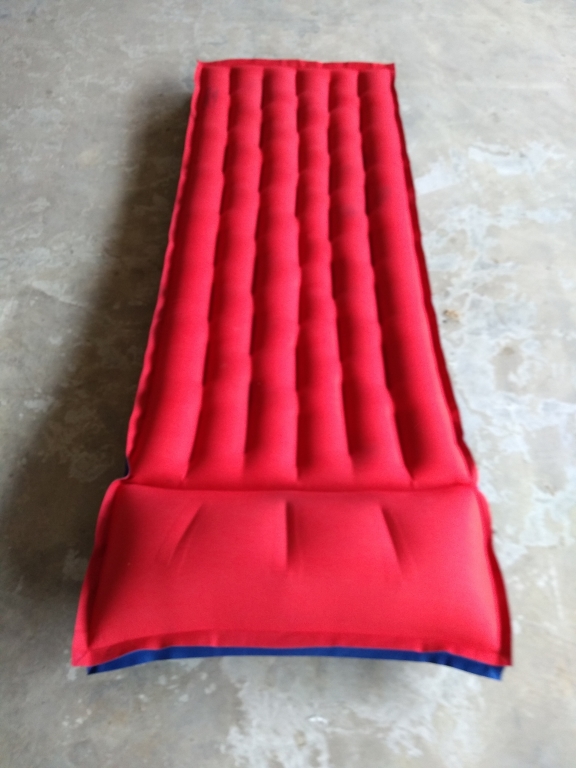
If you're in a pinch and don't have access to a patch kit or household items, there are still ways to repair an air mattress leak. One method is to use a rubber band or hair tie to tightly wrap around the area of the leak. This will temporarily seal the leak and allow you to continue using the air mattress until you can properly patch it up. Another temporary fix is to use a piece of duct tape or clear packing tape to cover the leak. This may not be the most aesthetically pleasing solution, but it can be effective in stopping the air from escaping. Just make sure to replace the tape if it starts to peel off.3. Repairing an Air Mattress Leak


3. Repairing an Air Mattress Leak


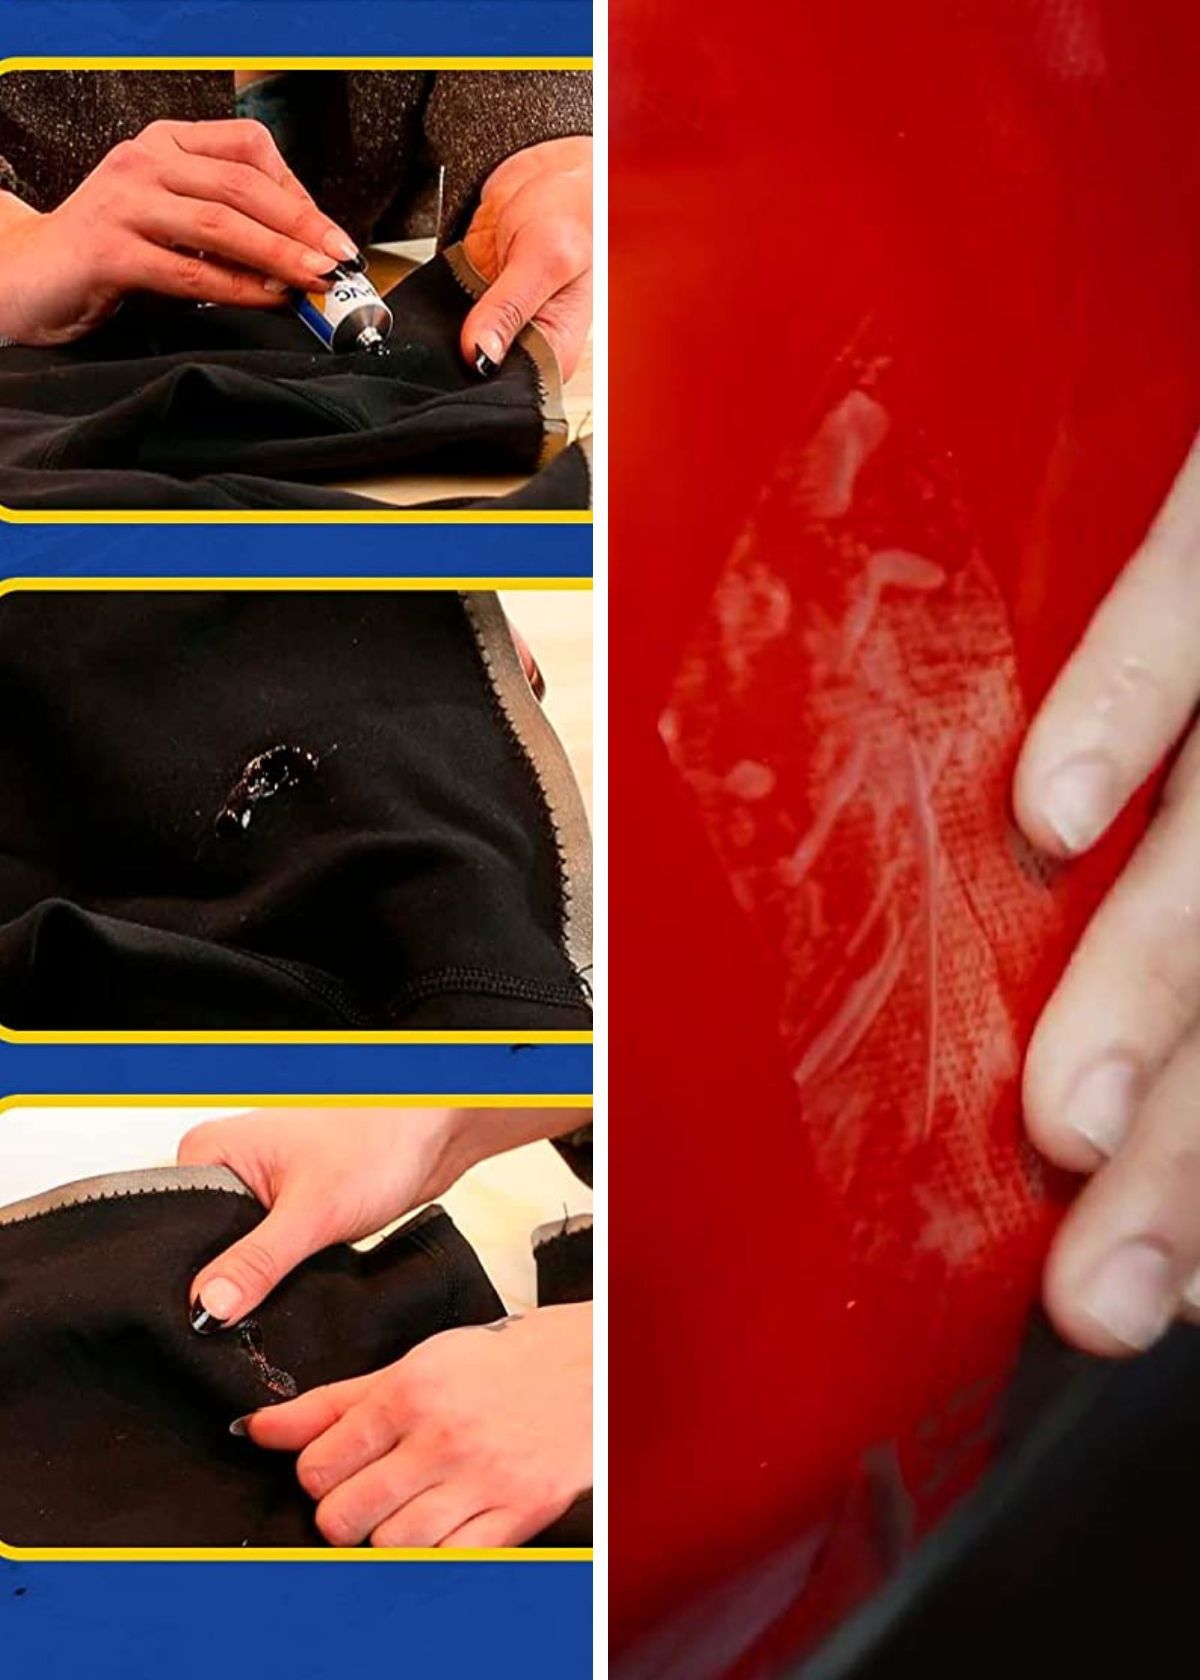
If you're feeling crafty, you can also try making your own DIY patch for an air mattress leak. One method is to use a piece of fabric, such as an old t-shirt or towel, and apply a layer of strong adhesive, such as rubber cement, to one side. Then, place the fabric patch over the leak and firmly press down to secure it. This method may not be as reliable as using a patch kit, but it can work in a pinch. Another DIY solution is to use a mixture of cornstarch and super glue to create a paste. Apply this paste to the leak and let it dry completely before inflating the mattress. The mixture will harden and create a seal over the leak, preventing any air from escaping.4. DIY Air Mattress Leak Repair


4. DIY Air Mattress Leak Repair


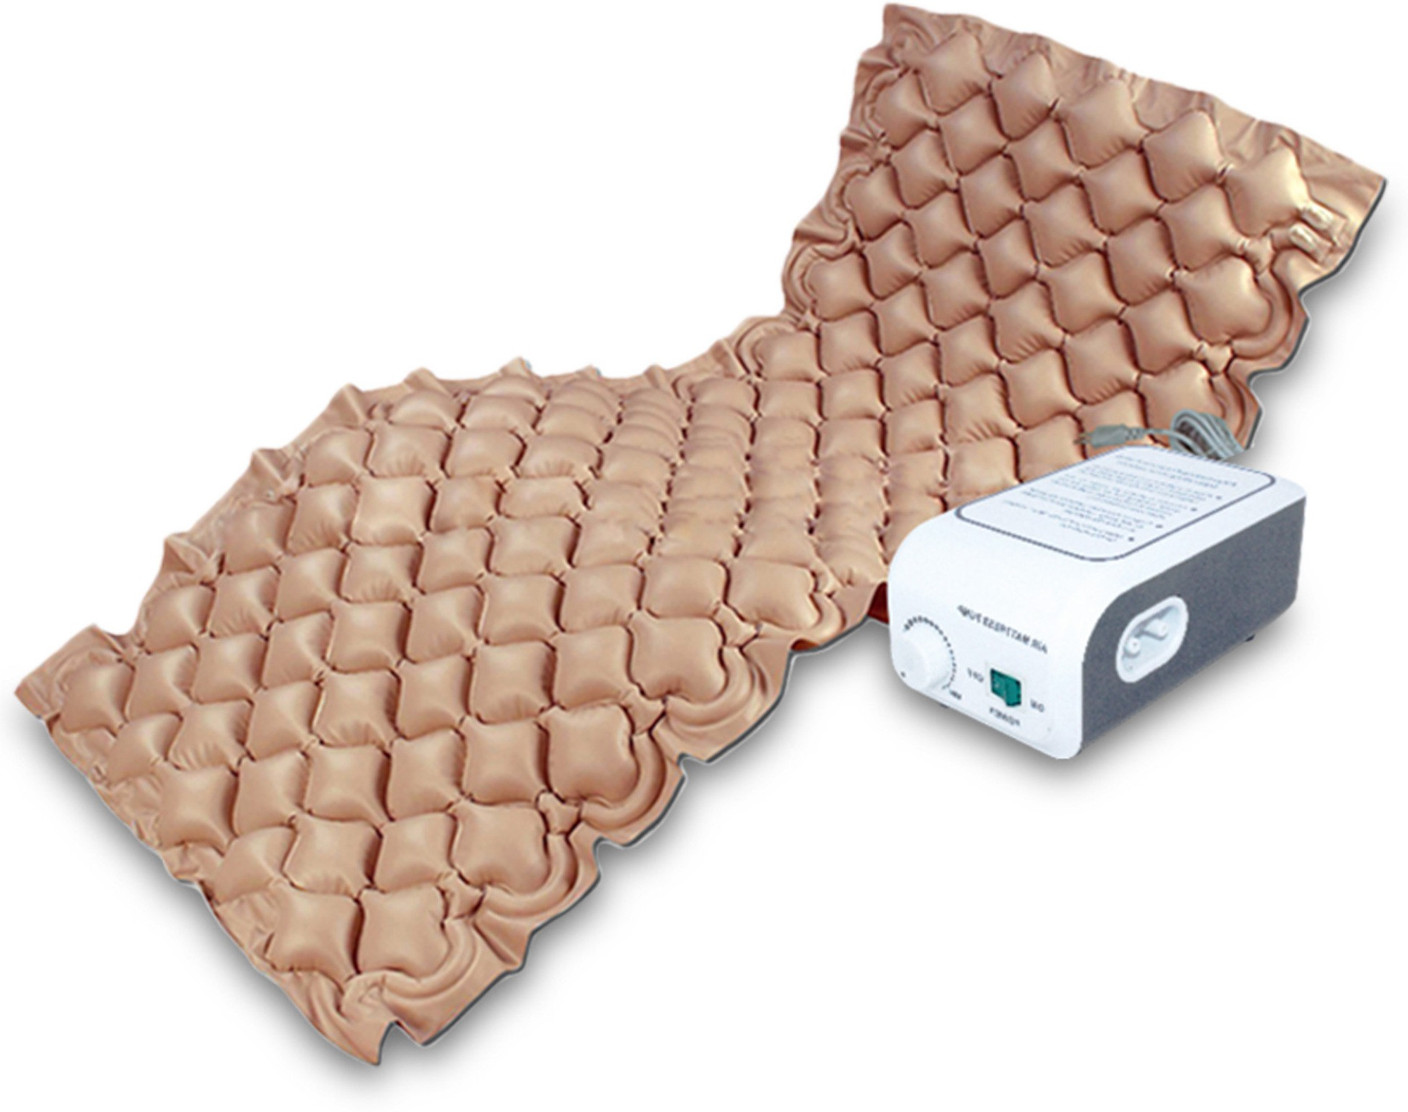
Prevention is always better than having to deal with a leak in your air mattress. To avoid future leaks, make sure to properly store and handle your air mattress. Avoid placing it on rough or sharp surfaces that could puncture the material. If you're using the air mattress outdoors, place a tarp or blanket underneath to provide extra protection. Additionally, regularly check your air mattress for any signs of wear and tear, such as small holes or tears. Repairing these issues before they become full-blown leaks can save you time and hassle in the long run.5. Finding and Fixing Leaks in Air Mattresses


5. Finding and Fixing Leaks in Air Mattresses


If you're short on time and just need a quick fix for a leak in your air mattress, there are a few methods you can try. One is to use a piece of chewing gum to seal the leak. Simply chew the gum until it's soft and pliable, then place it over the leak and smooth it down. The gum should harden and create a seal, allowing you to continue using the air mattress for the time being. Another quick and easy fix is to use clear nail polish to seal the leak. Apply a layer of nail polish over the leak and let it dry completely before inflating the mattress. This method may not be as reliable as others, but it can work in a pinch.6. Quick and Easy Air Mattress Leak Fix

6. Quick and Easy Air Mattress Leak Fix


When attempting to fix a leak in an air mattress, it's important to keep a few things in mind. First, make sure to fully deflate the mattress before attempting to patch it. This will make the surface easier to work with and ensure that the patch adheres properly. Additionally, always follow the instructions on any patch kit or adhesive you use. Applying too much or too little adhesive can result in a patch that doesn't hold or one that leaves a sticky residue on your mattress. And if using household items for a quick fix, make sure they are strong and sturdy enough to withstand the pressure of the air mattress.7. Tips for Fixing a Leaky Air Mattress

7. Tips for Fixing a Leaky Air Mattress


While there are many methods for fixing a leak in an air mattress, some are more common and reliable than others. Using a patch kit, vinyl repair kit, or hot glue gun are all popular and effective ways to repair leaks. Other methods, such as using household items or DIY solutions, may work in a pinch, but may not provide a long-lasting fix. It's also important to note that not all leaks are created equal. If you have a large or multiple leaks in your air mattress, it may not be fixable and you may need to invest in a new one.8. Common Methods for Fixing Air Mattress Leaks

8. Common Methods for Fixing Air Mattress Leaks


If you're unsure of how to properly fix a leak in your air mattress, here is a step-by-step guide to help you through the process: Step 1: Locate the leak by listening for hissing sounds or using a spray bottle with water to look for bubbles. Step 2: Deflate the air mattress completely and clean and dry the area around the leak. Step 3: If using a patch kit, follow the instructions on the kit to properly apply the adhesive patch. If using household items, apply a layer of adhesive or patch over the leak and let it dry completely. Step 4: Once the patch is dry, inflate the mattress and check for any additional leaks. Step 5: If the patch is secure and there are no other leaks, you're good to go. If not, repeat the process or try a different method.9. Step-by-Step Guide to Fixing an Air Mattress Leak

9. Step-by-Step Guide to Fixing an Air Mattress Leak
As mentioned before, there are various household items that can be used to fix a leak in an air mattress. Some other options to consider are using a piece of fabric and strong adhesive, such as rubber cement, or using a vinyl pool repair kit if you have one on hand. Just make sure to properly clean and dry the area before attempting to patch the leak. Don't let a leaky air mattress ruin your sleep or outdoor adventures. With these tips and tricks, you can easily fix a leak and get back to enjoying your fully inflated air mattress. Just remember to properly store and handle your mattress to prevent future leaks and always have a patch kit or household items on hand in case of emergency. Happy sleeping!10. Using Household Items to Fix an Air Mattress Leak

10. Using Household Items to Fix an Air Mattress Leak


Why a Leaking Air Mattress is a Common Problem

The Importance of a Good Night's Sleep
One of the most essential elements of a comfortable home is a good night's sleep. A peaceful and restful sleep is necessary for our physical and mental well-being. However, it can be challenging to achieve that when your air mattress starts to leak. A leaking air mattress can disrupt your sleep, leaving you feeling tired and irritable the next day. Not to mention, it can also lead to back pains and body aches, making it difficult for you to go about your daily activities.
The Causes of Air Mattress Leaks

There are several reasons why an air mattress may start to leak. The most common cause is wear and tear. Over time, the material of the air mattress can weaken and develop small holes or tears, causing the air to escape. Another reason could be improper use or storage of the air mattress. If you are continuously folding or bending the mattress, it can put pressure on the seams and cause them to weaken and eventually leak.
The Importance of Fixing a Leaking Air Mattress

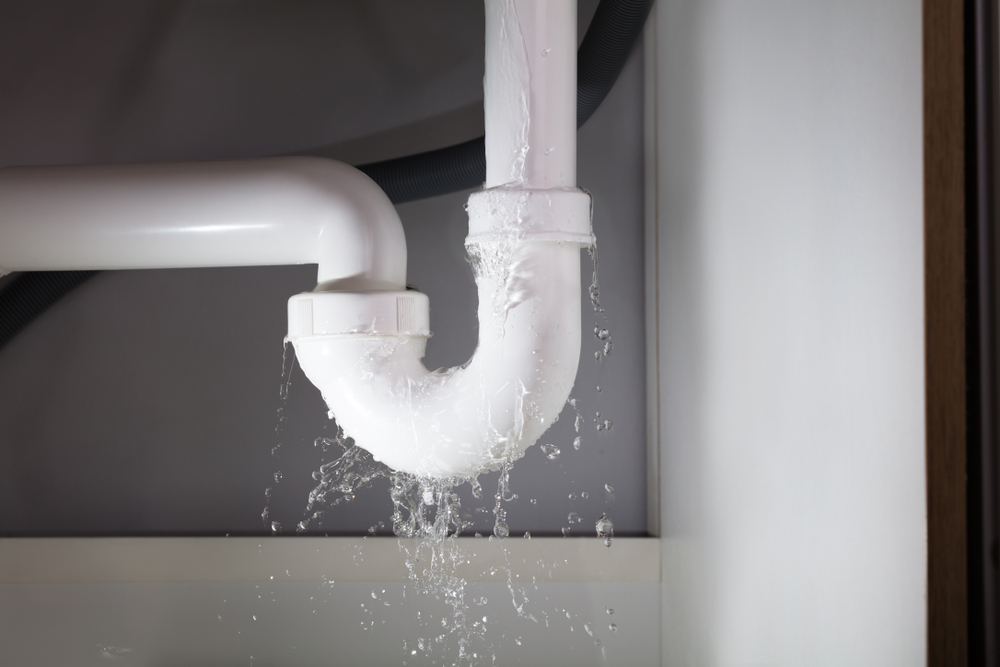
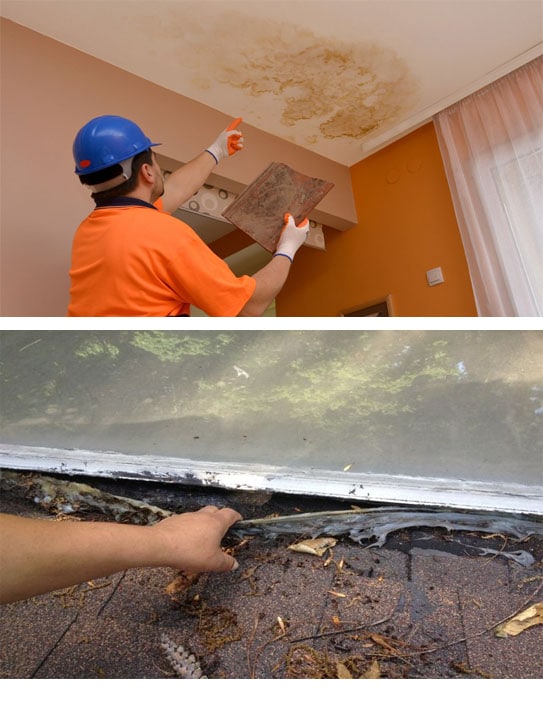
Ignoring a leaking air mattress is not only detrimental to your sleep but also to your budget. Continuously replacing air mattresses can be expensive, especially if you use them regularly. Additionally, a leaking air mattress can also cause damage to your floors and furniture if left unattended. The moisture from the leaking air can cause mold and mildew growth, which can be harmful to your health and costly to remove.
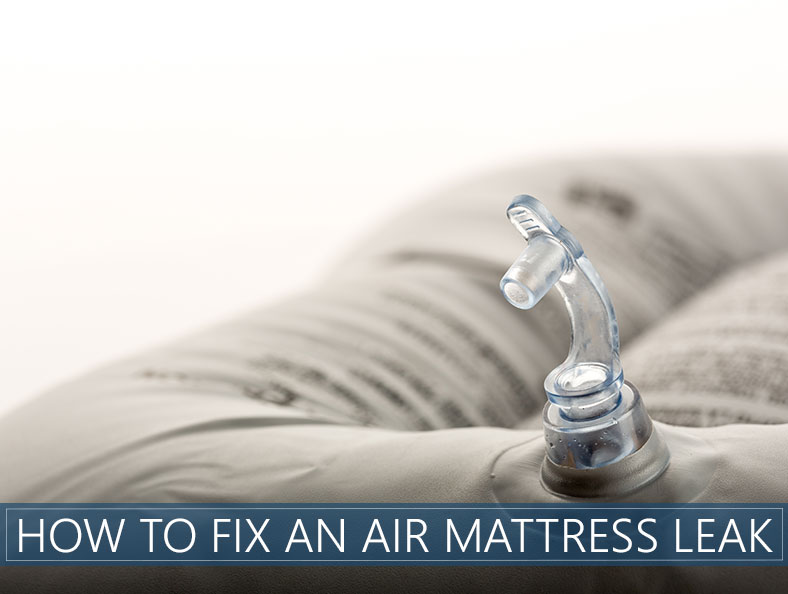
How to Fix a Leaking Air Mattress
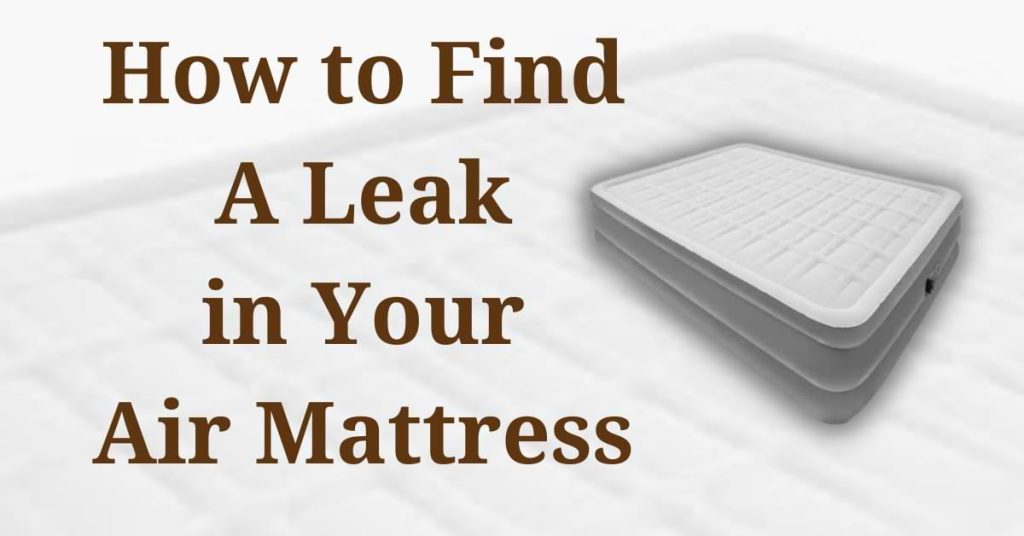
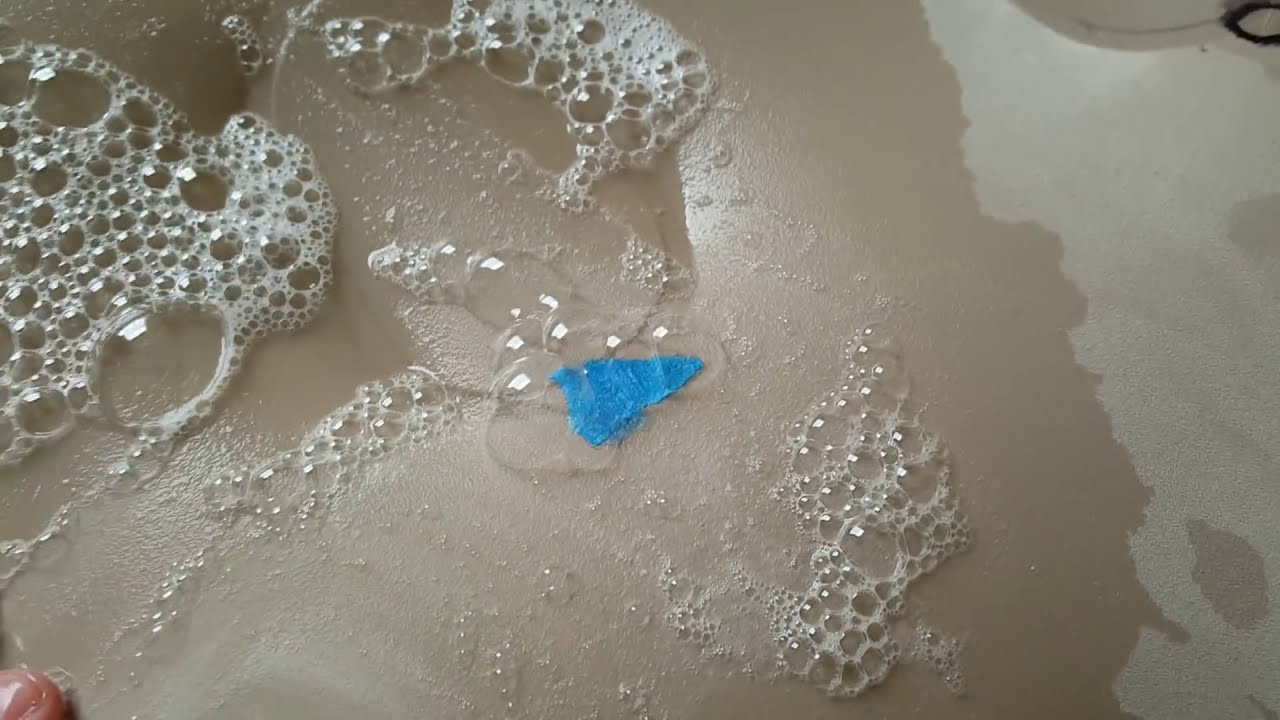
Step 1: Identify the Leak

The first step to fixing a leaking air mattress is to identify the source of the leak. Inflate the mattress and listen for any hissing sounds or feel for any escaping air. You can also use a spray bottle with soapy water and spray it on the mattress. Bubbles will appear where the leak is located.
Step 2: Clean and Dry the Area
Once you have identified the leak, clean the surrounding area with a damp cloth and let it dry completely. This will ensure that the patch or sealant sticks to the surface properly.
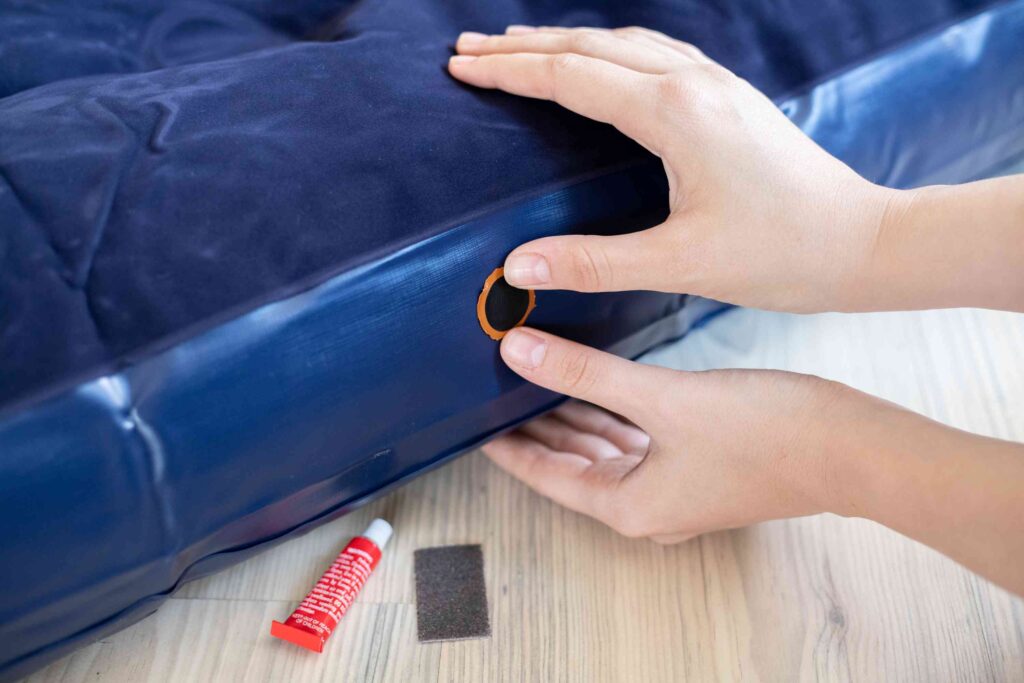
Step 3: Patch the Leak

If the hole or tear is small, you can use a patch kit specifically designed for air mattresses. Follow the instructions on the kit and carefully apply the patch over the leak. If the damage is more significant, you can use a vinyl repair kit or even a piece of duct tape as a temporary fix.
Step 4: Use a Sealant

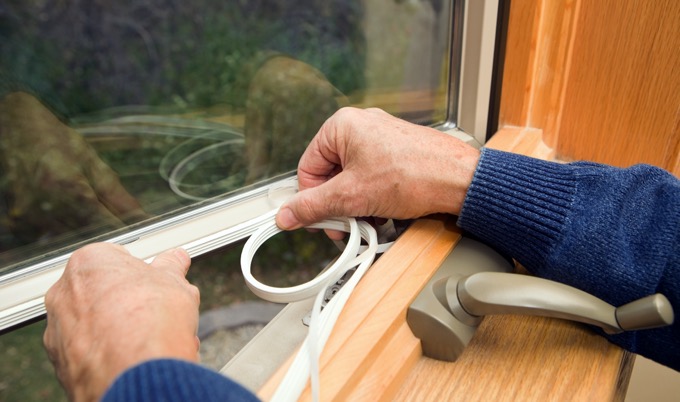
If the leak is along the seams of the air mattress, you can use a sealant to seal the holes. Apply the sealant over the damaged area and let it dry completely before inflating the mattress again.
Step 5: Prevent Future Leaks
To prevent future leaks, make sure to use and store your air mattress properly. Avoid overinflating it and be careful when moving or folding it. You can also use a mattress cover or a thick sheet to protect the mattress from any sharp objects.
Fixing a leak in an air mattress may seem like a daunting task, but it is a necessary one to ensure a good night's sleep and save you money in the long run. By following these steps and taking proper care of your air mattress, you can enjoy a comfortable and restful sleep for years to come.