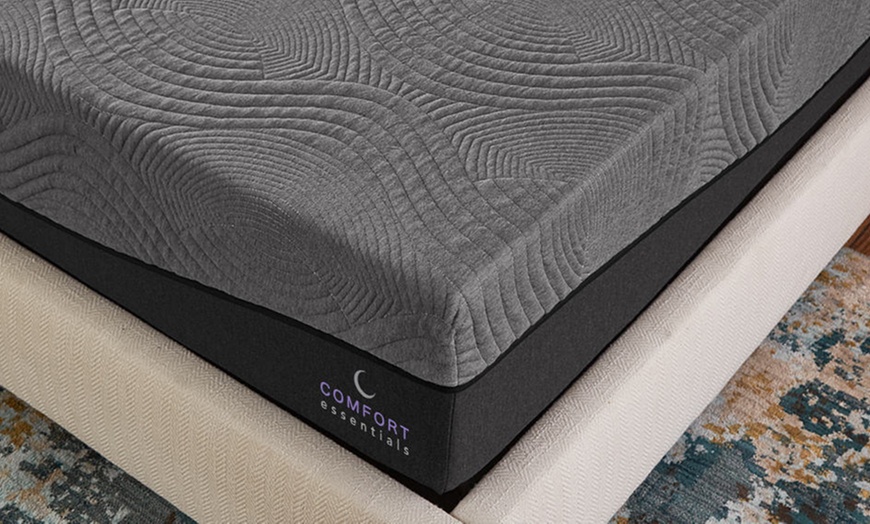
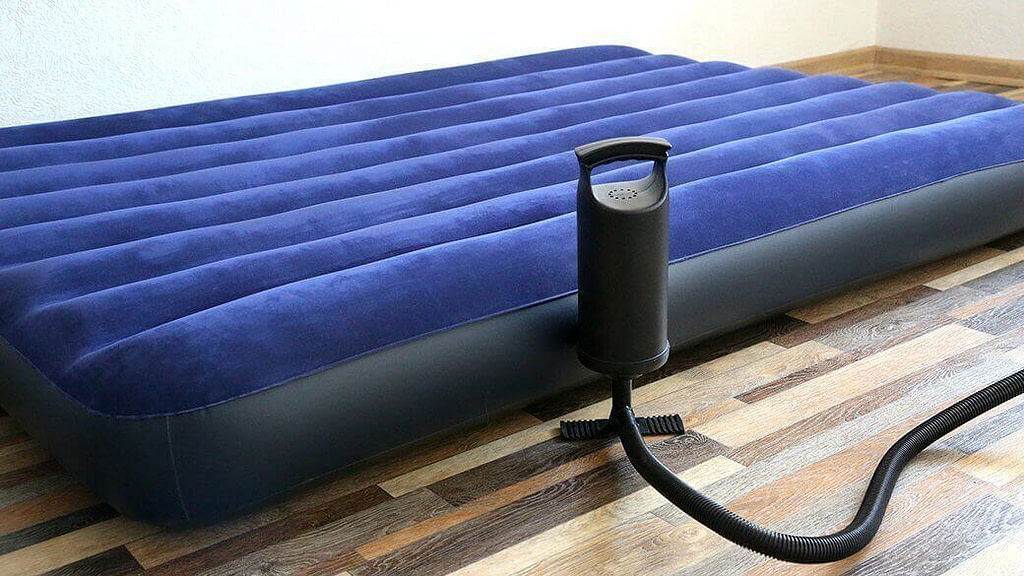
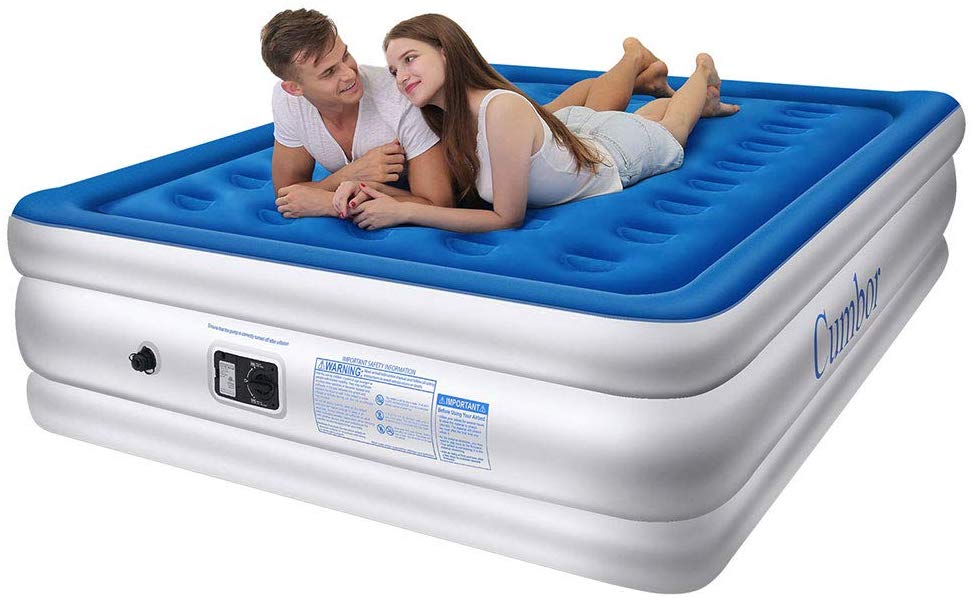
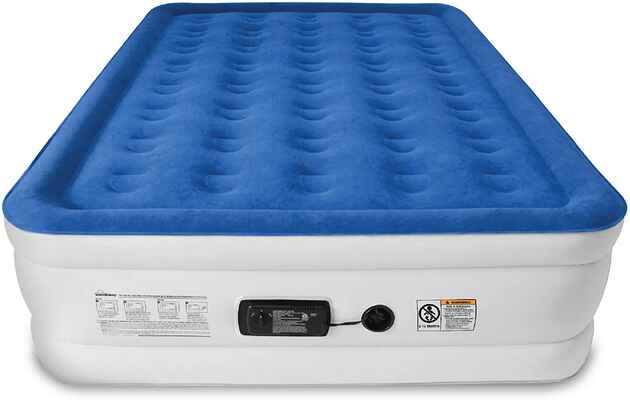
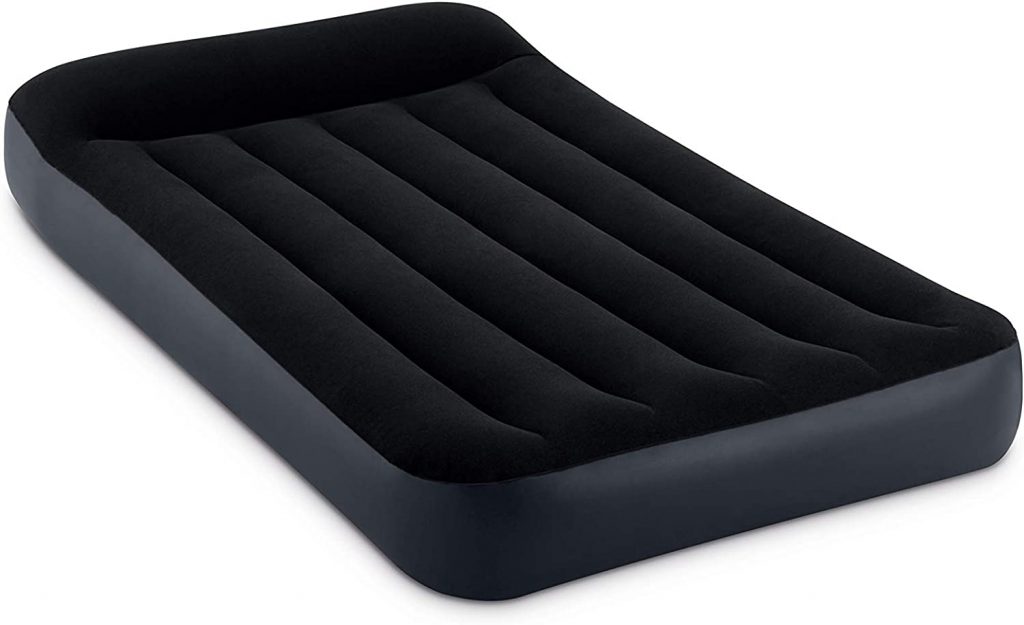
If you've ever woken up in the middle of the night to a deflated air mattress, you know the frustration of trying to find and fix a leak. This is especially true for electric pump air mattresses, which can be more difficult to locate and repair leaks in. But fear not, with the right tools and techniques, you can easily find and fix a leak in your electric pump air mattress. First, start by inflating your air mattress to its maximum capacity. This will make it easier to locate any leaks. Then, using a spray bottle filled with soapy water, spray the entire surface of the mattress. Keep an eye out for any bubbles forming, as this is a sign of a leak. Once you've identified the location of the leak, mark it with a piece of tape or a marker. Next, deflate the mattress and thoroughly dry the area around the leak. This will ensure that the patch adheres properly. Now it's time to repair the leak. If you have a patch kit specifically designed for air mattresses, follow the instructions provided. If not, you can use a piece of duct tape or a bicycle tire patch. Make sure the patch covers the entire area of the leak and press down firmly to ensure a strong seal. Once the patch is applied, allow it to dry completely before reinflating the mattress. Test the patch by inflating the mattress to its maximum capacity and checking for any air leaking out. If there are no leaks, your repair was successful!1. How to Find and Fix a Leak in an Air Mattress


1. How to Find and Fix a Leak in an Air Mattress


Electric pump air mattresses can be more difficult to locate and repair leaks in compared to manual pump air mattresses. However, with these tips, you can easily find and fix a leak in your electric pump air mattress. First, make sure to inflate your air mattress to its maximum capacity before trying to find a leak. This will make it easier to spot any bubbles forming when using the soapy water method. Additionally, make sure to use a spray bottle with a fine mist to evenly cover the surface of the mattress. If you're having trouble finding the leak, try listening for a hissing sound. This can help pinpoint the location of the leak. You can also try using a flashlight to shine on the surface of the mattress, which can make small holes more visible. When repairing the leak, make sure to use a strong adhesive, such as the one provided in a patch kit designed for air mattresses. If using an alternative patch, make sure it is strong enough to withstand the pressure of the inflated mattress. Finally, always make sure to test the patch by inflating the mattress to its maximum capacity and checking for any air leaking out. If there are no leaks, your repair was successful!2. Tips for Locating and Repairing Leaks in an Electric Pump Air Mattress


2. Tips for Locating and Repairing Leaks in an Electric Pump Air Mattress


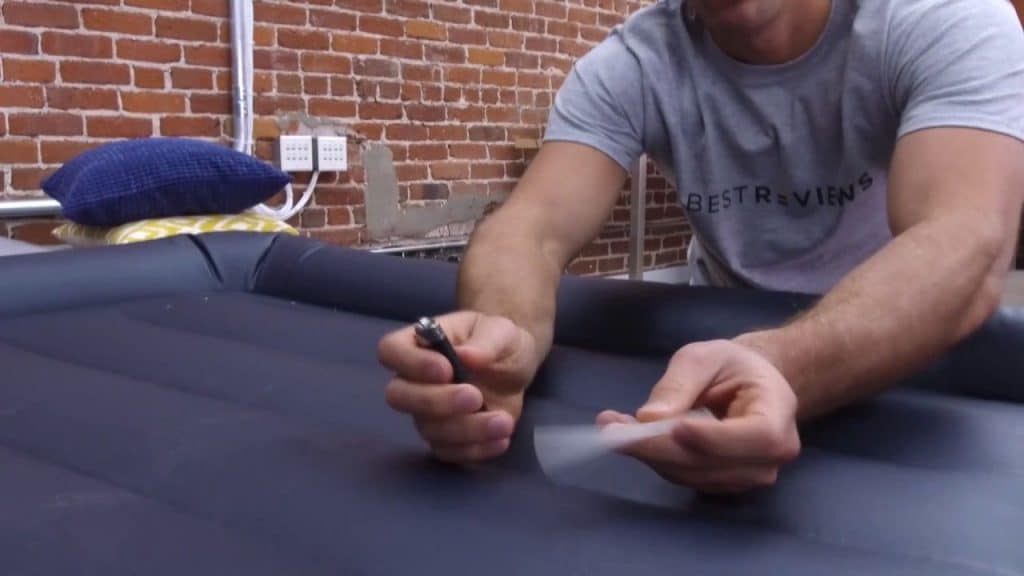
Finding and patching a leak in an electric pump air mattress may seem daunting, but with this step-by-step guide, you'll have your mattress fully repaired in no time. Step 1: Inflate the mattress to its maximum capacity. Step 2: Mix water and dish soap in a spray bottle and shake to create a soapy solution. Step 3: Spray the entire surface of the mattress with the soapy solution. Step 4: Look for any bubbles forming, which indicate a leak. Mark the location with tape or a marker. Step 5: Deflate the mattress and dry the area around the leak. Step 6: Apply a patch using a strong adhesive, following the instructions provided in a patch kit or using an alternative patch such as duct tape or a bicycle tire patch. Step 7: Allow the patch to dry completely before reinflating the mattress. Step 8: Test the patch by inflating the mattress to its maximum capacity and checking for any air leaking out. Step 9: If the patch holds, your repair was successful!3. Step-by-Step Guide for Finding and Patching a Leak in an Electric Pump Air Mattress


3. Step-by-Step Guide for Finding and Patching a Leak in an Electric Pump Air Mattress


There are a few common causes of leaks in electric pump air mattresses, but luckily they can all be easily fixed with the right tools and techniques. One common cause is a puncture or tear in the material of the mattress. This can be caused by sharp objects or pets. To fix this, use a patch kit or alternative patching method. Another cause of leaks is wear and tear on the valve or seal. This can be fixed by replacing the faulty part with a new one. Improper inflation can also lead to leaks, as the constant pressure on the seams and material can cause them to weaken over time. Make sure to always properly inflate and deflate your air mattress to prevent this issue. Lastly, extreme temperatures can also cause leaks in electric pump air mattresses. If you plan on camping in cold weather, make sure to choose a mattress with a higher temperature rating and properly insulate it to prevent leaks.4. Common Causes of Leaks in Electric Pump Air Mattresses and How to Fix Them


4. Common Causes of Leaks in Electric Pump Air Mattresses and How to Fix Them

:max_bytes(150000):strip_icc()/home-water-pressure-problems-2718730-v4-3639a1eeda0945239e64b0fe6b6d3401.gif)


One of the most effective ways to locate a leak in an electric pump air mattress is by using soapy water. This method allows you to easily spot bubbles forming, indicating the location of the leak. To use this method, mix water and dish soap in a spray bottle and shake to create a soapy solution. Then, inflate your air mattress to its maximum capacity and thoroughly spray the entire surface with the soapy solution. Keep an eye out for any bubbles forming, which will indicate the location of the leak. Once you've identified the leak, mark it with tape or a marker and proceed with repairing it using a patch kit or alternative method.5. Using Soapy Water to Find Leaks in an Electric Pump Air Mattress
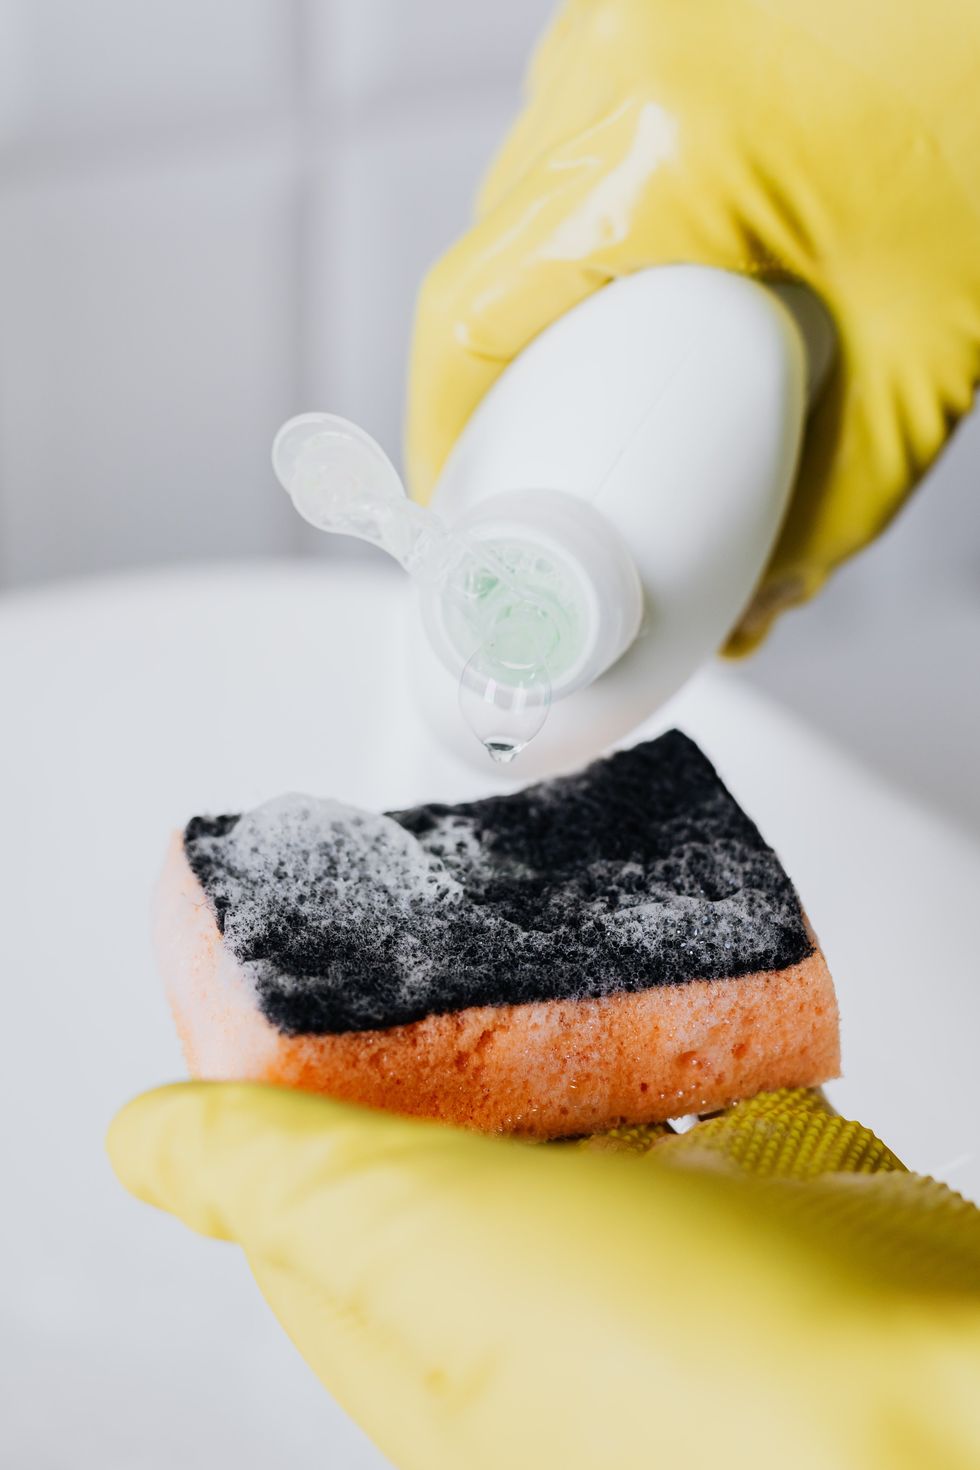


5. Using Soapy Water to Find Leaks in an Electric Pump Air Mattress


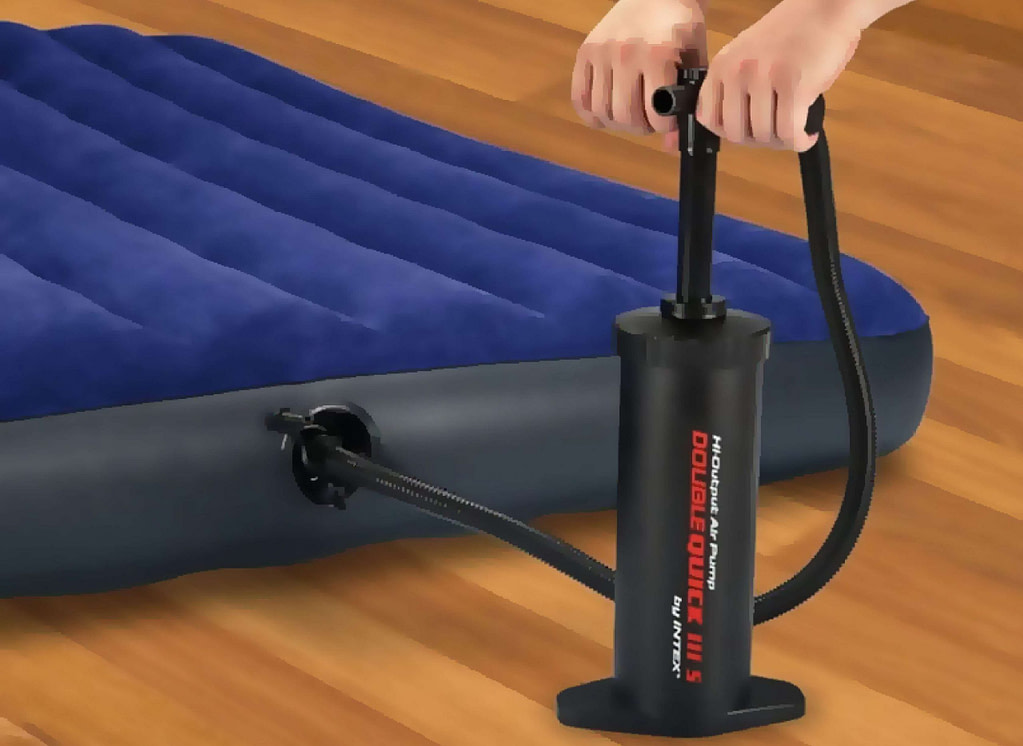
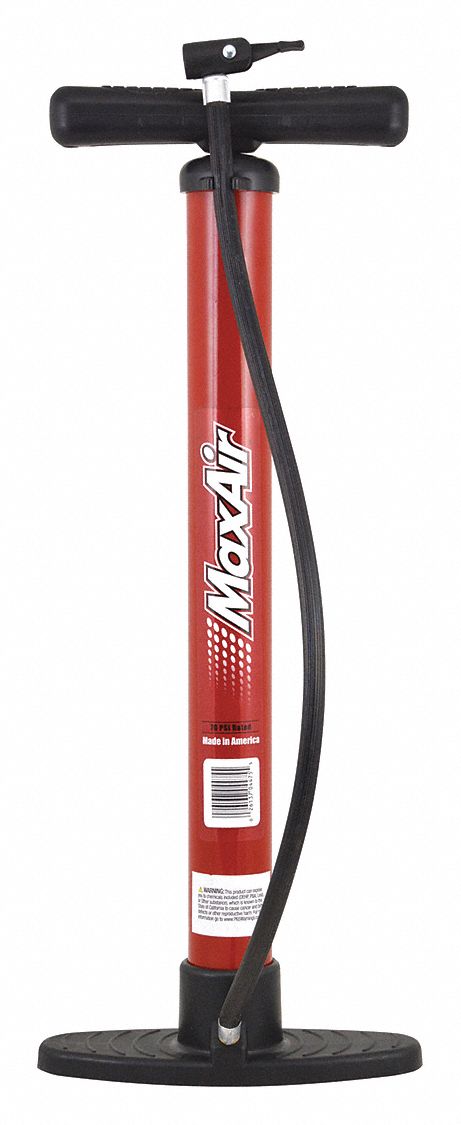
Properly inflating your air mattress can not only make it more comfortable to sleep on, but it can also help you locate leaks more easily. When a mattress is fully inflated, it puts more pressure on the seams and material, making any leaks more noticeable. To properly inflate your air mattress, make sure to use the correct pump and follow the instructions provided. If using an electric pump, make sure to not over-inflate the mattress, as this can cause the seams to stretch and weaken over time. It's also important to not under-inflate the mattress, as this can make it more difficult to find leaks. Additionally, make sure to regularly check your air mattress for proper inflation, especially before and after each use. This can help prevent leaks from occurring in the first place.6. How to Properly Inflate an Air Mattress to Help Locate Leaks


6. How to Properly Inflate an Air Mattress to Help Locate Leaks


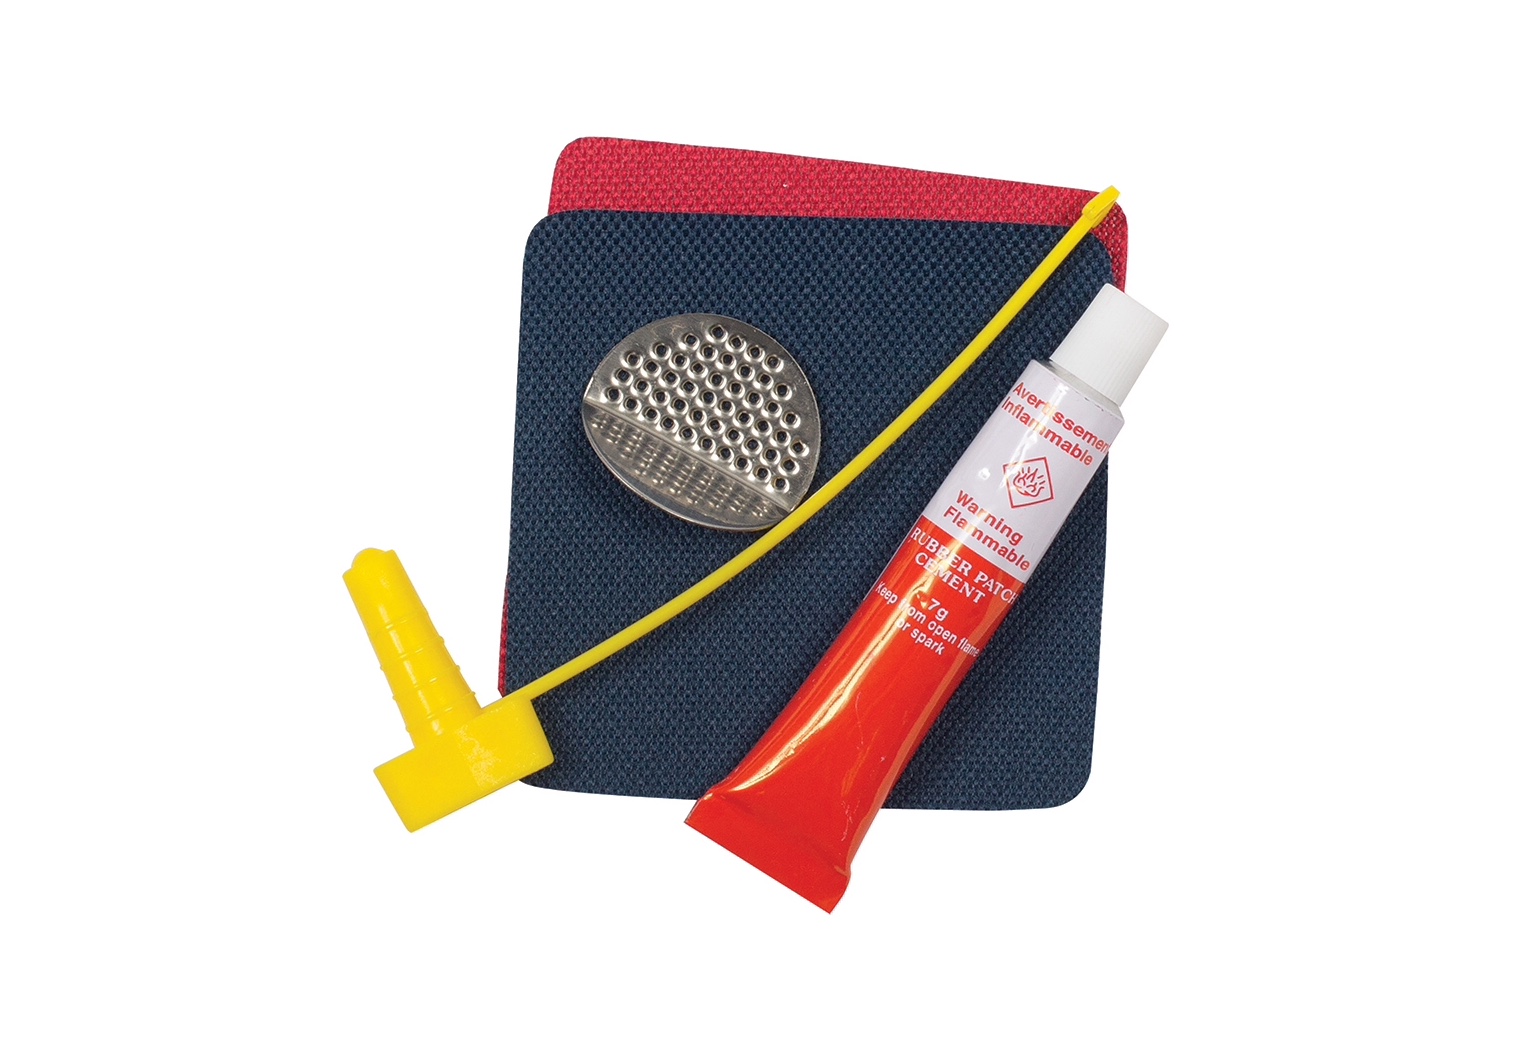
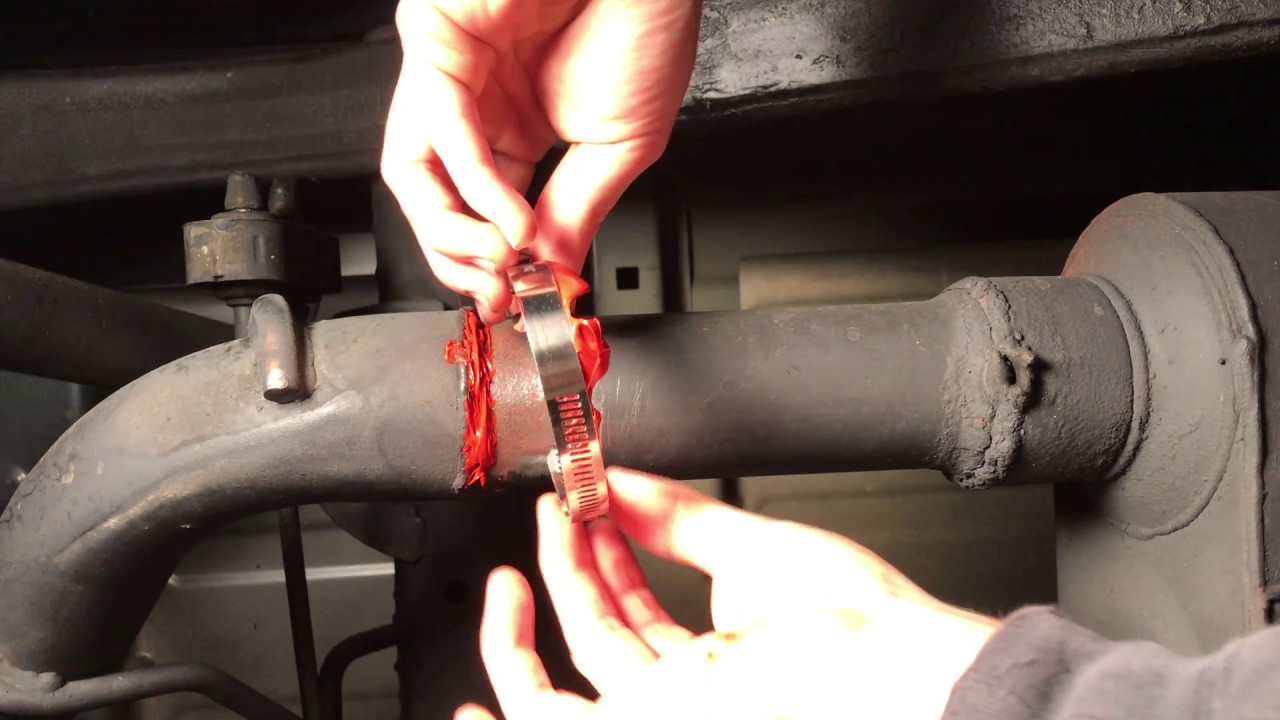
Using a patch kit specifically designed for air mattresses is the most recommended method for repairing leaks. These kits typically include a strong adhesive and patches that are specifically designed to withstand the pressure of an inflated air mattress. To use a patch kit, follow the instructions provided. Typically, you will need to deflate the mattress, clean and dry the area around the leak, and then apply the patch. Make sure to firmly press down on the patch to ensure a strong seal. Once the patch is applied, allow it to dry completely before inflating the mattress and testing the patch for any leaks. If there are no leaks, your repair was successful!7. Repairing a Leak in an Electric Pump Air Mattress with a Patch Kit
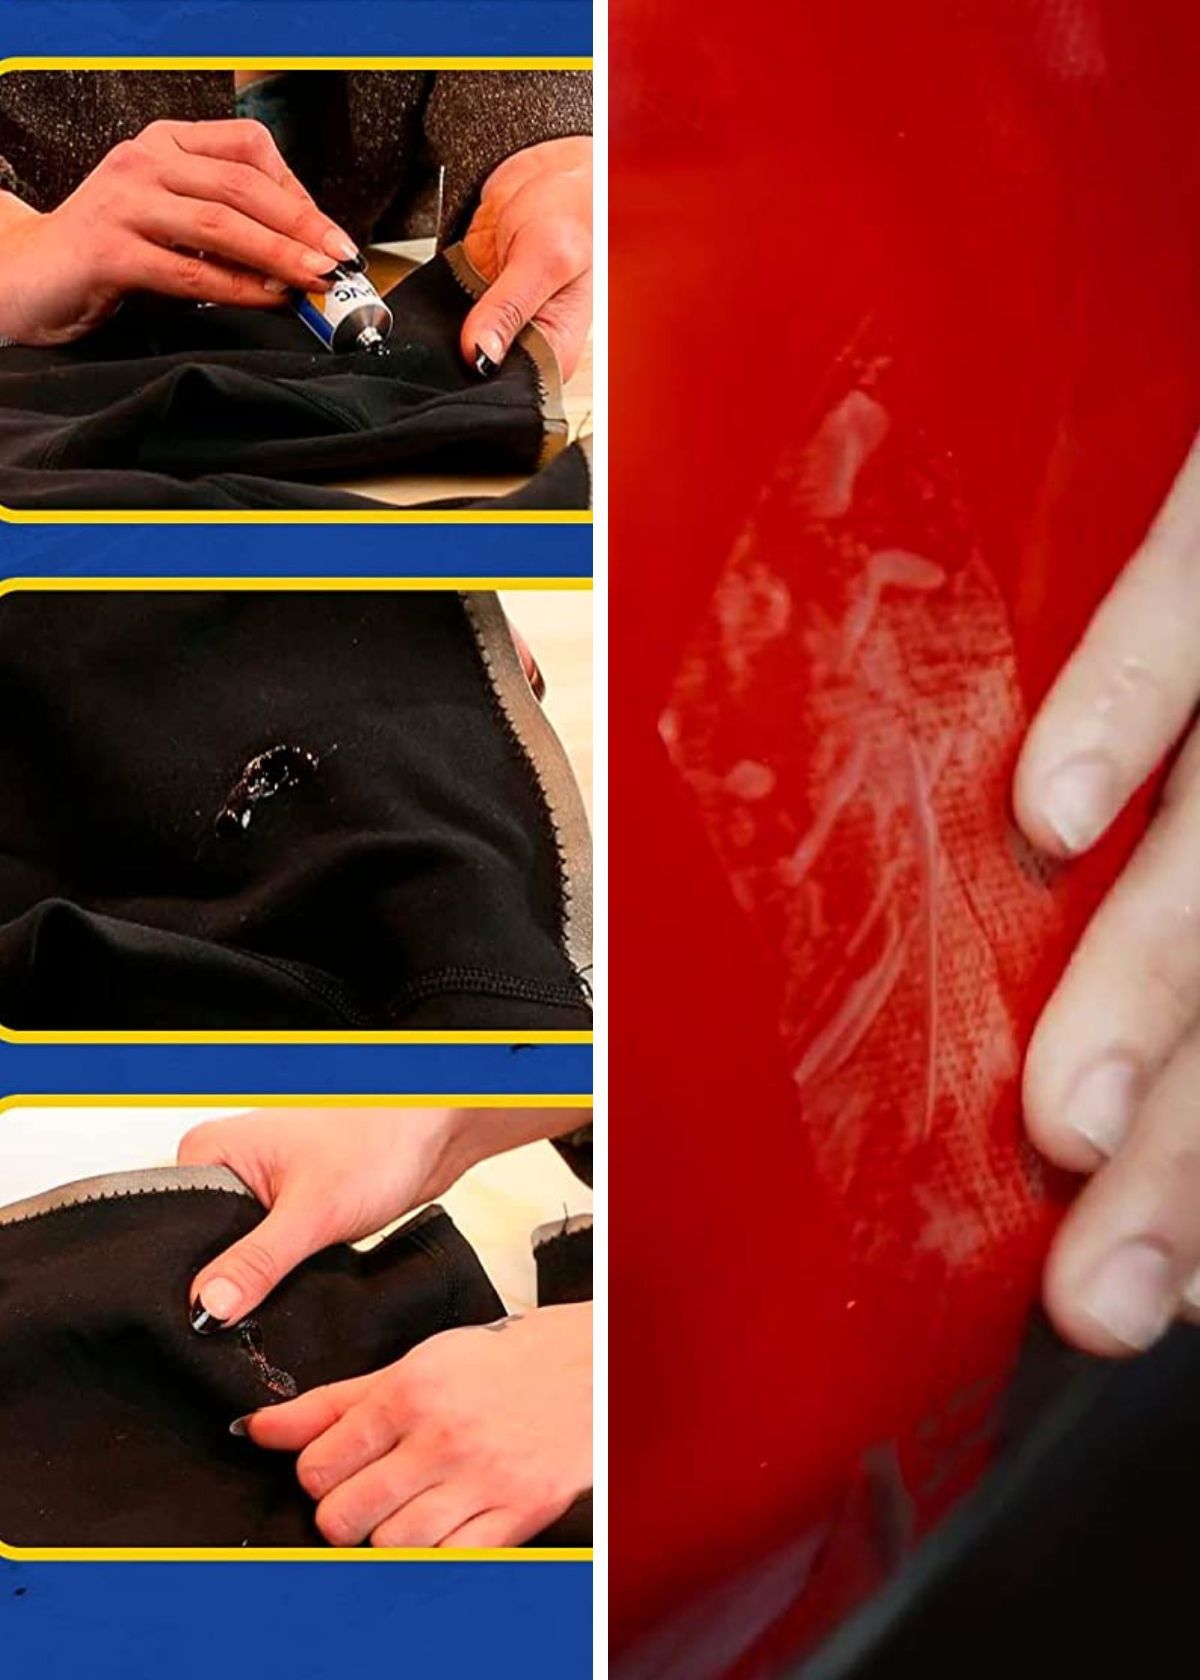


7. Repairing a Leak in an Electric Pump Air Mattress with a Patch Kit


Even with the right tools and techniques, finding and repairing leaks in electric pump air mattresses can still be tricky. Here are some troubleshooting tips to help make the process easier: - If you're having trouble locating a leak with the soapy water method, try listening for a hissing sound or shining a flashlight on the surface of the mattress to make small holes more visible. - If the patch provided in a patch kit is not strong enough to hold the leak, try using a stronger adhesive or alternative patching method. - If you're unable to find and repair the leak, it may be time to replace your air mattress instead of continuously trying to fix it.8. Troubleshooting Tips for Finding and Repairing Leaks in Electric Pump Air Mattresses


8. Troubleshooting Tips for Finding and Repairing Leaks in Electric Pump Air Mattresses


The best way to deal with leaks in an electric pump air mattress is to prevent them from occurring in the first place. Here are some maintenance and care tips to help keep your air mattress in top condition: - Avoid placing the mattress on rough or sharp surfaces, and keep pets away from it to prevent punctures and tears. - Regularly check for proper inflation and make sure to properly inflate and deflate the mattress before and after each use. - Store the mattress in a dry and cool place, and avoid exposing it to extreme temperatures. - Properly clean and dry the mattress before storing it to prevent mold and mildew growth. - If going camping, make sure to properly insulate the mattress to protect it from the cold.9. Preventing Leaks in Electric Pump Air Mattresses: Maintenance and Care Tips


9. Preventing Leaks in Electric Pump Air Mattresses: Maintenance and Care Tips


While leaks in electric pump air mattresses can often be easily repaired, there may come a time when it's more beneficial to replace the mattress instead of continuously trying to fix it. If your mattress has multiple leaks or has repeatedly failed to hold a patch, it may be time to invest in a new one. Additionally, if the material of the mattress is visibly worn or the valve is damaged, it's best to replace the mattress instead of attempting to repair it. It's also important to consider the age of your air mattress. Over time, the material can weaken and become more prone to leaks. If your mattress is old and has multiple leaks, it's probably time to upgrade to a new one.10. When to Replace Your Electric Pump Air Mattress Instead of Repairing a Leak


10. When to Replace Your Electric Pump Air Mattress Instead of Repairing a Leak


Finding the Leak in an Electric Pump Air Mattress: A Guide to Quick and Easy Repairs

Introduction
 Electric pump air mattresses have become a popular choice for many households due to their convenience and ease of use. However, like any other inflatable product, they are not immune to leaks. A leak in an electric pump air mattress can cause discomfort and inconvenience, and if left unattended, it can render the mattress completely unusable. In this article, we will discuss the steps you can take to locate and repair a leak in your electric pump air mattress, ensuring a good night's sleep for you and your loved ones.
Step 1: Prepare the Materials
 Before starting the repair process, gather all the necessary materials. This includes a repair kit, which can usually be purchased from the manufacturer or a local store. The kit typically includes a patch, adhesive, and a patch applicator. You will also need a clean cloth, rubbing alcohol, and a pair of scissors.
Step 2: Locate the Leak
 The first step in repairing a leak is to locate its source. This can be done by inflating the mattress and listening for any hissing sounds or by spraying the mattress with soapy water and looking for bubbles. Once you have identified the location of the leak, mark it with a piece of tape or a marker.
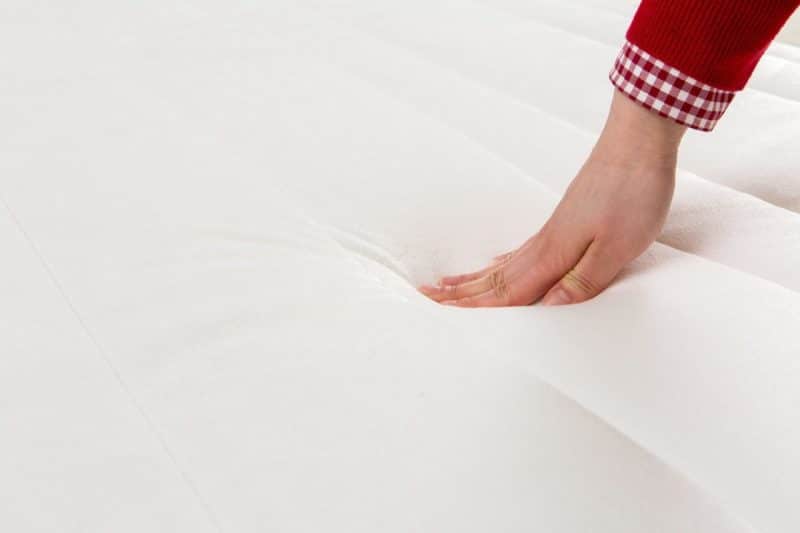
Step 3: Clean and Dry the Area
 Before applying the patch, it is important to clean and dry the area around the leak. Use a clean cloth and rubbing alcohol to remove any dirt or debris from the surface. Make sure the area is completely dry before proceeding to the next step.
Step 4: Apply the Patch
 Using the patch applicator from the repair kit, apply a thin layer of adhesive around the marked area. Then, carefully place the patch over the leak and press firmly to ensure it adheres properly. Allow the adhesive to dry completely before inflating the mattress again.
Step 5: Test the Repair
 Once the adhesive is completely dry, inflate the mattress and check for any air leaks. If the patch is secure and the mattress holds the air, then the repair is successful. However, if there are still leaks, you may need to repeat the process or seek professional help.
Conclusion
 Finding and repairing a leak in an electric pump air mattress may seem like a daunting task, but with the right tools and techniques, it can be done quickly and easily. By following these steps, you can ensure a good night's sleep on your comfortable and fully functional air mattress. Remember to regularly check your mattress for leaks and address them promptly to prolong its lifespan and maintain its quality. Happy sleeping!