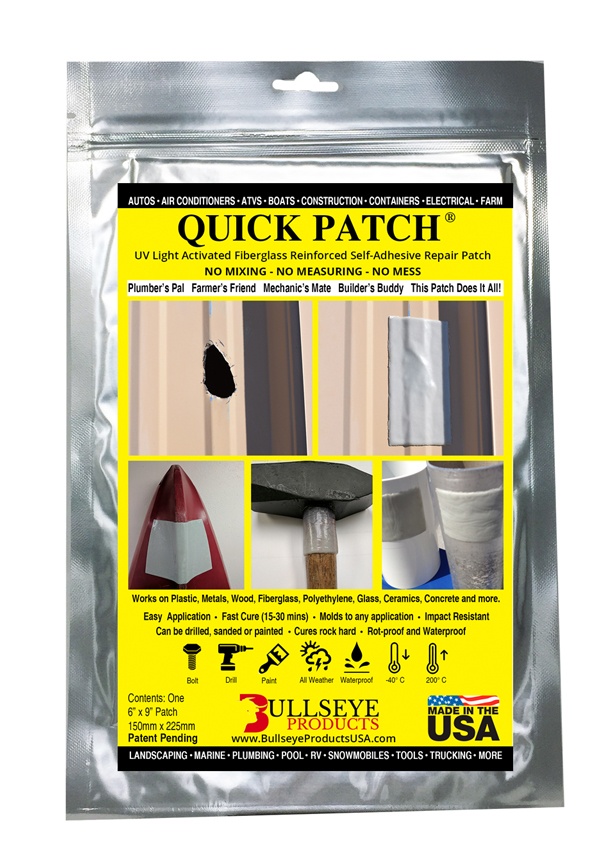
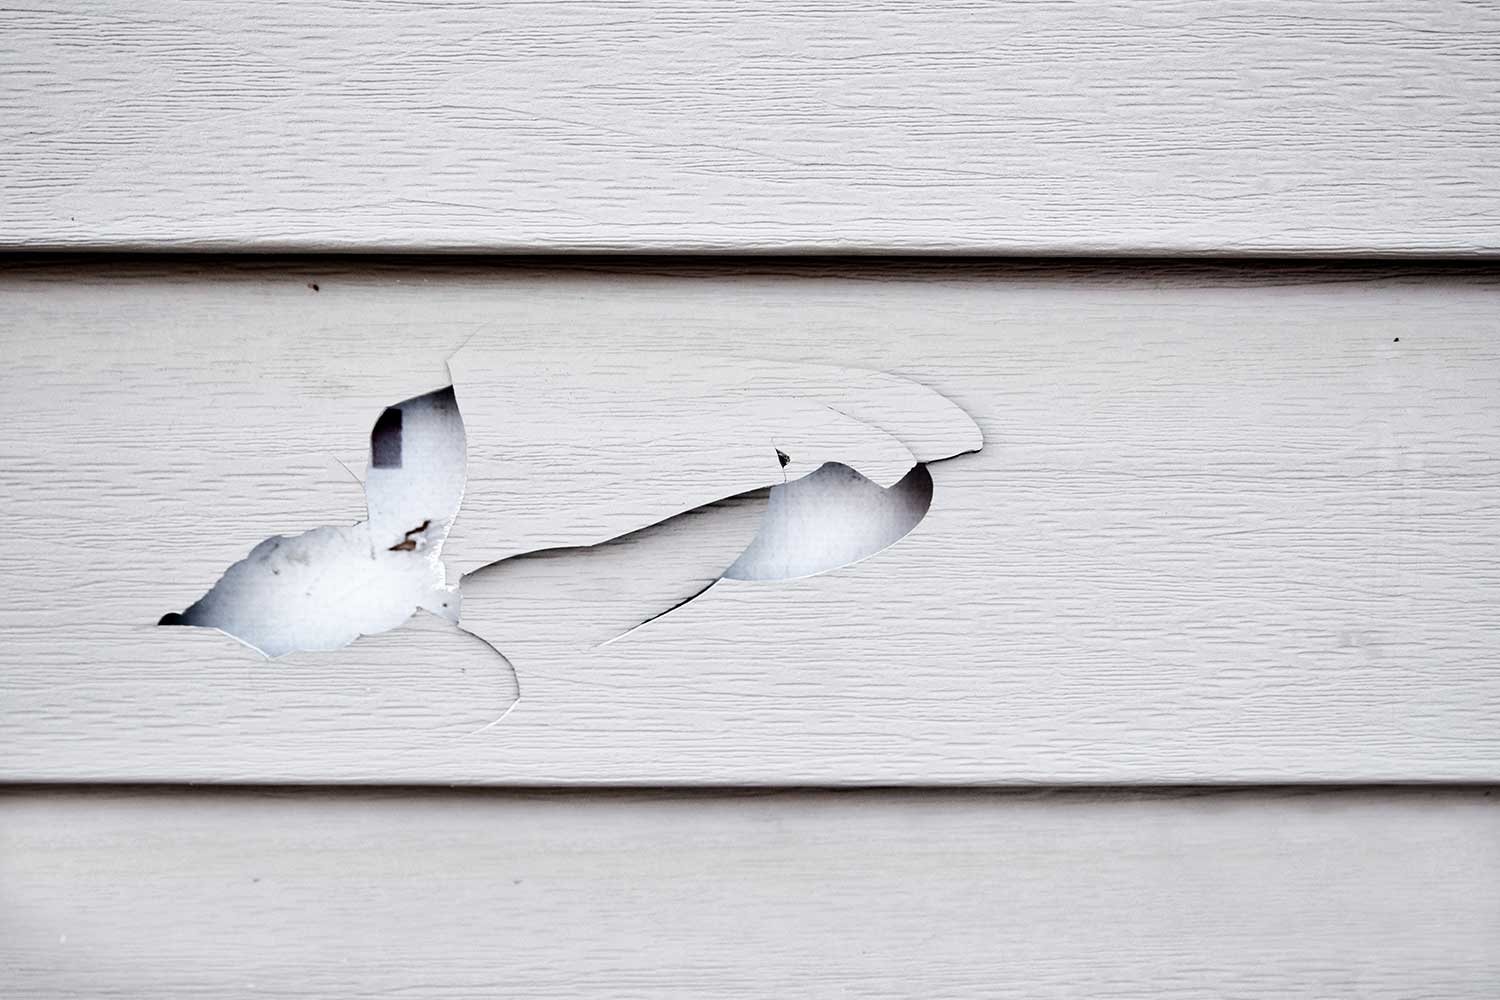
If you have an air mattress that has sprung a leak, don't panic! There's an easy way to patch it up and get it back to its fully inflated state. The first step is to make sure you have the right tools for the job. A patch kit specifically designed for air mattresses is essential for a successful repair. These kits usually come with everything you need, including patches, adhesive, and instructions.1. Use a patch kit specifically designed for air mattresses

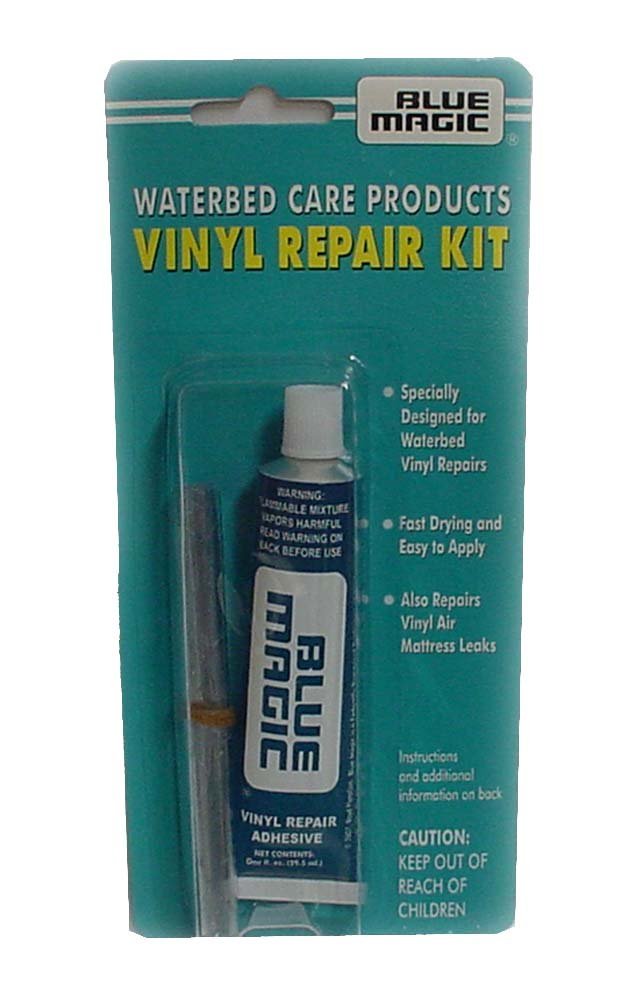

1. Use a patch kit specifically designed for air mattresses

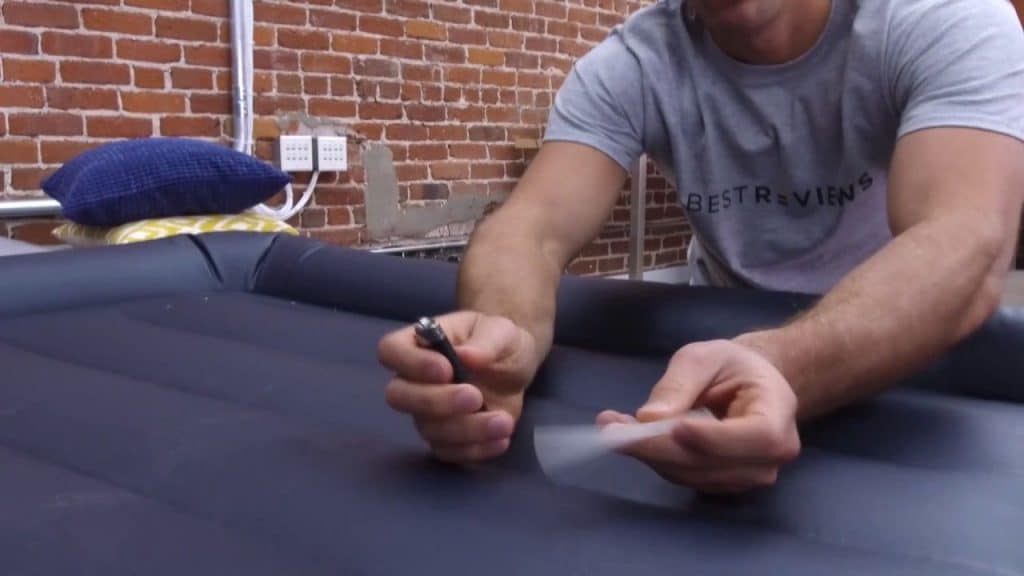


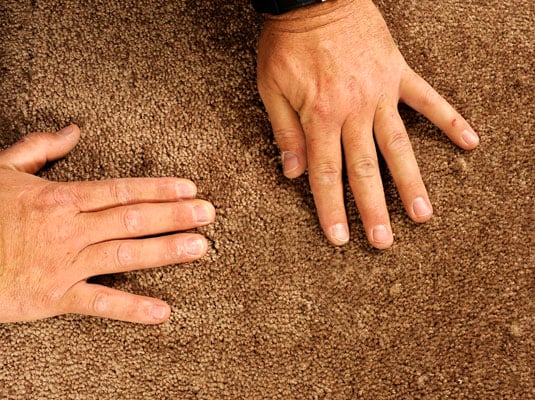
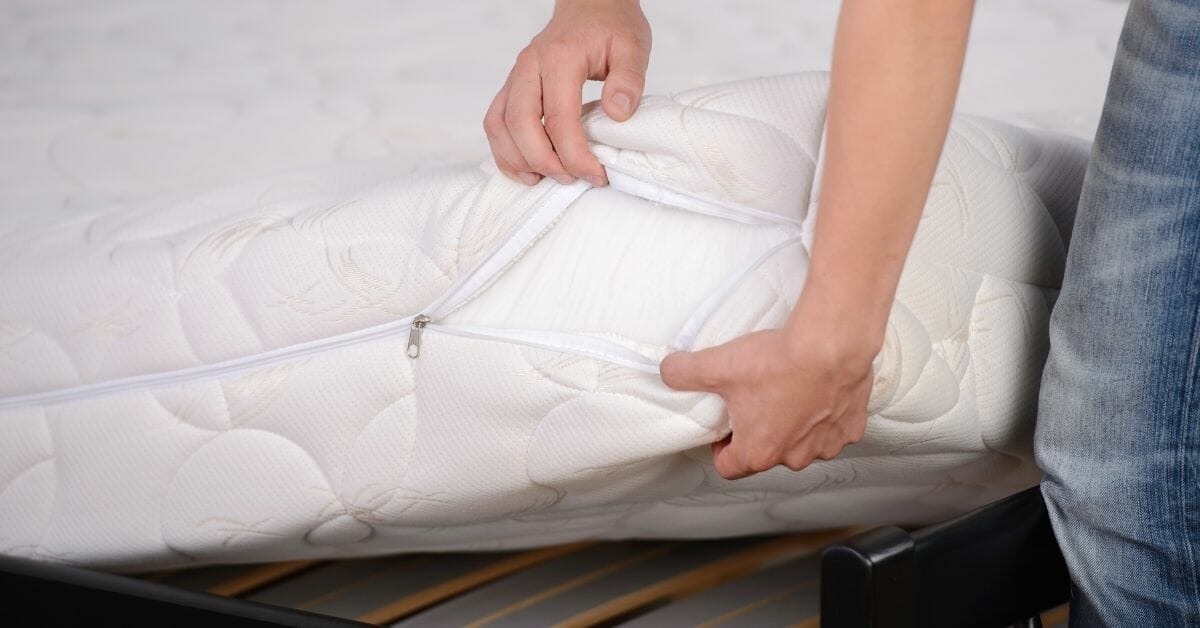
Before applying the patch, it's important to clean and dry the area around the hole. This will ensure that the adhesive sticks properly and creates a strong bond. Use a mild soap and water to clean the surface, and then pat it dry with a towel. Make sure there is no dirt or debris left on the surface before moving on to the next step.2. Clean and dry the area around the hole


2. Clean and dry the area around the hole


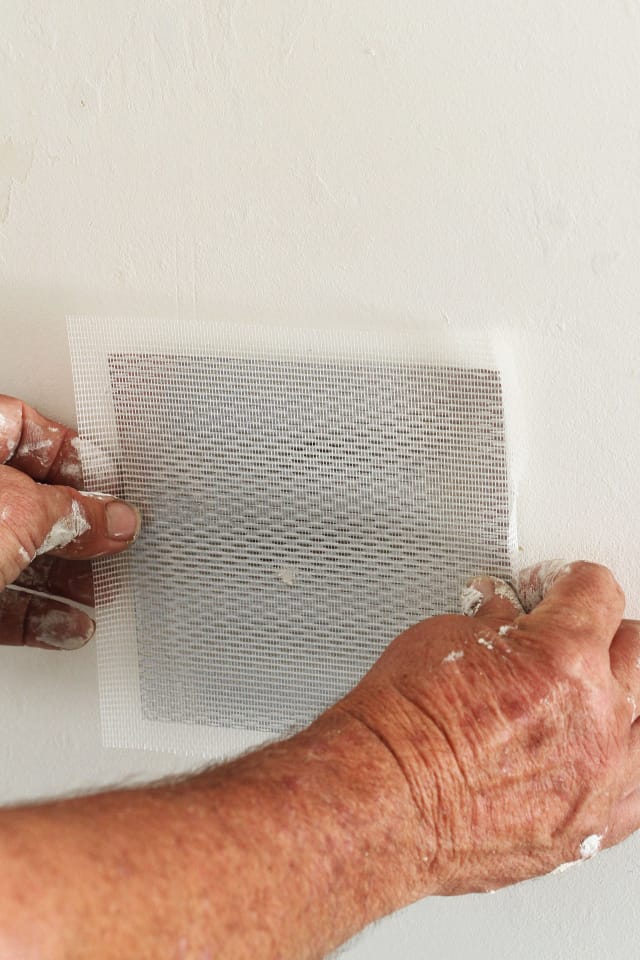
Take a patch from the kit and cut it to a size that will completely cover the hole. Make sure the patch is at least an inch or two larger than the hole to ensure a strong seal. You can use scissors to cut the patch to the desired size. Make sure the edges are smooth and even.3. Cut a patch from the kit to cover the hole


3. Cut a patch from the kit to cover the hole


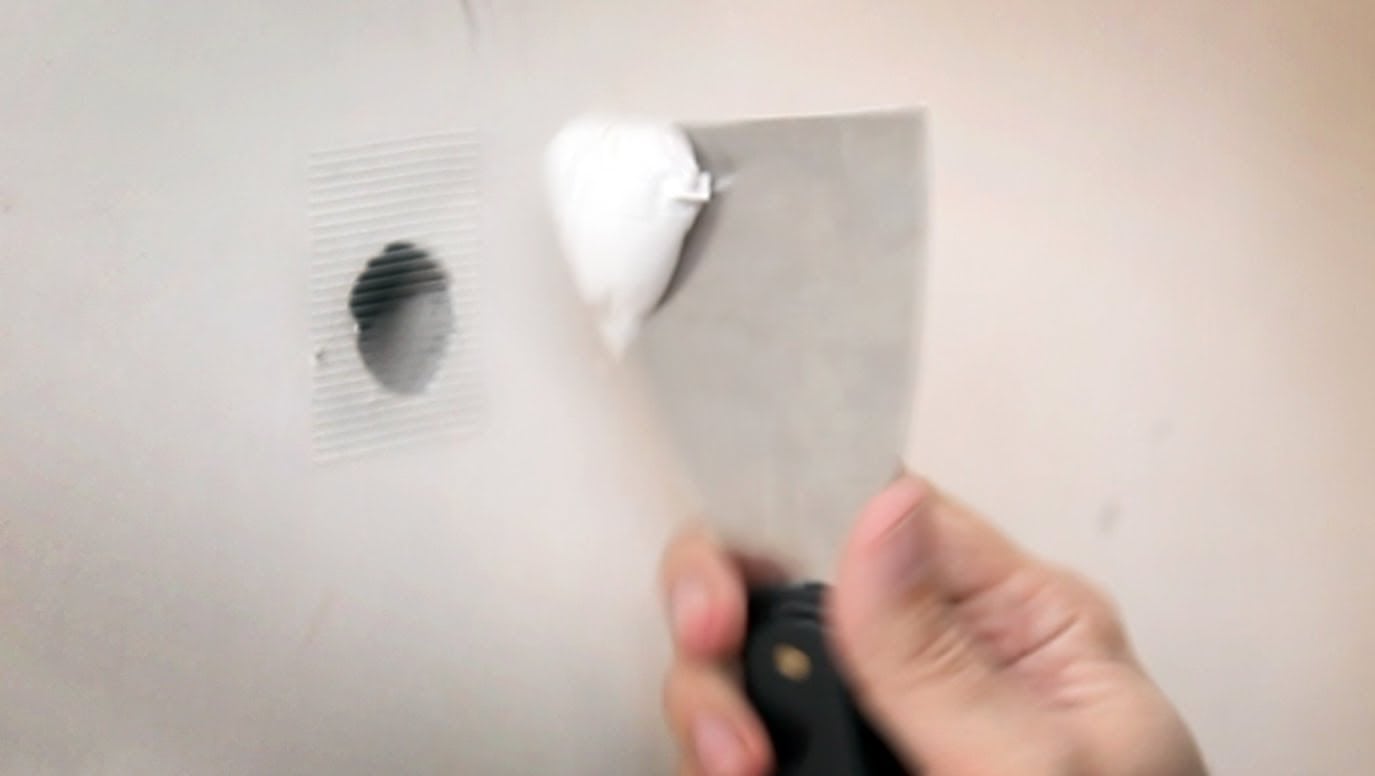


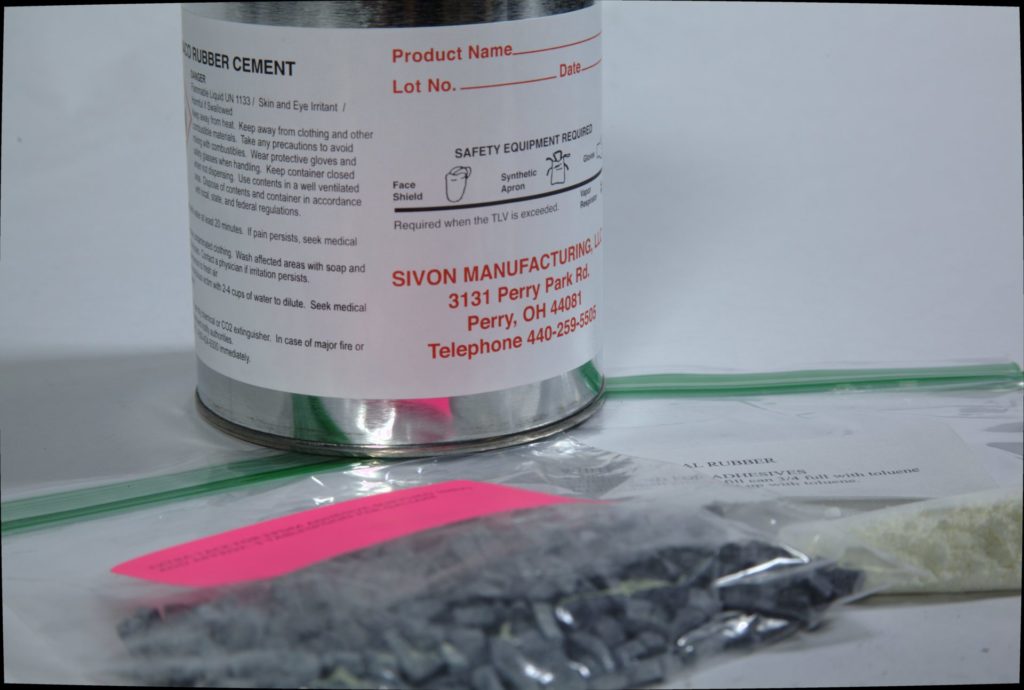
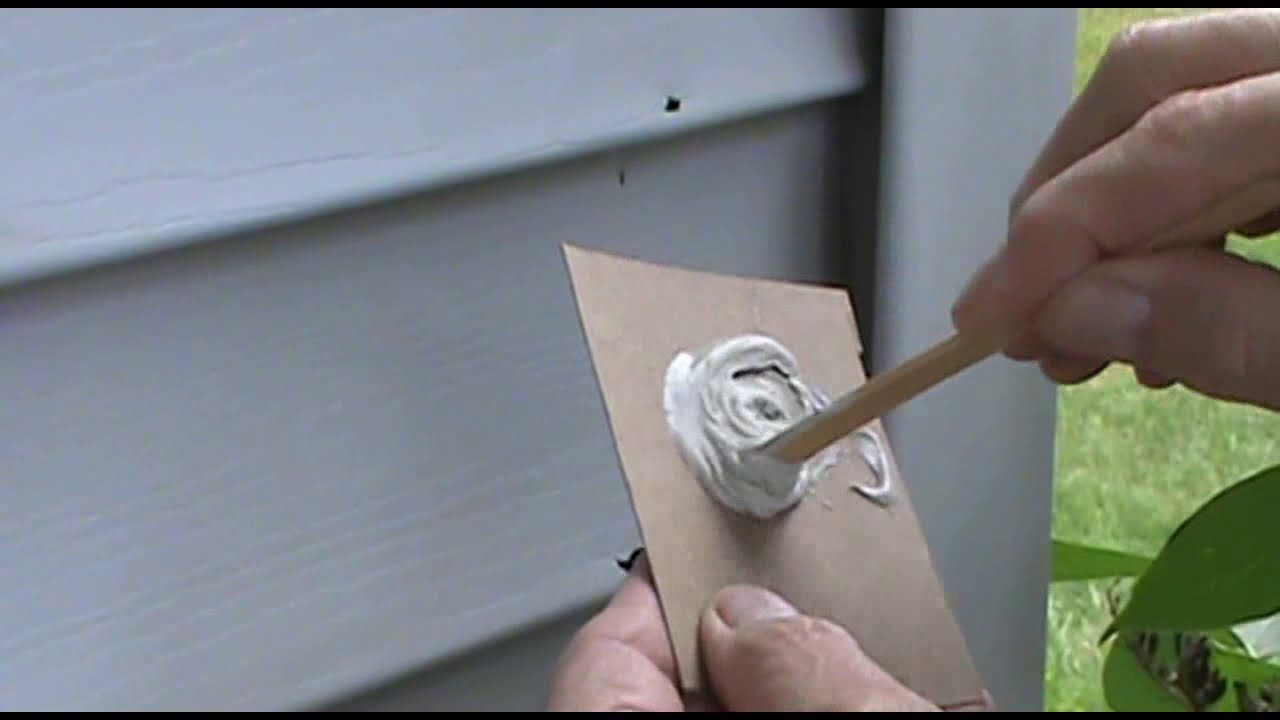
Next, apply a thin layer of adhesive to the patch and the area around the hole. Be sure to follow the instructions on the adhesive carefully, as different types may have different application methods. You can use a brush or your finger to spread the adhesive evenly. Make sure to cover the entire surface of the patch and the area around the hole.4. Apply adhesive to the patch and the area around the hole


4. Apply adhesive to the patch and the area around the hole

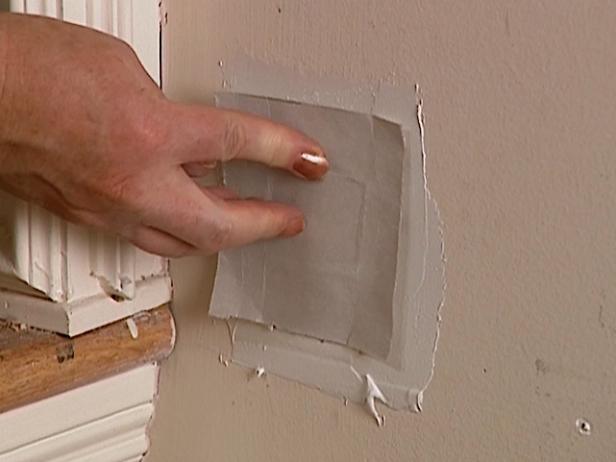


Once the adhesive has been applied, carefully place the patch over the hole. Make sure it is centered and press down firmly to ensure a strong bond. Use your hands to smooth out any air bubbles that may have formed. The patch should adhere to the surface easily, but you can use a rolling pin or a heavy book to apply more pressure if needed.5. Press the patch firmly onto the hole


5. Press the patch firmly onto the hole


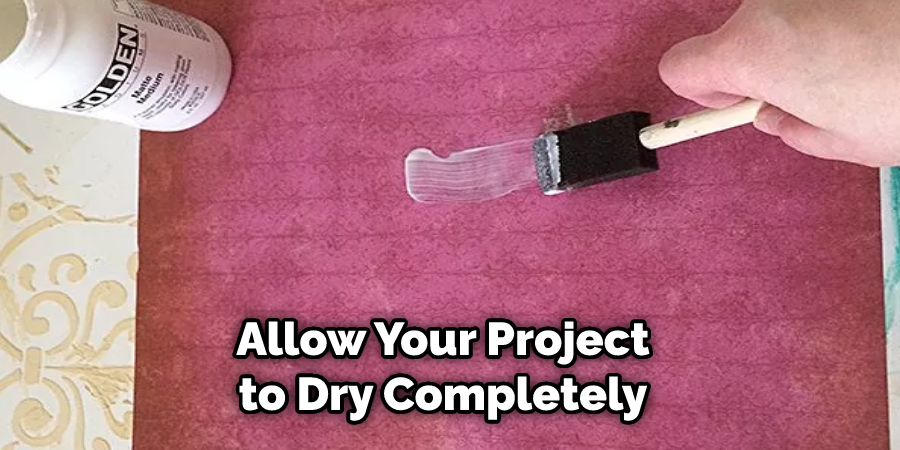
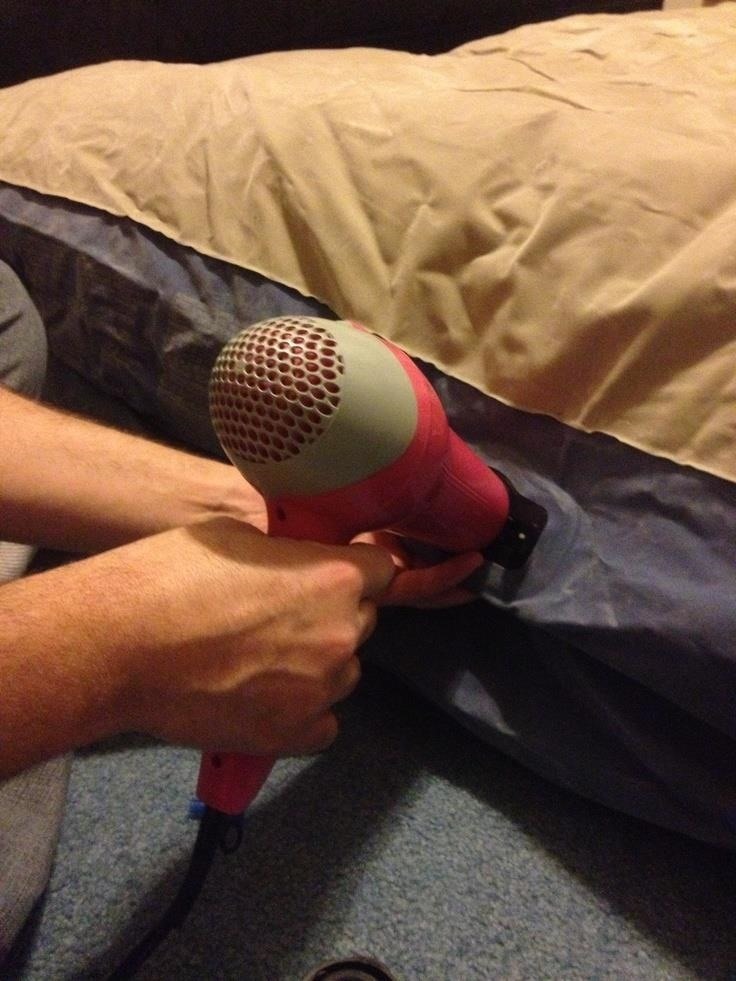
It is important to let the adhesive dry completely before inflating the air mattress. This can take anywhere from 1-2 hours, depending on the type of adhesive used. It's best to leave the mattress untouched during this time to ensure the patch sets properly. Once the adhesive is dry, you can move on to the next step.6. Allow the adhesive to dry completely


6. Allow the adhesive to dry completely


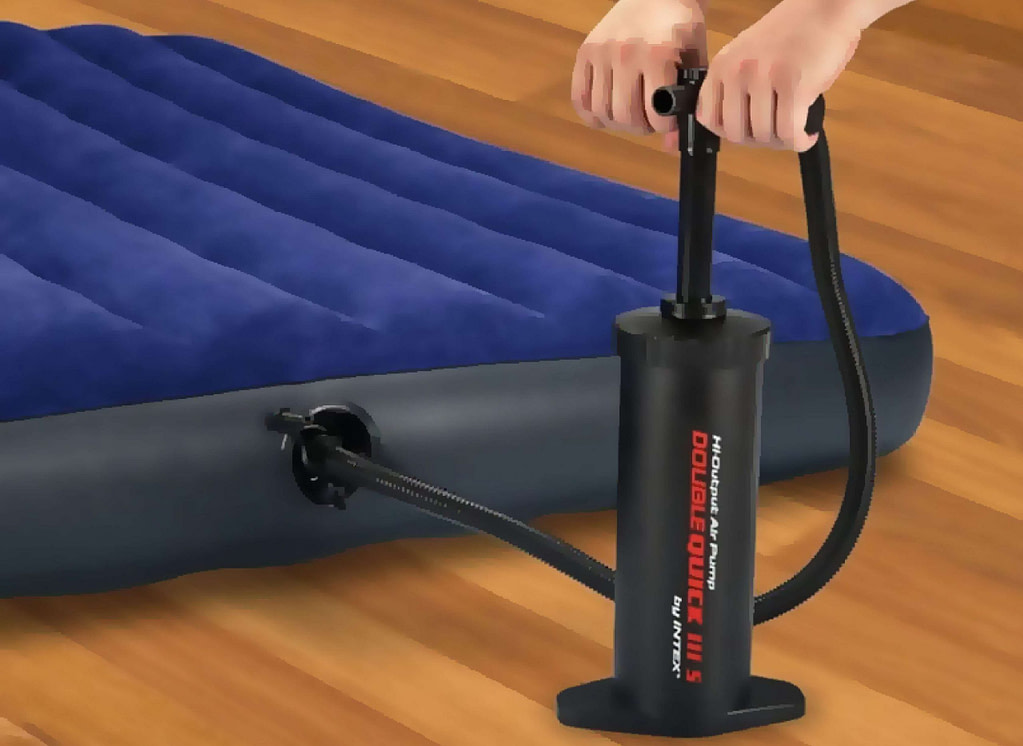
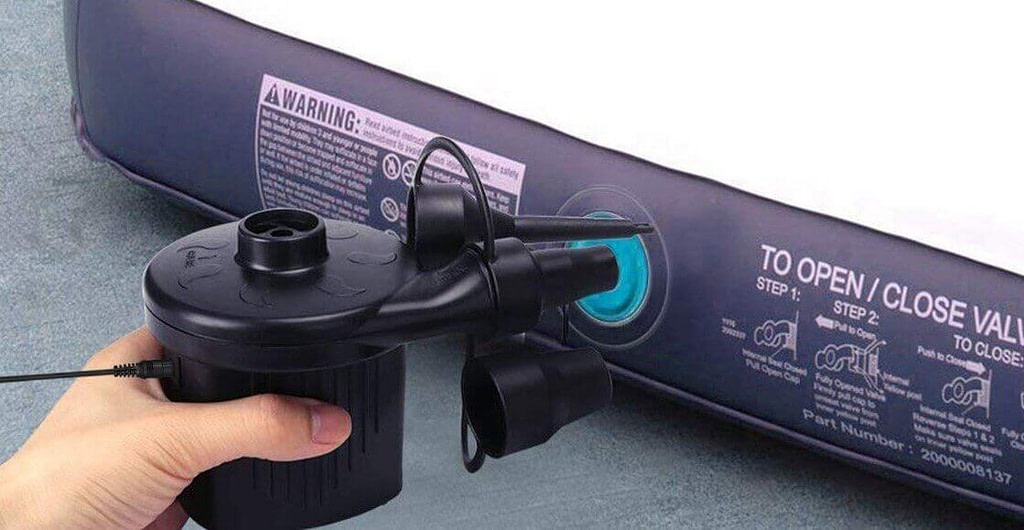
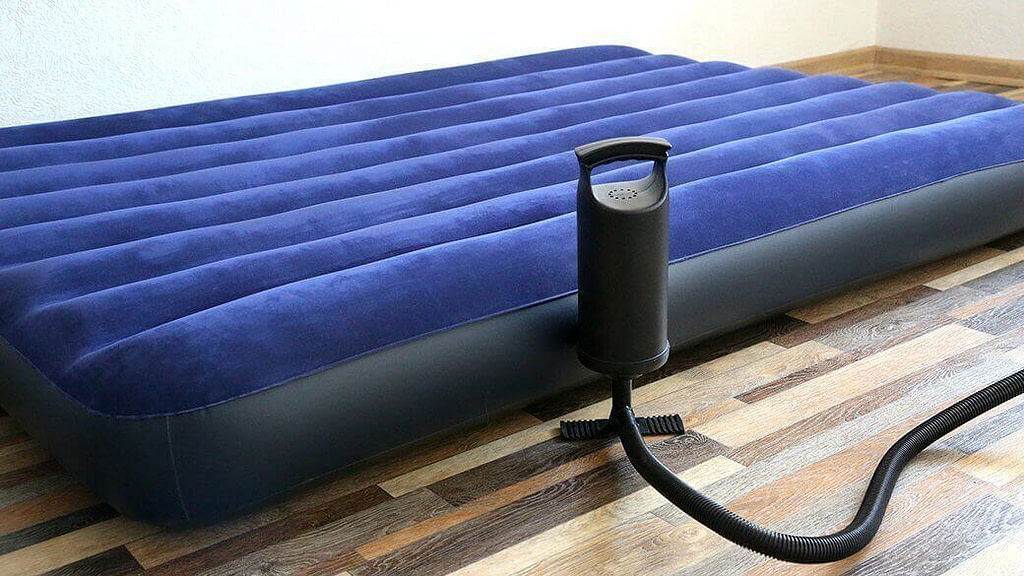
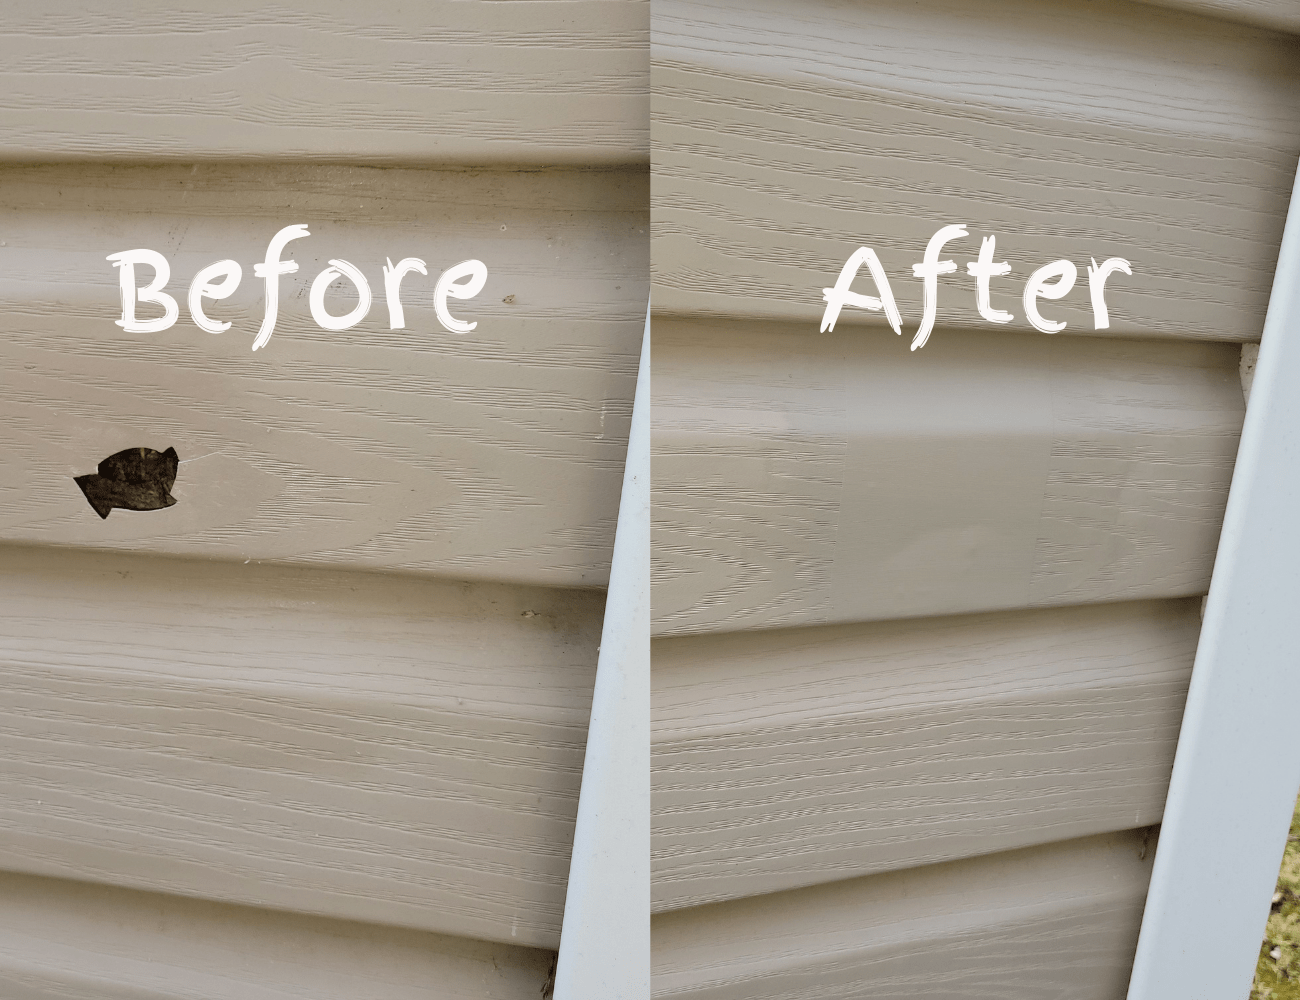
Once the adhesive is dry, it's time to test the patch and see if it's holding. Inflate the air mattress and listen for any sounds of air escaping. If you don't hear anything, the patch is holding and your mattress is ready to use. If you do hear a leak, you may need to apply more adhesive or try using a larger patch.7. Inflate the air mattress to check for leaks


7. Inflate the air mattress to check for leaks


If the patch is not holding, don't panic. You may just need to adjust your patch size or add more adhesive. Try using a larger patch that covers a bigger area around the hole. You can also add more adhesive to create a stronger bond. Be sure to let the adhesive dry completely before testing the patch again.8. If the patch is not holding, try using a larger patch or adding more adhesive


8. If the patch is not holding, try using a larger patch or adding more adhesive


If your air mattress has a larger hole or tear, a vinyl repair kit or duct tape can be used as a temporary fix. These materials are great for quick repairs, but they may not last as long as a patch from a repair kit. Be sure to follow the instructions on the repair kit or duct tape carefully for the best results.9. For larger holes, use a vinyl repair kit or duct tape as a temporary fix

9. For larger holes, use a vinyl repair kit or duct tape as a temporary fix


If your air mattress is constantly getting holes or tears, it may be time to invest in a more durable one. Look for air mattresses made with stronger materials, such as reinforced vinyl or heavy-duty PVC. These mattresses may cost a bit more, but they will last longer and save you the hassle of constantly patching up your mattress. By following these easy steps, you can quickly and easily patch up your air mattress and get back to enjoying a good night's sleep. Remember to always use a patch kit specifically designed for air mattresses for the best results. And if your air mattress is beyond repair, consider investing in a more durable one for future use.10. Consider investing in a more durable air mattress for future use


10. Consider investing in a more durable air mattress for future use


The Importance of a Good Air Mattress

Why an Air Mattress is Essential for Your Home
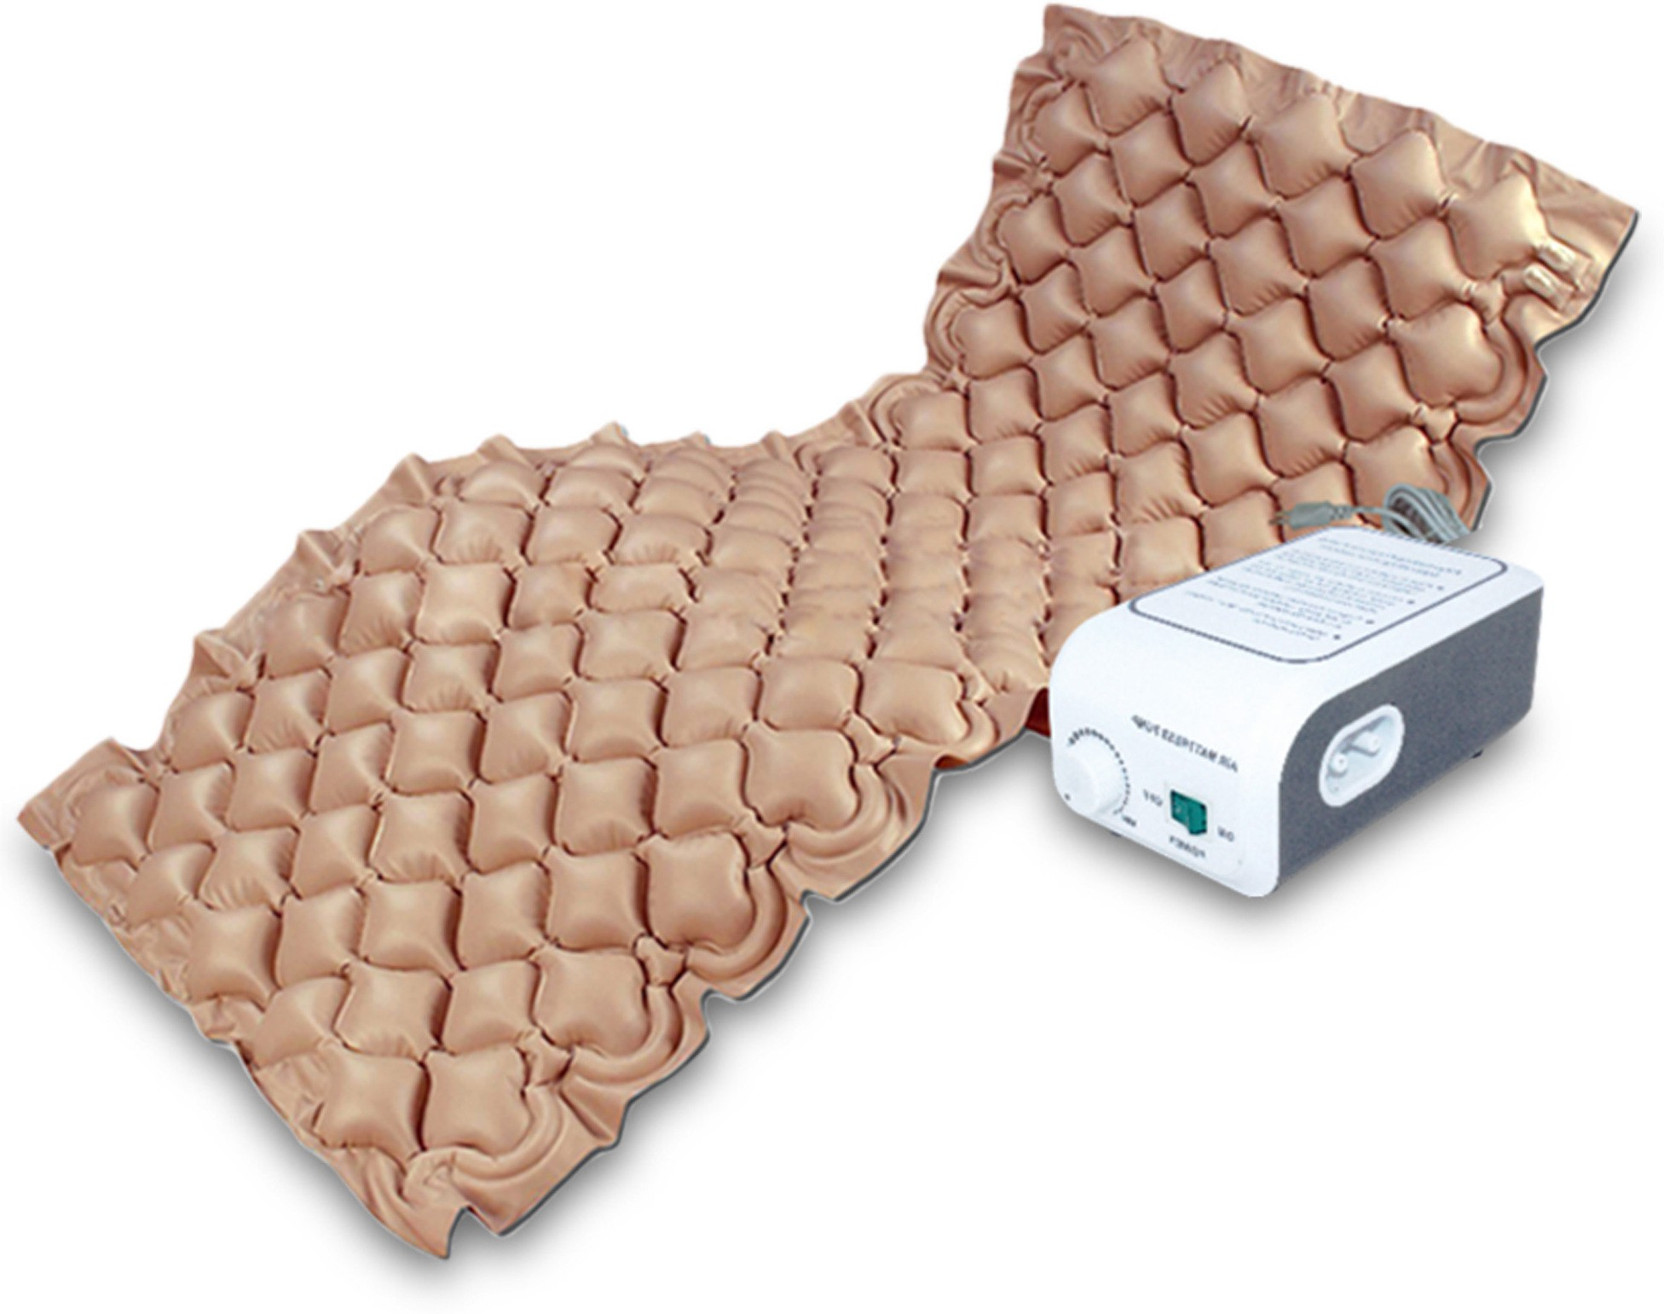
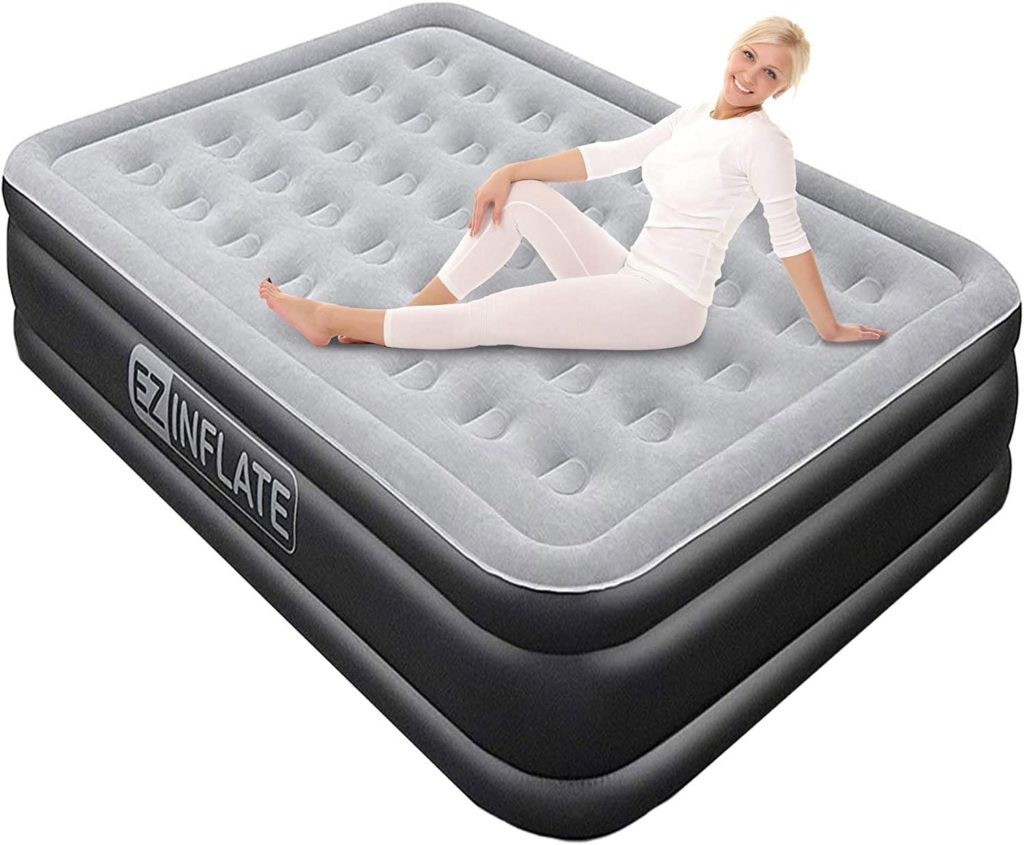 When it comes to house design, most people tend to focus on the bigger and more permanent elements such as furniture, flooring, and paint colors. However, one often overlooked but essential item in any home is a good air mattress. Whether you have guests staying over or enjoy camping, having a reliable and comfortable air mattress can make all the difference.
Air mattress
patching
is a skill that every homeowner should know. Not only can it save you money from having to constantly replace your air mattress, but it also ensures that you always have a comfortable place to sleep for yourself and your guests. Here's an
easy way
to patch an air mattress without having to spend a lot of time and effort.
When it comes to house design, most people tend to focus on the bigger and more permanent elements such as furniture, flooring, and paint colors. However, one often overlooked but essential item in any home is a good air mattress. Whether you have guests staying over or enjoy camping, having a reliable and comfortable air mattress can make all the difference.
Air mattress
patching
is a skill that every homeowner should know. Not only can it save you money from having to constantly replace your air mattress, but it also ensures that you always have a comfortable place to sleep for yourself and your guests. Here's an
easy way
to patch an air mattress without having to spend a lot of time and effort.
The Simple Steps to Patch an Air Mattress
 Firstly, you will need to gather the necessary materials, including a
patch kit
, scissors, and rubbing alcohol. Next, locate the puncture or hole in your air mattress by inflating it and listening for any hissing sounds. Once you have found the hole, clean the surrounding area with rubbing alcohol and let it dry completely.
Next, cut a patch from the patch kit that is slightly larger than the hole. Apply a thin layer of adhesive from the patch kit onto the patch and then place it over the hole, pressing down firmly to ensure it sticks. Let the patch dry for at least an hour before inflating the air mattress again to check if the patch is secure.
Firstly, you will need to gather the necessary materials, including a
patch kit
, scissors, and rubbing alcohol. Next, locate the puncture or hole in your air mattress by inflating it and listening for any hissing sounds. Once you have found the hole, clean the surrounding area with rubbing alcohol and let it dry completely.
Next, cut a patch from the patch kit that is slightly larger than the hole. Apply a thin layer of adhesive from the patch kit onto the patch and then place it over the hole, pressing down firmly to ensure it sticks. Let the patch dry for at least an hour before inflating the air mattress again to check if the patch is secure.
Tips for Maintaining Your Air Mattress
 To prevent any future punctures or holes, make sure to take proper care of your air mattress. Avoid placing it on rough or sharp surfaces, and if using it outdoors, lay down a protective sheet or tarp underneath. Additionally, always store your air mattress in a dry and clean place to prevent any damage.
Air mattresses
come in various sizes and designs, making them a versatile and convenient addition to any home. Whether you need an extra sleeping space for guests or enjoy camping, having a good air mattress is essential. With these easy steps to patch an air mattress and proper maintenance, you can ensure that your air mattress will last for years to come.
To prevent any future punctures or holes, make sure to take proper care of your air mattress. Avoid placing it on rough or sharp surfaces, and if using it outdoors, lay down a protective sheet or tarp underneath. Additionally, always store your air mattress in a dry and clean place to prevent any damage.
Air mattresses
come in various sizes and designs, making them a versatile and convenient addition to any home. Whether you need an extra sleeping space for guests or enjoy camping, having a good air mattress is essential. With these easy steps to patch an air mattress and proper maintenance, you can ensure that your air mattress will last for years to come.