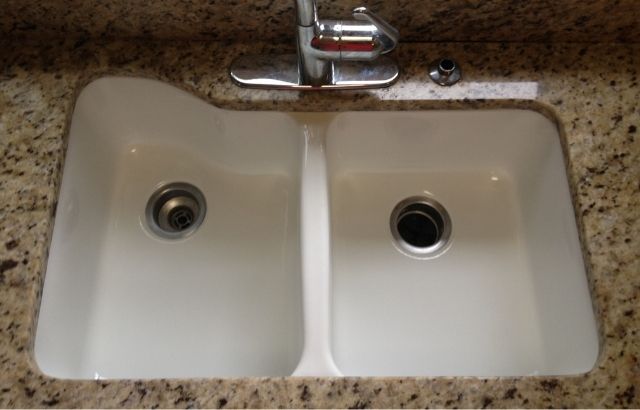
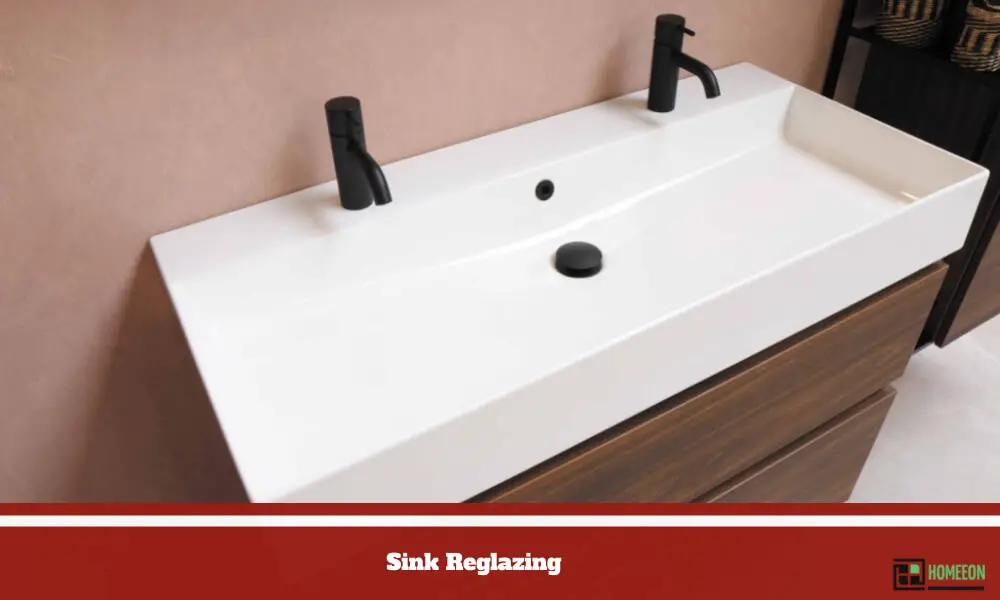
Reglazing a kitchen sink is a cost-effective way to give your kitchen a fresh new look without breaking the bank. It involves applying a new coat of finish to the surface of your sink, restoring its shine and durability. While hiring a professional to reglaze your kitchen sink can be expensive, doing it yourself can save you a considerable amount of money. With the right materials and technique, you can achieve professional-looking results. Here's a step-by-step guide on how to reglaze a kitchen sink on your own.How to Reglaze a Kitchen Sink


How to Reglaze a Kitchen Sink


Reglazing a kitchen sink is a relatively easy DIY project that can be completed in a weekend. It requires minimal tools and materials, making it a budget-friendly option for those looking to update their kitchen. With a little bit of patience and attention to detail, you can transform your old, worn-out sink into a shiny, like-new fixture that will enhance the overall look of your kitchen.DIY Kitchen Sink Reglazing


DIY Kitchen Sink Reglazing

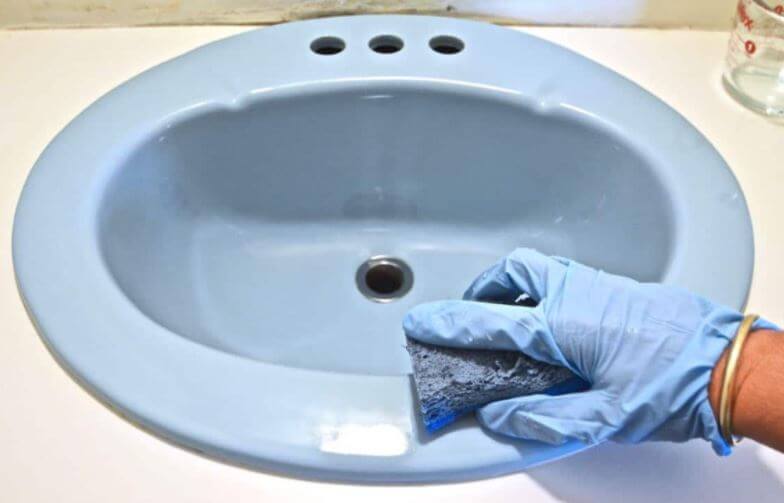


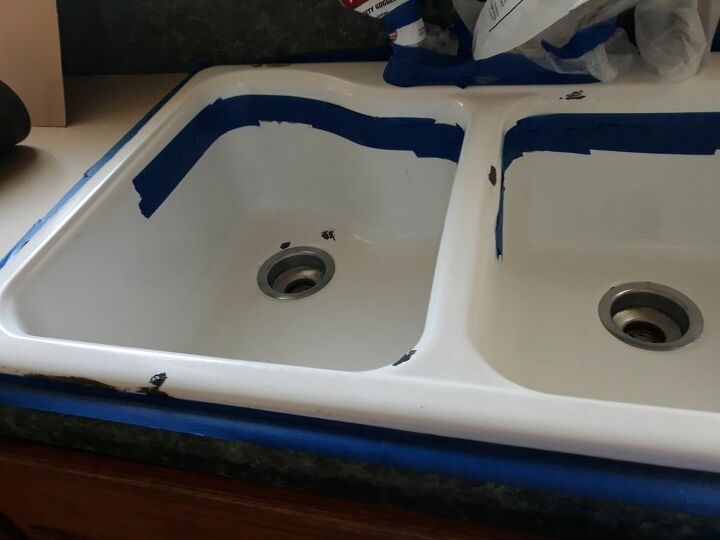
Before starting the reglazing process, be sure to thoroughly clean your sink to remove any dirt, grime, and soap scum. You can use a commercial cleaner or make your own using a mixture of baking soda and water. Once your sink is clean and dry, follow these steps to reglaze it: Step 1: Tape off the area around your sink to protect your countertops and cabinets from any overspray or drips. Step 2: Sand the surface of your sink using fine-grit sandpaper to remove any rough spots or imperfections. This will also help the reglazing material adhere better to the surface. Step 3: Wipe down the sink with a damp cloth to remove any sanding dust and let it dry completely. Step 4: Apply a primer designed specifically for use on sinks. This will help the reglazing material bond to the surface and prevent any chipping or peeling in the future. Step 5: Once the primer is dry, apply the reglazing material using a high-quality brush. Be sure to follow the manufacturer's instructions for the best results. Step 6: Let the reglazing material dry for at least 24 hours before using your sink again.Step-by-Step Guide for Reglazing a Kitchen Sink


Step-by-Step Guide for Reglazing a Kitchen Sink


While reglazing and refinishing are often used interchangeably, there is a slight difference between the two processes. Refinishing involves completely stripping the sink down to its original surface and then applying a new finish, while reglazing simply involves adding a new coat of finish on top of the existing surface. While refinishing may provide longer-lasting results, it is a more time-consuming and labor-intensive process. Reglazing, on the other hand, is a quick and easy way to update the look of your sink without the need for extensive prep work.DIY Kitchen Sink Refinishing

DIY Kitchen Sink Refinishing


Before starting your DIY kitchen sink reglazing project, make sure you have all the necessary materials on hand. These include: Reglazing kit (includes primer and reglazing material) High-quality brush Fine-grit sandpaper Cleaner Tape ClothMaterials Needed for Reglazing a Kitchen Sink


Materials Needed for Reglazing a Kitchen Sink

While reglazing a kitchen sink is a relatively simple DIY project, there are a few tips to keep in mind to ensure successful results: Read and follow the manufacturer's instructions carefully. Make sure to properly clean and prep your sink before starting the reglazing process. Apply thin, even coats of reglazing material for a smooth finish. Allow sufficient drying time between coats and before using your sink again. Use a high-quality brush to avoid leaving brush marks in the finish.Tips for Successfully Reglazing a Kitchen Sink


Tips for Successfully Reglazing a Kitchen Sink


One of the main benefits of DIY kitchen sink reglazing is the cost savings compared to hiring a professional. While the exact cost will vary depending on the size and condition of your sink, a DIY reglazing kit typically costs around $50, while professional reglazing can cost hundreds of dollars. However, keep in mind that hiring a professional may provide longer-lasting results and a warranty, so it's important to weigh the pros and cons before making a decision.Cost Comparison: DIY vs Professional Kitchen Sink Reglazing


Cost Comparison: DIY vs Professional Kitchen Sink Reglazing


While reglazing a kitchen sink is a relatively straightforward process, there are some common mistakes that can lead to less-than-desirable results. These include: Not cleaning and prepping the sink properly before starting. Applying too thick of a coat of reglazing material, leading to drips and unevenness. Rushing the process and not allowing sufficient drying time between coats. Using a low-quality brush that leaves brush marks in the finish.Common Mistakes to Avoid When Reglazing a Kitchen Sink


Common Mistakes to Avoid When Reglazing a Kitchen Sink


The longevity of your DIY kitchen sink reglazing will depend on several factors, including the quality of the materials used and how well you maintain your sink. With proper care and maintenance, a DIY reglazing can last anywhere from 5-10 years. This is significantly longer than the lifespan of most kitchen sinks, making it a cost-effective option for updating your kitchen.How Long Does DIY Kitchen Sink Reglazing Last?


How Long Does DIY Kitchen Sink Reglazing Last?


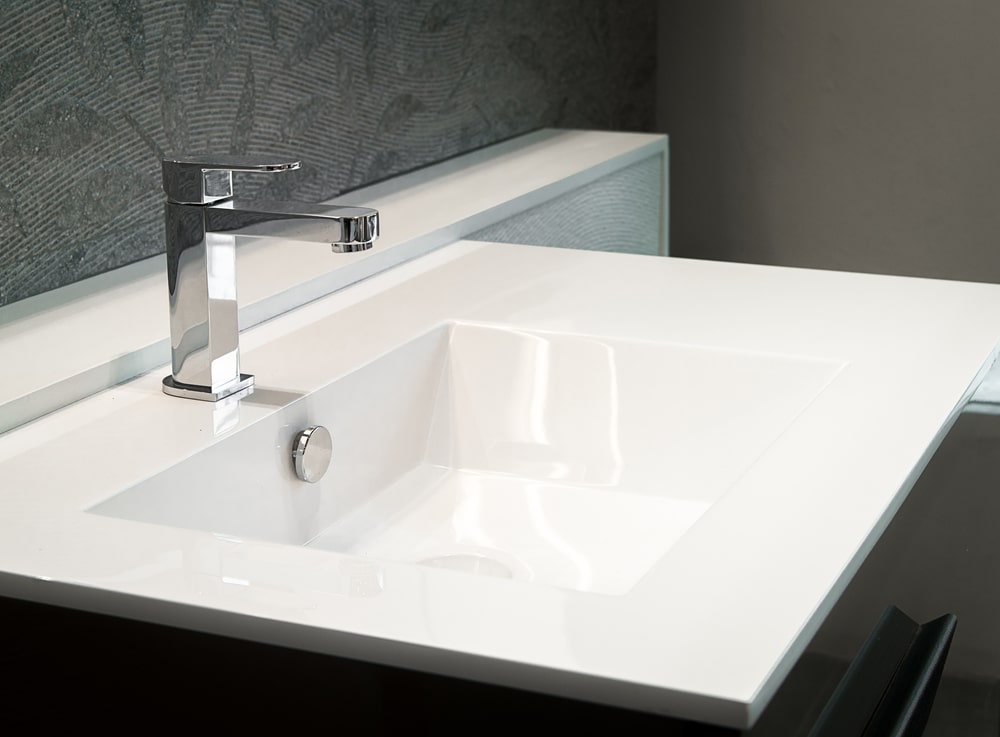
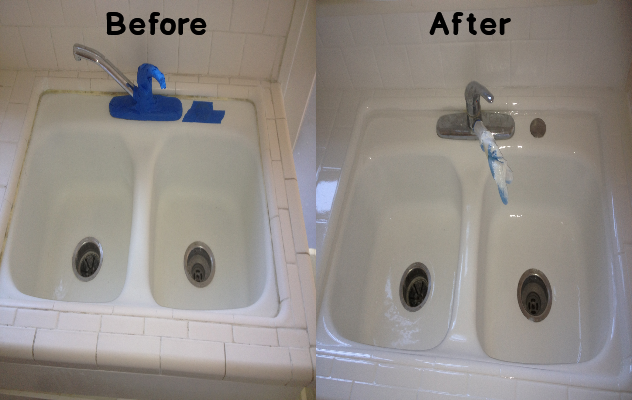
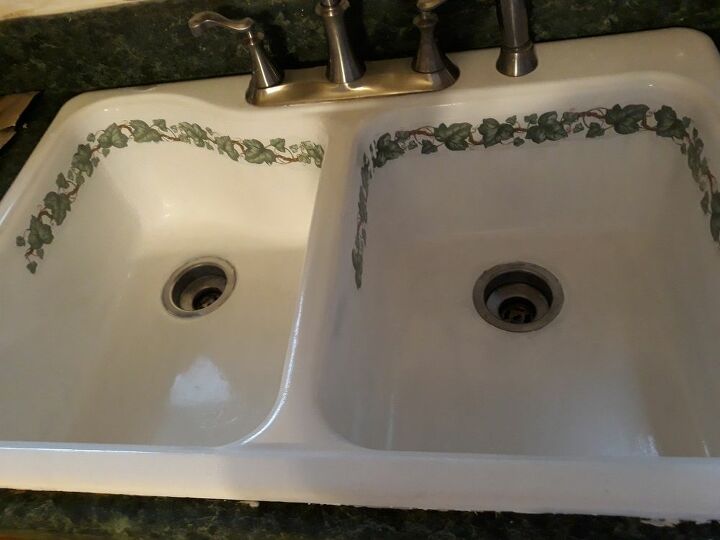
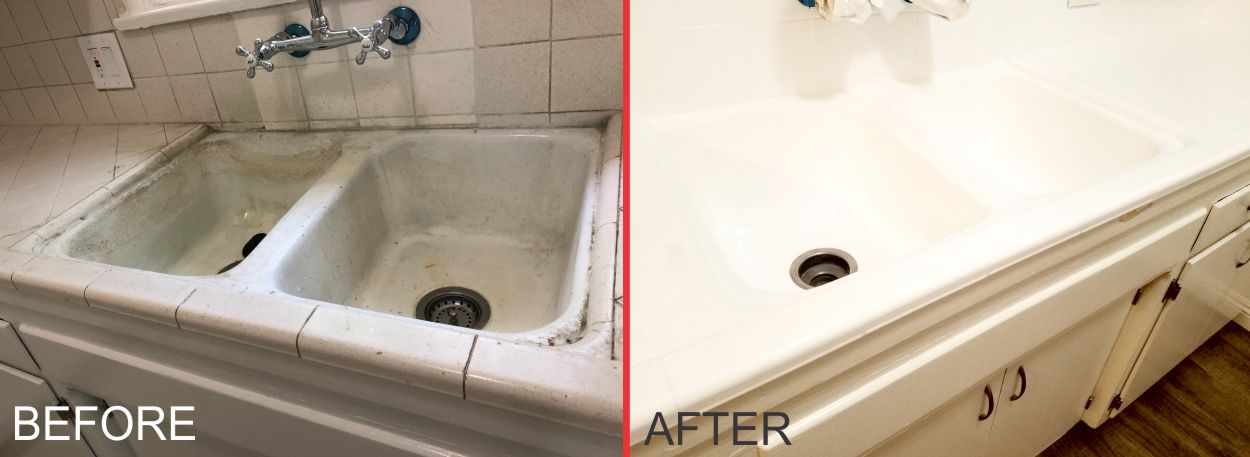
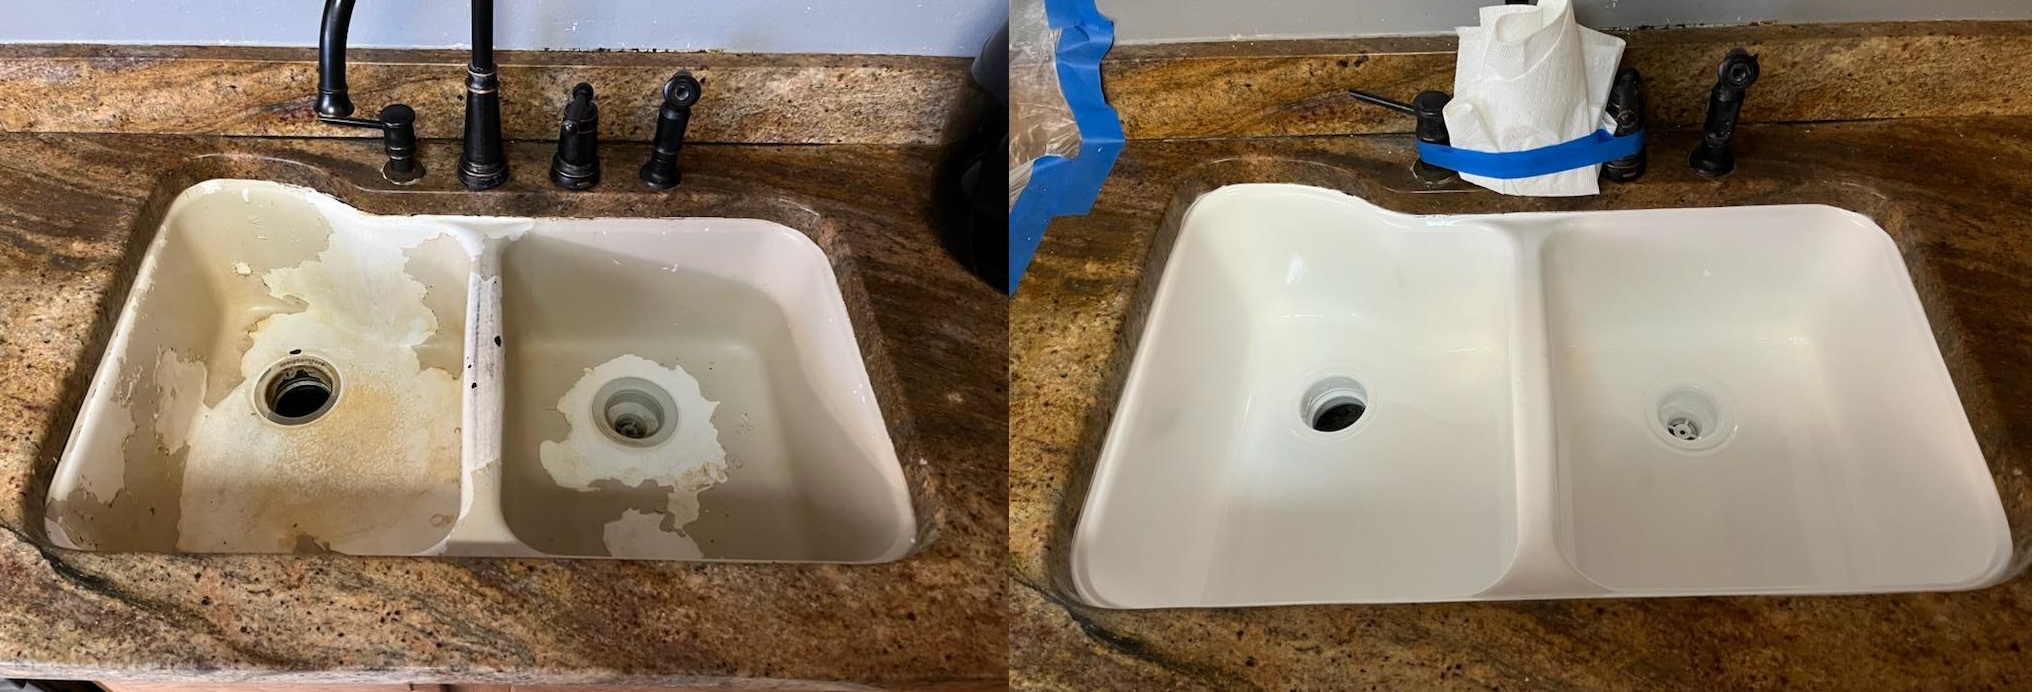
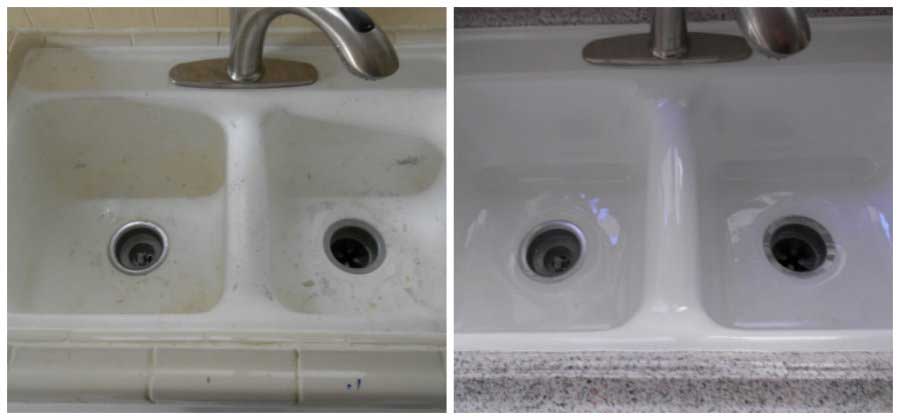
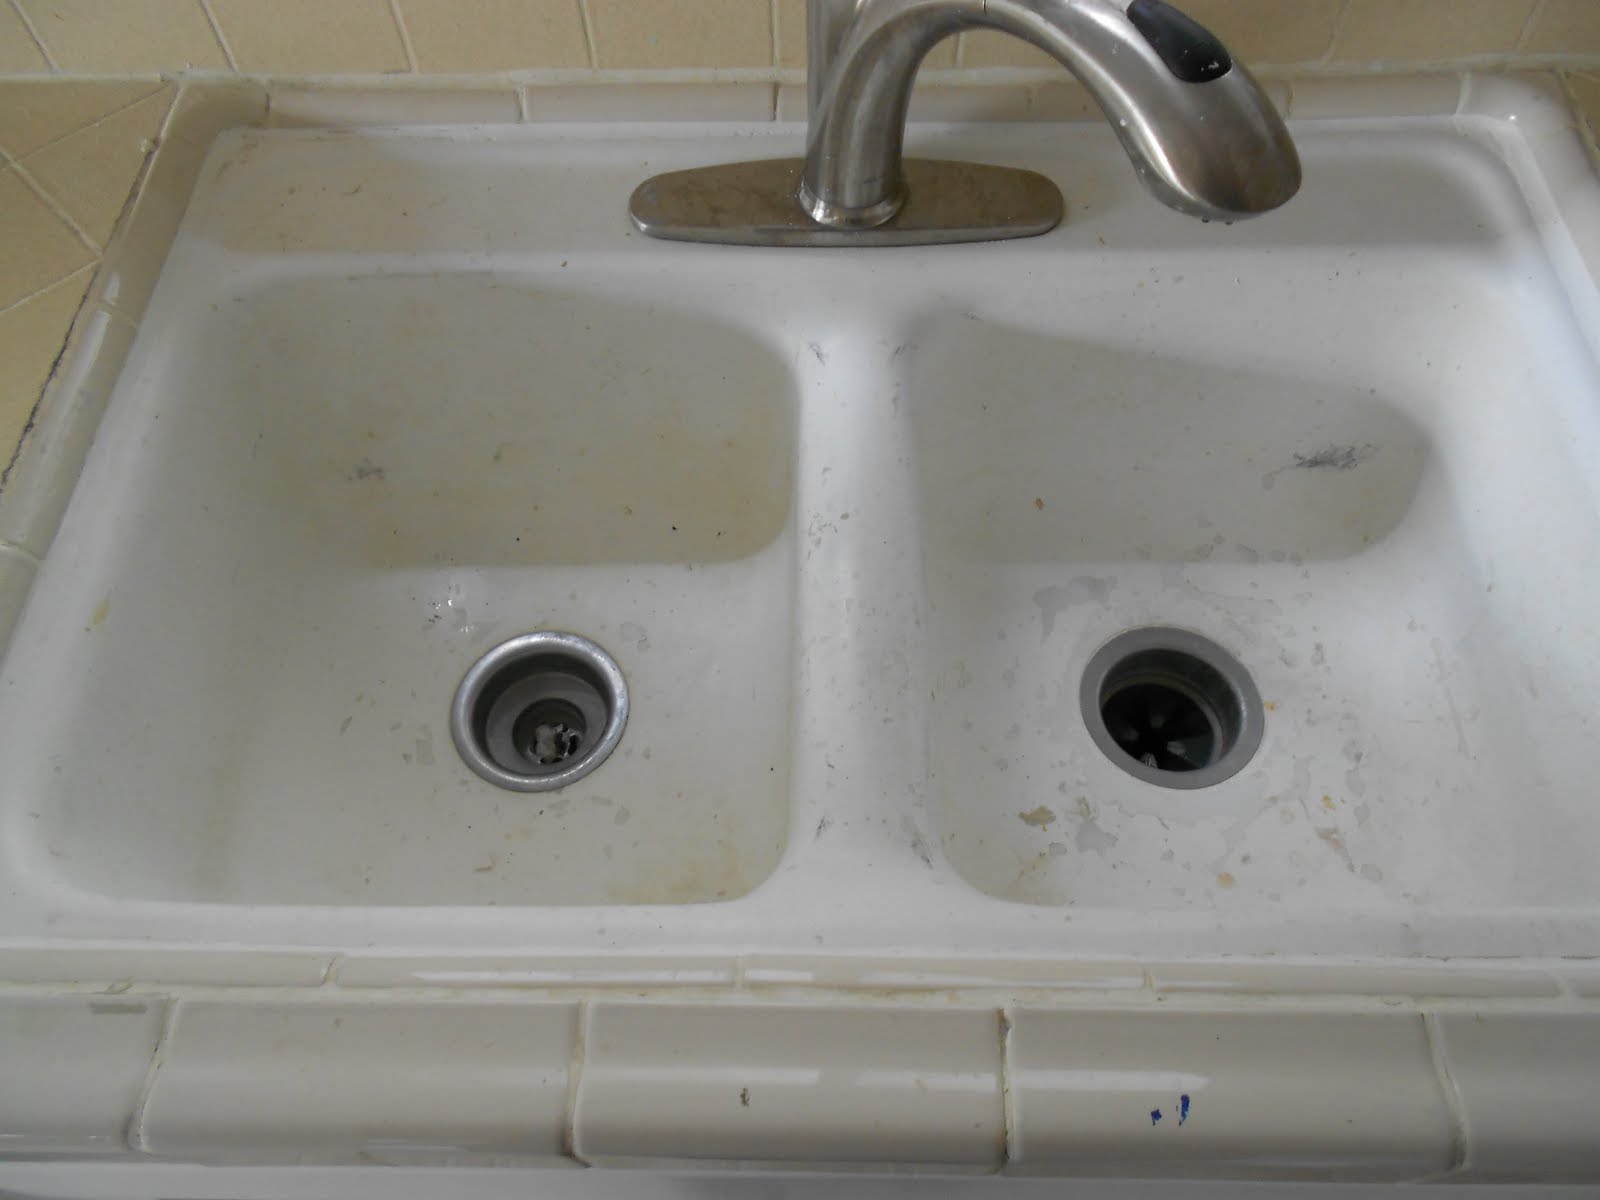
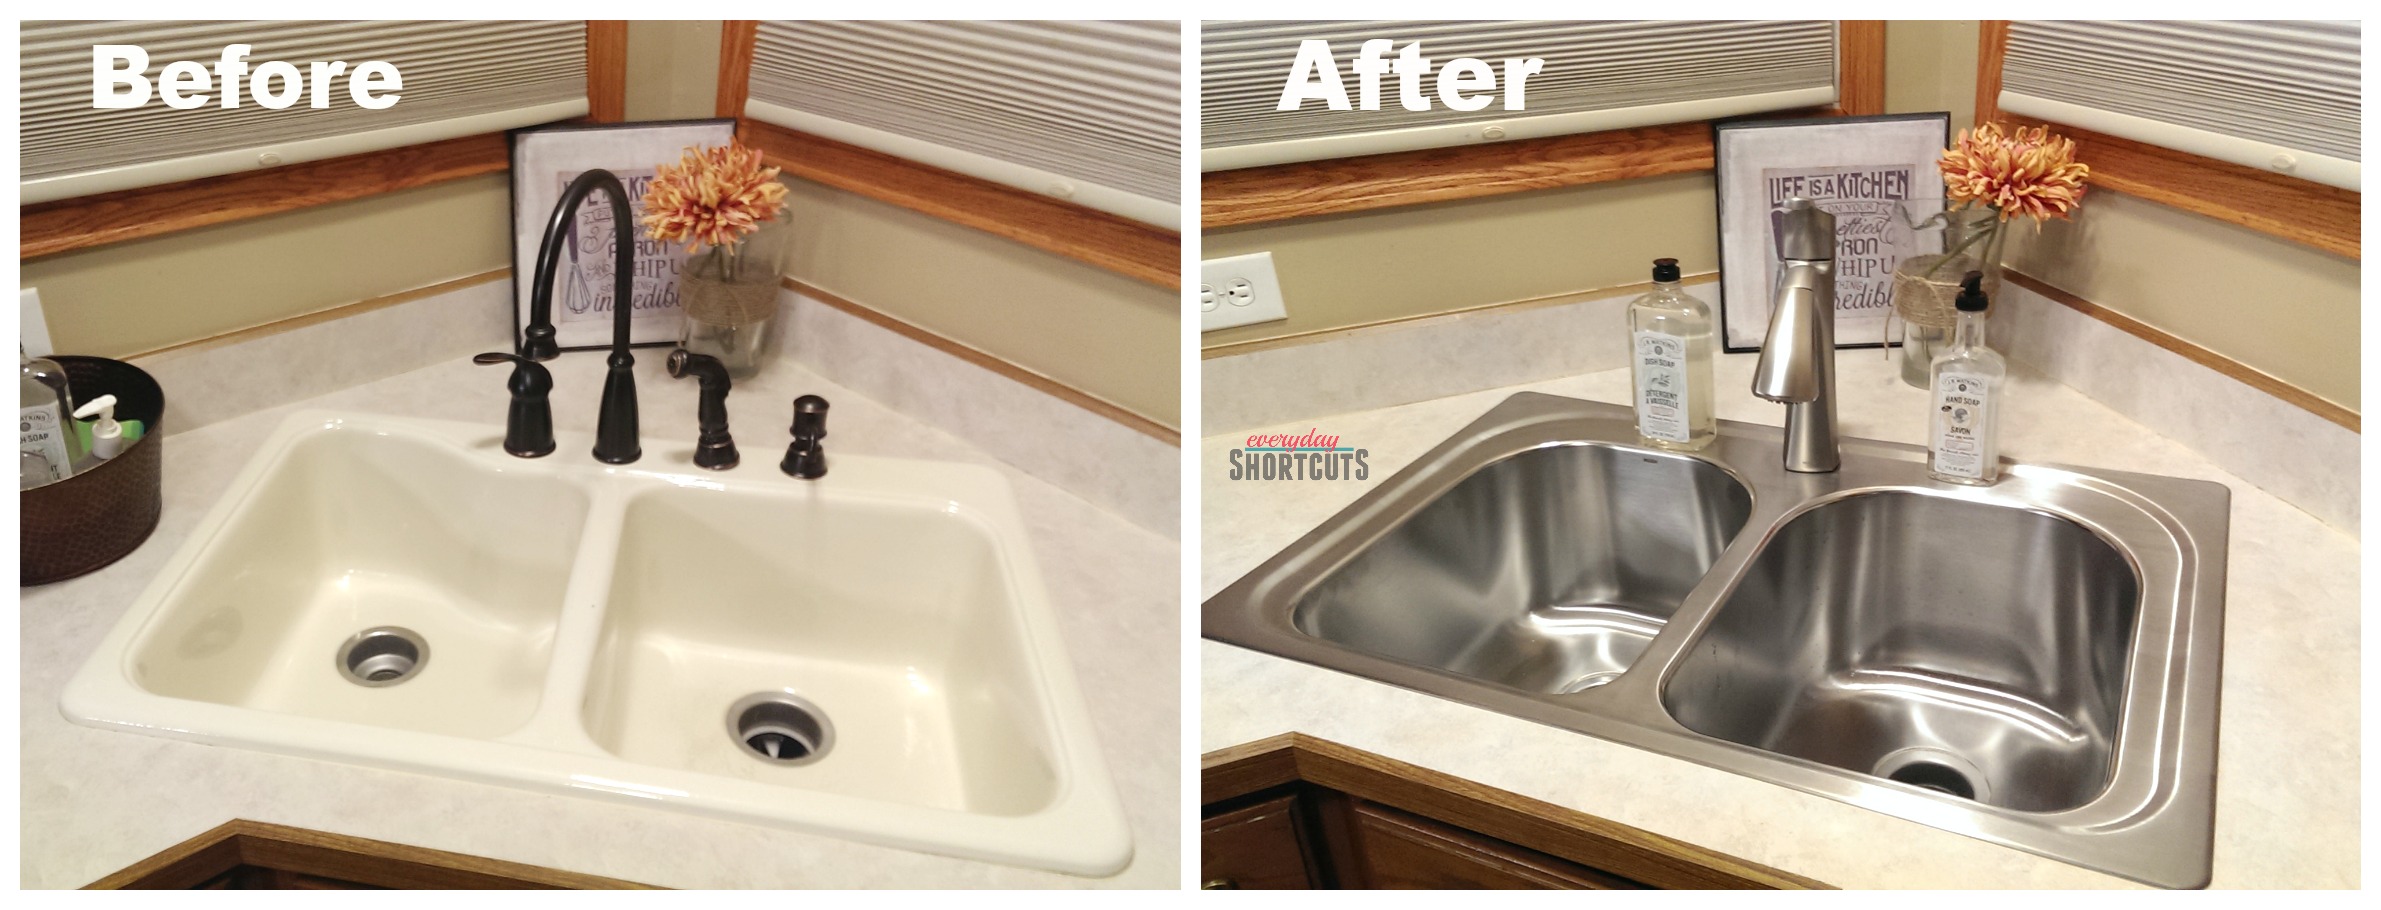
After spending a weekend reglazing your kitchen sink, you'll be amazed at the transformation. The shiny, like-new finish will give your entire kitchen a fresh, updated look. Plus, you'll have the satisfaction of knowing you saved money by doing it yourself. So go ahead and give your kitchen sink a DIY reglazing makeover – you won't be disappointed!Before and After: DIY Kitchen Sink Reglazing Results


Before and After: DIY Kitchen Sink Reglazing Results


How to Transform Your Kitchen with a DIY Sink Reglazing Project

Revamp Your Kitchen Sink for a Fresh Look and Feel

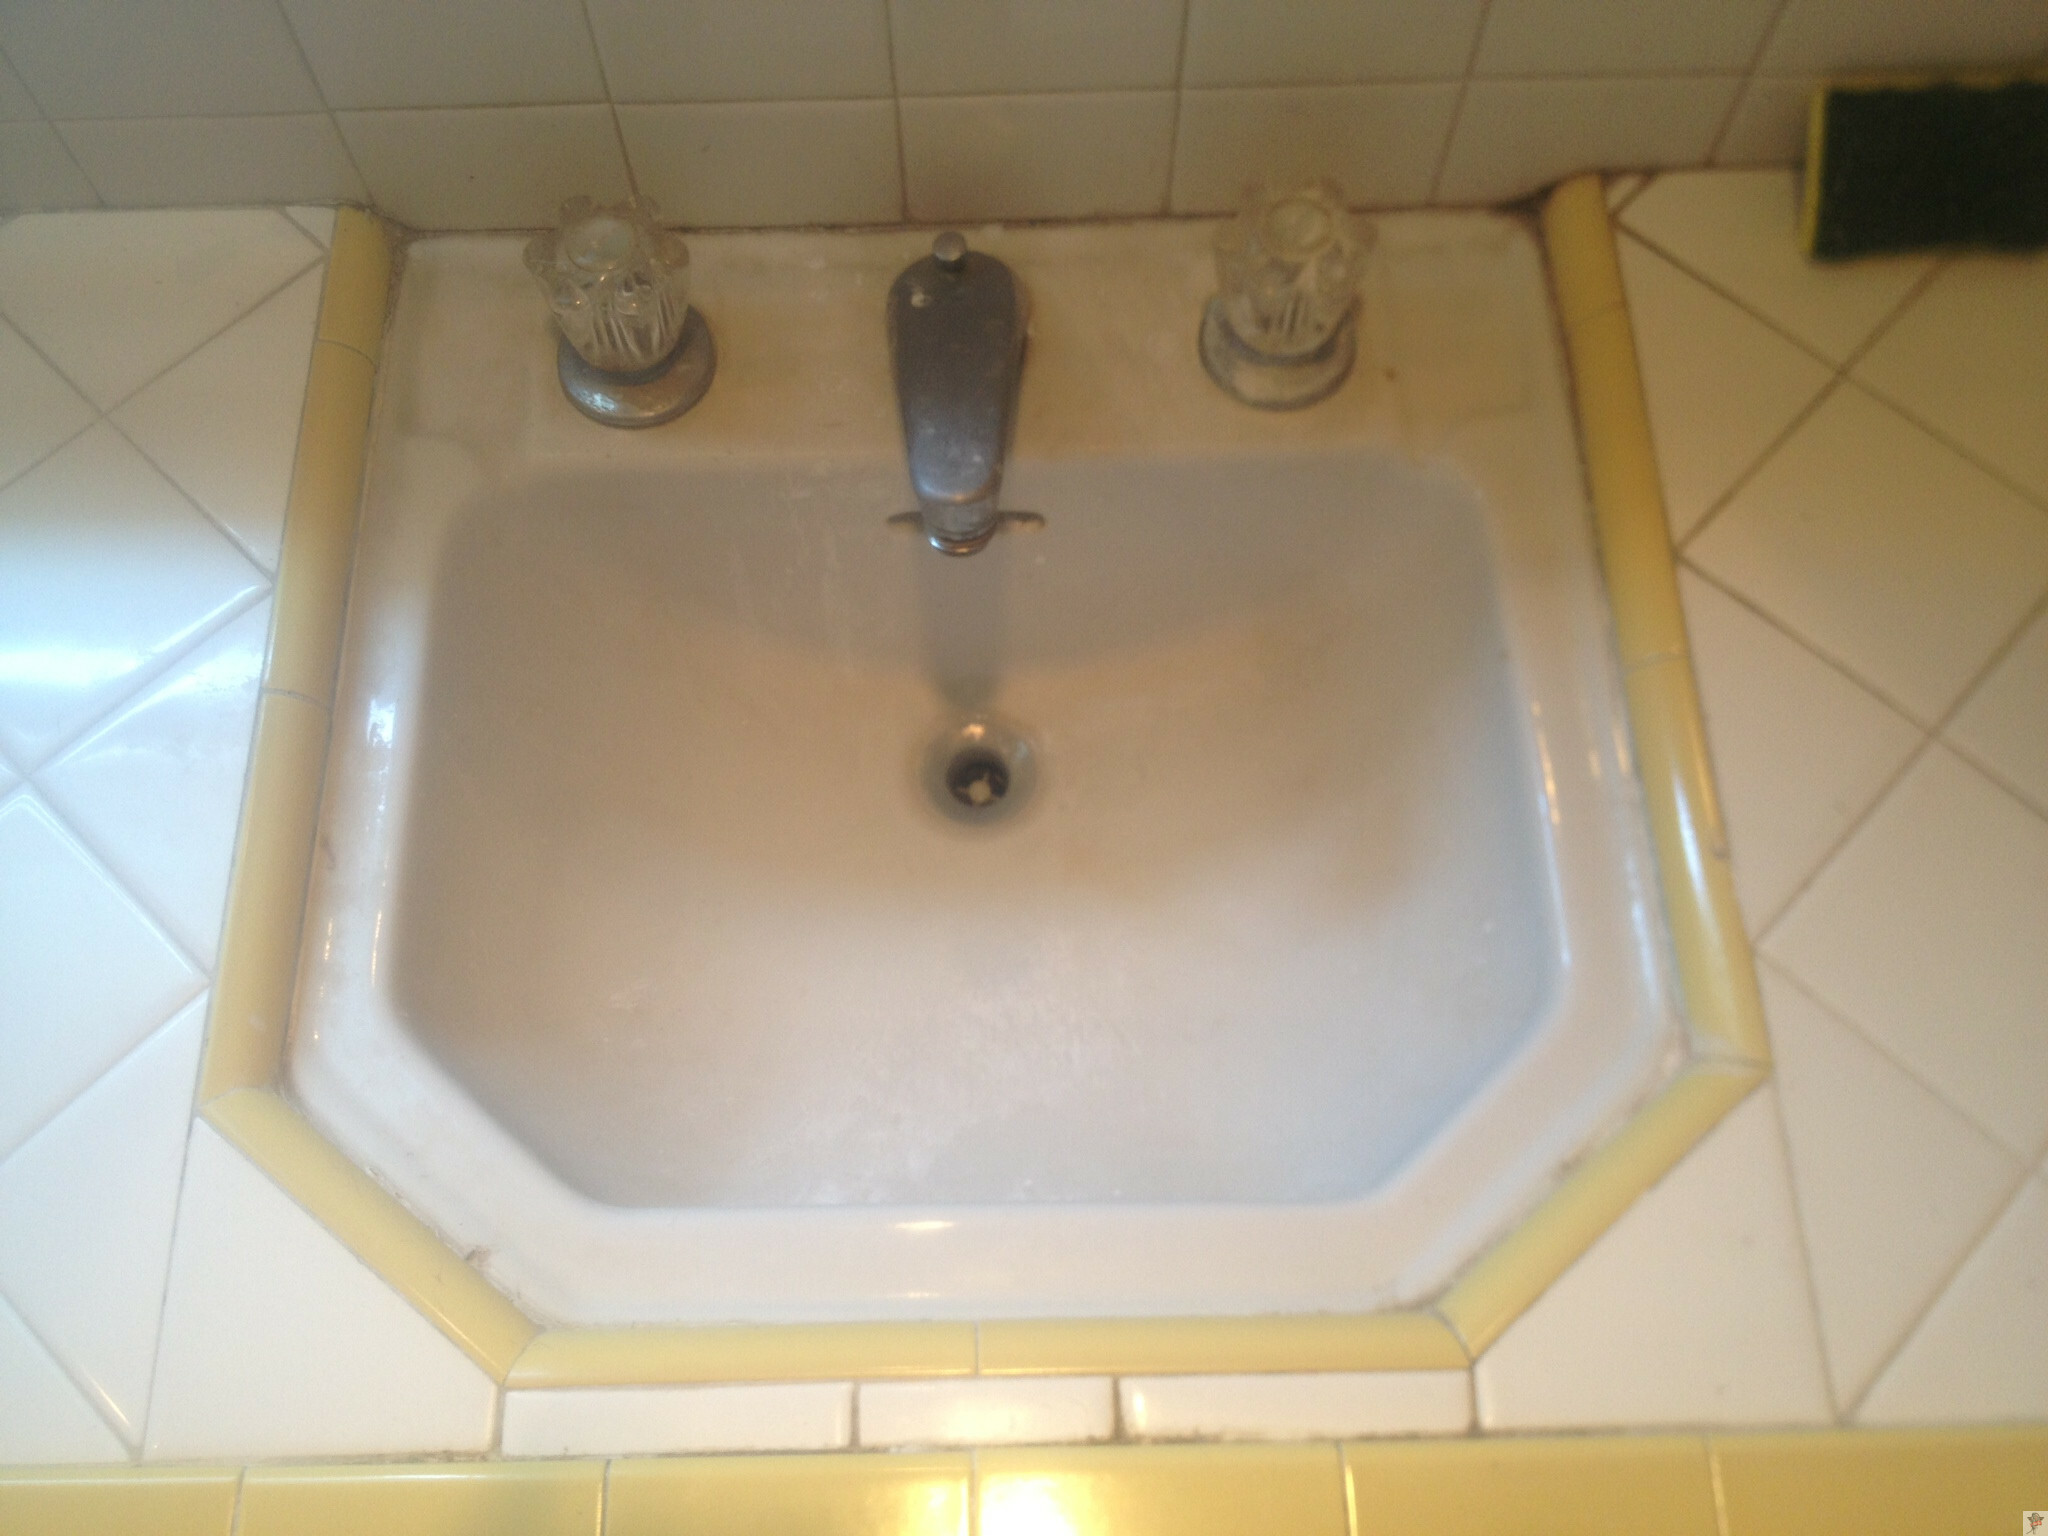
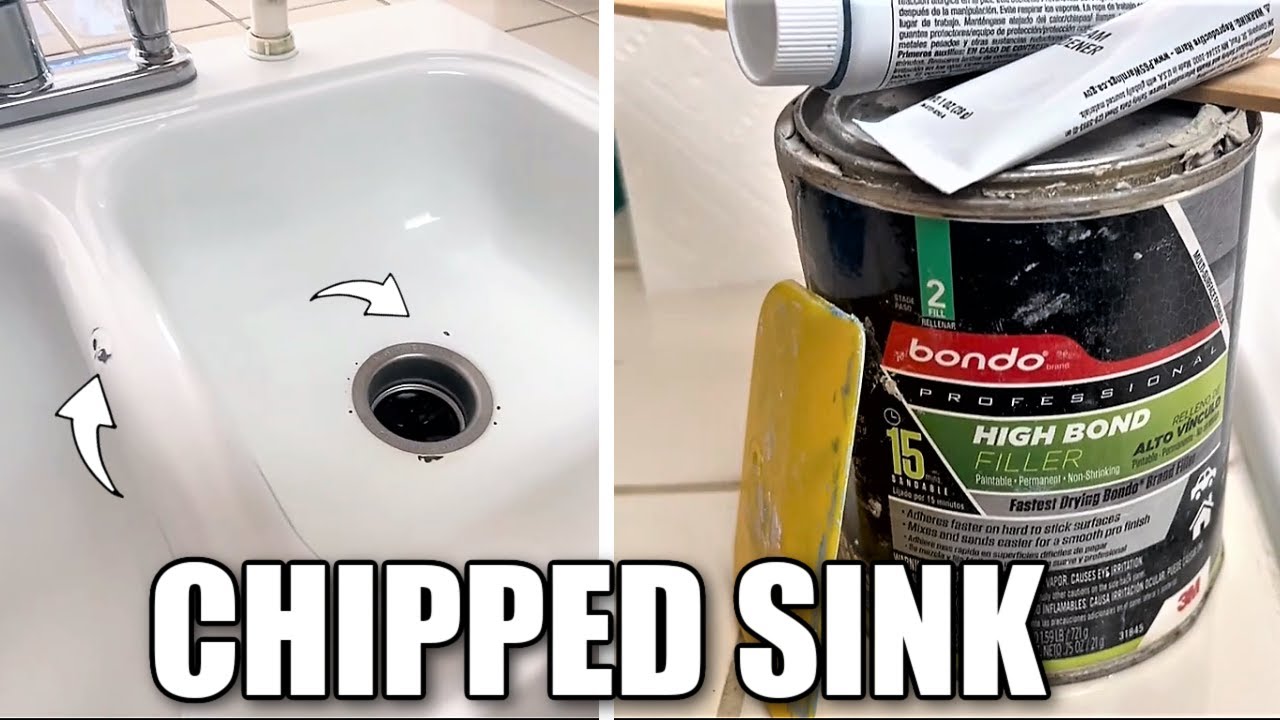
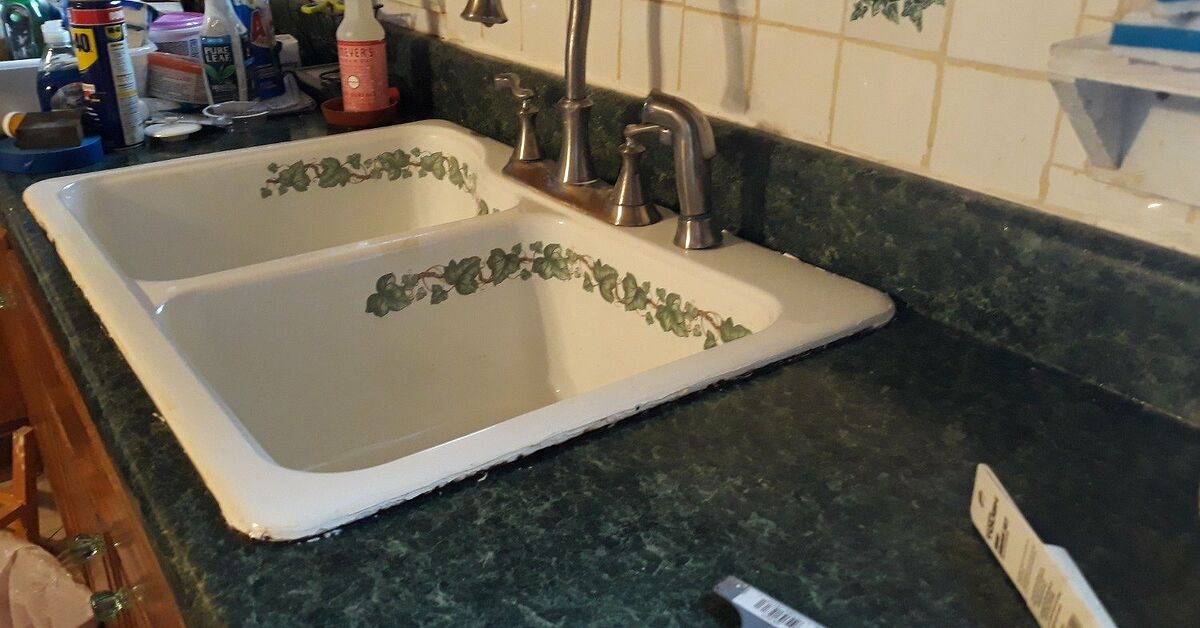
Are you tired of looking at a dull and worn out kitchen sink every day? A sink that is scratched, stained, or chipped can instantly bring down the overall aesthetic of your kitchen. But before you start shopping for a brand new sink, consider reglazing your current one. Not only is it a more affordable option, but it can also give your kitchen a whole new look and feel. In this article, we’ll guide you through the process of DIY reglazing your kitchen sink to transform your space into a fresh and stylish one.
The Benefits of Reglazing Your Kitchen Sink
Reglazing your kitchen sink involves applying a new coat of glaze on top of the existing sink surface. This can be done using a DIY kit or by hiring a professional. The process is quick, easy, and cost-effective compared to replacing your entire sink. Here are some of the benefits of reglazing your kitchen sink:
- Cost-effective: Reglazing your sink is a fraction of the cost of replacing it, making it a budget-friendly option for homeowners.
- Quick and easy: The process of reglazing can be completed in a few hours, depending on the size of your sink. This means minimal disruption to your daily routine.
- Customizable: Reglazing allows you to choose from a variety of colors and finishes to match your kitchen’s design and style.
- Durable: A new coat of glaze can make your sink more resistant to scratches, stains, and heat, increasing its longevity.
Step-by-Step Guide to DIY Sink Reglazing

Now that you know the benefits of reglazing your kitchen sink, let’s dive into the steps involved in a DIY project:
- Prepare the sink: Start by cleaning your sink thoroughly with a mild cleaner. Then, use sandpaper to lightly sand the surface to remove any scratches or stains. Rinse the sink and let it dry completely.
- Mask off the area: Use painter’s tape to cover the surrounding areas of your sink, such as the countertop and faucet, to avoid getting any glaze on them.
- Apply the primer: Use a paintbrush to apply a coat of primer on your sink. This will help the glaze adhere to the surface better. Let it dry completely.
- Apply the glaze: Using a foam roller, apply a thin and even layer of glaze on your sink. You may need to apply multiple coats for a smooth and glossy finish. Let each coat dry completely.
- Remove the tape: Once the glaze is completely dry, carefully remove the painter’s tape from the surrounding areas.
- Let it cure: It’s important to let the glaze cure for at least 24 hours before using your sink again. This will ensure a durable finish.
Congratulations! You have successfully reglazed your kitchen sink, giving it a fresh new look.
Final Thoughts
Reglazing your kitchen sink is a simple and affordable way to upgrade your kitchen without the hassle of a full renovation. With the right tools and a little bit of patience, you can transform your old and worn out sink into a beautiful and functional centerpiece for your kitchen. So, why wait? Give your kitchen a makeover with a DIY sink reglazing project today!


:max_bytes(150000):strip_icc()/Helix-Assets-Photography-Product-Mattress-Standard-Midnight-Lifestyle-20190312-5c8a98b1c9e77c0001eb1ba5.jpg)
