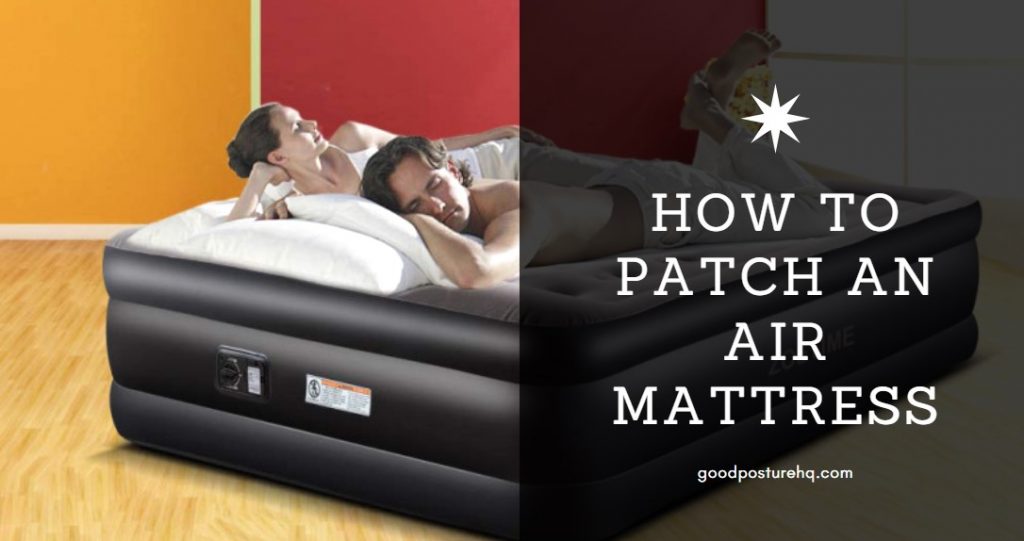
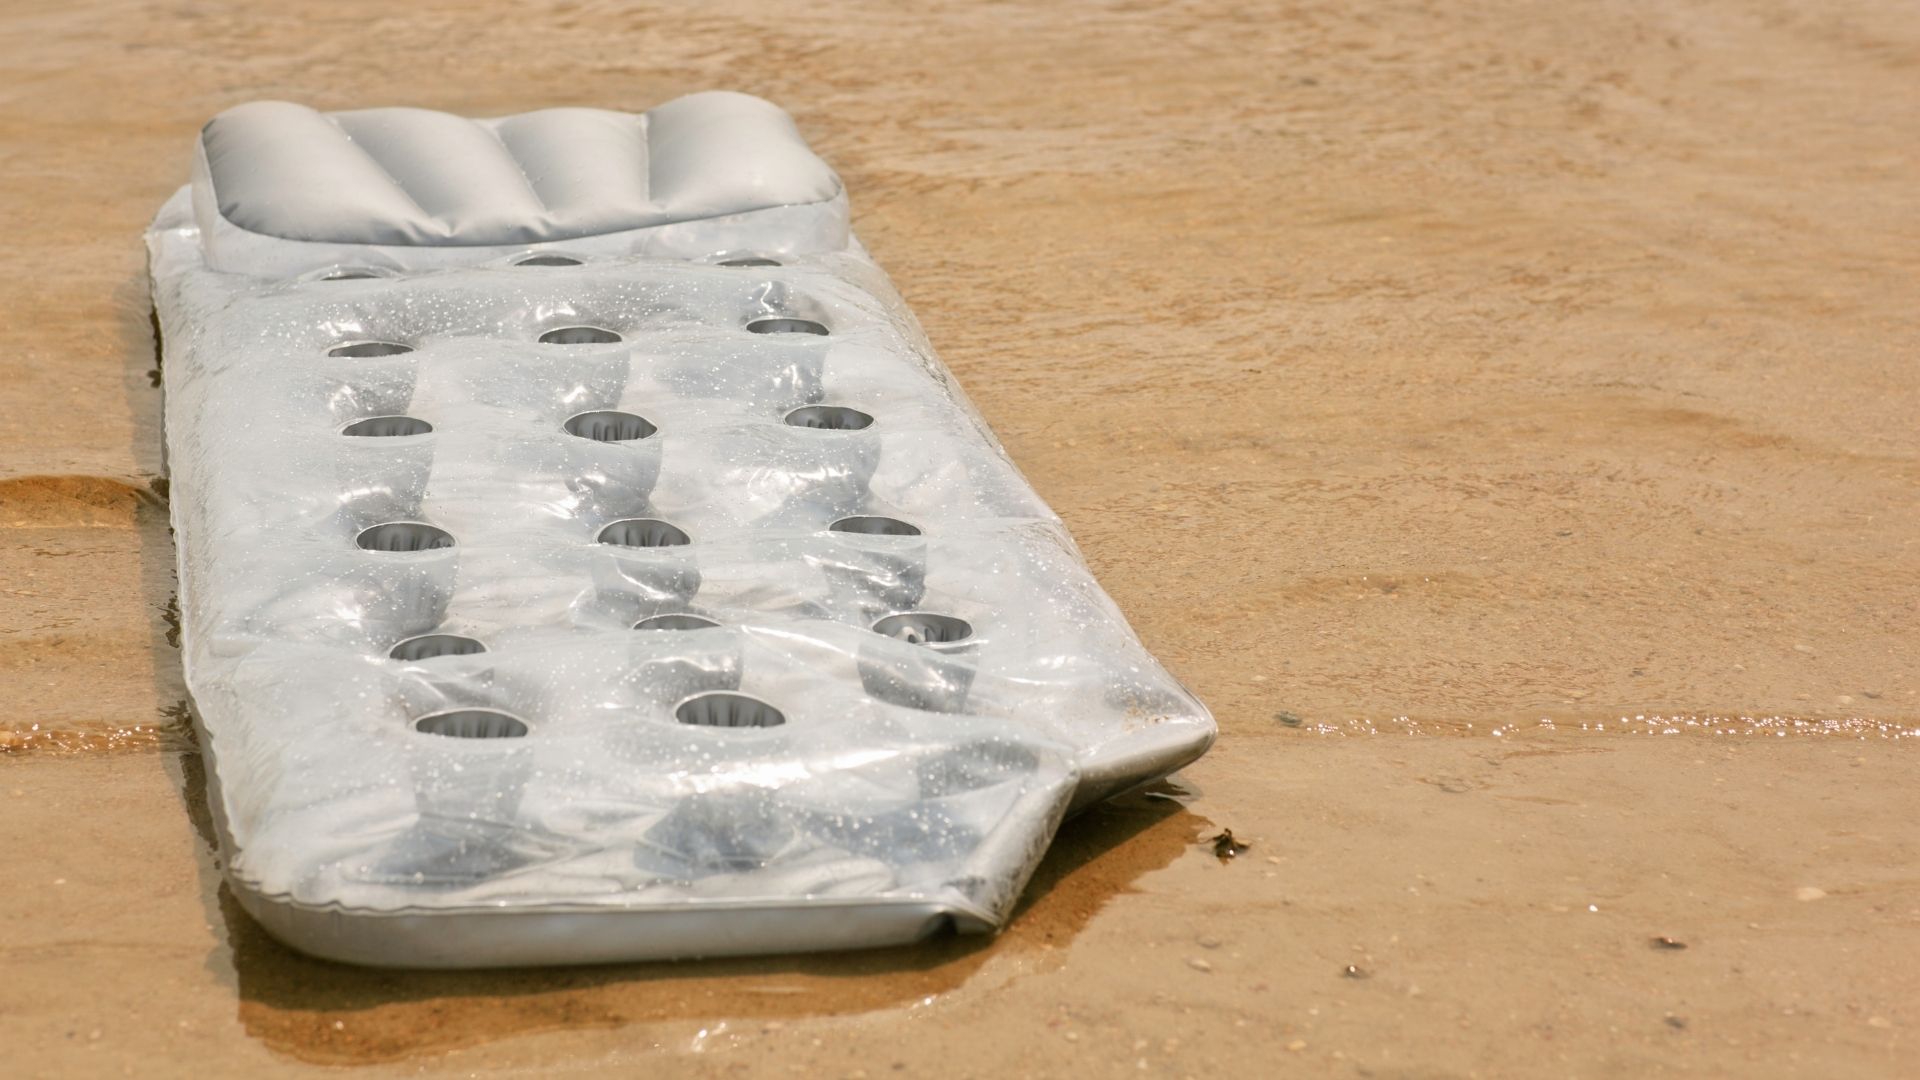
If you have an air mattress, chances are you've experienced the frustration of waking up to find it deflated. While air mattresses are convenient for guests or camping trips, they are prone to leaks and tears. But don't worry, patching an air mattress is a simple process that can save you from having to buy a new one. Follow these five easy steps to learn how to patch an air mattress and get back to enjoying a comfortable night's sleep.How to Patch an Air Mattress: 5 Steps (with Pictures) - wikiHow


How to Patch an Air Mattress: 5 Steps (with Pictures) - wikiHow


:max_bytes(150000):strip_icc()/inflatable-mattress-in-an-empty-room-1165771286-cdef8878a02c456188562f33c8f66d5d.jpg)
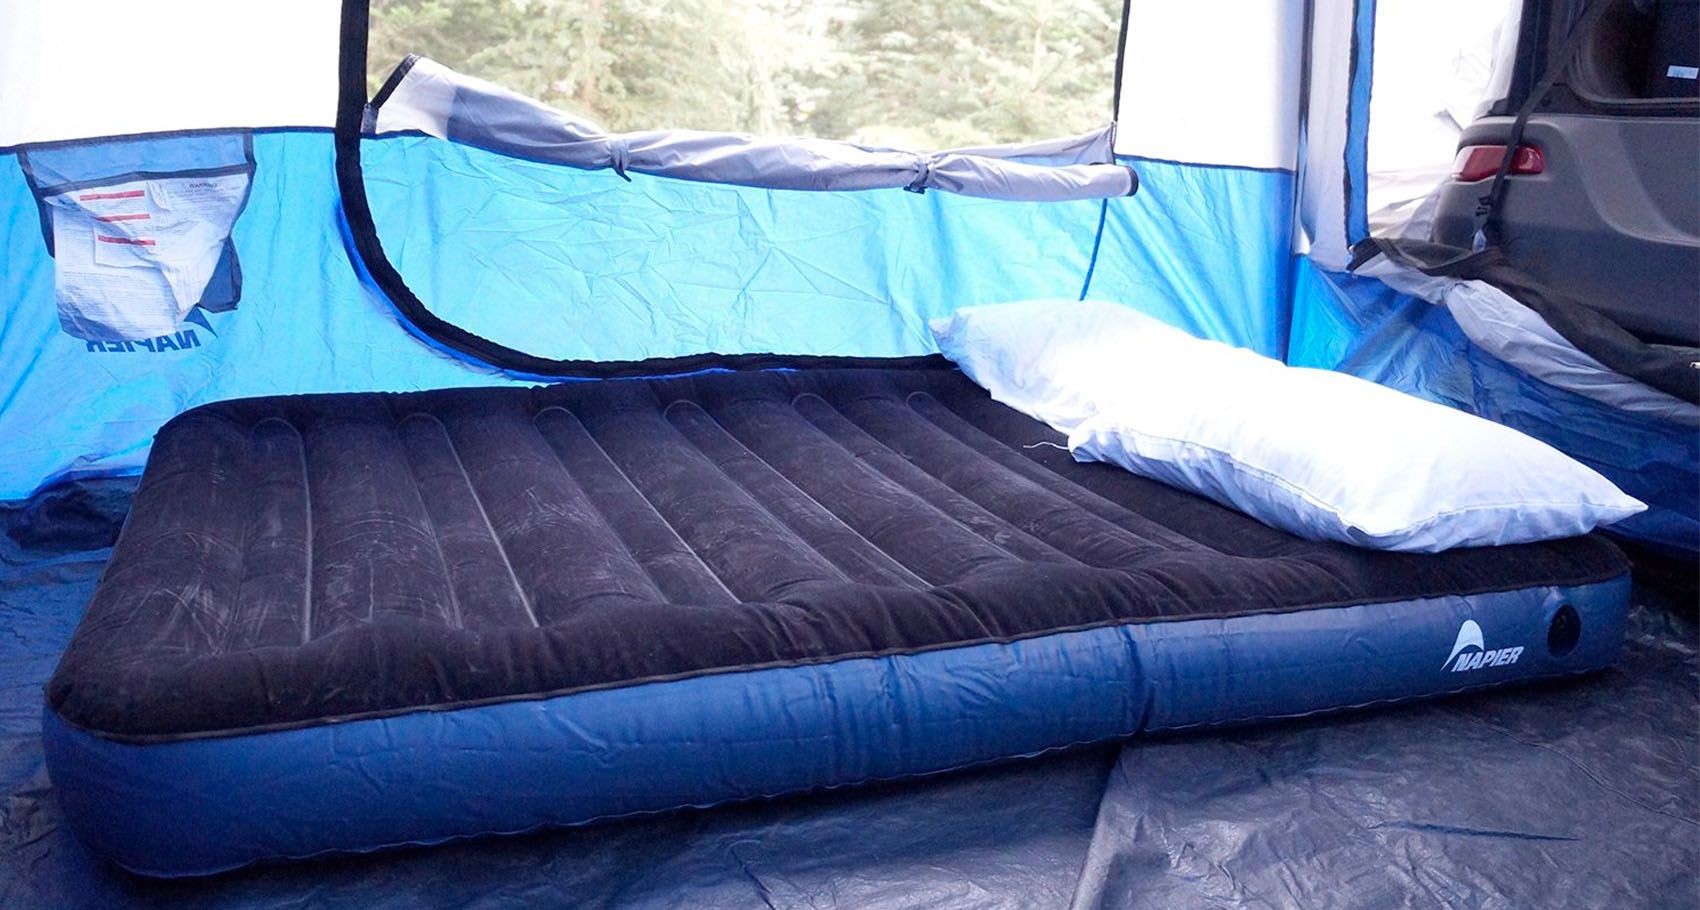
One of the most common causes of a deflated air mattress is a small leak. These can happen for a variety of reasons, from sharp objects poking the mattress to normal wear and tear. Luckily, fixing a leak is a relatively easy process that can be done at home. In this video, we'll show you how to fix a leak in an air mattress using a patch kit and some simple tools.How to Fix a Leak in an Air Mattress - YouTube


How to Fix a Leak in an Air Mattress - YouTube


The Sleep Judge is a popular website for all things sleep-related, and they have a helpful guide on how to patch an air mattress. They recommend using a vinyl repair kit, which can be found at most hardware or outdoor stores. The kit typically includes a patch, adhesive, and instructions on how to apply it. The Sleep Judge also advises checking for any additional leaks before patching, to ensure your mattress stays fully inflated.How to Patch an Air Mattress - The Sleep Judge


How to Patch an Air Mattress - The Sleep Judge

Outdoor retailer REI Co-op also has a guide on how to patch an air mattress, with some additional tips and tricks. They suggest using a patch kit specifically designed for air mattresses, as it will have stronger adhesive and better durability. REI also advises using sandpaper to rough up the surface around the leak, for better adhesion of the patch.How to Patch an Air Mattress - REI Co-op


How to Patch an Air Mattress - REI Co-op

Gear Patrol is a popular lifestyle website that covers everything from outdoor gear to home goods. In their guide on how to patch an air mattress, they recommend using a patch kit or vinyl repair tape, as well as a strong adhesive like Shoe Goo. They also suggest using a hairdryer to help speed up the drying process and ensure a stronger bond between the patch and the mattress.How to Patch an Air Mattress - Gear Patrol


How to Patch an Air Mattress - Gear Patrol
The Spruce is a website dedicated to providing helpful tips and tricks for all aspects of home life. In their guide on how to patch an air mattress, they suggest using a patch kit or vinyl repair tape, as well as using a clean cloth and rubbing alcohol to clean the area around the leak. They also recommend letting the adhesive dry for at least 24 hours before using the mattress again.How to Patch an Air Mattress - The Spruce


How to Patch an Air Mattress - The Spruce
:max_bytes(150000):strip_icc()/how-to-patch-an-air-mattress-51904431-05-f42d1666f27c4f2a824b4067deae7aae.JPG)

The Home Depot is a popular home improvement store, but they also offer helpful guides and tutorials on their website. In their guide on how to patch an air mattress, they recommend using a patch kit or vinyl repair tape, as well as using a hairdryer to help speed up the drying process. They also suggest applying pressure to the patch for a few minutes to ensure a strong bond.How to Patch an Air Mattress - The Home Depot


How to Patch an Air Mattress - The Home Depot

The Family Handyman is a website dedicated to providing DIY tips and tricks for home repairs and projects. In their guide on how to patch an air mattress, they recommend using a vinyl repair kit and suggest using a piece of cardboard or scrap wood to apply pressure to the patch while it dries. They also advise checking for any additional leaks before patching, as well as allowing the adhesive to dry for at least 24 hours before using the mattress.How to Patch an Air Mattress - The Family Handyman


How to Patch an Air Mattress - The Family Handyman

The Sleep Advisor is another popular website for all things sleep-related, and they also have a guide on how to patch an air mattress. They recommend using a patch kit or vinyl repair tape, as well as using a hairdryer to help speed up the drying process. They also suggest using a rolling pin or other heavy object to apply pressure to the patch while it dries.How to Patch an Air Mattress - The Sleep Advisor


How to Patch an Air Mattress - The Sleep Advisor
As we mentioned earlier, The Sleep Judge has a helpful guide on how to patch an air mattress, and they also have a helpful video demonstrating the process. They suggest using a patch kit or vinyl repair tape, as well as using a hairdryer to help speed up the drying process. They also recommend checking for any additional leaks before patching, and allowing the adhesive to dry completely before using the mattress again.How to Patch an Air Mattress - The Sleep Judge
How to Patch an Air Mattress - The Sleep Judge
Why Patching Your Air Mattress Is a DIY Essential for Any Home

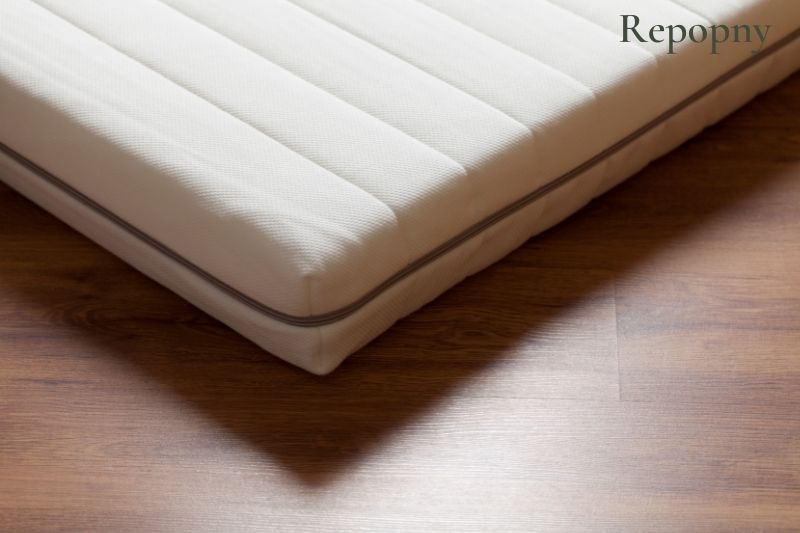
The Importance of a Functional Air Mattress
 A good night's sleep is crucial for our physical and mental well-being. And one of the essential factors that contribute to a good night's sleep is a comfortable and supportive mattress. However, what do you do when your air mattress suddenly gets a hole or tear and starts deflating in the middle of the night? It can be frustrating and can disrupt your sleep. But don't worry, with a simple DIY patch, you can easily fix your air mattress and have it as good as new.
The Benefits of DIY Patching for Your Air Mattress
 When faced with a damaged air mattress, many people immediately think of replacing it with a new one. However, this can be costly, especially if the air mattress is of good quality. That's where DIY patching comes in. Not only is it a cost-effective solution, but it is also a more sustainable option as it reduces waste. Additionally, DIY patching can give you a sense of accomplishment and satisfaction, knowing that you were able to fix the problem yourself.
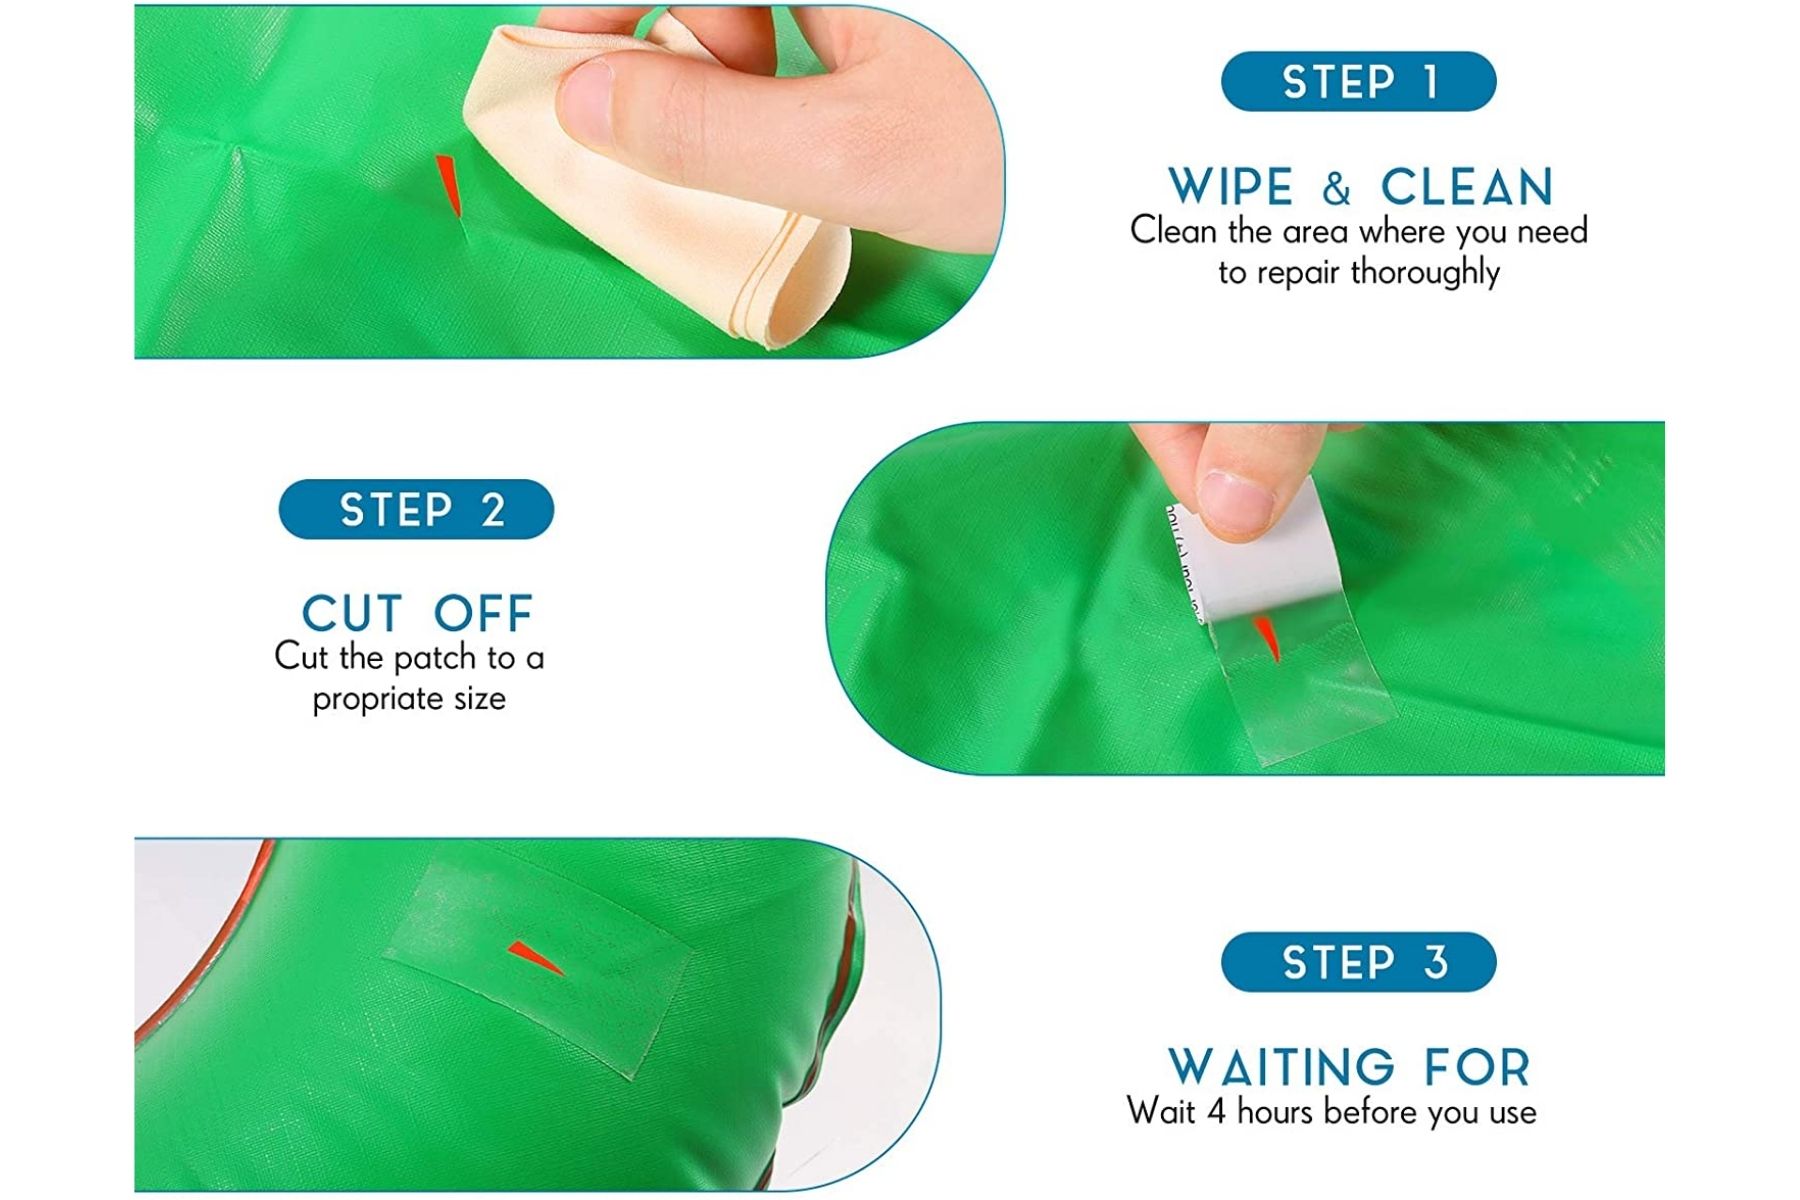
Step-by-Step Guide for Patching Your Air Mattress
 Now that you understand the importance and benefits of DIY patching for your air mattress, let's go through the steps on how to do it.
Step 1:
Identify the location of the hole or tear by inflating the mattress and listening for the sound of air escaping.
Step 2:
Clean and dry the area around the hole or tear. This will ensure that the patch adheres properly.
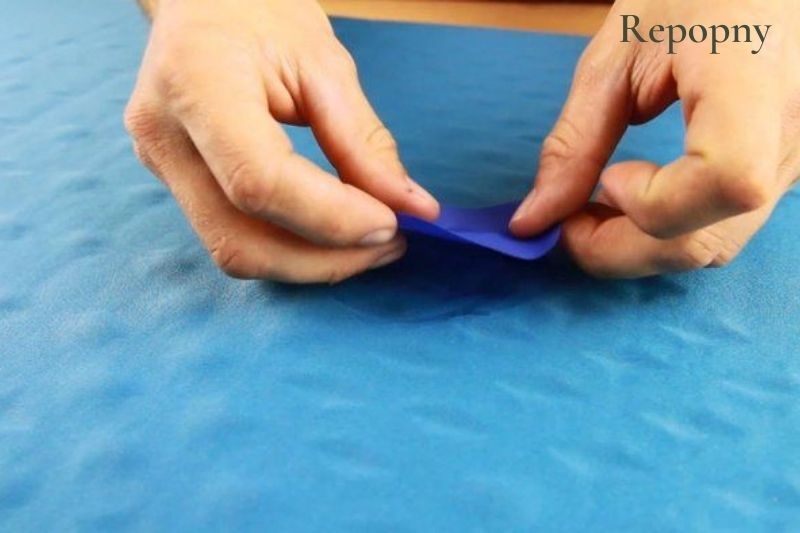
Step 3:
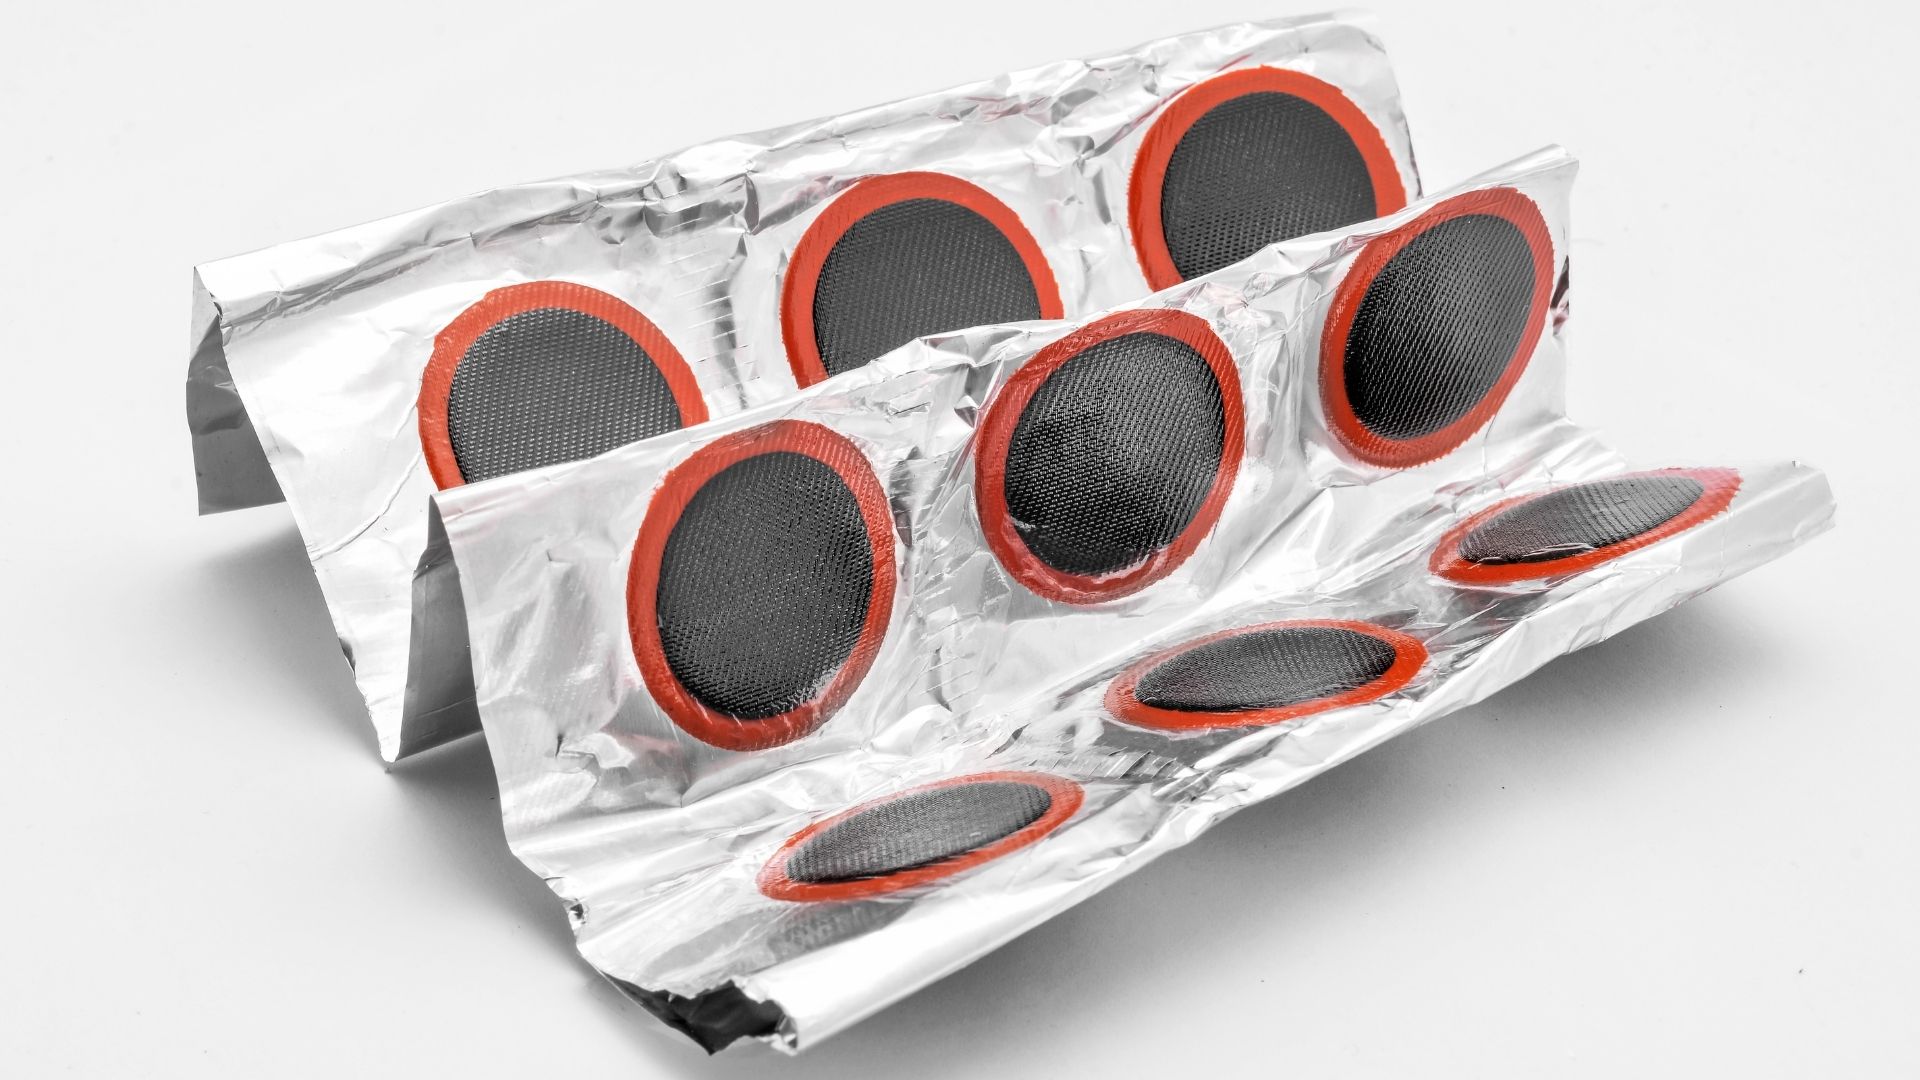
Cut a piece of
patching material
that is slightly larger than the hole or tear. This material can be a piece of vinyl or a similar material.
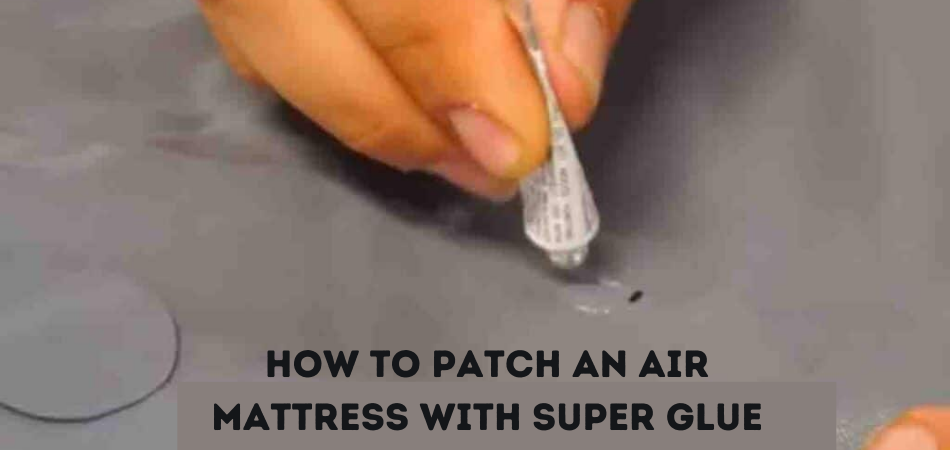
Step 4:
Apply a thin layer of
patching glue
to the area around the hole or tear.
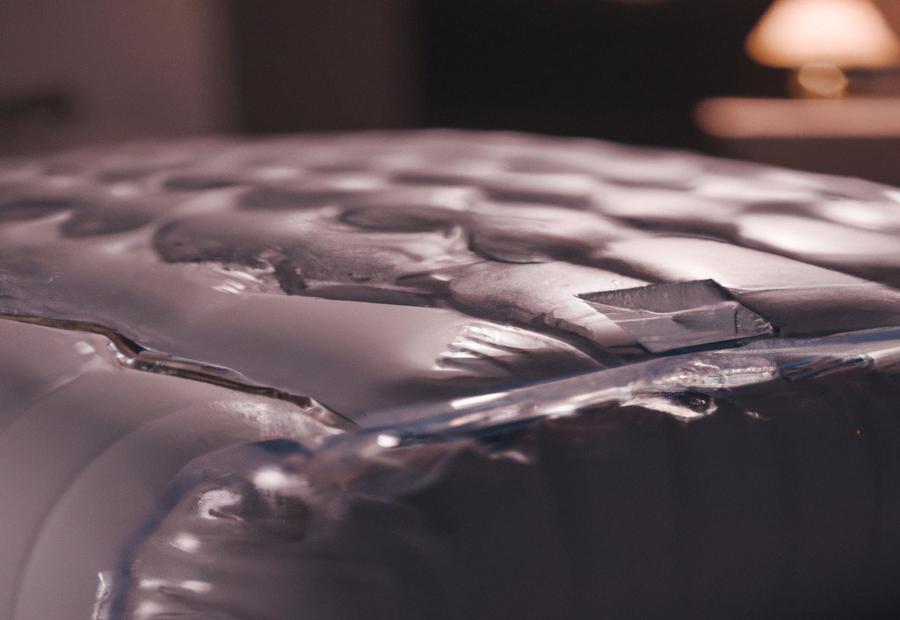
Step 5:
Place the patching material over the hole or tear and press down firmly to ensure it sticks to the mattress.
Step 6:
Let the glue dry completely, following the manufacturer's instructions.
Step 7:
Once the glue is dry, inflate the mattress again to check if the patch is holding. If it is, you're all set!
Now that you understand the importance and benefits of DIY patching for your air mattress, let's go through the steps on how to do it.
Step 1:
Identify the location of the hole or tear by inflating the mattress and listening for the sound of air escaping.
Step 2:
Clean and dry the area around the hole or tear. This will ensure that the patch adheres properly.
Step 3:
Cut a piece of
patching material
that is slightly larger than the hole or tear. This material can be a piece of vinyl or a similar material.
Step 4:
Apply a thin layer of
patching glue
to the area around the hole or tear.
Step 5:
Place the patching material over the hole or tear and press down firmly to ensure it sticks to the mattress.
Step 6:
Let the glue dry completely, following the manufacturer's instructions.
Step 7:
Once the glue is dry, inflate the mattress again to check if the patch is holding. If it is, you're all set!
In Conclusion
 Having a functional air mattress is essential for any household, whether for guests or for your own use. And with the simple DIY patching technique, you can easily fix any holes or tears and prolong the lifespan of your air mattress. So next time your air mattress gets damaged, don't rush to replace it. Instead, try this DIY solution and see the results for yourself.