Removing a wall in your kitchen can be a daunting task, but with the right tools and knowledge, it can be a rewarding DIY project. Whether you're looking to create an open concept space or simply want to update the layout of your kitchen, removing a wall can completely transform the look and feel of your home. Here's a step-by-step guide on how to successfully remove a wall in your kitchen.How to Remove a Wall in Your Kitchen


How to Remove a Wall in Your Kitchen
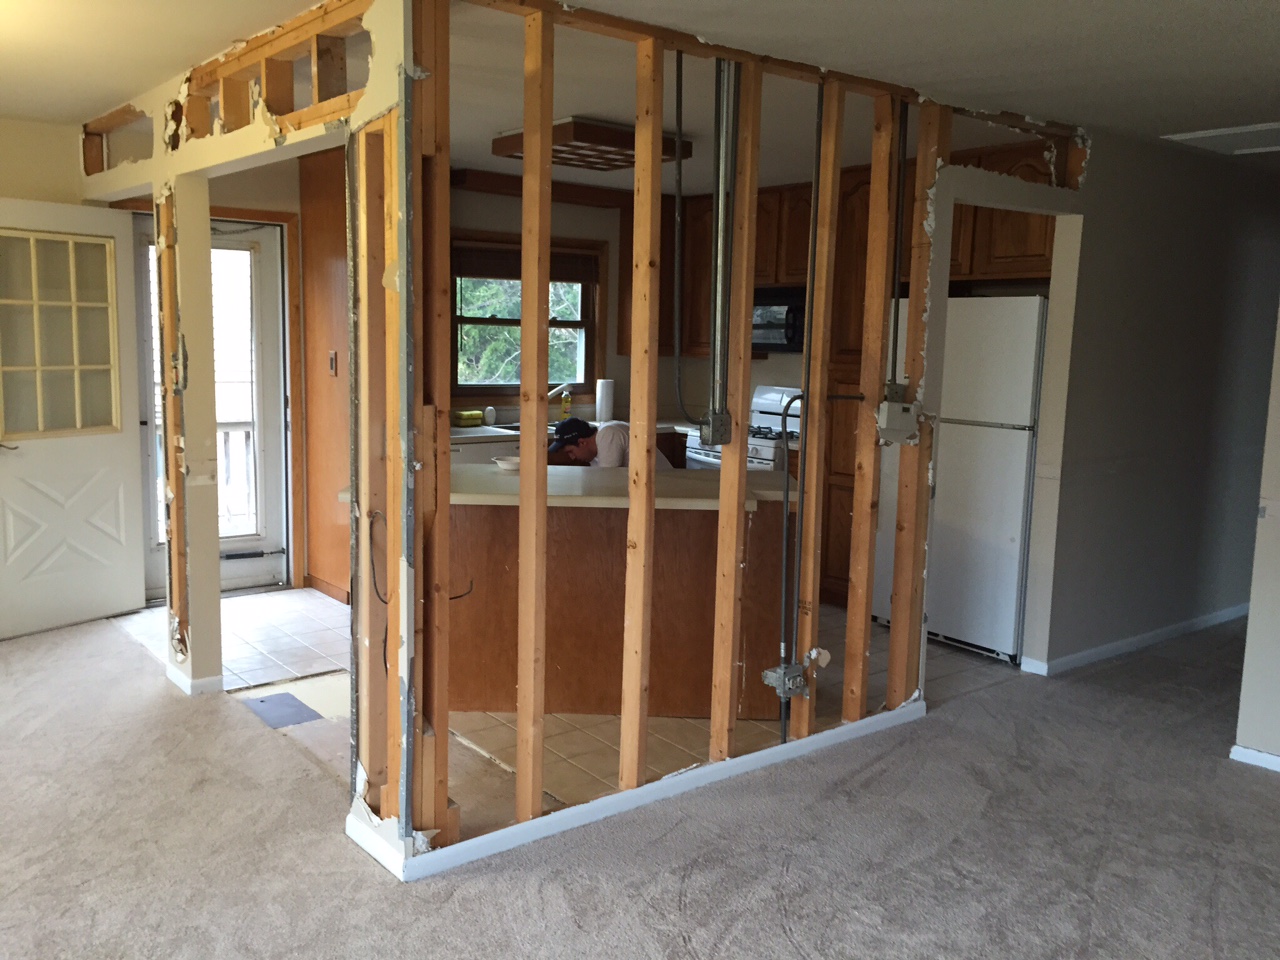


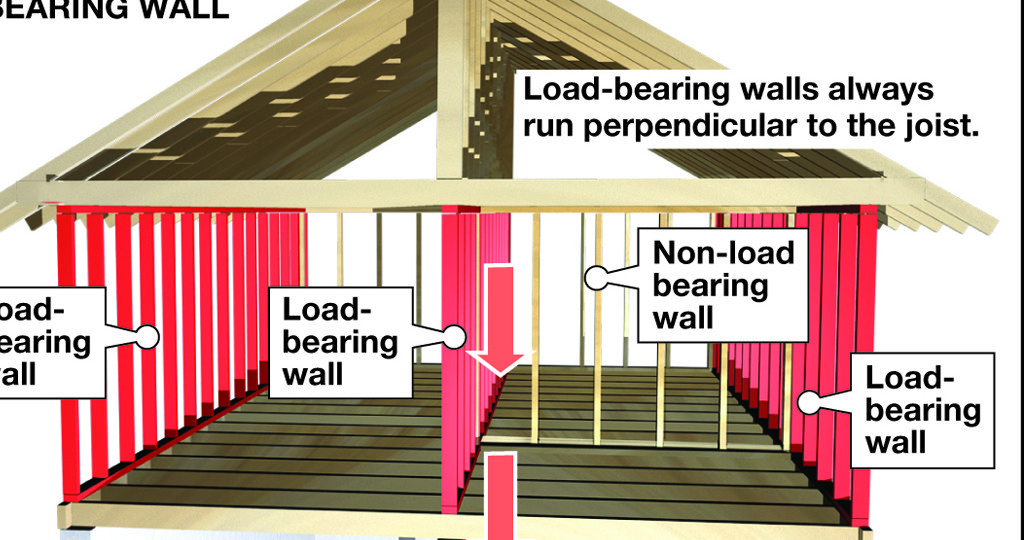
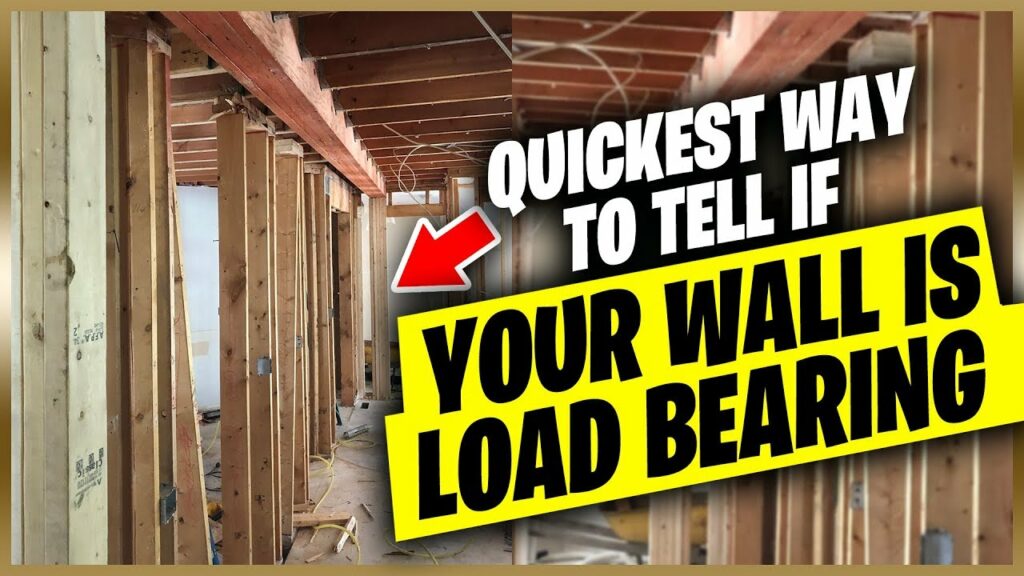
Before you begin, it's important to know the basics of wall removal. First, determine if the wall you want to remove is load-bearing or not. A load-bearing wall is a crucial part of the structure of your home and cannot be removed without proper reinforcement. If you're unsure, consult a professional contractor to assess the wall. Next, make sure to obtain any necessary permits from your local government before starting the project. This will ensure that the wall removal is done safely and up to code.DIY Kitchen Wall Removal: What You Need to Know


DIY Kitchen Wall Removal: What You Need to Know


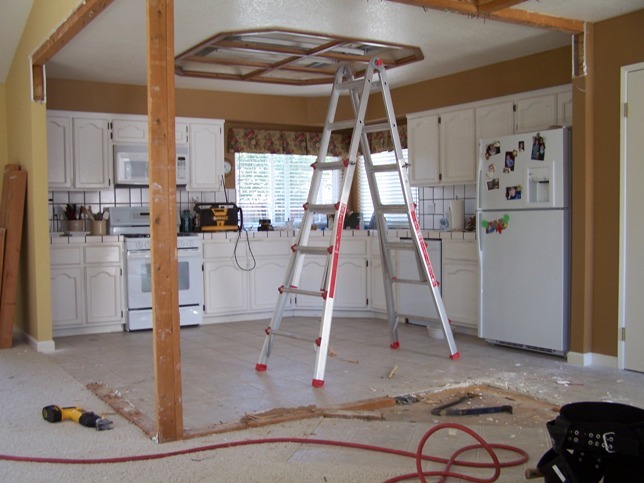


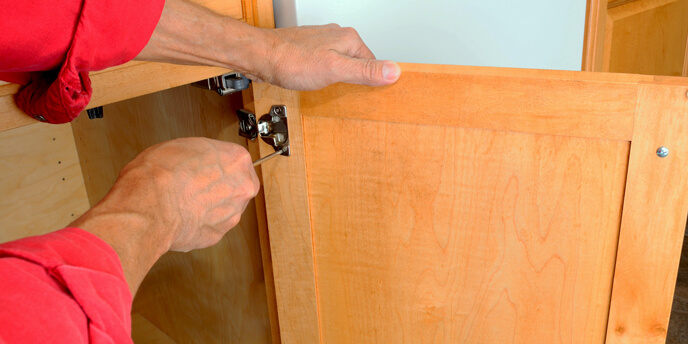
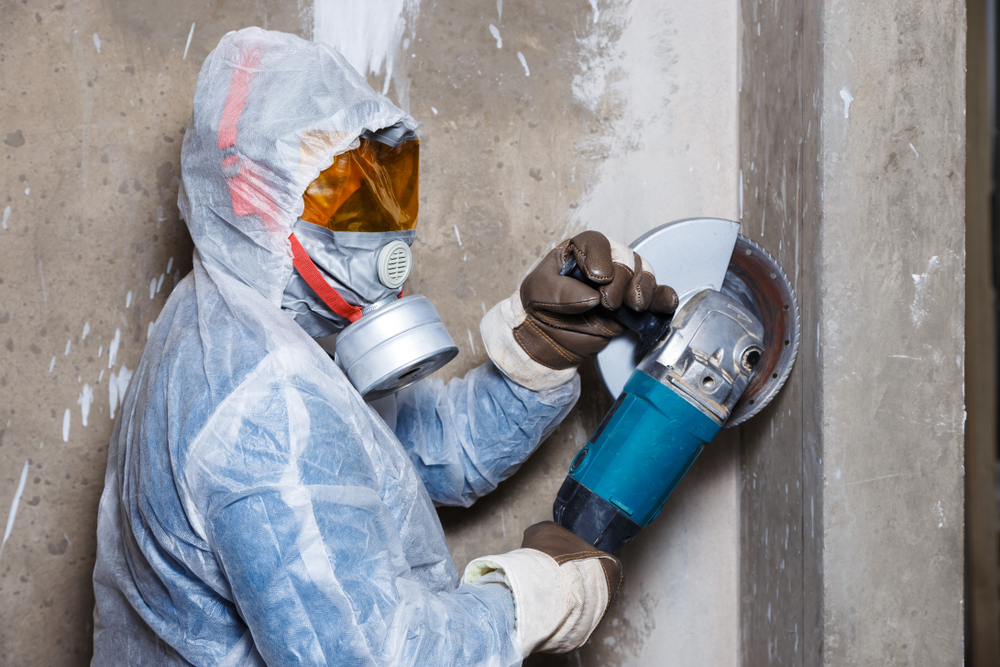
Step 1: Prepare the space. Start by clearing out the area surrounding the wall. Remove any furniture, appliances, and decor to create a clear work area. Step 2: Protect the floor. Lay down drop cloths or plastic sheeting to protect your floor from any debris or damage. Step 3: Turn off the power. Before starting any demolition, turn off the power to the wall to avoid any electrical hazards. Step 4: Remove any trim or molding. Use a pry bar to carefully remove any trim or molding from the wall. Step 5: Demo the drywall. Using a hammer or a reciprocating saw, carefully remove the drywall from the wall. Make sure to wear protective gear, such as gloves and goggles, to avoid any injuries. Step 6: Remove the studs. Once the drywall is removed, use a reciprocating saw to cut through the studs and remove them from the wall. Step 7: Address any electrical or plumbing. If there are any electrical or plumbing lines running through the wall, make sure to address them before proceeding with the removal. Step 8: Reinforce the structure. If the wall is load-bearing, it's important to reinforce the structure before removing the wall. Consult a professional for the best way to do this. Step 9: Patch and repair. Once the wall is removed, patch up any holes or damage to the surrounding walls and ceiling. This will create a smooth surface for painting or installing new drywall. Step 10: Clean up. Finally, clean up any debris and dust from the area to prepare for the next steps of your kitchen renovation.Step-by-Step Guide to Removing a Kitchen Wall


Step-by-Step Guide to Removing a Kitchen Wall


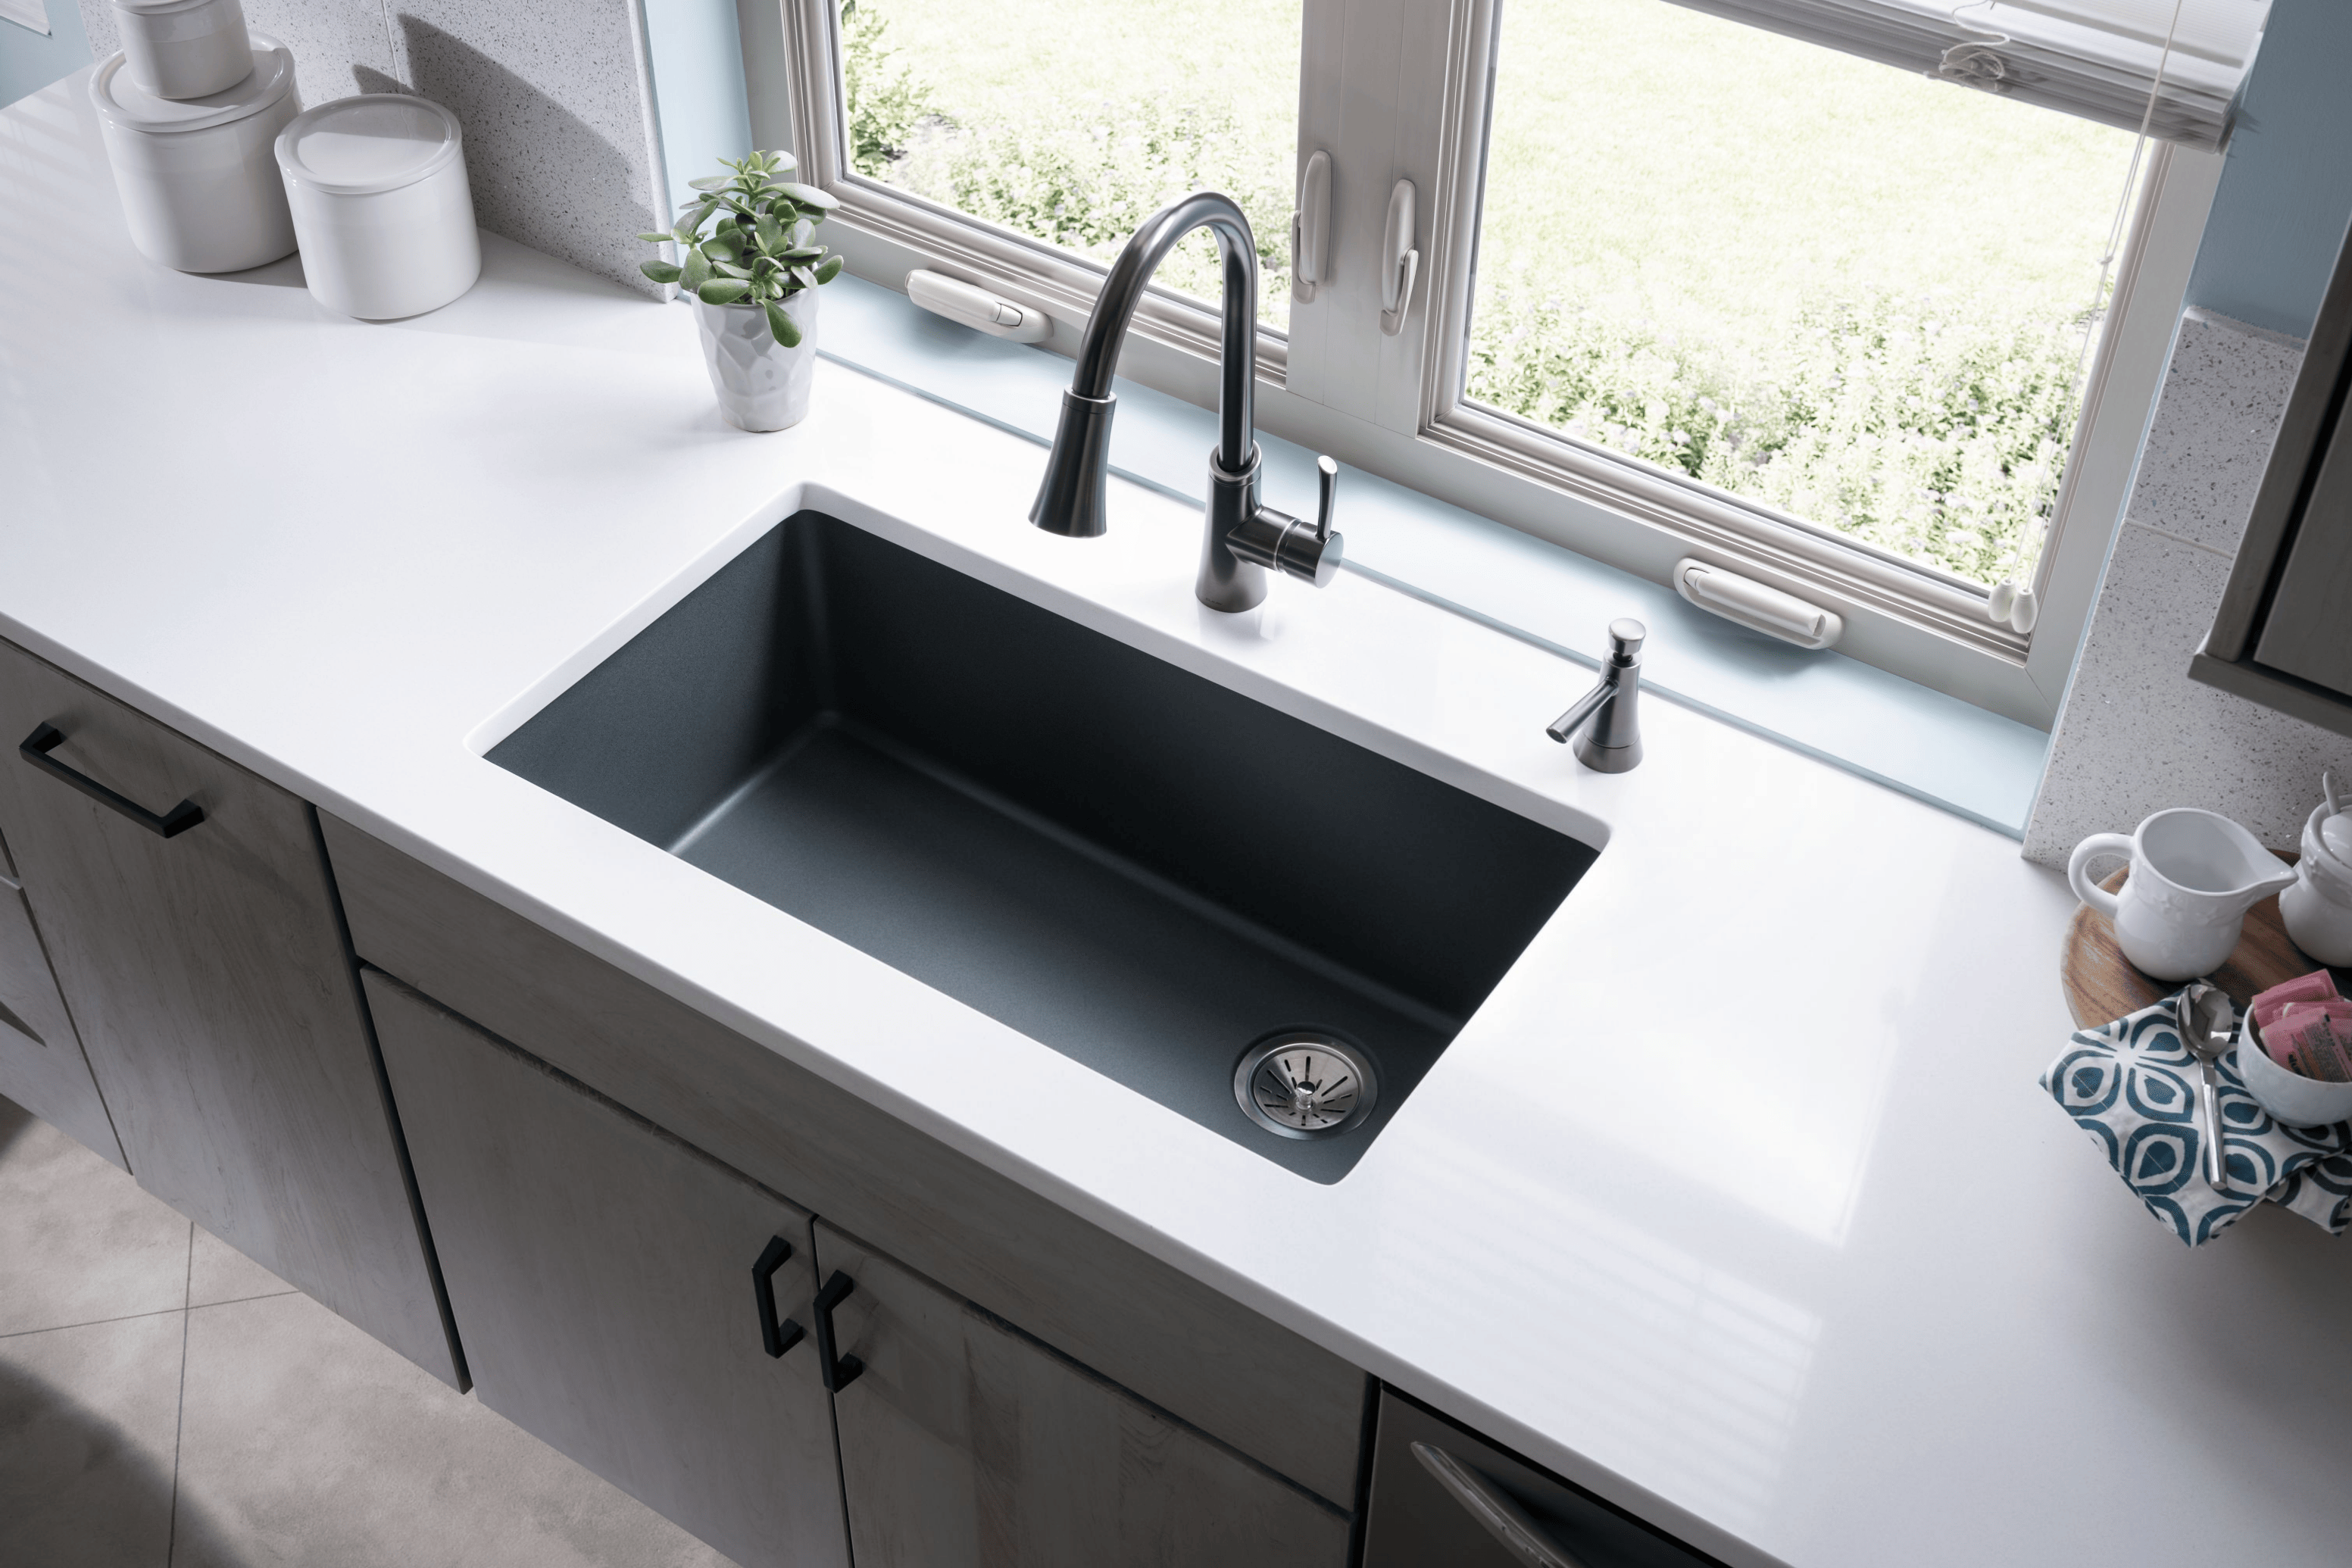
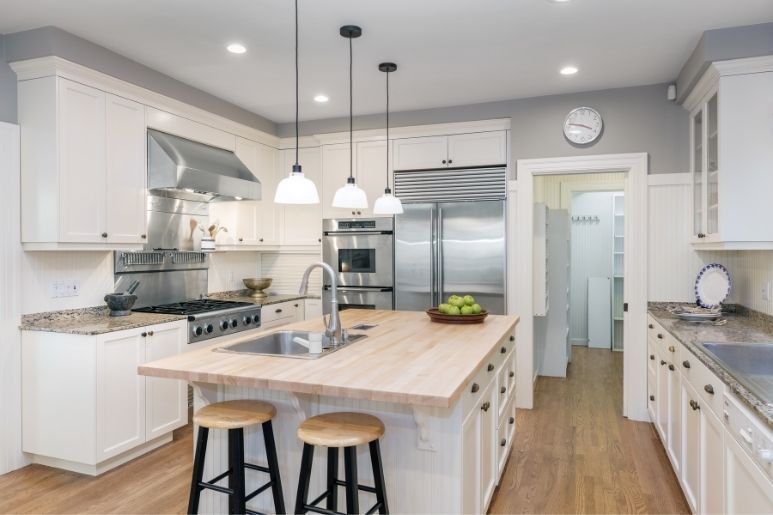
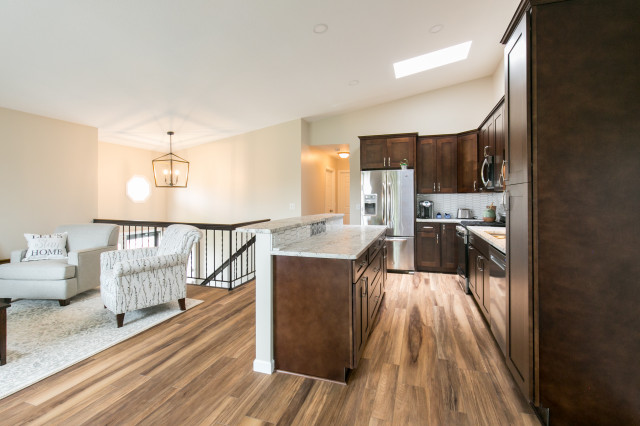
Removing a wall in your kitchen can be a great way to create an open concept living space. By removing a wall, you can open up the kitchen to the dining or living room, making it feel more spacious and modern. This is a popular renovation project for those looking to update the look of their home. When removing a wall for an open concept, it's important to consider the flow of the space and ensure that the structure of the house will not be compromised. Consult a professional if you're unsure about the feasibility of this project.DIY Kitchen Renovation: Removing a Wall for an Open Concept
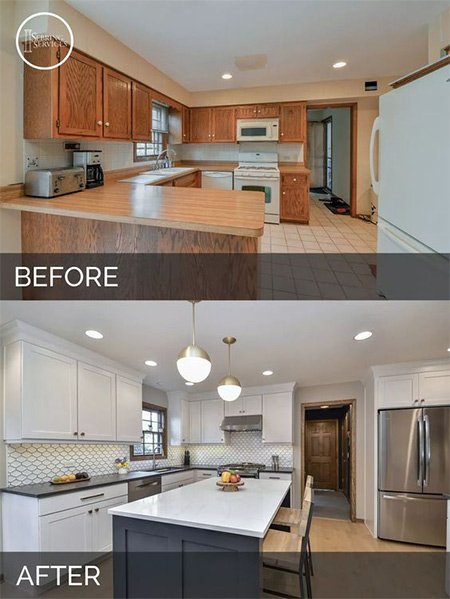


DIY Kitchen Renovation: Removing a Wall for an Open Concept

/light-blue-modern-kitchen-CWYoBOsD4ZBBskUnZQSE-l-97a7f42f4c16473a83cd8bc8a78b673a.jpg)


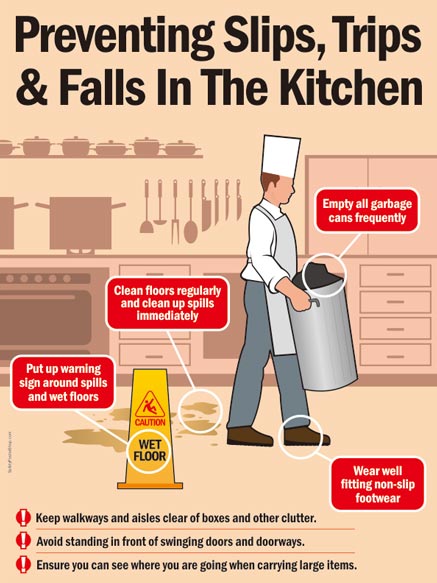
Here are some tips to keep in mind when removing a wall in your kitchen: - Wear protective gear, such as gloves and goggles, to avoid any injuries during demolition. - Use the right tools for the job, such as a reciprocating saw and pry bar. - Make sure to address any electrical or plumbing lines before removing the wall. - Reinforce the structure if the wall is load-bearing. - Clean up thoroughly after the wall is removed to prepare for the next steps of your renovation.Tips for Successfully Removing a Kitchen Wall


Tips for Successfully Removing a Kitchen Wall


While removing a wall can be a fun and rewarding DIY project, it's important to take the necessary safety precautions. Here are some tips to keep in mind: - Always wear protective gear, such as gloves and goggles, during demolition. - Turn off the power to the wall before starting any work. - Consult a professional if you're unsure about the safety of removing a particular wall. - Make sure to obtain any necessary permits before starting the project.DIY Kitchen Wall Removal: Safety Precautions to Take

DIY Kitchen Wall Removal: Safety Precautions to Take

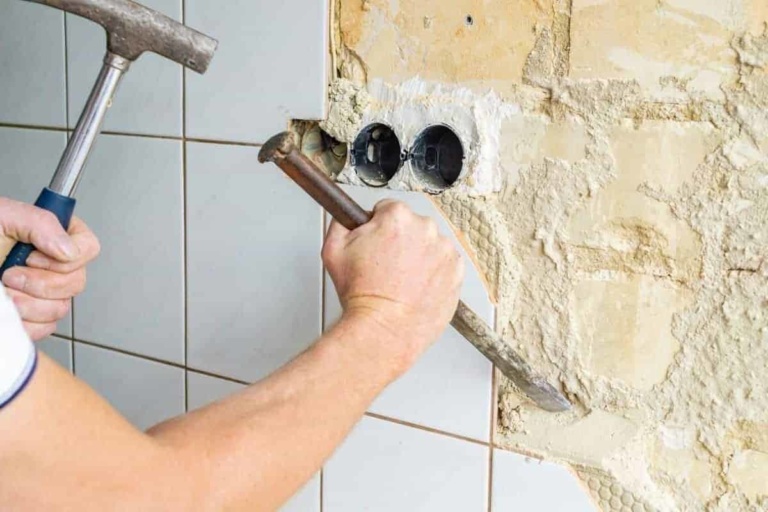
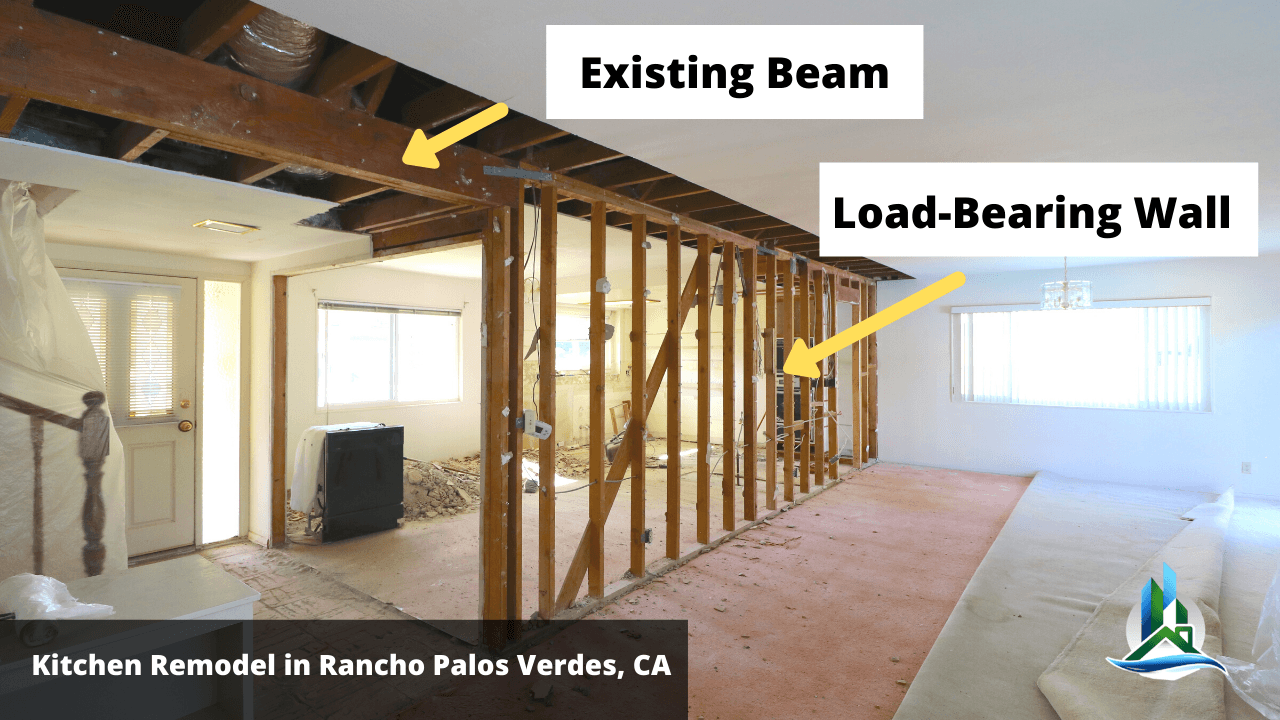
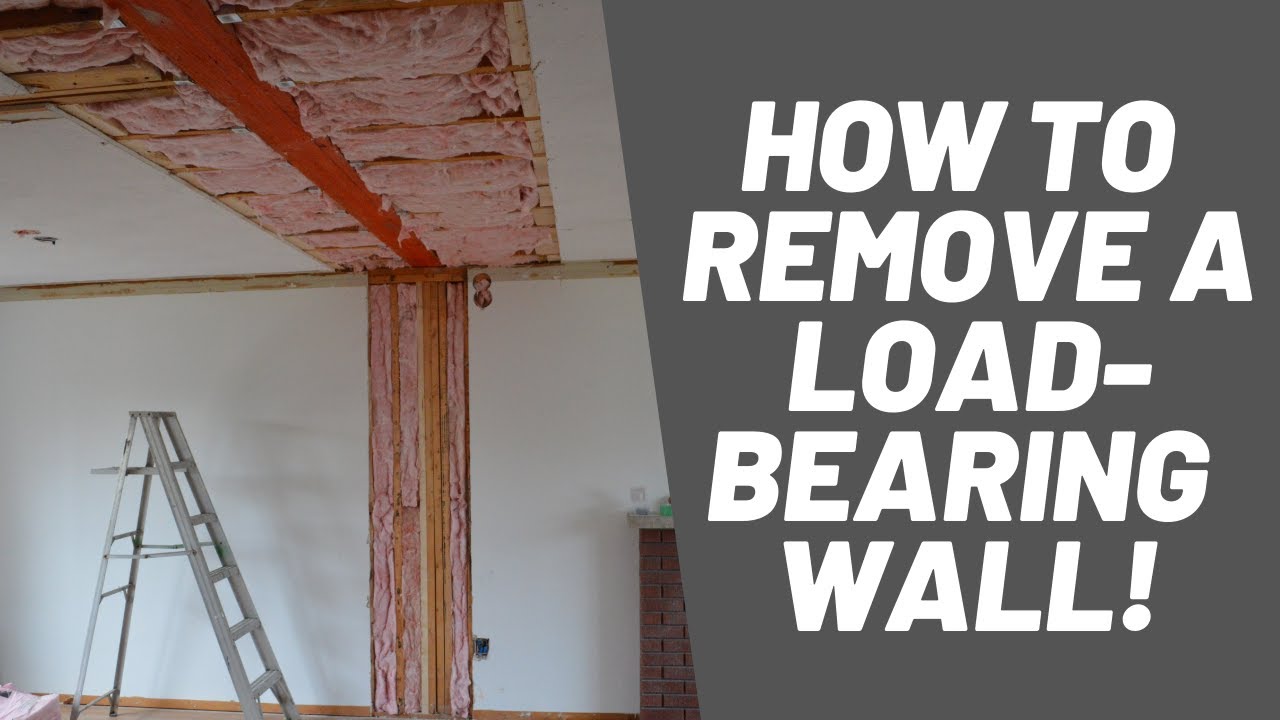
Removing a load-bearing wall in your kitchen is a more complex project than removing a non-load-bearing wall. It's crucial to consult a professional contractor before attempting to remove a load-bearing wall to ensure that the structure of your home will not be compromised. This may involve reinforcing the structure with beams or columns. It's also important to obtain any necessary permits and follow proper safety precautions when dealing with a load-bearing wall.Removing a Load-Bearing Wall in Your Kitchen: What You Need to Know


Removing a Load-Bearing Wall in Your Kitchen: What You Need to Know
/removing-a-load-bearing-wall-1821964-hero-5aa39356ae414ab985ba06f62e1d328b.jpg)

:max_bytes(150000):strip_icc()/removing-a-load-bearing-wall-1821964-02-46ac76bac5ce42789c6cae5c8bf68926.jpg)

Once the wall is removed, it's important to patch and repair any holes or damage to the surrounding walls and ceiling. Here's how: - Use drywall compound to fill in any holes or gaps in the walls. - Sand the area smooth once the compound has dried. - Apply a coat of primer to the patched areas to create an even surface for painting or installing new drywall. - Paint the walls to match the rest of the room.How to Patch and Repair Your Kitchen Wall After Removal


How to Patch and Repair Your Kitchen Wall After Removal


:max_bytes(150000):strip_icc()/SmooththeCrackFiller-ee96136b5580473798816a138c1cd6b6.jpg)


The cost and time estimates for removing a wall in your kitchen will vary depending on the size and complexity of the project. It's important to factor in the cost of any necessary permits, as well as the cost of materials and tools. It's also recommended to consult a professional contractor for an accurate quote. The time it takes to remove a wall will also depend on the size and complexity of the project, as well as the skill level of the individual. It's important to take your time and follow proper safety precautions to ensure the project is done correctly.DIY Kitchen Wall Removal: Cost and Time Estimates

DIY Kitchen Wall Removal: Cost and Time Estimates
When removing a wall in your kitchen, there are some common mistakes to avoid: - Not obtaining necessary permits. - Not consulting a professional if the wall is load-bearing or if you're unsure about the feasibility of the project. - Not taking proper safety precautions. - Not properly reinforcing the structure if the wall is load-bearing. - Not patching and repairing the surrounding walls and ceiling after the wall is removed. Removing a wall in your kitchen can be a challenging but rewarding DIY project. By following the steps and tips outlined in this guide, you can successfully remove a wall and transform the look and feel of your kitchen. Remember to always prioritize safety and consult a professional if needed. Happy renovating!Common Mistakes to Avoid When Removing a Kitchen Wall


Common Mistakes to Avoid When Removing a Kitchen Wall


The Benefits of DIY Kitchen Wall Removal

Transform Your Space
 Looking to update your kitchen and create a more open and spacious feel? Look no further than
DIY kitchen wall removal
. Removing a wall in your kitchen can completely transform the space, making it feel larger, brighter, and more functional. Whether you have a small kitchen that needs more room to move around, or you want to create an open concept design, removing a kitchen wall can give you the results you desire.
Looking to update your kitchen and create a more open and spacious feel? Look no further than
DIY kitchen wall removal
. Removing a wall in your kitchen can completely transform the space, making it feel larger, brighter, and more functional. Whether you have a small kitchen that needs more room to move around, or you want to create an open concept design, removing a kitchen wall can give you the results you desire.
Save Money
 Hiring a professional contractor to remove a kitchen wall can be expensive, but with
DIY kitchen wall removal
, you can save a significant amount of money. By doing the project yourself, you eliminate labor costs and can purchase materials at a lower price. Plus, with the money you save, you can invest in other kitchen upgrades or decorations to enhance the overall design.
Hiring a professional contractor to remove a kitchen wall can be expensive, but with
DIY kitchen wall removal
, you can save a significant amount of money. By doing the project yourself, you eliminate labor costs and can purchase materials at a lower price. Plus, with the money you save, you can invest in other kitchen upgrades or decorations to enhance the overall design.
Customize Your Design
 One of the great things about DIY projects is the ability to customize and personalize them to your liking. When removing a kitchen wall, you have the opportunity to create a unique and functional design that fits your specific needs and style. You can choose the layout, materials, and finishing touches that best suit your vision for your kitchen. This allows for a truly one-of-a-kind space that reflects your personal taste and enhances the overall value of your home.
Master a New Skill
 Taking on a DIY project like kitchen wall removal can be a fun and rewarding experience. Not only will you save money and have a customized design, but you will also gain valuable skills and knowledge along the way. Learning how to properly remove a wall and make structural changes to your home can be a useful skill to have for future projects. Plus, completing a project on your own can give you a sense of accomplishment and pride in your home.
Conclusion
 DIY kitchen wall removal
offers many benefits, from transforming your space to saving money and gaining new skills. With proper planning, research, and the right tools, you can successfully remove a kitchen wall and create a beautiful and functional design in your home. So why wait? Start planning your DIY kitchen wall removal project today and see the amazing transformation it can bring to your space.
DIY kitchen wall removal
offers many benefits, from transforming your space to saving money and gaining new skills. With proper planning, research, and the right tools, you can successfully remove a kitchen wall and create a beautiful and functional design in your home. So why wait? Start planning your DIY kitchen wall removal project today and see the amazing transformation it can bring to your space.