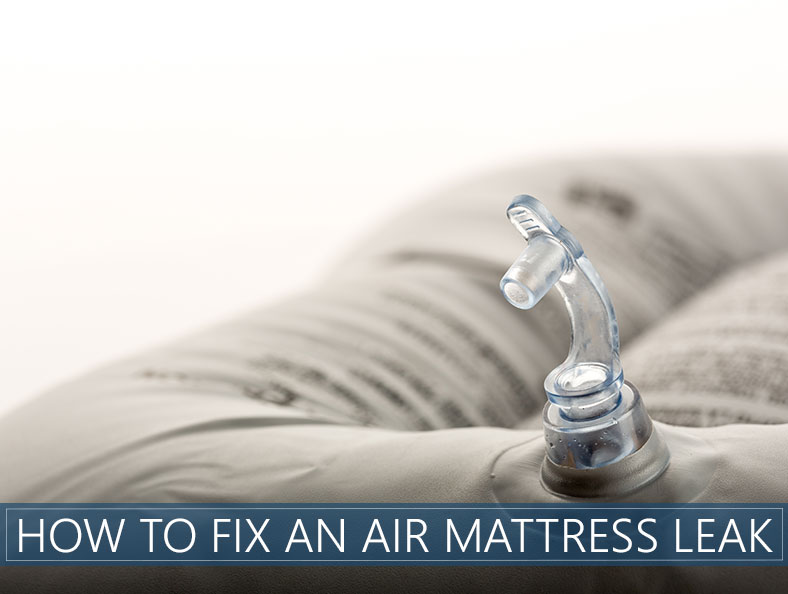
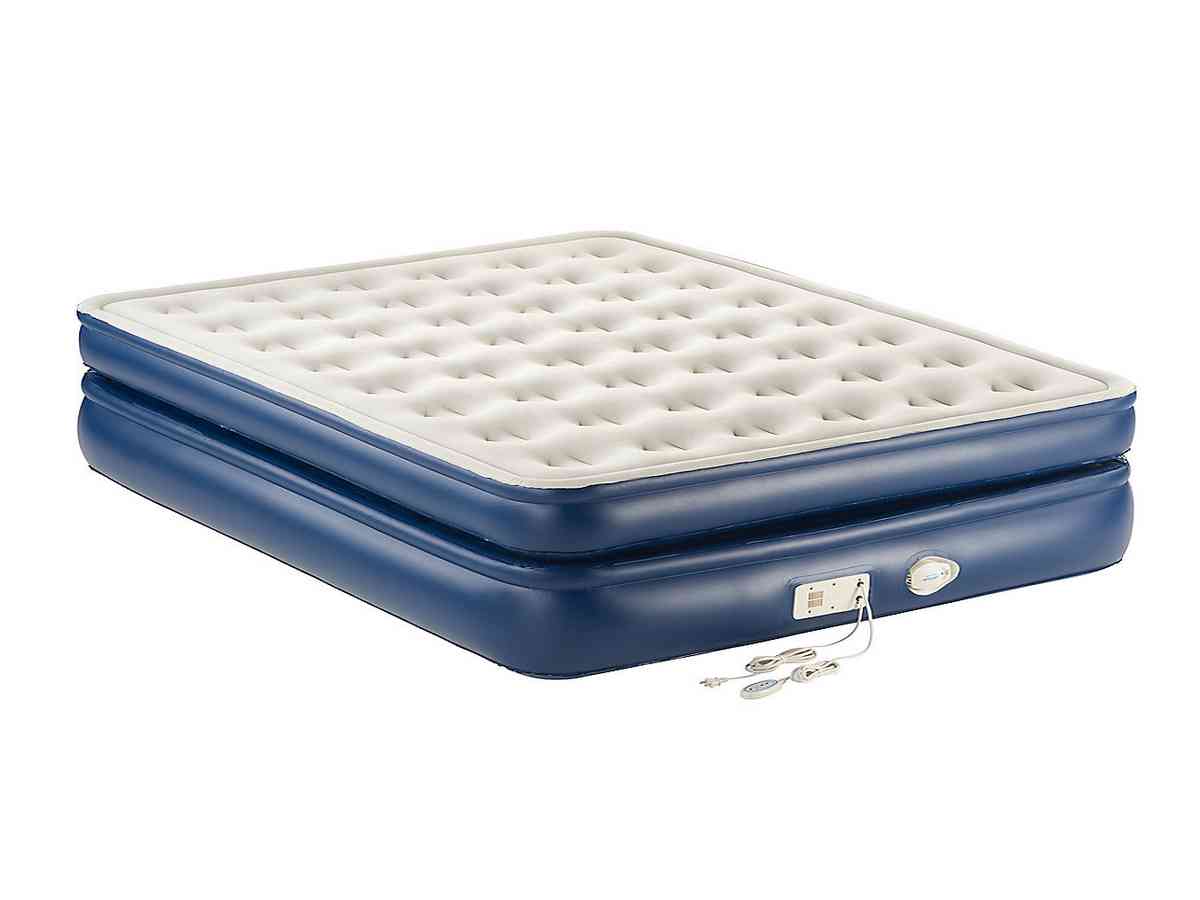
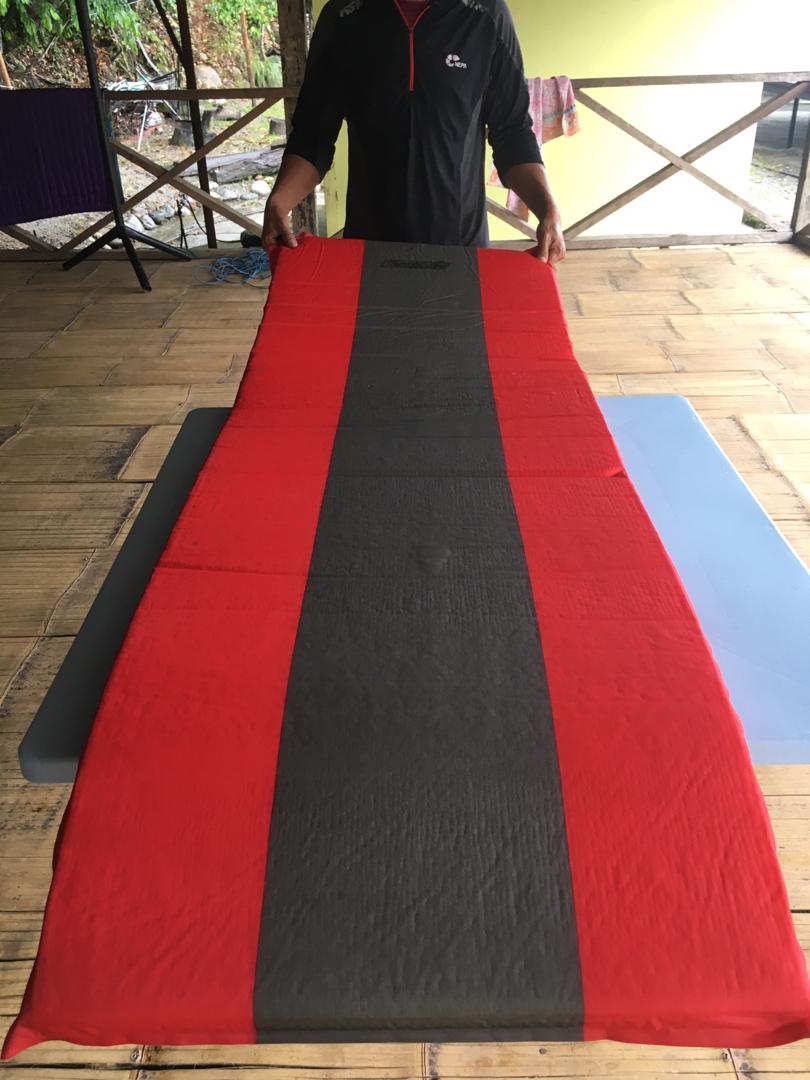
Air mattresses are a convenient and comfortable option for sleeping, but they can easily develop leaks over time. Whether it's from a puncture or wear and tear, a leaky air mattress can be frustrating to deal with. However, with a few simple steps, you can easily fix the leak and have your air mattress back in working condition. If you're someone who loves DIY projects, then fixing a leak in an air mattress is a perfect task for you. Not only will it save you money, but it will also give you a sense of satisfaction knowing that you were able to repair it yourself. So let's dive into the top 10 DIY methods for fixing a leak in an air mattress.How to Fix a Leak in an Air Mattress


How to Fix a Leak in an Air Mattress


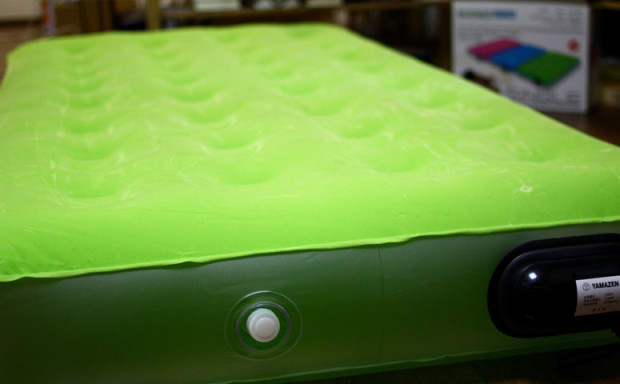
Before you can fix the leak in your air mattress, you need to locate it first. This can be done with a few simple steps. To start, inflate your air mattress to its full capacity and listen for any hissing sounds. If you're unable to hear anything, move your hand around the surface of the mattress, feeling for any air escaping. Another method is to use a spray bottle with soapy water and spray it on the surface of the mattress. If there's a leak, you'll see bubbles forming at the site of the leak.How to Repair an Air Mattress


How to Repair an Air Mattress


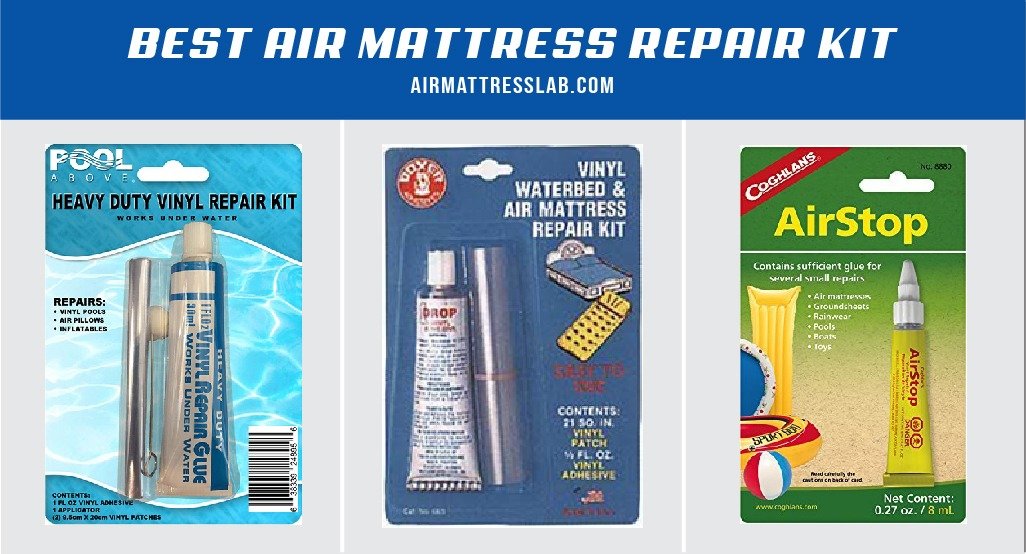


Once you've located the leak in your air mattress, it's time to patch it up. The easiest and most effective DIY patch is using a patch kit specifically designed for air mattresses. These kits come with adhesive patches that can easily stick to the surface of the mattress. To use the patch, clean the area around the leak with rubbing alcohol and let it dry completely. Then, apply the adhesive patch over the leak and firmly press down on it to ensure it sticks properly. Let it dry for at least 24 hours before using the mattress again.DIY Air Mattress Patch


DIY Air Mattress Patch


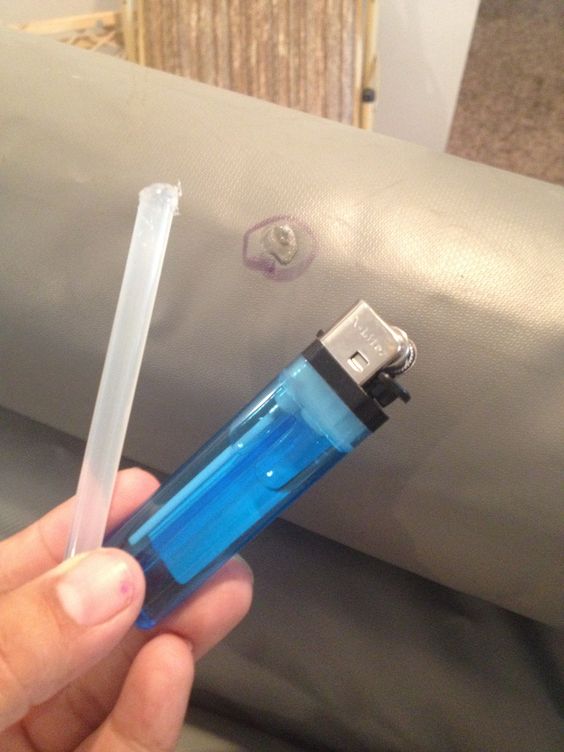
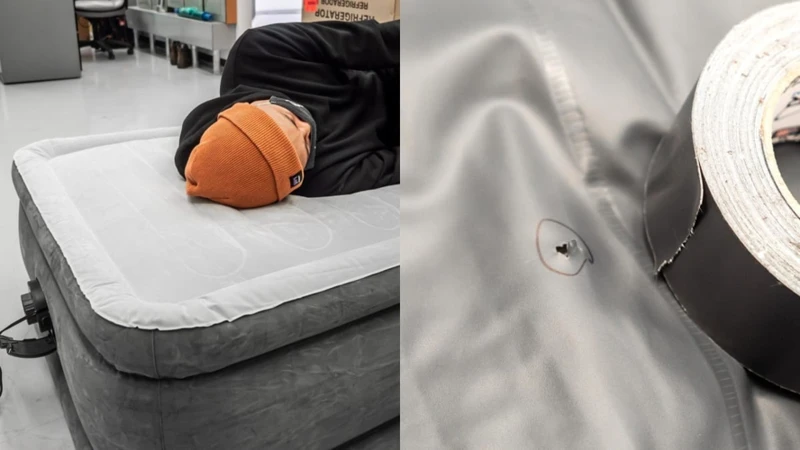
If you don't have a patch kit on hand, there are a few other DIY methods you can try to fix a leak in your air mattress. One method is using duct tape to cover the leak. Simply cut a small piece of duct tape and place it over the leak, pressing down firmly. This should provide a temporary fix until you can get a proper patch kit. Another method is using a hot glue gun to seal the leak. This method works best for small holes. Simply apply a small amount of hot glue directly over the leak and let it dry. Once it's dry, trim off any excess glue to ensure it doesn't interfere with the mattress's inflation.How to Find a Leak in an Air Mattress

How to Find a Leak in an Air Mattress


If you're someone who frequently uses air mattresses, it's a good idea to have a DIY repair kit on hand for any unexpected leaks. You can easily create your own repair kit by including items such as adhesive patches, duct tape, hot glue gun, and scissors. Having a DIY repair kit will save you time and money in the long run, as you won't have to run out and buy a patch kit every time your air mattress develops a leak.DIY Air Mattress Repair Kit


DIY Air Mattress Repair Kit
Another effective method for patching an air mattress is using a bicycle tire patch. These patches are specifically designed to withstand air pressure and are perfect for fixing holes in air mattresses. To use a bicycle tire patch, clean the area around the leak with rubbing alcohol and let it dry completely. Then, apply the adhesive patch over the leak and firmly press down on it to ensure it sticks properly. Let it dry for at least 24 hours before using the mattress again.How to Patch an Air Mattress

How to Patch an Air Mattress


:max_bytes(150000):strip_icc()/inflatable-mattress-in-an-empty-room-1165771286-cdef8878a02c456188562f33c8f66d5d.jpg)

If the leak in your air mattress is coming from the plug itself, you may need to replace it. This can easily be done with a few simple tools. To start, deflate your air mattress completely and remove the old plug. Then, take the new plug and insert it into the hole, making sure it fits securely. You can use a pair of pliers to push it in if needed. Once the new plug is in place, you can inflate your mattress again and check for any additional leaks.DIY Air Mattress Plug Replacement

DIY Air Mattress Plug Replacement


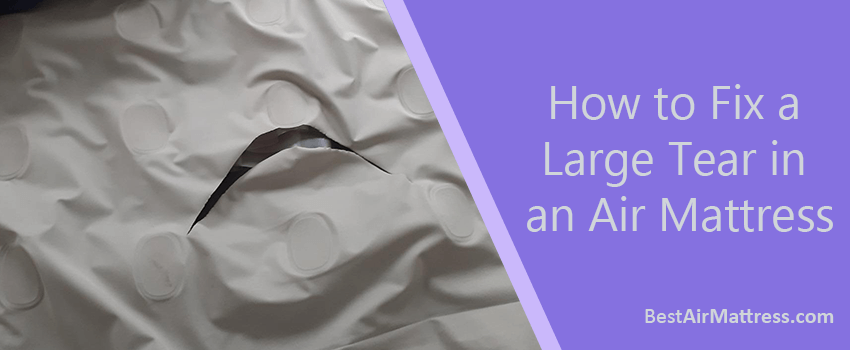
If your air mattress has a larger hole or tear, you may need to use a more heavy-duty repair method. One option is using a vinyl patch and adhesive specifically designed for repairing inflatables. To use this method, clean the area around the hole with rubbing alcohol and let it dry completely. Then, cut the vinyl patch to size and apply adhesive to one side. Place the patch over the hole, pressing down firmly. Let it dry for at least 24 hours before using the mattress again.How to Fix a Hole in an Air Mattress


How to Fix a Hole in an Air Mattress


If you don't have a vinyl patch on hand, you can also use a piece of vinyl or rubber material, such as an old shower curtain or pool float. Cut the material to size and use a strong adhesive to attach it to the hole in your air mattress. This method may not be as effective as using a vinyl patch, but it can provide a temporary fix until you can get a proper patch kit or replacement mattress.DIY Air Mattress Leak Repair

DIY Air Mattress Leak Repair


If your air mattress has a tear, you may need to use a combination of methods to repair it. Start by using a patch kit or adhesive to seal the tear. Then, cover the affected area with a piece of vinyl or rubber material and use a strong adhesive to secure it. Once the adhesive is dry, you can use a patch kit or duct tape to further reinforce the repair. This method may take a bit more time and effort, but it will provide a strong and long-lasting fix for your torn air mattress. With these top 10 DIY methods, you can easily fix a leak in your air mattress and have it back in working condition. Remember to always keep a repair kit on hand for any unexpected leaks, and regularly check your air mattress for any signs of wear and tear to prevent future leaks. With proper maintenance, your air mattress can provide many comfortable nights of sleep for years to come.How to Repair a Tear in an Air Mattress

How to Repair a Tear in an Air Mattress


The Importance of Having a DIY Air Mattress Plug in Your Home

Save Money and Time with a DIY Air Mattress Plug
 When it comes to house design, one of the most important aspects to consider is functionality. This not only applies to the overall layout and design of your home, but also to the small details that can make a big difference. One such detail that often gets overlooked is having a
DIY air mattress plug
readily available in your home.
The reality is that air mattresses are a staple in many households, whether it's for camping trips, accommodating guests, or simply for extra sleeping space. However, these convenient inflatable beds are not immune to punctures and leaks. Without a
air mattress plug
, you may find yourself scrambling to find a replacement, spending unnecessary money and time in the process.
When it comes to house design, one of the most important aspects to consider is functionality. This not only applies to the overall layout and design of your home, but also to the small details that can make a big difference. One such detail that often gets overlooked is having a
DIY air mattress plug
readily available in your home.
The reality is that air mattresses are a staple in many households, whether it's for camping trips, accommodating guests, or simply for extra sleeping space. However, these convenient inflatable beds are not immune to punctures and leaks. Without a
air mattress plug
, you may find yourself scrambling to find a replacement, spending unnecessary money and time in the process.
Be Prepared for Unexpected Situations
Eco-Friendly Solution
 Not only is having a
DIY air mattress plug
a convenient and practical solution, but it is also an eco-friendly one. Instead of throwing away a damaged air mattress and contributing to waste, a
air mattress plug
can extend the life of your inflatable bed. This also means saving money in the long run by not having to constantly replace air mattresses.
Not only is having a
DIY air mattress plug
a convenient and practical solution, but it is also an eco-friendly one. Instead of throwing away a damaged air mattress and contributing to waste, a
air mattress plug
can extend the life of your inflatable bed. This also means saving money in the long run by not having to constantly replace air mattresses.
How to Make Your Own DIY Air Mattress Plug
 Creating your own
DIY air mattress plug
is simple and cost-effective. All you need is a piece of rubber, such as an old bike tire patch or even a deflated balloon, and some super glue. Cut the rubber into a circular shape and use the super glue to seal any punctures or holes in your air mattress.
Creating your own
DIY air mattress plug
is simple and cost-effective. All you need is a piece of rubber, such as an old bike tire patch or even a deflated balloon, and some super glue. Cut the rubber into a circular shape and use the super glue to seal any punctures or holes in your air mattress.
A Must-Have for Every Home
 In conclusion, having a
DIY air mattress plug
is a practical and eco-friendly solution for any household. It can save you time, money, and stress in unexpected situations and extend the life of your air mattress. So next time you're considering house design, don't forget to add a
DIY air mattress plug
to your list of must-haves.
In conclusion, having a
DIY air mattress plug
is a practical and eco-friendly solution for any household. It can save you time, money, and stress in unexpected situations and extend the life of your air mattress. So next time you're considering house design, don't forget to add a
DIY air mattress plug
to your list of must-haves.