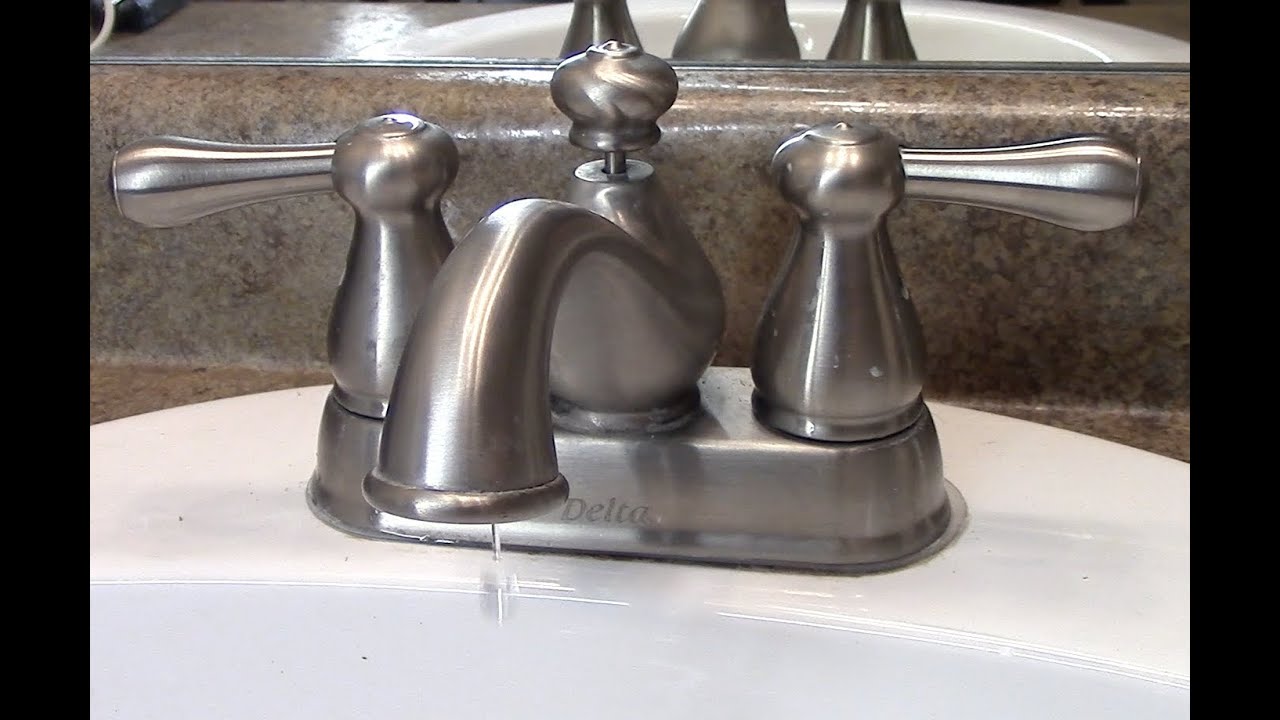
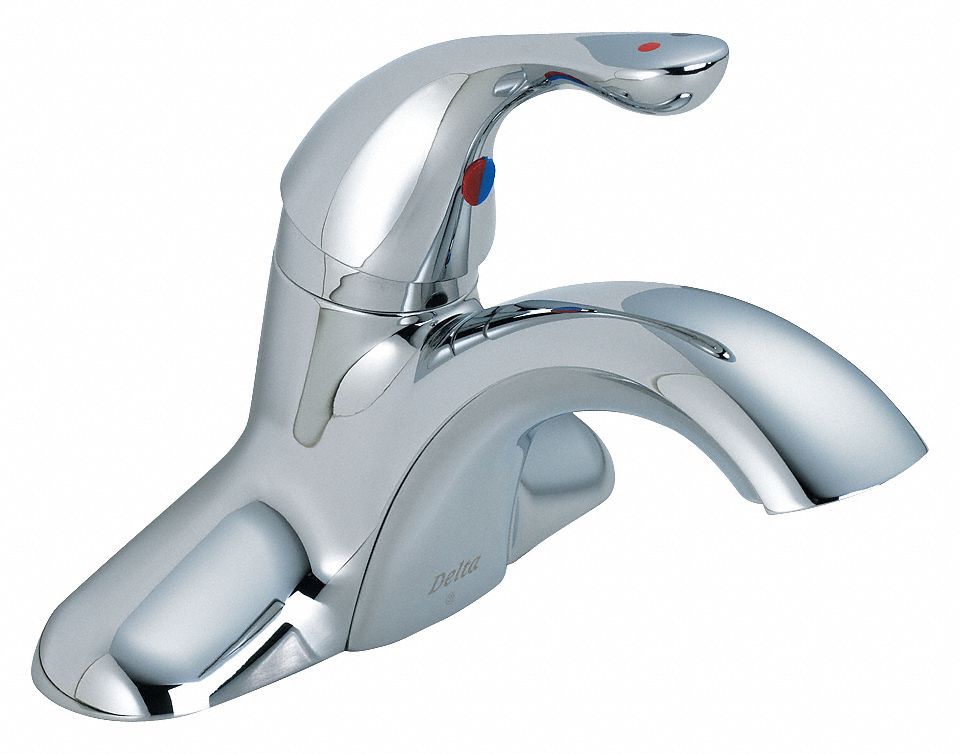
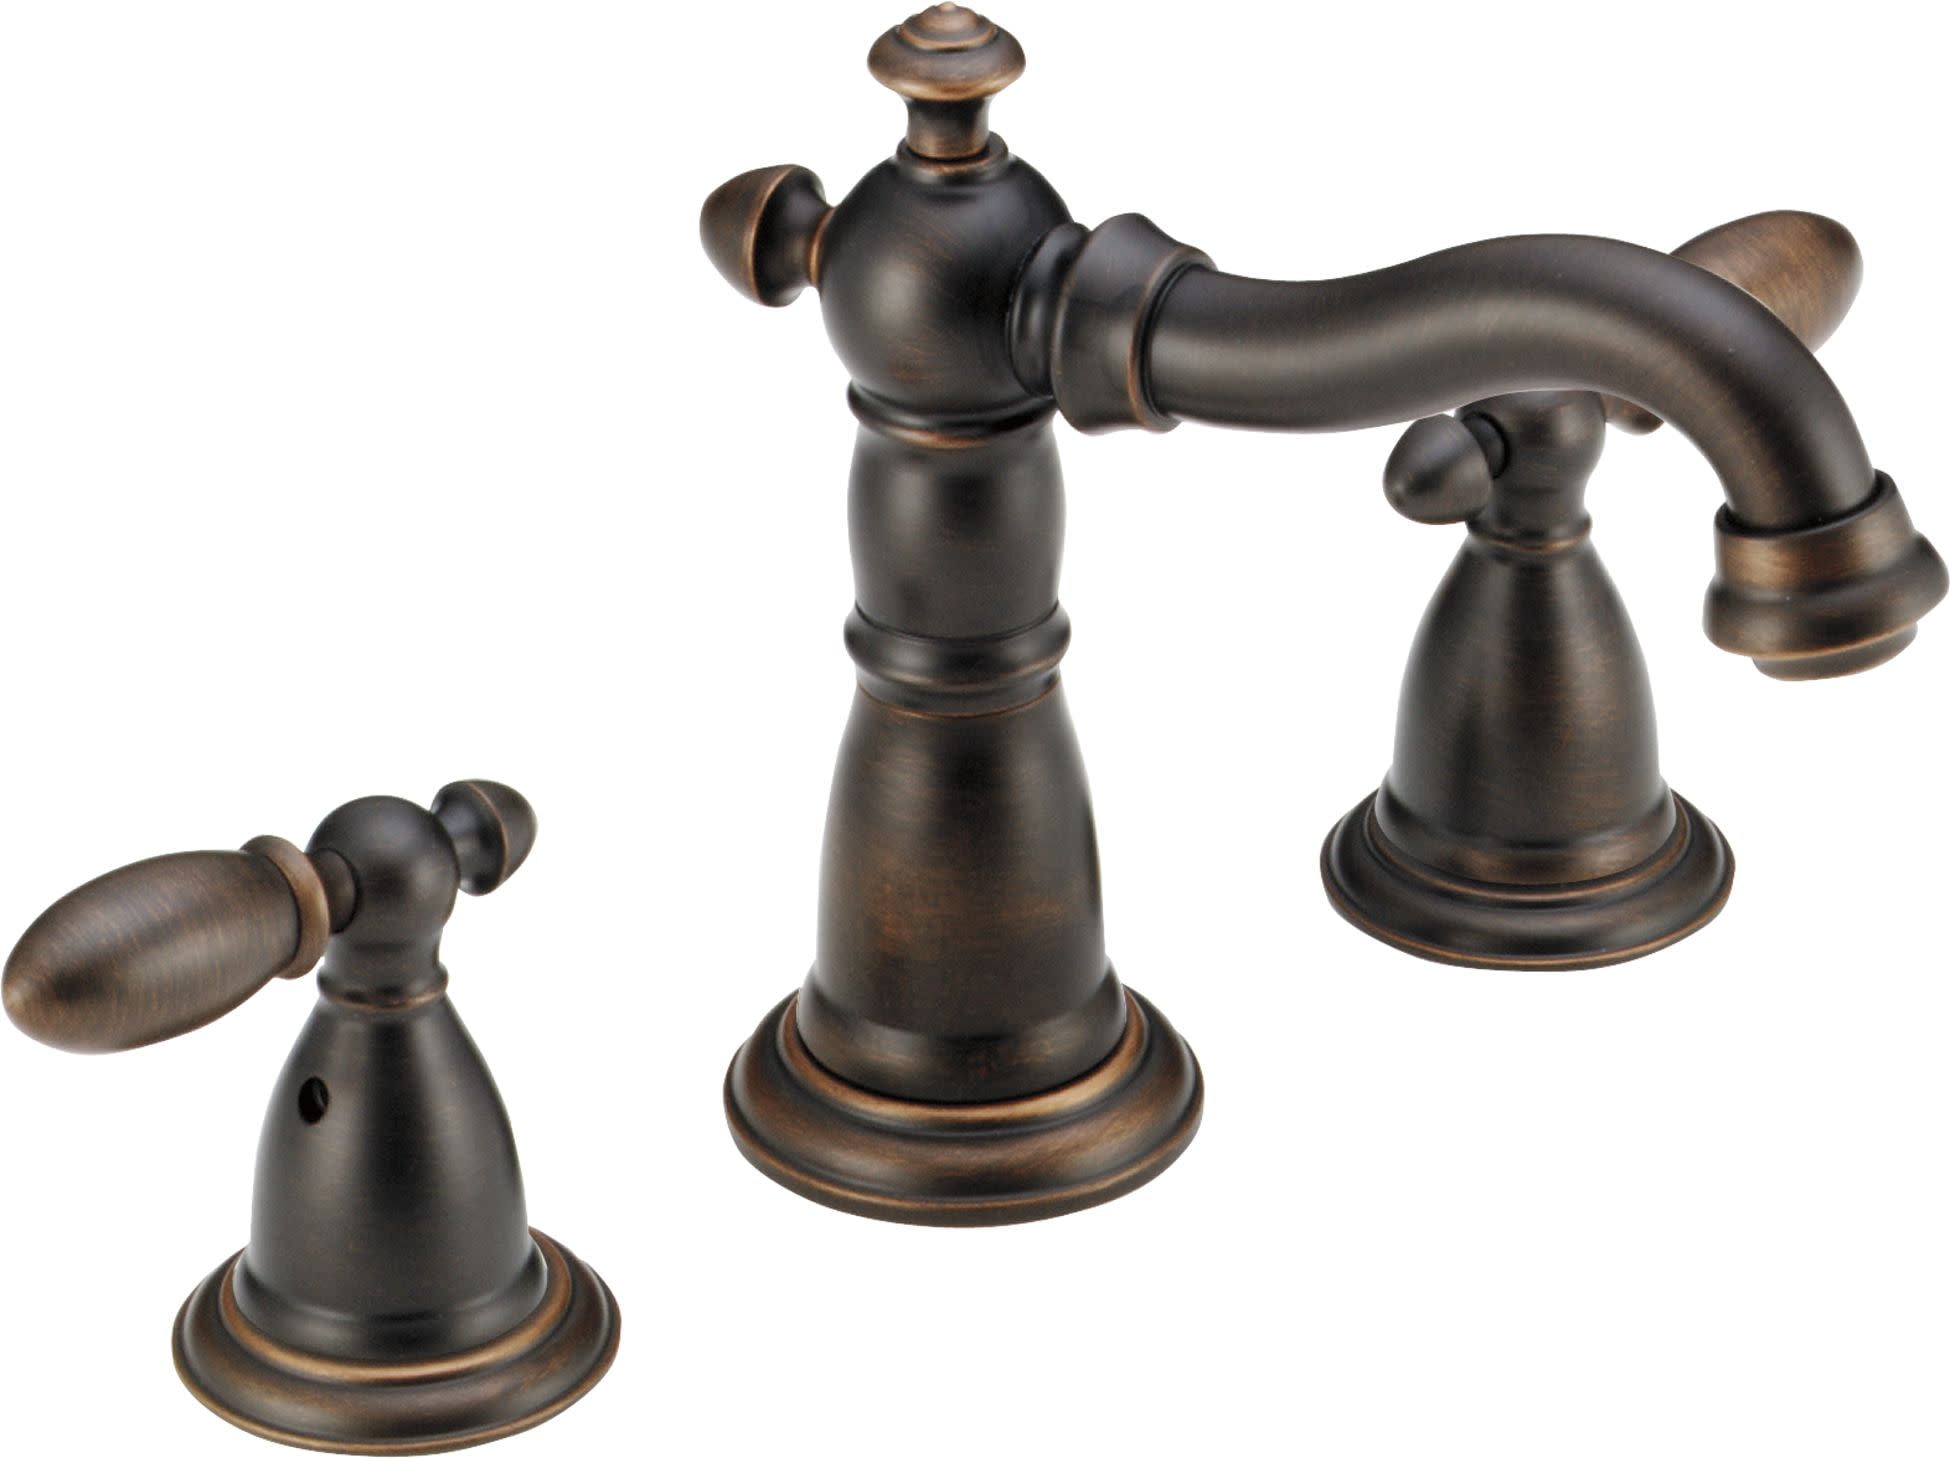
If you're looking to install a new Delta bathroom sink faucet, you've come to the right place. Delta is known for their high-quality and durable products, and their bathroom sink faucets are no exception. However, installing a new faucet can be a daunting task, especially if you're not familiar with plumbing. But don't worry, with the help of these Delta bathroom sink faucet installation instructions, you'll have your new faucet up and running in no time.Delta Bathroom Sink Faucet Installation Instructions Plastic Clips


Delta Bathroom Sink Faucet Installation Instructions Plastic Clips


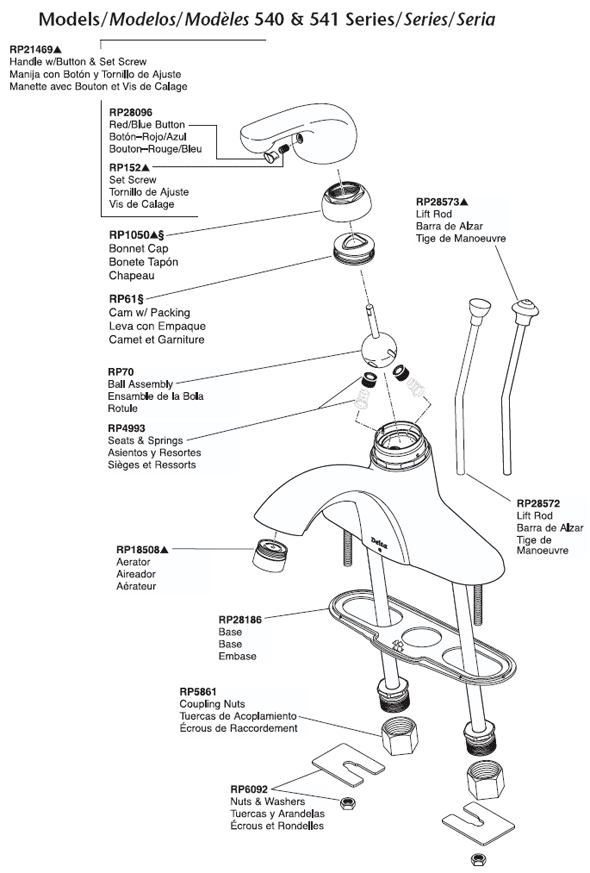
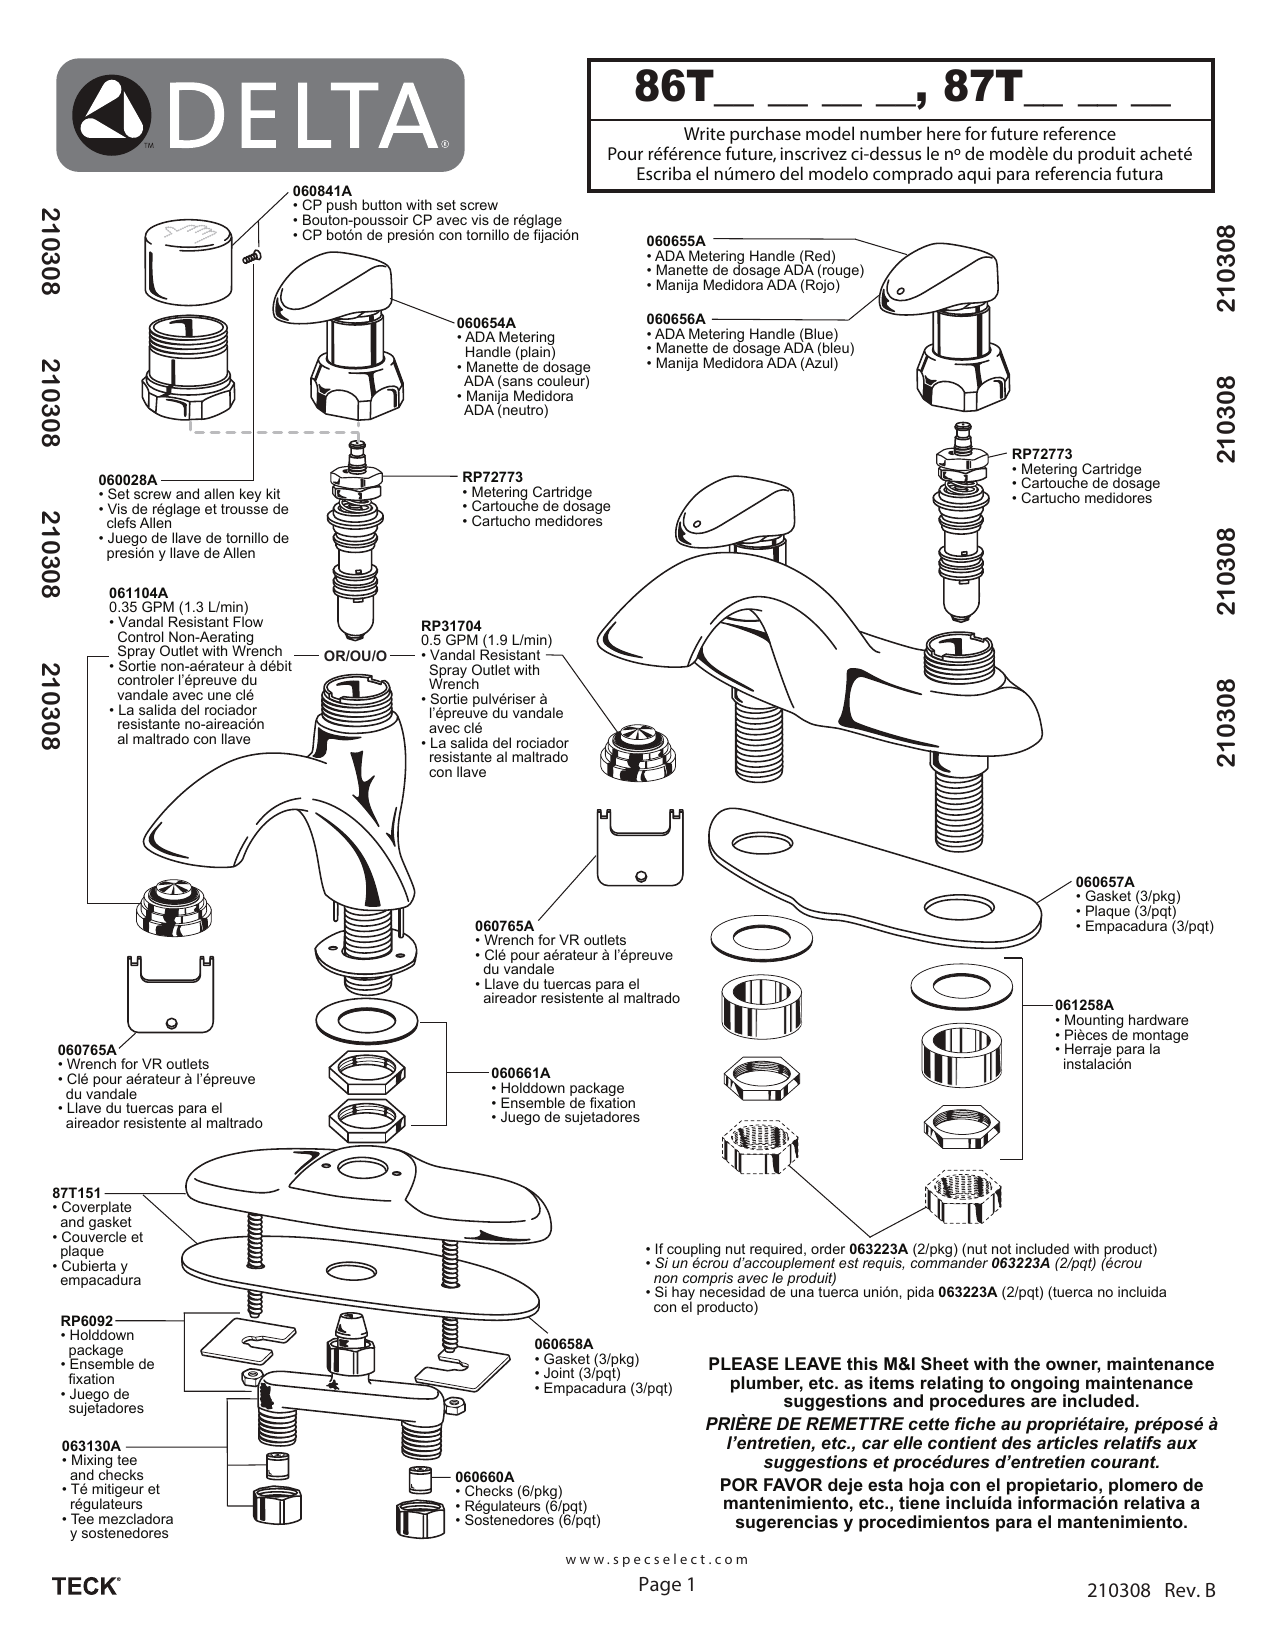
Before you start the installation process, make sure you have all the necessary tools and materials. You will need:1. Gather Your Tools and Materials

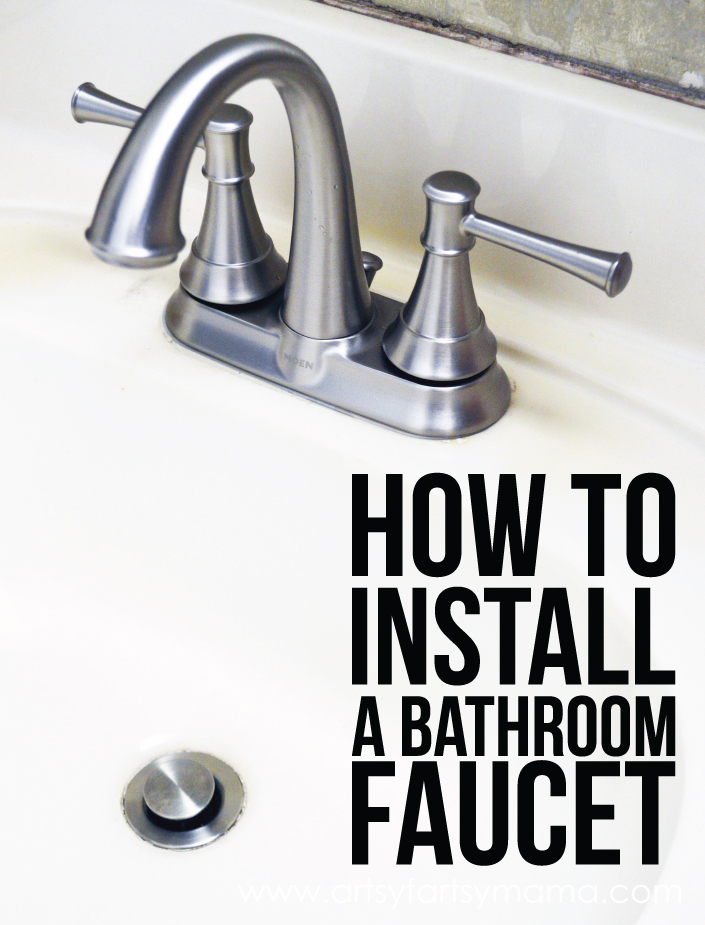
Delta Bathroom Sink Faucet Installation Instructions


Before you begin any plumbing work, you must shut off the water supply. If you're not sure how to do this, consult your home's manual or contact a professional plumber. Once the water is turned off, turn on the faucet to release any remaining water pressure.2. Shut Off the Water Supply

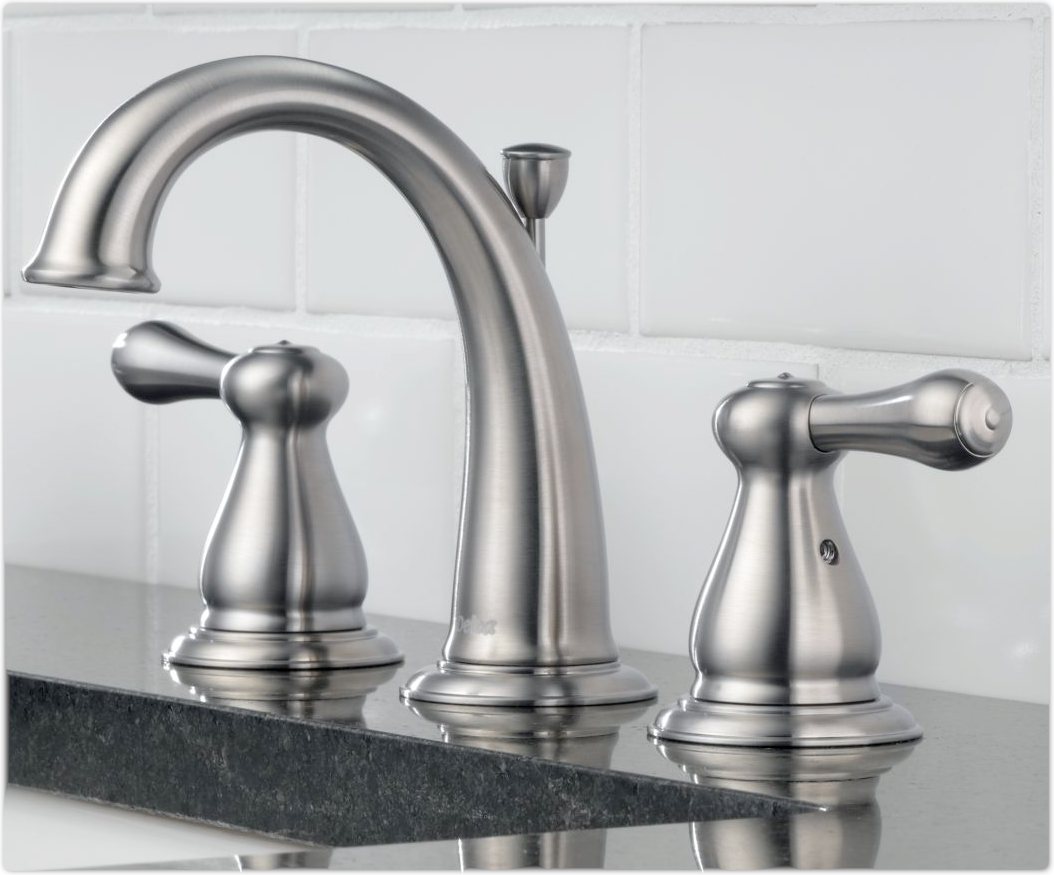
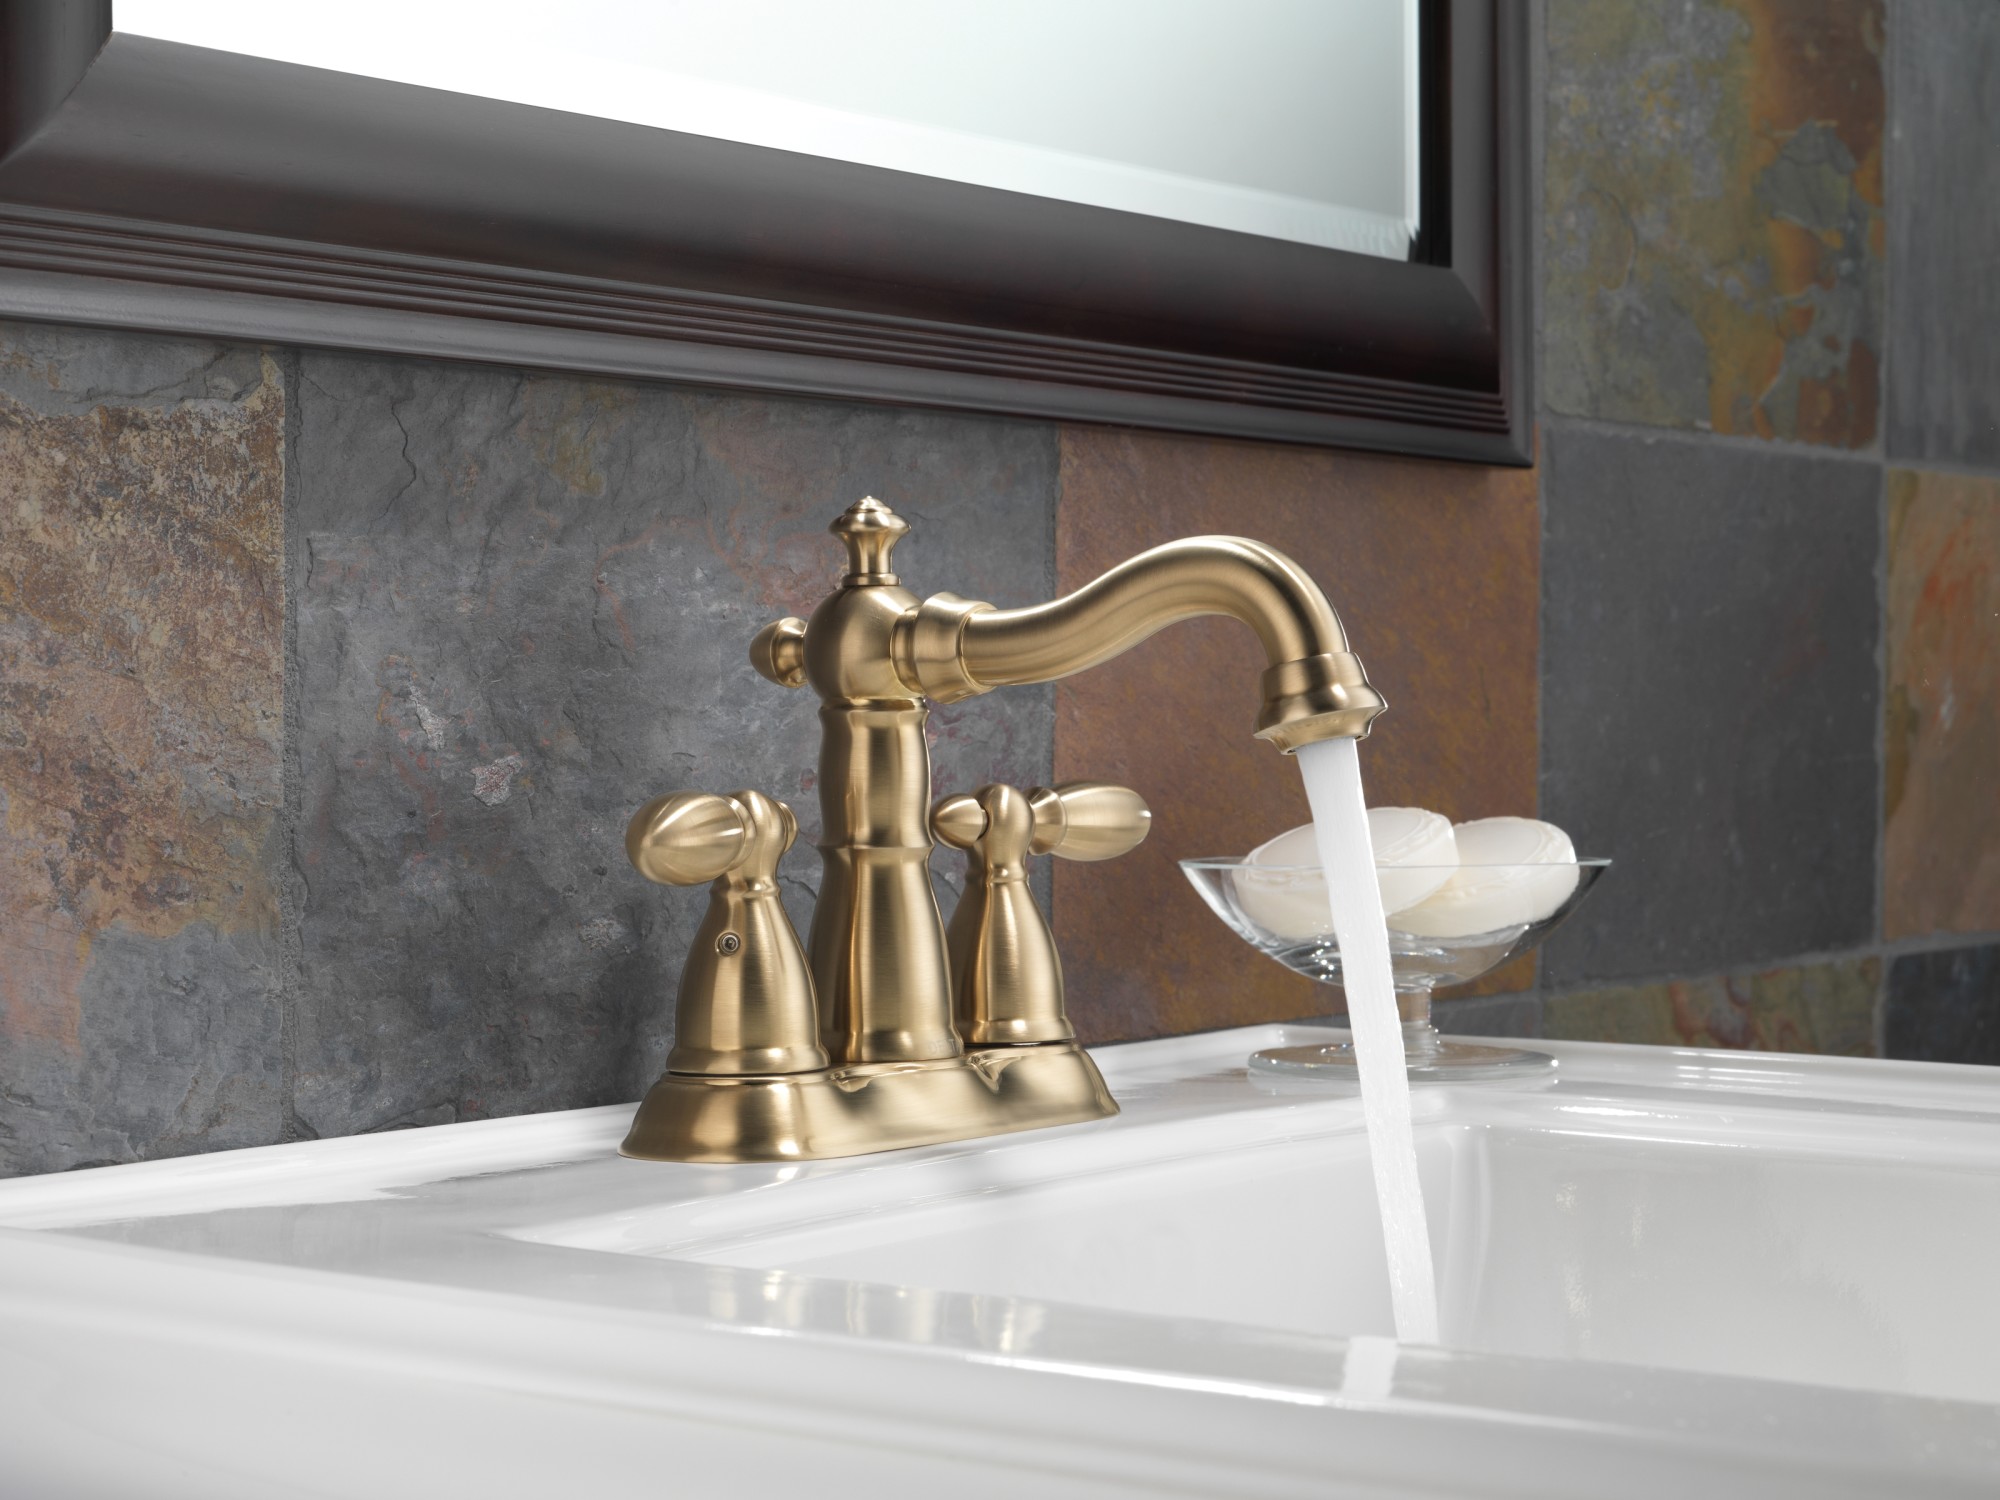
Delta Bathroom Sink Faucet Installation


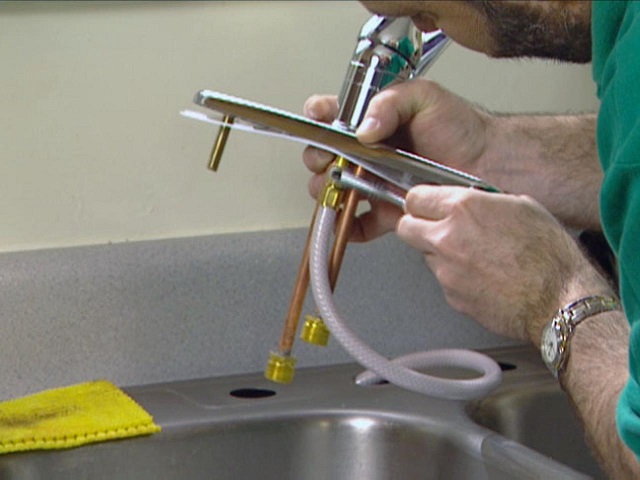
Using your adjustable wrench, unscrew the nuts and bolts that are holding the old faucet in place. Once they are removed, you can lift the faucet and any connecting pipes out of the sink. Make sure to remove any old putty or debris from the sink surface.3. Remove the Old Faucet


Delta Bathroom Sink Faucet


Take your new plastic clips and insert them into the holes on the underside of the sink. These clips will secure the faucet to the sink and prevent it from moving around.4. Install the New Plastic Clips
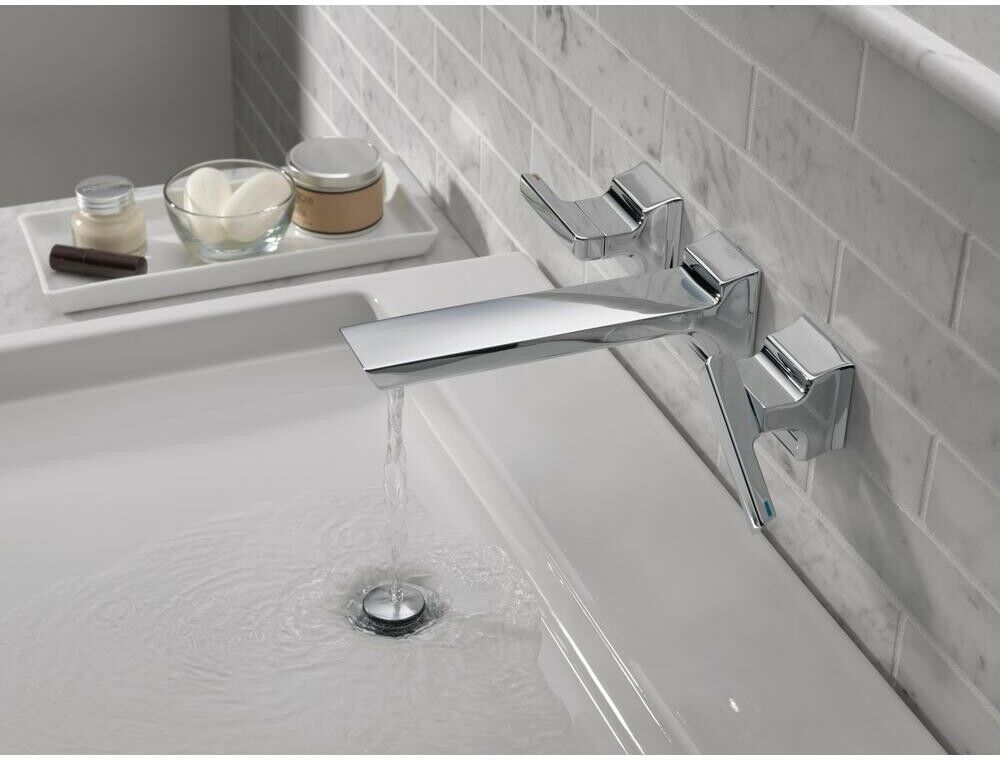
Delta Bathroom Sink


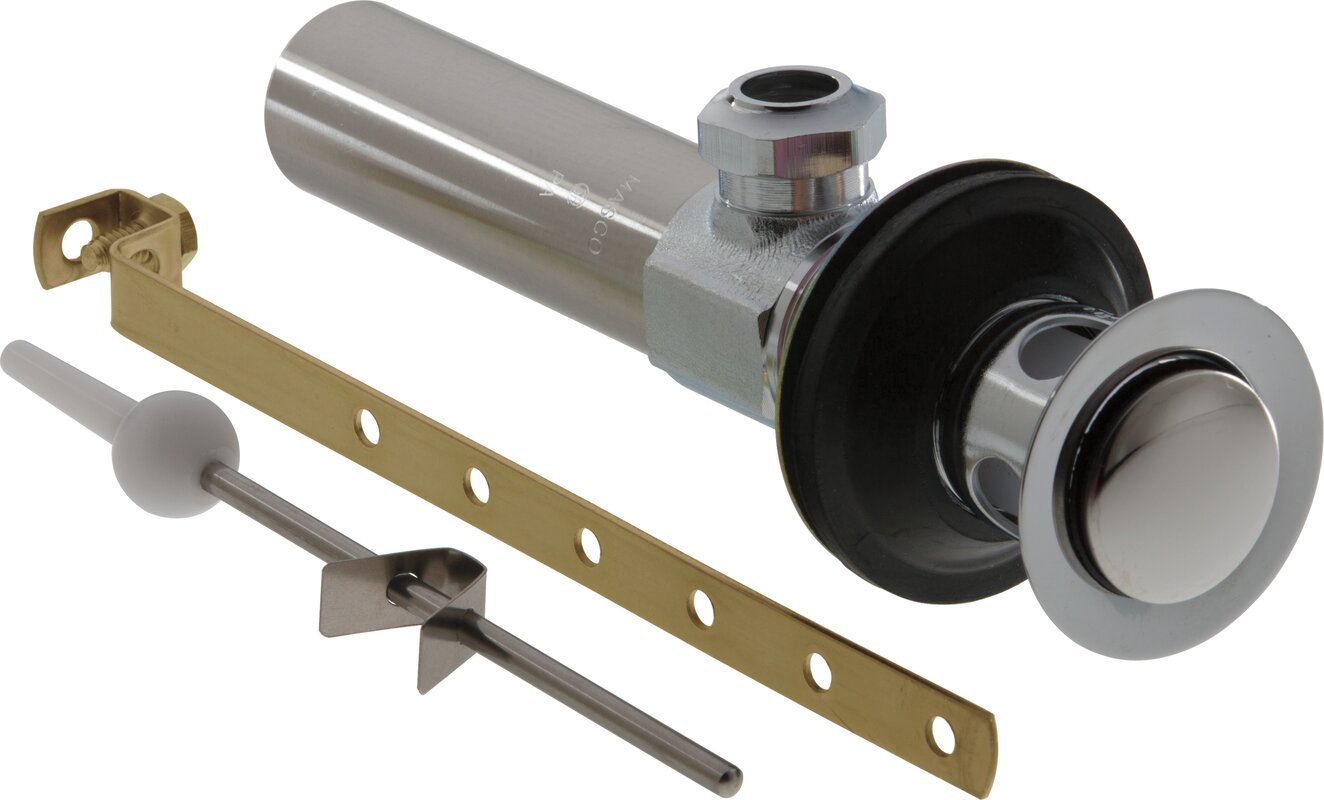

Using your plumber's putty, create a ring around the edge of the sink where the faucet will be placed. This will create a watertight seal and prevent any leaks.5. Apply Plumber's Putty


Delta Bathroom Faucet Installation Instructions

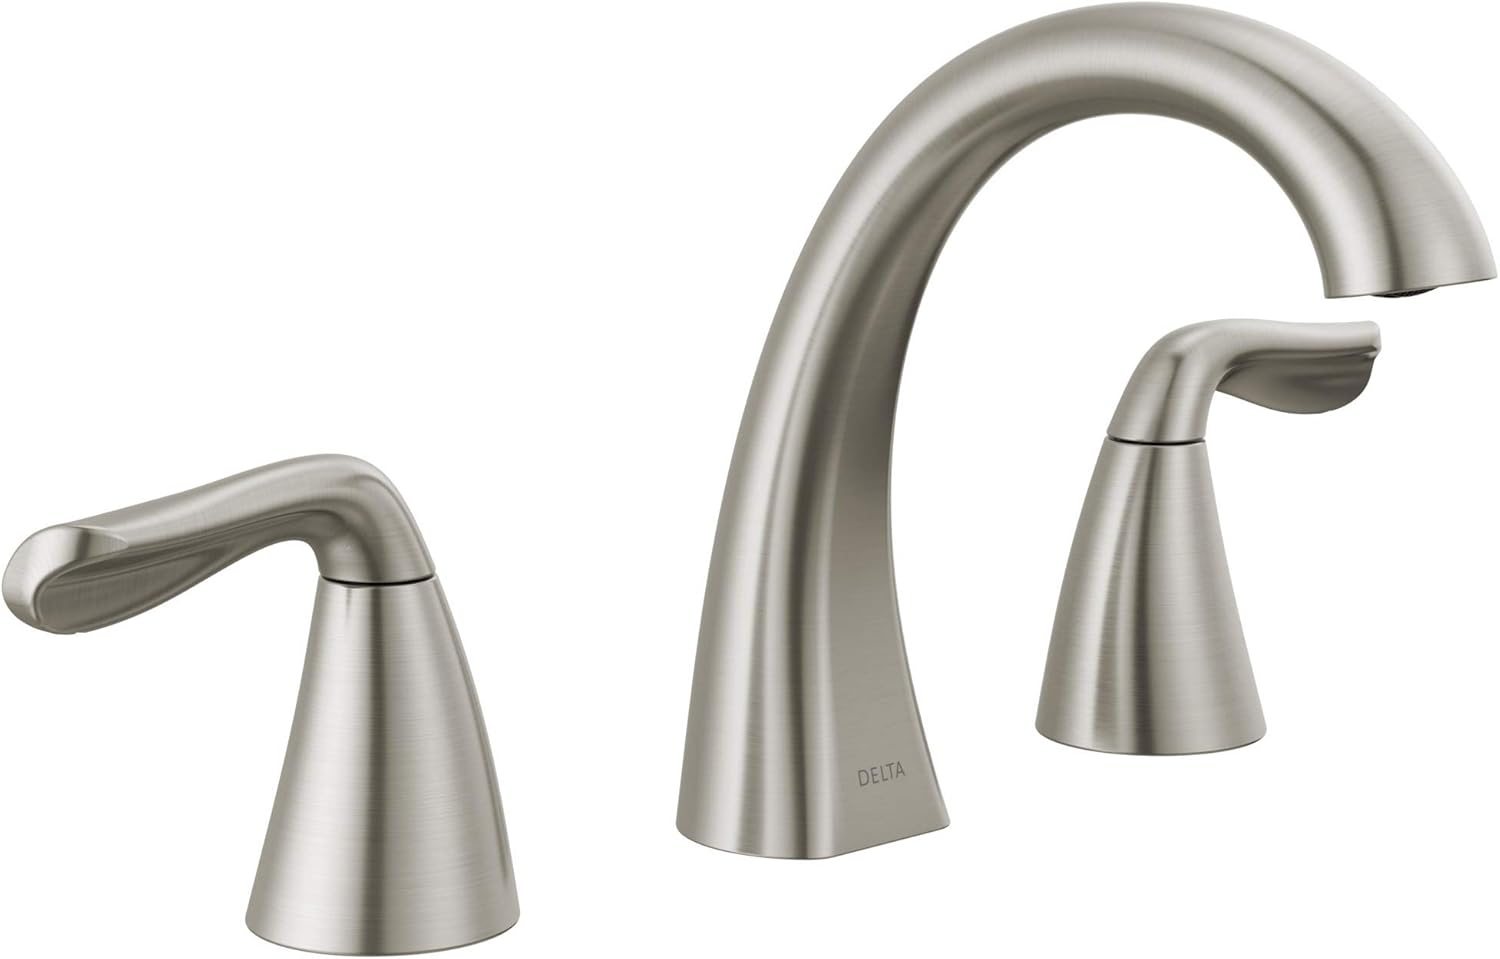
Place the new faucet onto the sink, making sure to line up the holes with the plastic clips. Press down firmly to secure the faucet in place. Using your pliers, tighten the nuts and bolts underneath the sink to hold the faucet in place.6. Install the New Faucet

Delta Bathroom Faucet Installation
Using your adjustable wrench, connect the water supply lines to the corresponding hot and cold water valves. Make sure they are tight and secure to prevent any leaks.7. Connect the Water Supply Lines


Delta Bathroom Faucet


Turn the water supply back on and check for any leaks. If you notice any, tighten the connections as needed.8. Turn on the Water Supply

Delta Sink Faucet Installation Instructions


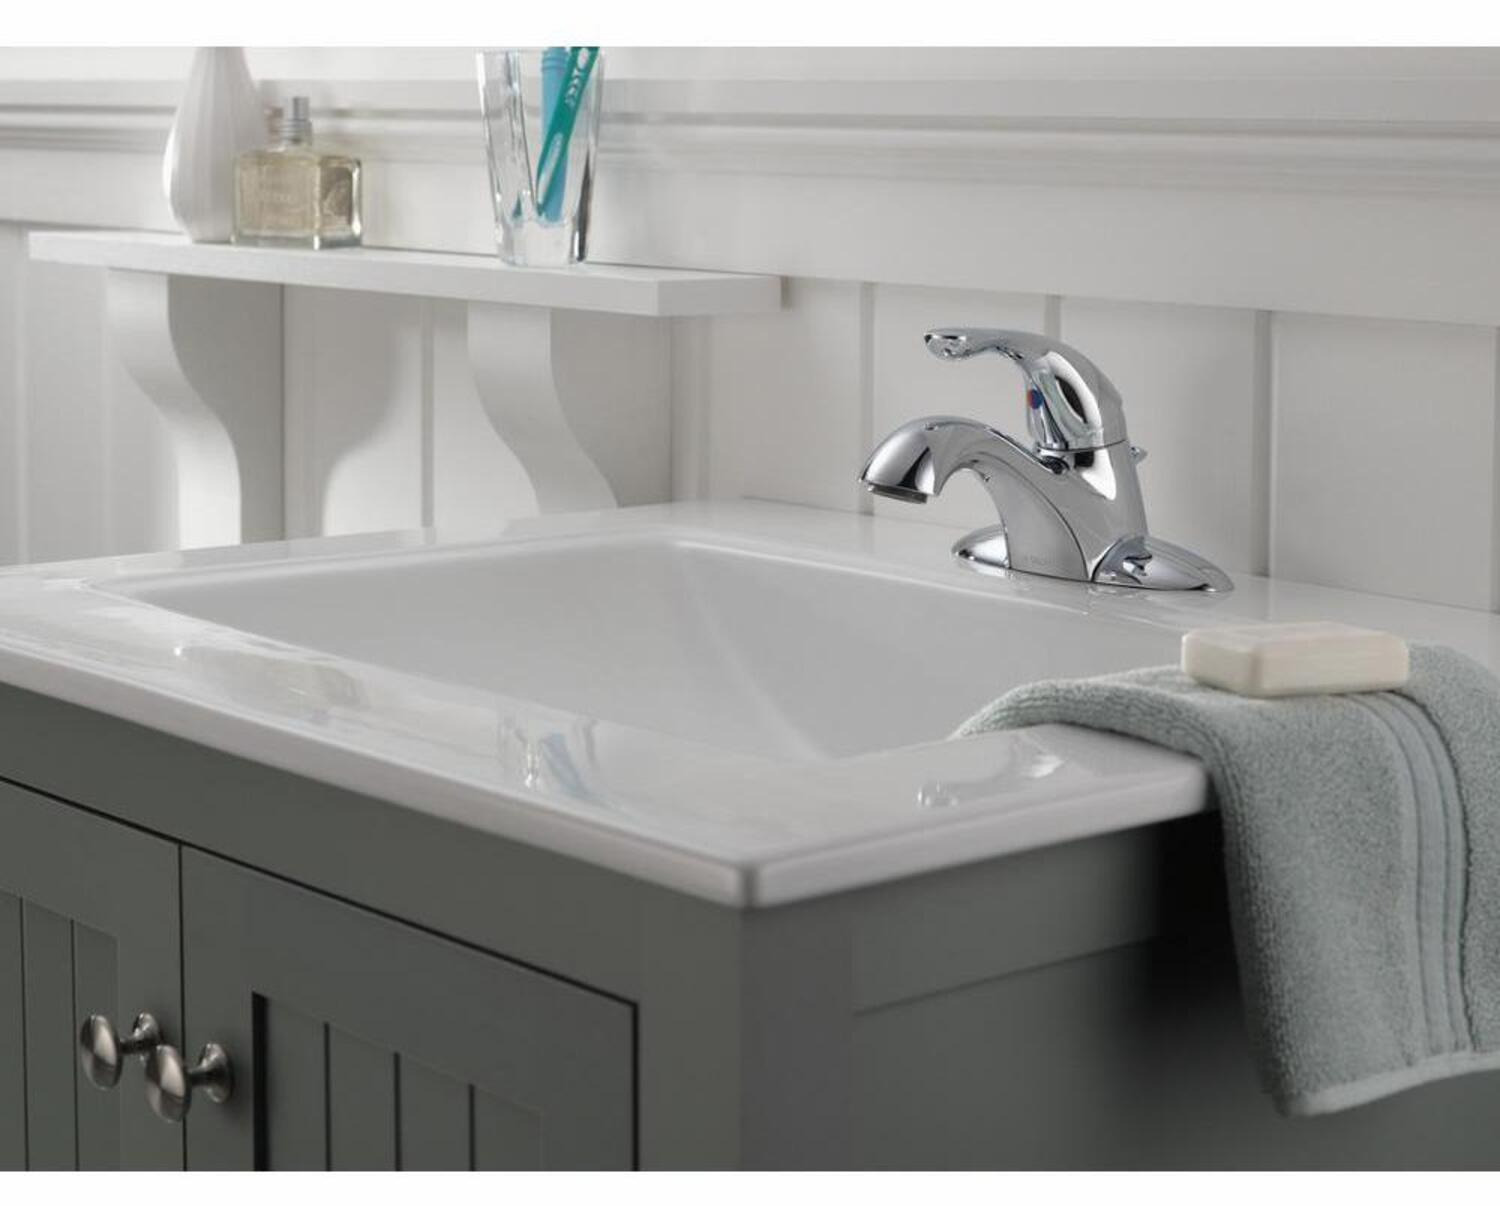
Turn on the faucet and check for proper water flow and temperature. If everything is working correctly, you're all set!9. Test the Faucet

Delta Sink Faucet Installation


Why You Need the Right Bathroom Sink Faucet for Your House Design
Upgrade Your Bathroom Design with the Perfect Sink Faucet Installation
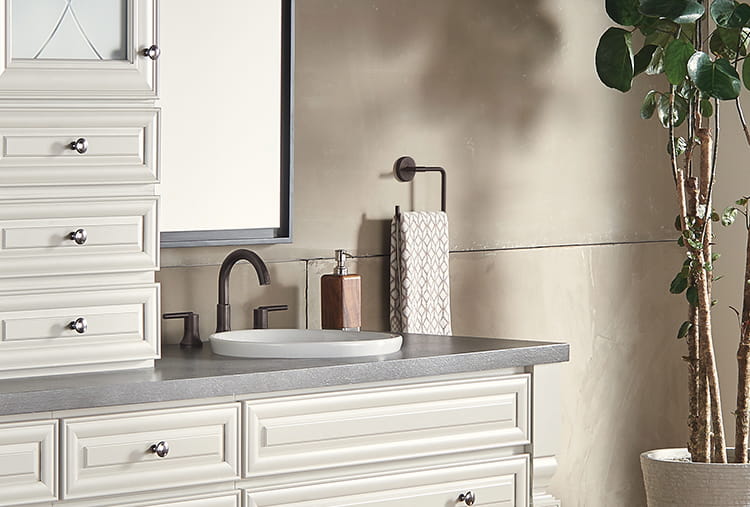
 When it comes to designing your dream bathroom, every detail matters. From the color scheme to the fixtures, everything needs to be carefully chosen to create the perfect aesthetic. One often overlooked detail is the
bathroom sink faucet
. While it may seem like a small and insignificant item, the right faucet can make a big impact on the overall design of your bathroom.
When it comes to designing your dream bathroom, every detail matters. From the color scheme to the fixtures, everything needs to be carefully chosen to create the perfect aesthetic. One often overlooked detail is the
bathroom sink faucet
. While it may seem like a small and insignificant item, the right faucet can make a big impact on the overall design of your bathroom.
The Importance of Proper Installation
 Before delving into the installation instructions for
delta bathroom sink faucet plastic clips
, it's important to understand why proper installation is crucial. The faucet is not only a functional element but also a decorative one. An improperly installed faucet can not only ruin the look of your bathroom but also lead to leaks and other issues down the line. Therefore, it's essential to follow the installation instructions carefully to ensure a seamless and durable finish.
Before delving into the installation instructions for
delta bathroom sink faucet plastic clips
, it's important to understand why proper installation is crucial. The faucet is not only a functional element but also a decorative one. An improperly installed faucet can not only ruin the look of your bathroom but also lead to leaks and other issues down the line. Therefore, it's essential to follow the installation instructions carefully to ensure a seamless and durable finish.
Installing a Delta Bathroom Sink Faucet with Plastic Clips
 Now, let's get into the details of installing a
delta bathroom sink faucet
with plastic clips. Delta faucets are known for their quality and durability, and their installation process is relatively straightforward. First, make sure to read the specific instructions that come with your faucet model, as they may vary slightly.
Now, let's get into the details of installing a
delta bathroom sink faucet
with plastic clips. Delta faucets are known for their quality and durability, and their installation process is relatively straightforward. First, make sure to read the specific instructions that come with your faucet model, as they may vary slightly.
Step 1: Gather Your Tools
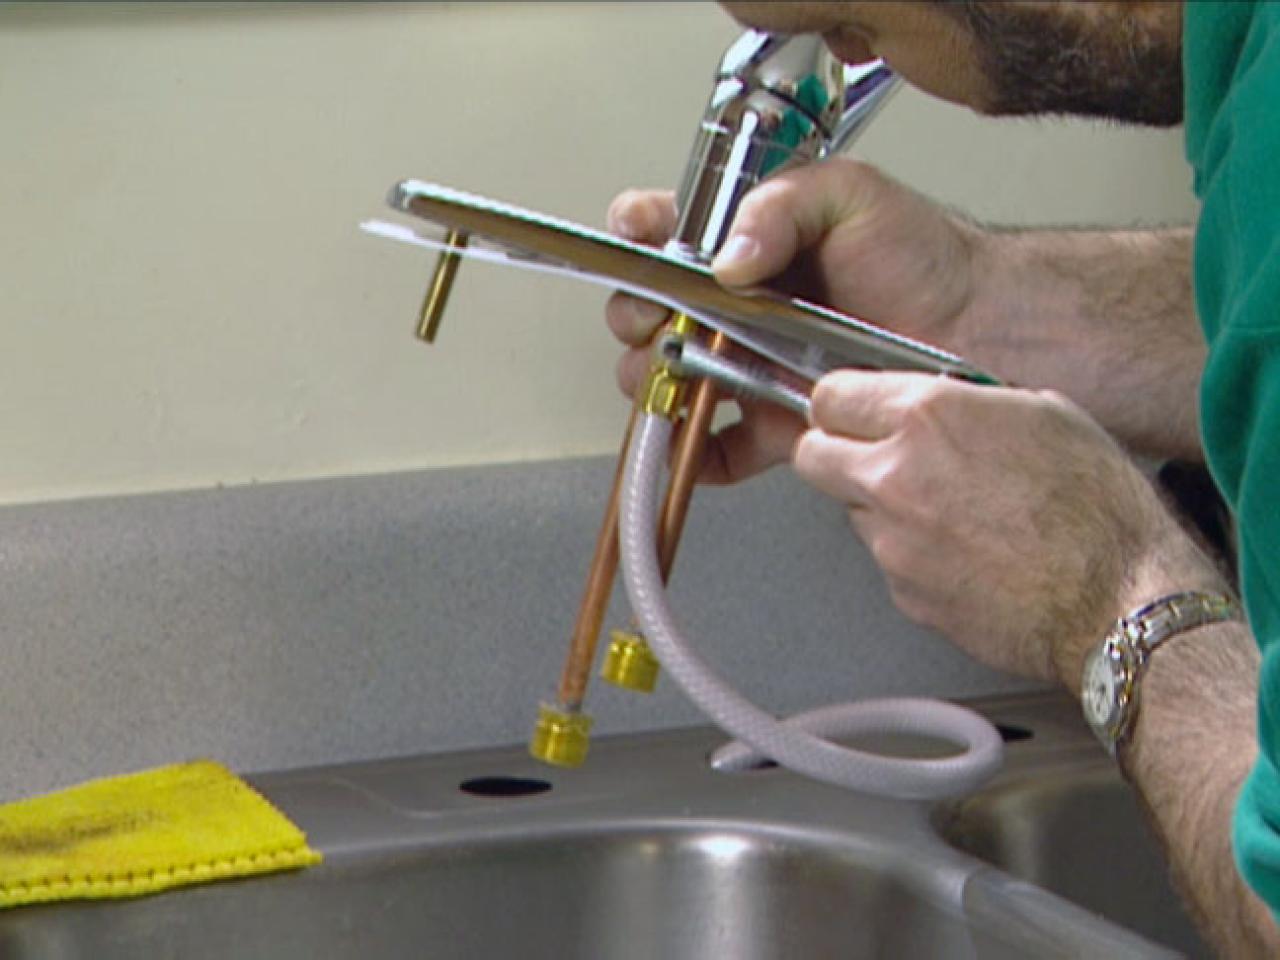
Before starting the installation, make sure you have all the necessary tools handy. These may include a wrench, pliers, screwdriver, and plumber's tape. It's also a good idea to have a bucket or towel nearby in case of any water spills.Step 2: Prepare the Sink
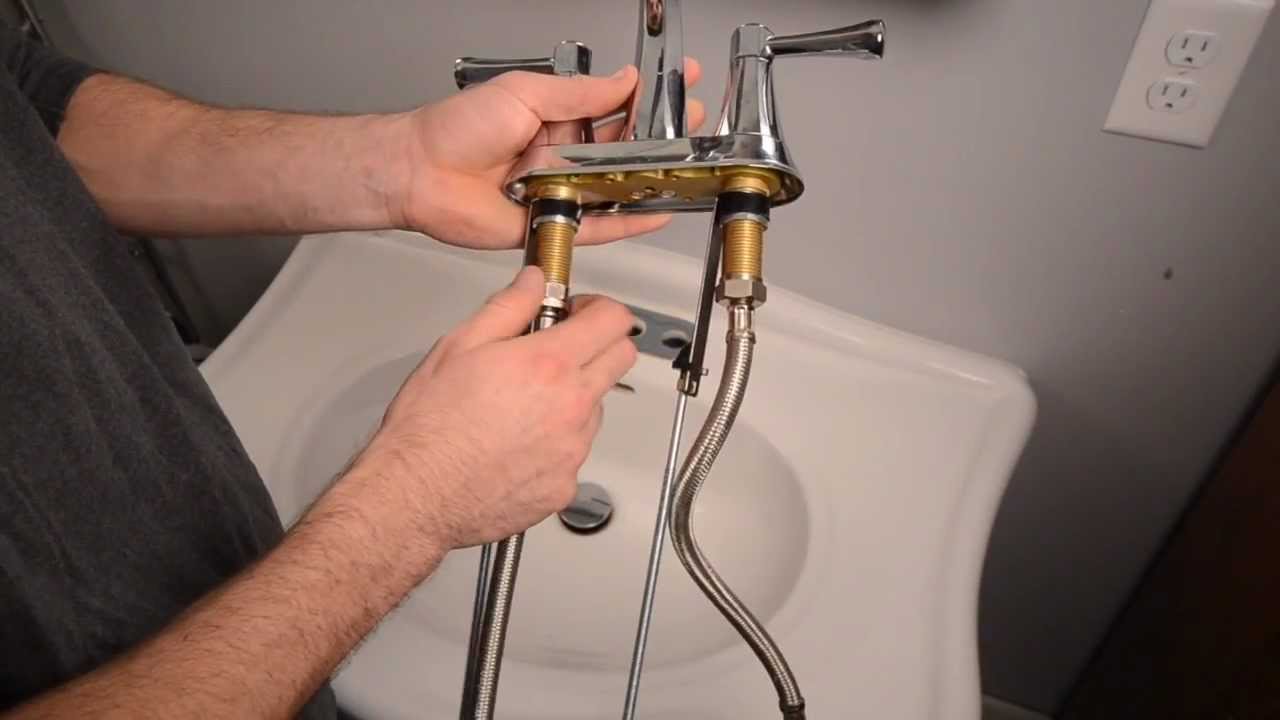
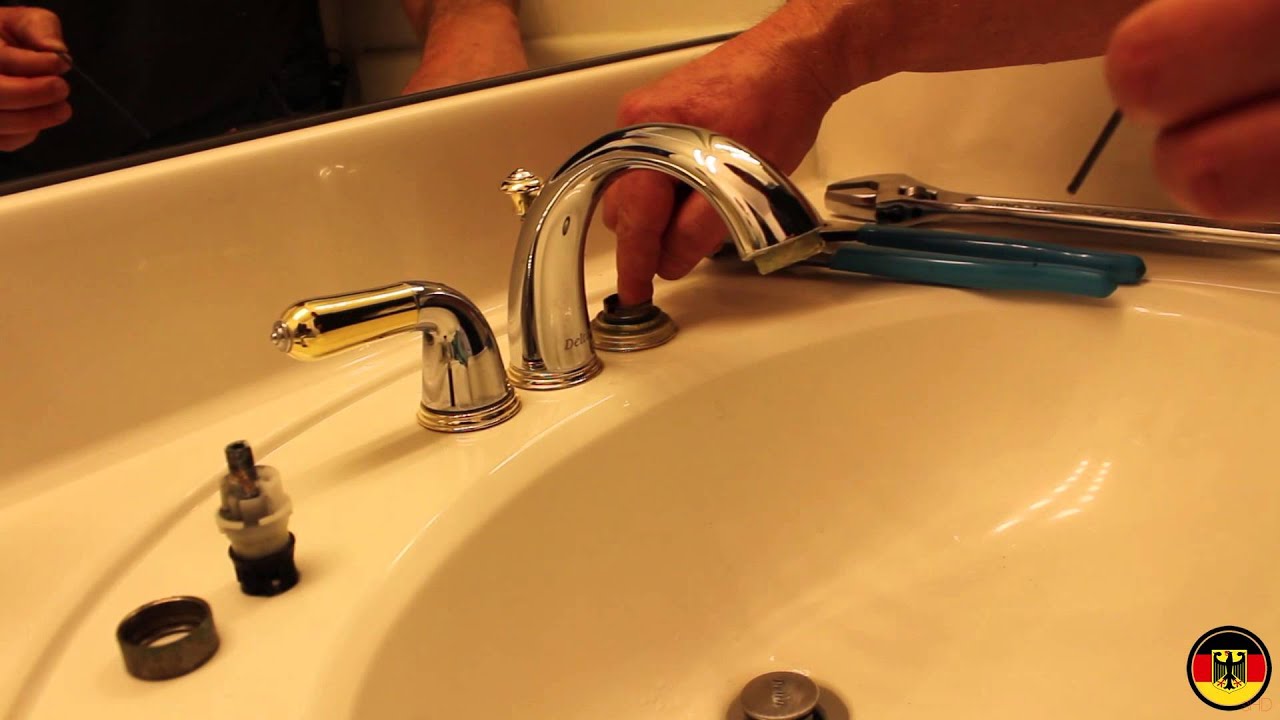
Start by removing the old faucet and cleaning any residue from the sink surface. Then, place the gasket and plastic mounting nuts provided with your faucet on the sink's bottom, aligning them with the holes for the faucet.Step 3: Install the Faucet
With the help of an extra set of hands, insert the faucet through the mounting holes and secure it in place with the plastic mounting nuts. Make sure to tighten them evenly to ensure a stable and secure installation.Step 4: Connect the Water Supply
Next, connect the water supply lines to the faucet using a wrench and plumber's tape to prevent leaks. Check for any drips or leaks and make any adjustments if necessary.Step 5: Attach the Plastic Clips
Lastly, attach the plastic clips provided with your faucet to the mounting nuts. These clips will hold the faucet securely in place and prevent any wobbling.Your Perfect Bathroom Design Awaits
 With your new
delta bathroom sink faucet
properly installed, you can now admire the sleek and functional addition to your bathroom design. Remember to always follow the manufacturer's instructions and seek professional help if needed. A well-designed and properly installed sink faucet can elevate the look and functionality of your bathroom, making it a space you'll love to use every day.
With your new
delta bathroom sink faucet
properly installed, you can now admire the sleek and functional addition to your bathroom design. Remember to always follow the manufacturer's instructions and seek professional help if needed. A well-designed and properly installed sink faucet can elevate the look and functionality of your bathroom, making it a space you'll love to use every day.