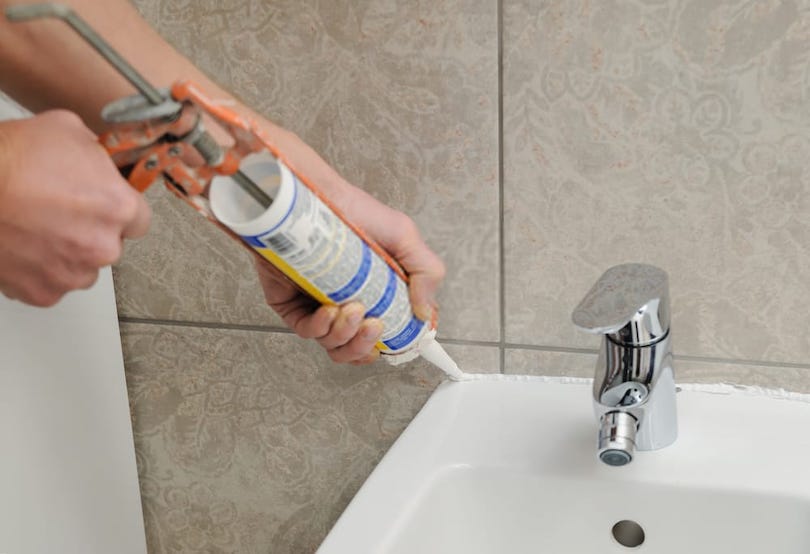
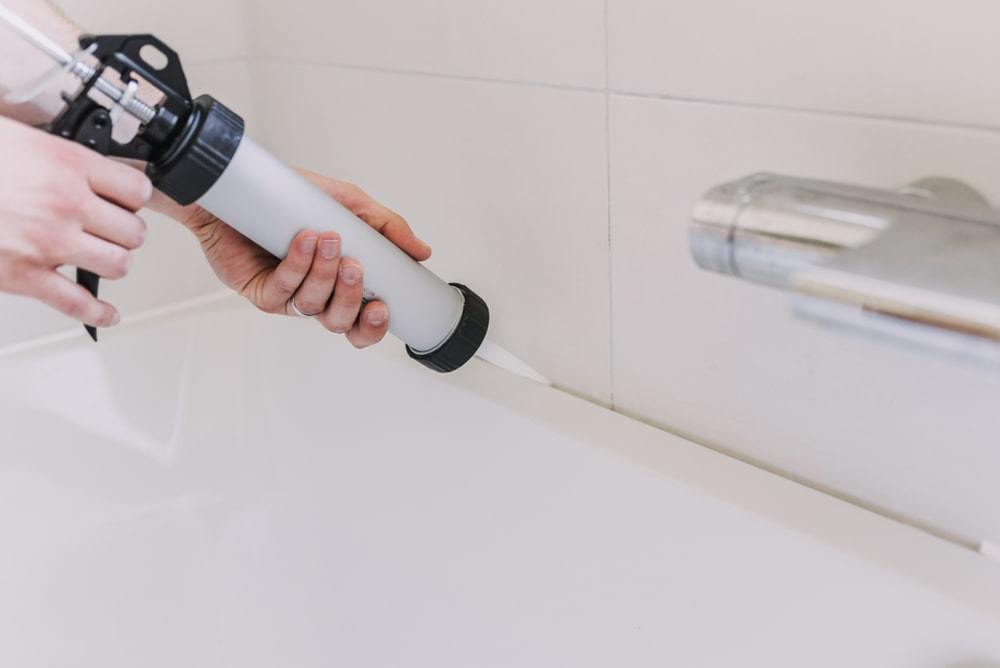
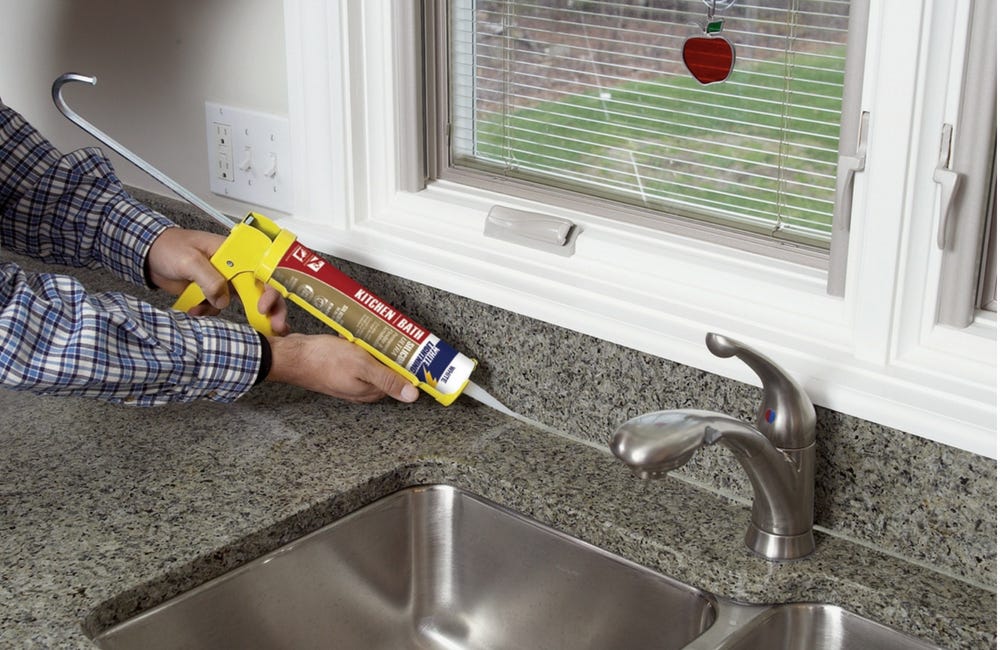
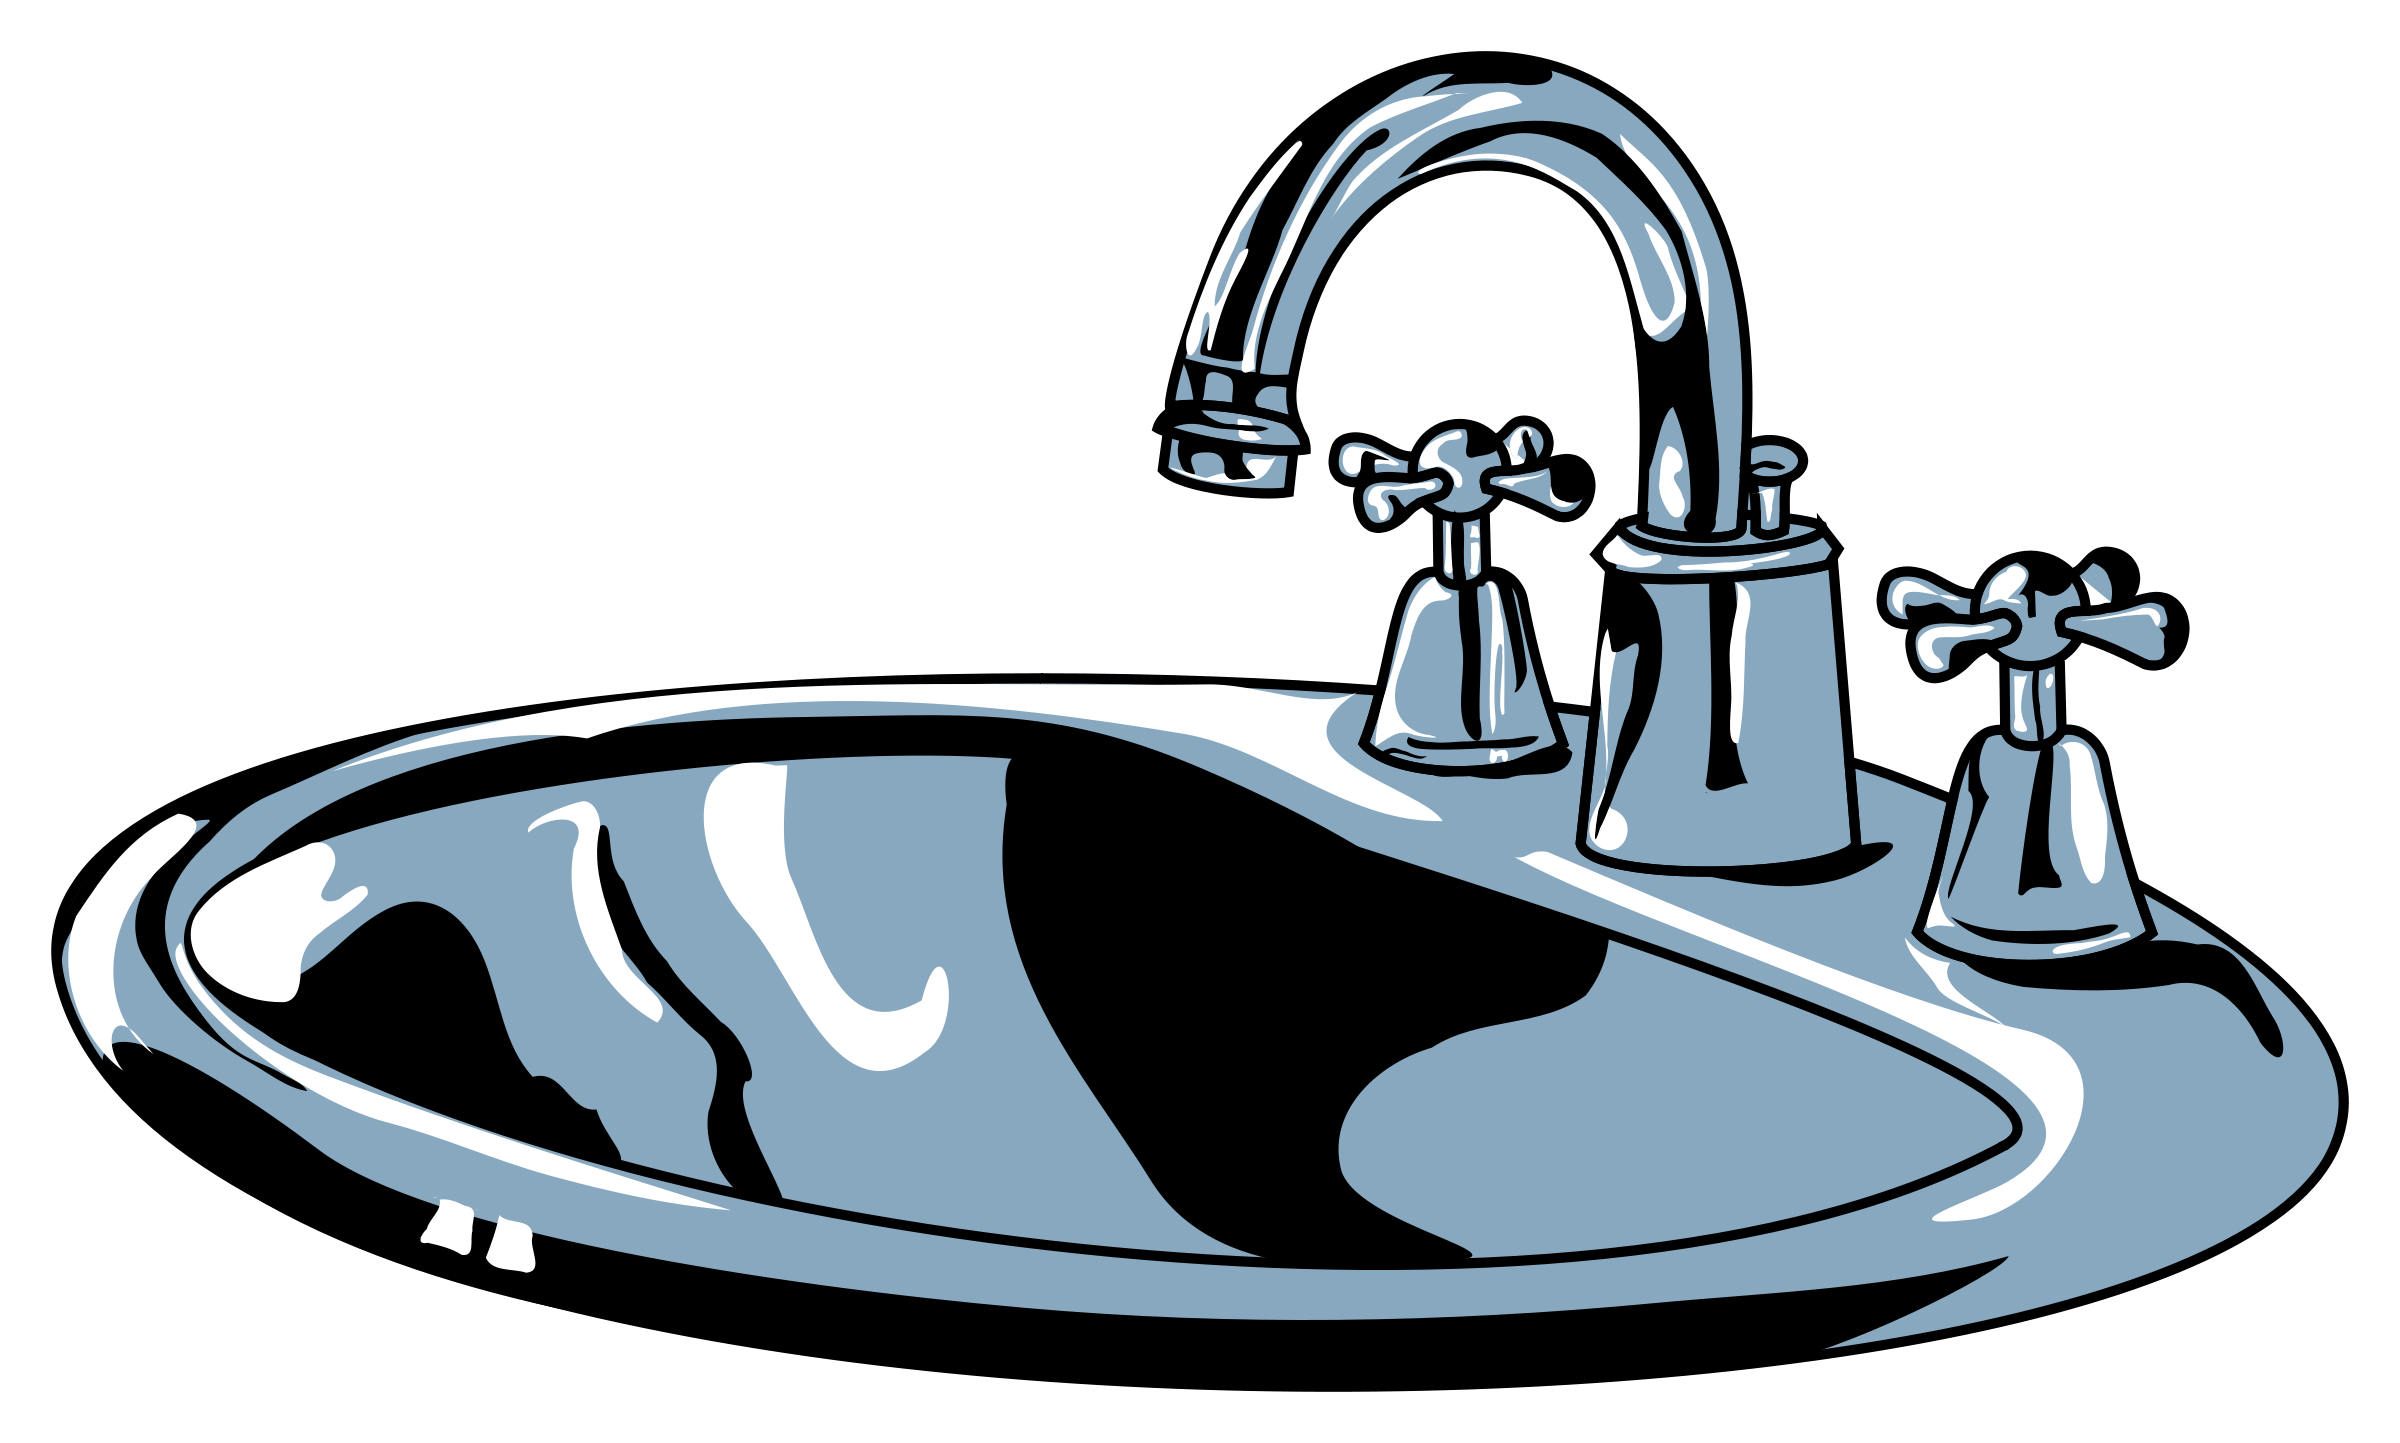
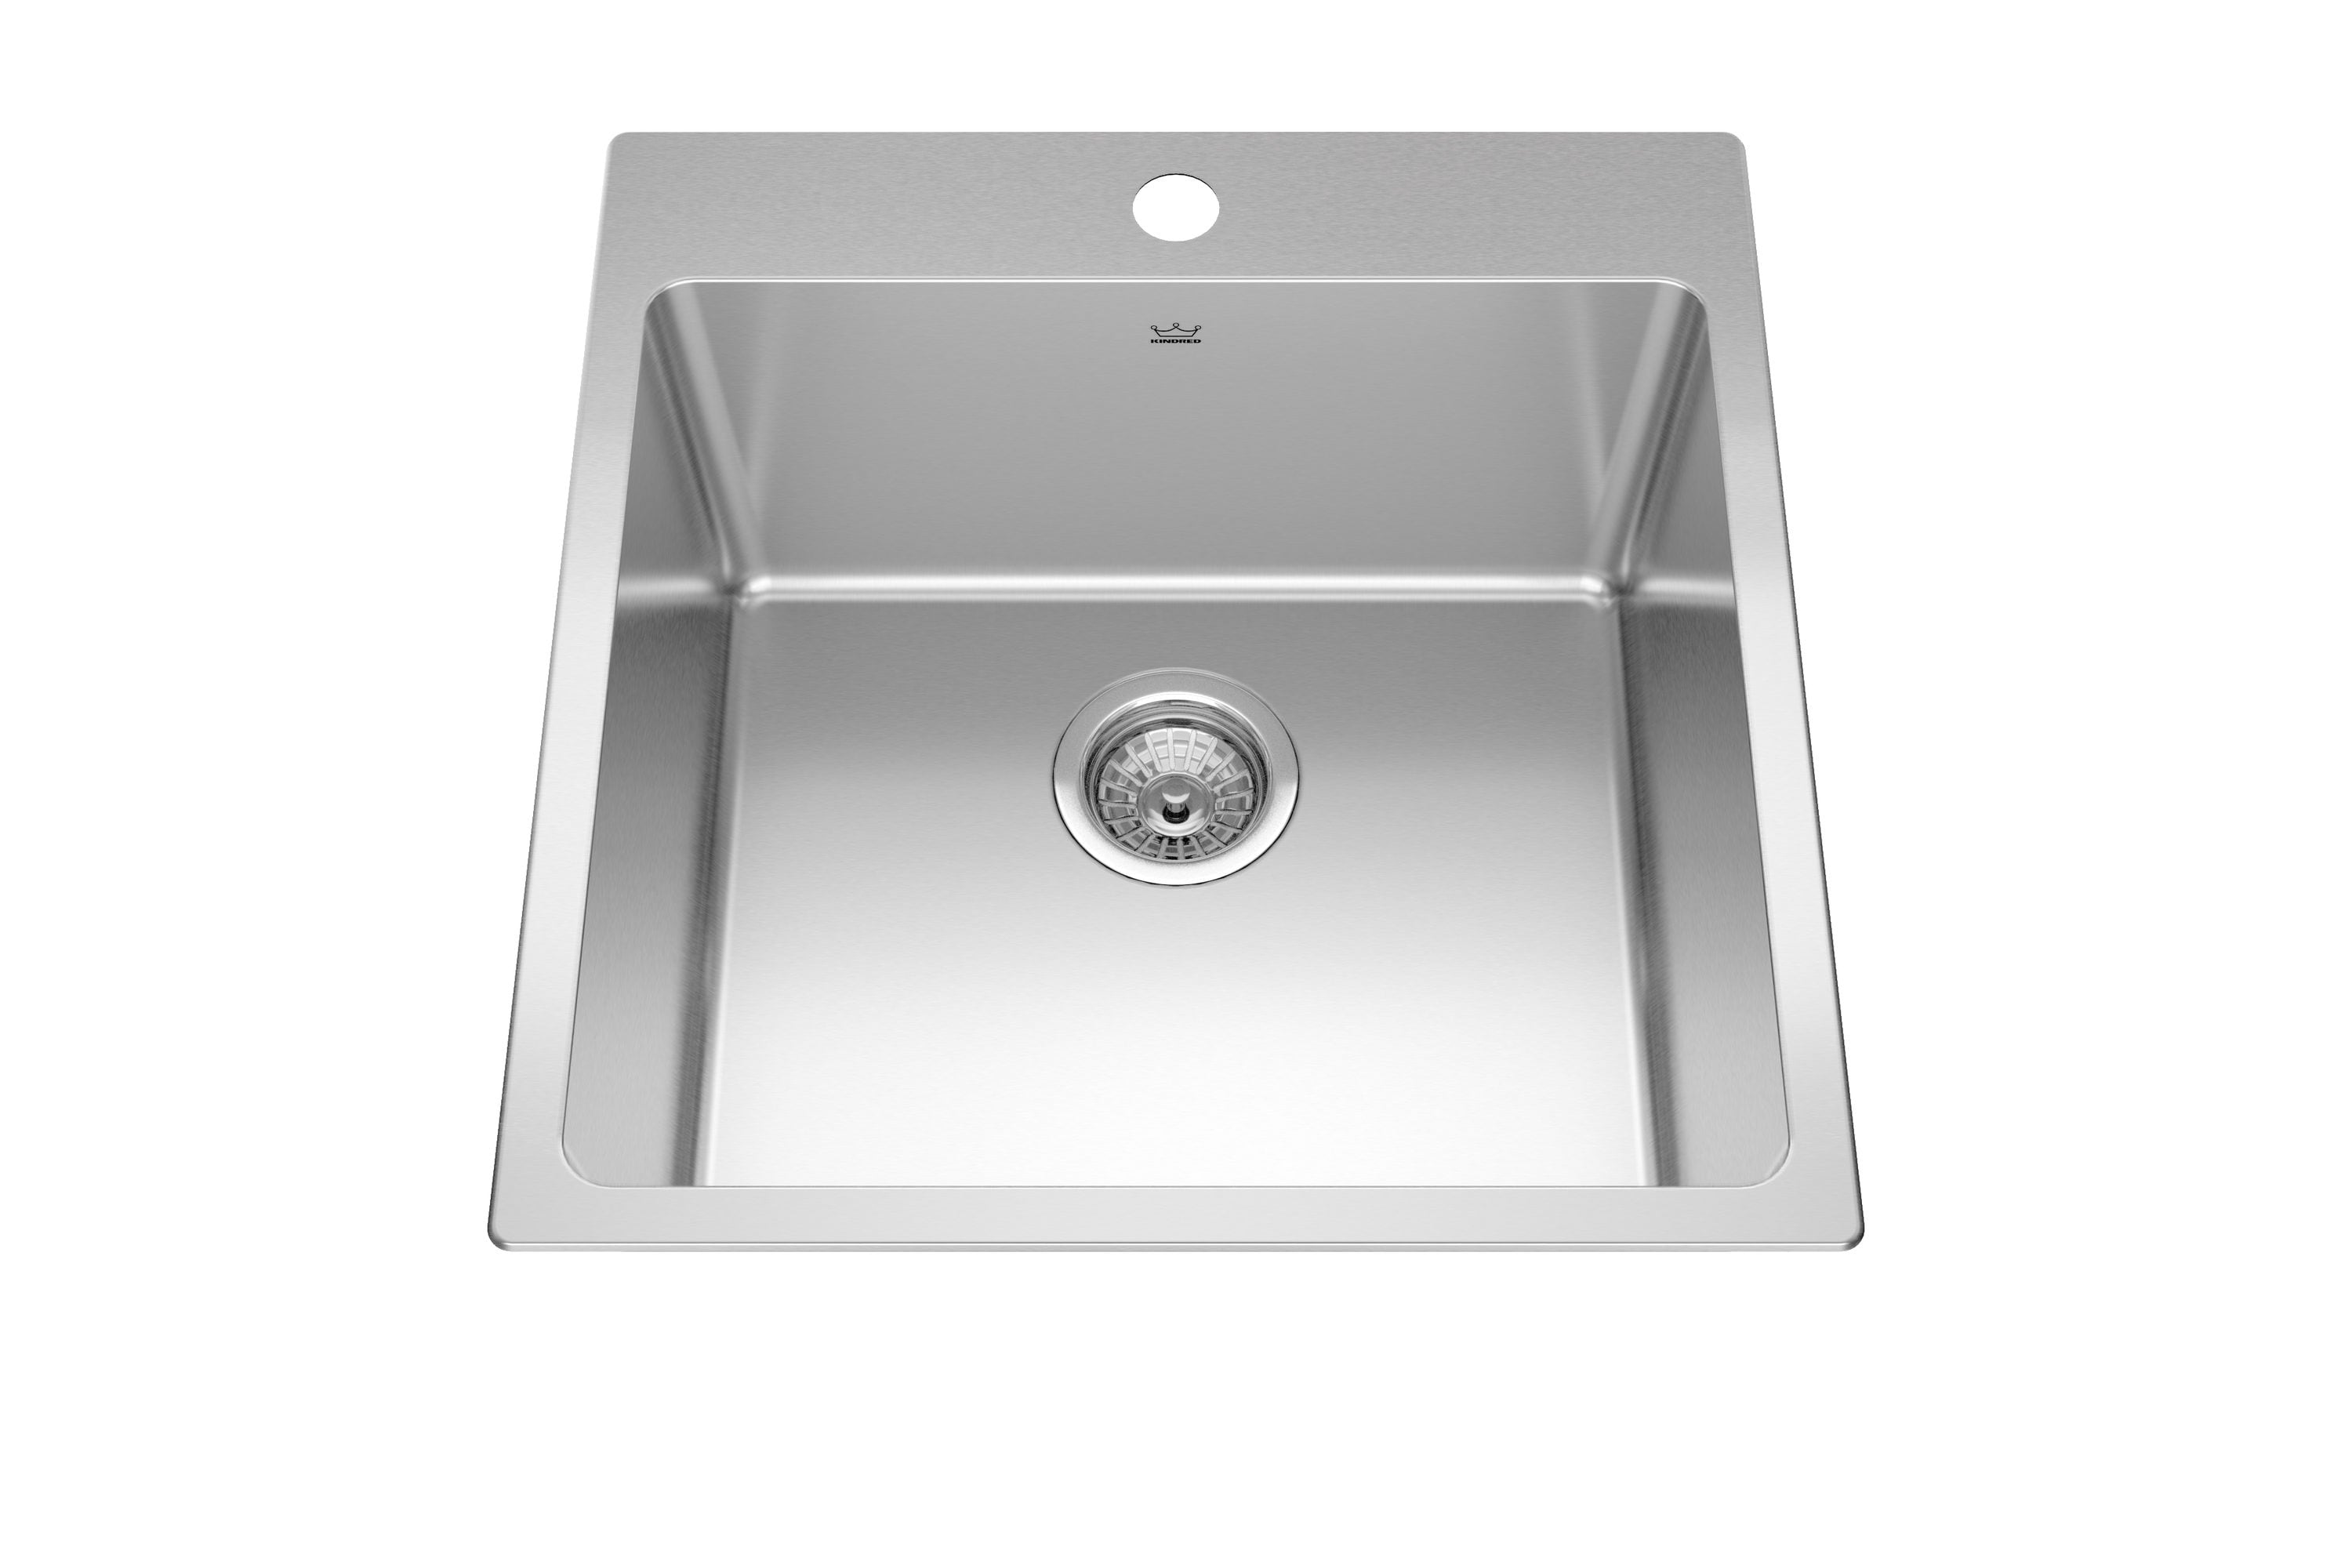
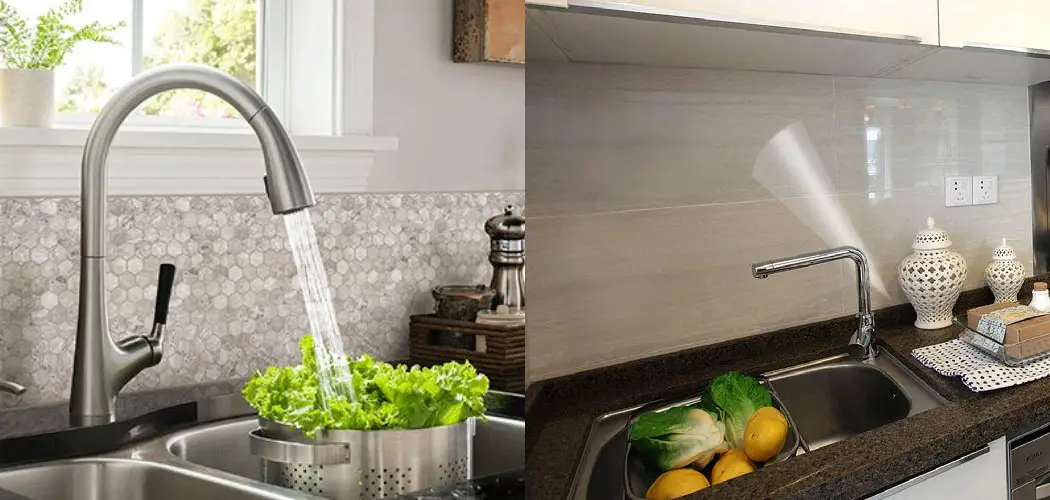
One of the most common and effective ways to seal a kitchen sink is by caulking it. This involves using a waterproof sealant to fill in any gaps or spaces between the sink and the countertop. Waterproof caulk is readily available at most hardware stores and is relatively easy to apply. To caulk your kitchen sink, start by thoroughly cleaning the area around the sink with a mild cleaner and then drying it completely. Next, apply the caulk in a continuous, even line around the edge of the sink, making sure to fill in any gaps or spaces. Use a caulk smoothing tool or your finger to smooth out the caulk and create a clean, even seal.1. Caulk the Sink


1. Caulk the Sink


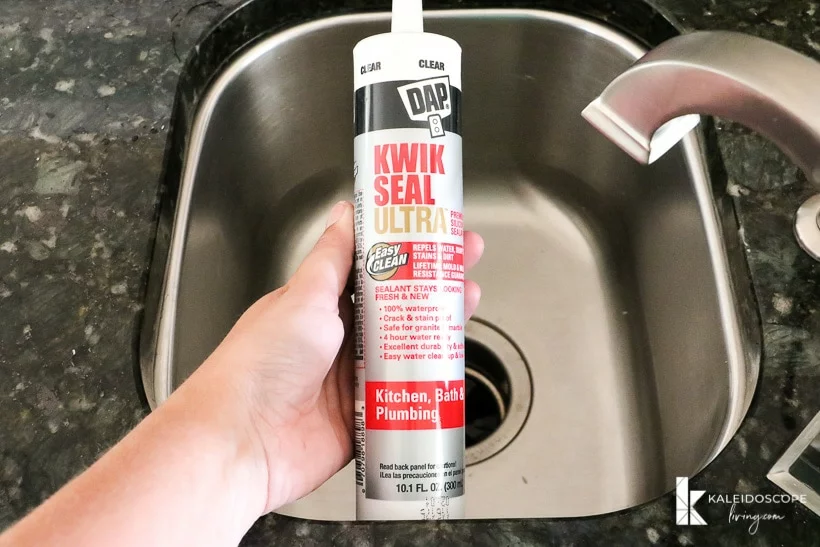

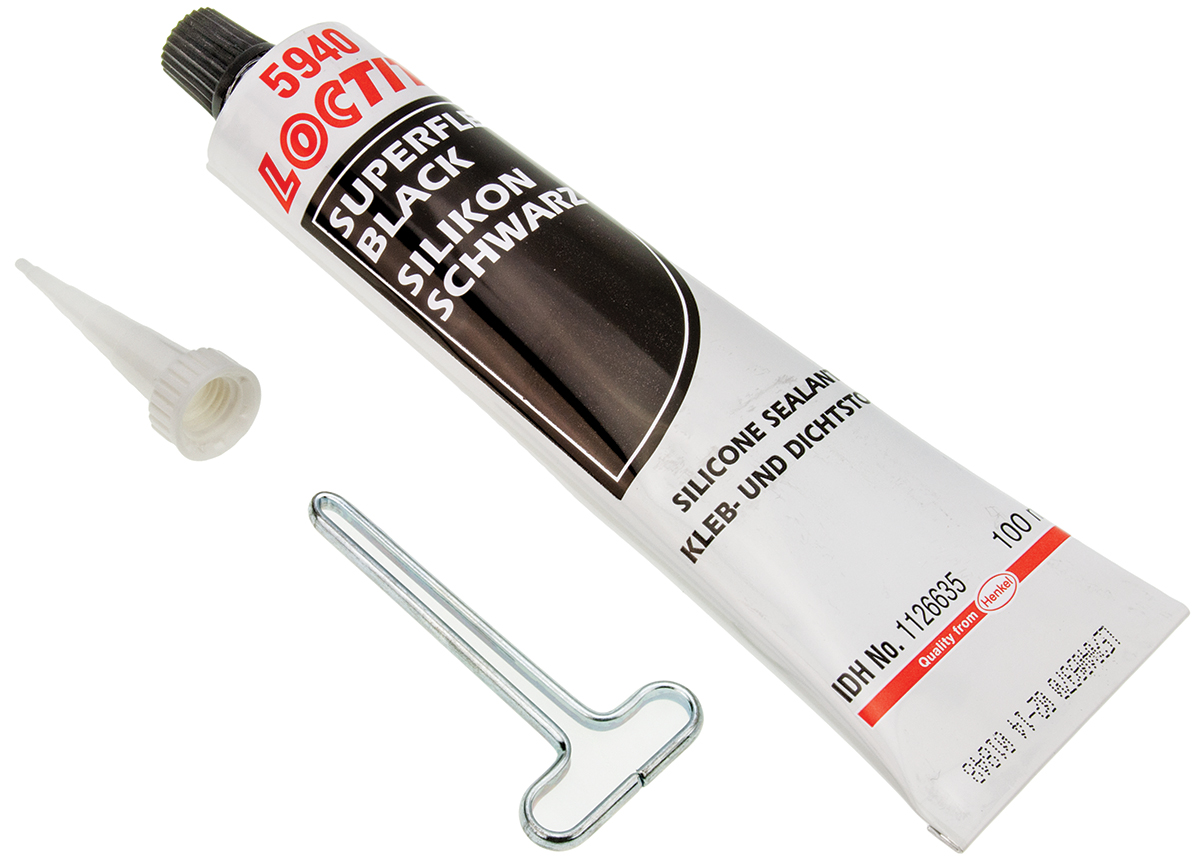
Silicone sealant is another popular option for sealing a kitchen sink. It is a strong adhesive that can create a watertight seal around the sink. Silicone sealant is also heat-resistant, making it a good choice for sinks that are near stovetops or ovens. To use silicone sealant, first clean and dry the area around the sink. Then, apply the sealant in a continuous line around the edge of the sink, making sure to cover any gaps or spaces. Use a caulk smoothing tool or your finger to smooth out the sealant and create an even seal. Allow the sealant to dry completely before using the sink.2. Use Silicone Sealant


2. Use Silicone Sealant


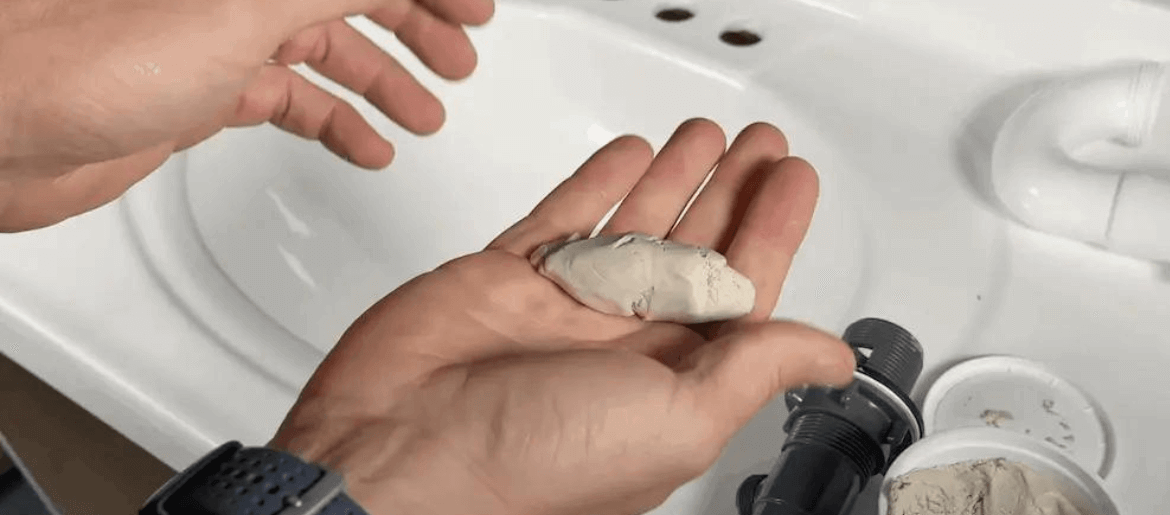
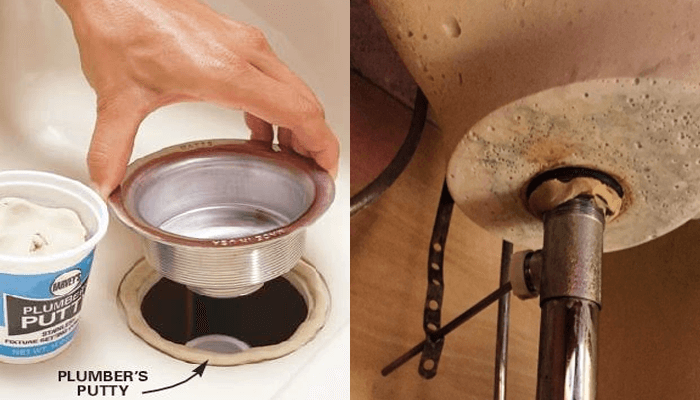
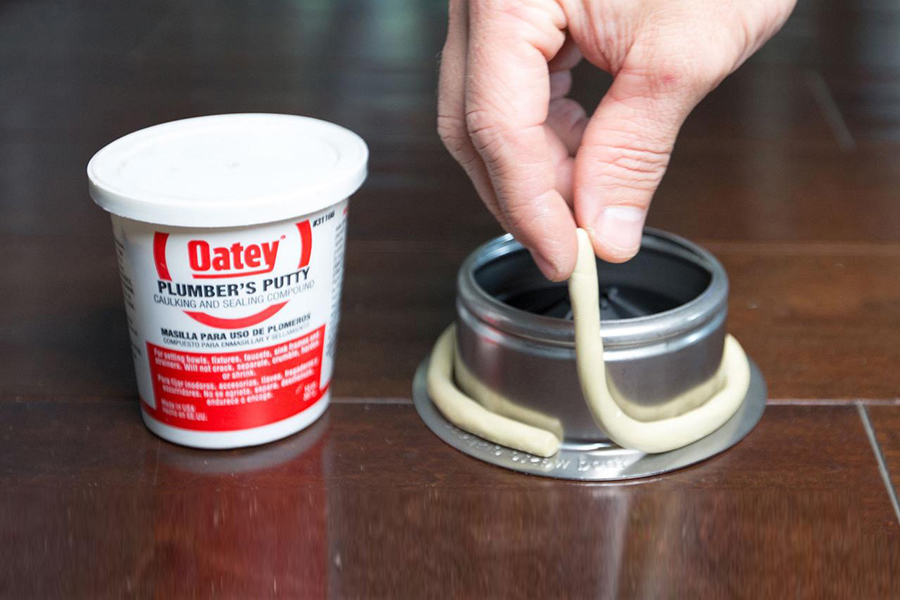
For a more traditional approach to sealing a kitchen sink, you can use plumbers putty. This is a soft, moldable substance that can be applied around the edge of the sink to create a tight seal. Plumbers putty is commonly used for sink drains and faucets, but it can also be used to seal the sink itself. To use plumbers putty, first clean and dry the area around the sink. Then, take a small amount of putty and roll it into a thin, even rope. Press the putty around the edge of the sink, making sure to cover any gaps or spaces. Use your finger or a putty knife to smooth out the edges and create a clean seal.3. Apply Plumbers Putty

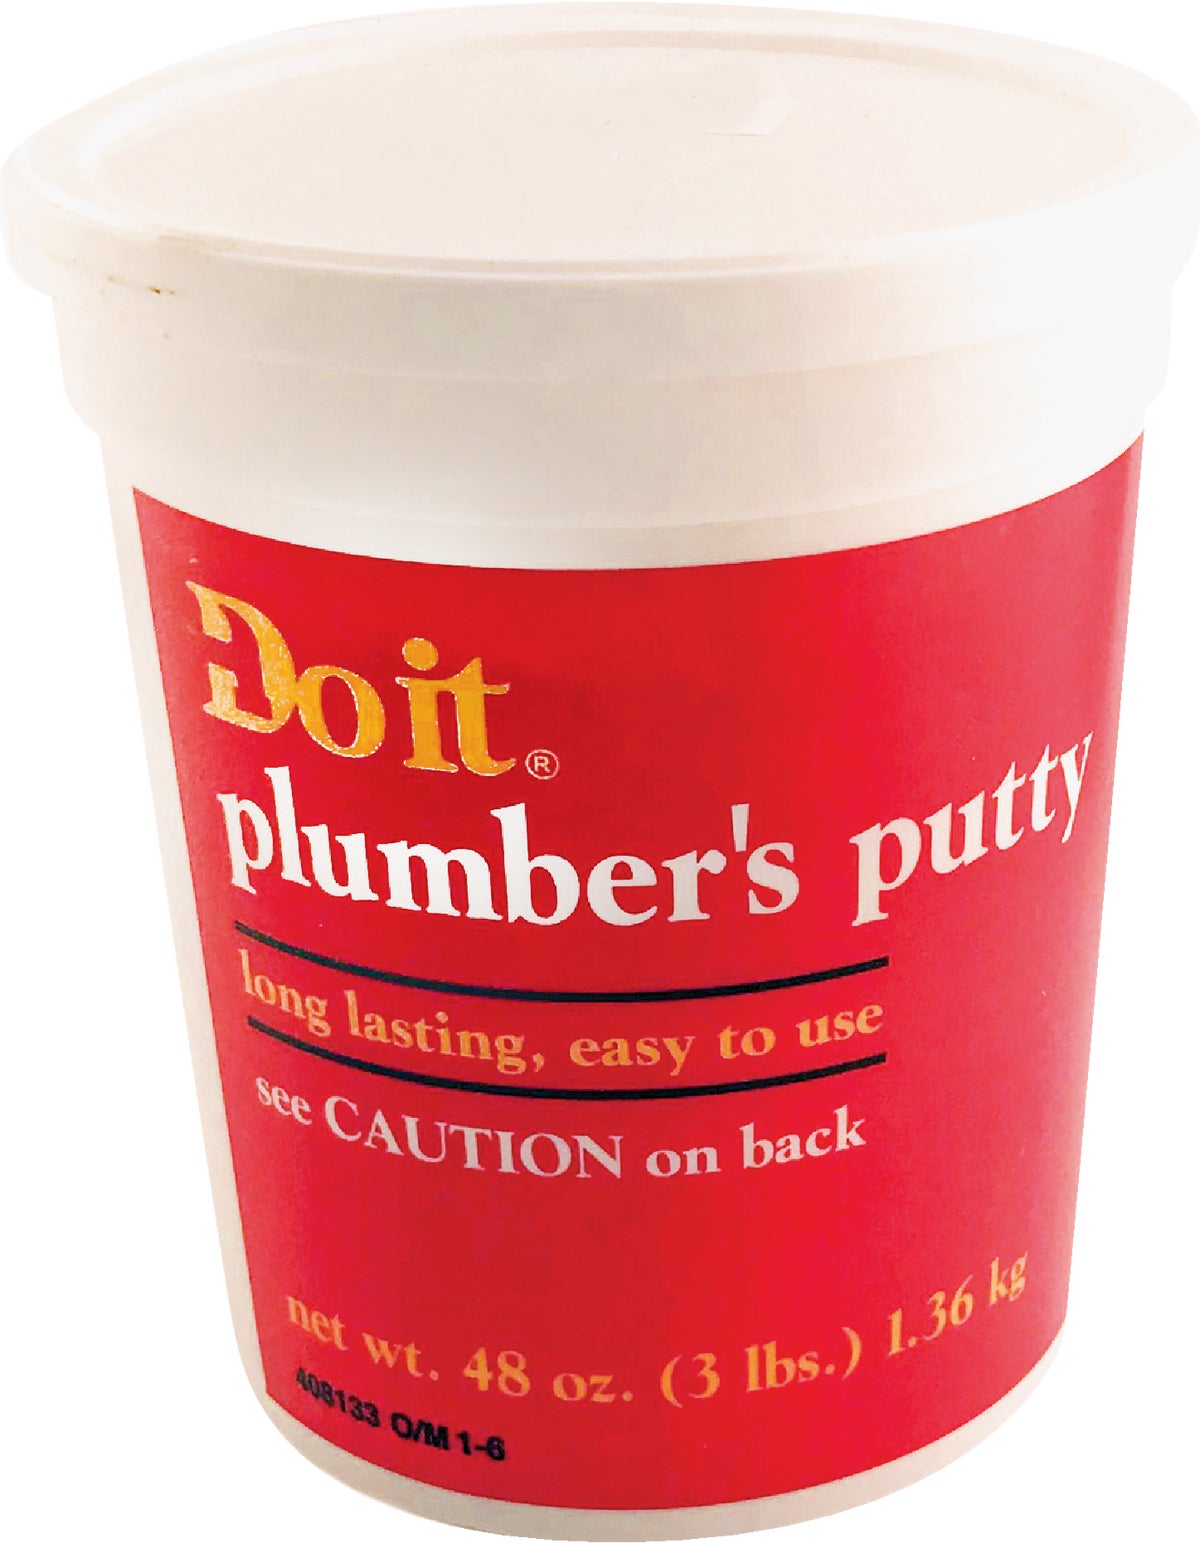

3. Apply Plumbers Putty


If you have a sink with a drain in the center, using a sink strainer can help prevent leaks and keep the sink sealed. A sink strainer is a small, perforated bowl that fits over the drain and catches food and debris, preventing it from clogging the drain and causing leaks. To use a sink strainer, simply place it over the drain before using the sink. It can easily be removed and cleaned as needed, making it a convenient and effective way to seal your kitchen sink.4. Use a Sink Strainer

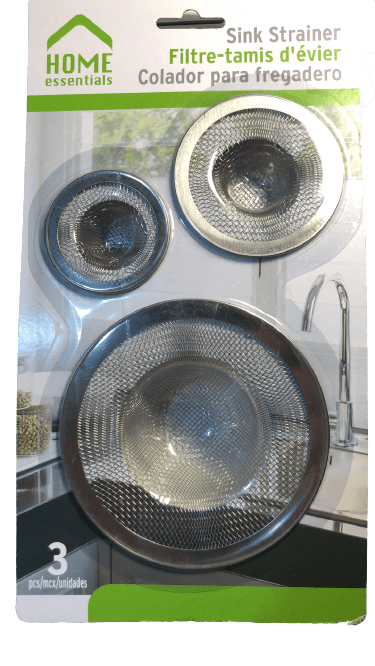

4. Use a Sink Strainer


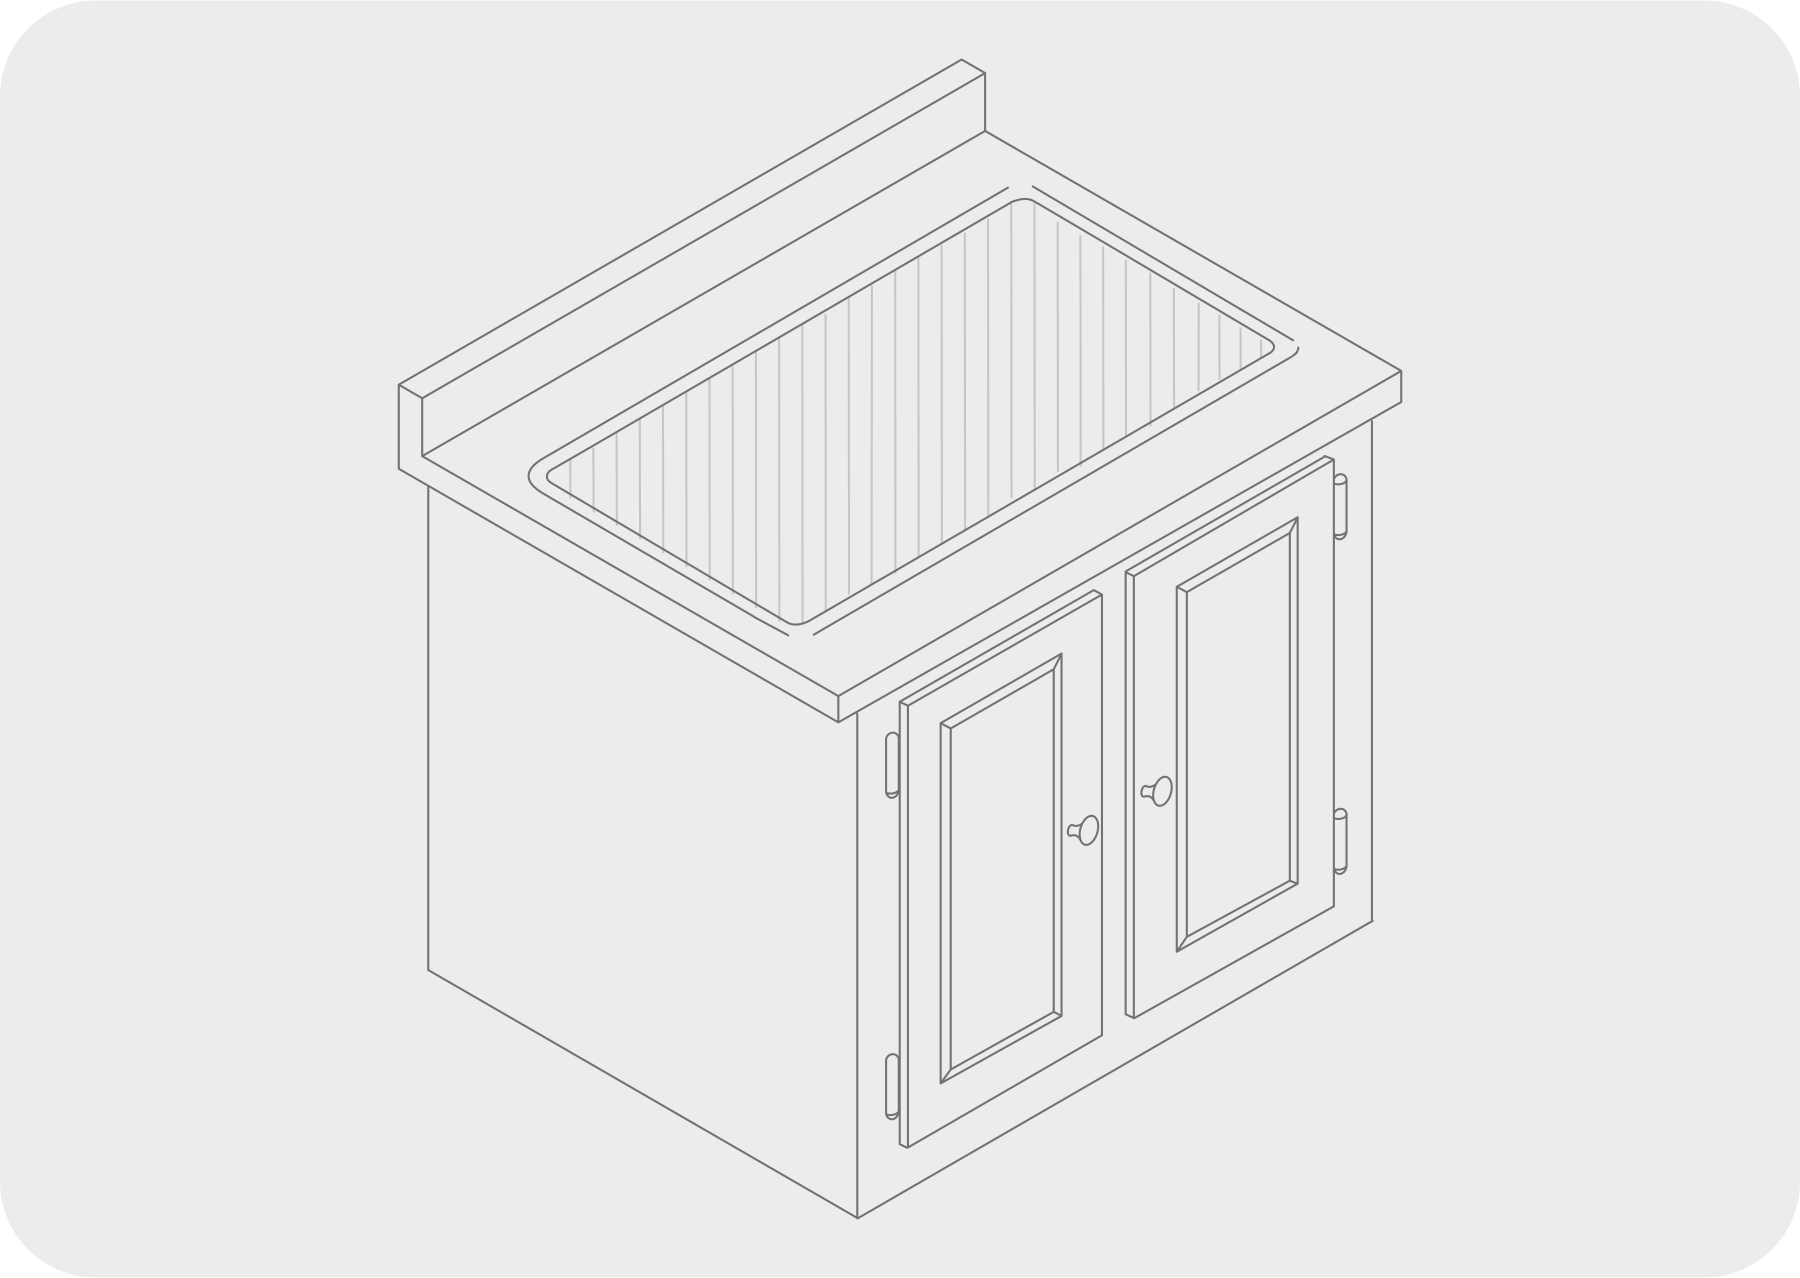
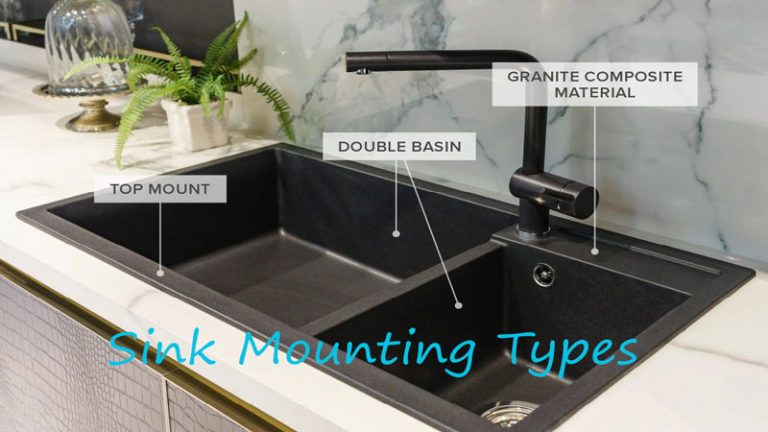
A sink gasket is a rubber or plastic ring that fits between the sink and the countertop to create a watertight seal. Sink gaskets are commonly used for drop-in sinks, where the sink sits on top of the countertop rather than being installed underneath it. To install a sink gasket, first clean and dry the area around the sink. Then, place the gasket on the edge of the sink, making sure it is centered and covers any gaps or spaces. Carefully lower the sink into place, pressing down firmly to create a tight seal.5. Install a Sink Gasket


5. Install a Sink Gasket

:no_upscale()/cdn.vox-cdn.com/uploads/chorus_asset/file/19495086/drain_0.jpg)


If your sink is an undermount style, meaning it is installed underneath the countertop, using sink clips can help keep it securely in place and prevent leaks. Sink clips are small metal brackets that attach to the sink and the underside of the countertop, holding the sink in place. To use sink clips, first install the sink in the countertop as usual. Then, attach the clips to the sink and the underside of the countertop, making sure they are evenly spaced and securely attached. This will help keep the sink in place and prevent any gaps that could cause leaks.6. Use a Sink Clip


6. Use a Sink Clip


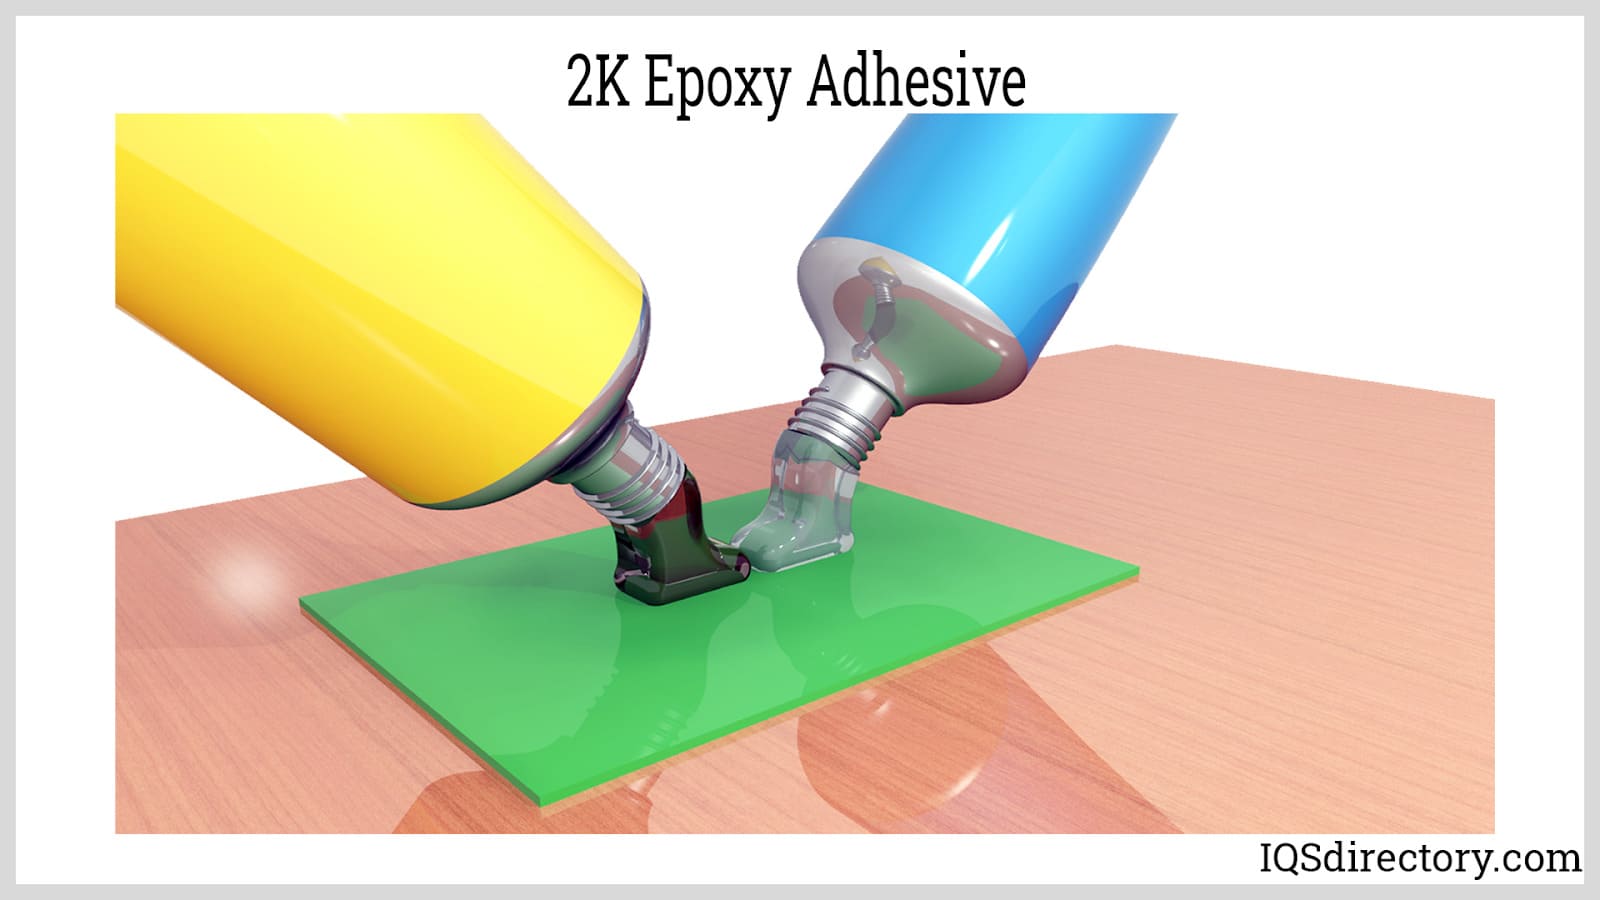
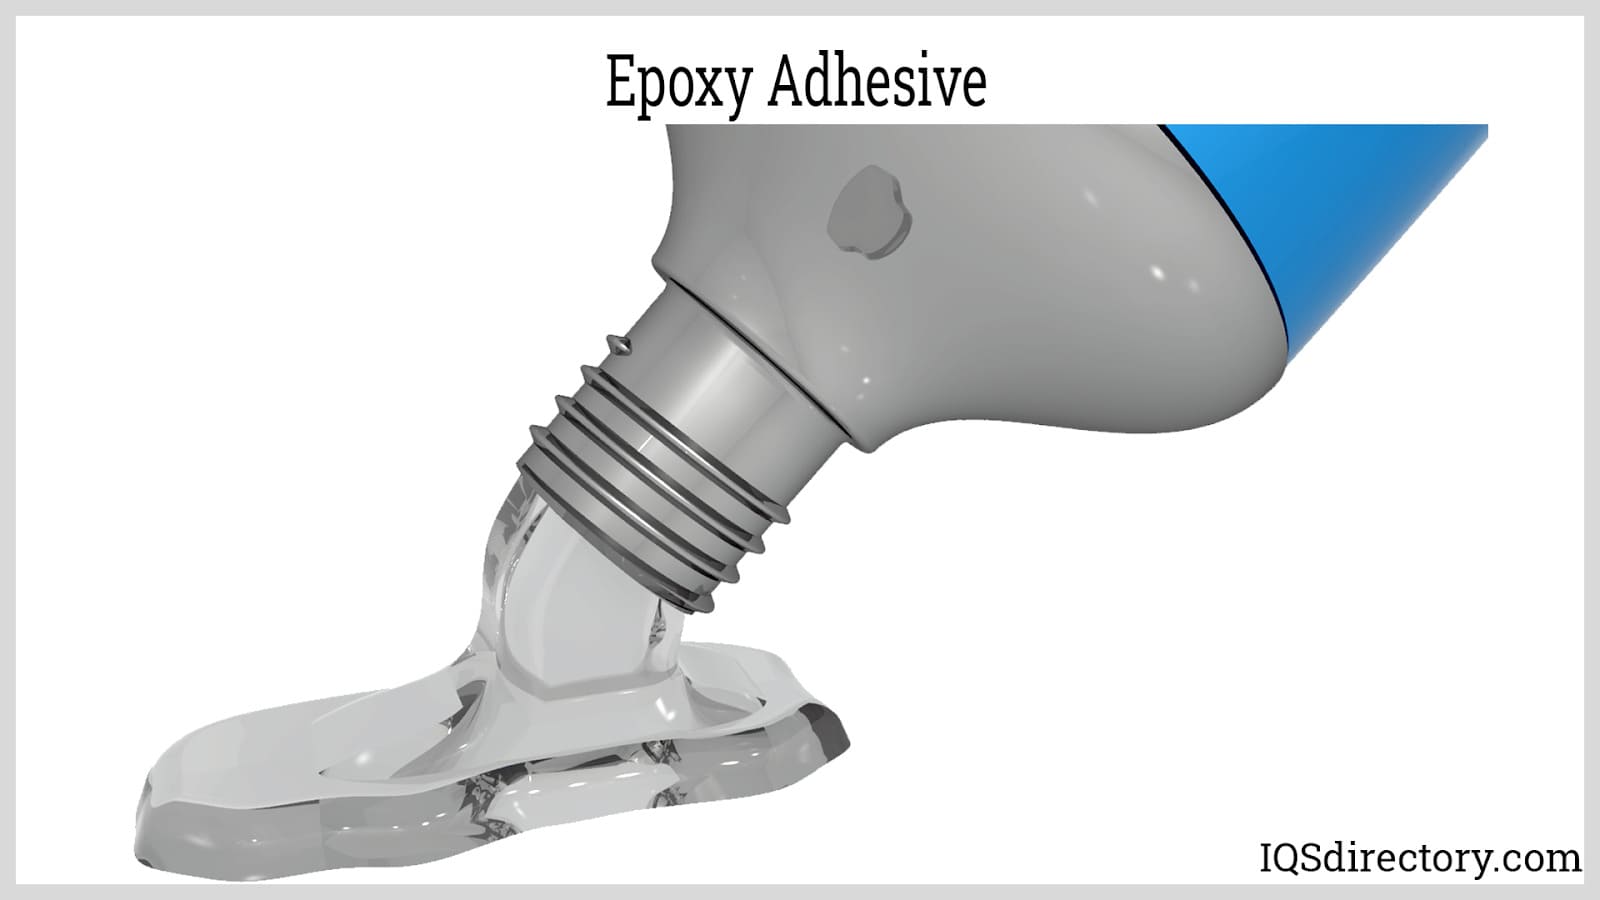
Epoxy adhesive is a strong, waterproof glue that can be used to seal a kitchen sink. It is especially useful for sealing sinks made of non-porous materials like stainless steel or granite. Epoxy adhesive is also heat-resistant, making it a good choice for sinks near stovetops or ovens. To use epoxy adhesive, first clean and dry the area around the sink. Then, apply the adhesive to the edge of the sink, making sure to cover any gaps or spaces. Press the sink firmly into place and allow the adhesive to dry completely before using the sink.7. Apply Epoxy Adhesive
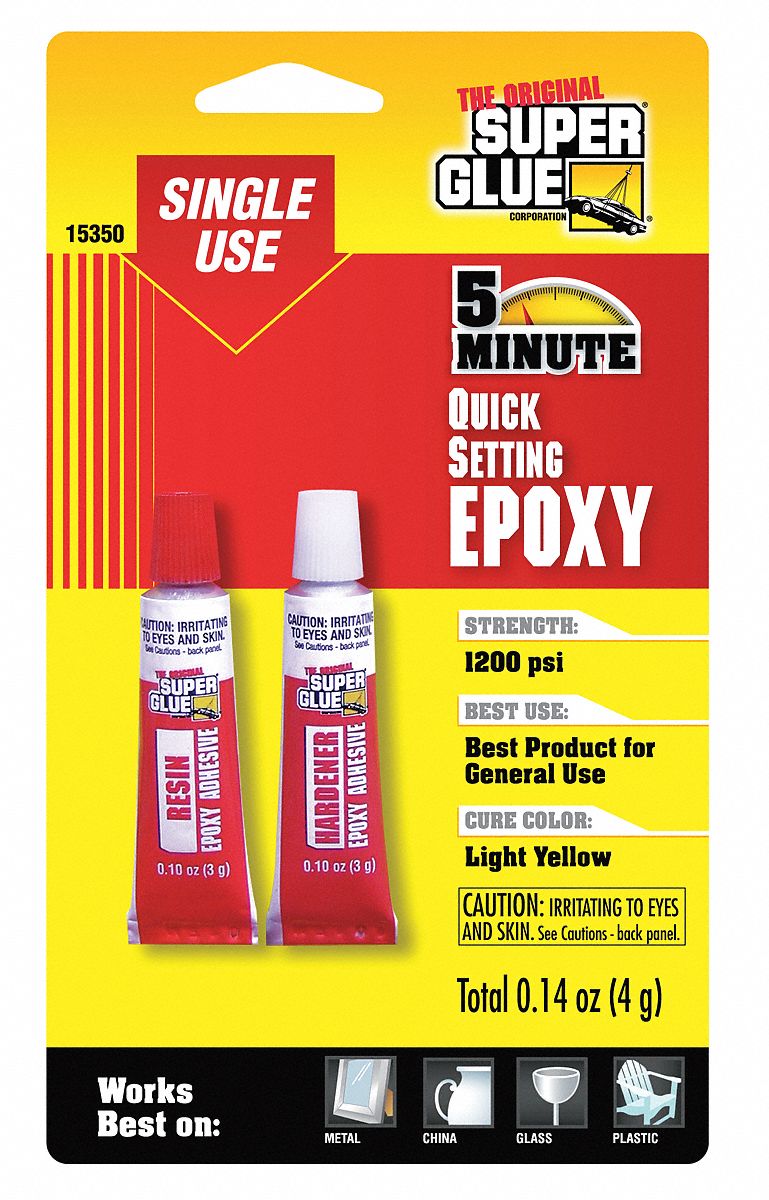

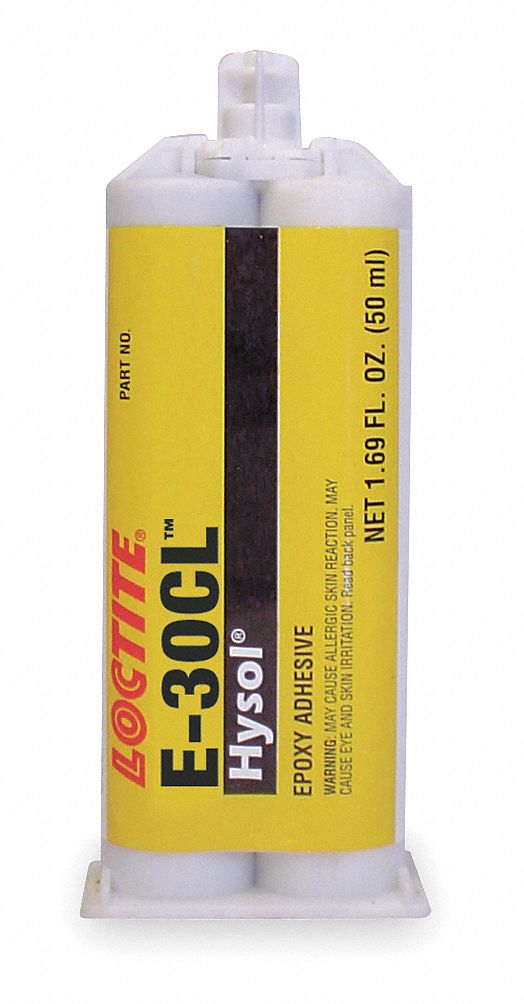
7. Apply Epoxy Adhesive


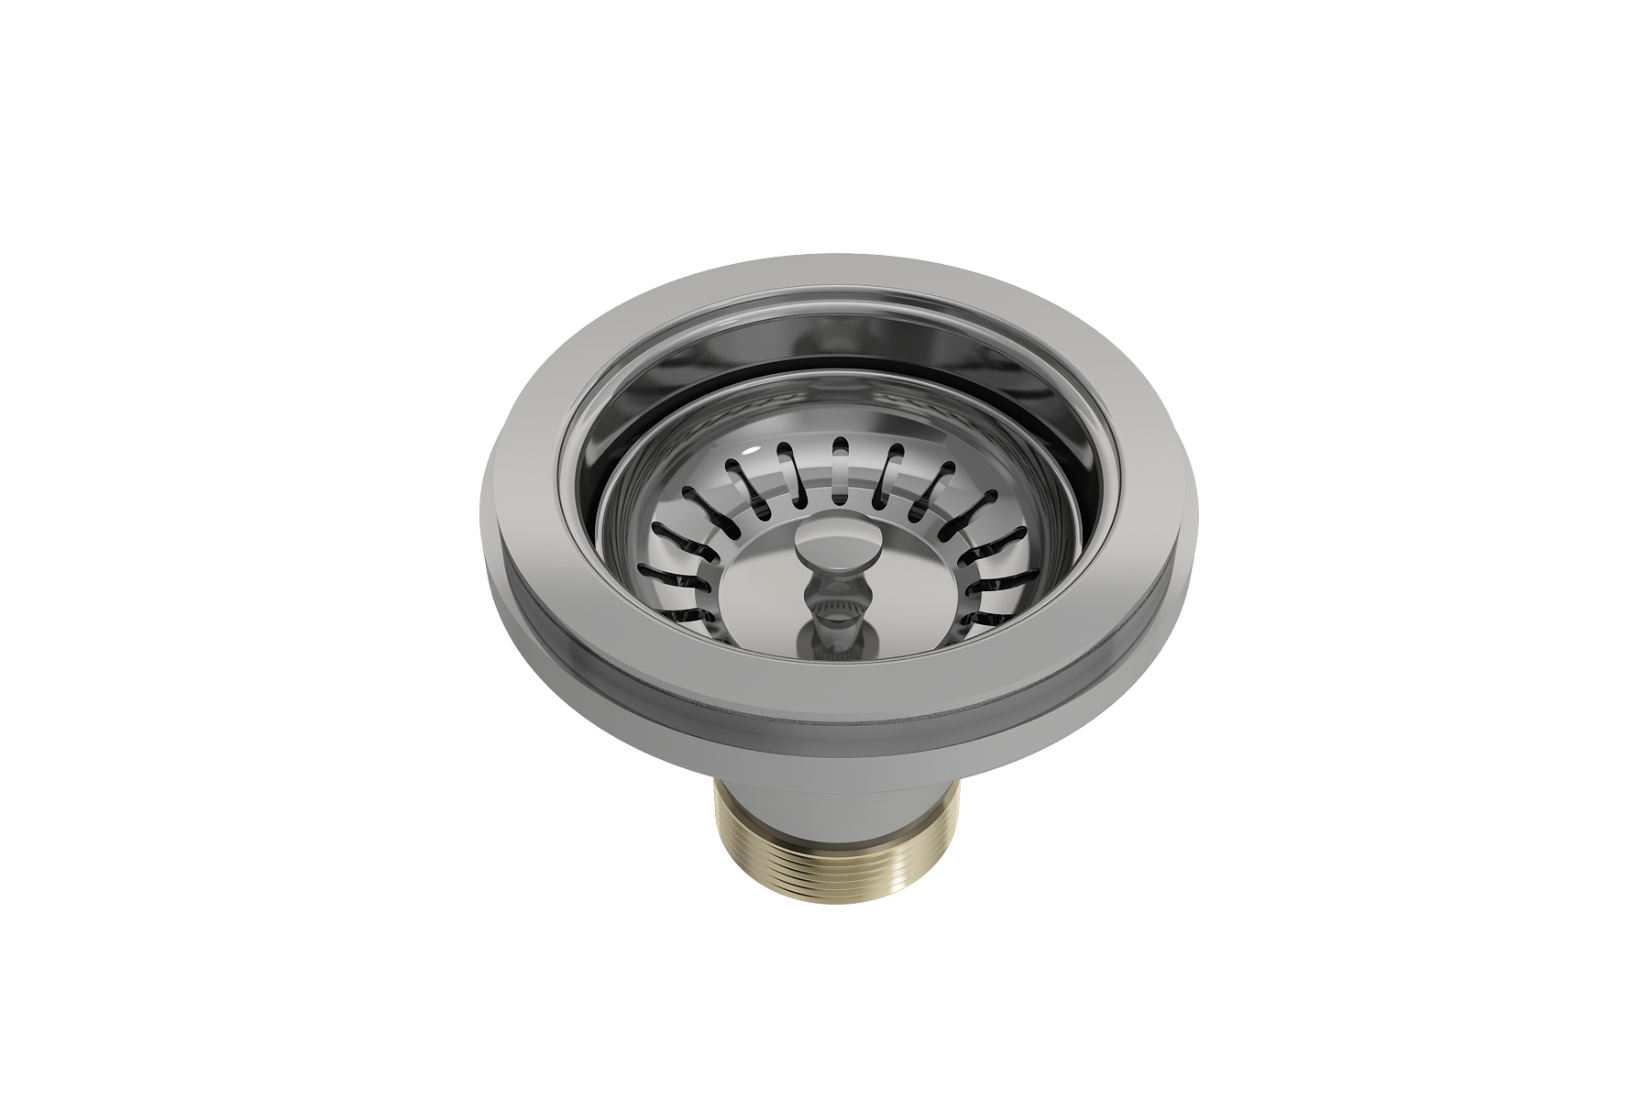
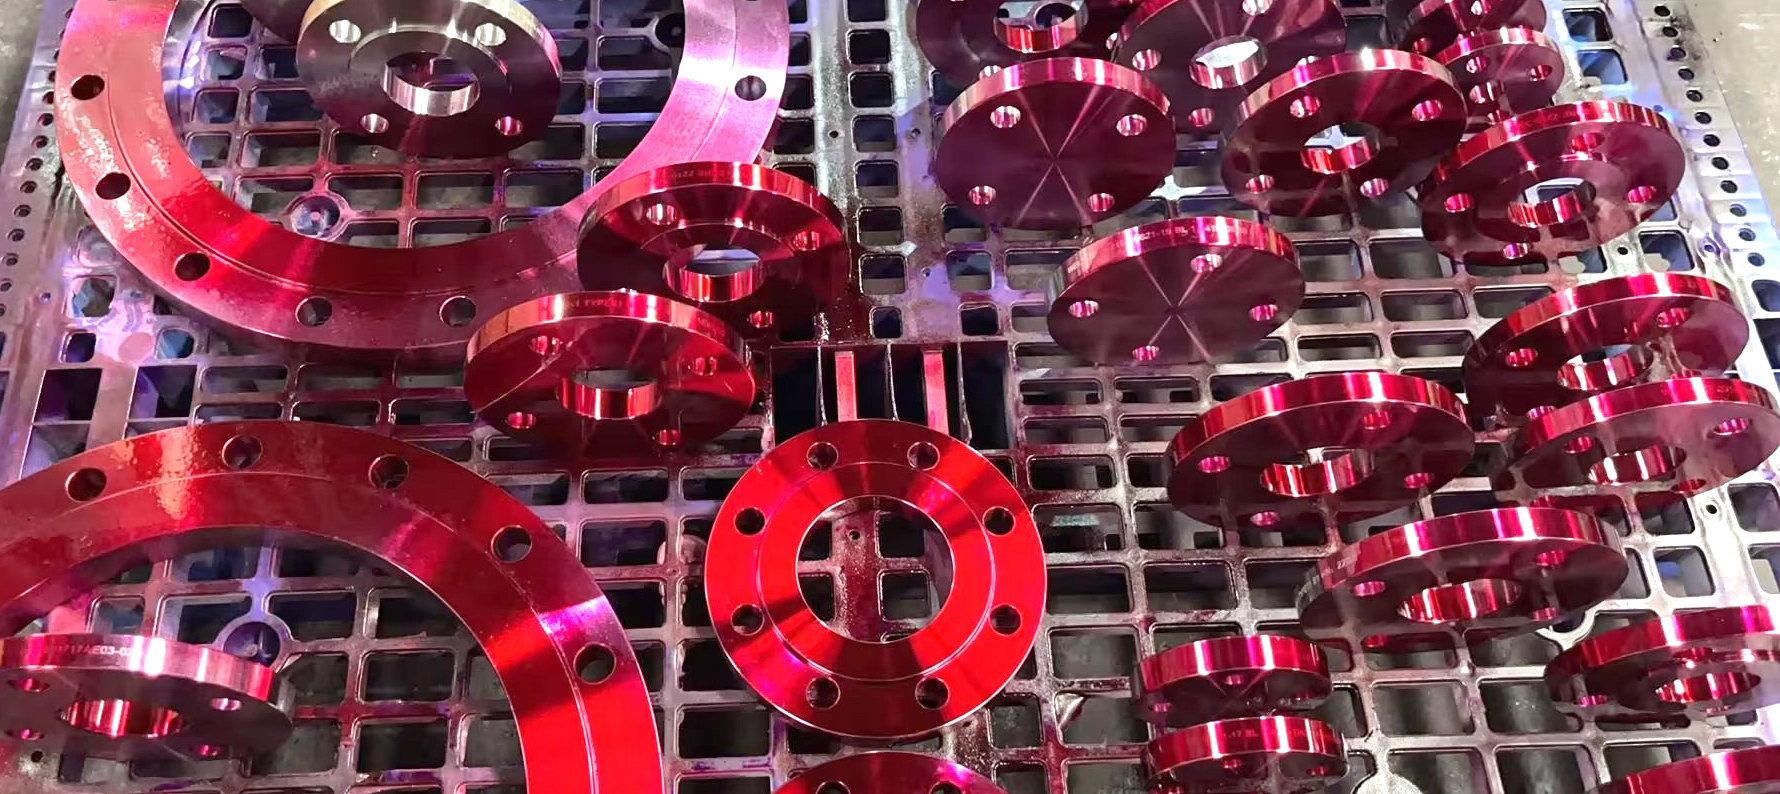
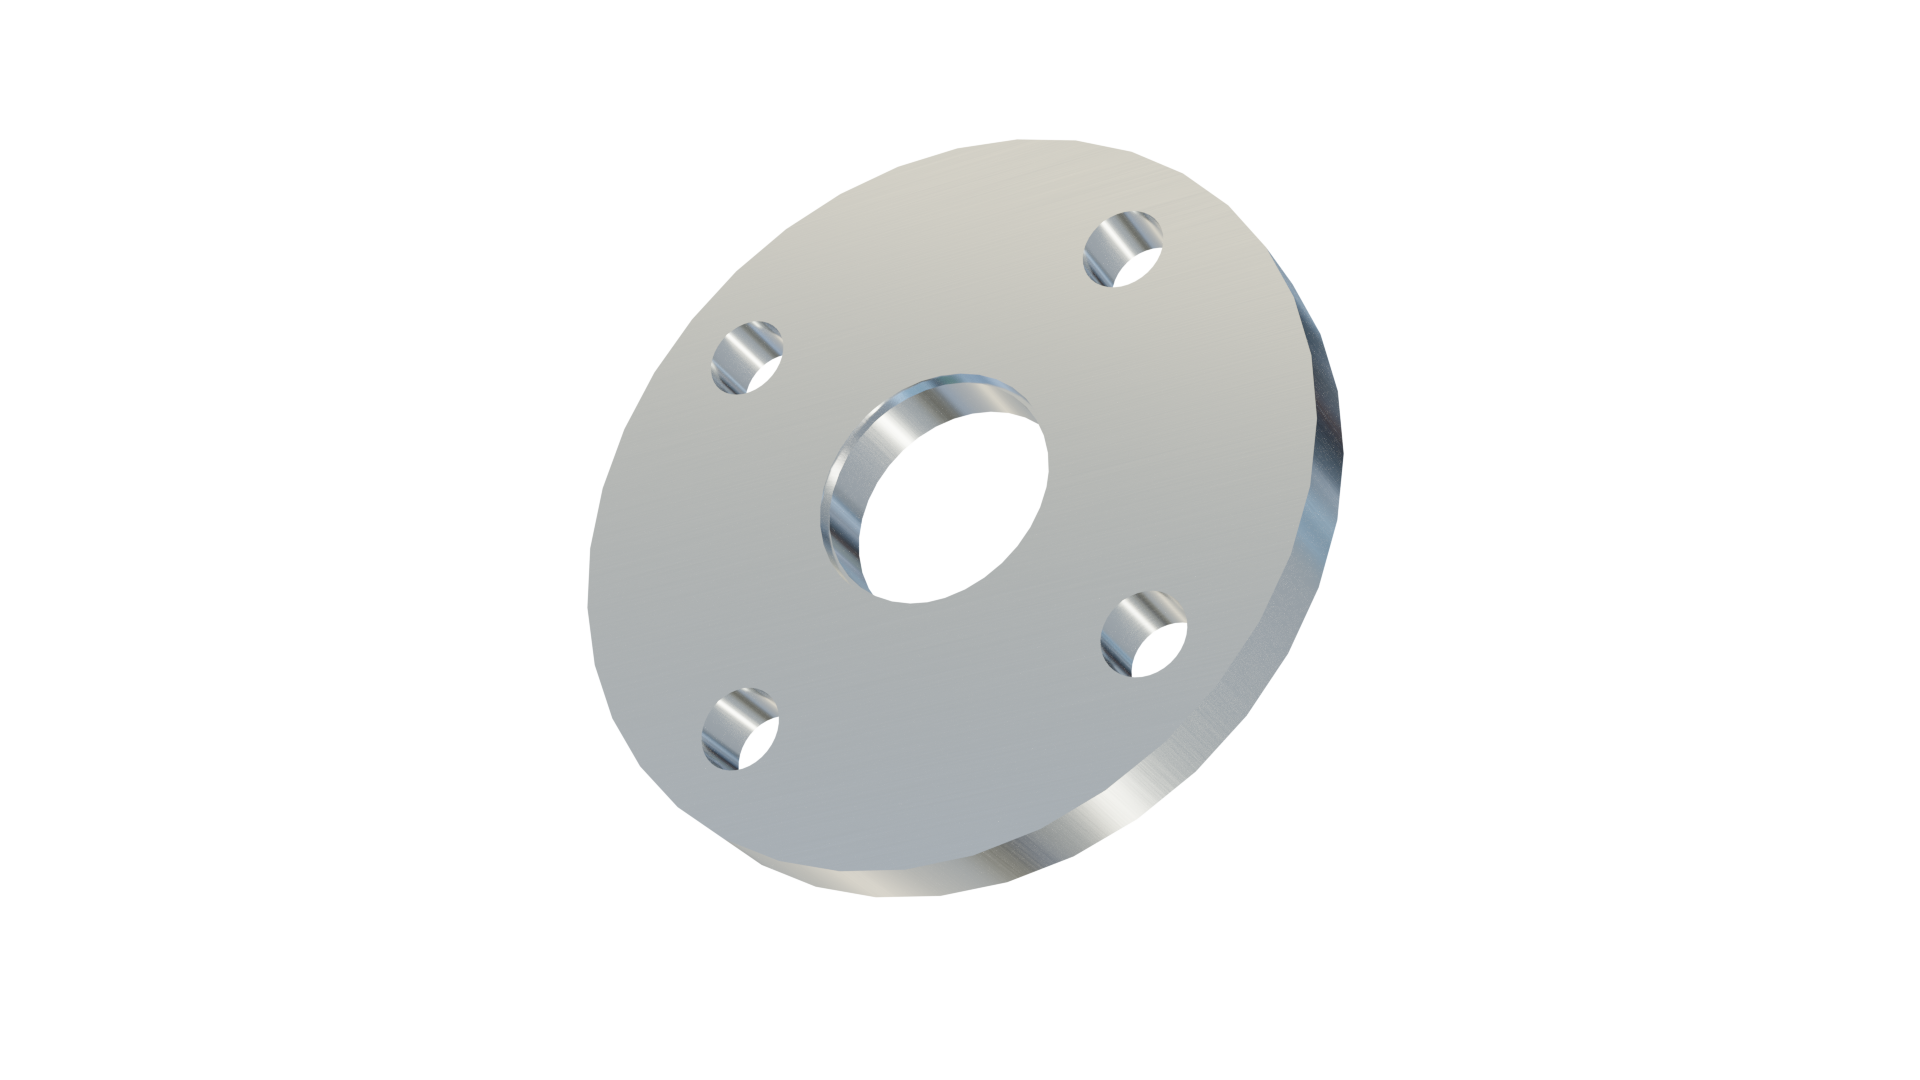
If your sink has a garbage disposal, using a sink flange can help create a tight seal around the drain. A sink flange is a metal or plastic ring that fits between the sink and the garbage disposal, preventing leaks and keeping the sink sealed. To use a sink flange, first clean and dry the area around the drain. Then, place the flange on top of the drain and tighten the mounting screws to secure it in place. This will create a tight seal and prevent any leaks from occurring.8. Use a Sink Flange


8. Use a Sink Flange


If you have a drop-in sink, using a sink rim can help create a tight seal between the sink and the countertop. A sink rim is a small, thin strip of metal that fits around the edge of the sink and helps hold it in place. To use a sink rim, first clean and dry the area around the sink. Then, place the rim on the edge of the sink, making sure it is centered and covers any gaps or spaces. Carefully lower the sink into place, pressing down firmly to create a tight seal.9. Apply a Sink Rim


9. Apply a Sink Rim


A sink mounting ring is a metal or plastic ring that fits between the sink and the countertop to create a tight seal. Sink mounting rings are commonly used for vessel sinks, which sit on top of the countertop rather than being installed underneath it. To use a sink mounting ring, first clean and dry the area around the sink. Then, place the ring on the edge of the sink, making sure it is centered and covers any gaps or spaces. Carefully lower the sink into place, pressing down firmly to create a tight seal. Sealing your kitchen sink is an important step in preventing leaks and keeping your kitchen clean and dry. Whether you choose to caulk, use sealant, or install a gasket, make sure to follow the manufacturer's instructions and properly maintain your seal to ensure a long-lasting and effective seal.10. Use a Sink Mounting Ring


10. Use a Sink Mounting Ring


Why Sealing Your Kitchen Sink is Essential for a Beautiful and Functional Kitchen

In any home, the kitchen is often considered the heart of the house. It's where meals are cooked, memories are made, and families gather. As such, it's important to have a kitchen that is not only visually appealing but also functional. One area of the kitchen that often gets overlooked is the sink. However, properly sealing your kitchen sink is crucial for maintaining both the beauty and functionality of your kitchen. Let's explore why sealing your kitchen sink is the best way to keep your kitchen looking and functioning at its best.
Prevent Water Damage
One of the main reasons why sealing your kitchen sink is important is to prevent water damage. Over time, water can seep into the cracks and crevices around your sink, leading to wood rot, mold growth, and other issues. This can not only affect the appearance of your kitchen but also compromise the structural integrity of your cabinets and countertops. By sealing your kitchen sink, you create a barrier that prevents water from seeping in and causing damage.
Keep Your Kitchen Clean

Another benefit of sealing your kitchen sink is that it helps keep your kitchen clean. Without proper sealing, food particles and liquids can get trapped in the crevices around your sink, leading to unsightly build-up and potential bacteria growth. This can also make it more difficult to clean your sink, as the debris can become stuck in the cracks. By sealing your sink, you create a smooth, easy-to-clean surface that helps keep your kitchen hygienic and looking its best.
Enhance the Visual Appeal of Your Kitchen

A properly sealed kitchen sink not only helps prevent damage and keep your kitchen clean, but it can also enhance the overall visual appeal of your kitchen. By creating a smooth, seamless surface around your sink, you can achieve a sleek and modern look that will elevate the design of your kitchen. Additionally, sealing your sink can also help protect the appearance of your countertops by preventing water damage and stains from occurring around the sink area.
Sealing your kitchen sink is the best way to ensure a beautiful and functional kitchen. It helps prevent water damage, keeps your kitchen clean, and enhances the visual appeal of your space. Make sure to regularly seal your sink to maintain its beauty and functionality for years to come.