Installing a new bathroom sink may seem like a daunting task, but with the right instructions and tools, it can be a simple DIY project. Follow these step-by-step instructions to learn how to install a bathroom sink in your home.How to Install a Bathroom Sink: Step-by-Step Guide


How to Install a Bathroom Sink: Step-by-Step Guide


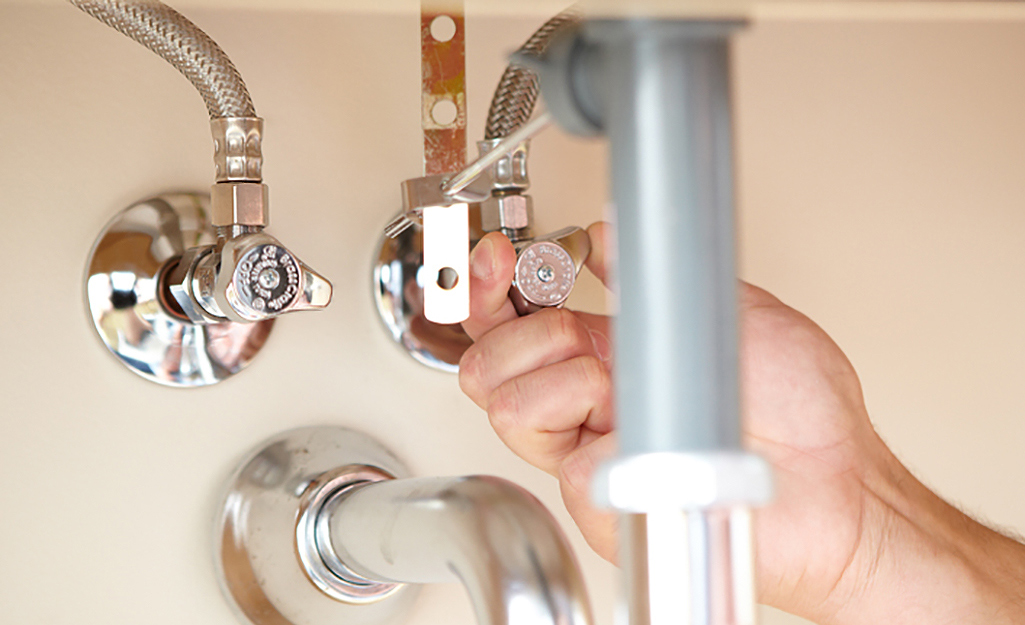
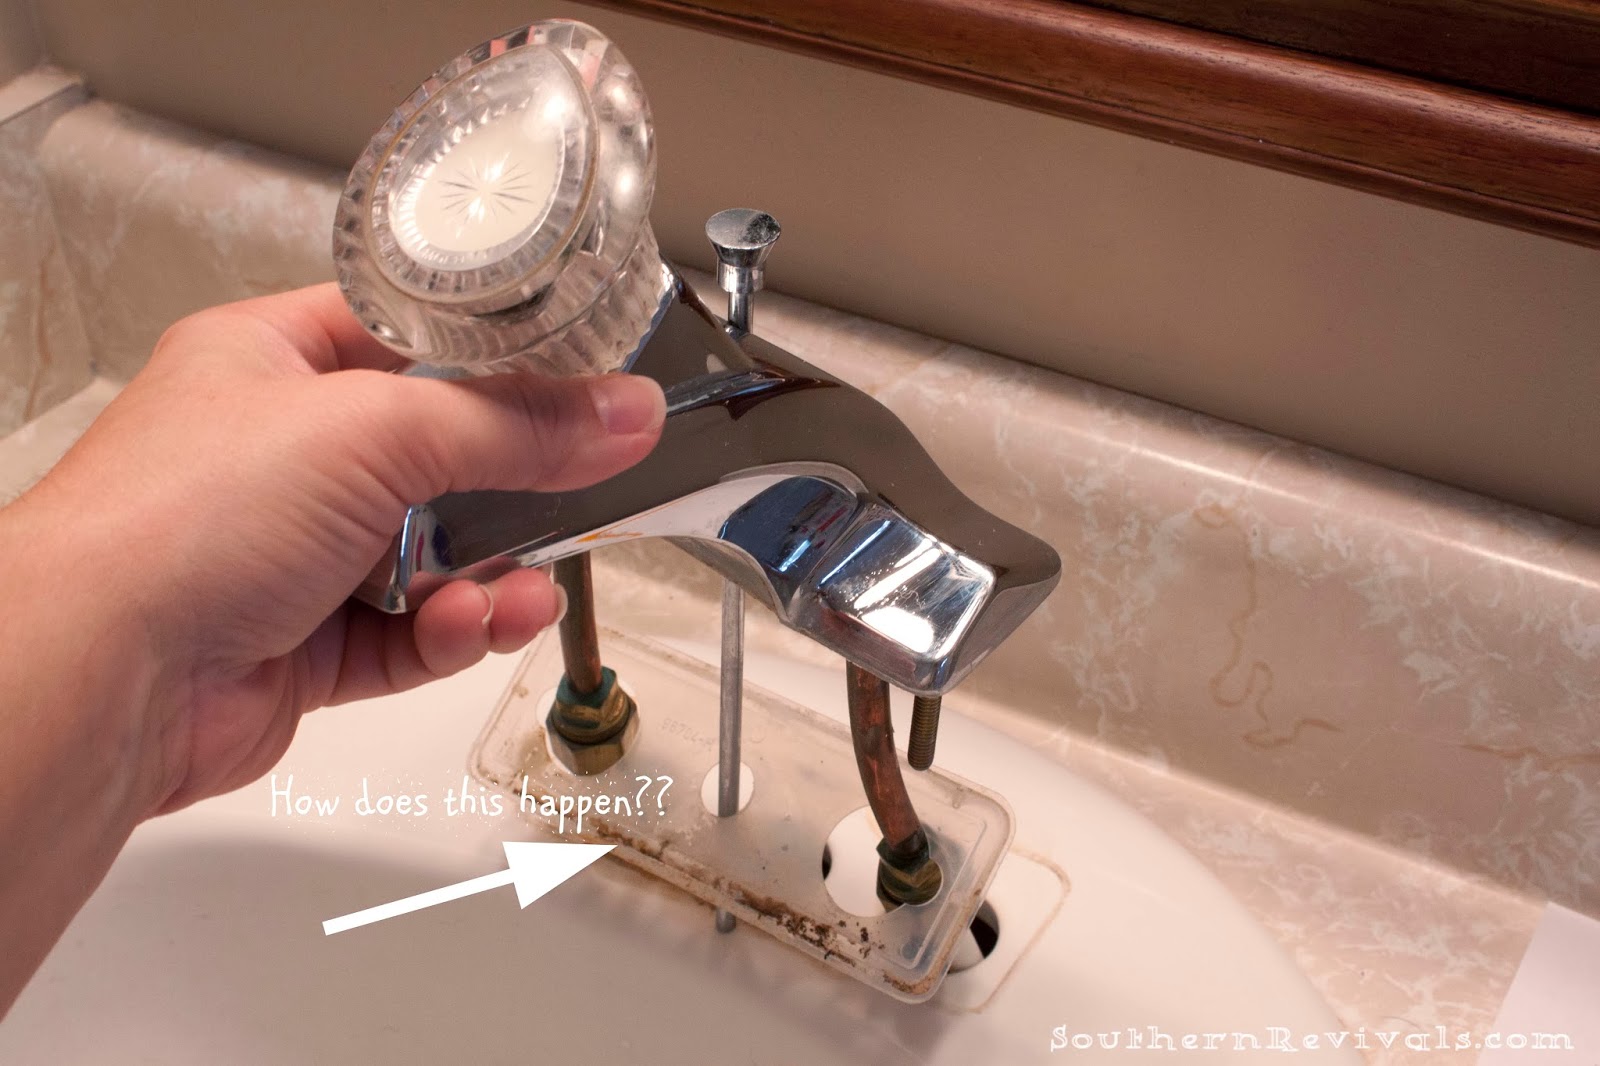
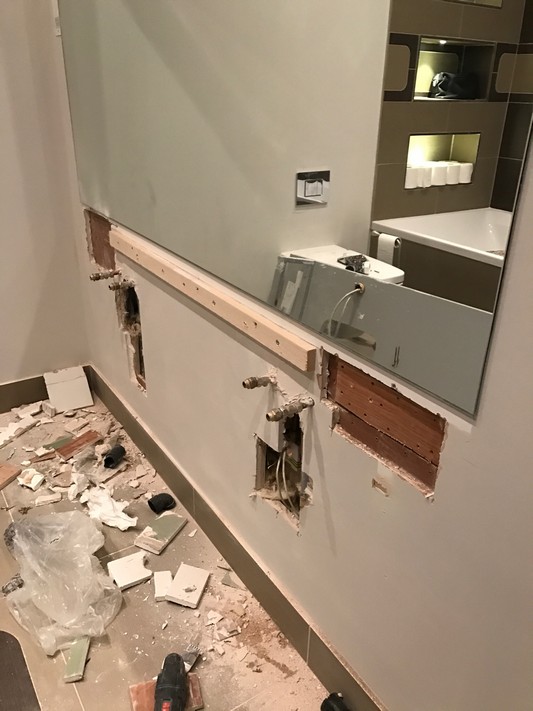
Before you begin, make sure you have all the necessary tools and materials. This includes a new sink, faucet, drain assembly, plumber's putty, silicone caulk, adjustable wrench, and a screwdriver. Start by turning off the water supply to your sink. This can be done by turning off the shut-off valves under the sink or by shutting off the main water supply to your home. Next, remove the old sink and any remaining caulk or putty. If your sink is attached to the wall, use a utility knife to carefully cut through any caulk or adhesive. If your sink is attached to a vanity, use a screwdriver to remove any screws holding the sink in place. Once the old sink is removed, clean the area to ensure a smooth surface for the new sink to be installed on.Bathroom Sink Installation Instructions


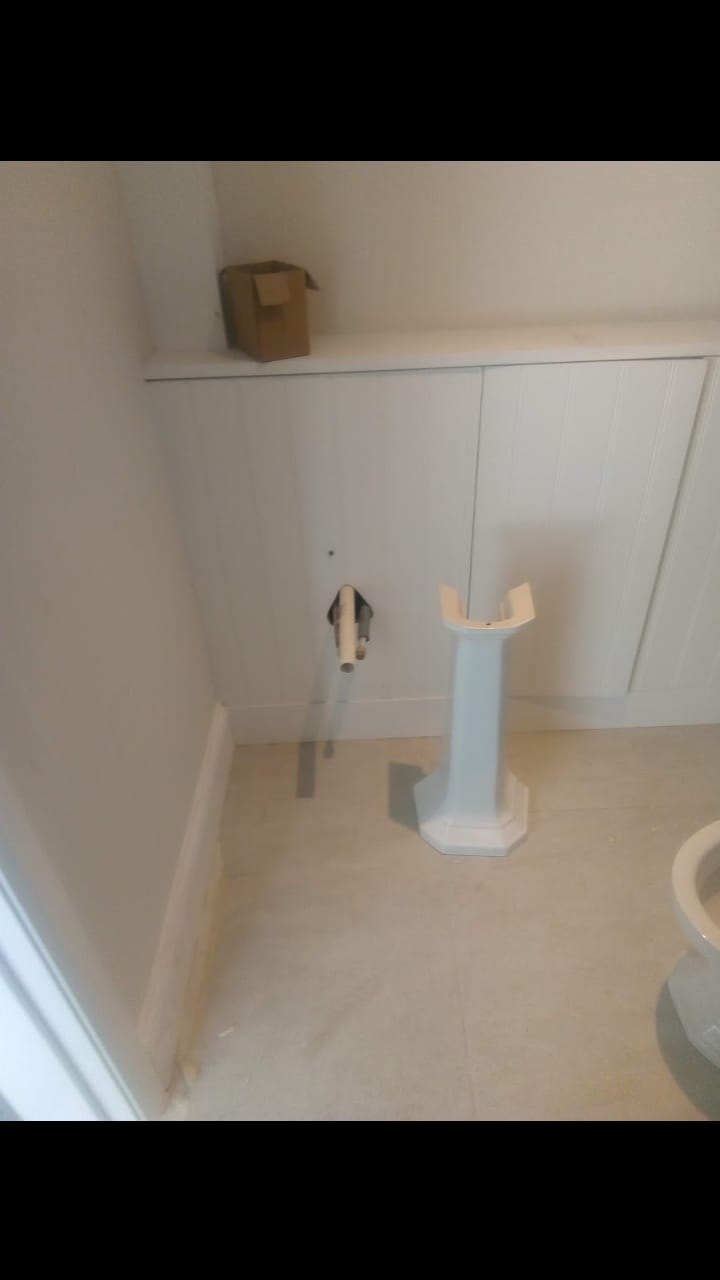
Bathroom Sink Installation Instructions


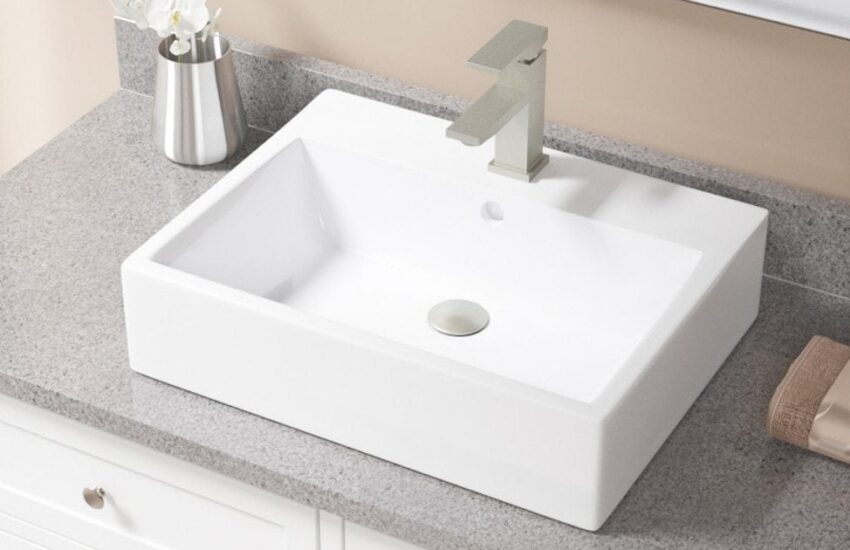
Now it's time to install the new sink. Begin by placing the sink upside down on a soft surface, such as a towel, to avoid scratching the surface. Apply a thin layer of plumber's putty around the edge of the sink where it will come into contact with the countertop or vanity. Next, carefully place the sink into the designated area, making sure it is centered and level. Use a screwdriver to secure the sink in place if necessary. Now it's time to install the faucet. Each faucet may have slightly different instructions, so be sure to follow the manufacturer's instructions carefully. Generally, you will need to attach the faucet to the sink using the provided hardware and a wrench.DIY Bathroom Sink Installation
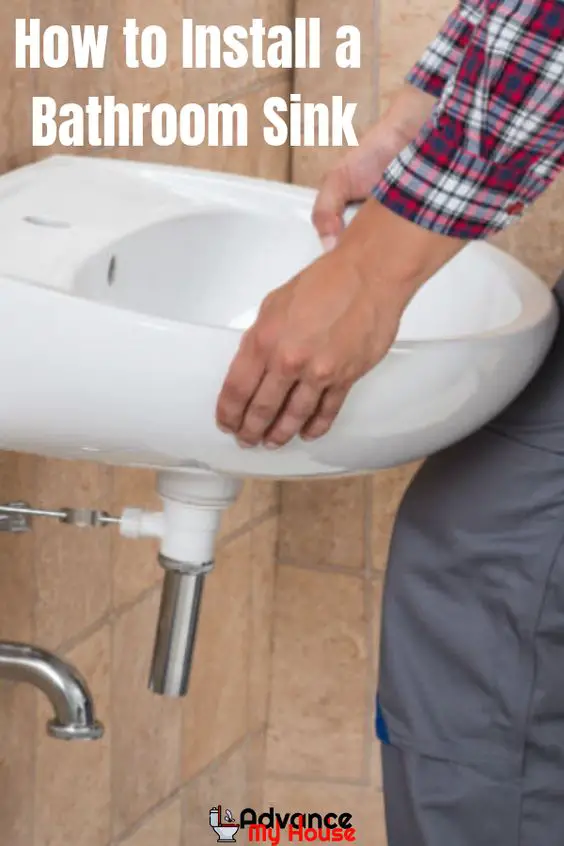


DIY Bathroom Sink Installation


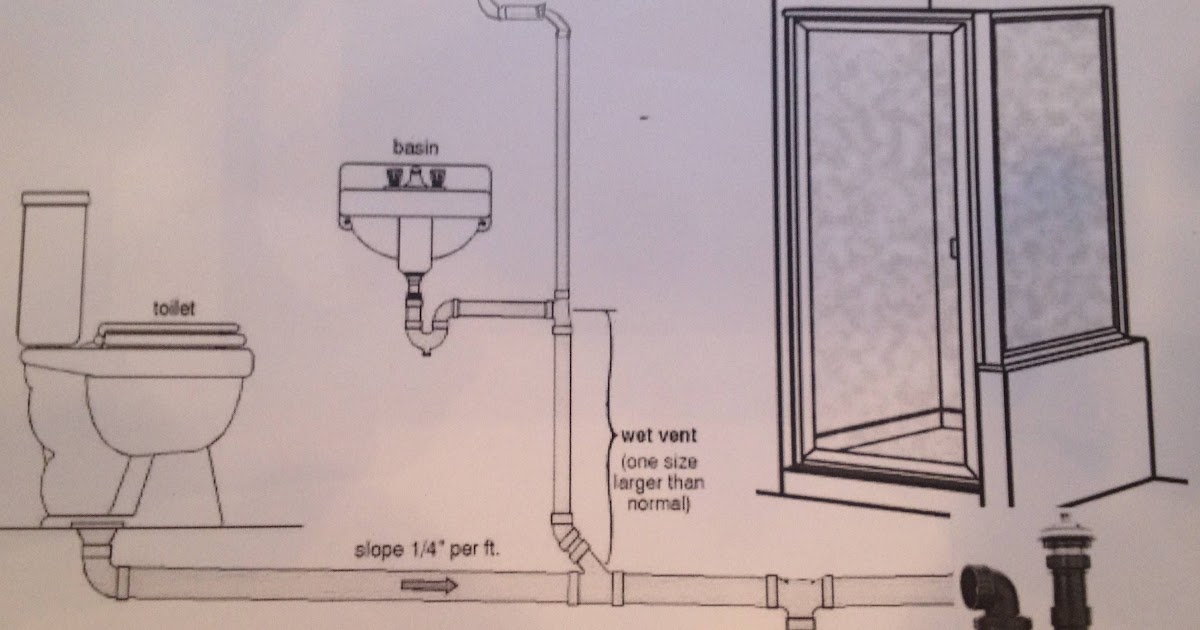
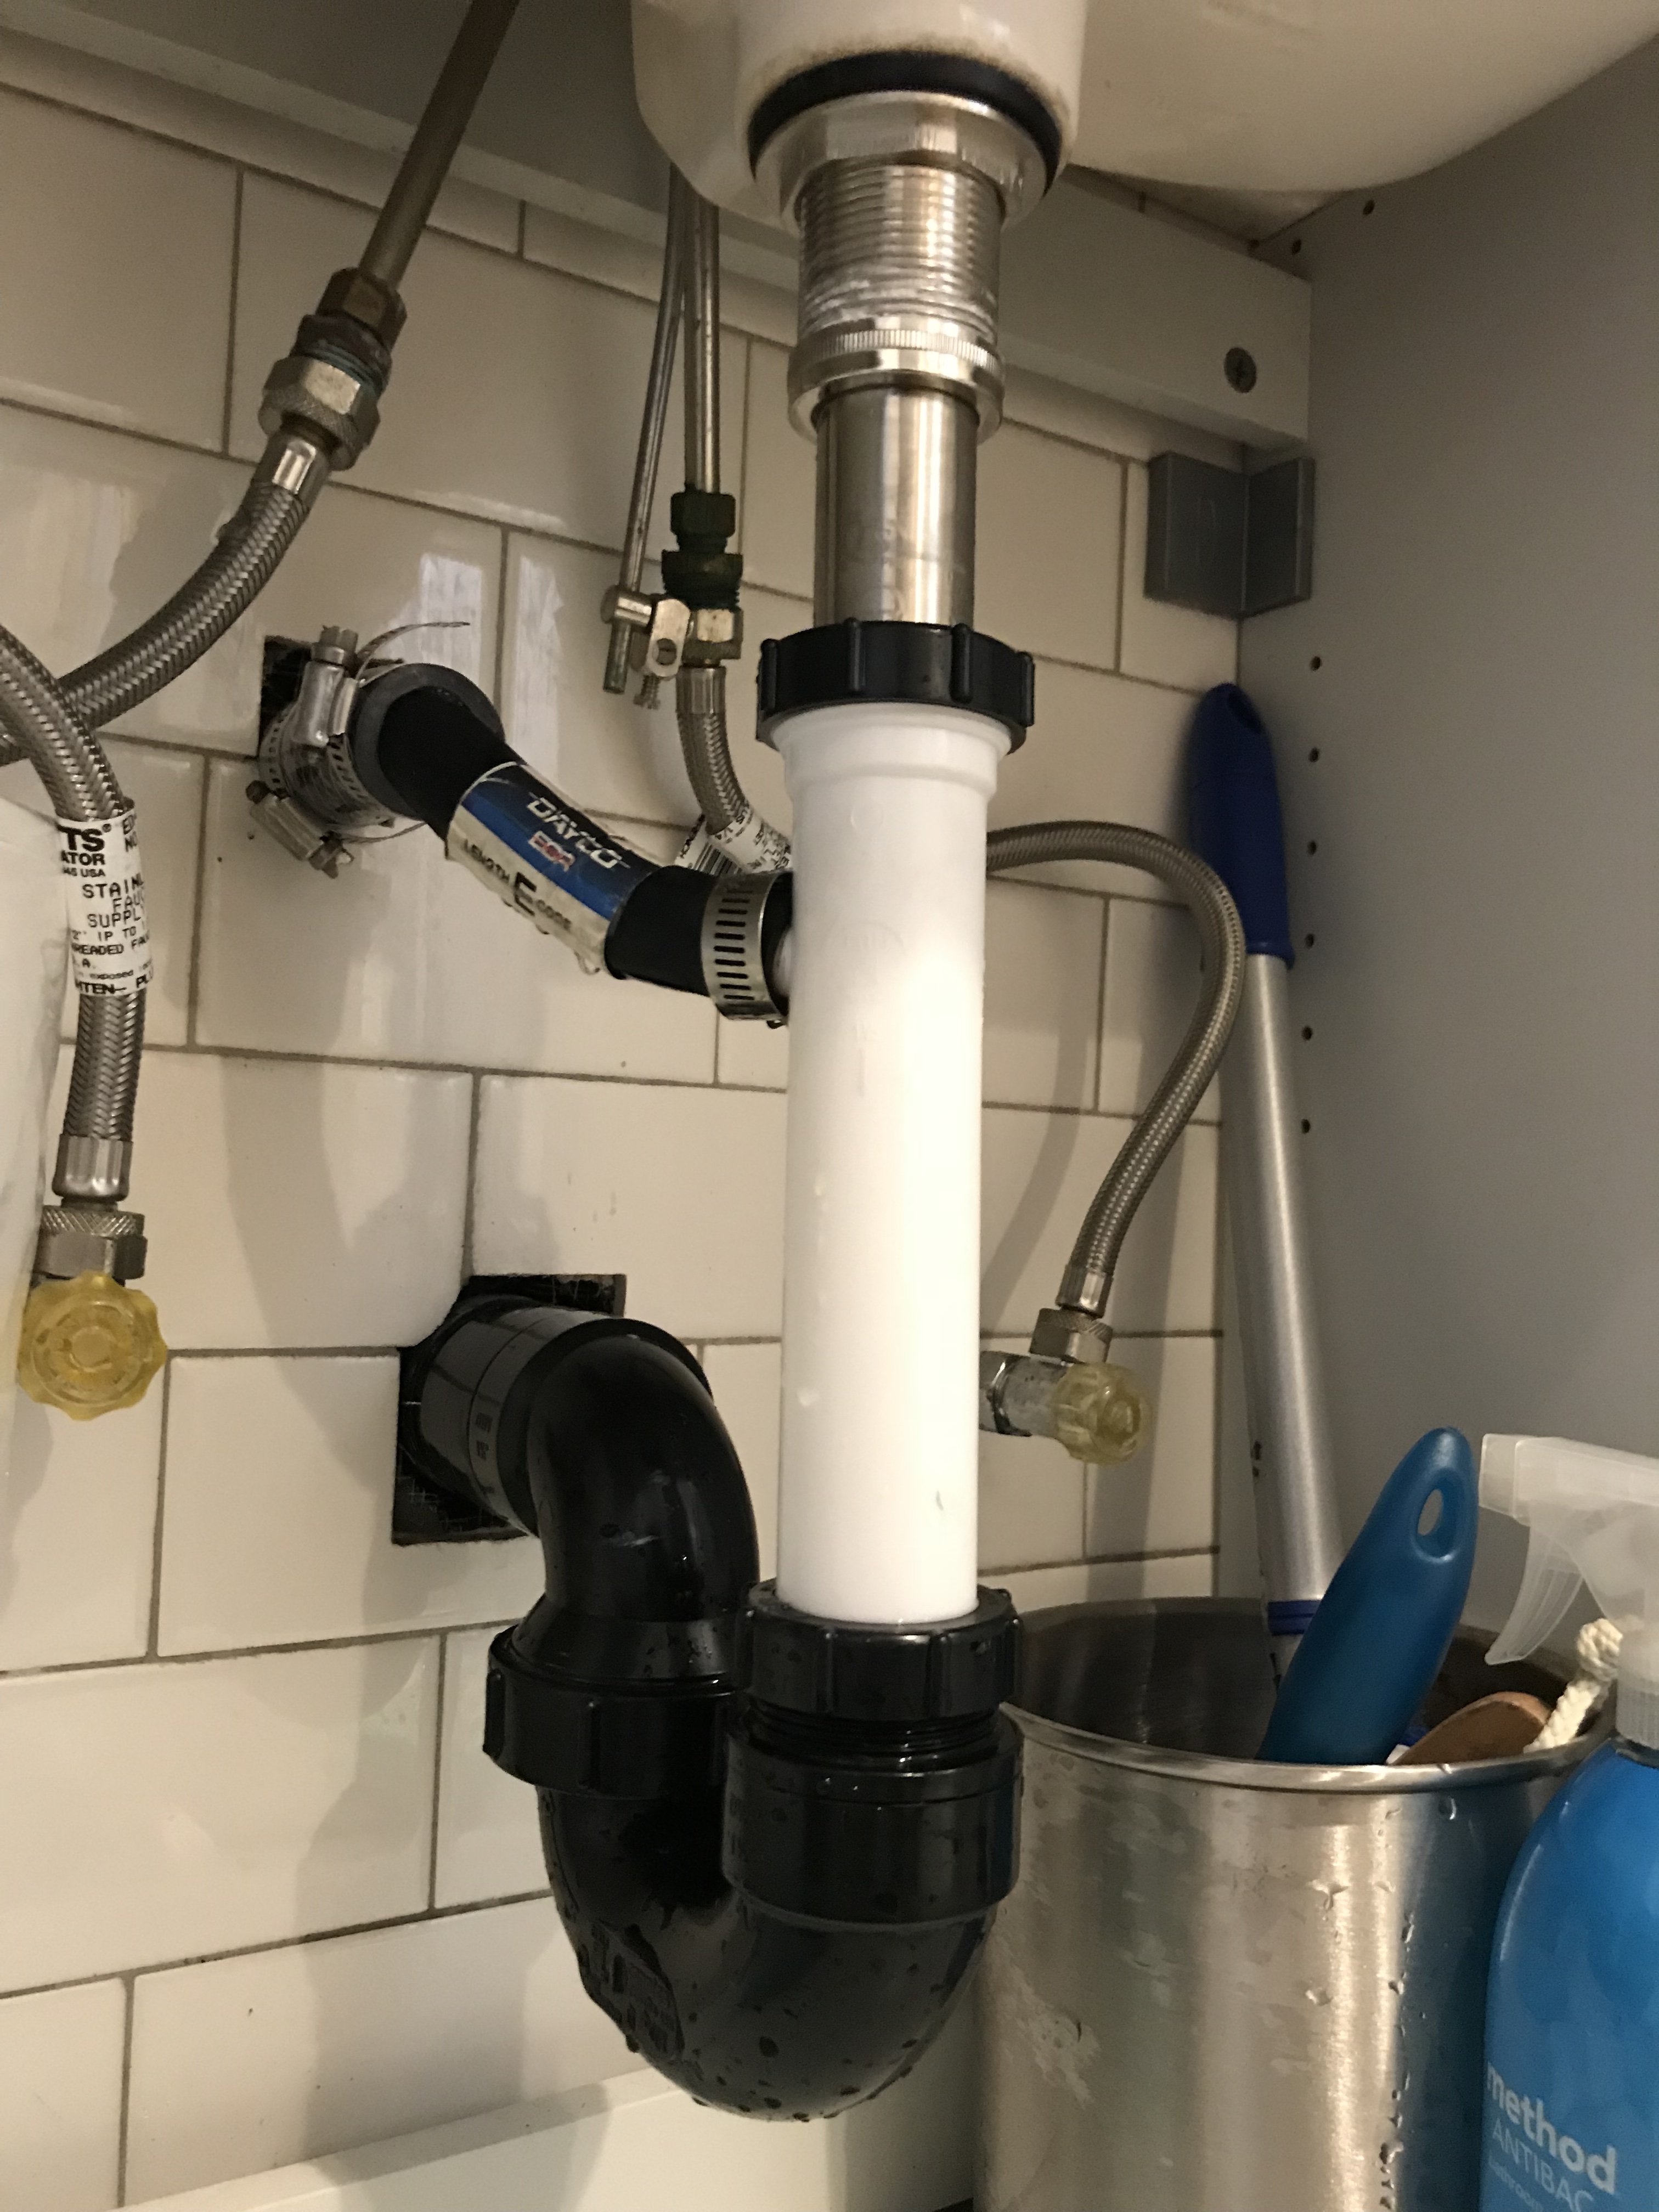
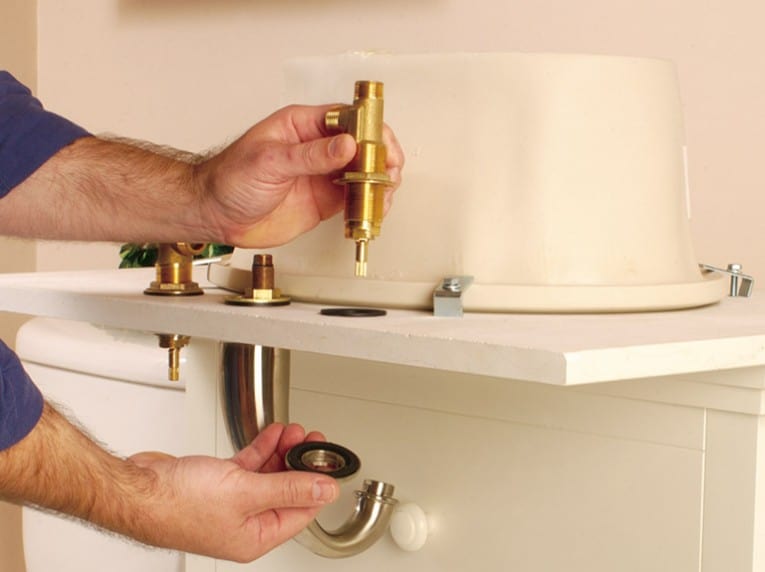
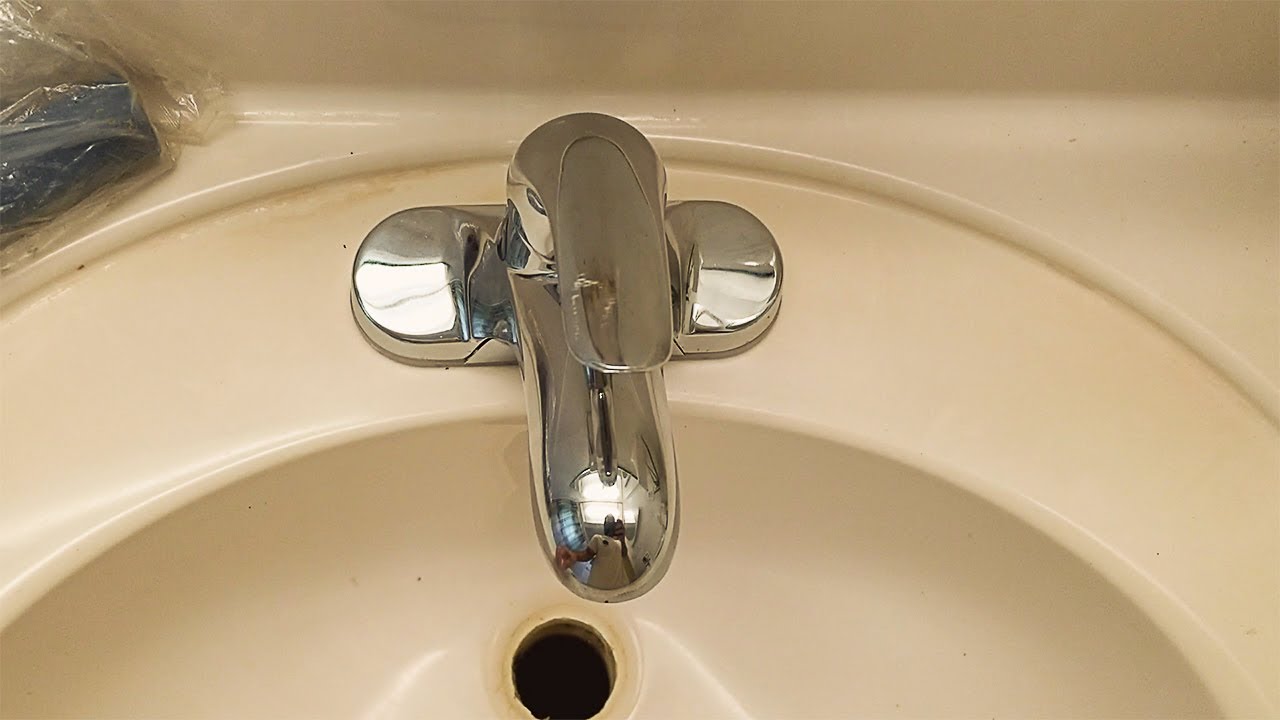
The next step is to install the drain assembly. This is the mechanism that allows water to drain out of the sink. Start by attaching the gasket to the bottom of the sink, then place the drain body through the hole in the sink. From under the sink, attach the washer and nut to secure the drain body in place. Next, attach the drain pipe to the drain body and secure it with a nut. Be sure to connect the drain pipe to the existing plumbing in your home.Bathroom Sink Plumbing Instructions


Bathroom Sink Plumbing Instructions


Once the drain assembly is in place, it's time to install the drain stopper. This is the mechanism that allows you to stop the water from draining out of the sink. Place the stopper into the drain body and attach the lift rod to the back of the faucet. This will allow you to control the stopper from the top of the sink. Test the drain stopper by lifting and lowering it to ensure it is functioning properly.Bathroom Sink Drain Installation


Bathroom Sink Drain Installation


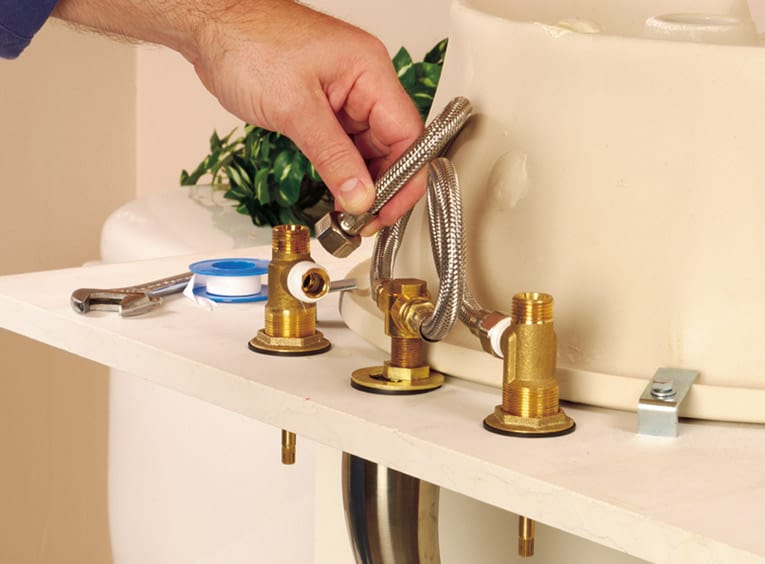
Now it's time to connect the water supply lines to the faucet. Be sure to follow the manufacturer's instructions for your specific faucet. Generally, you will need to attach the supply lines to the faucet using the provided hardware and a wrench. Once the supply lines are connected, turn the water supply back on and test the faucet to make sure it is working properly.Bathroom Sink Faucet Installation


Bathroom Sink Faucet Installation


If your sink is attached to the wall, you will need to secure it in place. Use a level to ensure the sink is straight, then use a screwdriver to attach the sink to the wall using the appropriate hardware.Bathroom Sink Mounting Instructions


Bathroom Sink Mounting Instructions


The final step is to caulk around the edges of the sink to create a watertight seal. Use silicone caulk and a caulk gun to apply a thin, even layer around the edge of the sink. Use a damp cloth to smooth out the caulk and remove any excess. Allow the caulk to dry according to the manufacturer's instructions before using the sink.Bathroom Sink Assembly Instructions


Bathroom Sink Assembly Instructions


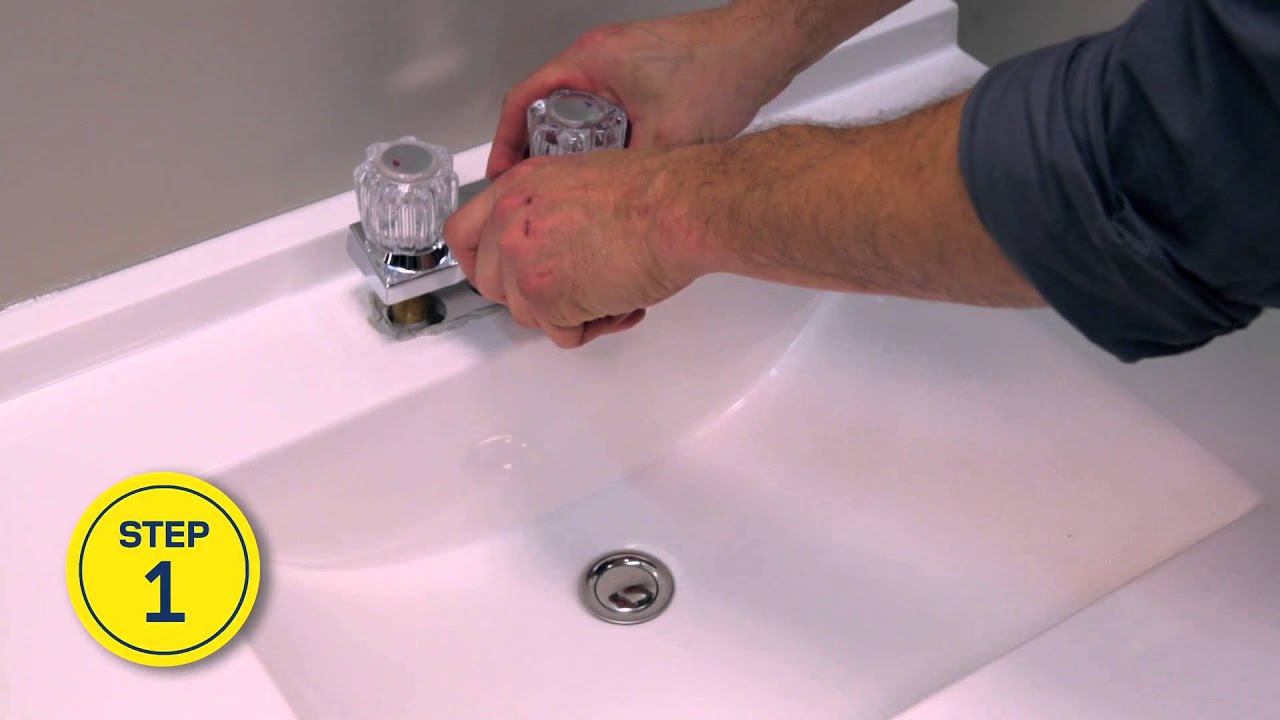
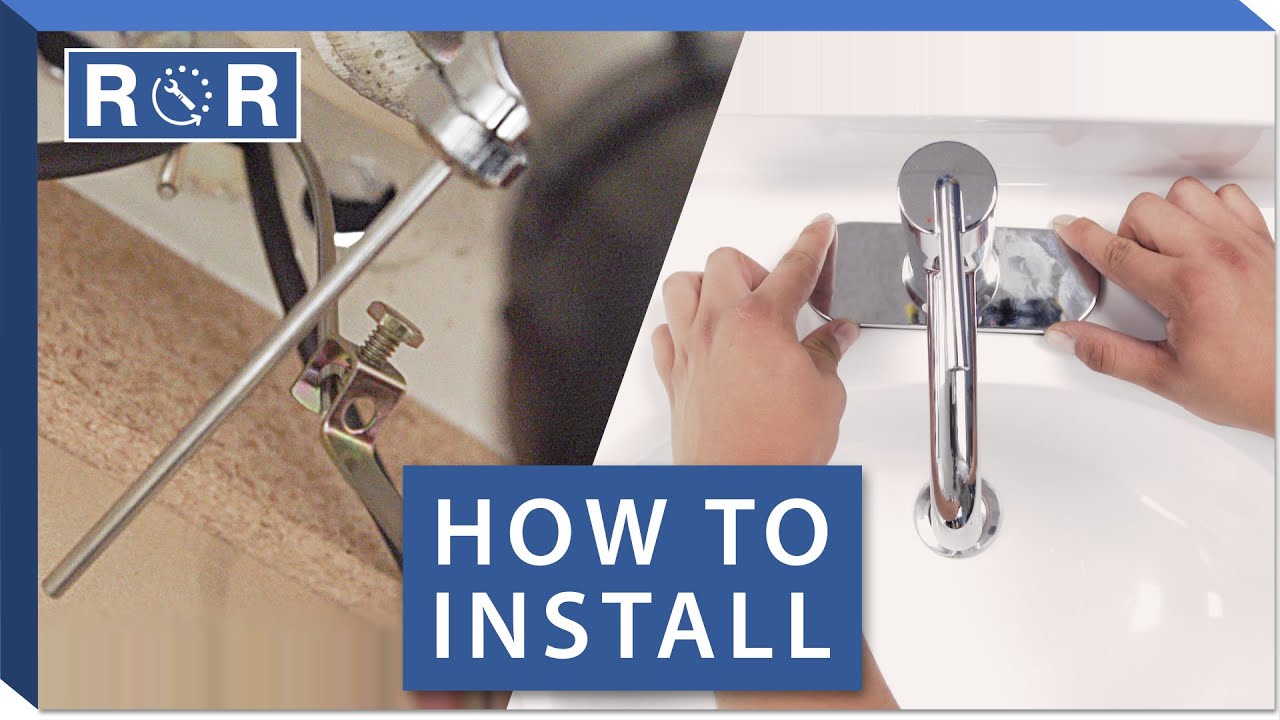
If you prefer visual instructions, there are many helpful tutorials available online. Search for a video tutorial specific to your sink model for a step-by-step visual guide to installing your new bathroom sink.Bathroom Sink Installation Video Tutorial


Bathroom Sink Installation Video Tutorial


Here are a few tips and tricks to keep in mind when installing a bathroom sink:Bathroom Sink Installation Tips and Tricks

Bathroom Sink Installation Tips and Tricks

Why Properly Fitting a Bathroom Sink is Essential for a Well-Designed Home

The Importance of a Well-Designed Bathroom
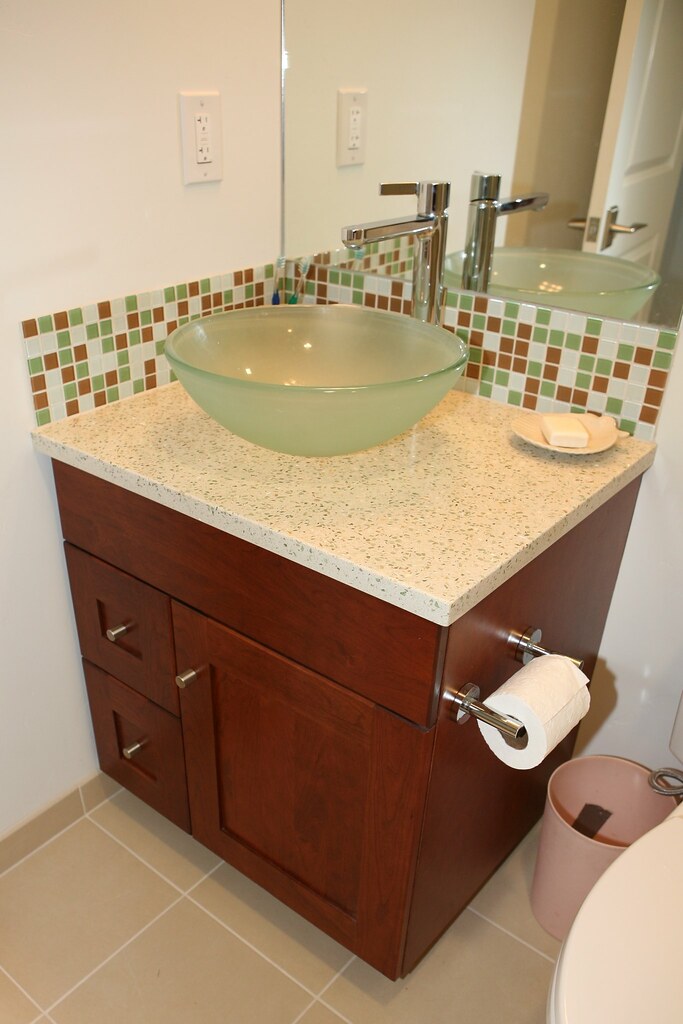
 When it comes to designing a home, the bathroom is often overlooked. However, it is one of the most used spaces in a house and deserves just as much attention as any other room. A well-designed bathroom not only adds value to your home but also provides a functional and comfortable space for everyday use. One of the key components of a well-designed bathroom is a properly fitted
bathroom sink
. Not only does it serve as a functional element, but it also adds to the overall aesthetic of the room.
When it comes to designing a home, the bathroom is often overlooked. However, it is one of the most used spaces in a house and deserves just as much attention as any other room. A well-designed bathroom not only adds value to your home but also provides a functional and comfortable space for everyday use. One of the key components of a well-designed bathroom is a properly fitted
bathroom sink
. Not only does it serve as a functional element, but it also adds to the overall aesthetic of the room.
The Basics of Fitting a Bathroom Sink
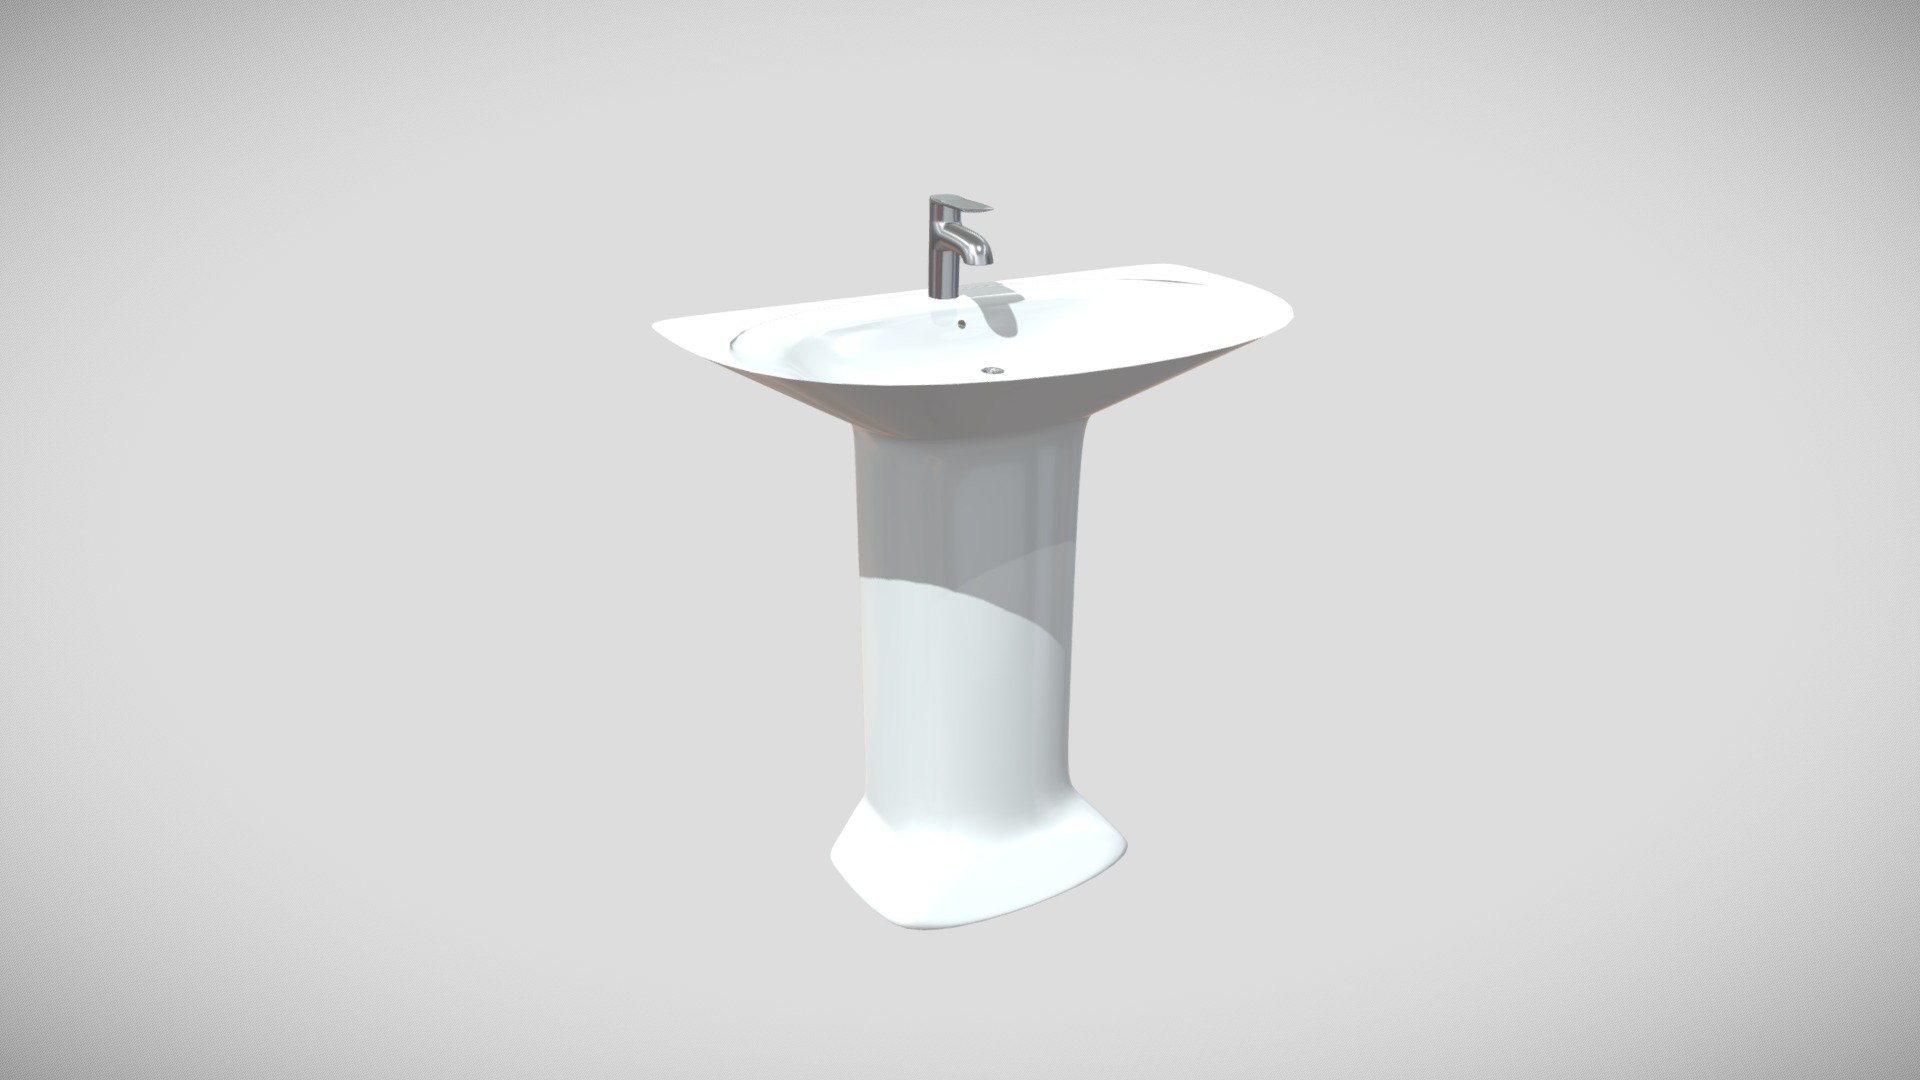
 Fitting a bathroom sink may seem like a daunting task, but with the right instructions and tools, it can be a relatively simple process. The first step is to choose the right
sink
for your bathroom. Consider the size and style of your bathroom, as well as your personal preferences. Next, gather all the necessary tools such as a wrench, screwdriver, and plumber's putty. It is also important to make sure the sink and faucet are compatible and properly sized.
Fitting a bathroom sink may seem like a daunting task, but with the right instructions and tools, it can be a relatively simple process. The first step is to choose the right
sink
for your bathroom. Consider the size and style of your bathroom, as well as your personal preferences. Next, gather all the necessary tools such as a wrench, screwdriver, and plumber's putty. It is also important to make sure the sink and faucet are compatible and properly sized.
The Benefits of Properly Fitting a Bathroom Sink
 Properly fitting a bathroom sink has numerous benefits. Firstly, it ensures that the sink is securely attached and will not become loose or wobbly over time. This not only prevents potential damage to the sink and surrounding area but also provides a more enjoyable and hassle-free experience for the user. Additionally, a properly fitted sink prevents leaks and water damage, saving you from costly repairs in the future. It also allows for better water flow and drainage, improving the overall functionality of the sink.
Conclusion
 In conclusion, a well-designed bathroom is an essential part of a well-designed home. Properly fitting a bathroom sink is a crucial aspect of this process, as it not only adds to the aesthetics but also ensures functionality and prevents potential damage or issues in the future. So if you are looking to give your bathroom a much-needed upgrade, make sure to pay attention to the
sink fitting
process. With the right tools and instructions, you can easily achieve a professional and well-designed bathroom that will add value and comfort to your home.
In conclusion, a well-designed bathroom is an essential part of a well-designed home. Properly fitting a bathroom sink is a crucial aspect of this process, as it not only adds to the aesthetics but also ensures functionality and prevents potential damage or issues in the future. So if you are looking to give your bathroom a much-needed upgrade, make sure to pay attention to the
sink fitting
process. With the right tools and instructions, you can easily achieve a professional and well-designed bathroom that will add value and comfort to your home.