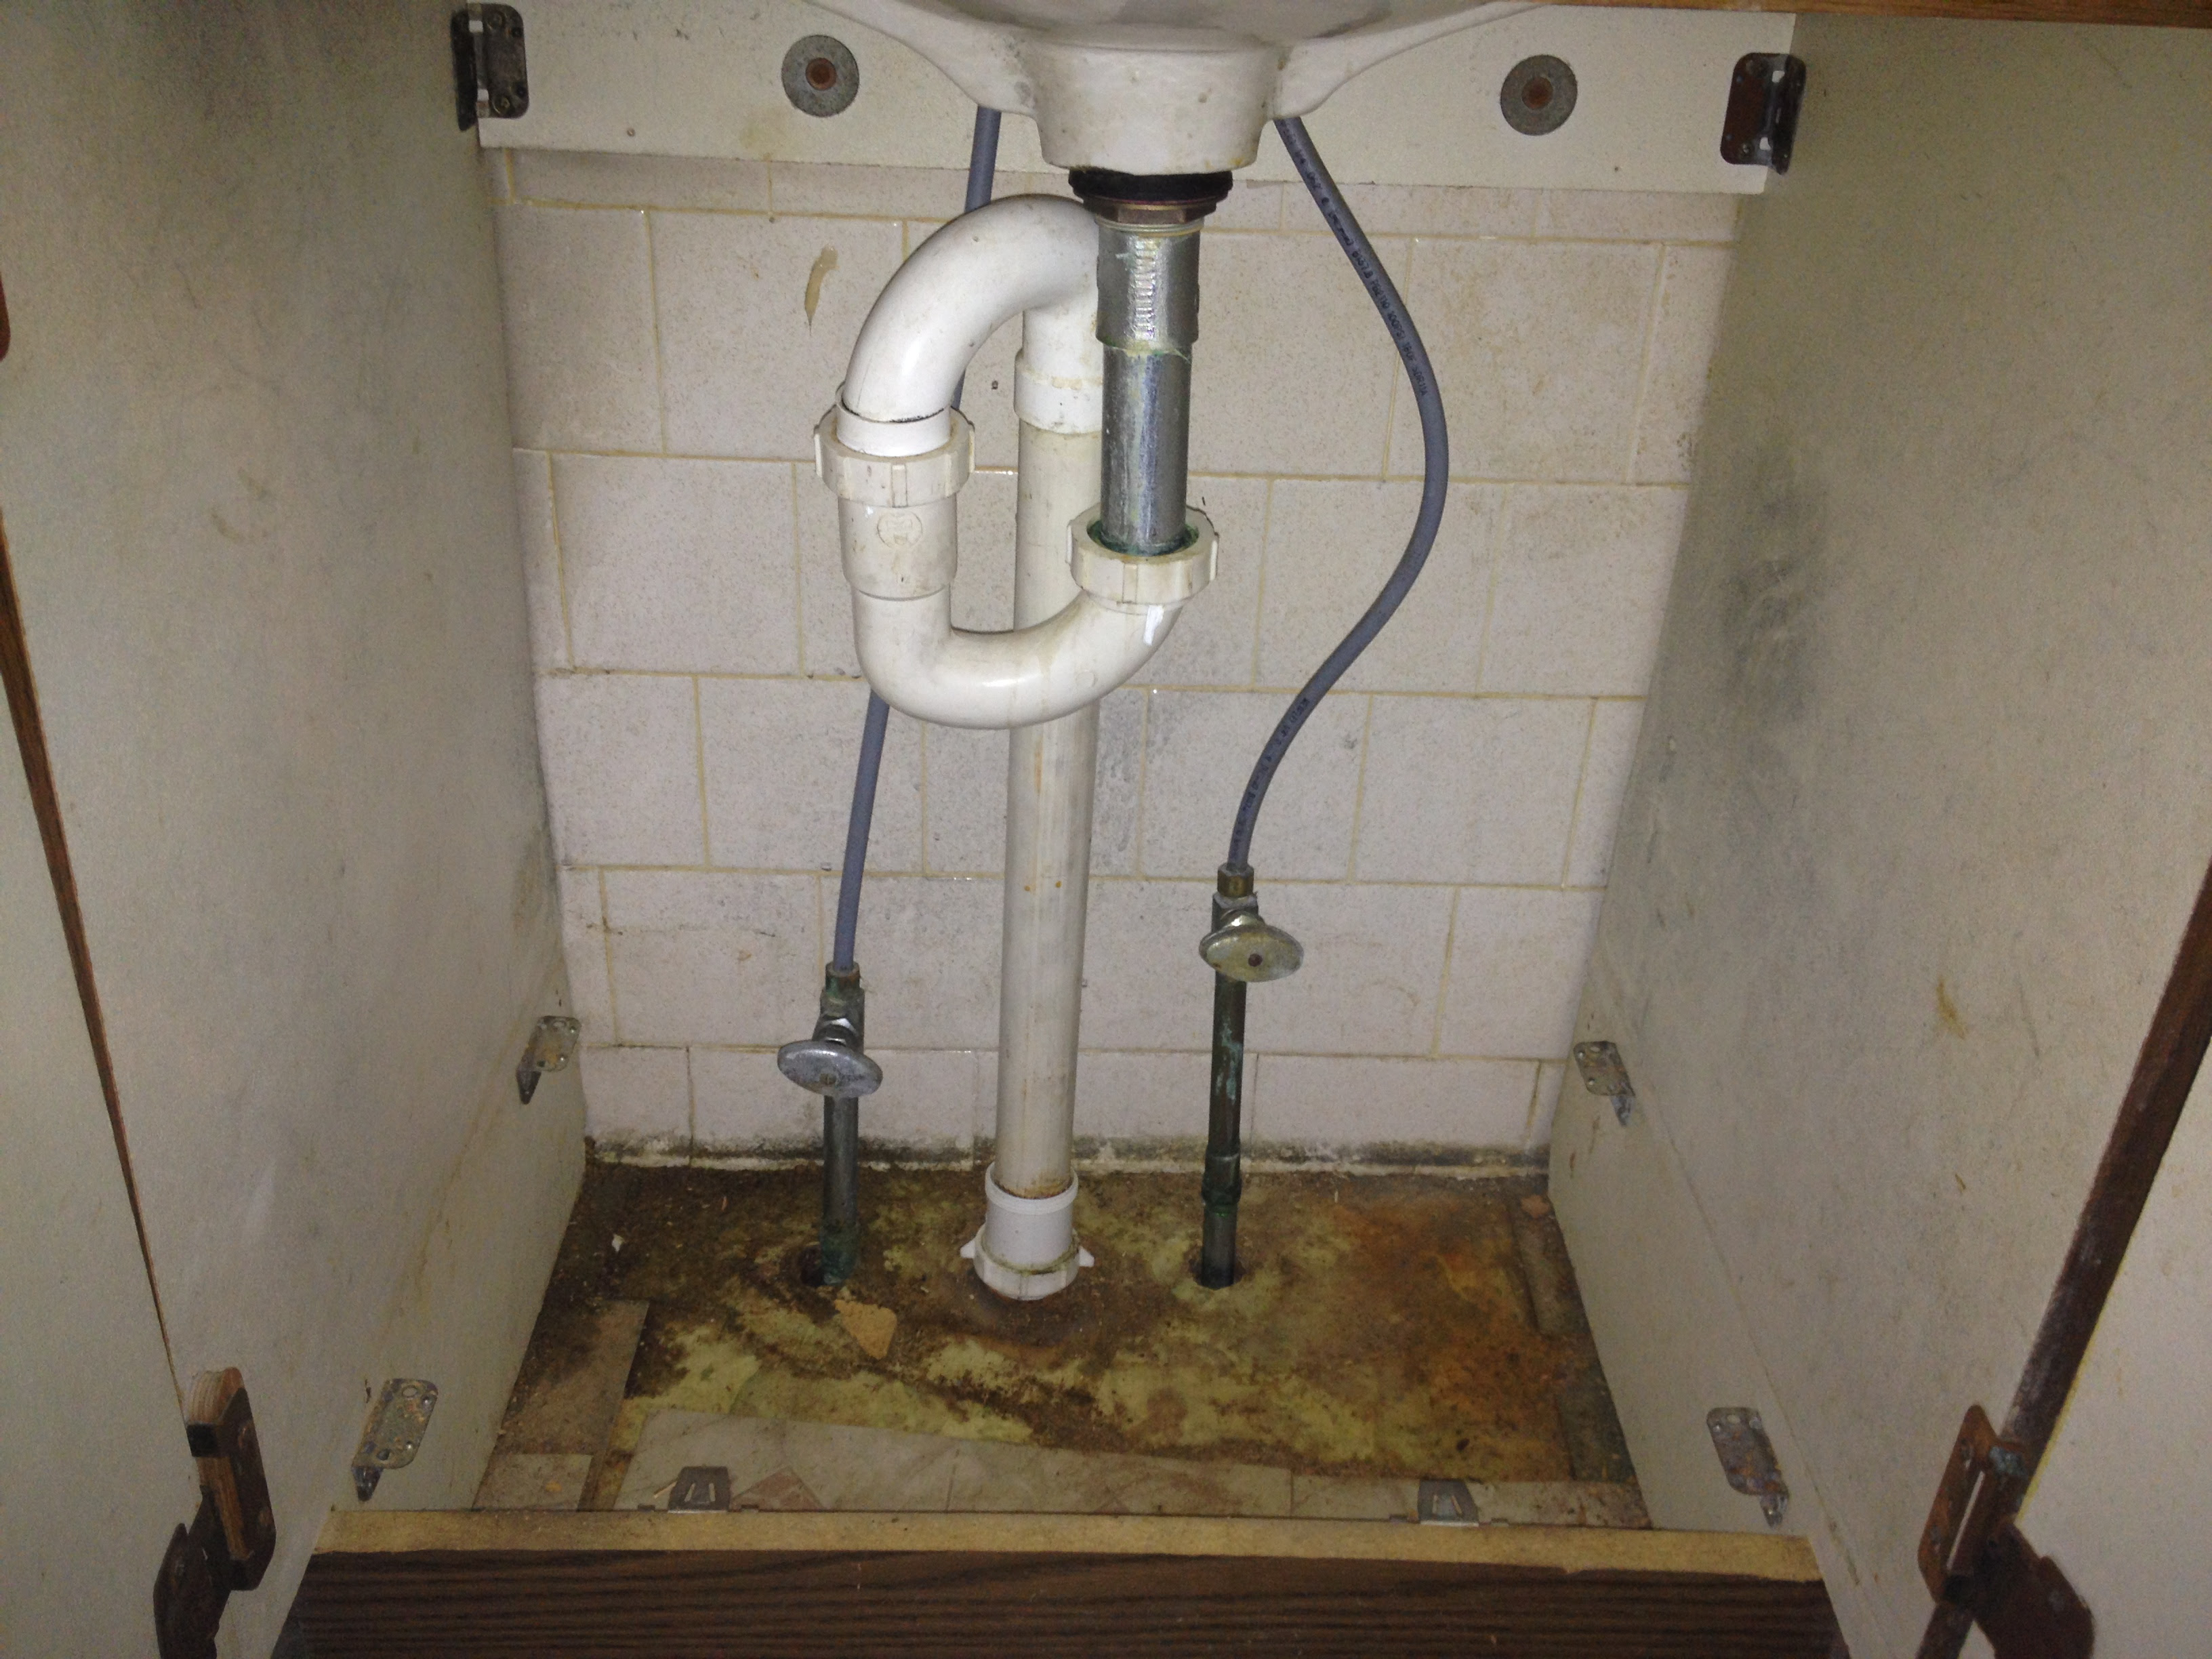
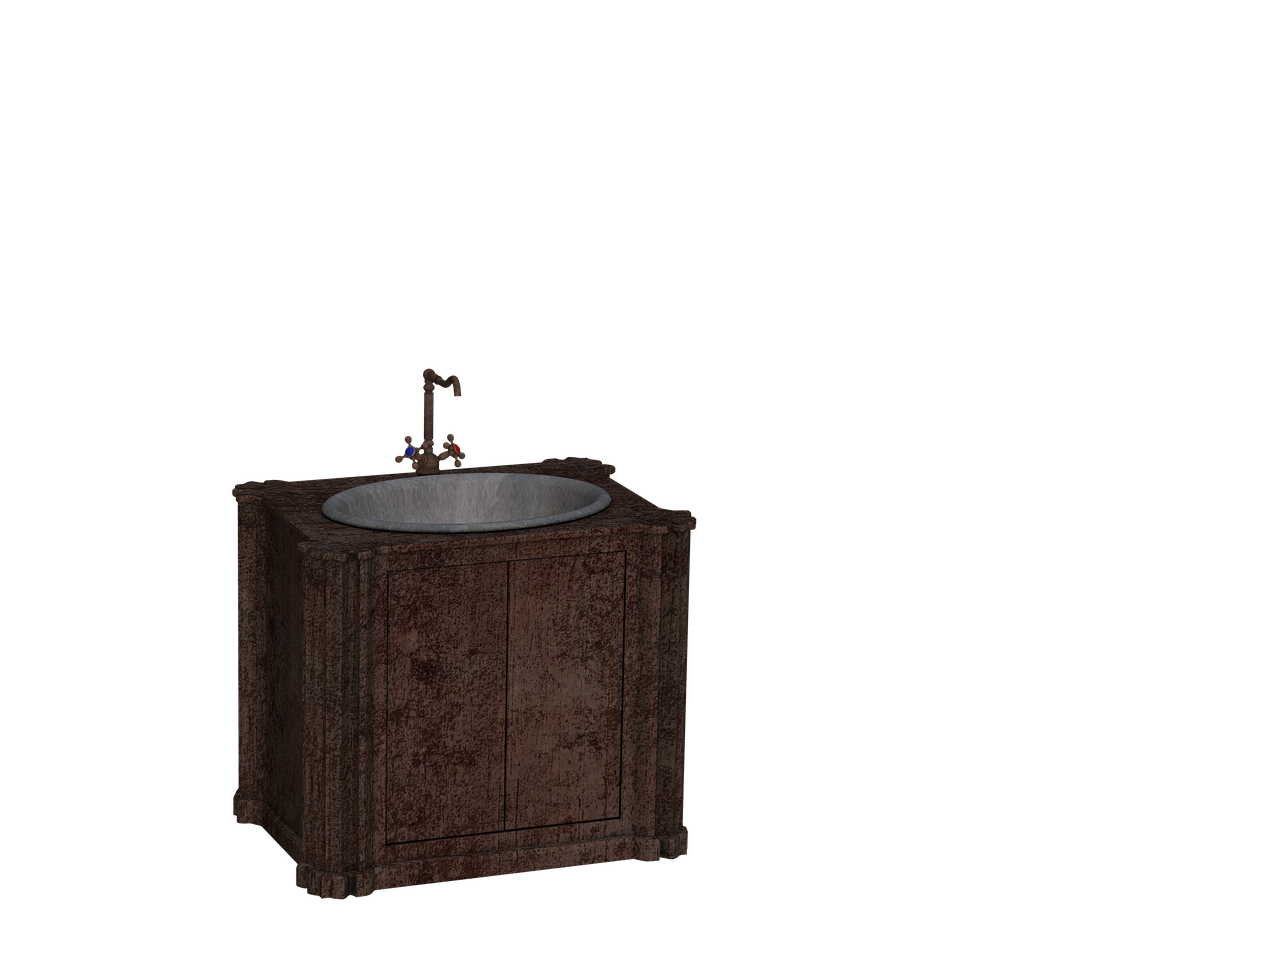
When it comes to installing a bathroom sink, one of the most important and often overlooked steps is attaching the sink downspout. This small but crucial piece helps to drain water from your sink, preventing any leaks or water damage. In this article, we will discuss the proper way to attach a bathroom sink downspout and provide you with a step-by-step guide for a successful installation.Attaching Bathroom Sink Downspout


Attaching Bathroom Sink Downspout


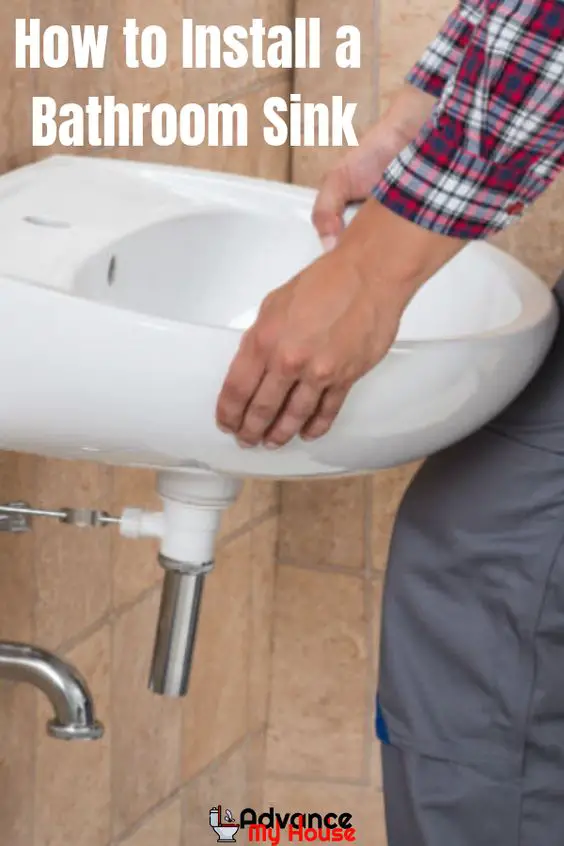
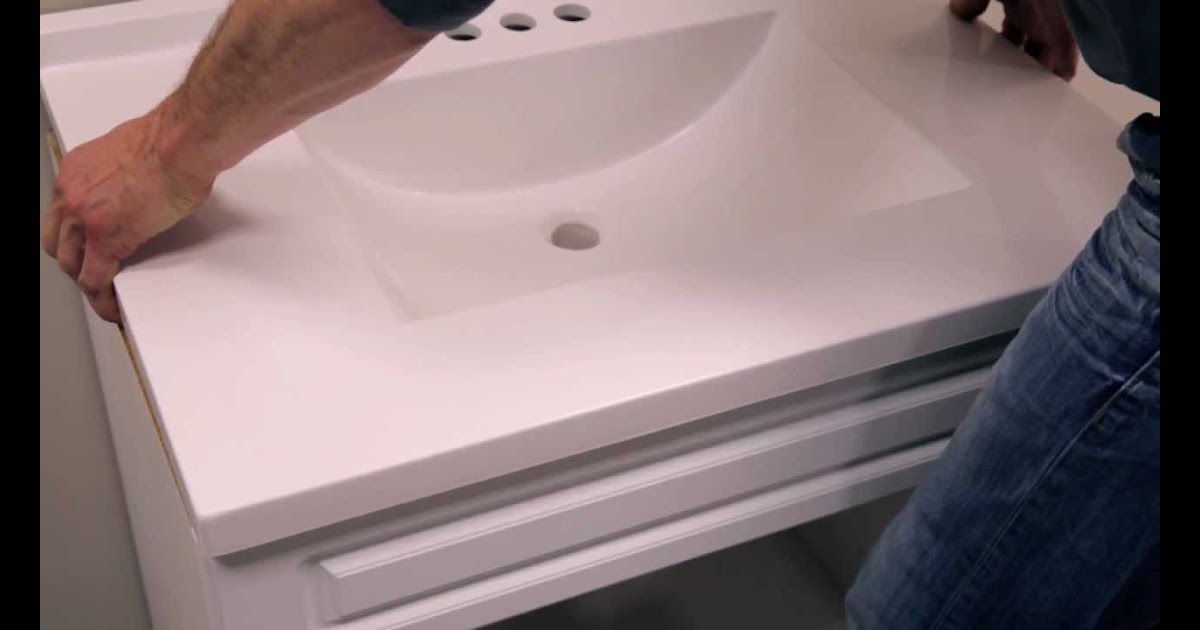
The first step in attaching a bathroom sink downspout is to install the sink drain. This involves placing the drain assembly into the bottom of the sink and securing it in place using plumber's putty and a drain nut. It's important to make sure the drain is tightly sealed to prevent any leaks.How to Install a Bathroom Sink Drain


How to Install a Bathroom Sink Drain


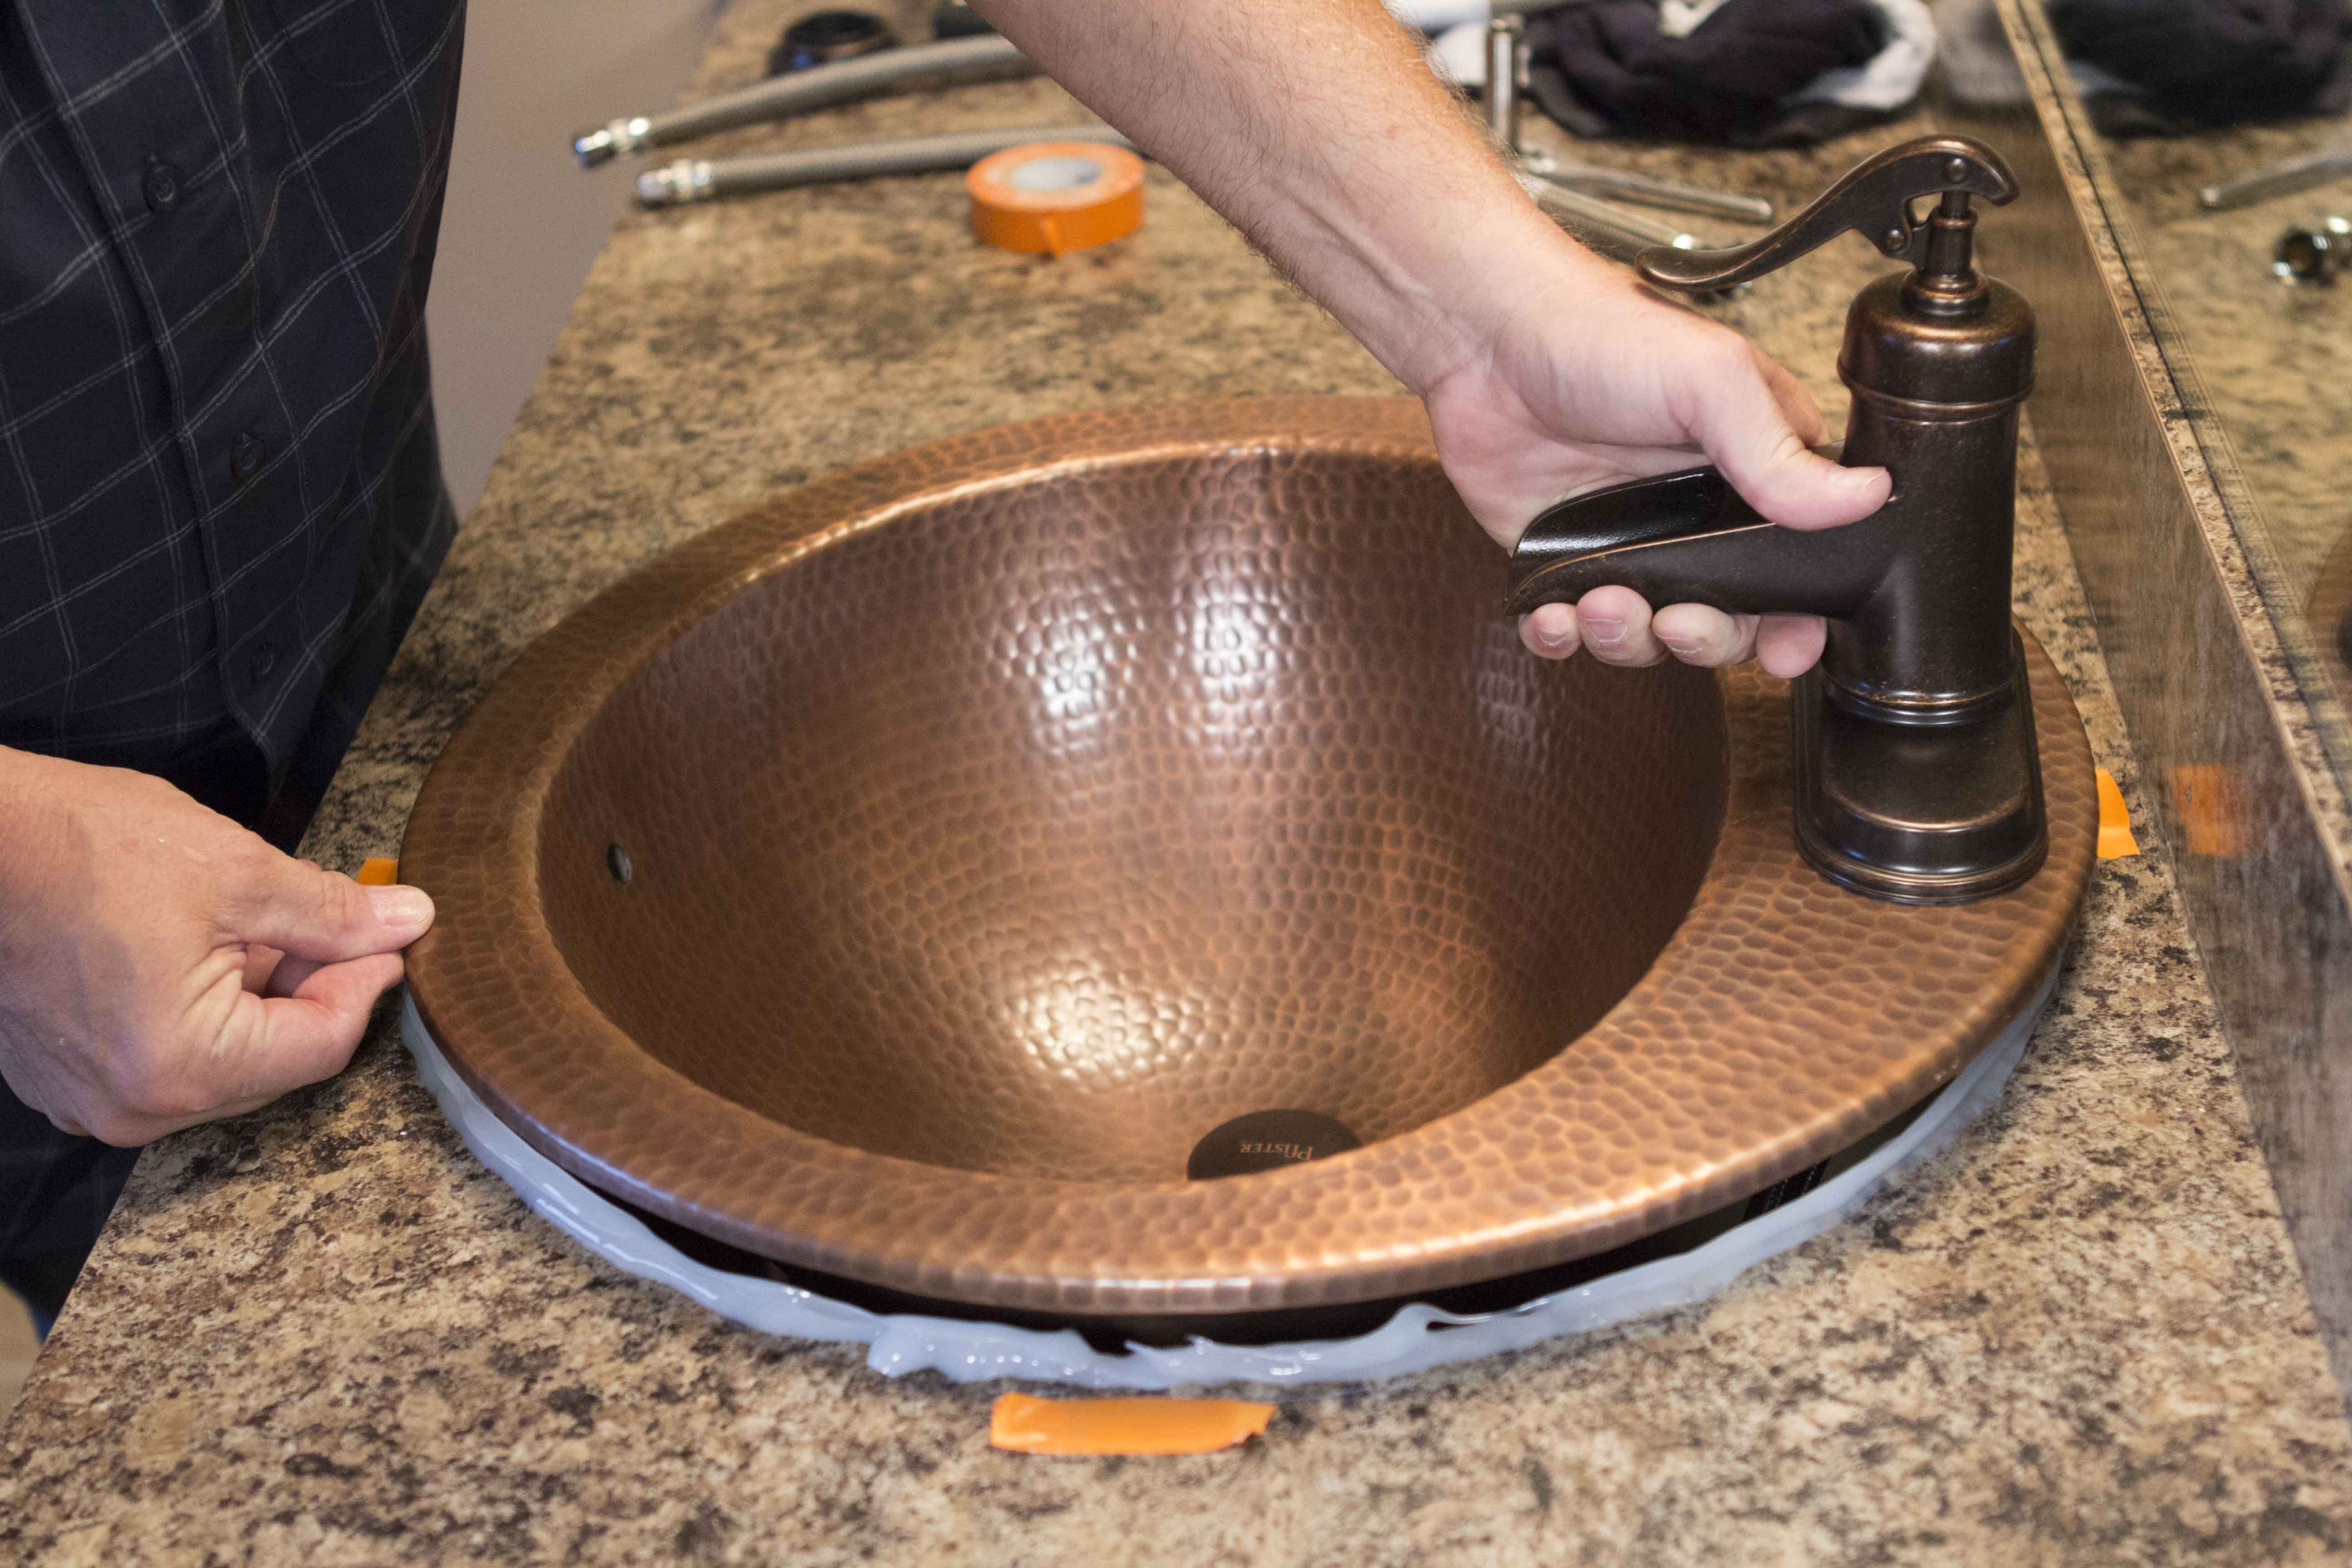
Once the sink drain is installed, you can move on to attaching the sink downspout. Follow these steps for a smooth and successful installation: Step 1: Prepare the Area Step 2: Gather Your Tools Step 3: Attach the Tailpiece Step 4: Connect the Pipe Step 5: Secure the Downspout Step 6: Attach the End PieceStep-by-Step Guide for Attaching a Bathroom Sink
Before you begin, make sure the area around your sink is clear and clean. This will make it easier to work and prevent any damage to your sink or surrounding surfaces.
To attach the sink downspout, you will need a few tools including a wrench, screwdriver, and plumber's tape. Make sure you have everything you need before starting the installation.
The tailpiece is the part of the downspout that connects to the bottom of the sink drain. Using your wrench, tighten the tailpiece onto the drain assembly. Make sure it is secured tightly to prevent any leaks.
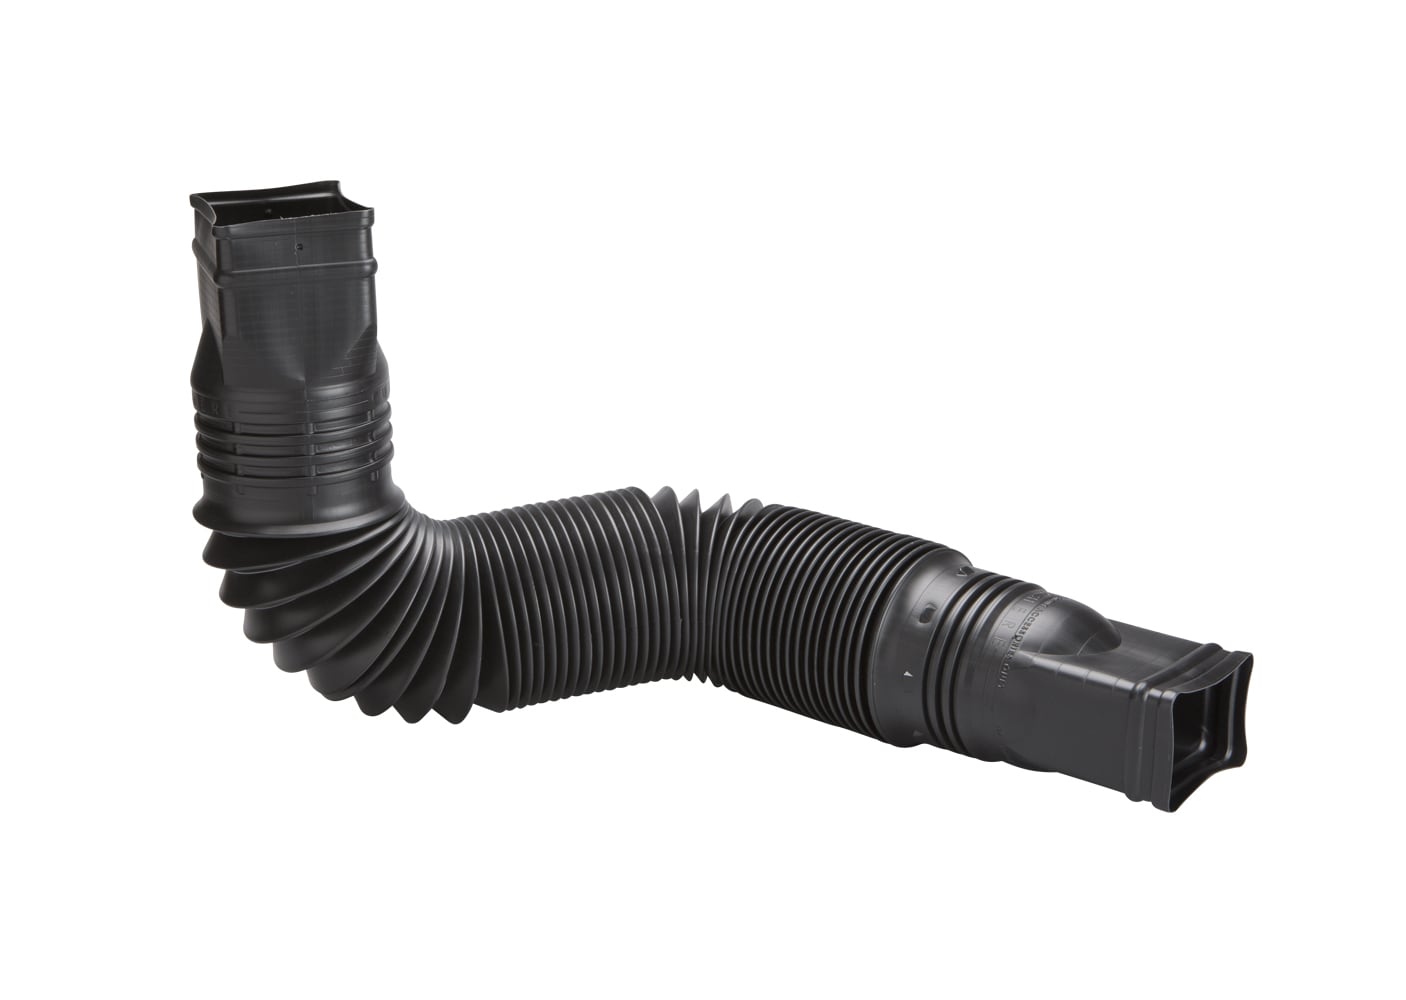
Next, you will need to connect the downspout pipe to the tailpiece. Apply plumber's tape to the threads of the tailpiece and screw on the pipe. Use your wrench to tighten the connection.
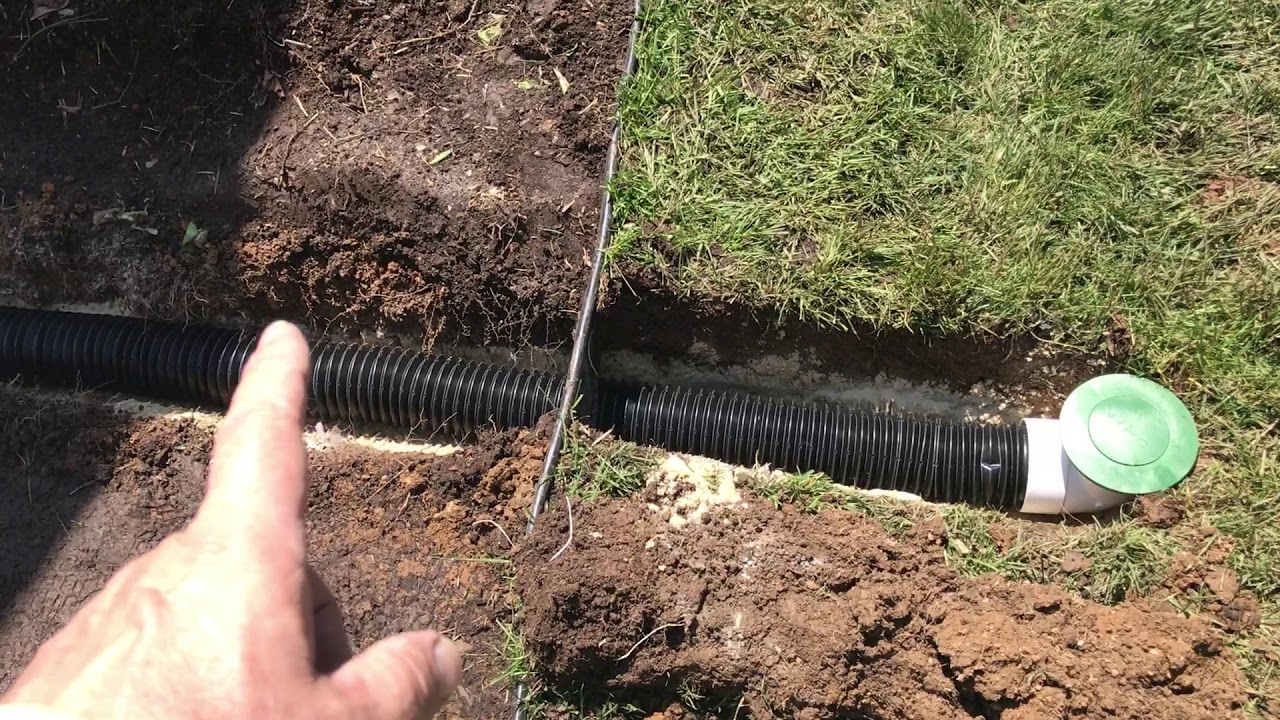
Once the pipe is attached, you can secure the downspout to the wall. Use screws and a screwdriver to secure the downspout bracket to the wall. Make sure it is level and securely attached.
The final step is to attach the end piece to the bottom of the downspout. This will help direct the water into your drain and prevent any splashes or leaks. Simply slide the end piece onto the bottom of the downspout and secure it in place using a screwdriver.


Step-by-Step Guide for Attaching a Bathroom Sink


Attaching a bathroom sink downspout is a task that can easily be done as a DIY project. With the right tools and a little bit of patience, you can successfully install a sink downspout and save yourself the cost of hiring a professional plumber.DIY Bathroom Sink Installation


DIY Bathroom Sink Installation


The key to a successful sink downspout attachment is proper installation. Make sure to follow the steps outlined above and take your time to ensure each connection is secure and leak-free. This will save you from any potential headaches or costly repairs in the future.Proper Way to Attach a Sink Downspout


Proper Way to Attach a Sink Downspout


As mentioned, you will need a few tools to properly attach a bathroom sink downspout. These include a wrench, screwdriver, and plumber's tape. You may also need a level and a drill for securing the downspout bracket to the wall.Tools Needed for Attaching a Bathroom Sink


Tools Needed for Attaching a Bathroom Sink


To ensure a tight and secure connection, it's important to use plumber's tape on all threaded connections. This will help prevent any leaks. You can also use silicone caulk to seal any gaps or openings around the downspout bracket and end piece.Tips for Securing a Bathroom Sink Downspout


Tips for Securing a Bathroom Sink Downspout


One common mistake when attaching a bathroom sink downspout is not properly tightening the connections. This can lead to leaks and water damage. Make sure to use the right tools and take your time to securely tighten each connection.Common Mistakes When Attaching a Bathroom Sink


Common Mistakes When Attaching a Bathroom Sink


In addition to properly securing each connection, it's important to make sure the downspout is level and securely attached to the wall. This will prevent any shifting or movement, which can also lead to leaks or damage.Best Practices for Installing a Sink Downspout


Best Practices for Installing a Sink Downspout


If you prefer visual instructions, there are many helpful video tutorials available online that can guide you through the process of attaching a bathroom sink downspout. Make sure to follow along carefully and pause the video as needed to ensure you are completing each step correctly. Attaching a bathroom sink downspout may seem like a small task, but it is an important one that should not be overlooked. By following the proper steps and taking your time, you can successfully install a sink downspout and ensure your bathroom sink functions properly for years to come.Video Tutorial: Attaching a Bathroom Sink Downspout

Video Tutorial: Attaching a Bathroom Sink Downspout


Why Properly Attaching Your Bathroom Sink Downspout is Essential for a Functional and Aesthetically Pleasing House Design
Maintains a Clean and Tidy Bathroom
 Properly attaching your bathroom sink downspout is crucial for maintaining a clean and tidy bathroom. When water flows down the sink, it needs to be directed into the downspout and then into the drainage system. If the downspout is not securely attached, water can leak onto the vanity or floor, causing water damage and creating a mess. This can also lead to the growth of mold and mildew, which not only looks unsightly but can also be harmful to your health. By ensuring that your bathroom sink downspout is properly attached, you can avoid these issues and keep your bathroom clean and hygienic.
Prevents Plumbing Problems
 Another reason why it is important to properly attach your bathroom sink downspout is to prevent plumbing problems. A loose or improperly attached downspout can cause water to back up and potentially damage your pipes. This can lead to costly repairs and inconvenience. By securely attaching your downspout, you can prevent these plumbing problems and avoid the hassle of dealing with them in the future.
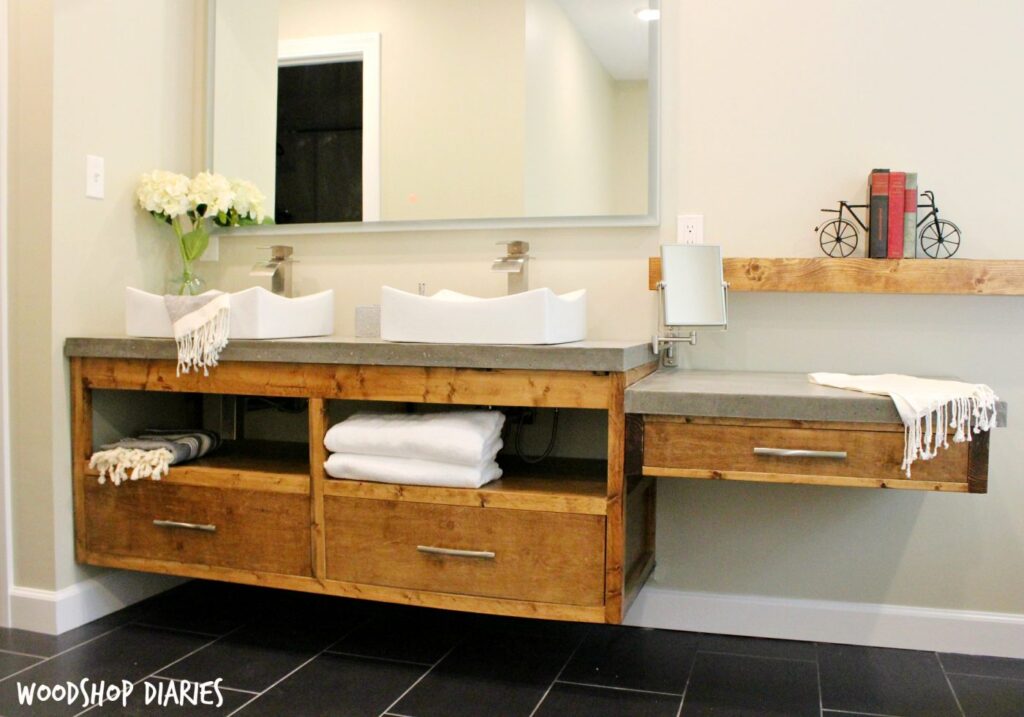
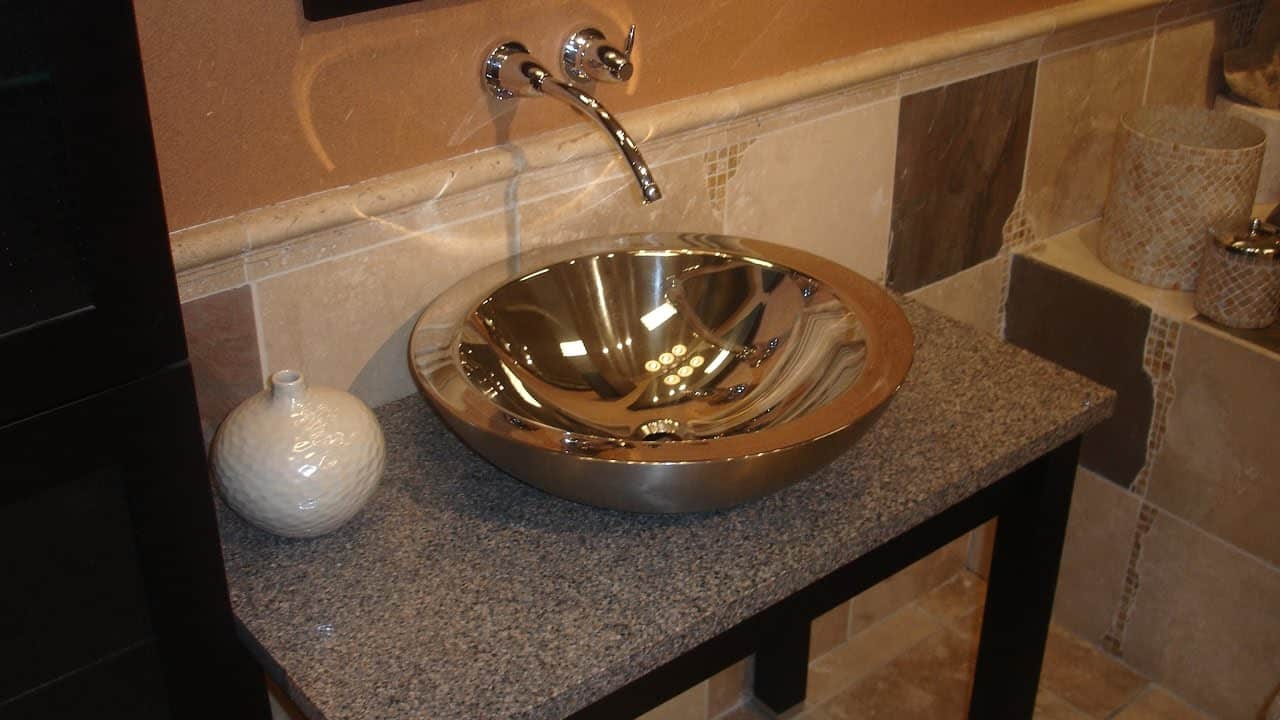
Enhances the Aesthetic Appeal of Your Bathroom
 Aside from the functional benefits, properly attaching your bathroom sink downspout can also enhance the overall aesthetic appeal of your bathroom. A downspout that is loose or hanging awkwardly can be an eyesore and disrupt the visual flow of your bathroom design. By securing it in place and ensuring it is aligned with the sink, you can create a more cohesive and visually pleasing look. Additionally, you can choose decorative downspouts that can add a touch of style and character to your bathroom.
In conclusion, attaching your bathroom sink downspout may seem like a small and insignificant task, but it plays a crucial role in maintaining a functional and aesthetically pleasing house design. By keeping your bathroom clean and tidy, preventing plumbing problems, and enhancing the overall look of your bathroom, properly attaching your sink downspout is an essential step in creating a comfortable and inviting home. So, don't overlook this important aspect of house design and make sure to give it the attention it deserves.
Aside from the functional benefits, properly attaching your bathroom sink downspout can also enhance the overall aesthetic appeal of your bathroom. A downspout that is loose or hanging awkwardly can be an eyesore and disrupt the visual flow of your bathroom design. By securing it in place and ensuring it is aligned with the sink, you can create a more cohesive and visually pleasing look. Additionally, you can choose decorative downspouts that can add a touch of style and character to your bathroom.
In conclusion, attaching your bathroom sink downspout may seem like a small and insignificant task, but it plays a crucial role in maintaining a functional and aesthetically pleasing house design. By keeping your bathroom clean and tidy, preventing plumbing problems, and enhancing the overall look of your bathroom, properly attaching your sink downspout is an essential step in creating a comfortable and inviting home. So, don't overlook this important aspect of house design and make sure to give it the attention it deserves.