Installing a new bathroom sink can give your bathroom a fresh and updated look. But attaching it to a cabinet may seem like a daunting task. Fortunately, with the right tools and some basic knowledge, you can easily attach a bathroom sink to a cabinet in no time. In this article, we will guide you through the steps to successfully attach a bathroom sink to a cabinet. Let’s get started!How to Attach a Bathroom Sink to a Cabinet

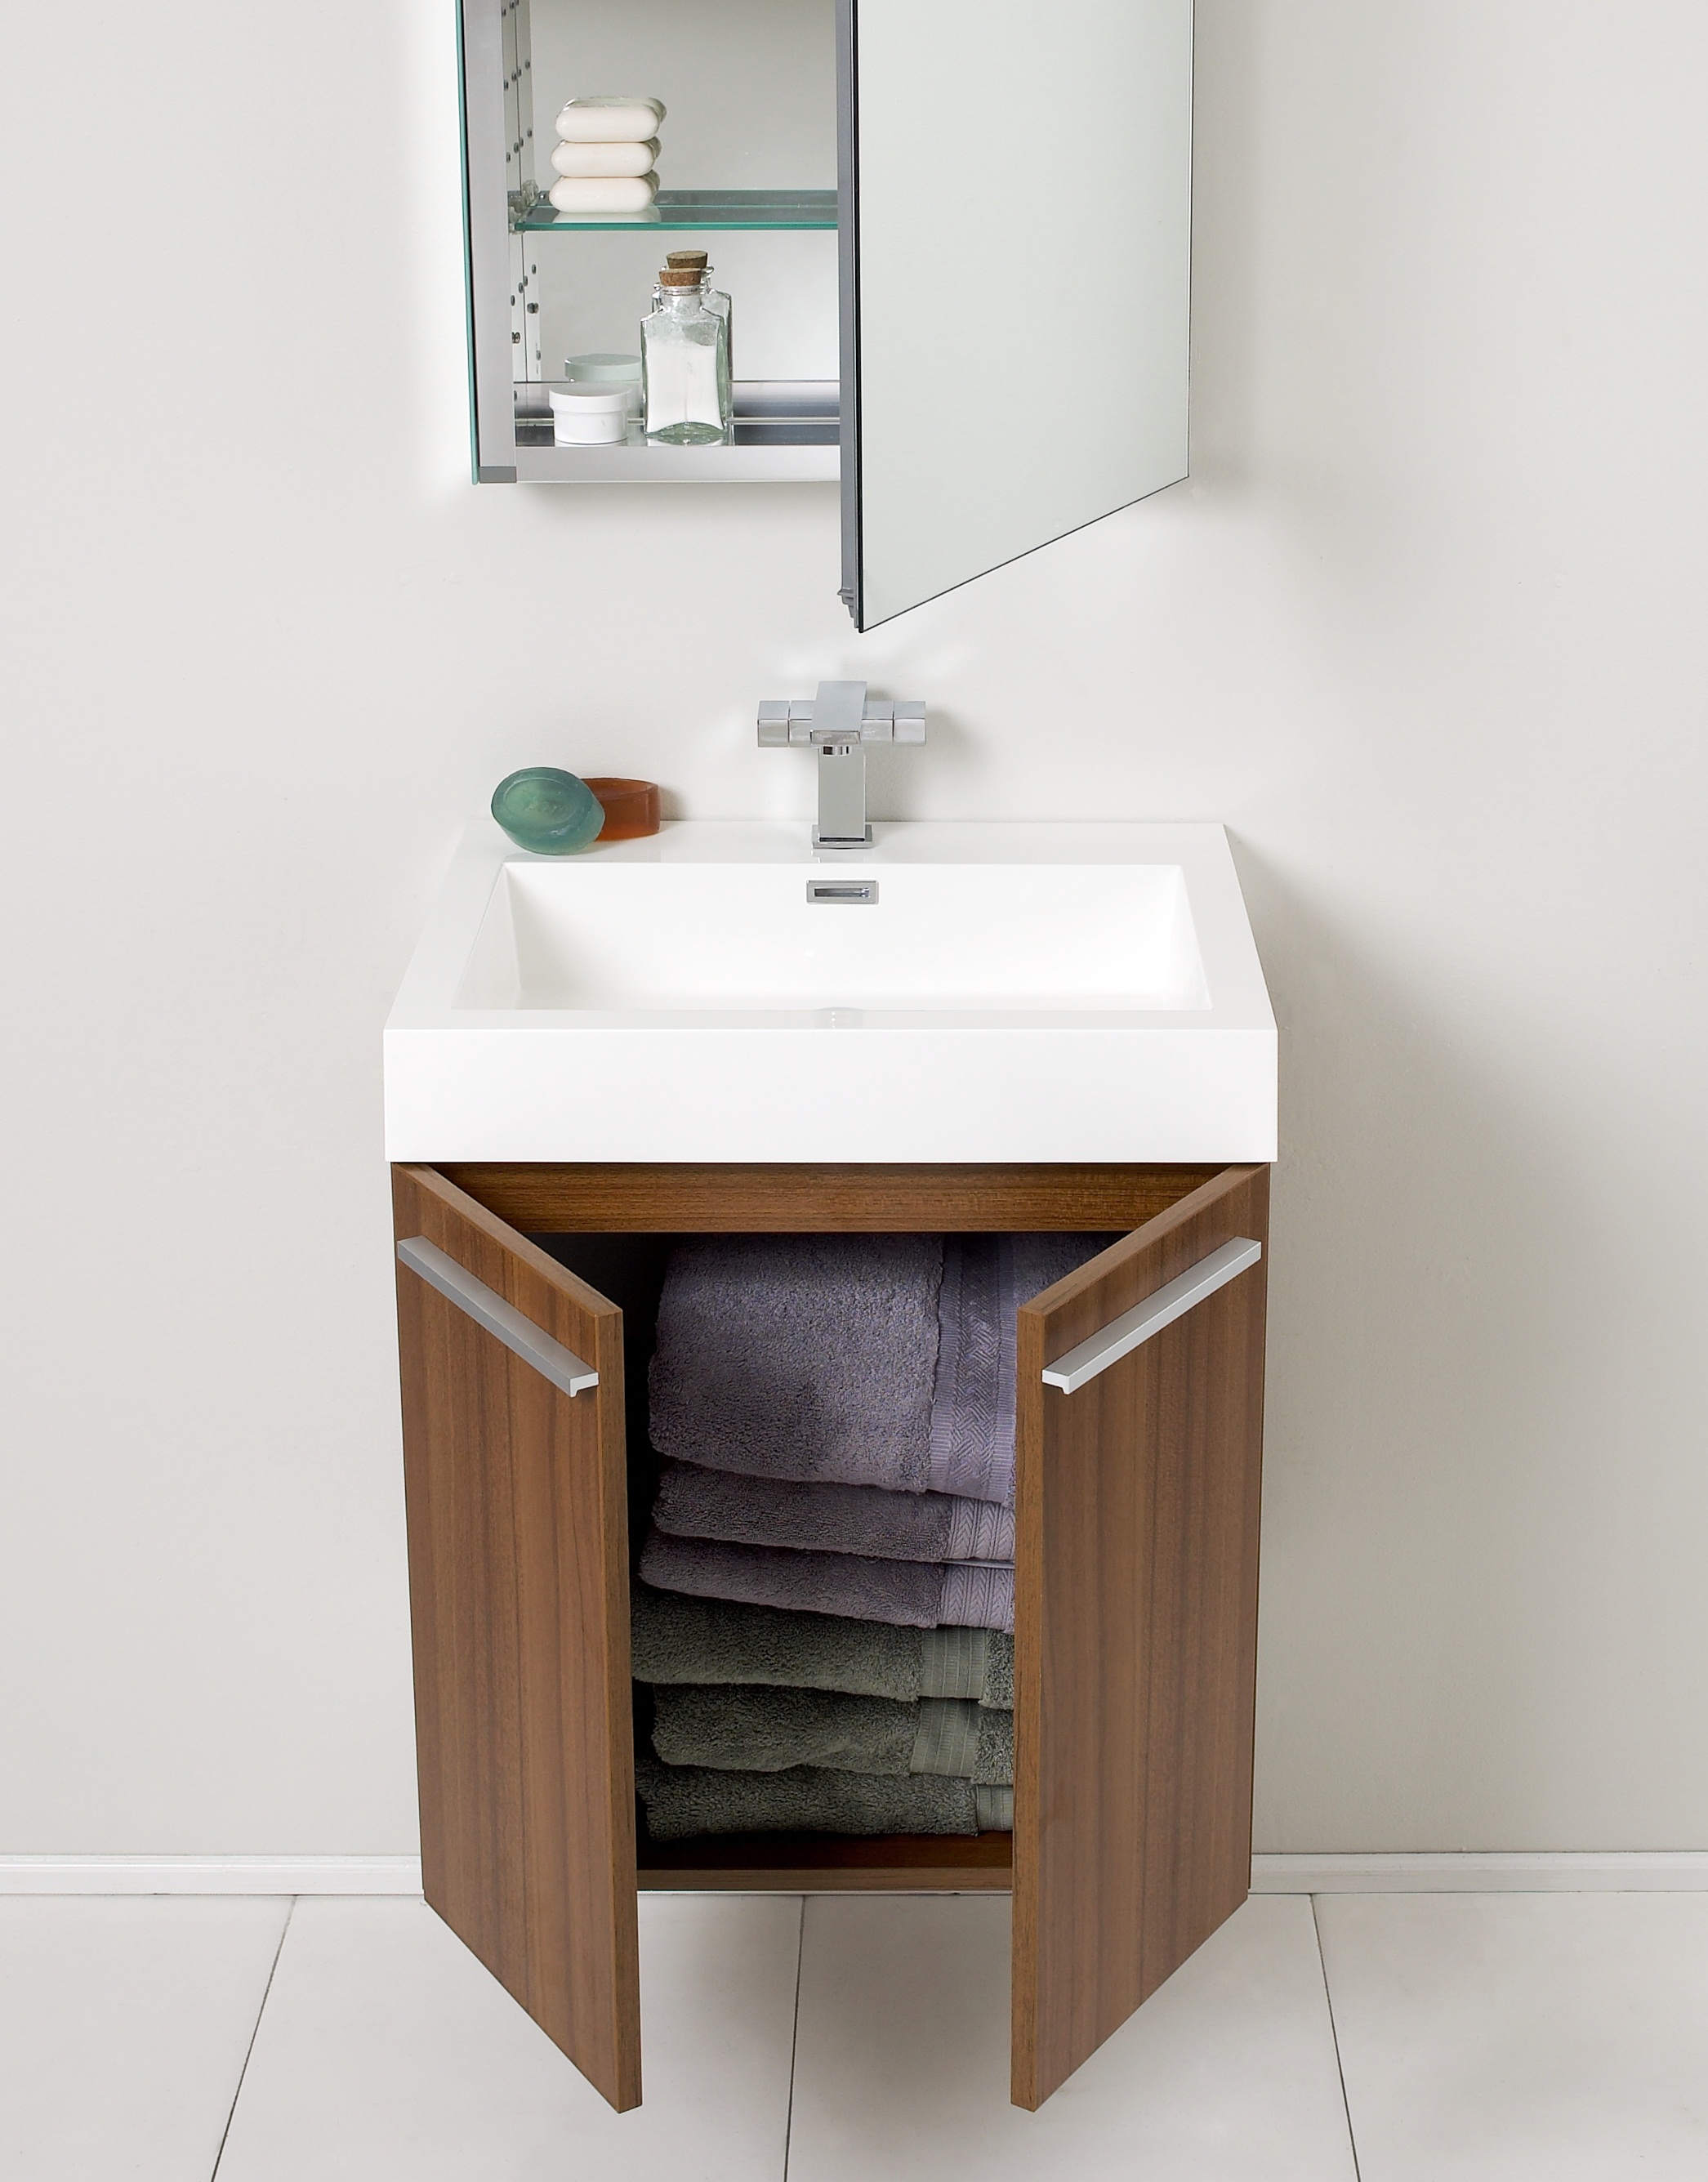

How to Attach a Bathroom Sink to a Cabinet

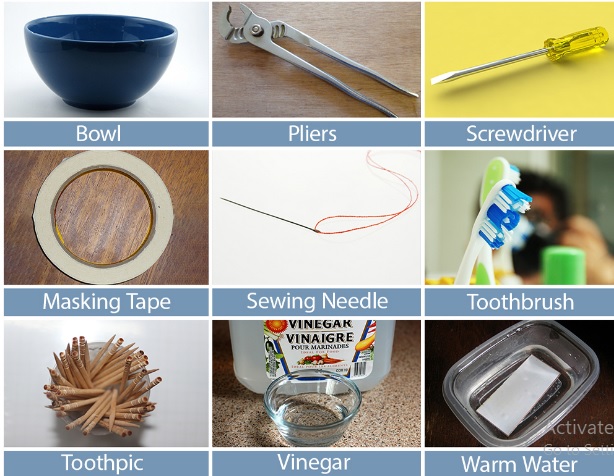
Before we begin, make sure you have all the necessary tools and materials. You will need a wrench, screwdriver, caulking gun, silicone caulk, and a few other tools depending on the type of sink and cabinet you have. Once you have everything ready, follow these steps:How to Install a Bathroom Sink to a Cabinet


How to Install a Bathroom Sink to a Cabinet

:max_bytes(150000):strip_icc()/8_IMG_3767-56a4a2753df78cf772835b72.JPG)


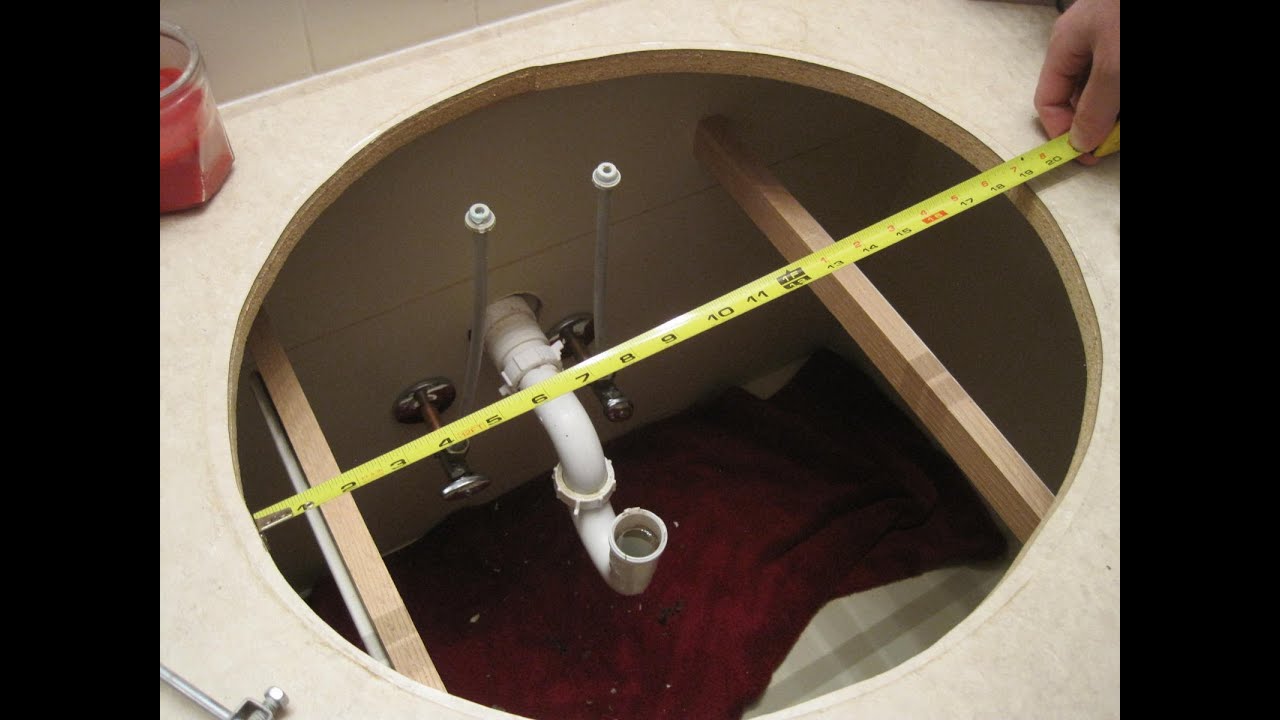
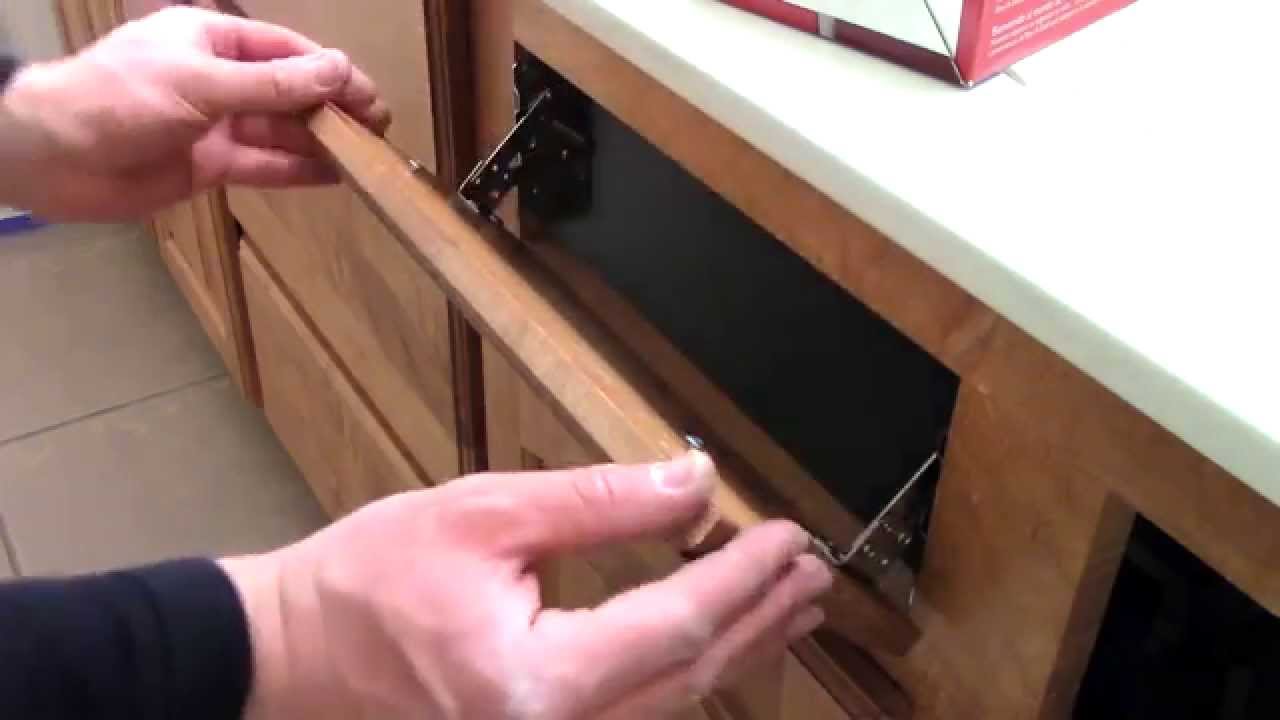
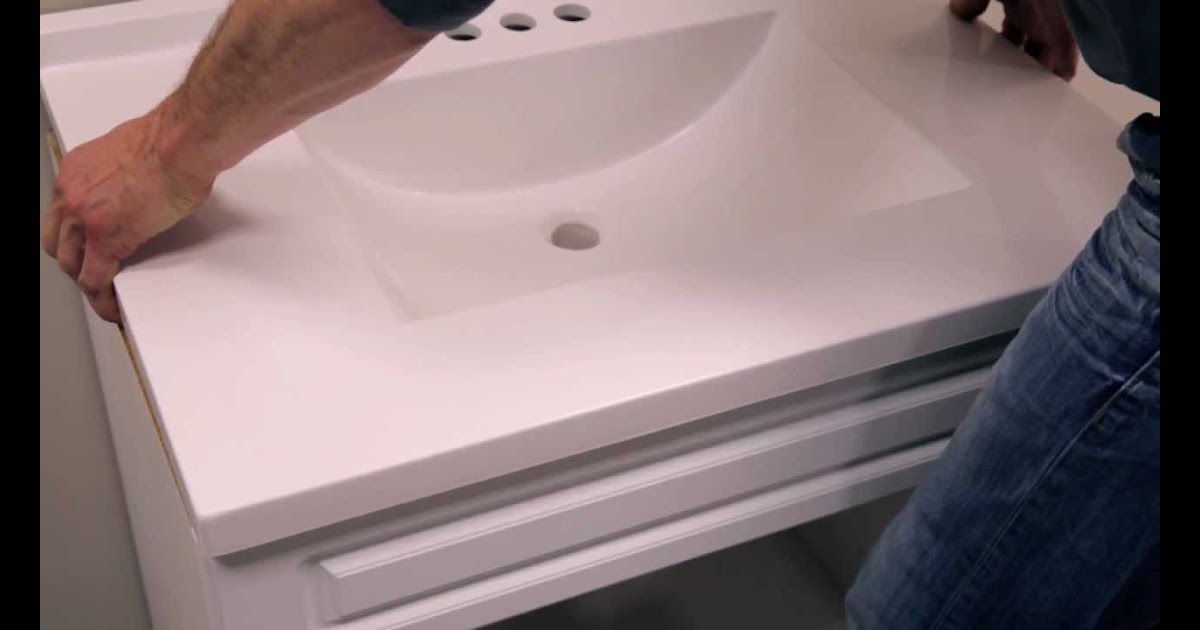
1. Start by placing the sink on the cabinet and lining it up properly. If your sink has mounting brackets, attach them to the underside of the sink using the screws provided.Attaching a Bathroom Sink to a Cabinet: Step-by-Step Guide
2. Securely attach the mounting bracket to the cabinet using screws. Make sure the sink is level and in the correct position before tightening the screws.
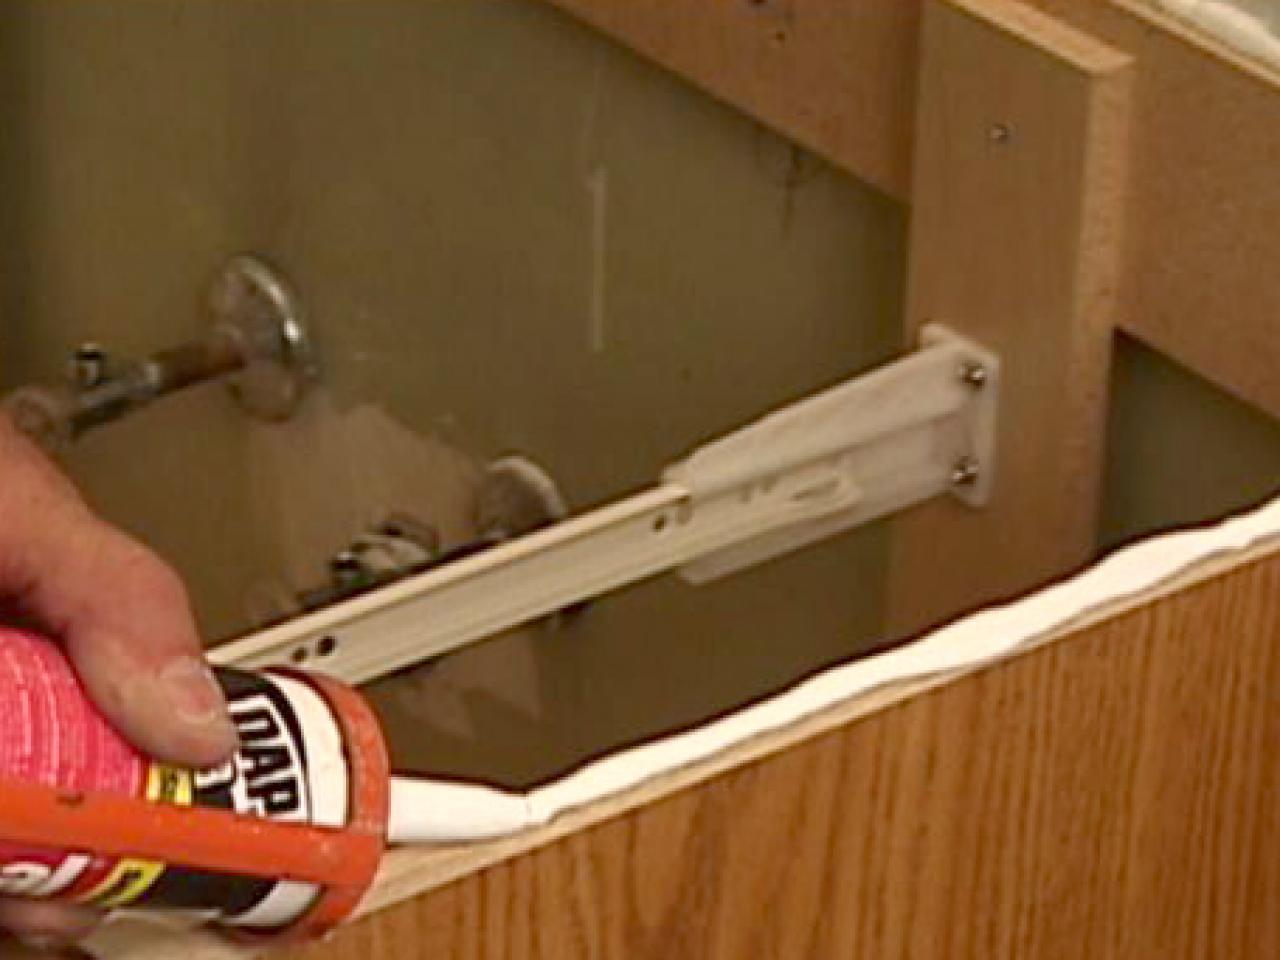
3. If your sink does not have mounting brackets, use a silicone adhesive to attach the sink to the cabinet. Apply a thin bead of adhesive around the edge of the sink and place it on the cabinet.
4. Once the sink is attached, connect the water supply lines and the drain pipe. Use a wrench to tighten the connections.
5. Apply a thin layer of silicone caulk around the edge of the sink to create a waterproof seal.
6. Wipe off any excess caulk with a damp cloth and let it dry for at least 24 hours before using the sink.
7. Congratulations! You have successfully attached a bathroom sink to a cabinet.
/7_IMG_3765-56a4a2743df78cf772835b6f.JPG)

Attaching a Bathroom Sink to a Cabinet: Step-by-Step Guide


If you are a DIY enthusiast, attaching a bathroom sink to a cabinet can be a fun and rewarding project. However, it is important to follow the manufacturer’s instructions carefully and use the right tools to avoid any mishaps. Make sure to take your time and double-check your work to ensure a secure and professional installation.DIY: Attaching a Bathroom Sink to a Cabinet


DIY: Attaching a Bathroom Sink to a Cabinet


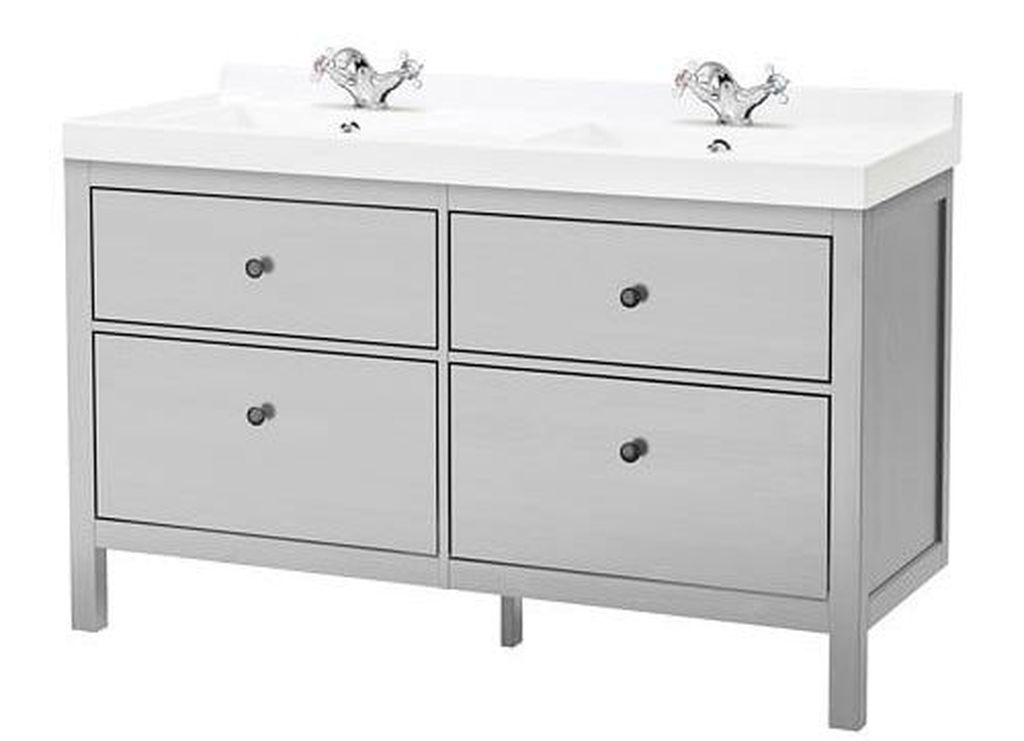
If you are short on time or simply want a quick and easy way to attach a bathroom sink to a cabinet, consider using a pre-made sink and cabinet combination. These come with the sink already attached to the cabinet, making the installation process much simpler and faster. Just make sure to follow the manufacturer’s instructions for a proper installation.Quick and Easy Way to Attach a Bathroom Sink to a Cabinet


Quick and Easy Way to Attach a Bathroom Sink to a Cabinet


In addition to the basic tools mentioned earlier, you may also need a drill, level, and a pencil to mark the position of the sink. If you are using a silicone adhesive, make sure to have a caulk gun on hand. It is also a good idea to have a bucket and some rags nearby to clean up any spills.Tools and Materials Needed to Attach a Bathroom Sink to a Cabinet


Tools and Materials Needed to Attach a Bathroom Sink to a Cabinet

To ensure a smooth and successful installation, here are some tips to keep in mind: • Before purchasing a sink, make sure it is compatible with the cabinet you have or plan to purchase.Tips for Successfully Attaching a Bathroom Sink to a Cabinet
• If your sink does not come with mounting brackets, make sure to purchase adhesive made specifically for attaching sinks to cabinets.
• Use a level to make sure the sink is properly aligned before securing it to the cabinet.
• If you are using a silicone adhesive, make sure to let it dry for at least 24 hours before using the sink.
• It is always a good idea to have an extra set of hands to help with the installation.


Tips for Successfully Attaching a Bathroom Sink to a Cabinet


While attaching a bathroom sink to a cabinet may seem like a simple task, there are some common mistakes that can lead to a faulty installation. These include: • Not properly aligning the sink to the cabinet before securing it.Common Mistakes to Avoid When Attaching a Bathroom Sink to a Cabinet
• Using the wrong type of adhesive.
• Not letting the adhesive dry properly before using the sink.
• Not properly connecting the water supply lines and the drain pipe.
• Tightening the screws too much, which can cause damage to the sink or cabinet.


Common Mistakes to Avoid When Attaching a Bathroom Sink to a Cabinet


If you prefer visual instructions, you can find many helpful video tutorials online that will guide you through the process of attaching a bathroom sink to a cabinet. Make sure to watch a few different tutorials to get a better understanding of the steps involved.Video Tutorial: How to Attach a Bathroom Sink to a Cabinet


Video Tutorial: How to Attach a Bathroom Sink to a Cabinet


If DIY is not your thing or you simply want to ensure a professional and flawless installation, you can always hire a plumber or a handyman to attach your bathroom sink to a cabinet. They have the necessary skills and experience to get the job done quickly and efficiently. Attaching a bathroom sink to a cabinet may seem like a daunting task, but with the right tools, materials, and knowledge, it can be done easily and quickly. Whether you choose to do it yourself or hire a professional, make sure to follow the steps correctly for a secure and long-lasting installation. Now, go ahead and give your bathroom a fresh new look!Professional Services for Attaching a Bathroom Sink to a Cabinet
Professional Services for Attaching a Bathroom Sink to a Cabinet


How to Attach a Bathroom Sink to a Cabinet: Step-by-Step Guide
Introduction
 When it comes to house design, every detail matters. From the color of the walls to the type of flooring, every element contributes to the overall aesthetic and functionality of a space. One important aspect of house design that often gets overlooked is the bathroom sink. Not only does it serve as a functional fixture, but it also adds to the overall design of the bathroom. However, attaching a bathroom sink to a cabinet can be a challenging task for many homeowners. In this article, we will provide you with a step-by-step guide on how to attach a bathroom sink to a cabinet, ensuring a seamless and professional look for your bathroom.
Step 1: Gather Your Materials
 Before you begin, make sure you have all the necessary materials on hand. This includes a sink, cabinet, silicone caulk, mounting hardware, drill, and a wrench. It is important to have all the materials ready to avoid any interruptions or delays in the process.
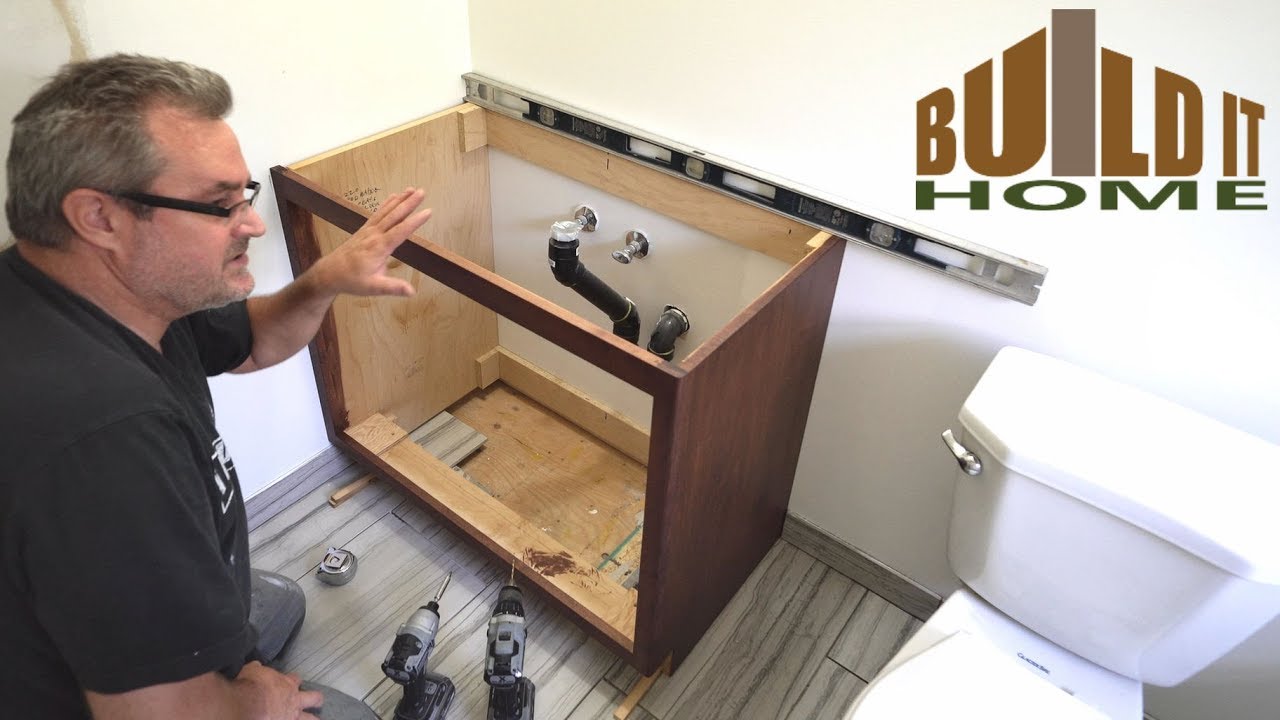
Step 2: Prep the Sink and Cabinet
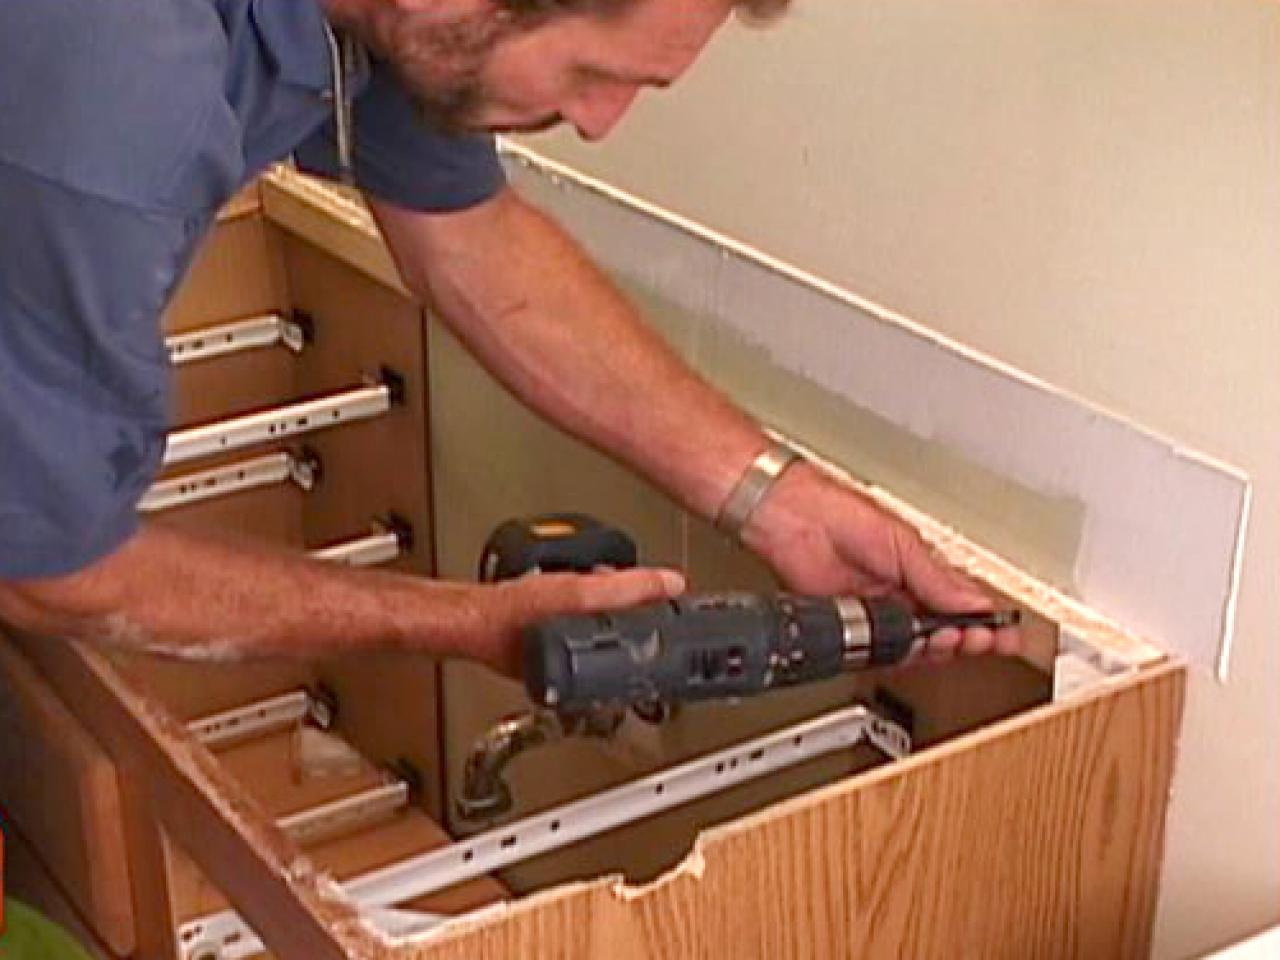 Begin by flipping the sink upside down on a flat surface. Place the mounting hardware on the bottom of the sink and secure it with the provided screws. Next, locate the mounting holes on the back of the cabinet and attach the mounting hardware using a drill.
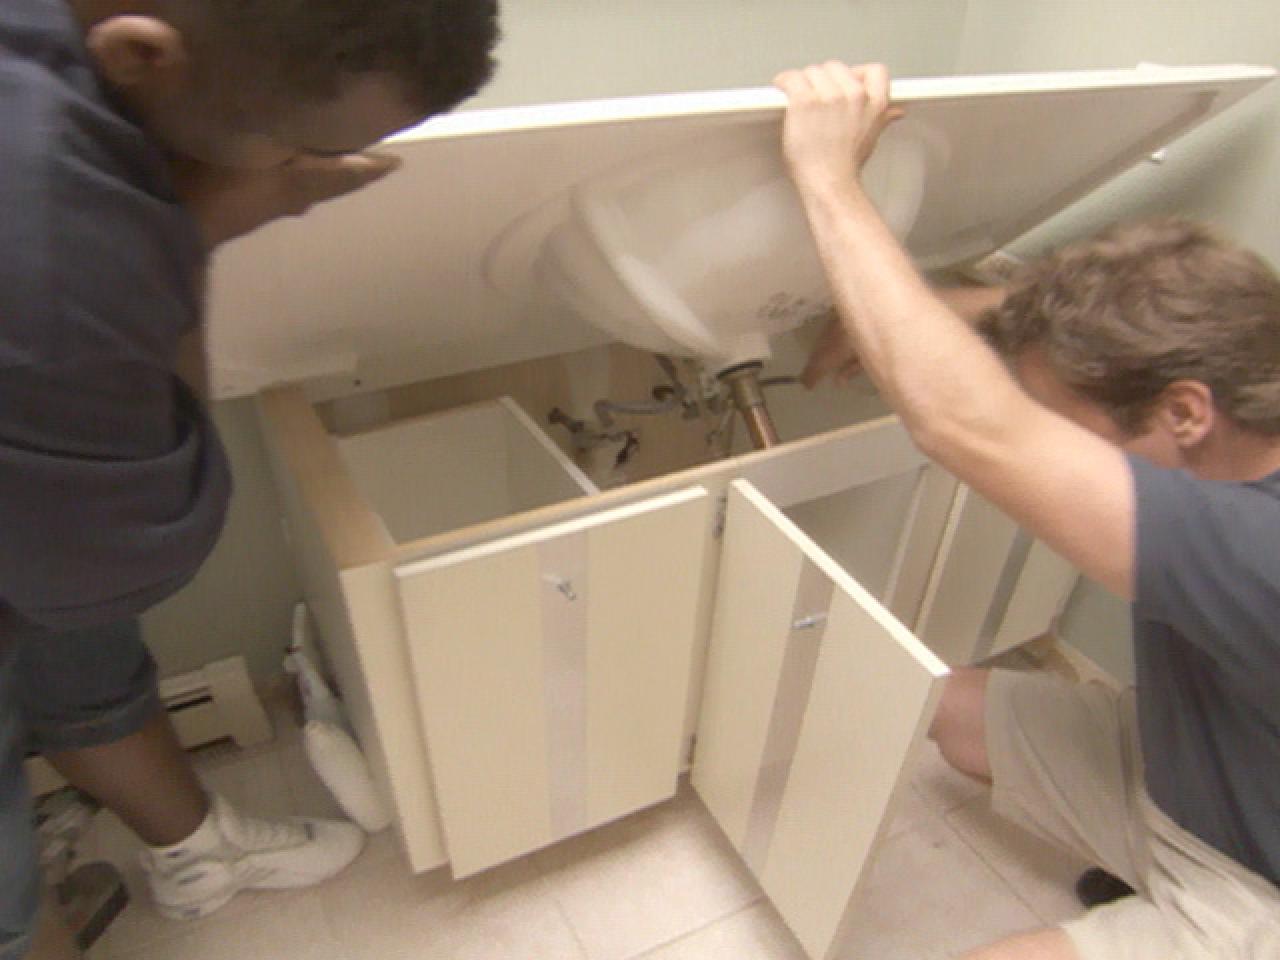
Step 3: Attach the Sink to the Cabinet
 Once the mounting hardware is securely attached to both the sink and the cabinet, carefully lift the sink and place it on top of the cabinet. Make sure the sink is centered and level before moving on to the next step.
Step 4: Secure the Sink and Cabinet
 Using a wrench, tighten the mounting hardware to secure the sink to the cabinet. This will ensure that the sink is firmly in place and will not shift or move.
Step 5: Apply Silicone Caulk
:max_bytes(150000):strip_icc()/8_IMG_3767-56a4a2753df78cf772835b72.JPG) To prevent water from leaking between the sink and the cabinet, apply a bead of silicone caulk around the edges of the sink. This will also create a clean and polished look for your bathroom.
To prevent water from leaking between the sink and the cabinet, apply a bead of silicone caulk around the edges of the sink. This will also create a clean and polished look for your bathroom.
Step 6: Clean Up
 Wipe away any excess caulk and clean up any mess or debris. Let the caulk dry completely before using the sink.
Conclusion
 Attaching a bathroom sink to a cabinet may seem like a daunting task, but by following these simple steps, you can achieve a professional and seamless look for your bathroom. Remember to gather all the necessary materials, properly prep the sink and cabinet, and securely attach them before applying silicone caulk for a clean and polished finish. With these steps, you can easily attach a bathroom sink to a cabinet and elevate the design of your bathroom.