Are you looking to upgrade your bathroom with a new drop in sink? Assembling a drop in bathroom sink may seem like a daunting task, but with the right tools and knowledge, it can be a simple and satisfying DIY project. In this article, we will provide you with a step by step guide on how to assemble a drop in bathroom sink, along with some expert tips and best practices to ensure a successful installation. So, let's get started! Drop in bathroom sink assembly


Drop in bathroom sink assembly


Before we dive into the step by step process, let's first gather all the tools and materials you will need for the assembly. You will need a drop in sink, faucet, drain assembly, plumber's putty, silicone sealant, adjustable wrench, screwdriver, and a bucket or towel to catch any water. Step 1: Begin by placing your sink on top of the vanity or countertop where you would like it to be installed. Make sure the sink is centered and trace the outline of the sink on the surface using a pencil. Step 2: Next, use a drill to create a hole in the center of the traced outline, big enough for the drain pipe to fit through. Use a jigsaw to cut along the traced outline to create the opening for the sink. Step 3: Once the opening is created, place the sink back on top and secure it with clips or brackets provided by the manufacturer. Step 4: Now, it's time to install the faucet. Follow the manufacturer's instructions and position the faucet on the sink's designated holes. Use a wrench to tighten the nuts underneath the sink to secure the faucet in place. Step 5: Next, install the drain assembly by placing the rubber gasket on the base of the drain and inserting it into the sink's hole from underneath. Use a screwdriver to tighten the drain's locking nut on top of the sink to secure it in place. Step 6: Apply plumber's putty around the base of the drain flange and place it back into the sink's hole. Press down firmly to create a seal. Step 7: Now, it's time to connect the drain pipe to the P-trap. Use an adjustable wrench to tighten the connections and make sure they are secure. Step 8: Finally, apply a thin layer of silicone sealant around the edges of the sink where it meets the countertop. This will create a watertight seal and prevent any leaks. How to assemble a drop in bathroom sink


How to assemble a drop in bathroom sink


Here are some tips to keep in mind when assembling a drop in bathroom sink: 1. Measure twice, cut once: Before cutting the hole for the sink, make sure to measure and double-check the sink's dimensions to ensure a perfect fit. 2. Use a plumber's putty: Plumber's putty acts as a sealant and prevents any water from leaking around the drain. It is an essential tool for a successful drop in sink assembly. 3. Don't over-tighten: It's important to tighten the connections, but be careful not to overdo it. Over-tightening can cause damage to the sink and plumbing fixtures. 4. Use a level: Before securing the sink in place, use a level to make sure it is straight. An uneven sink can cause water to pool and create a mess. Tips for successful drop in bathroom sink assembly


Step by step guide for drop in bathroom sink assembly


While assembling a drop in bathroom sink may seem straightforward, there are a few common mistakes that can easily be avoided: 1. Not following the manufacturer's instructions: Each sink and faucet may have specific instructions for installation. Make sure to carefully read and follow them to avoid any mistakes. 2. Using the wrong tools: Using the wrong tools can result in damage to the sink or plumbing fixtures. Make sure to use the correct tools for each step of the assembly process. 3. Forgetting to turn off the water: Before starting the assembly process, make sure to turn off the water supply to prevent any accidents or water damage. Common mistakes to avoid during drop in bathroom sink assembly


Tools needed for drop in bathroom sink assembly


If you prefer visual instructions, there are many helpful video tutorials available online that can guide you through the assembly process step by step. Make sure to watch a few different tutorials to get a better understanding of the process before starting. Video tutorial for drop in bathroom sink assembly


Tips for successful drop in bathroom sink assembly


Despite following all the instructions and tips, sometimes issues may arise during the drop in sink assembly. Here are some common issues and how to troubleshoot them: 1. Leaks: If you notice any leaks around the drain or faucet, first check that all connections are tight. If the leak persists, you may need to replace the gaskets or use more plumber's putty. 2. Uneven sink: If the sink is not level, you can adjust it by loosening the clips or brackets and gently pushing the sink into place. Troubleshooting common issues during drop in bathroom sink assembly


Common mistakes to avoid during drop in bathroom sink assembly


To ensure a successful and long-lasting drop in sink assembly, here are some best practices to keep in mind: 1. Regular maintenance: To prevent any issues, make sure to regularly clean and maintain your sink and plumbing fixtures. 2. Use high-quality materials: Investing in high-quality materials, such as a durable sink and faucet, can save you time and money in the long run. 3. Seek professional help: If you are unsure or uncomfortable with the assembly process, it's always best to seek professional help to avoid any mistakes or accidents. Best practices for drop in bathroom sink assembly


Video tutorial for drop in bathroom sink assembly

We spoke with a plumbing expert for their advice on drop in bathroom sink assembly. They recommend using silicone sealant not only around the edges of the sink but also around the drain and faucet connections for added protection against leaks. They also suggest using a hairdryer to warm up the plumber's putty before applying it to create a better seal. Now that you have a comprehensive guide on how to assemble a drop in bathroom sink, you are ready to tackle this DIY project with confidence. Remember to take your time, follow instructions carefully, and don't hesitate to seek professional help if needed. Happy assembling! Expert advice for drop in bathroom sink assembly


Troubleshooting common issues during drop in bathroom sink assembly


How to Assemble a Drop-In Bathroom Sink

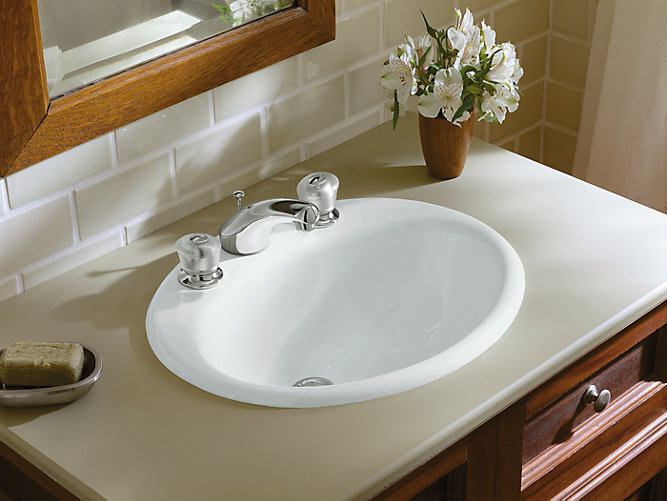
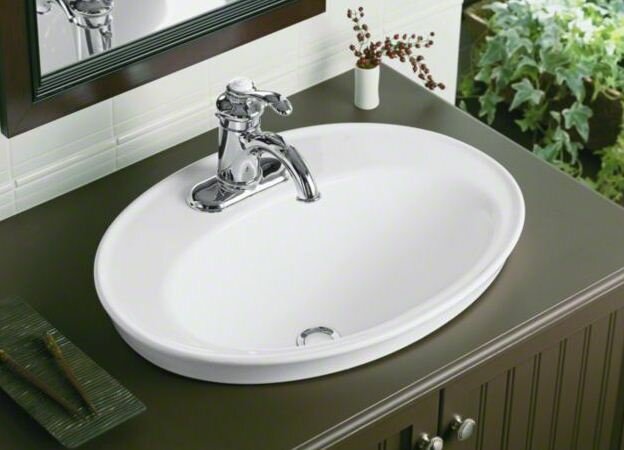
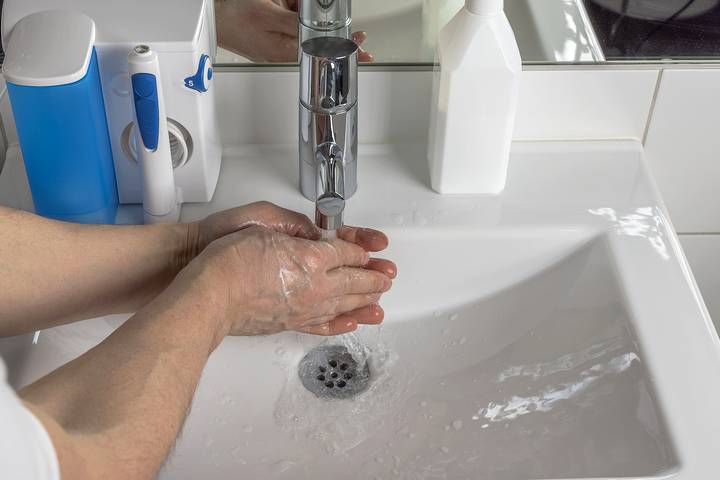
Step 3: Install the Faucet
 Once the sink is securely attached to the countertop, it's time to install the
faucet
. This is a crucial step in the assembly process as the faucet is responsible for controlling the flow of water in your sink. Begin by following the manufacturer's instructions for your specific faucet model. Generally, this will involve placing the rubber or plastic gasket over the faucet holes in the sink and then inserting the faucet through the holes. Secure the faucet in place using the nuts provided, making sure it is straight and tightly attached.
Once the sink is securely attached to the countertop, it's time to install the
faucet
. This is a crucial step in the assembly process as the faucet is responsible for controlling the flow of water in your sink. Begin by following the manufacturer's instructions for your specific faucet model. Generally, this will involve placing the rubber or plastic gasket over the faucet holes in the sink and then inserting the faucet through the holes. Secure the faucet in place using the nuts provided, making sure it is straight and tightly attached.
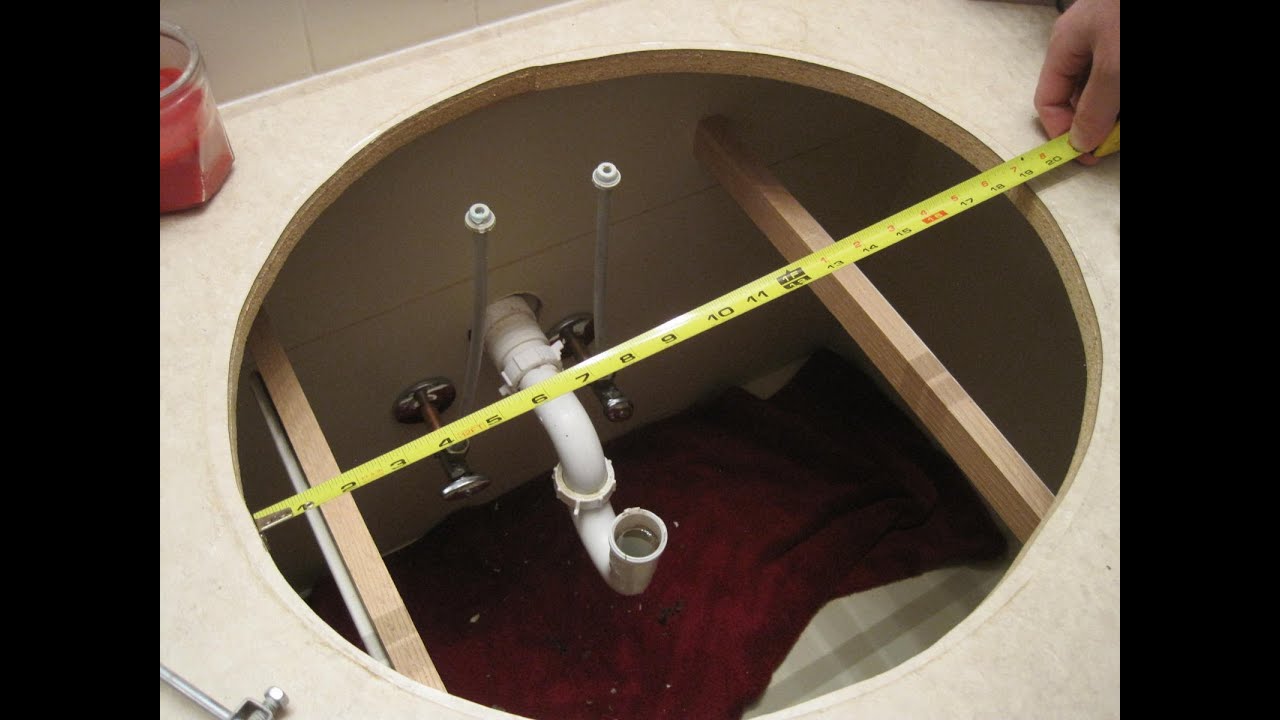
Step 4: Connect the Water Supply
 With the faucet in place, the next step is to connect the water supply lines. These are typically flexible hoses that come with the faucet. Attach one end of the supply line to the hot and cold water valves and the other end to the corresponding ports on the faucet. Use an adjustable wrench to tighten the connections and ensure they are leak-proof.
Turn on the water supply and check for any leaks before continuing with the next step.
With the faucet in place, the next step is to connect the water supply lines. These are typically flexible hoses that come with the faucet. Attach one end of the supply line to the hot and cold water valves and the other end to the corresponding ports on the faucet. Use an adjustable wrench to tighten the connections and ensure they are leak-proof.
Turn on the water supply and check for any leaks before continuing with the next step.
Step 5: Seal the Sink
 To prevent any water from seeping between the sink and the countertop, it's important to
seal
the edges of the sink. Apply a bead of silicone caulk around the perimeter of the sink, making sure to fill in any gaps or spaces. Smooth out the caulk using your finger or a caulk smoothing tool, then wipe away any excess with a damp cloth. Allow the caulk to dry according to the manufacturer's instructions before using the sink.
To prevent any water from seeping between the sink and the countertop, it's important to
seal
the edges of the sink. Apply a bead of silicone caulk around the perimeter of the sink, making sure to fill in any gaps or spaces. Smooth out the caulk using your finger or a caulk smoothing tool, then wipe away any excess with a damp cloth. Allow the caulk to dry according to the manufacturer's instructions before using the sink.
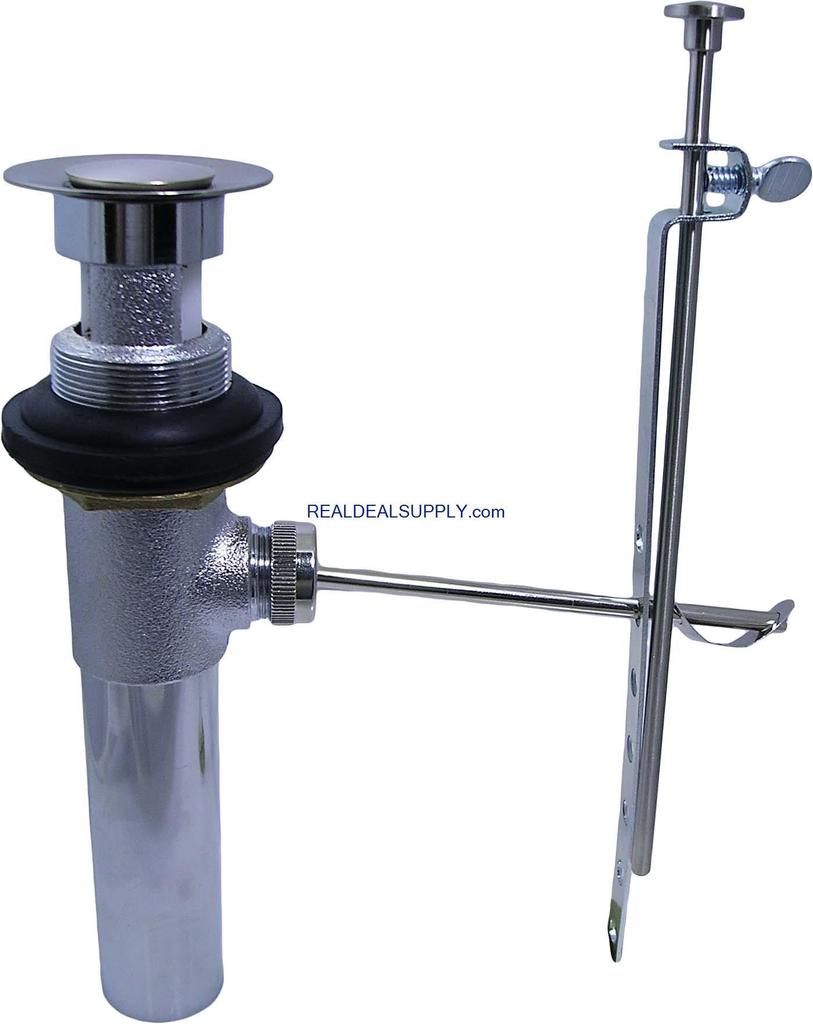
Step 6: Install the Drain
 The final step in the assembly process is to install the drain. This typically involves attaching the drain pipe to the bottom of the sink and securing it with a nut. Make sure to use the appropriate tools to tighten the connections and check for any leaks. Once the drain is securely in place, turn on the water supply and test the sink to ensure it is functioning properly.
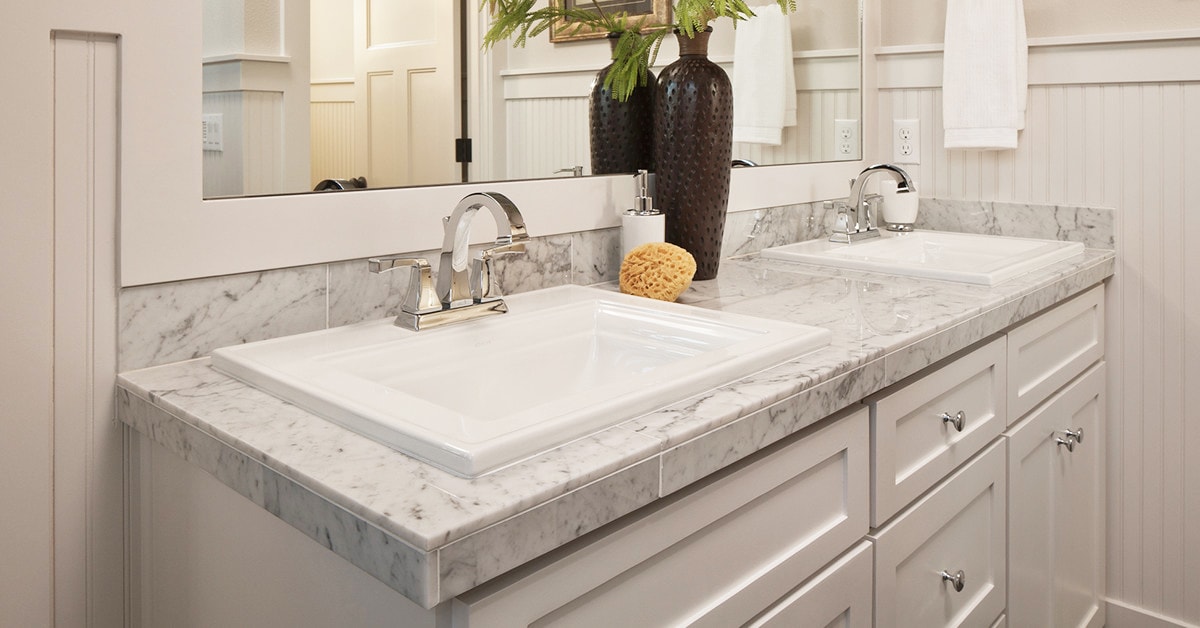
Enjoy Your New Drop-In Sink
 Congratulations, you have successfully assembled your new drop-in bathroom sink! With the faucet, water supply, and drain all in place, your sink is now ready for use. Take a step back and admire your handiwork, knowing that you have not only completed a DIY project, but also improved the overall design of your bathroom. With proper installation and maintenance, your new drop-in sink will provide both functionality and style to your space.