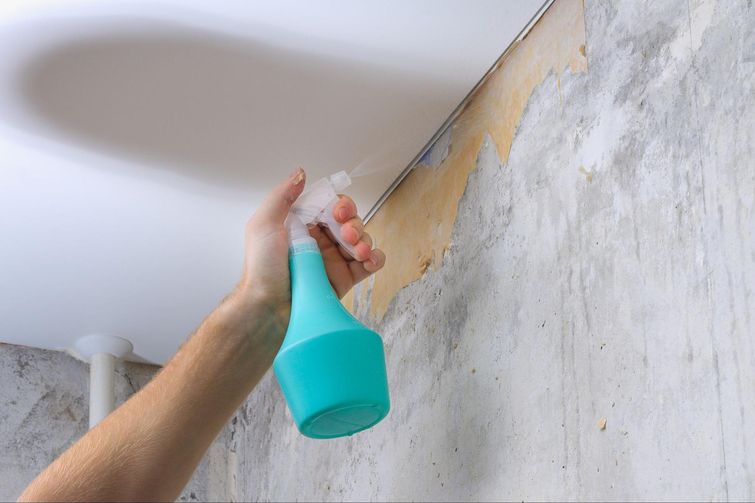
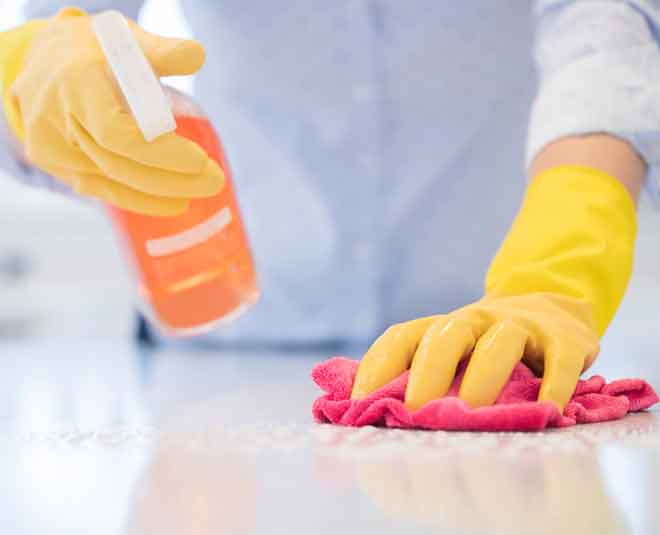
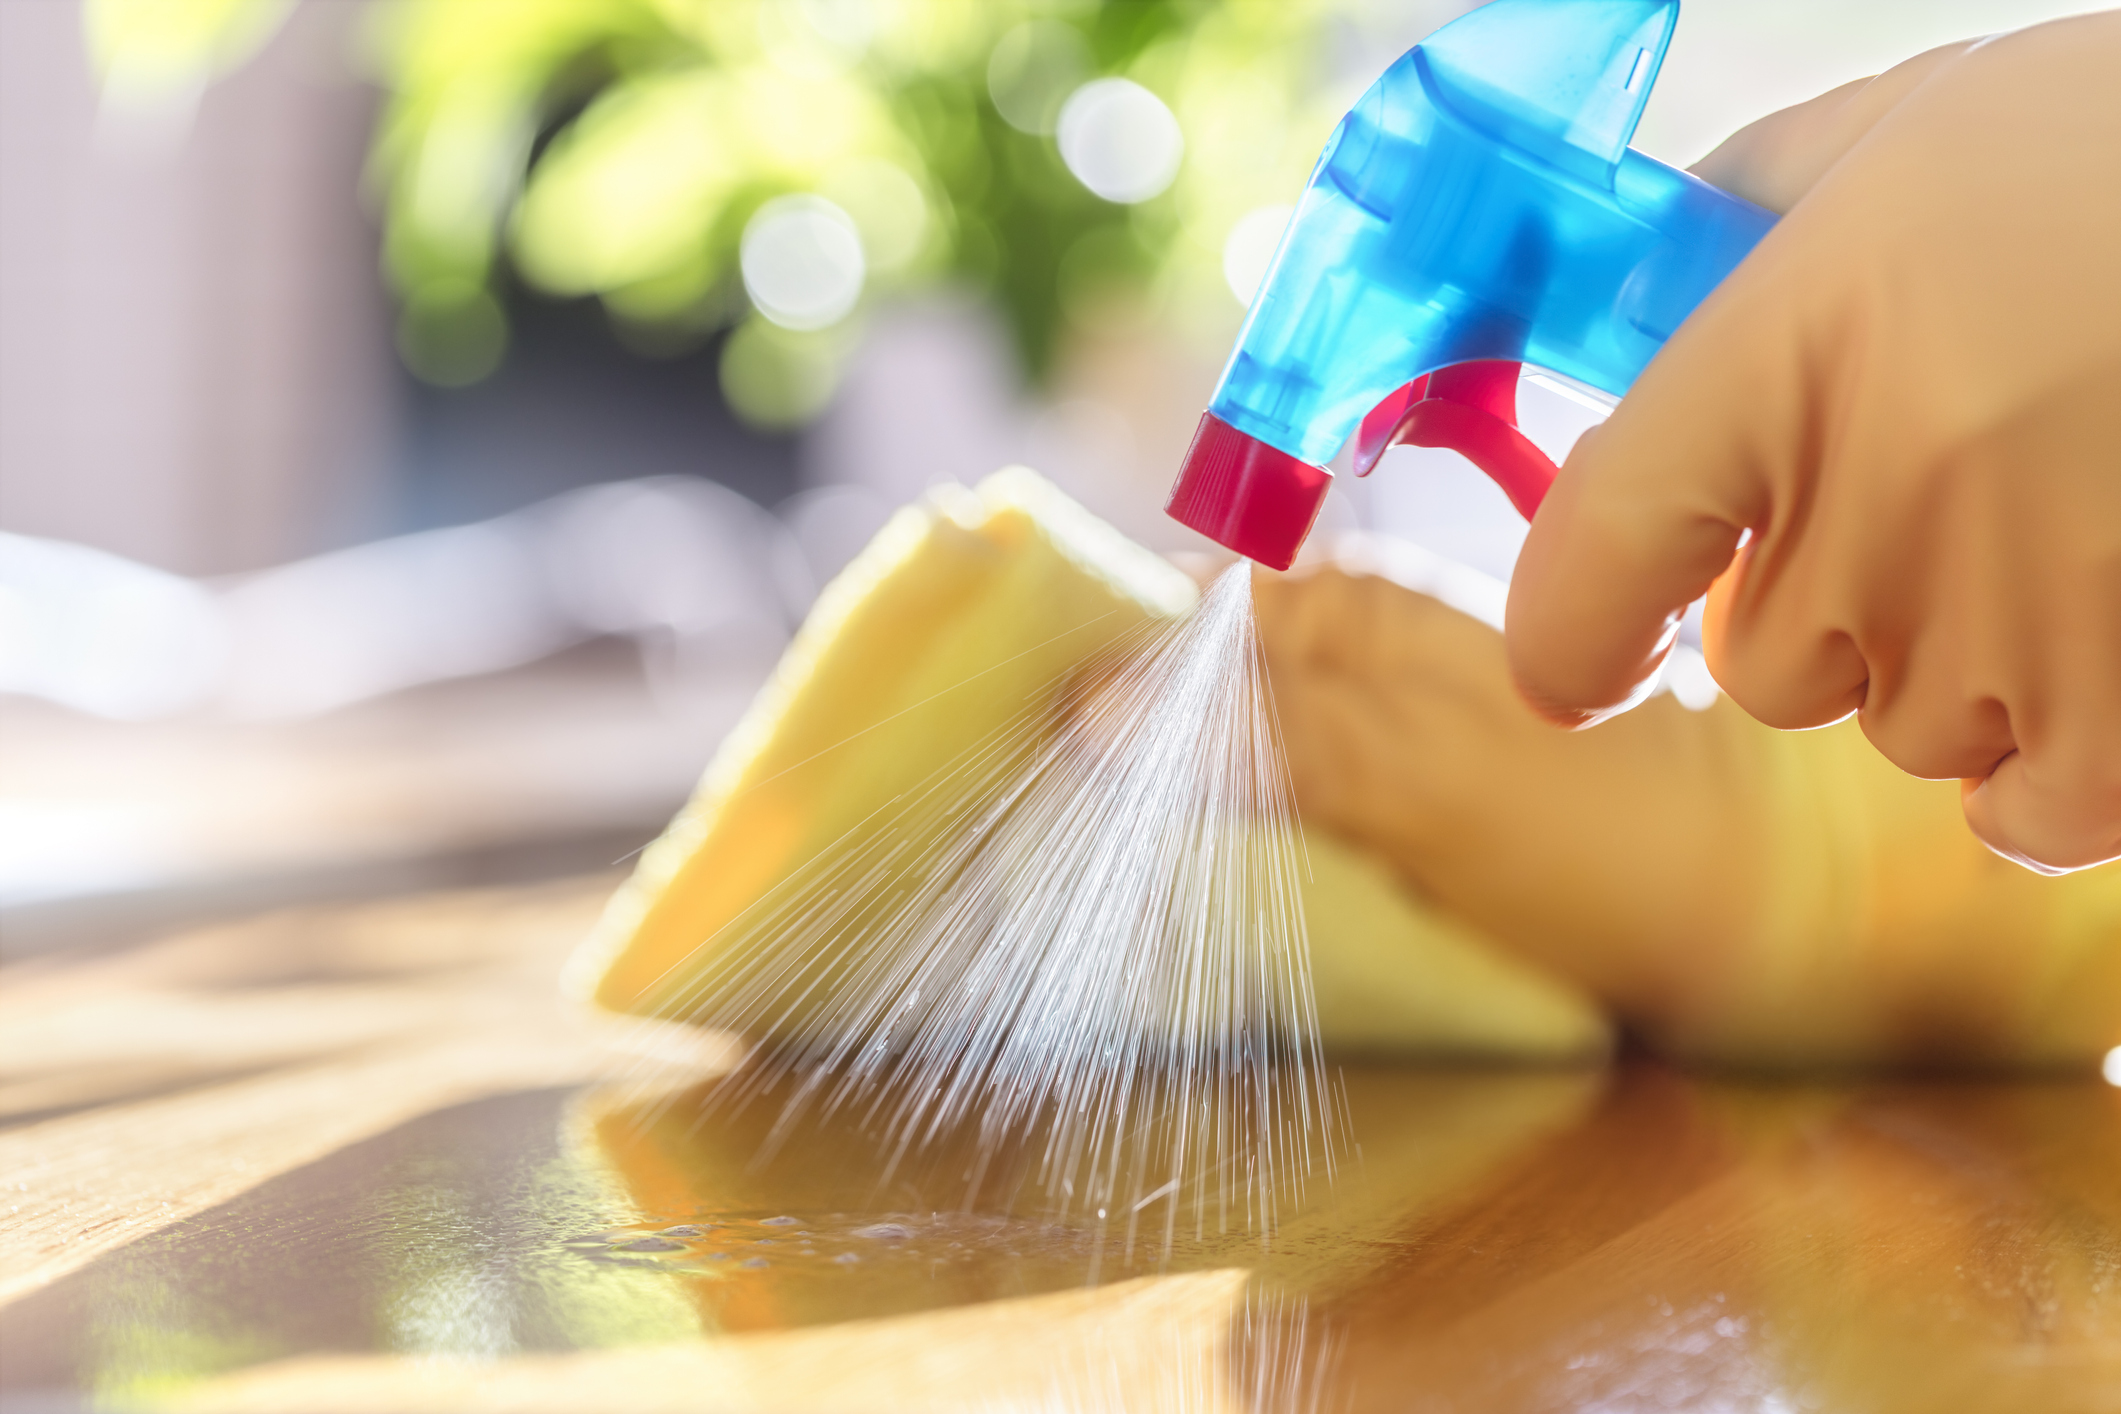
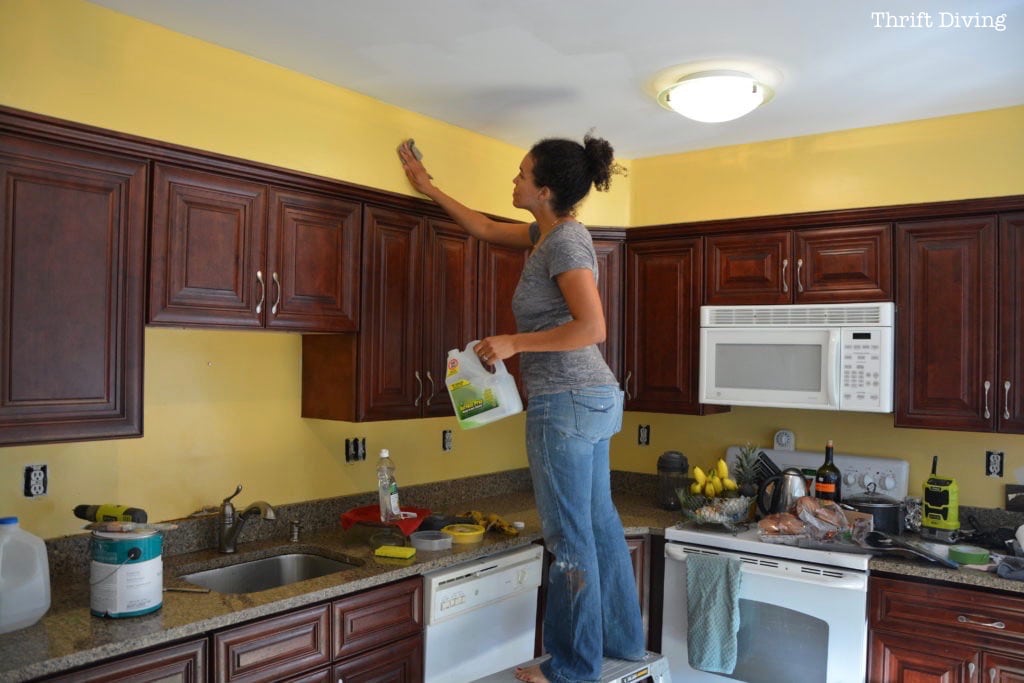
Before you start painting your kitchen walls, it's important to prep them properly. This will ensure that the paint adheres well and gives you a smooth and professional finish. Start by cleaning the walls with a mild cleaner to remove any dirt or grease. Next, patch any holes or cracks with spackling paste and sand them down. If there are any stubborn stains, use a stain-blocking primer to prevent them from bleeding through the paint.Prep the walls


Prep the walls


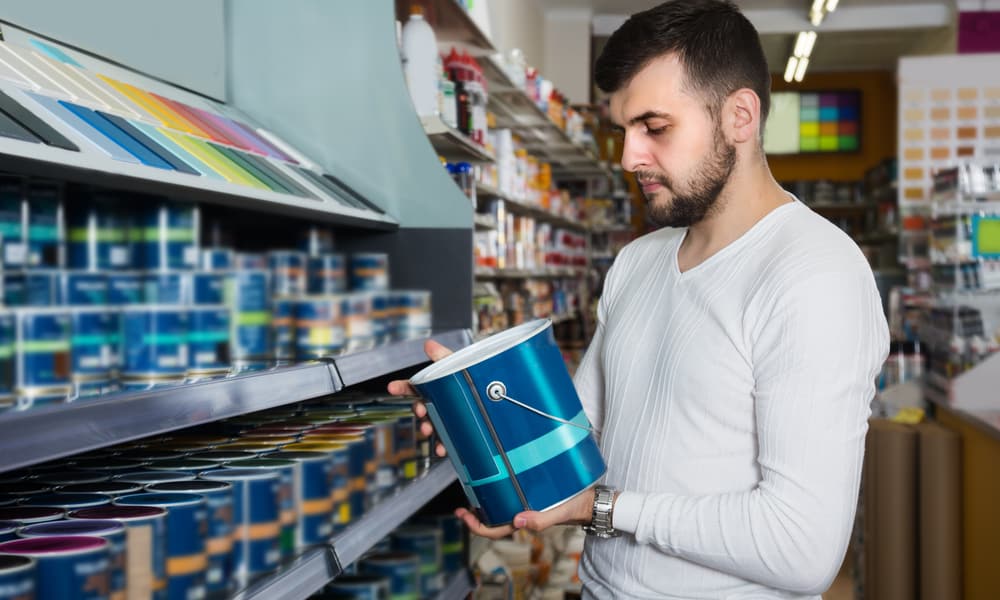
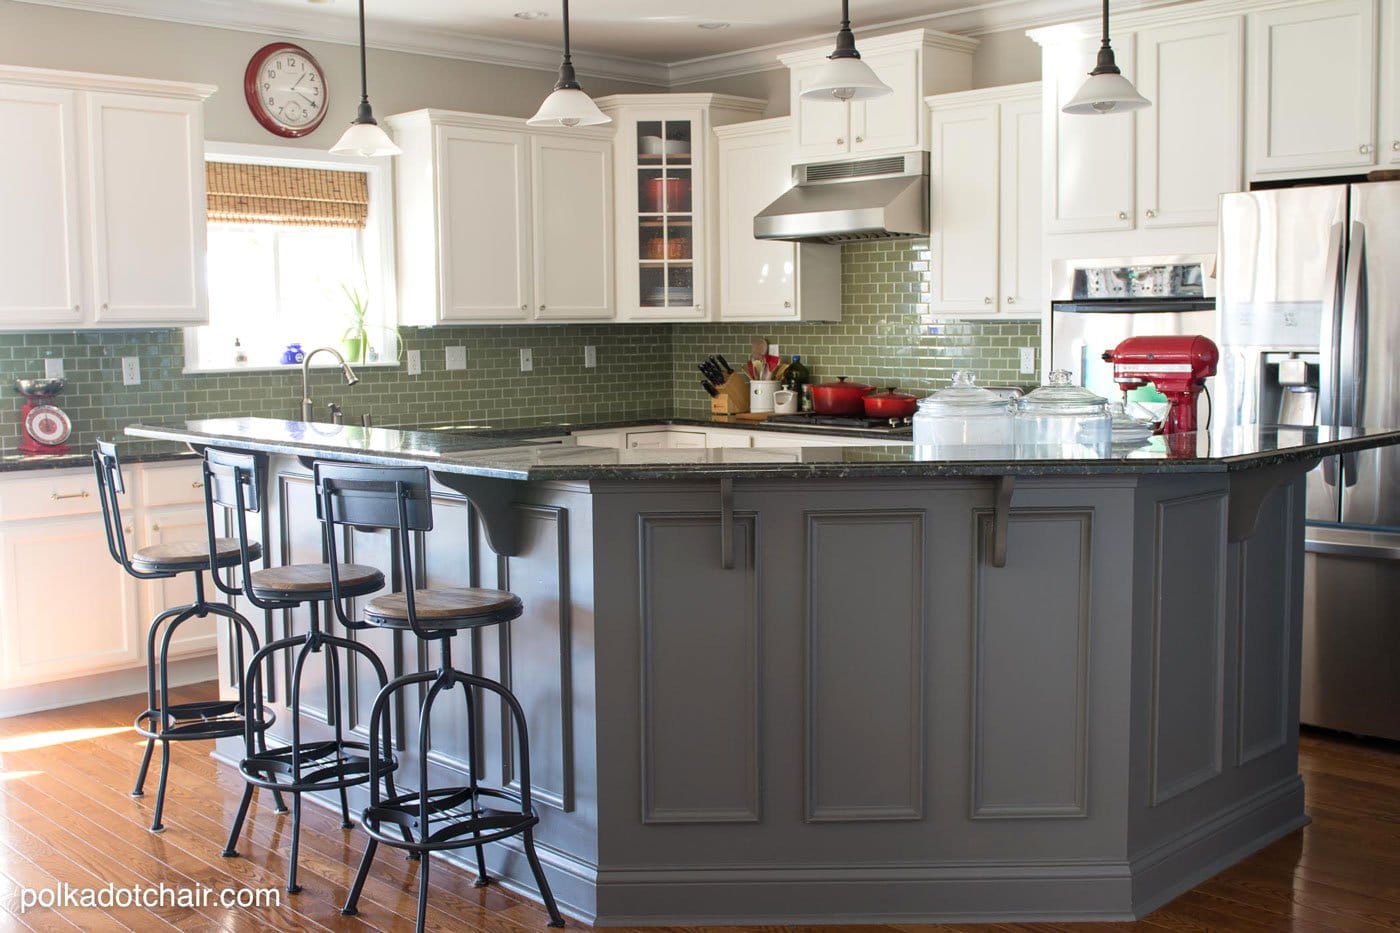
When it comes to painting your kitchen walls, not all paints are created equal. Choosing the right paint is crucial for a long-lasting and durable finish. Look for paint that is specifically designed for kitchens or high-traffic areas, as it will have better resistance to moisture and stains. Consider the color of your kitchen and the lighting when choosing your paint color. Neutral colors are a safe bet and can make your kitchen feel bright and spacious.Choose the right paint

Choose the right paint


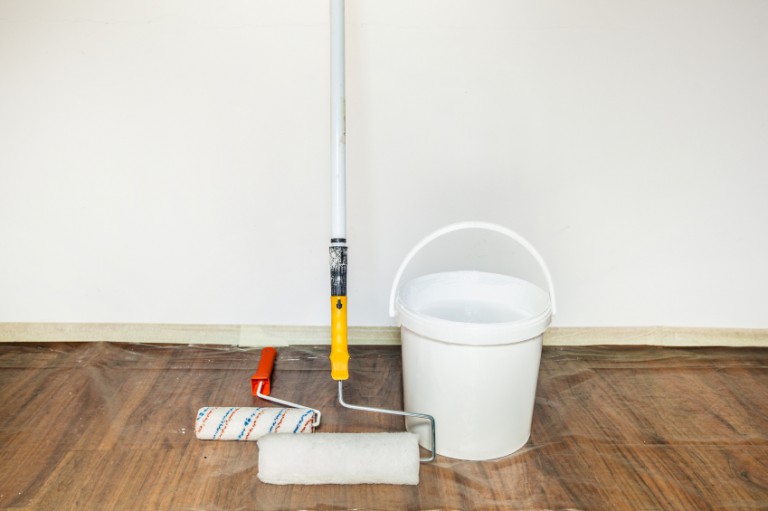
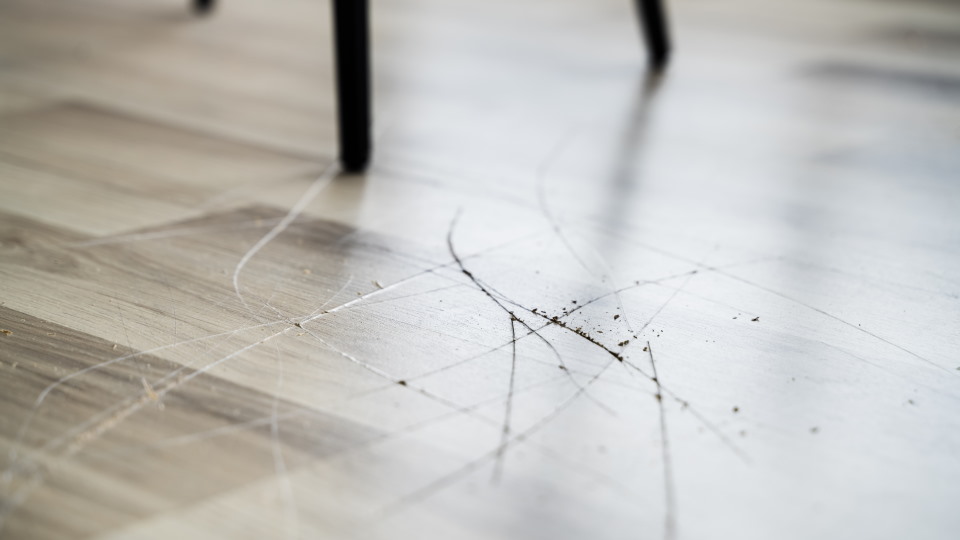
The last thing you want is to ruin your floors or furniture while painting your kitchen walls. Before you start, protect your floors and furniture by covering them with drop cloths. This will prevent any accidental spills or splatters from damaging your surfaces. If you have furniture that cannot be moved, cover it with plastic sheeting and secure it with painter's tape.Protect your floors and furniture


Protect your floors and furniture


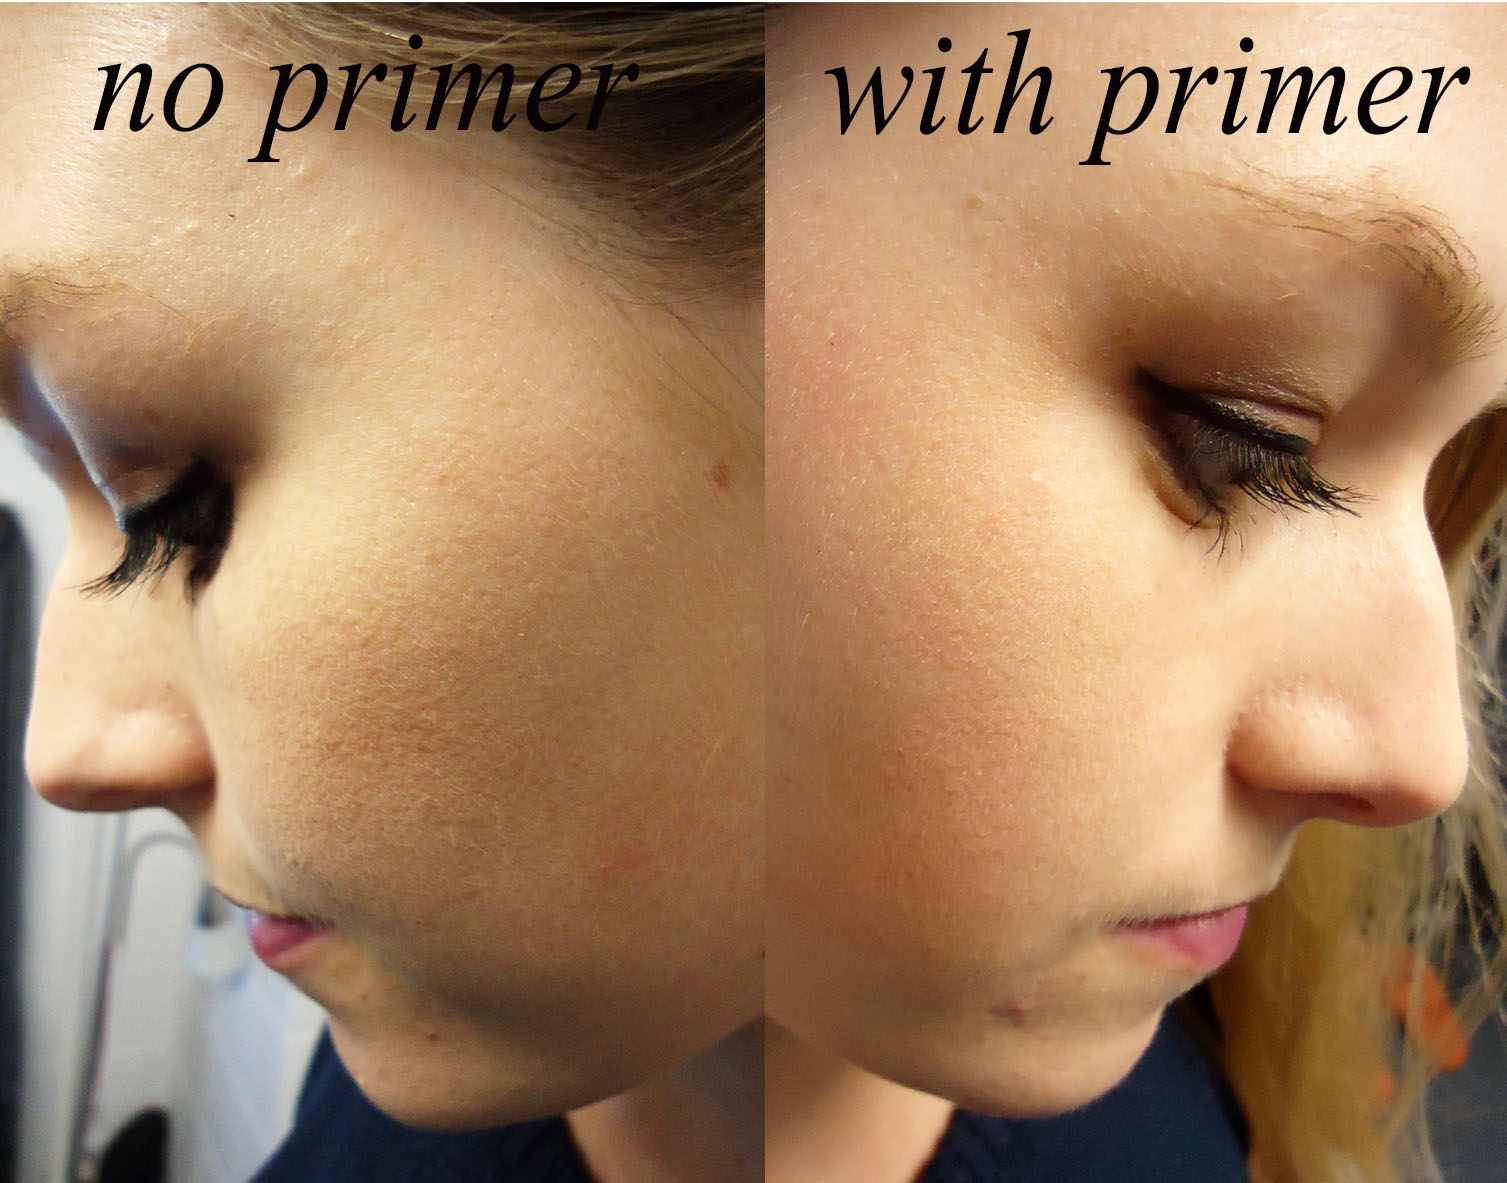
Don't skip the primer! A primer helps the paint adhere better and also ensures that the color of your walls will be true to the paint swatch. It also helps cover any imperfections on the walls, giving you a smoother finish. Use a quality primer that is specifically designed for the type of paint you're using and follow the manufacturer's instructions for application.Use a primer


Use a primer


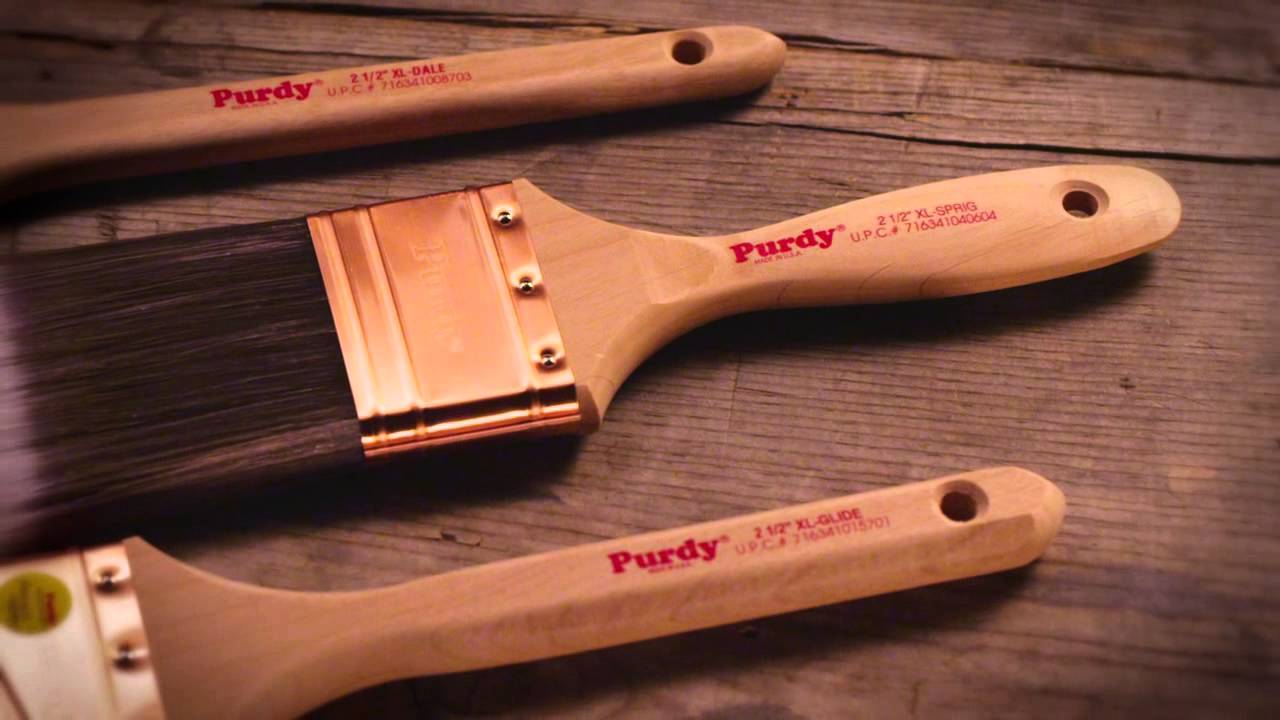
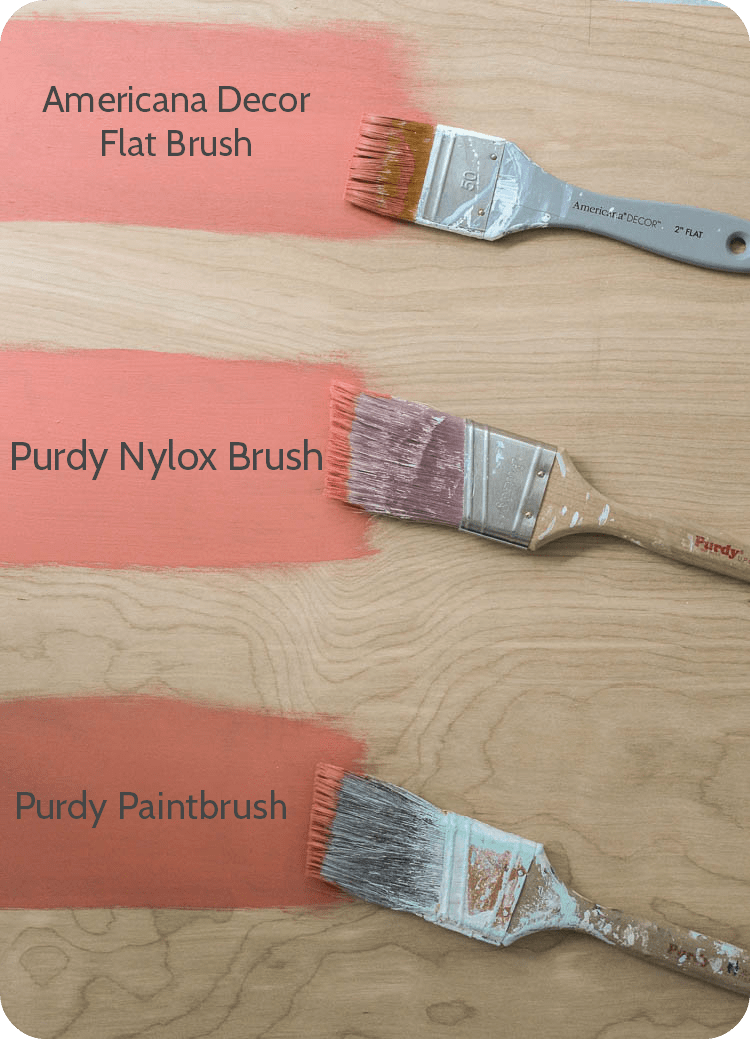
The quality of your painting tools can make a big difference in the outcome of your project. Investing in quality brushes and rollers will ensure that your paint goes on smoothly and evenly. Look for brushes and rollers that are specifically designed for the type of paint you're using and the surface you're painting. A good quality brush will also make it easier to cut in around edges and corners.Invest in quality brushes and rollers


Invest in quality brushes and rollers


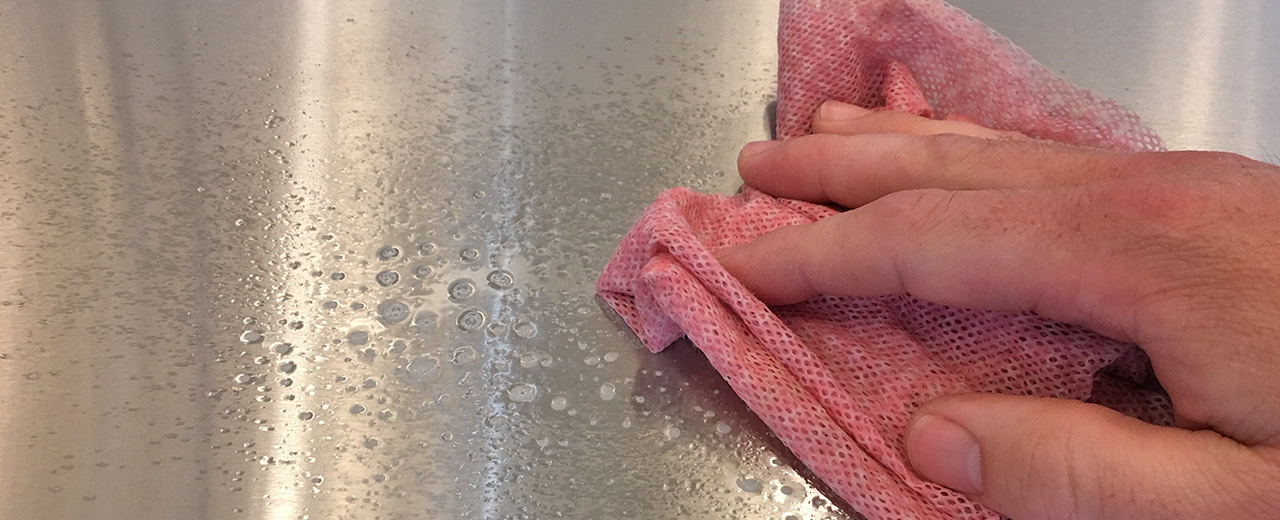
Before you start painting, make sure your walls are clean and dust-free. Even if you've prepped your walls beforehand, dust can still accumulate on the surface. Use a damp cloth or sponge to wipe down the walls and remove any dust or debris. This will ensure that your paint goes on smoothly and gives you a professional finish.Start with a clean surface


Start with a clean surface


Instead of using a traditional paint tray, consider using a paint grid. A paint grid is a plastic or metal screen that fits inside a bucket. It allows you to load your roller with paint evenly and prevents drips from forming. This method also saves you time and effort as you don't have to keep refilling your tray with paint.Use a paint grid instead of a tray


Use a paint grid instead of a tray


When it comes to painting walls, it's better to apply multiple thin coats rather than one thick coat. Thin coats dry faster and give you a smoother finish with less chance of drips or roller marks. It also gives you more control over the color and helps you achieve a more even coverage. Allow each coat to dry completely before applying the next one.Apply multiple thin coats


Apply multiple thin coats


If you want a really smooth finish on your kitchen walls, consider using a paint extender. A paint extender is a liquid additive that you can mix into your paint. It helps the paint level out and gives you a smoother finish with fewer visible brush or roller marks. This is especially helpful if you're using a gloss or semi-gloss paint, which can be more prone to showing imperfections.Use a paint extender for smoother finish


Use a paint extender for smoother finish


After you've finished painting your kitchen walls, it's important to clean up properly. Remove any drop cloths and plastic sheeting and dispose of them properly. Clean your brushes and rollers with warm soapy water and let them dry completely before storing them. If you have any leftover paint, seal the can tightly and store it in a cool, dry place. And of course, don't forget to admire your newly painted kitchen walls!Don't forget to clean up properly


Don't forget to clean up properly


Tips for Painting Kitchen Walls: A Professional Guide
Choosing the Right Paint
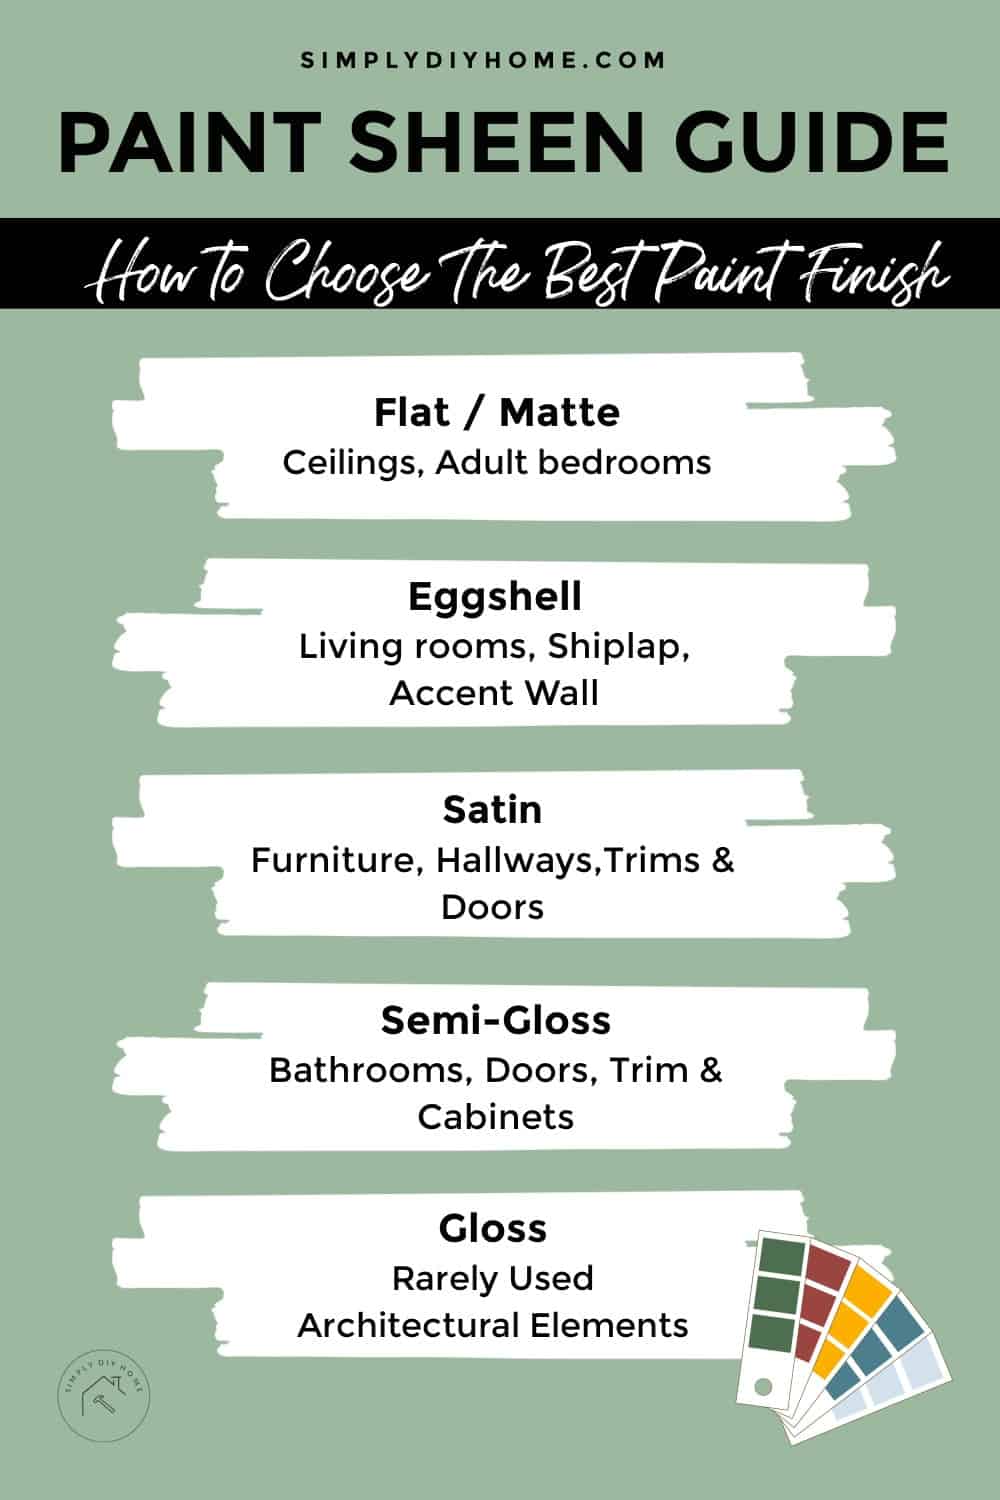
 When it comes to painting your kitchen walls, it's important to choose the right type of paint. Kitchen walls are often exposed to moisture, grease, and food splatters, so it's important to use a paint that is durable and can withstand frequent cleaning. Look for
paints with a satin or semi-gloss finish
as these are easier to clean and more resistant to stains and moisture. Additionally, opt for
paints labeled as "scrubbable" or "washable"
for added durability.
When it comes to painting your kitchen walls, it's important to choose the right type of paint. Kitchen walls are often exposed to moisture, grease, and food splatters, so it's important to use a paint that is durable and can withstand frequent cleaning. Look for
paints with a satin or semi-gloss finish
as these are easier to clean and more resistant to stains and moisture. Additionally, opt for
paints labeled as "scrubbable" or "washable"
for added durability.
Prepping the Walls
 Before you start painting, make sure to properly prep your walls. This includes
cleaning any grease or food splatters
with a mild detergent and water solution. Use a sponge or cloth to gently scrub the walls and then rinse with clean water. If there are any cracks or holes,
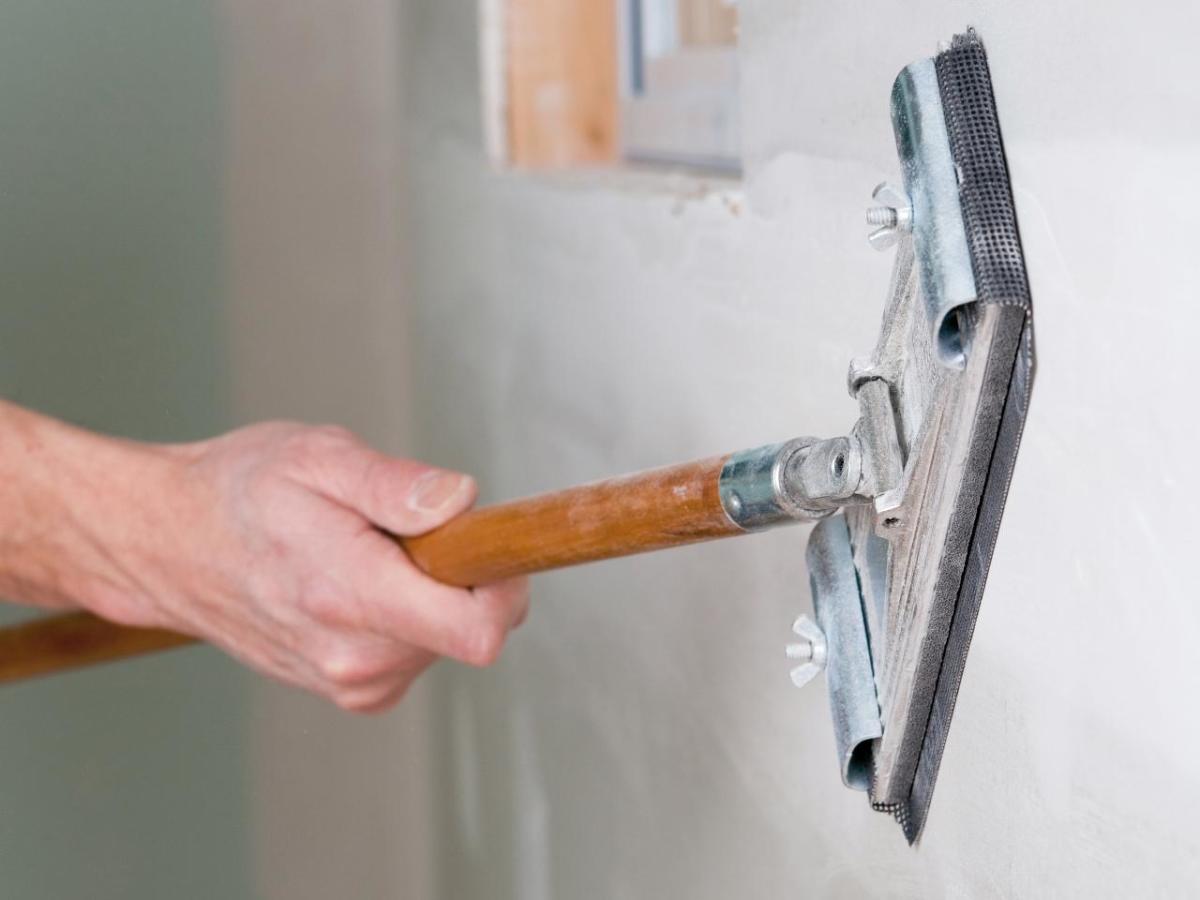
fill them with spackling compound
and sand them smooth once dry. Also, be sure to
tape off any trim, cabinets, or appliances
to protect them from paint splatters.
Before you start painting, make sure to properly prep your walls. This includes
cleaning any grease or food splatters
with a mild detergent and water solution. Use a sponge or cloth to gently scrub the walls and then rinse with clean water. If there are any cracks or holes,
fill them with spackling compound
and sand them smooth once dry. Also, be sure to
tape off any trim, cabinets, or appliances
to protect them from paint splatters.
Priming
 While it may be tempting to skip this step, priming your kitchen walls is crucial for achieving a long-lasting and professional finish. Primer helps
create a smooth and even surface
for the paint to adhere to and also helps with coverage. Choose a primer specifically designed for kitchen walls and apply it with a roller or brush.
While it may be tempting to skip this step, priming your kitchen walls is crucial for achieving a long-lasting and professional finish. Primer helps
create a smooth and even surface
for the paint to adhere to and also helps with coverage. Choose a primer specifically designed for kitchen walls and apply it with a roller or brush.
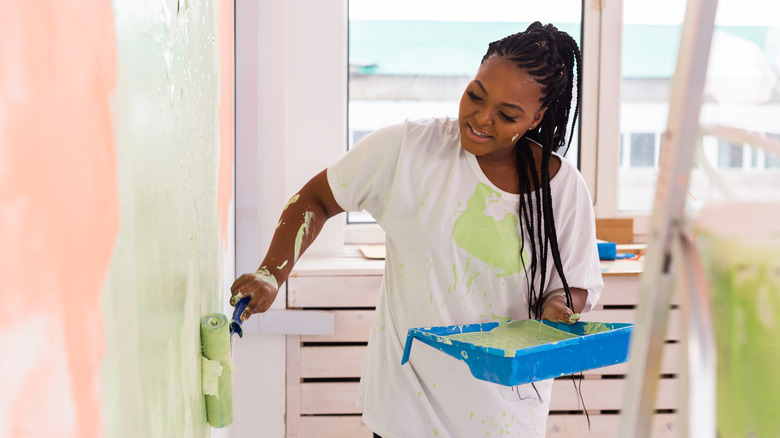
Painting Techniques
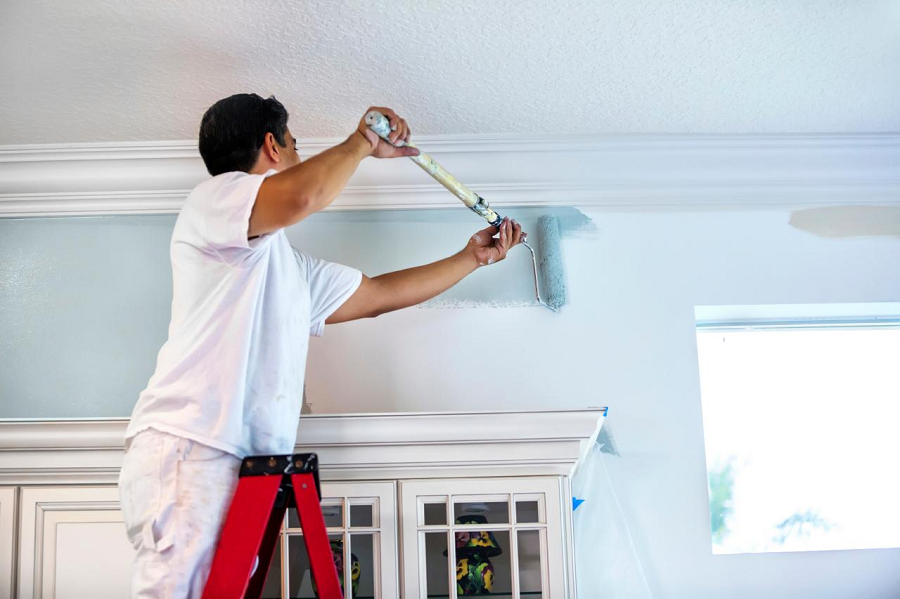
 When it's time to paint, start by
cutting in around the edges of the walls with a brush
and then use a roller to fill in the rest of the wall. Be sure to
use long, even strokes
to avoid visible brush or roller marks. For best results, apply two coats of paint, allowing the first coat to dry completely before applying the second.
When it's time to paint, start by
cutting in around the edges of the walls with a brush
and then use a roller to fill in the rest of the wall. Be sure to
use long, even strokes
to avoid visible brush or roller marks. For best results, apply two coats of paint, allowing the first coat to dry completely before applying the second.
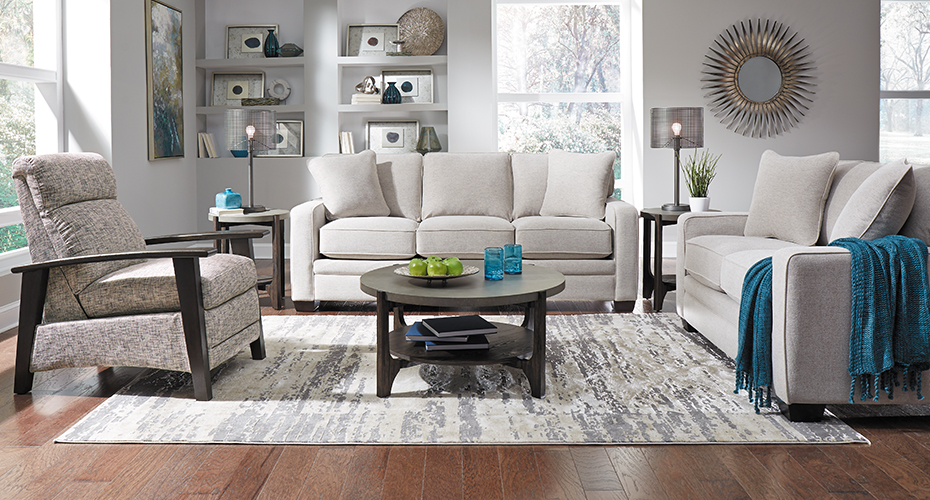
Finishing Touches
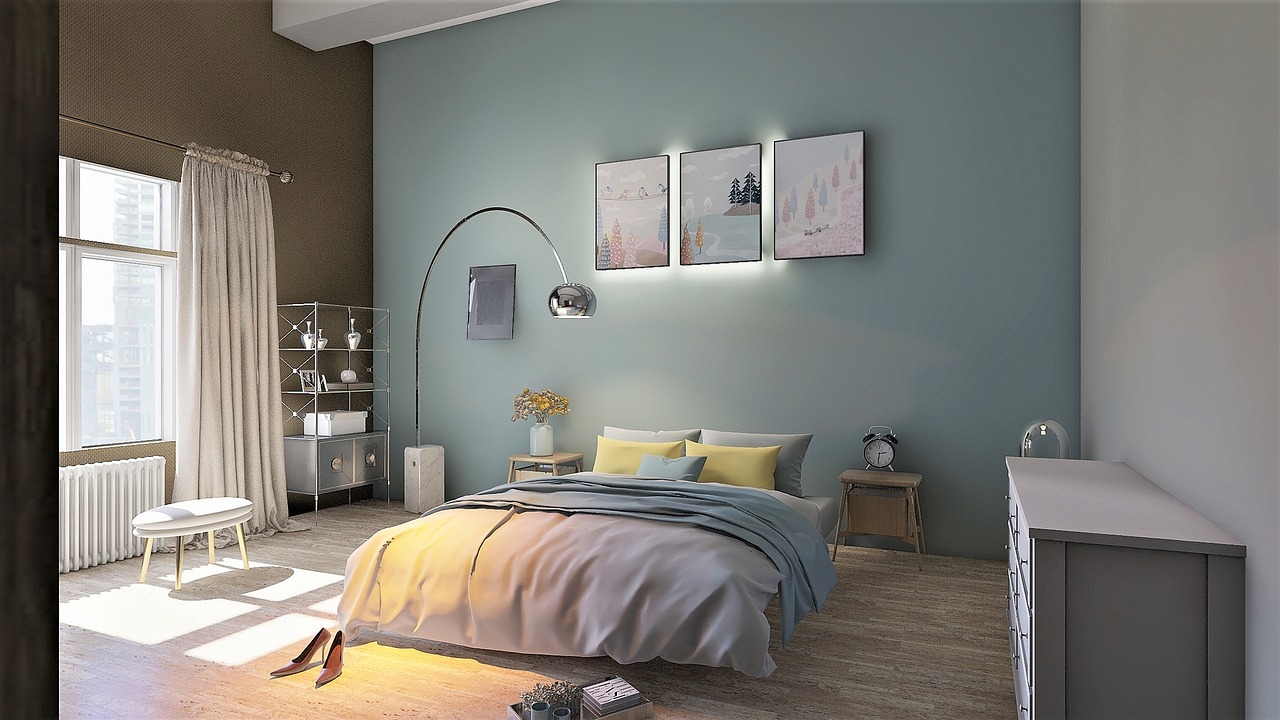
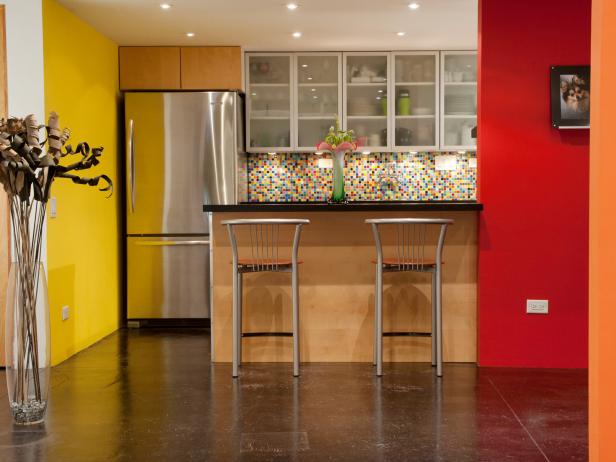
 After the paint is dry, remove any tape and touch up any missed spots. If you have chosen a semi-gloss or satin finish, you can use a damp cloth to gently wipe down the walls to remove any dust or fingerprints. Lastly,
consider adding a backsplash or accent wall
to add some extra personality and style to your newly painted kitchen walls.
In conclusion, painting your kitchen walls can be a fun and rewarding DIY project. By following these tips and using the right products, you can achieve a professional-looking finish that will last for years to come. So why wait?
Get creative and start painting your kitchen walls today!
After the paint is dry, remove any tape and touch up any missed spots. If you have chosen a semi-gloss or satin finish, you can use a damp cloth to gently wipe down the walls to remove any dust or fingerprints. Lastly,
consider adding a backsplash or accent wall
to add some extra personality and style to your newly painted kitchen walls.
In conclusion, painting your kitchen walls can be a fun and rewarding DIY project. By following these tips and using the right products, you can achieve a professional-looking finish that will last for years to come. So why wait?
Get creative and start painting your kitchen walls today!