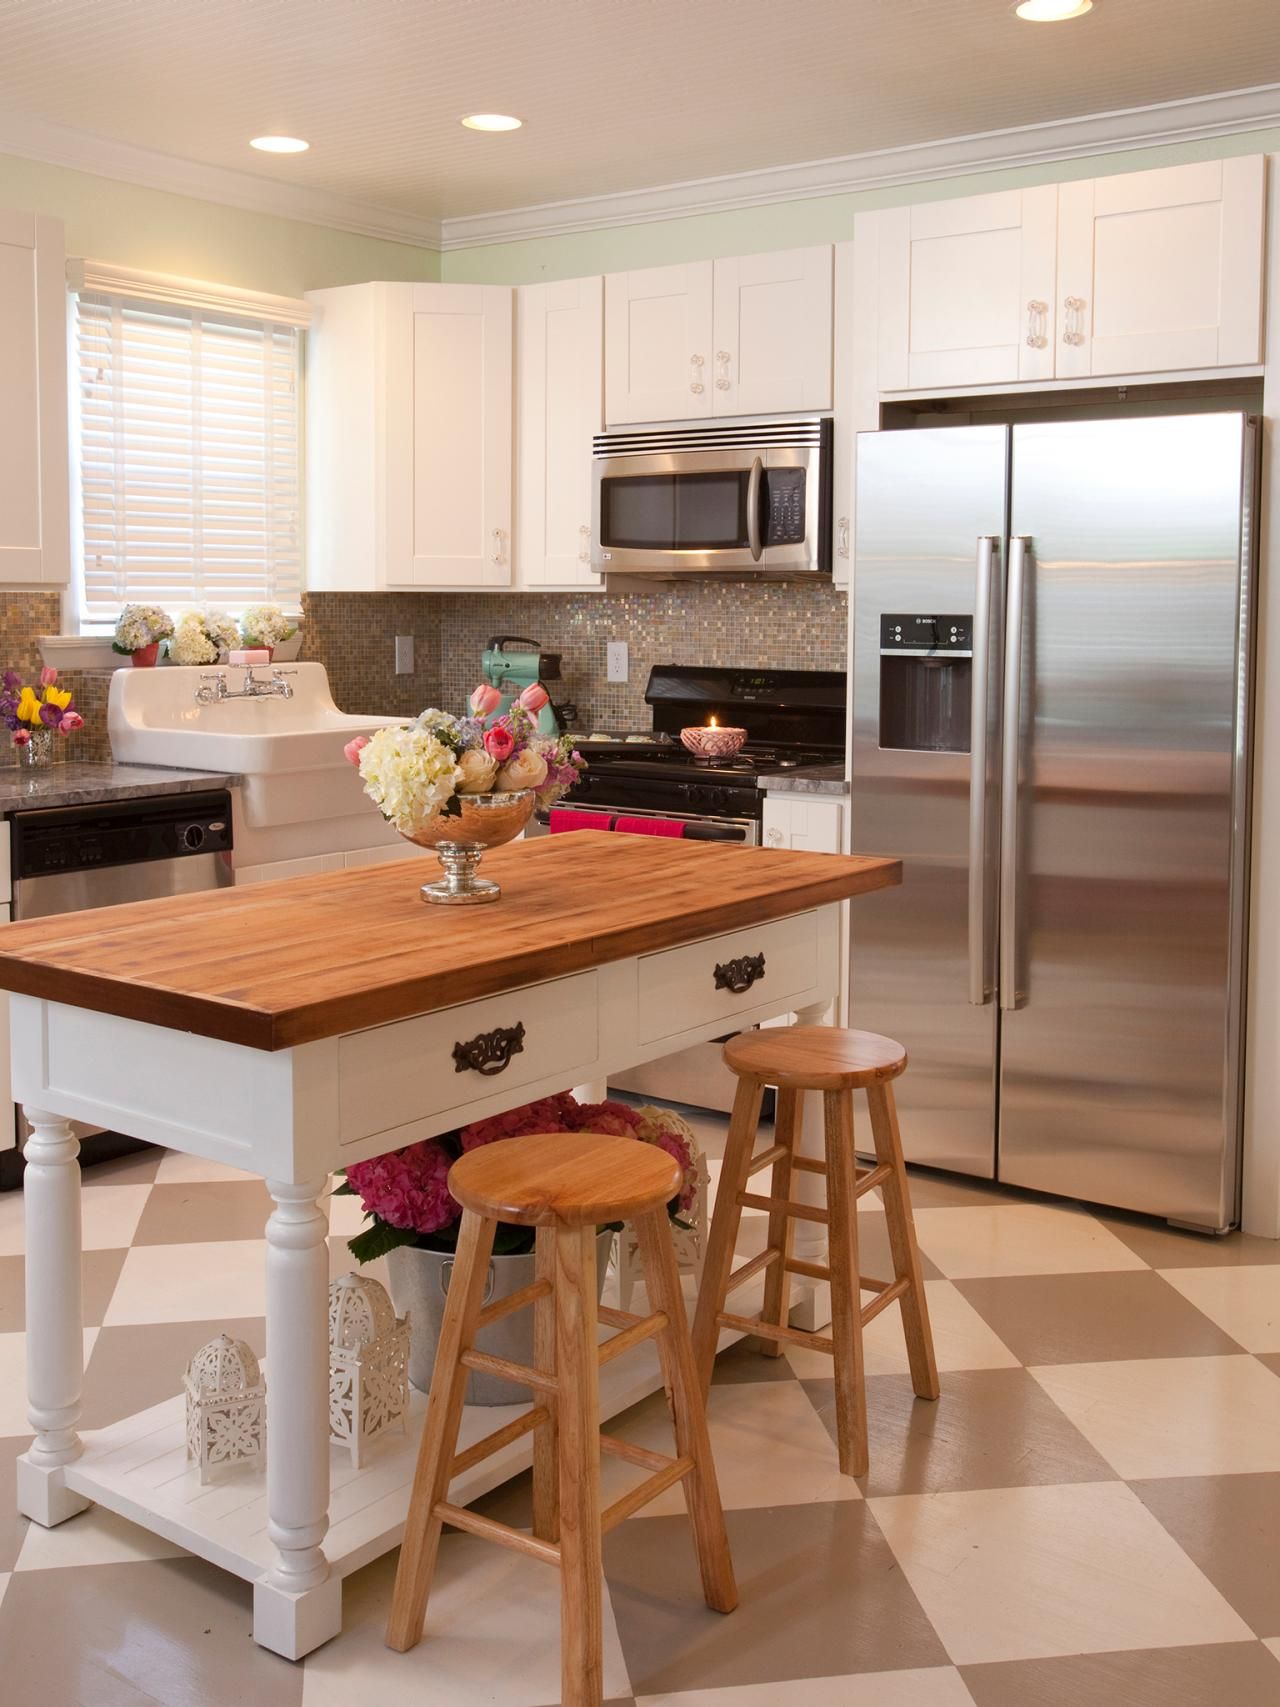
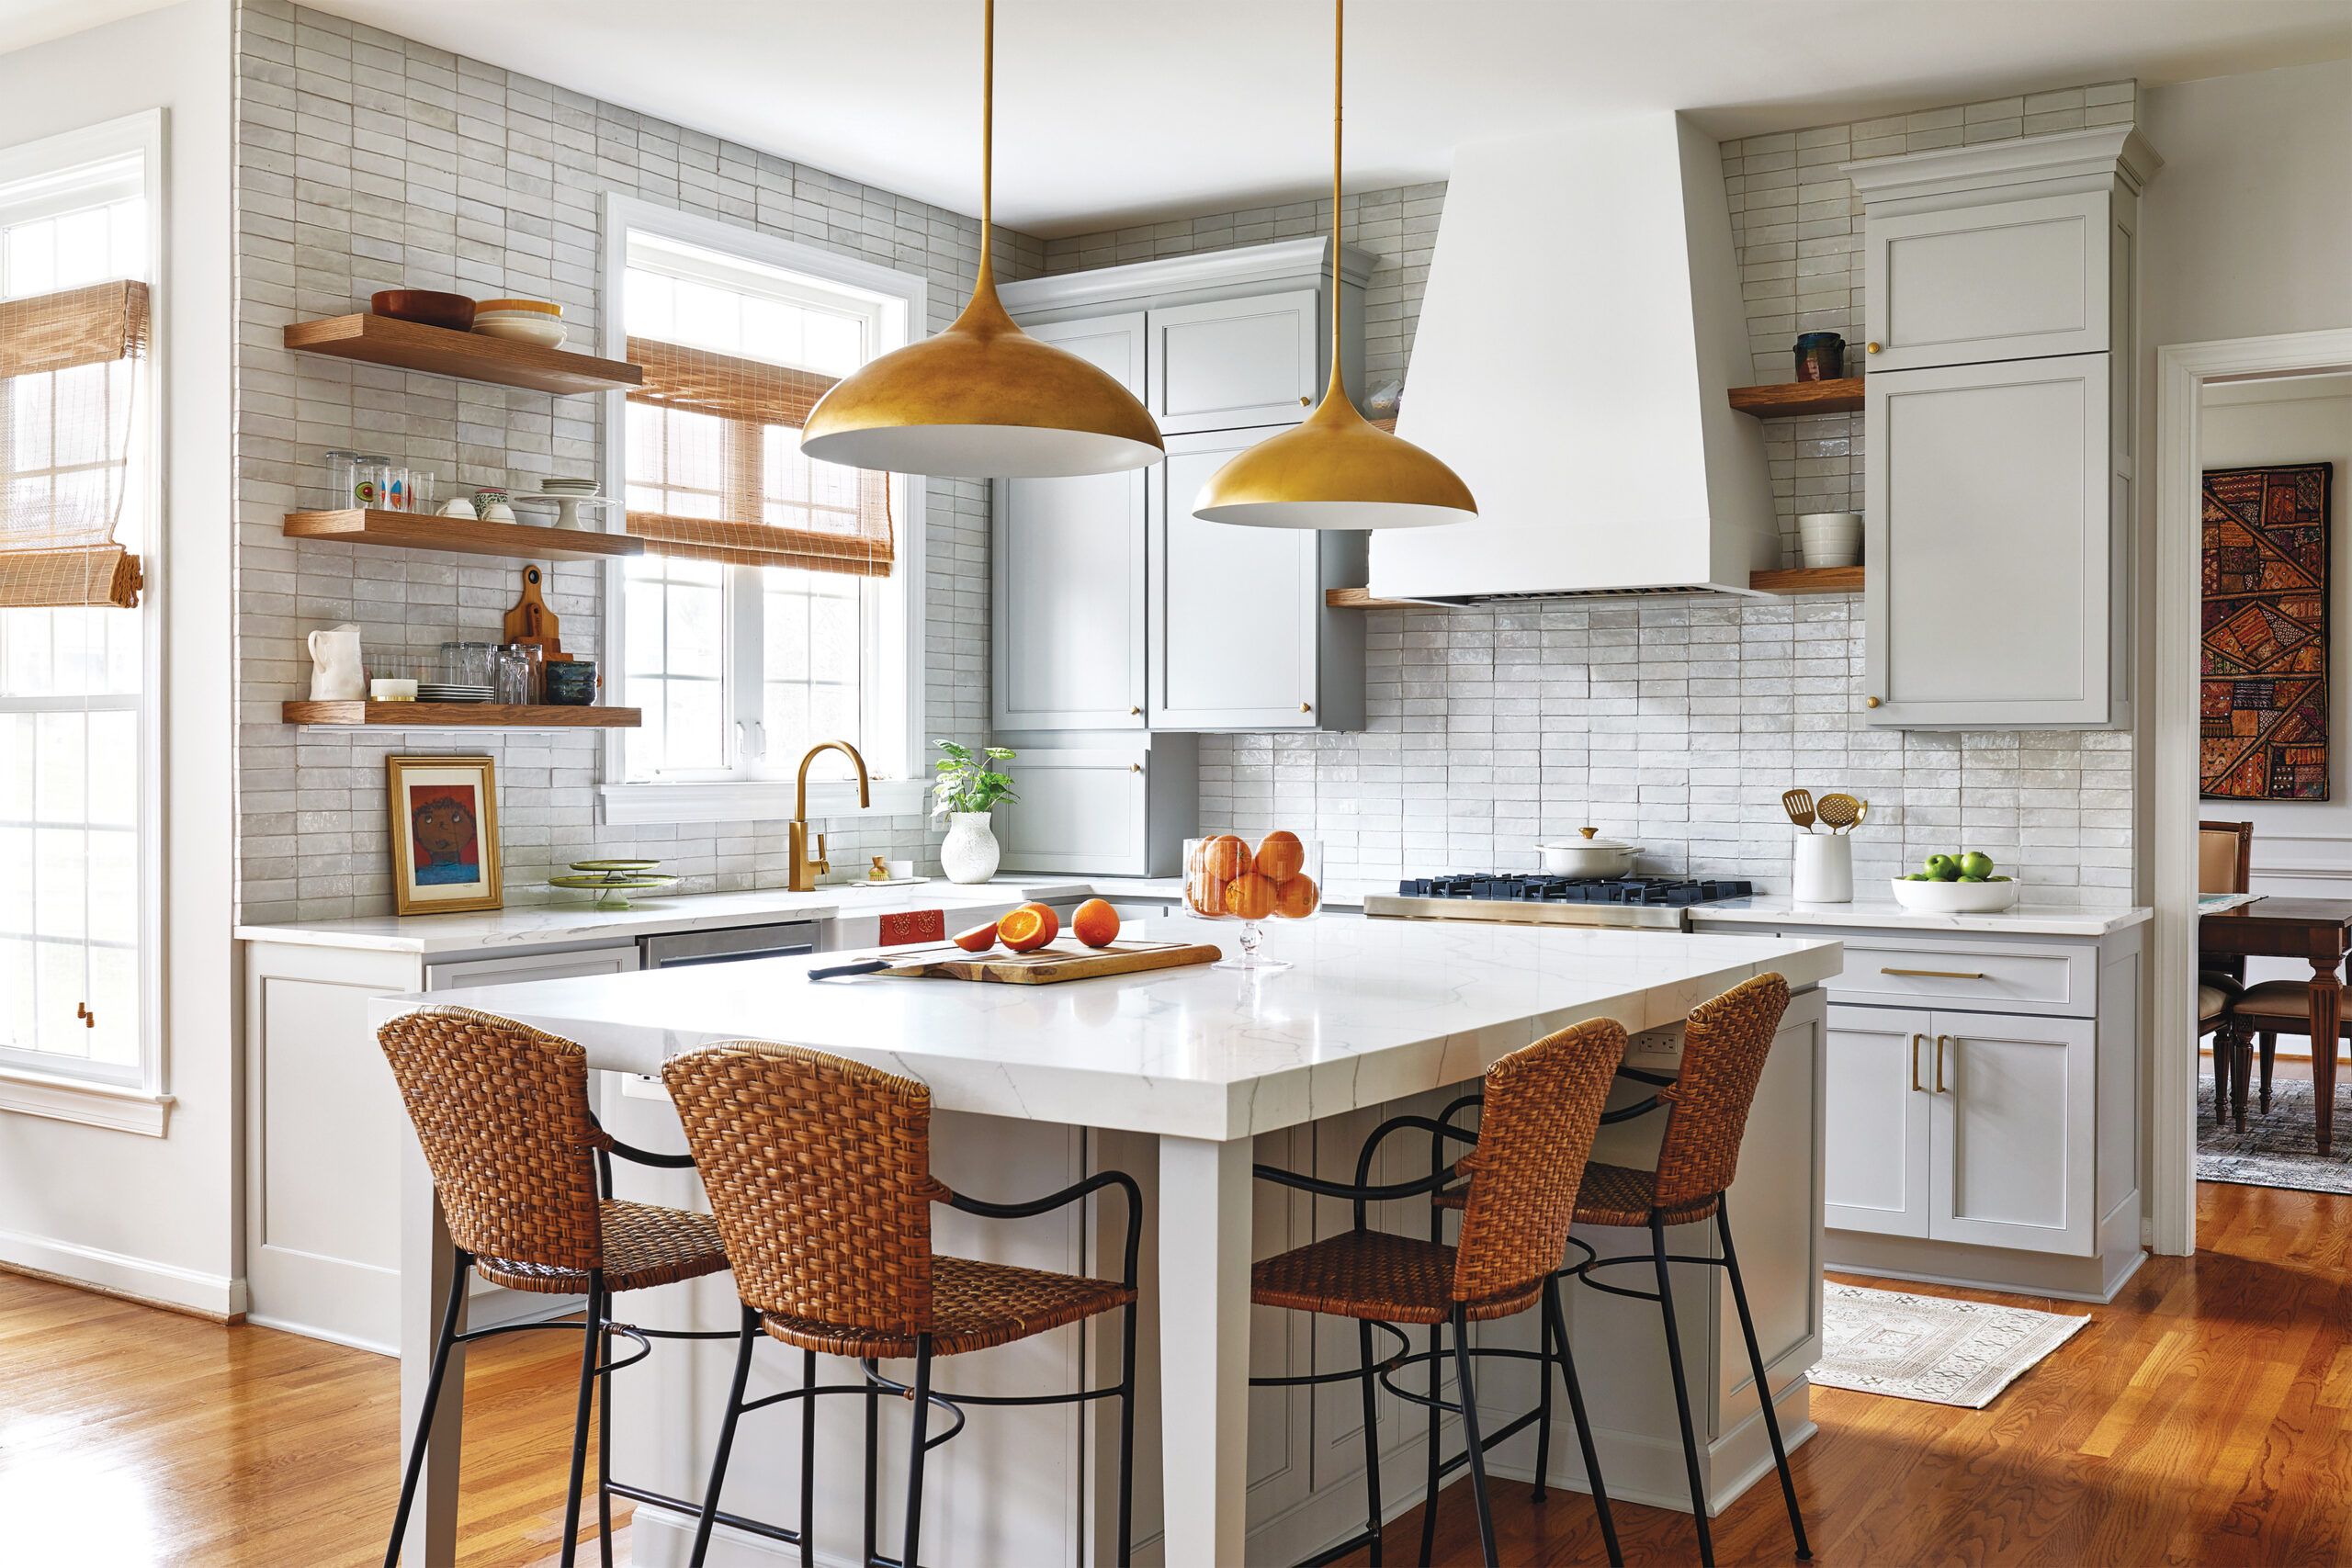
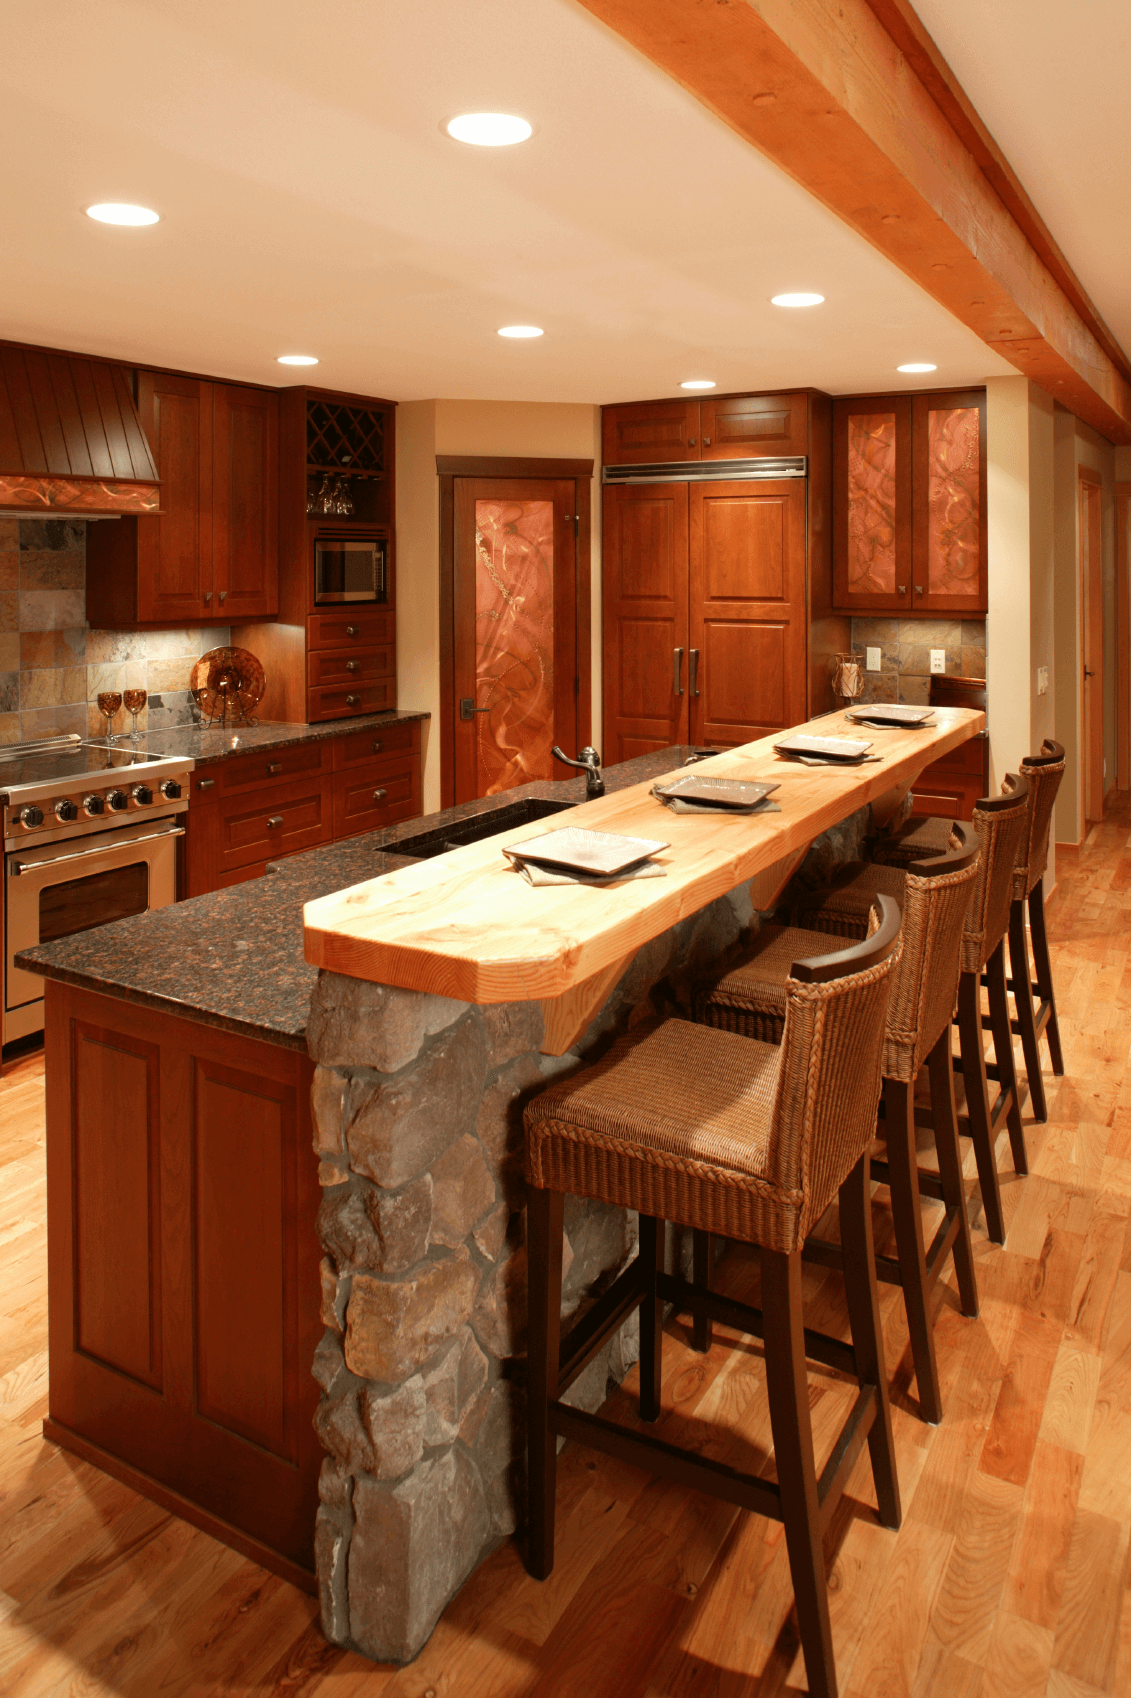
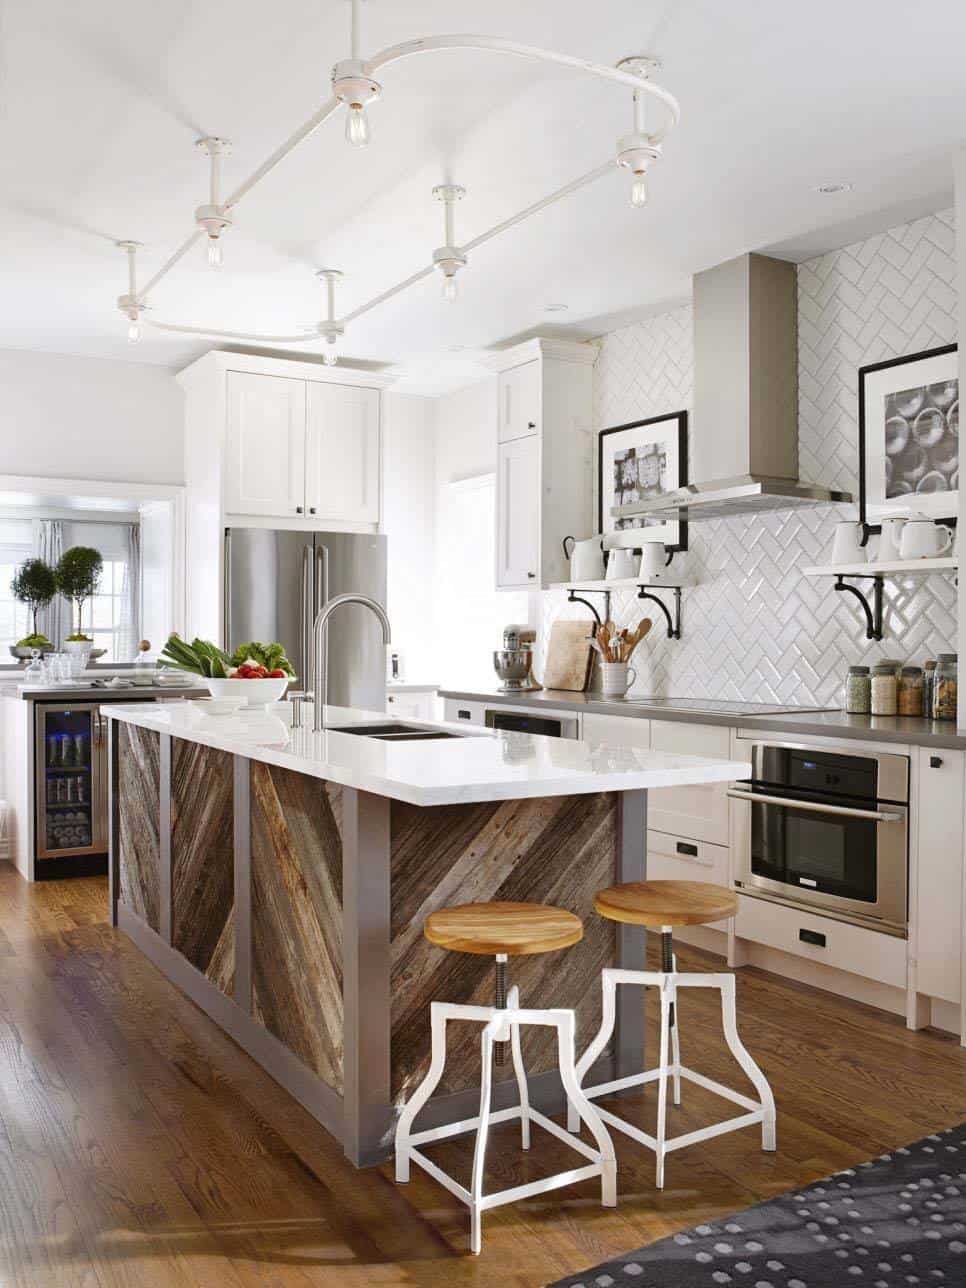
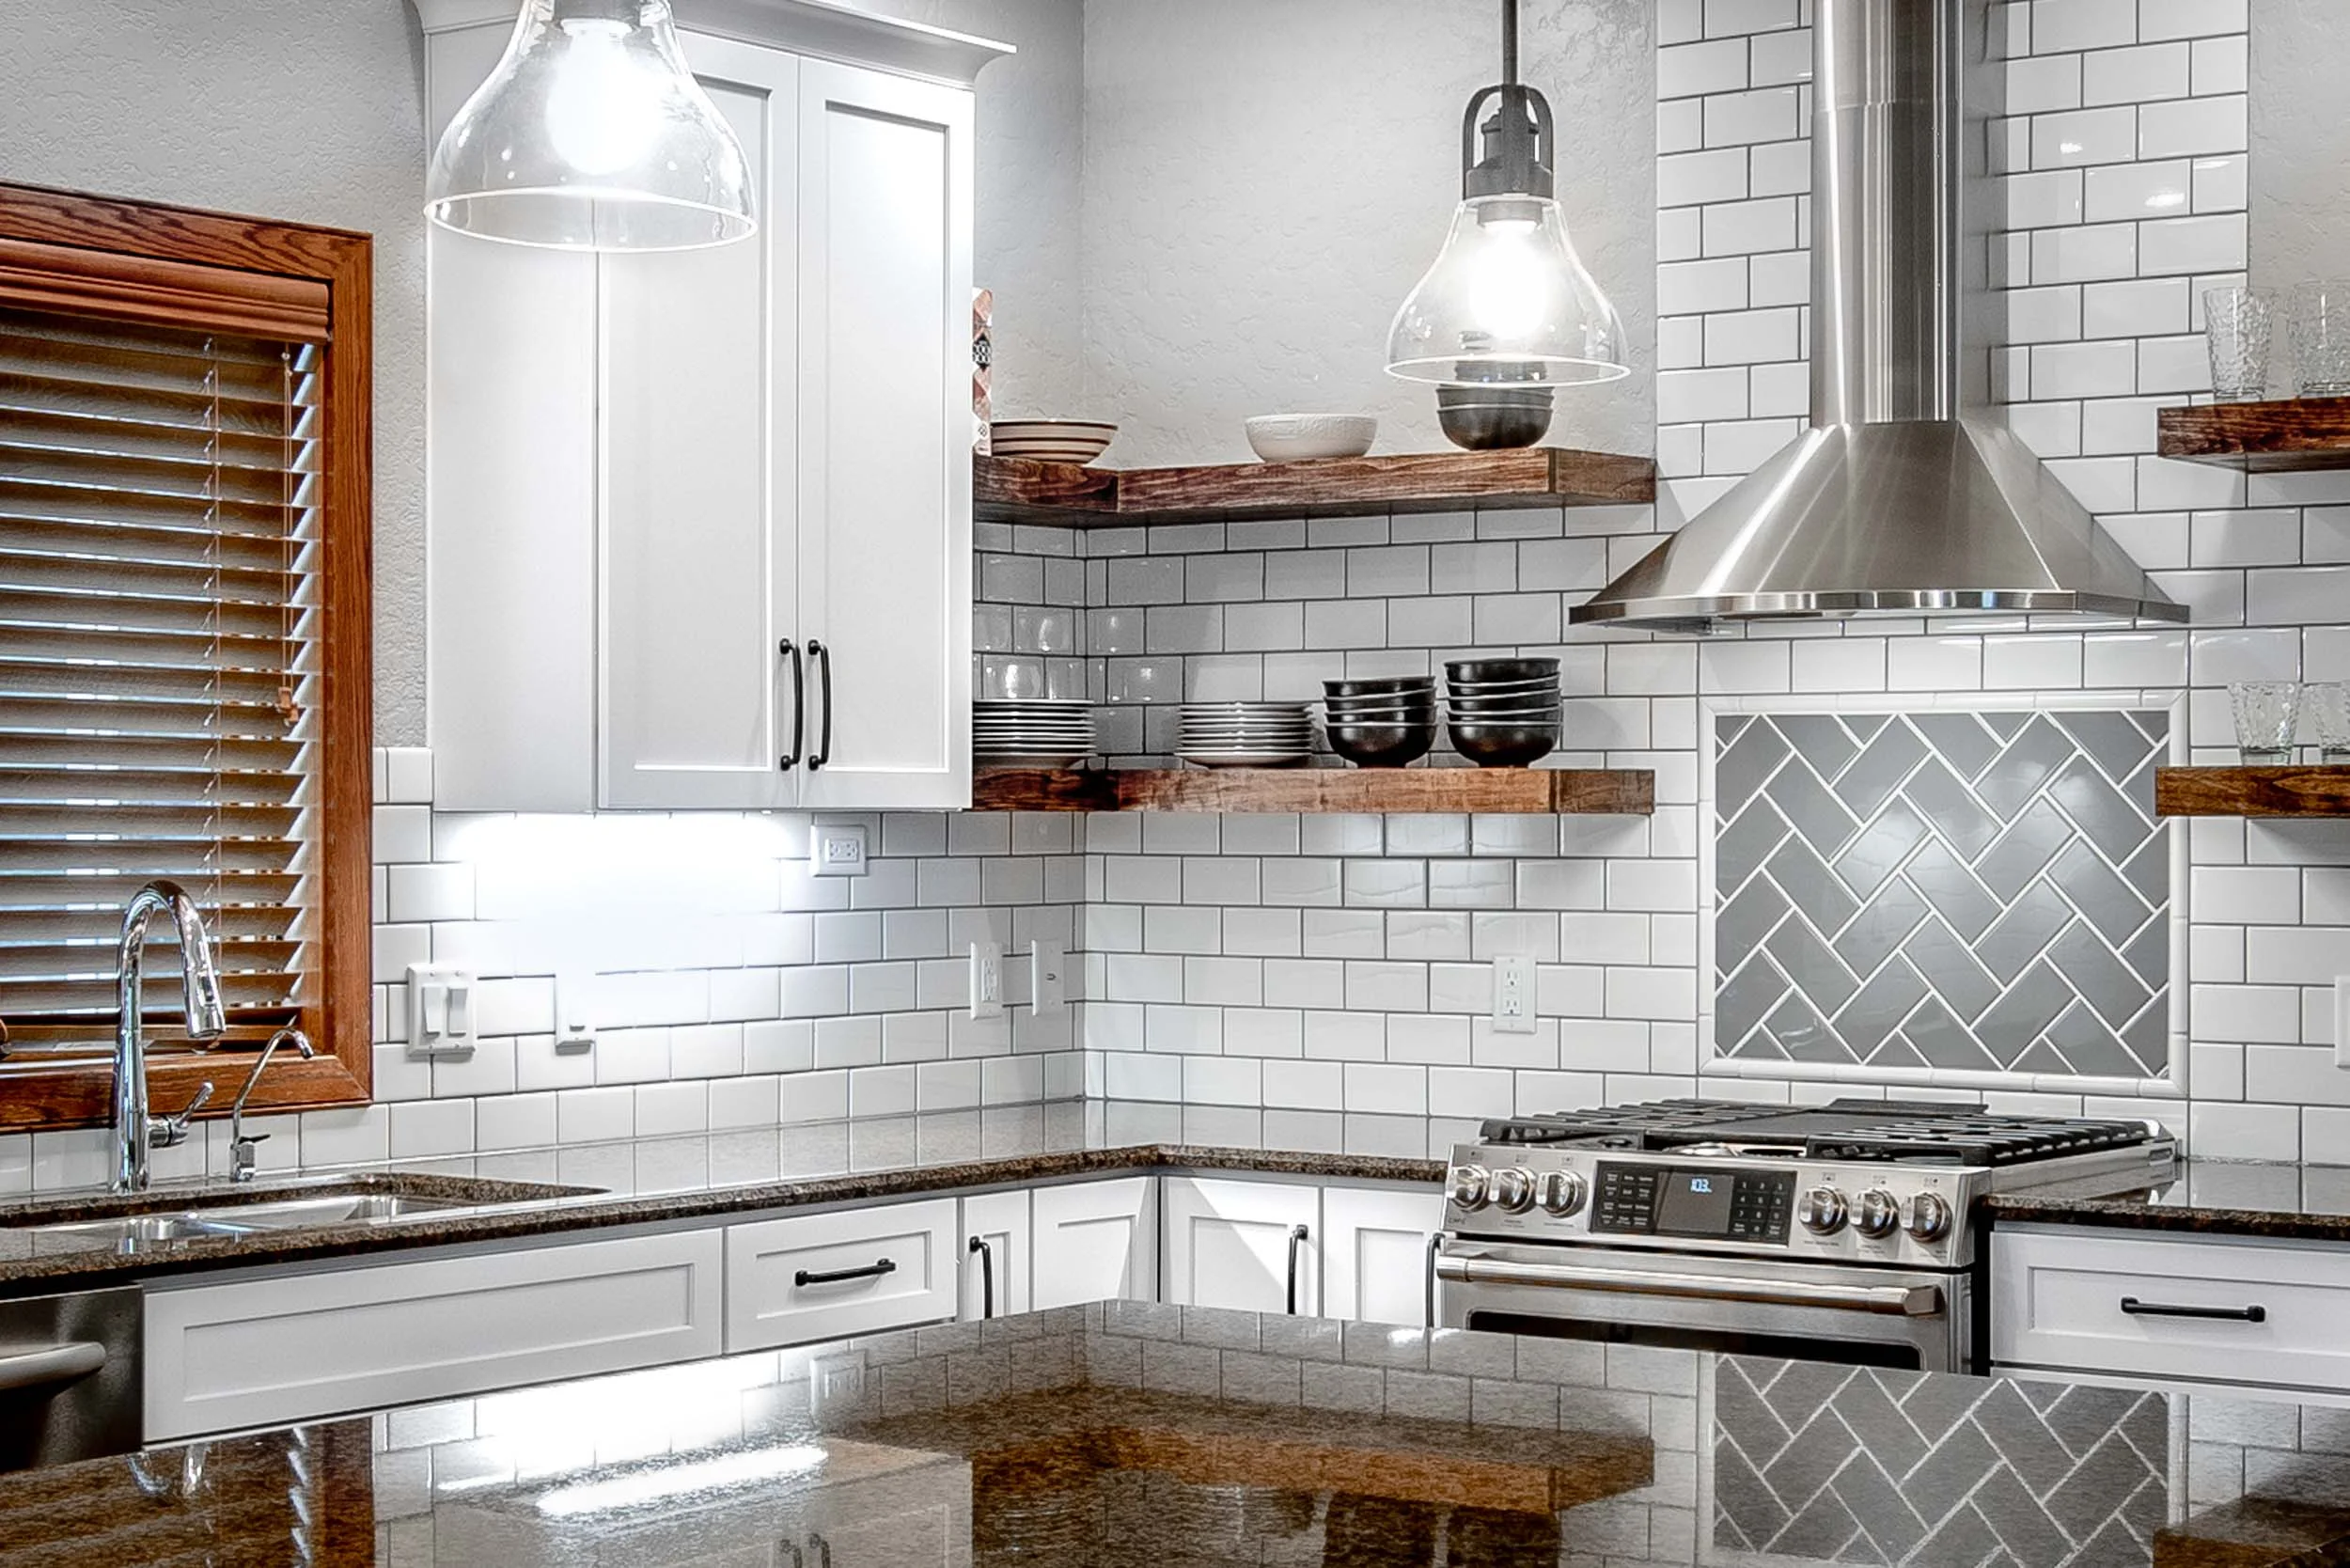
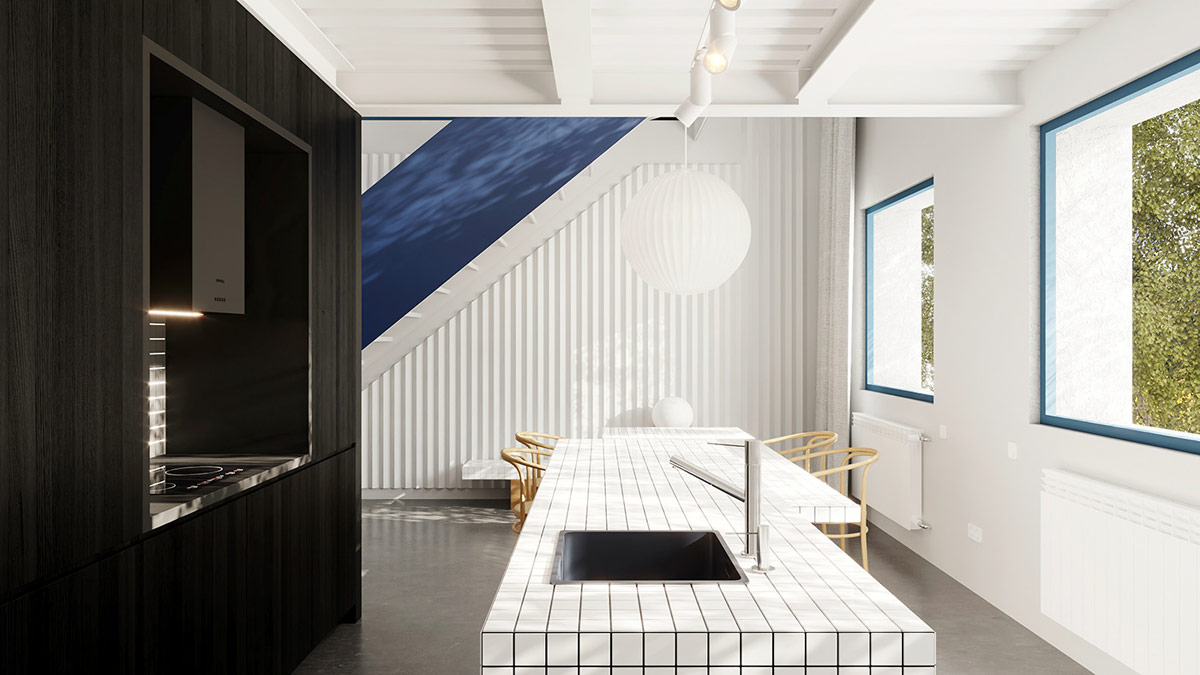
When it comes to renovating a kitchen, one of the most important areas to consider is the kitchen island. Not only does it serve as a functional workspace, but it also adds aesthetic appeal to the overall design. And one of the best ways to enhance the look of your kitchen island is by tiling the wall behind it. But before you dive into the tiling process, it's important to follow some essential steps to ensure a successful outcome. Here's a step-by-step guide on how to tile your kitchen island wall: Gather Your Materials: The first step is to gather all the necessary materials for tiling, including tiles, adhesive, grout, tile cutter, spacers, and a notched trowel. Make sure to choose high-quality materials to achieve a long-lasting and professional look. Prepare the Wall: Before tiling, it's crucial to prepare the wall surface. This includes cleaning it thoroughly and removing any debris or old tiles. If the wall is uneven, you may need to apply a layer of self-leveling compound to create a smooth and level surface. Measure and Mark: Use a measuring tape and a level to mark the area where you'll be tiling. This will help ensure that your tiles are evenly spaced and aligned. Apply Adhesive: Using a notched trowel, apply a layer of adhesive to the wall. Make sure to only spread enough adhesive for a few tiles at a time to prevent it from drying out. Place the Tiles: Carefully place the tiles onto the adhesive, using spacers to create even gaps between them. Make sure to press the tiles firmly into the adhesive to ensure a secure bond. Cut Tiles: If you need to cut any tiles to fit around corners or outlets, use a tile cutter or a wet saw. Always wear safety goggles when cutting tiles. Grout the Tiles: Once the tiles are set in place, it's time to grout. Mix the grout according to the manufacturer's instructions and use a grout float to fill the gaps between the tiles. After a few minutes, use a damp sponge to wipe away any excess grout. Seal the Grout: To ensure the longevity of your tiled kitchen island wall, it's important to seal the grout. This will help prevent stains and moisture from seeping in and damaging the tiles. Clean Up: Once the grout has dried, remove the spacers and use a damp cloth to wipe away any residue on the tiles. Let the tiles dry completely before using your newly tiled kitchen island. By following these steps, you can easily tile your kitchen island wall and give your kitchen a fresh and stylish look that will last for years to come.1. Tiling a Kitchen Island Wall: A Step-by-Step Guide
/gray-white-colored-kitchen-5658250b-37f14b71bd6a4b9fab49baddf8d4bb90.jpg)
1. Tiling a Kitchen Island Wall: A Step-by-Step Guide


/DesignWorks-baf347a8ce734ebc8d039f07f996743a.jpg)


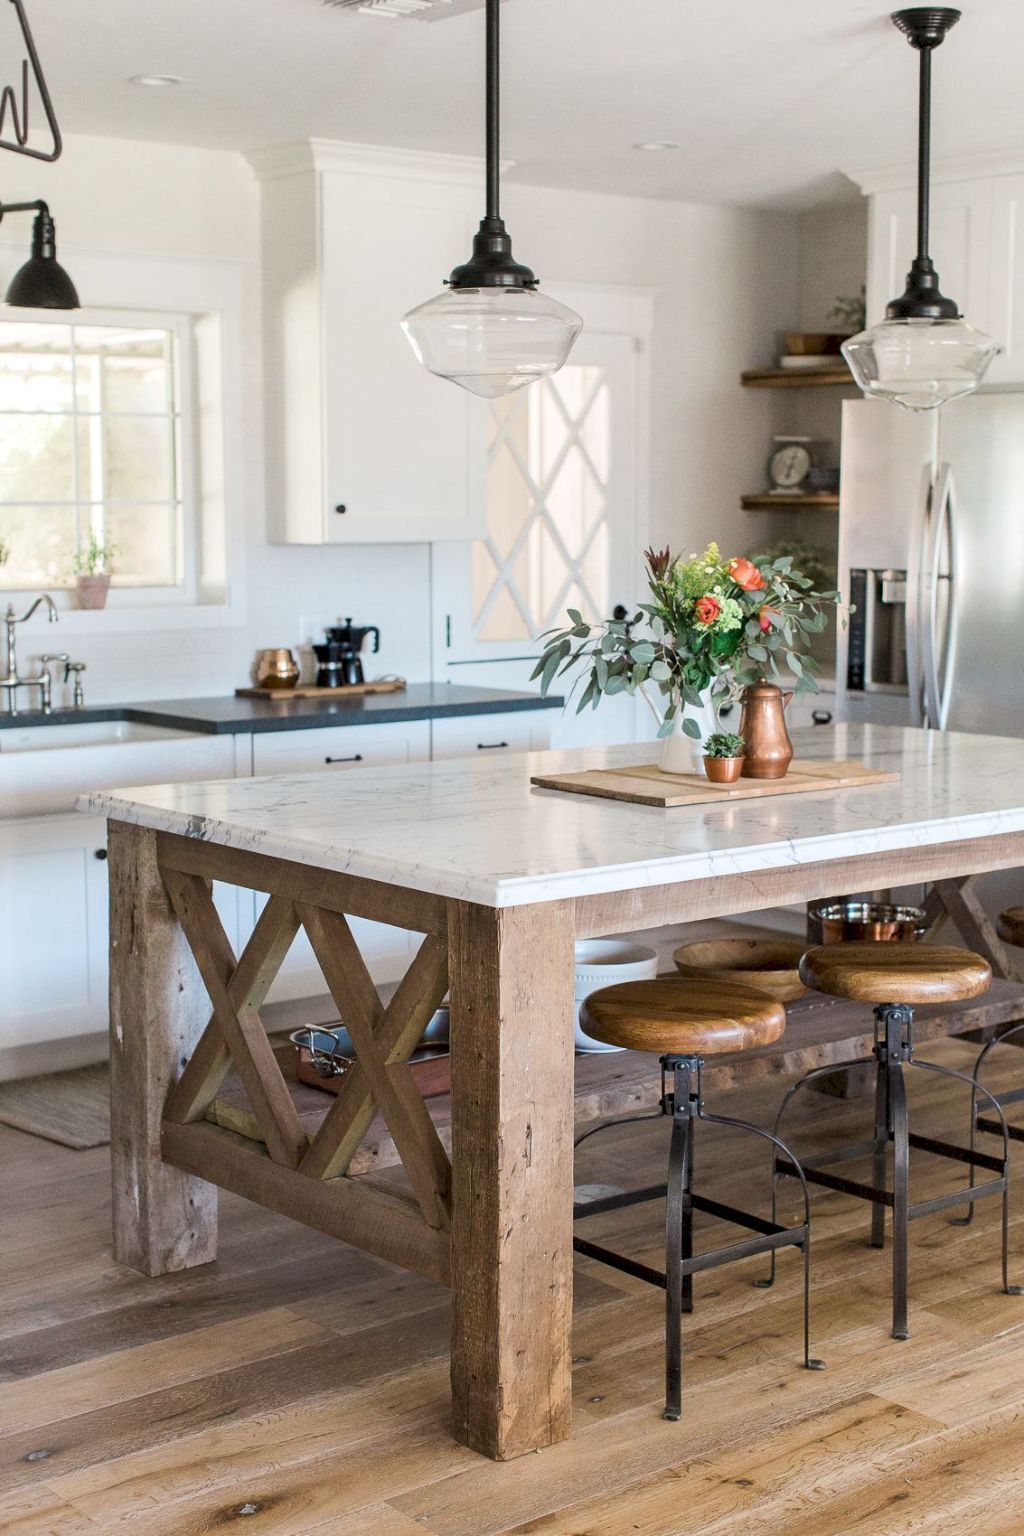
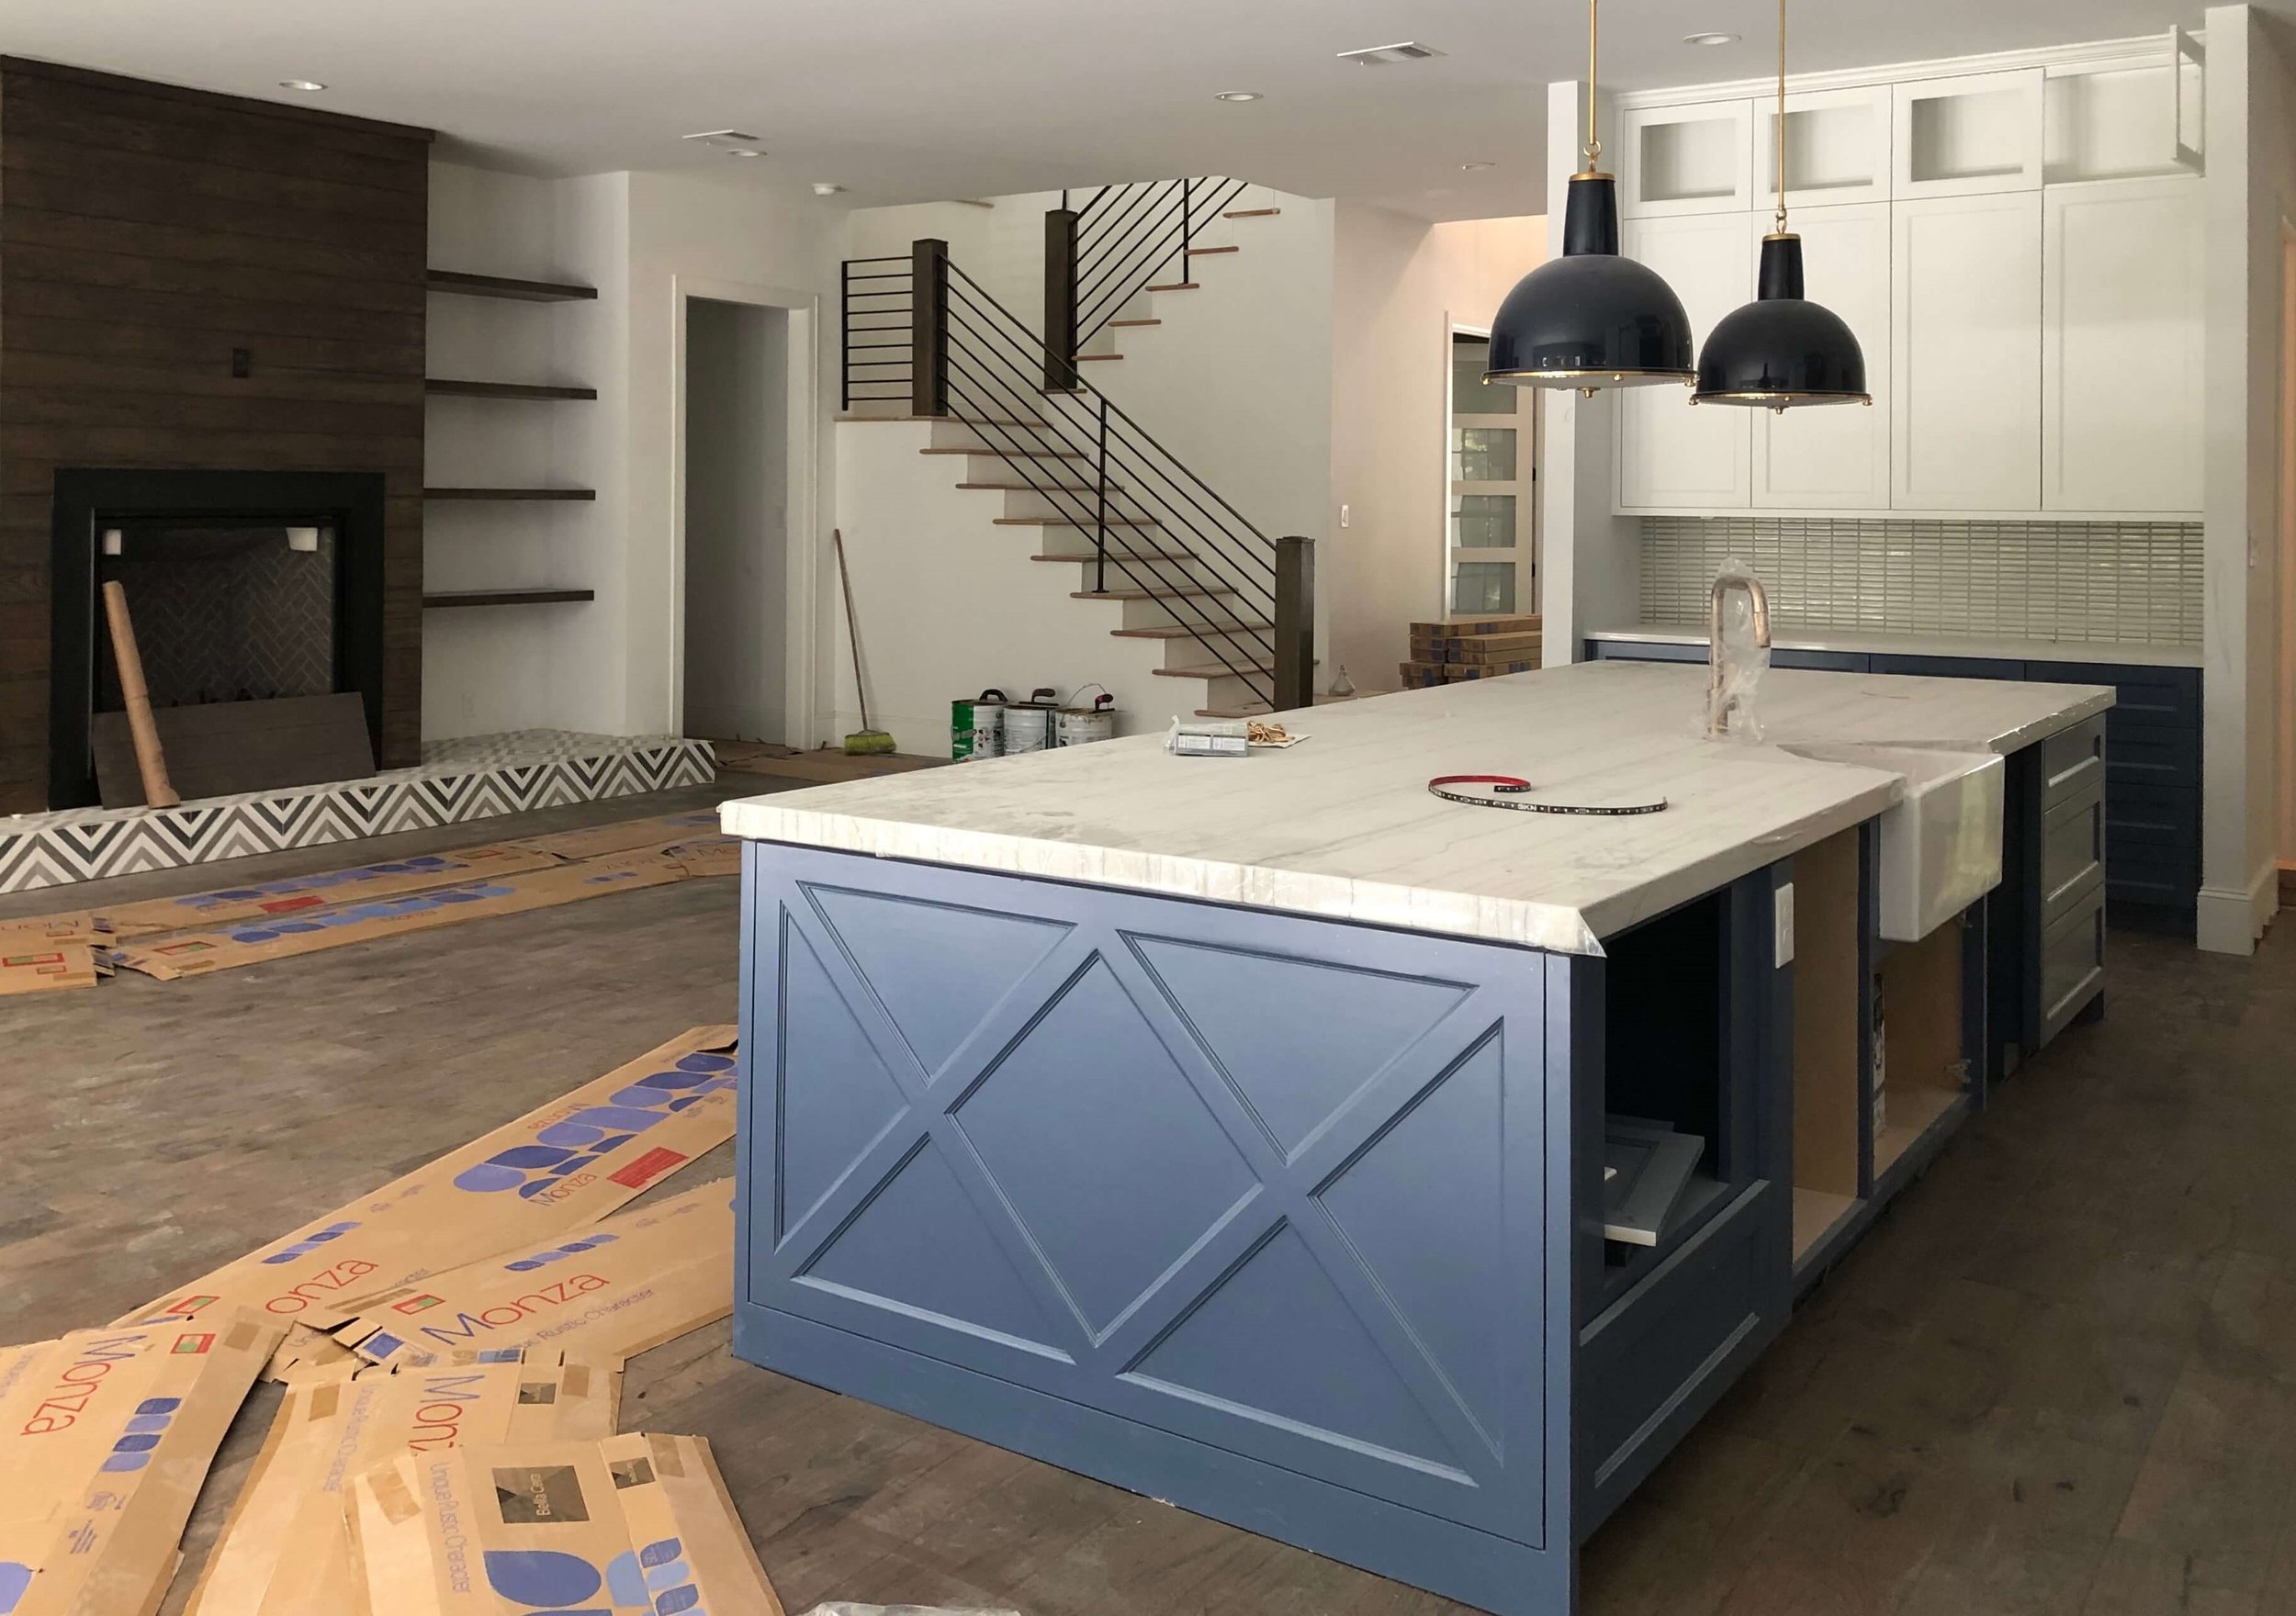
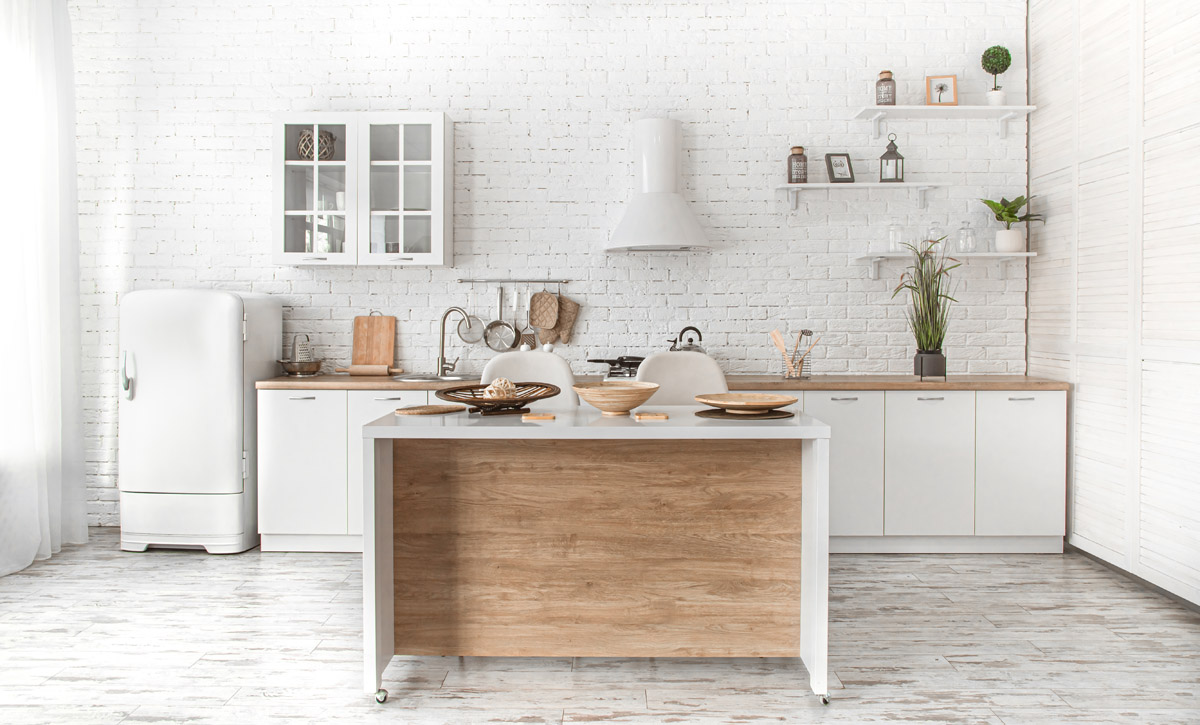
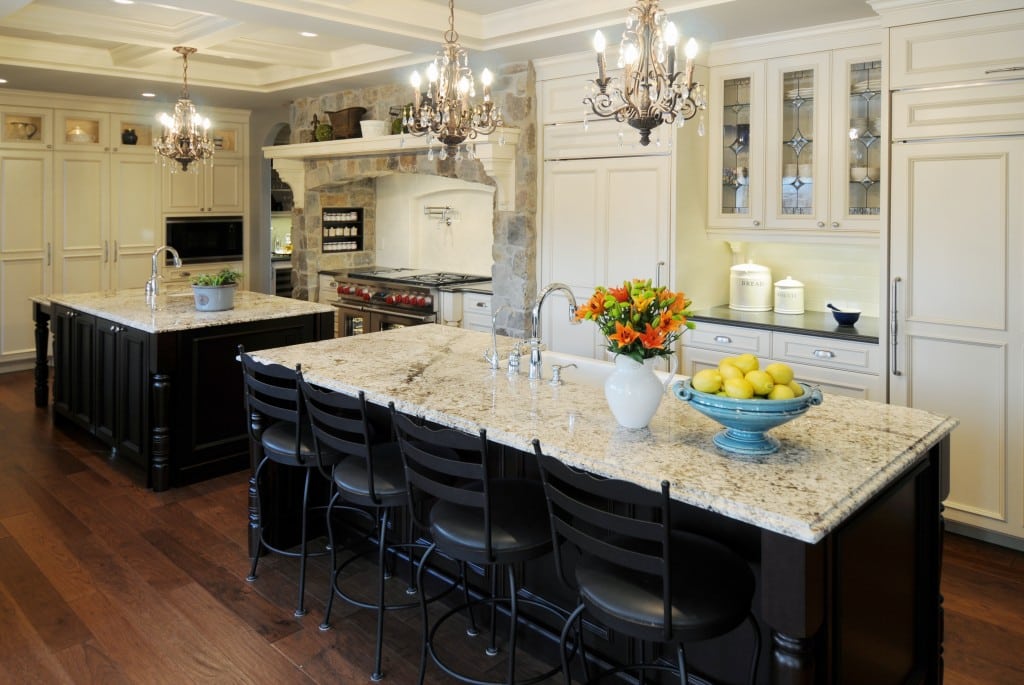
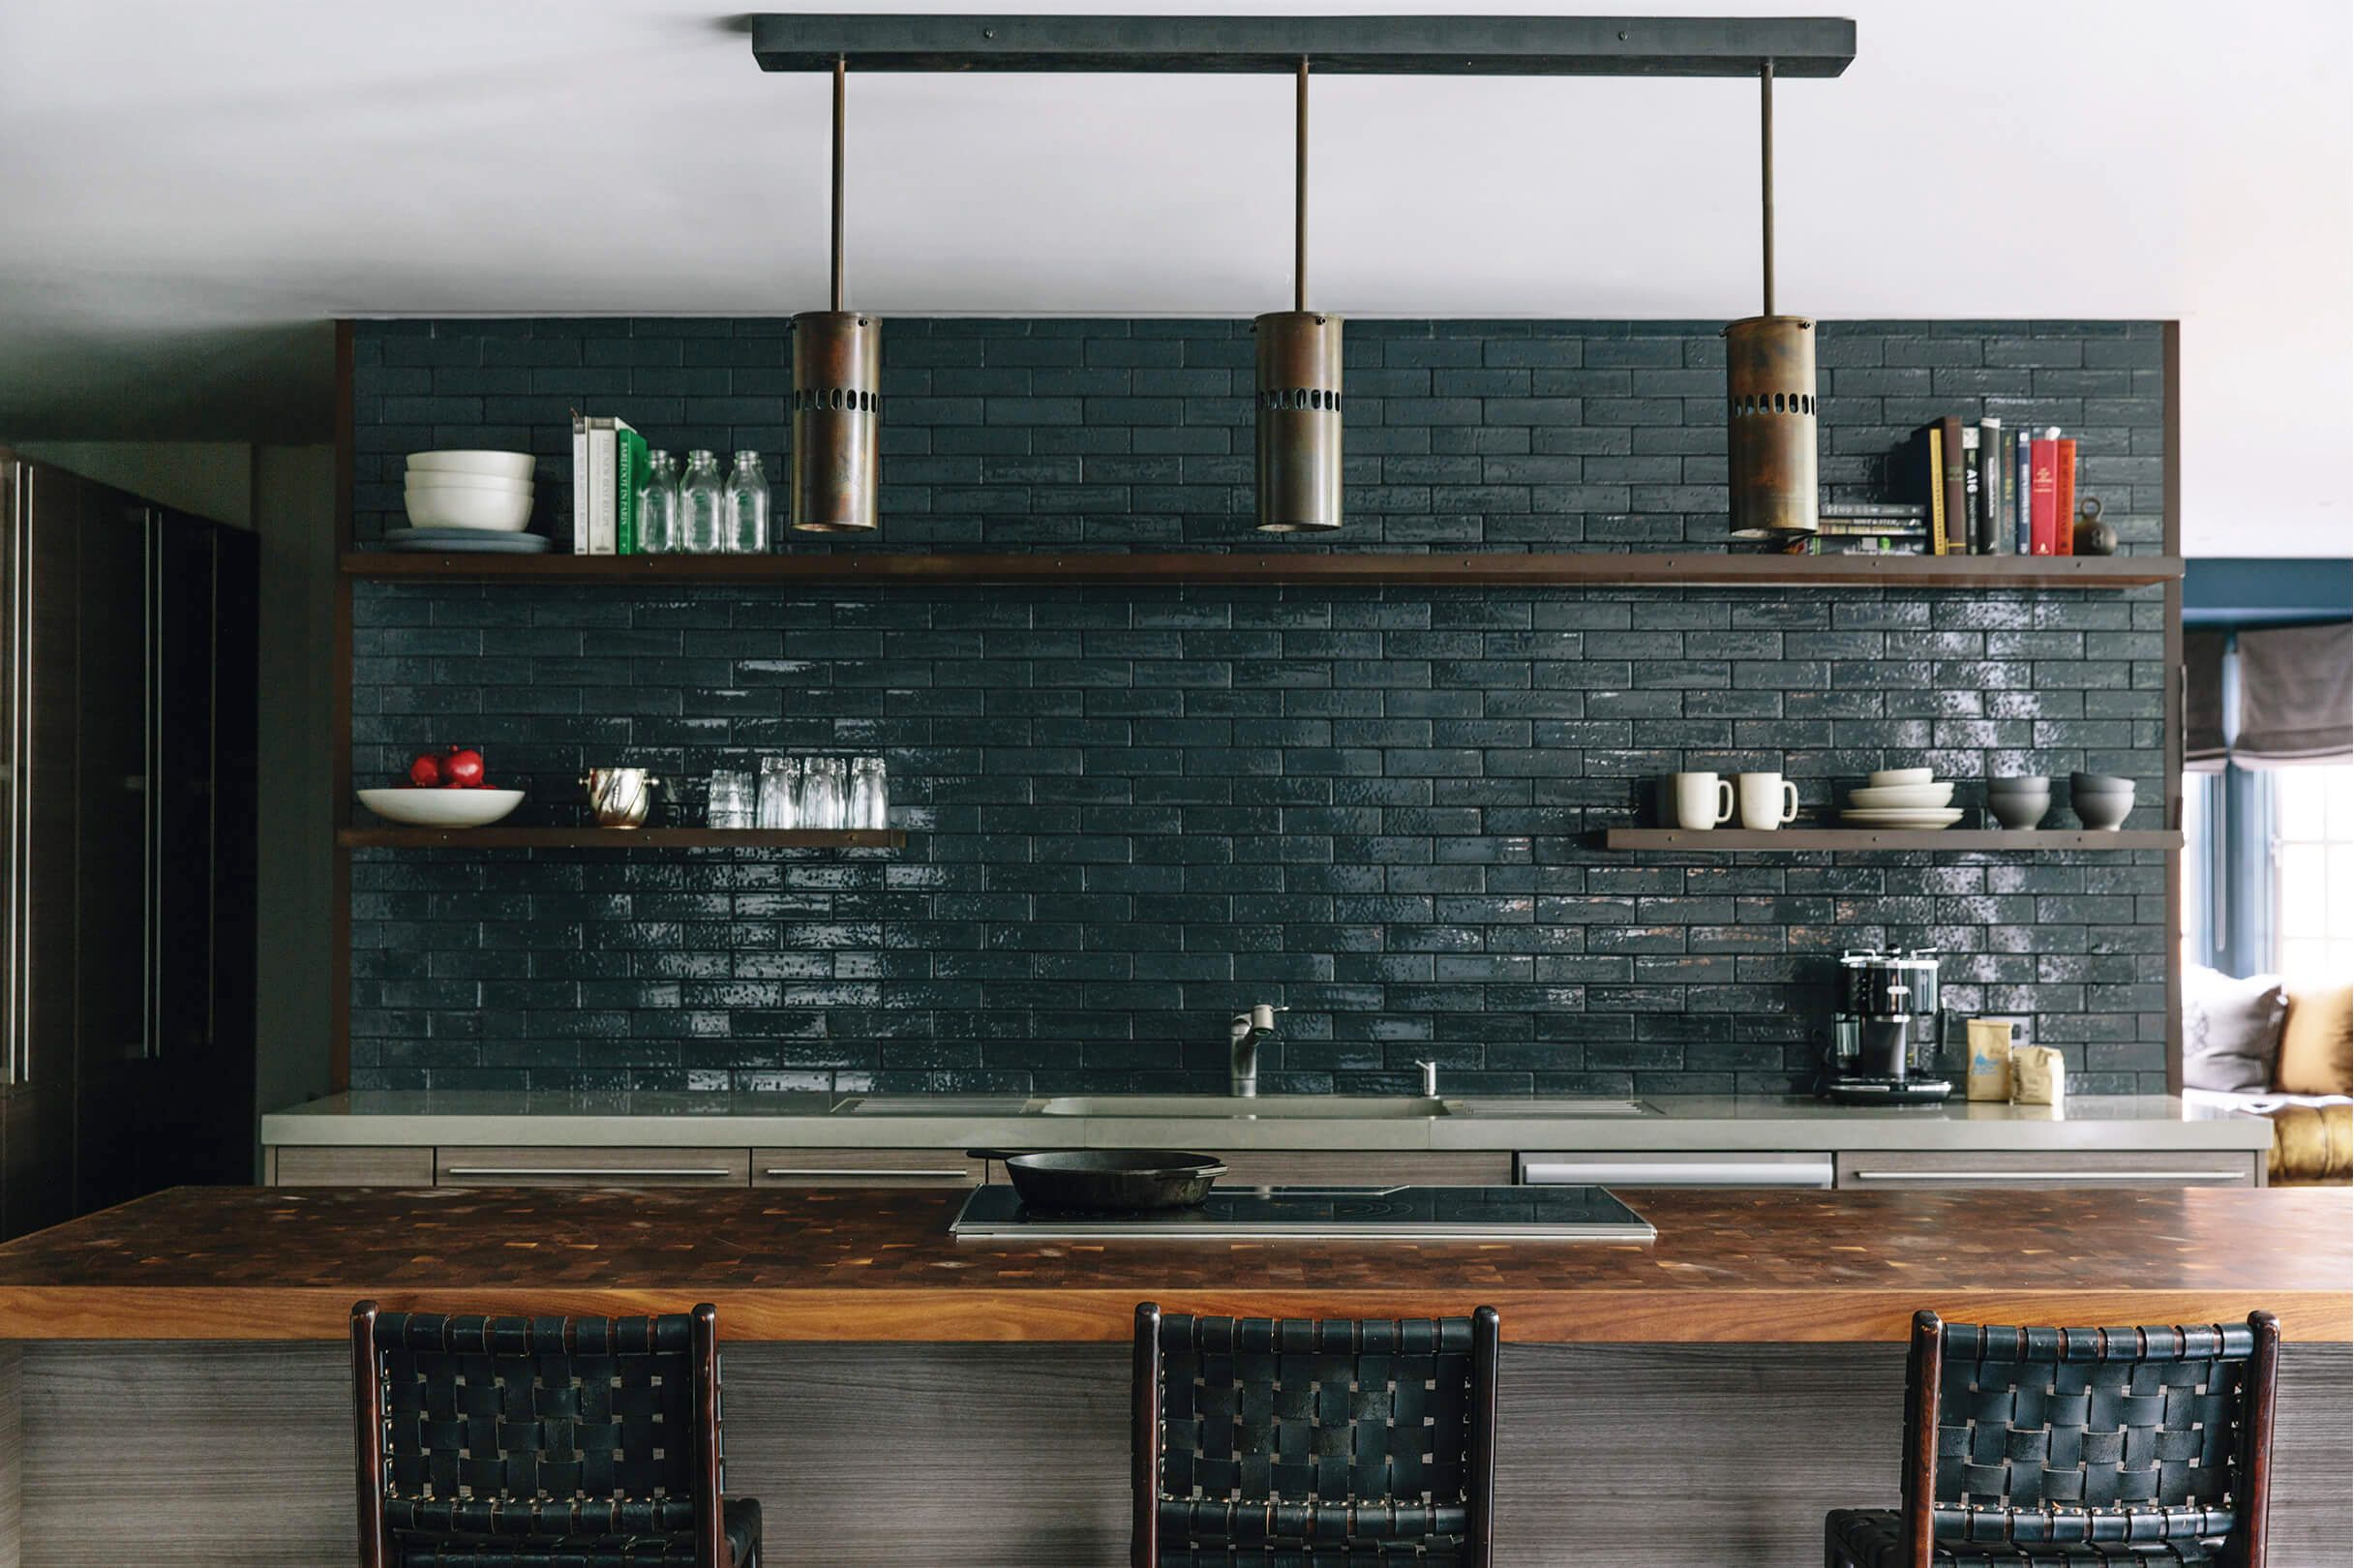
Choosing the right tiles for your kitchen island wall can seem like a daunting task, with so many options available in the market. Here are some tips to help you select the perfect tiles for your kitchen island: Consider the Style: The first step is to consider the overall style of your kitchen. If you have a modern kitchen, you may want to opt for sleek and minimalistic tiles, while a traditional kitchen may benefit from more intricate and decorative tiles. Think About Maintenance: When choosing tiles for your kitchen island, it's essential to consider maintenance. Porcelain and ceramic tiles are easy to clean and maintain, while natural stone may require more regular sealing and maintenance. Size and Shape: The size and shape of your tiles can have a significant impact on the overall look of your kitchen island wall. Larger tiles can make a small kitchen appear more spacious, while smaller tiles can add texture and interest to a larger kitchen. Color and Pattern: The color and pattern of your tiles should complement the rest of your kitchen. Consider the color of your cabinets, countertops, and backsplash when choosing the color and pattern of your kitchen island wall tiles. Durability: Kitchen islands are high-traffic areas, so it's crucial to choose tiles that are durable and can withstand spills, scratches, and other wear and tear. Porcelain and ceramic tiles are known for their durability, making them a popular choice for kitchen island walls. By keeping these factors in mind, you can select the perfect tiles for your kitchen island wall that not only look great but also fit your lifestyle and maintenance needs.2. How to Choose the Right Tiles for Your Kitchen Island Wall


2. How to Choose the Right Tiles for Your Kitchen Island Wall
:max_bytes(150000):strip_icc()/DesignWorks-0de9c744887641aea39f0a5f31a47dce.jpg)


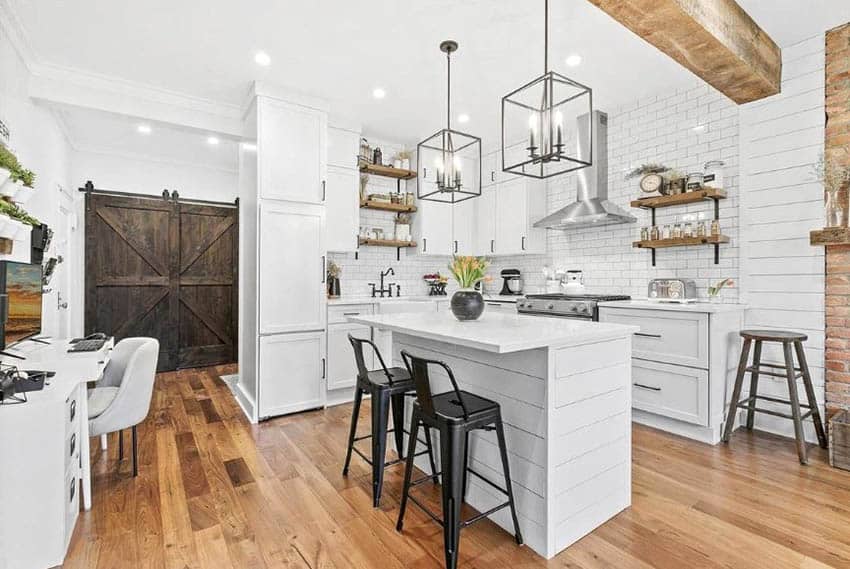
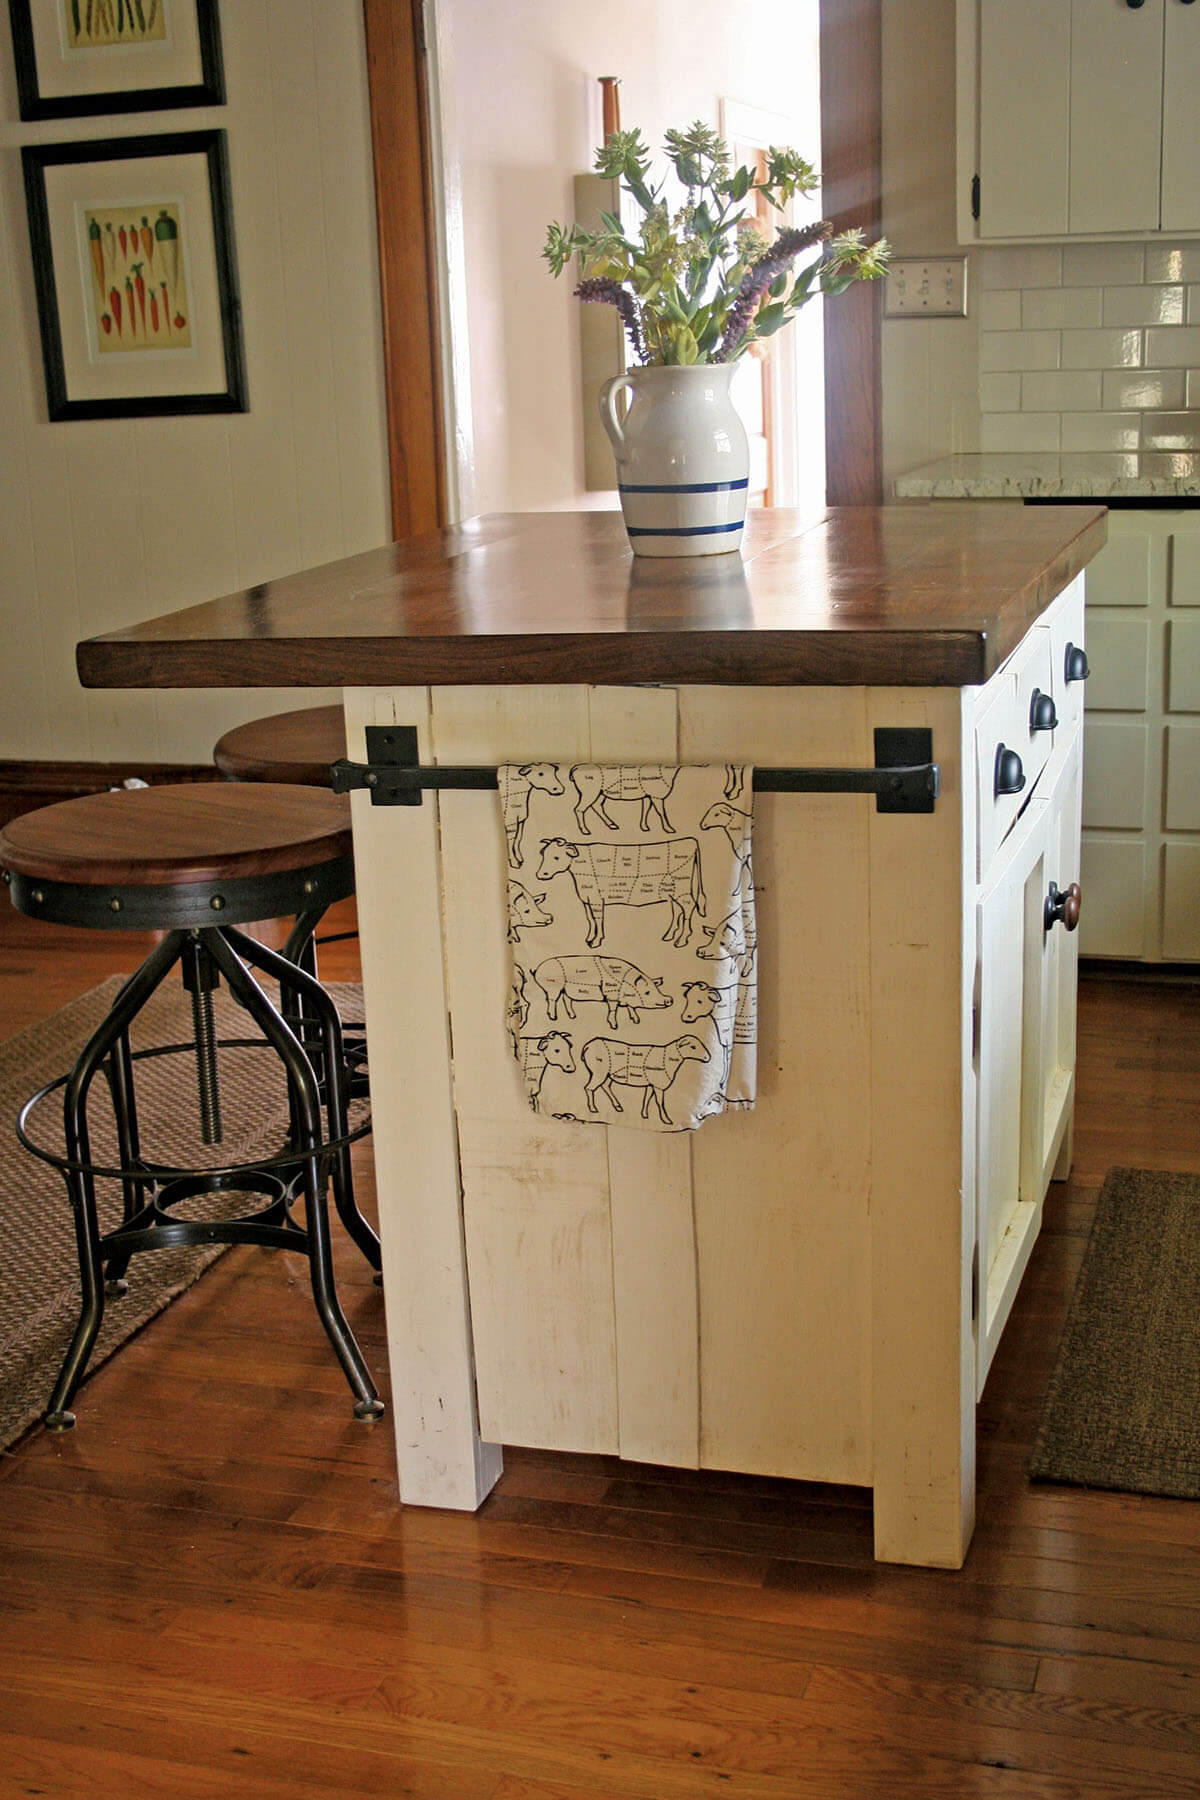
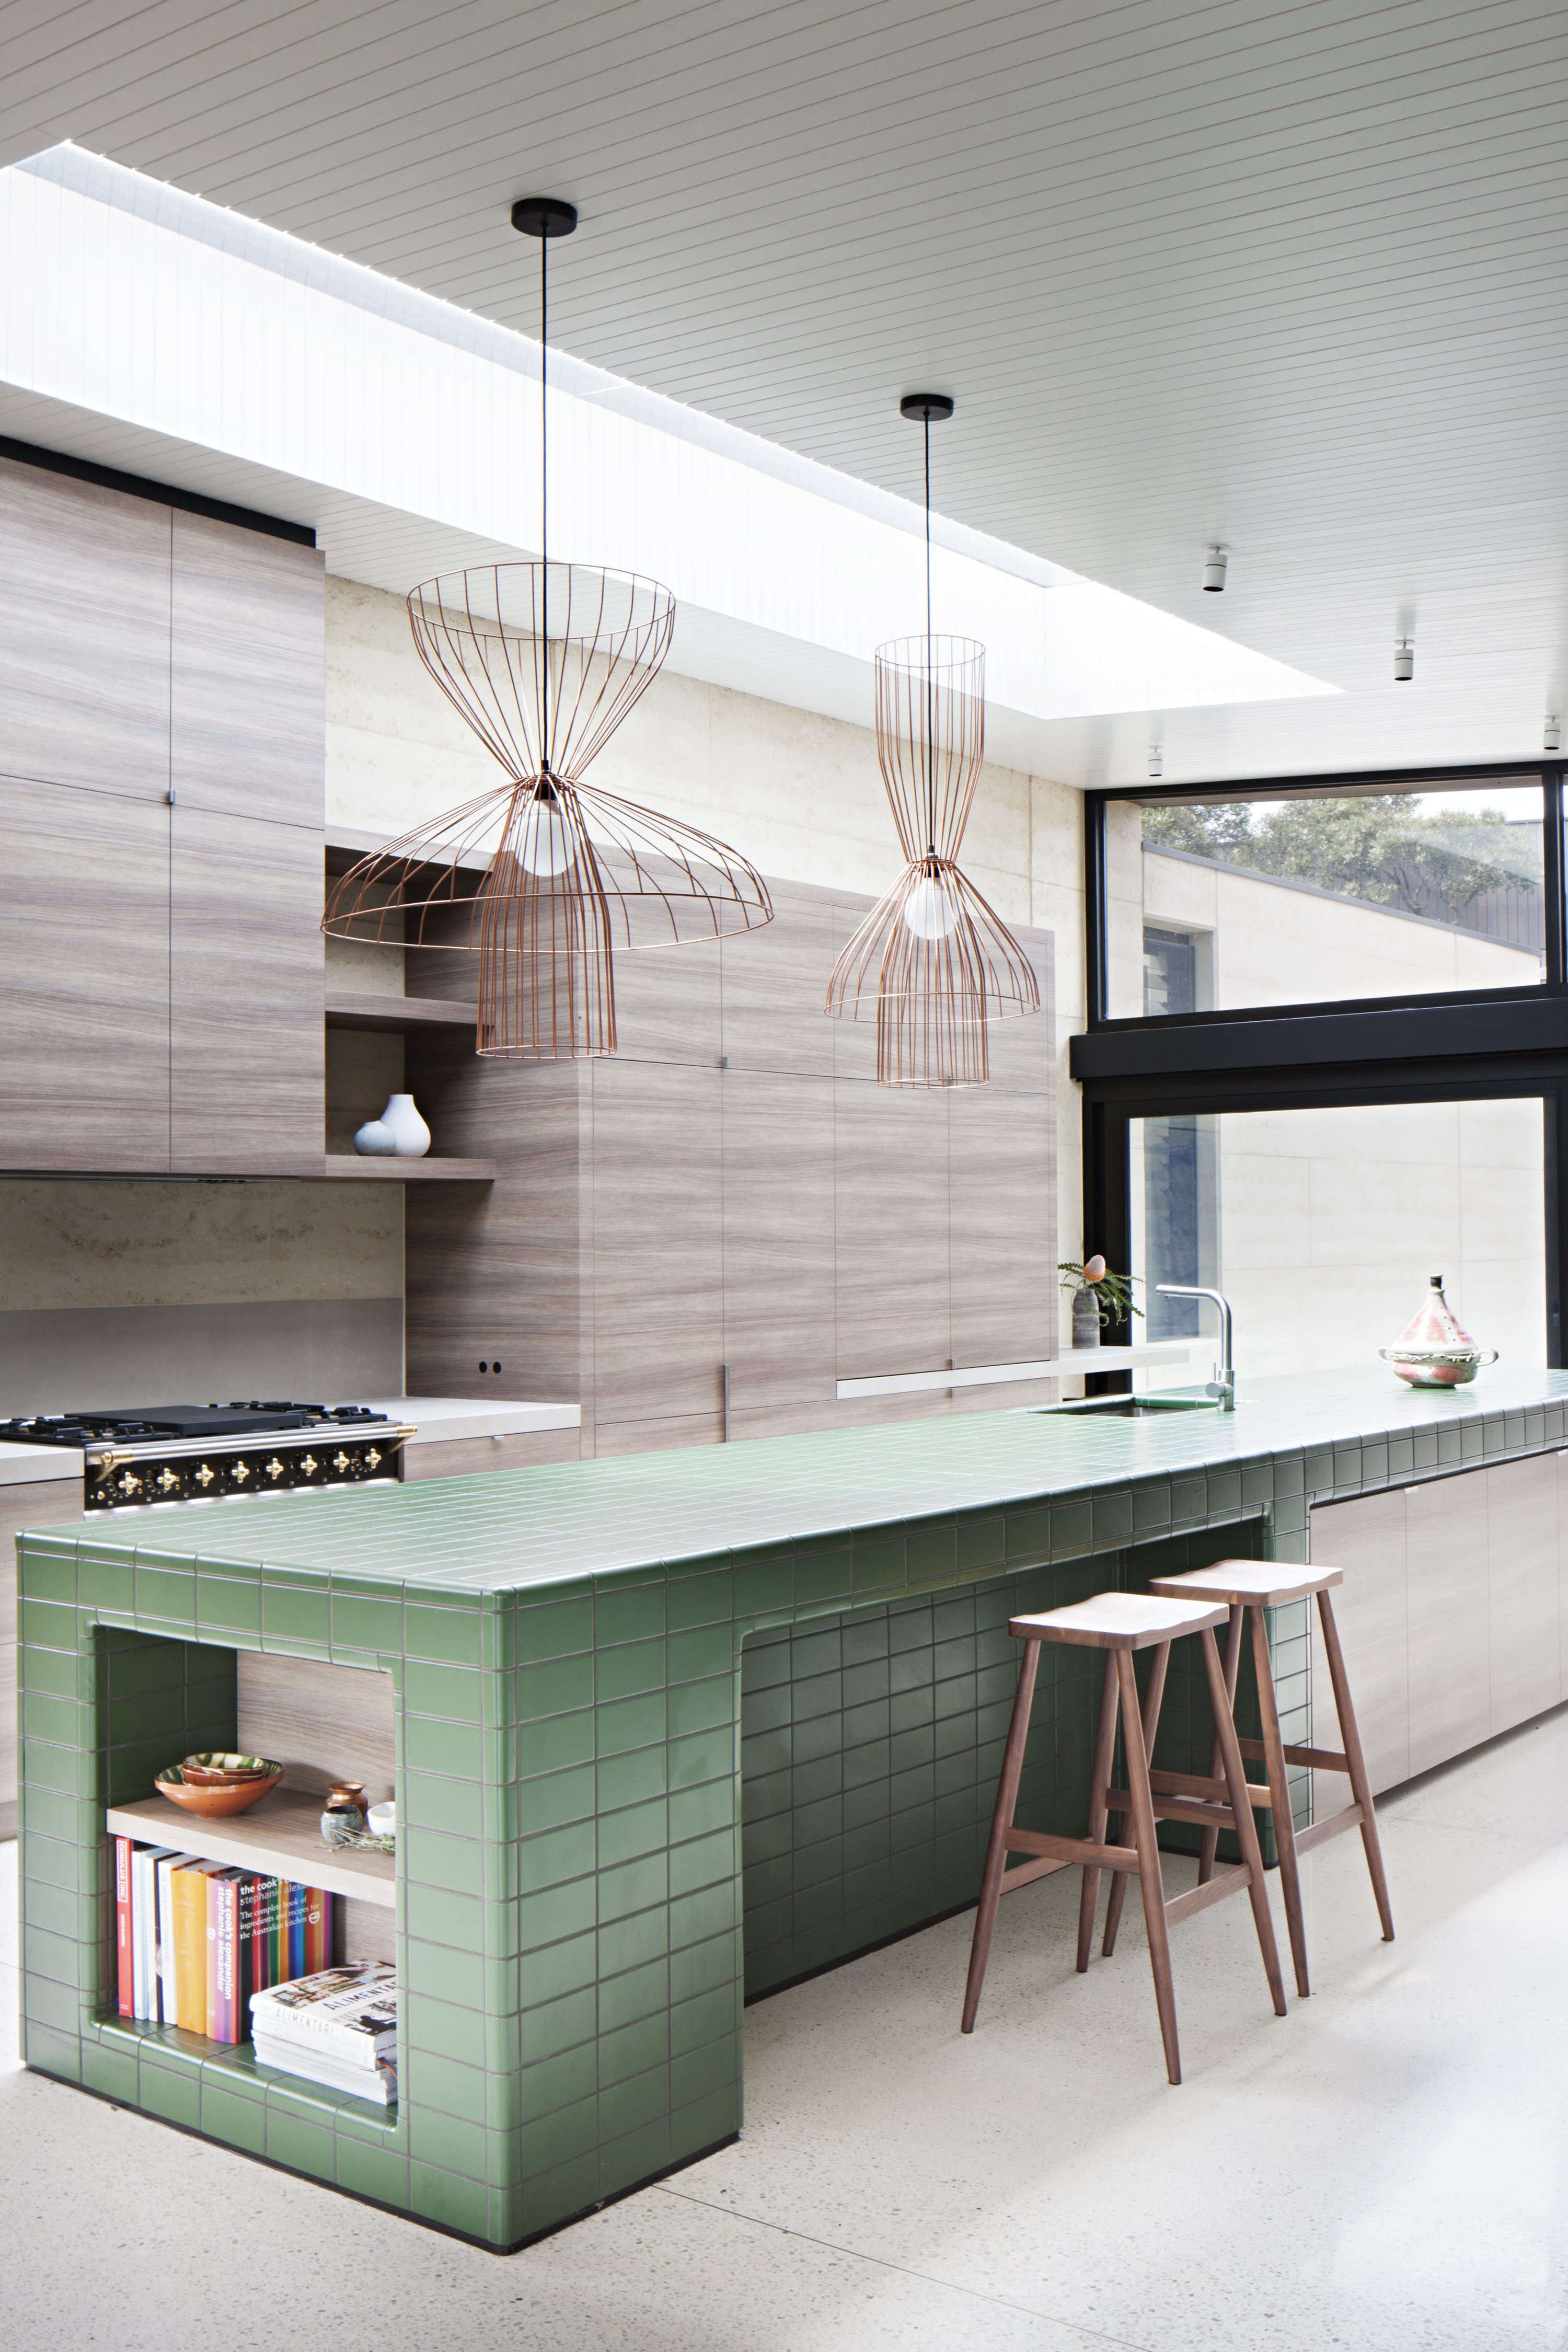
Tiling your kitchen island wall doesn't have to be a basic and straightforward process. In fact, there are many creative ways to add interest and style to your kitchen island with tiles. Here are some ideas to inspire you: Mosaic Tiles: Mosaic tiles are an excellent option for adding a pop of color and texture to your kitchen island. You can choose from a variety of materials, such as glass, porcelain, or natural stone, and create a unique and eye-catching design. Subway Tiles: Subway tiles are a classic and timeless choice for kitchen island walls. They come in various colors and can be arranged in different patterns, such as herringbone or stacked, to add a modern twist. Metallic Tiles: For a touch of glamour and luxury, consider using metallic tiles on your kitchen island wall. These tiles come in various finishes, such as copper, gold, or silver, and can add a beautiful shine to your kitchen. Faux Stone Tiles: If you love the look of natural stone but don't want the maintenance, consider using faux stone tiles on your kitchen island wall. These tiles mimic the look of natural stone but are easier to maintain and more budget-friendly. Painted Tiles: Another creative idea for tiling your kitchen island wall is to use painted tiles. You can either buy pre-painted tiles or paint them yourself with stencils or freehand designs to add a personal touch to your kitchen island. With these ideas, you can transform your kitchen island into a work of art with the use of tiles.3. Creative Ideas for Tiling Your Kitchen Island Wall


3. Creative Ideas for Tiling Your Kitchen Island Wall


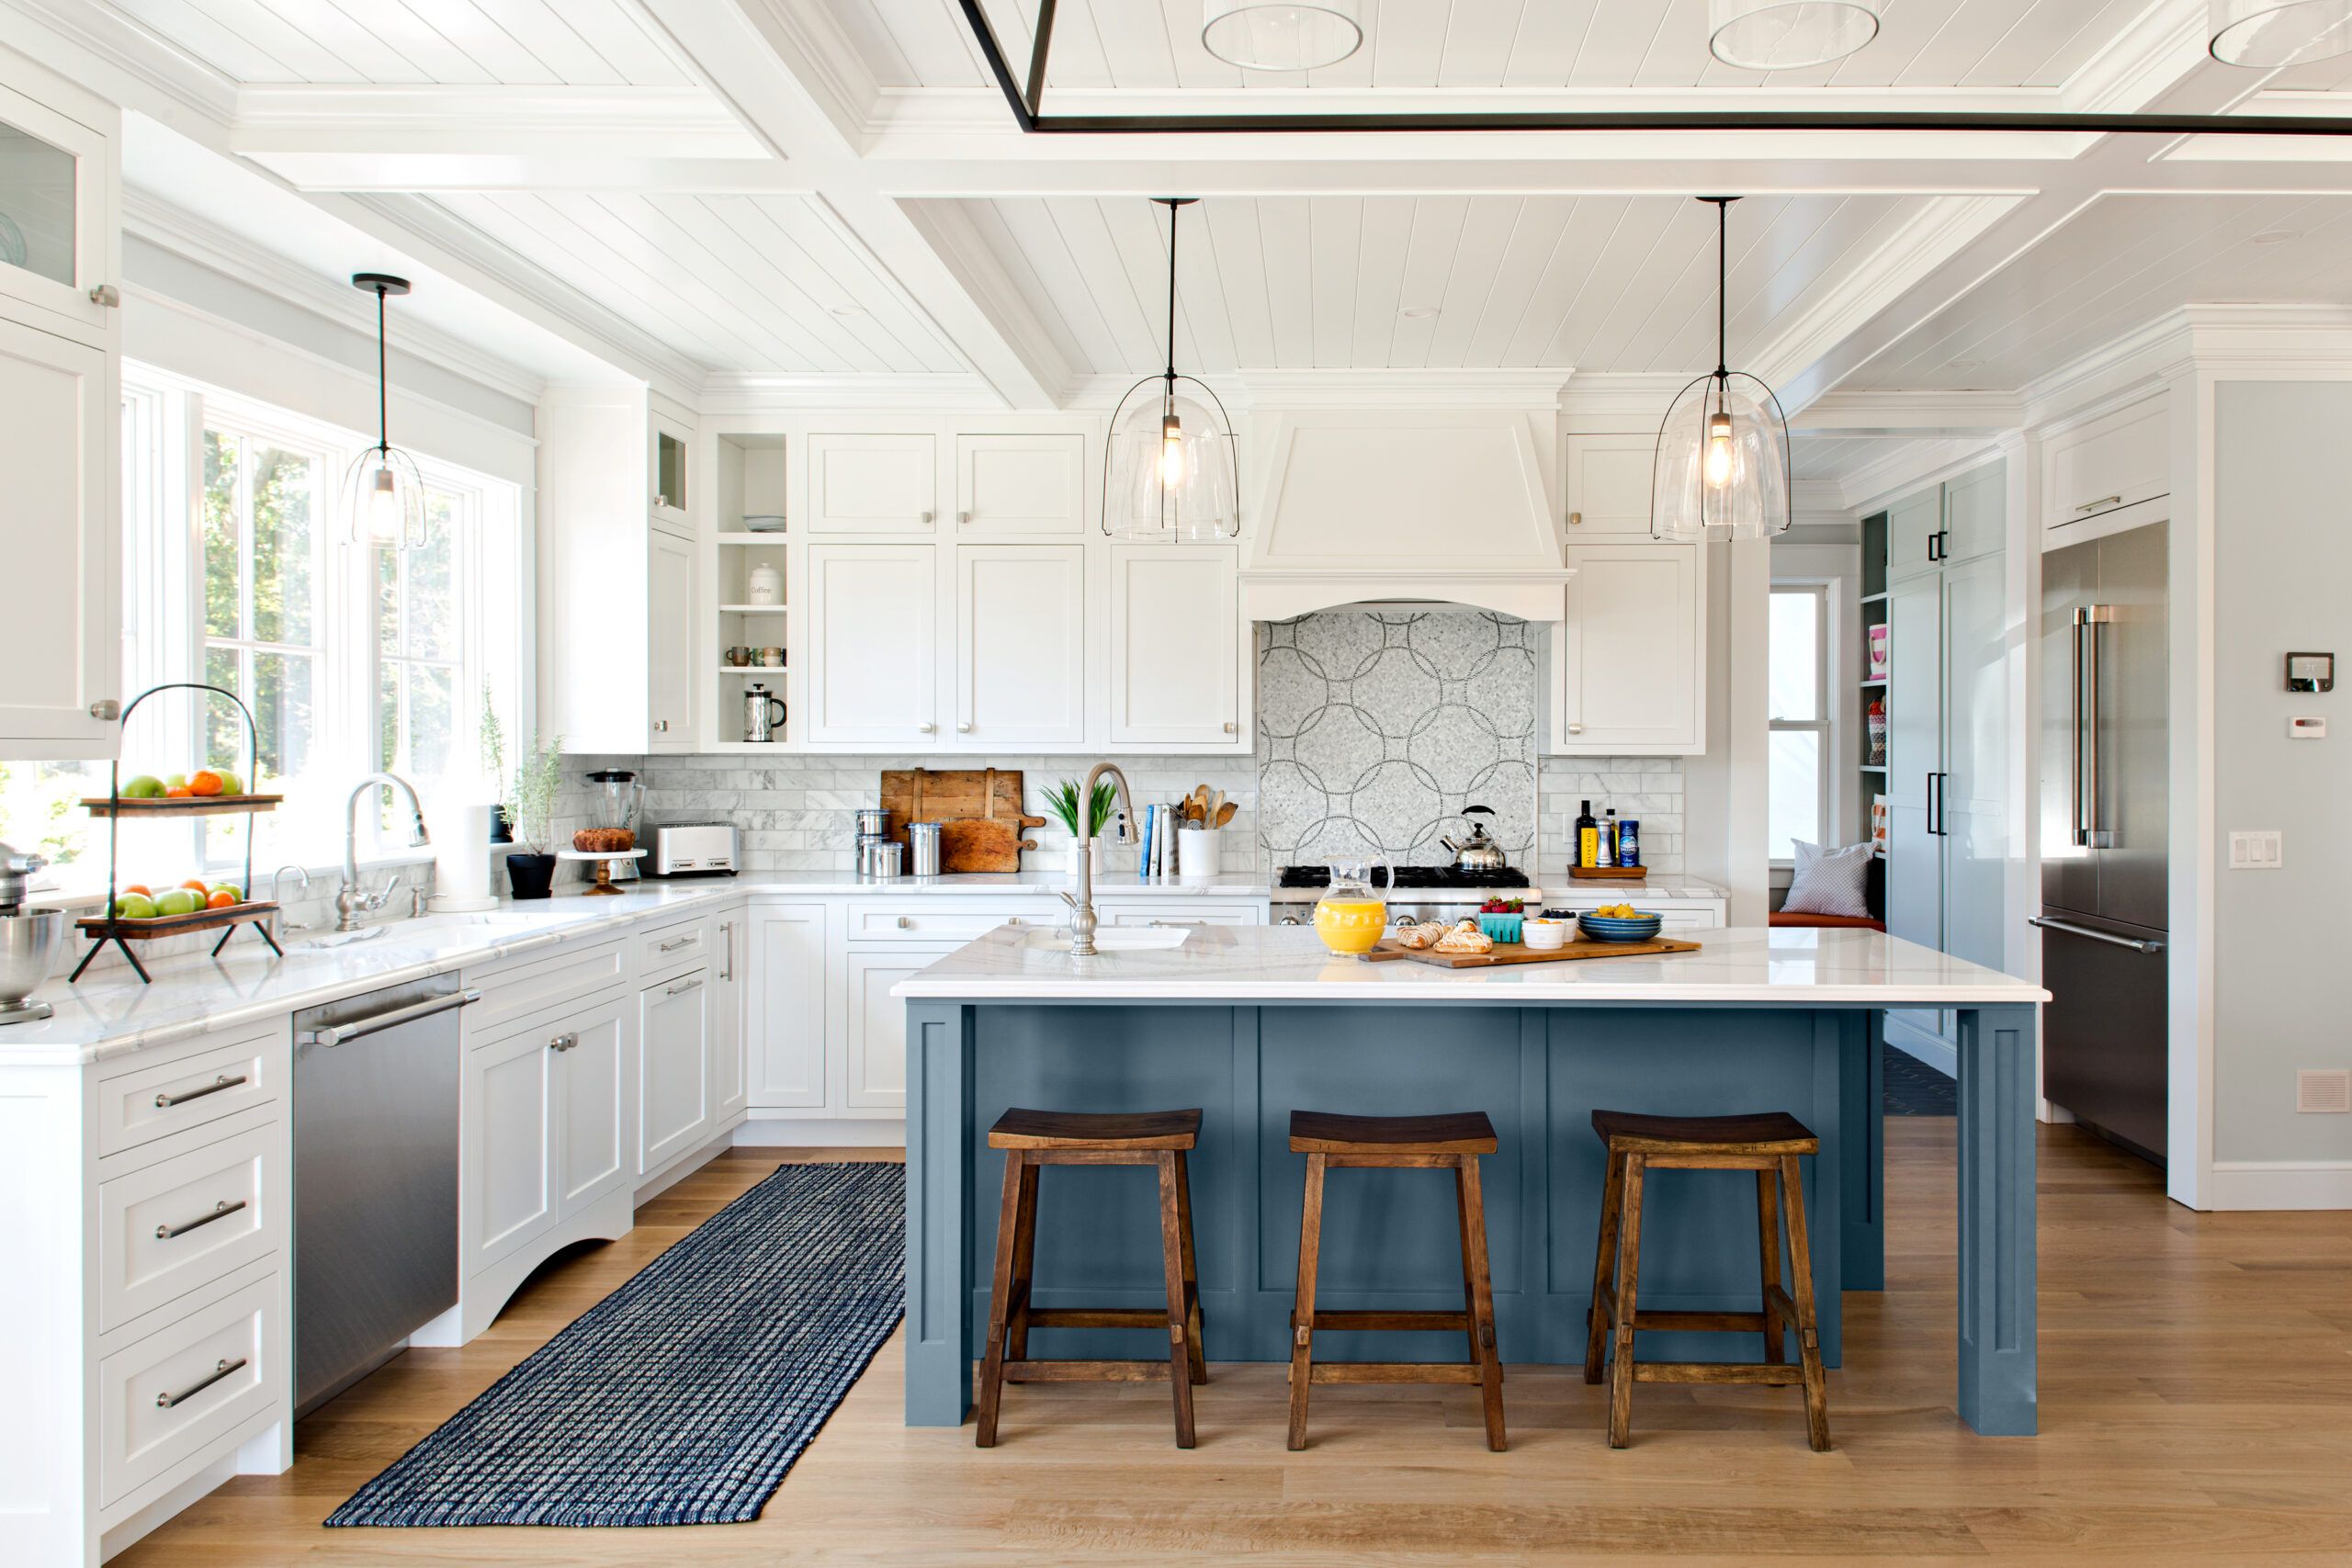
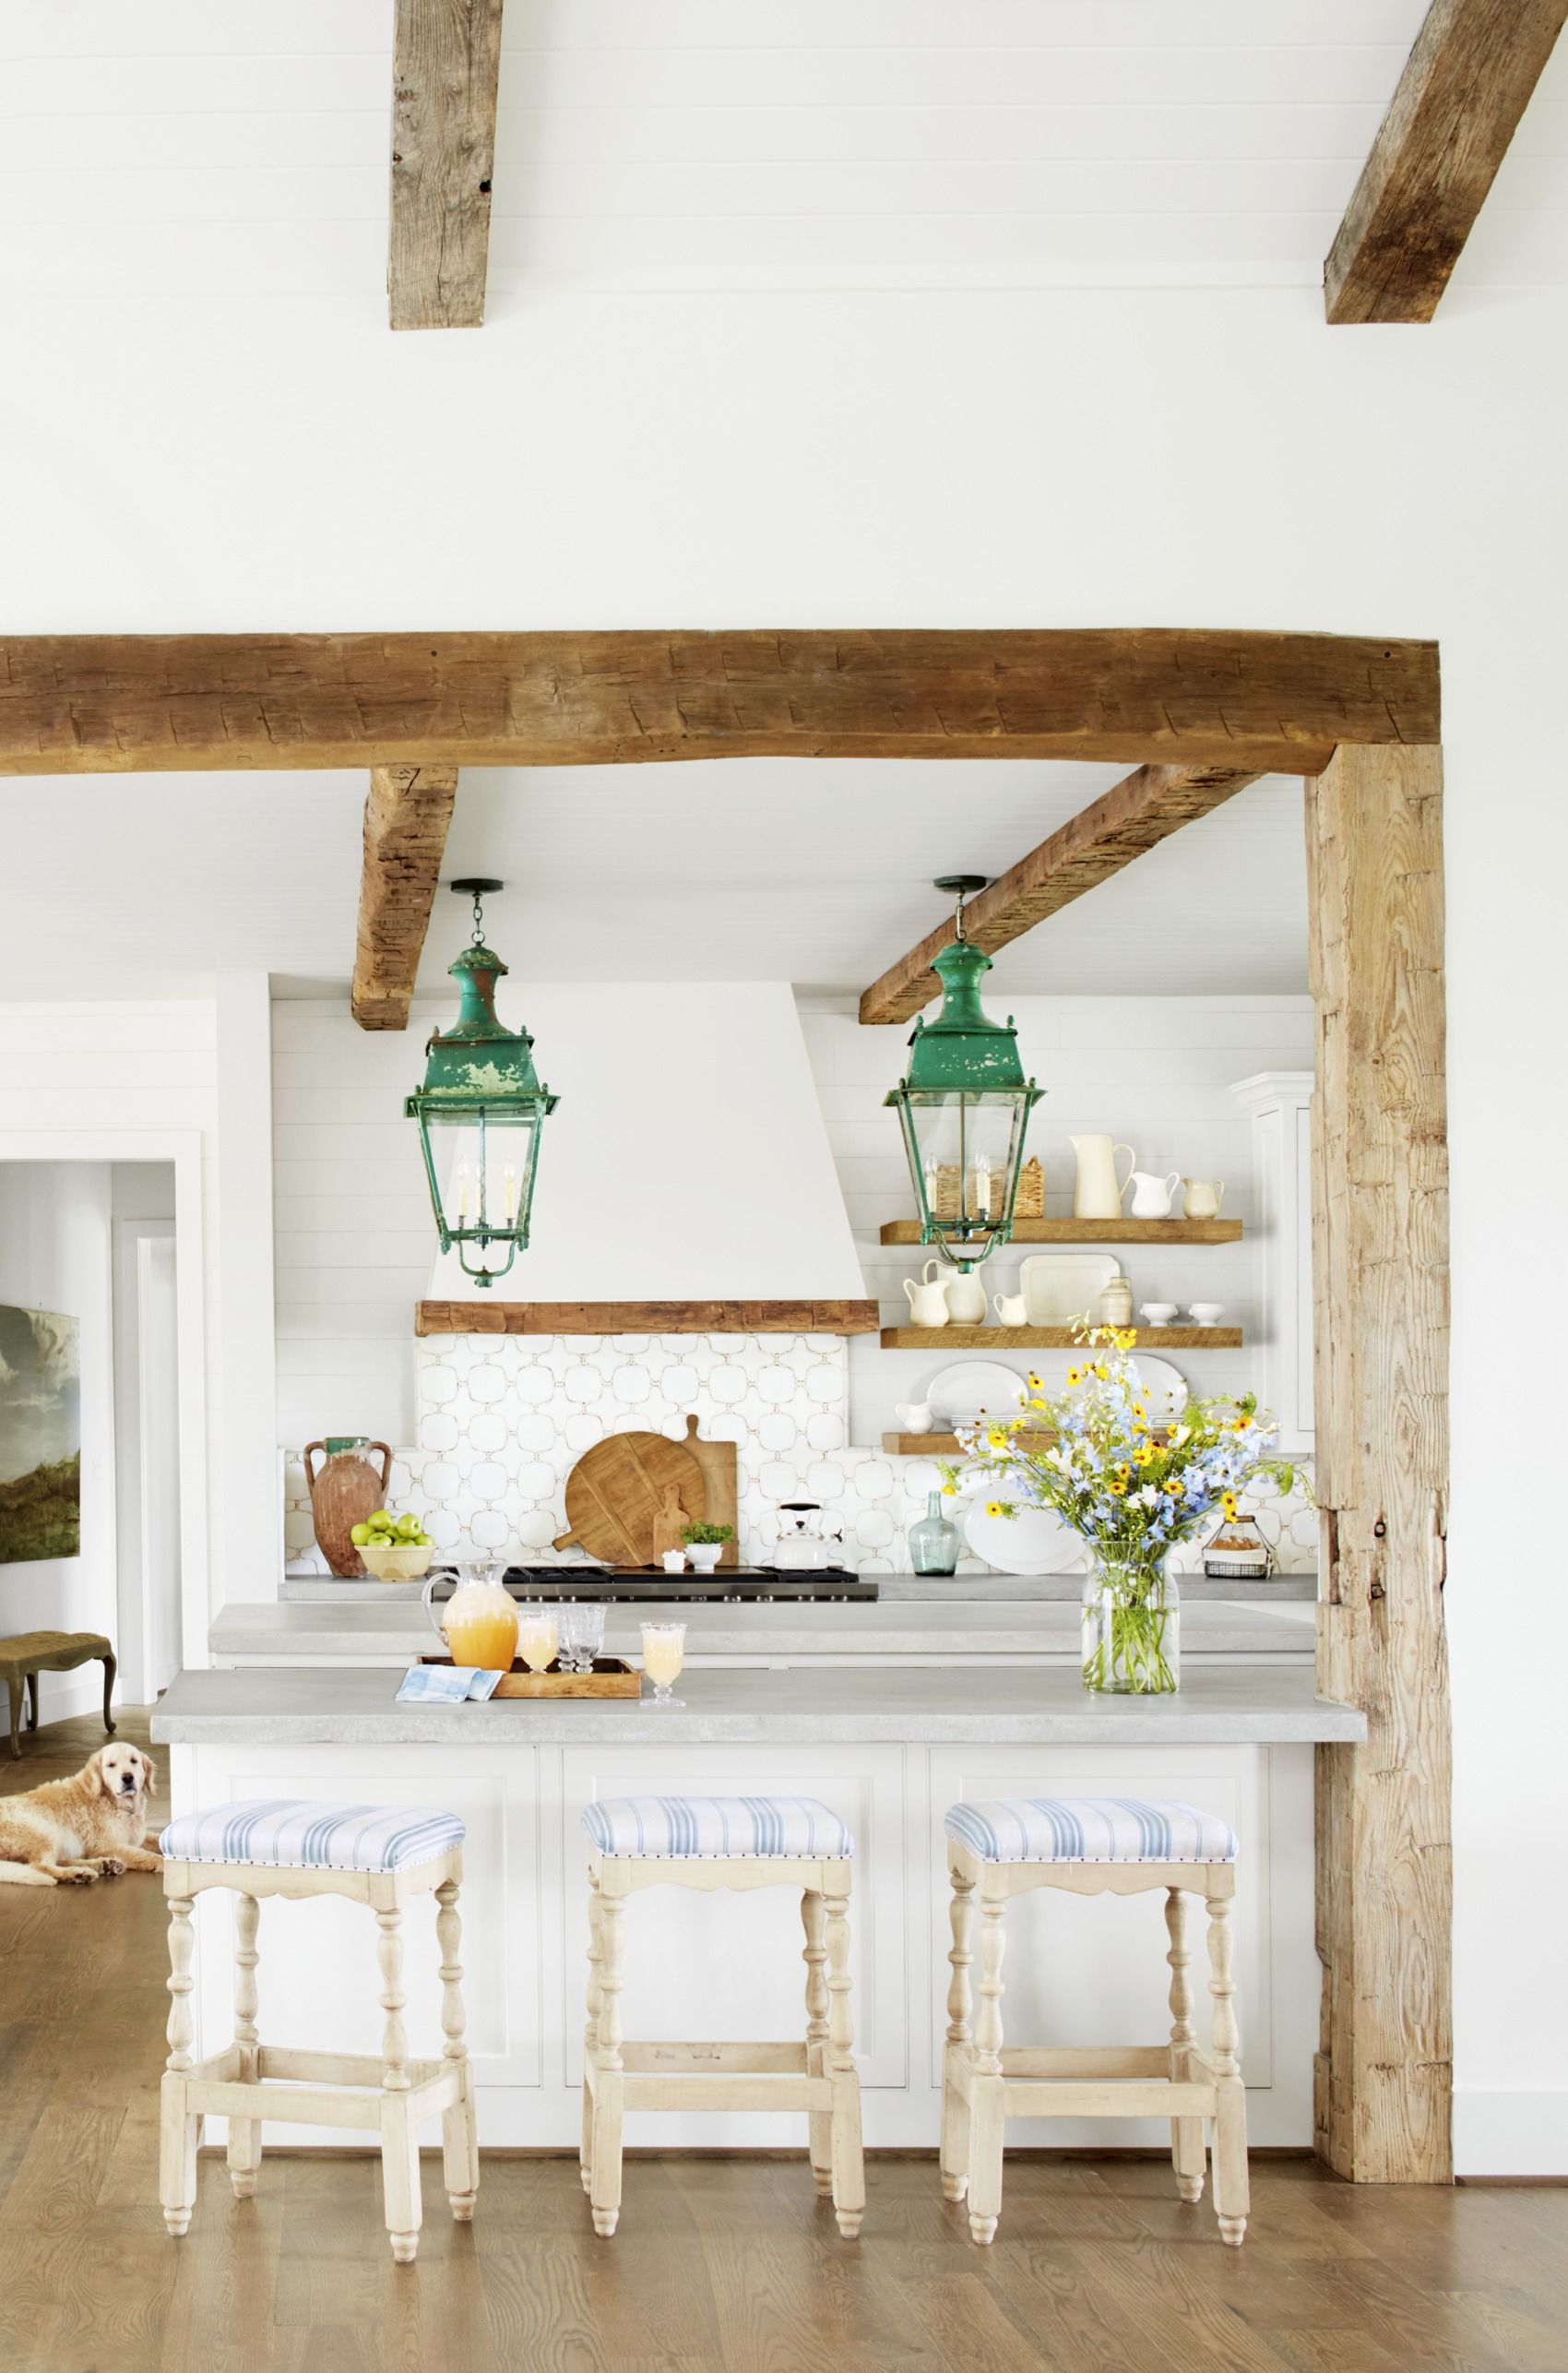
There are many reasons why tiling your kitchen island wall is a great idea. Here are some of the top benefits of this home improvement project: Enhanced Aesthetic Appeal: Tiling your kitchen island wall can instantly elevate the look of your kitchen. It adds texture, color, and interest to an otherwise plain and dull space. Easy to Clean and Maintain: Unlike painted or wallpapered walls, tiled kitchen island walls are easy to clean and maintain. They are less prone to stains and can withstand regular wiping and scrubbing. Increased Durability: Tiles are known for their durability and can withstand heavy use and high traffic areas. This makes them an excellent choice for kitchen island walls, which are often used as workspaces and dining areas. Protects the Wall: Tiling your kitchen island wall can also protect the wall from water, grease, and food stains. This is especially important in kitchens, where spills and splatters are common. Increase Home Value: Tiled kitchen island walls can add value to your home, making it a desirable feature for potential buyers. It also shows that you have put effort and investment into your home's design and maintenance. These are just some of the many benefits of tiling your kitchen island wall, making it a smart and worthwhile home improvement project.4. The Benefits of Tiling Your Kitchen Island Wall

4. The Benefits of Tiling Your Kitchen Island Wall
/cdn.vox-cdn.com/uploads/chorus_image/image/65889507/0120_Westerly_Reveal_6C_Kitchen_Alt_Angles_Lights_on_15.14.jpg)


While some homeowners may choose to tile their kitchen island wall themselves, others may prefer to hire a professional. Both options have their pros and cons. Here's a comparison to help you decide which route to take: DIY: Tiling your kitchen island wall yourself can save you money on labor costs. It also allows you to have complete control over the design and process. However, it requires a certain level of skill and knowledge, and mistakes can be costly to fix. Professional: Hiring a professional can ensure a high-quality and flawless finish. They have the necessary tools, equipment, and expertise to tackle any challenges that may arise. However, it can be more expensive, and you may have less input in the design process. Ultimately, the decision comes down to your budget, time, and skill level. If you're confident in your abilities and have the time to dedicate to the project, DIY may be the right choice for you. Otherwise, hiring a professional can provide peace of mind and a hassle-free experience.5. DIY vs Hiring a Professional: Tiling Your Kitchen Island Wall
5. DIY vs Hiring a Professional: Tiling Your Kitchen Island Wall


In the world of home design, trends are always evolving, and kitchen island wall tiling is no exception. Here are some of the top trends in this area to inspire your kitchen renovation: Patterned Tiles: Patterned tiles are becoming increasingly popular and can add a bold and unique touch to your kitchen island wall. From geometric designs to intricate patterns, there are endless options to choose from. Large Format Tiles: Large format tiles, also known as slab tiles, are gaining popularity for their sleek and seamless look. They come in various sizes and can make a small kitchen appear larger and more spacious. Textured Tiles: Textured tiles, such as 3D tiles or tiles with raised patterns, add depth and interest to a kitchen island wall. They can also create a focal point and add a touch of luxury to the space. Contrasting Grout: Instead of using traditional white or neutral grout, many homeowners are opting for contrasting grout to make their tiles stand out. This can add a unique and modern touch to your kitchen island wall. Mix and Match: Mixing and matching different types of tiles, such as subway tiles with mosaic tiles, is a trend that allows for creativity and personalization in your kitchen design. By incorporating these trends, you can give your kitchen island wall a modern and stylish look that will make it the focal point of your kitchen.6. Top Trends in Kitchen Island Wall Tiling


6. Top Trends in Kitchen Island Wall Tiling


Proper preparation is key to a successful tiling project. Here are some essential steps to take before tiling your kitchen island wall: Clean the Wall: The first step is to clean the wall surface thoroughly to remove any dirt, grease, or residue. This will ensure that the adhesive and grout adhere properly to the wall. Remove Old Tiles: If there are old tiles on the wall, you'll need to remove them before tiling. Use a chisel and hammer to carefully chip away at the tiles and remove the adhesive residue. Repair Any Damage: If the wall has any cracks or holes, it's important to repair them before tiling. Use a spackling compound or filler to fill in any imperfections and wait for it to dry completely before proceeding. Level the Wall: If the wall is uneven, you may need to use a self-leveling compound to create a smooth and level surface. Follow the manufacturer's instructions for application and drying time. Prime the Wall: Priming the wall with a tile primer will help the adhesive and grout adhere better and prevent any moisture from seeping into the wall. Apply the primer according to the manufacturer's instructions and let it dry completely. By following these steps, you can ensure that your kitchen island wall is prepped and ready for tiling, resulting in a professional and long-lasting finish.7. How to Prep Your Kitchen Island Wall for Tiling
:strip_icc()/kitchen-rustic-blue-island2-5tsFQgtva_E8q8V2LL5scY-aec79dc96d224ea596eae7819cd0fc2d.jpg)

7. How to Prep Your Kitchen Island Wall for Tiling


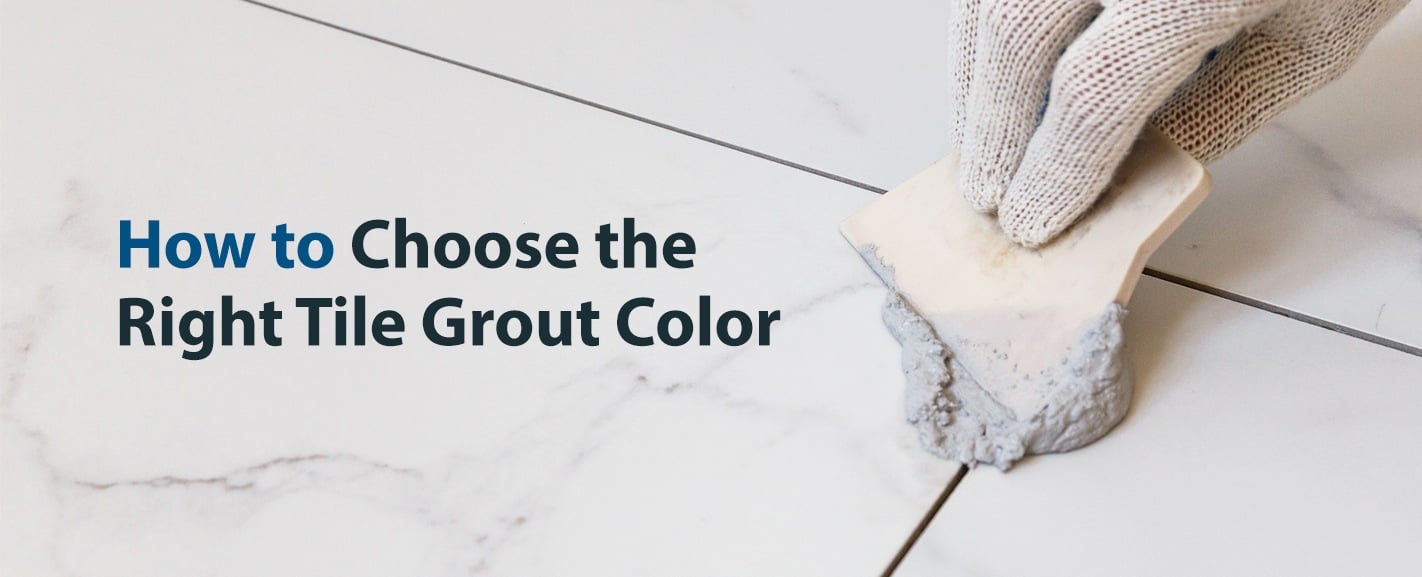
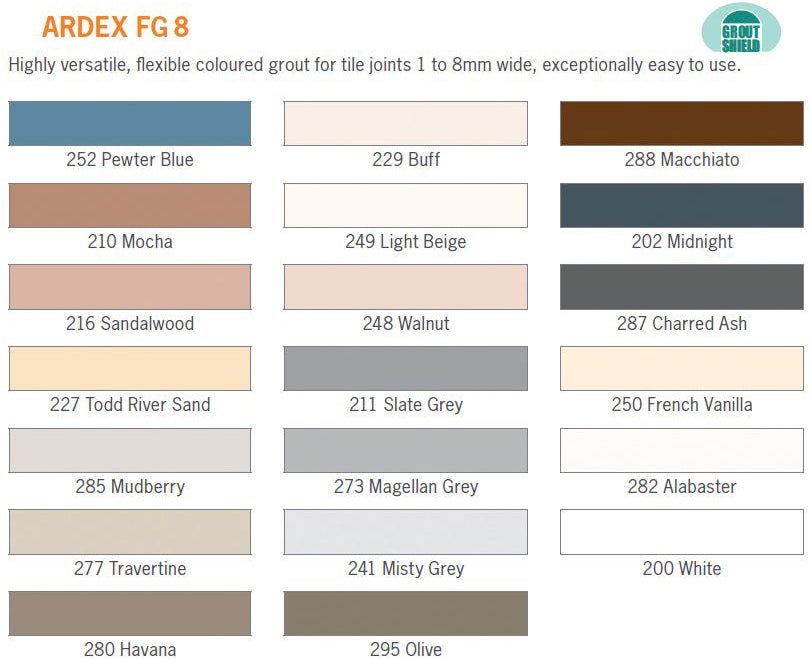
When it comes to tiling your kitchen island wall, choosing the right grout is just as important as choosing the right tiles. Here are some factors to consider when selecting grout: Color: Grout comes in a variety of colors, including white, grey, and even black. It's important to choose a color that complements your tiles and overall kitchen design. Type of Grout: There are two main types of grout - sanded and unsanded. Sanded grout is best for larger gaps, while unsanded grout is suitable for smaller gaps and smoother surfaces like glass tiles. Water Resistance: If your kitchen island is used for food prep, it's essential to choose a grout that is water-resistant and can withstand spills and moisture. Stain Resistance: Grout can be prone to staining, especially in areas like the kitchen. Consider choosing a grout that is stain-resistant or using a grout sealer to protect it. By considering these factors, you can choose the right grout for your kitchen island wall tiles that will not only look great but also withstand the demands of a busy kitchen.8. Choosing the Right Grout for Your Kitchen Island Wall Tiles


8. Choosing the Right Grout for Your Kitchen Island Wall Tiles


Maintaining your tiled kitchen island wall is essential to keep it looking great for years to come. Here are some tips to help you maintain your tiles:9. Maintenance Tips for Tiled Kitchen Island Walls


9. Maintenance Tips for Tiled Kitchen Island Walls


.JPG)


Why Tiling Your Kitchen Island Wall is a Must in House Design

Enhances Visual Appeal
 Tiling your kitchen island wall is an excellent way to add a touch of elegance and style to your kitchen. The
subtle and textured patterns
of tiles can instantly transform the look and feel of your kitchen, making it a focal point of your home. With various
color and design options
available, you can easily
match your kitchen island tiles
with your existing kitchen decor or go for a bold contrast to create a dramatic effect.
Tiling your kitchen island wall is an excellent way to add a touch of elegance and style to your kitchen. The
subtle and textured patterns
of tiles can instantly transform the look and feel of your kitchen, making it a focal point of your home. With various
color and design options
available, you can easily
match your kitchen island tiles
with your existing kitchen decor or go for a bold contrast to create a dramatic effect.
Protects Your Wall
 The kitchen is one of the most heavily used areas in a house, and it is prone to splatters, stains, and water damage. Tiling your kitchen island wall provides an
extra layer of protection
against these daily wear and tear. Tiles are durable and easy to clean, making them ideal for a busy kitchen. They are also
water-resistant
, making them perfect for the area behind your sink or stove.
The kitchen is one of the most heavily used areas in a house, and it is prone to splatters, stains, and water damage. Tiling your kitchen island wall provides an
extra layer of protection
against these daily wear and tear. Tiles are durable and easy to clean, making them ideal for a busy kitchen. They are also
water-resistant
, making them perfect for the area behind your sink or stove.
Increases Resale Value
 In today's competitive real estate market, having a
well-designed and functional kitchen
can significantly increase the value of your home. Tiling your kitchen island wall not only adds visual appeal but also adds perceived value to your kitchen. Potential buyers will be impressed by the attention to detail and the
high-end look
of a tiled kitchen island wall.
In today's competitive real estate market, having a
well-designed and functional kitchen
can significantly increase the value of your home. Tiling your kitchen island wall not only adds visual appeal but also adds perceived value to your kitchen. Potential buyers will be impressed by the attention to detail and the
high-end look
of a tiled kitchen island wall.
Easy Installation and Maintenance
 Tiling your kitchen island wall may seem like a daunting task, but it is actually a
relatively simple and quick process
. With the right tools and materials, you can easily
DIY your kitchen island wall tiling
project. Once installed, tiles are
low maintenance
, only requiring occasional cleaning to keep them looking like new.
In conclusion, tiling your kitchen island wall is a
must for any house design
. It not only enhances the visual appeal of your kitchen but also provides protection, increases resale value, and is easy to install and maintain. With endless design options, tiling your kitchen island wall is a great way to add your personal touch to your kitchen and make it a standout feature in your home. So why wait? Start planning your kitchen island wall tiling project and transform your kitchen into a stylish and functional space.
Tiling your kitchen island wall may seem like a daunting task, but it is actually a
relatively simple and quick process
. With the right tools and materials, you can easily
DIY your kitchen island wall tiling
project. Once installed, tiles are
low maintenance
, only requiring occasional cleaning to keep them looking like new.
In conclusion, tiling your kitchen island wall is a
must for any house design
. It not only enhances the visual appeal of your kitchen but also provides protection, increases resale value, and is easy to install and maintain. With endless design options, tiling your kitchen island wall is a great way to add your personal touch to your kitchen and make it a standout feature in your home. So why wait? Start planning your kitchen island wall tiling project and transform your kitchen into a stylish and functional space.