Replacing a bathroom sink seal may seem like a daunting task, but with the right tools and knowledge, it can be a simple and cost-effective DIY project. In this guide, we'll take you through the step-by-step process of replacing a bathroom sink seal, so you can have a leak-free and functional sink in no time.How to Replace a Bathroom Sink Seal


How to Replace a Bathroom Sink Seal
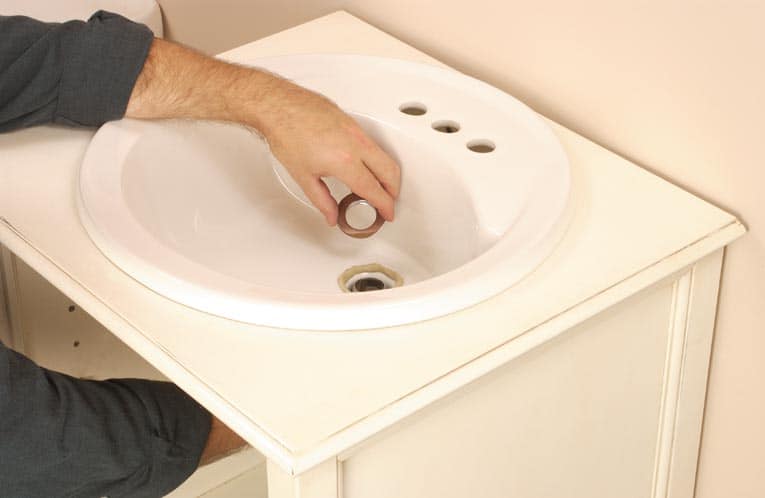


The first step in replacing a bathroom sink seal is to gather all the necessary tools and materials. This includes a putty knife, a silicone-based caulk, a caulk gun, and a towel. Make sure to also have a flathead screwdriver and a pair of pliers handy in case you encounter any stubborn parts. The next step is to shut off the water supply to the sink. This is usually done by turning the shut-off valves located under the sink clockwise. Once the water is turned off, you can disconnect the water supply lines from the sink. Using the putty knife, carefully remove the old caulk from around the edges of the sink. This may take some time and patience, but it's important to remove all traces of the old caulk to ensure a proper seal with the new one. Once all the old caulk is removed, clean the area around the sink thoroughly with a towel and some warm water. This will ensure that the new caulk adheres properly. Now it's time to apply the new caulk. Load the caulk gun with the silicone-based caulk and carefully apply it around the edges of the sink, making sure to cover any gaps or holes. Use your finger or a tool to smooth out the caulk and remove any excess. Once the caulk is applied, allow it to dry for the recommended time stated on the label. This is usually around 24 hours, but check the label to be sure. After the caulk is fully dried, you can turn the water supply back on and reconnect the water supply lines. Check for any leaks and make any necessary adjustments. Voila! Your bathroom sink seal is now replaced and your sink is ready to use again.Replacing a Bathroom Sink Seal: A Step-by-Step Guide


Replacing a Bathroom Sink Seal: A Step-by-Step Guide


Replacing a bathroom sink seal is a great DIY project that can save you time and money. By following the steps outlined above, you can easily replace your bathroom sink seal without the need for a professional plumber. This not only saves you money on labor costs but also gives you the satisfaction of completing a home improvement project on your own.DIY: Replacing a Bathroom Sink Seal


DIY: Replacing a Bathroom Sink Seal


Here are a few tips and tricks to keep in mind when replacing a bathroom sink seal:Replacing a Bathroom Sink Seal: Tips and Tricks


Replacing a Bathroom Sink Seal: Tips and Tricks
A properly sealed bathroom sink is essential for preventing leaks and water damage. Over time, the seal around the sink can deteriorate, causing water to seep through and potentially damage your bathroom cabinets or floors. Regularly replacing the sink seal can prevent these issues and ensure the longevity of your sink.The Importance of Replacing a Bathroom Sink Seal


The Importance of Replacing a Bathroom Sink Seal


While replacing a bathroom sink seal is a relatively simple task, there are some common mistakes that can be easily avoided:Replacing a Bathroom Sink Seal: Common Mistakes to Avoid


Replacing a Bathroom Sink Seal: Common Mistakes to Avoid
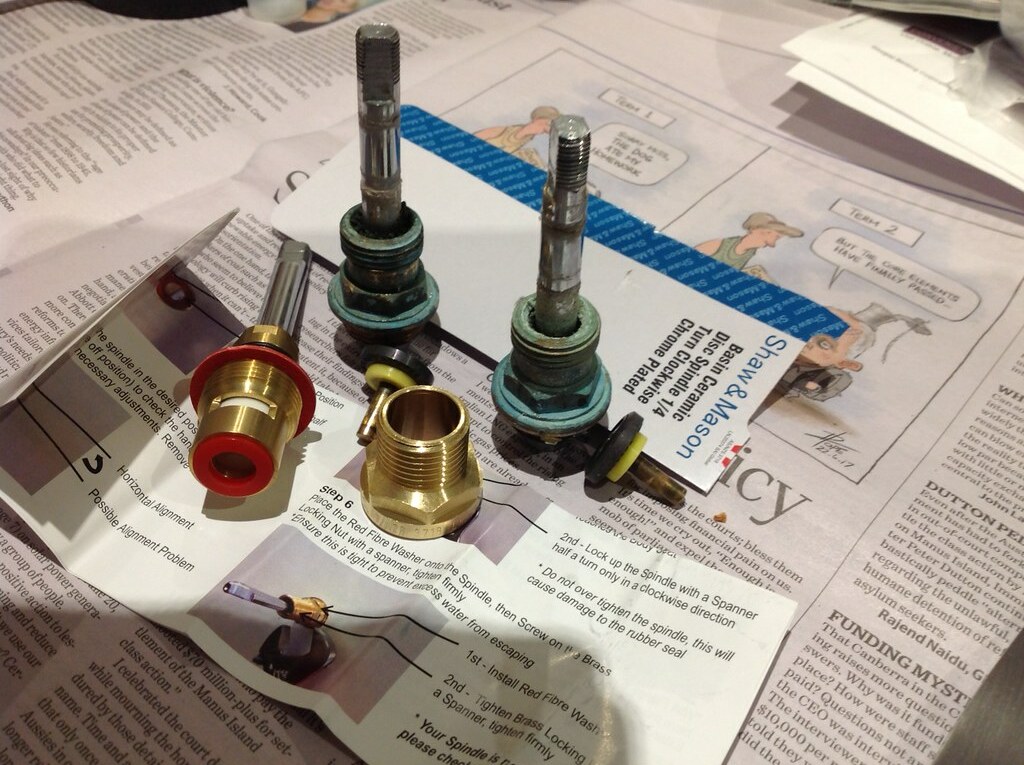
Here are the tools and materials you'll need to replace a bathroom sink seal:Tools You'll Need for Replacing a Bathroom Sink Seal


Tools You'll Need for Replacing a Bathroom Sink Seal
If you encounter any issues while replacing your bathroom sink seal, here are some troubleshooting tips:Replacing a Bathroom Sink Seal: Troubleshooting Common Issues

Replacing a Bathroom Sink Seal: Troubleshooting Common Issues
If you are not confident in your DIY skills or encounter any major issues while replacing your bathroom sink seal, it's best to call a professional plumber. They have the knowledge and experience to handle any complications and ensure a proper seal for your sink.Replacing a Bathroom Sink Seal: When to Call a Professional


Replacing a Bathroom Sink Seal: When to Call a Professional
The frequency of replacing your bathroom sink seal depends on the quality of the seal and the amount of use the sink gets. Generally, it's recommended to replace the seal every few years or as soon as you notice any signs of deterioration or leaks. Replacing a bathroom sink seal is a simple and important task that can save you from costly repairs down the line. By following this guide and using the right tools and materials, you can easily replace your bathroom sink seal and keep your sink in top condition for years to come.How Often Should You Replace Your Bathroom Sink Seal?


How Often Should You Replace Your Bathroom Sink Seal?


Why Replacing a Bathroom Sink Seal is Important for Maintaining Your House's Design

The Importance of a Well-Maintained Bathroom Sink
 When it comes to house design, the bathroom is often overlooked. However, the bathroom is one of the most frequently used rooms in a house and plays a crucial role in the overall design and functionality of a home. One of the key elements in a bathroom is the sink, and it's essential to keep it in good condition. A well-maintained bathroom sink not only enhances the aesthetic appeal of your bathroom but also helps prevent potential water damage and mold growth.
The Purpose of a Bathroom Sink Seal
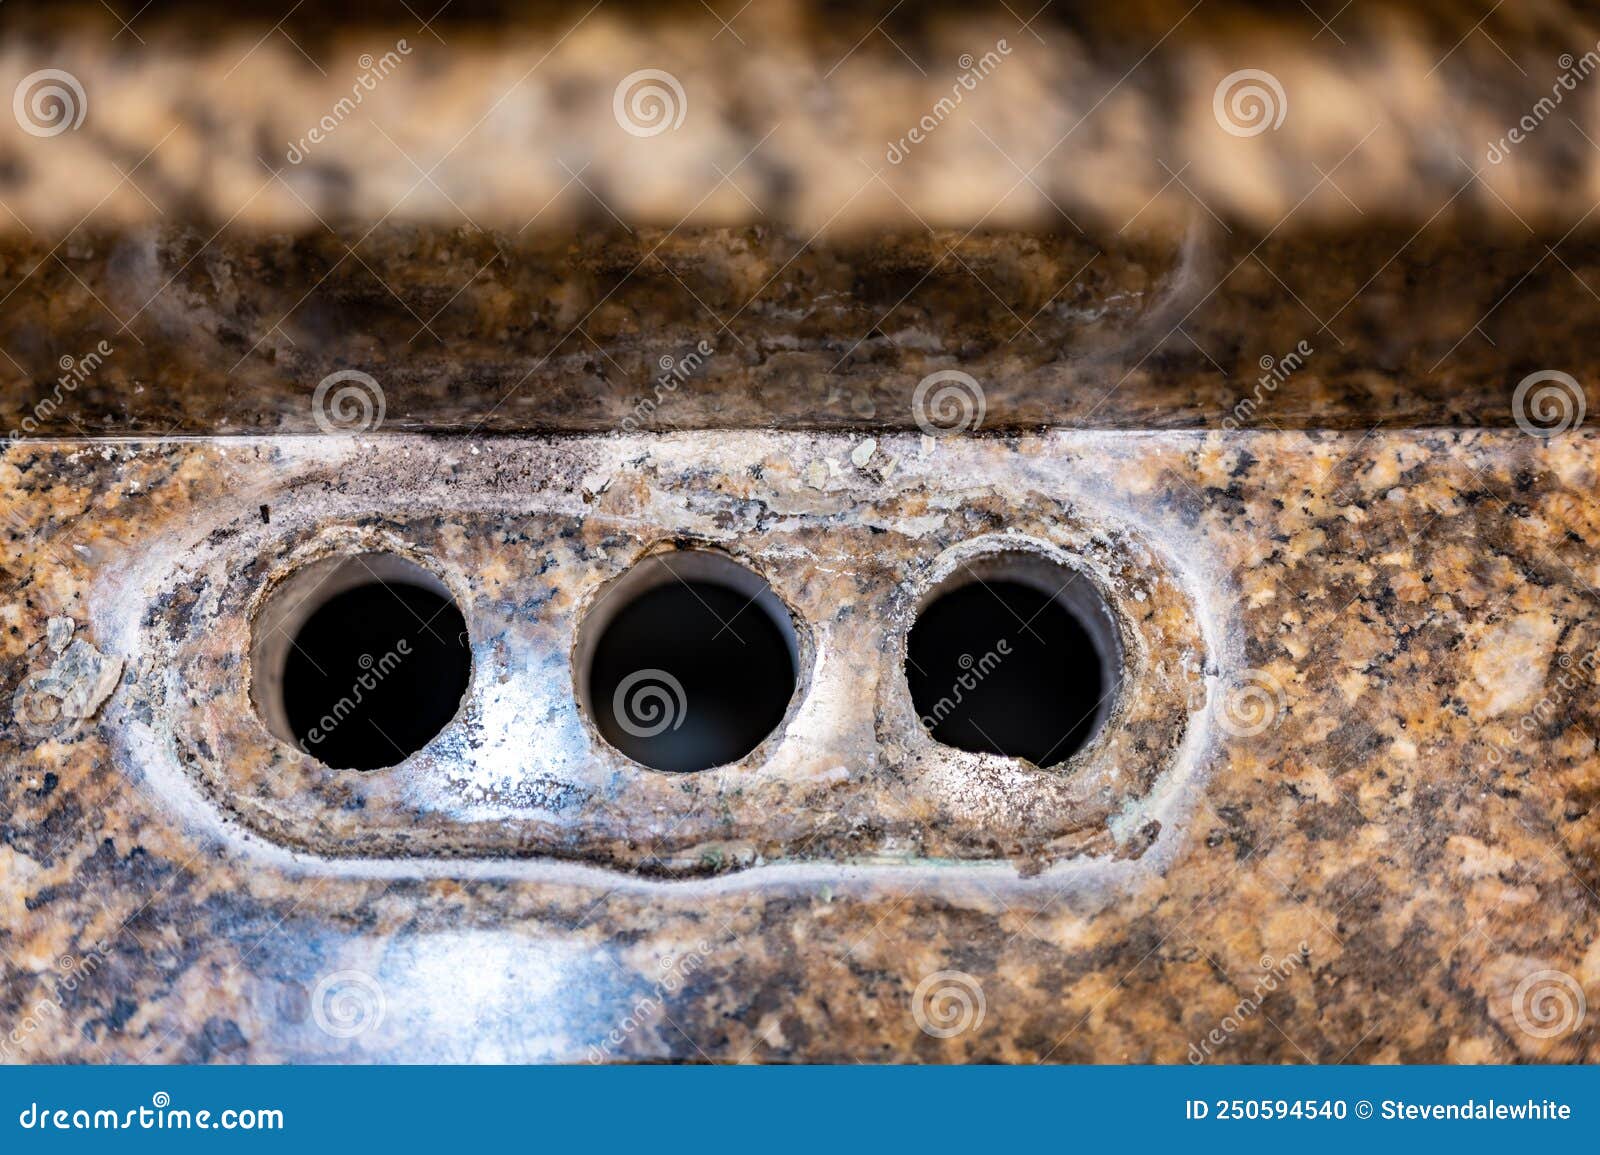
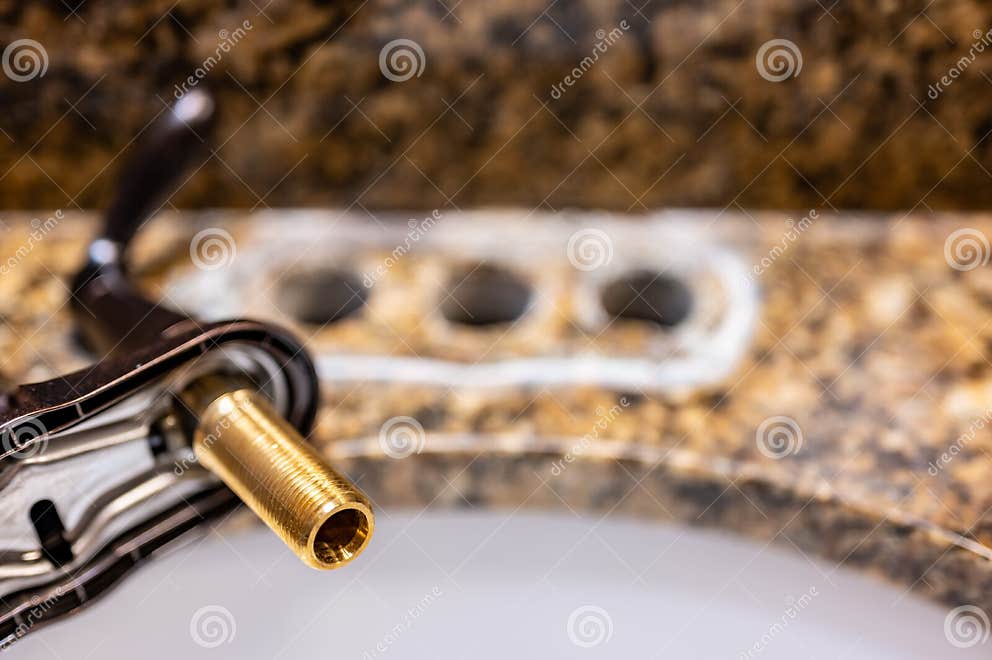
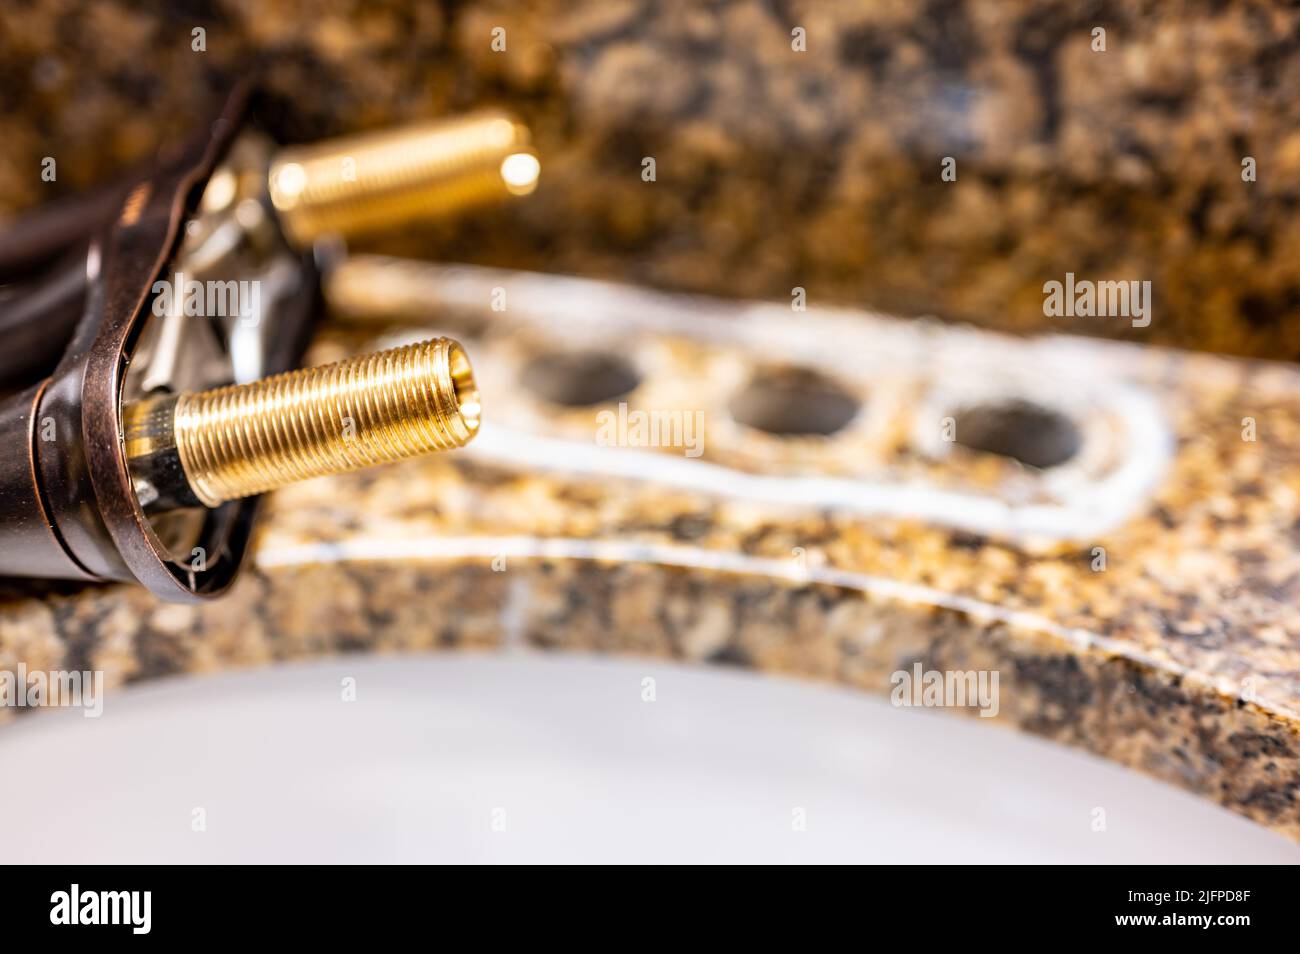
 The bathroom sink seal is a small but vital component of your sink. It is a rubber or silicone ring that sits between the sink and the countertop, ensuring a watertight seal. Over time, the seal can become worn or damaged due to constant exposure to water, soap, and cleaning products, causing leaks and compromising the integrity of your sink's design.
Replacing the Sink Seal
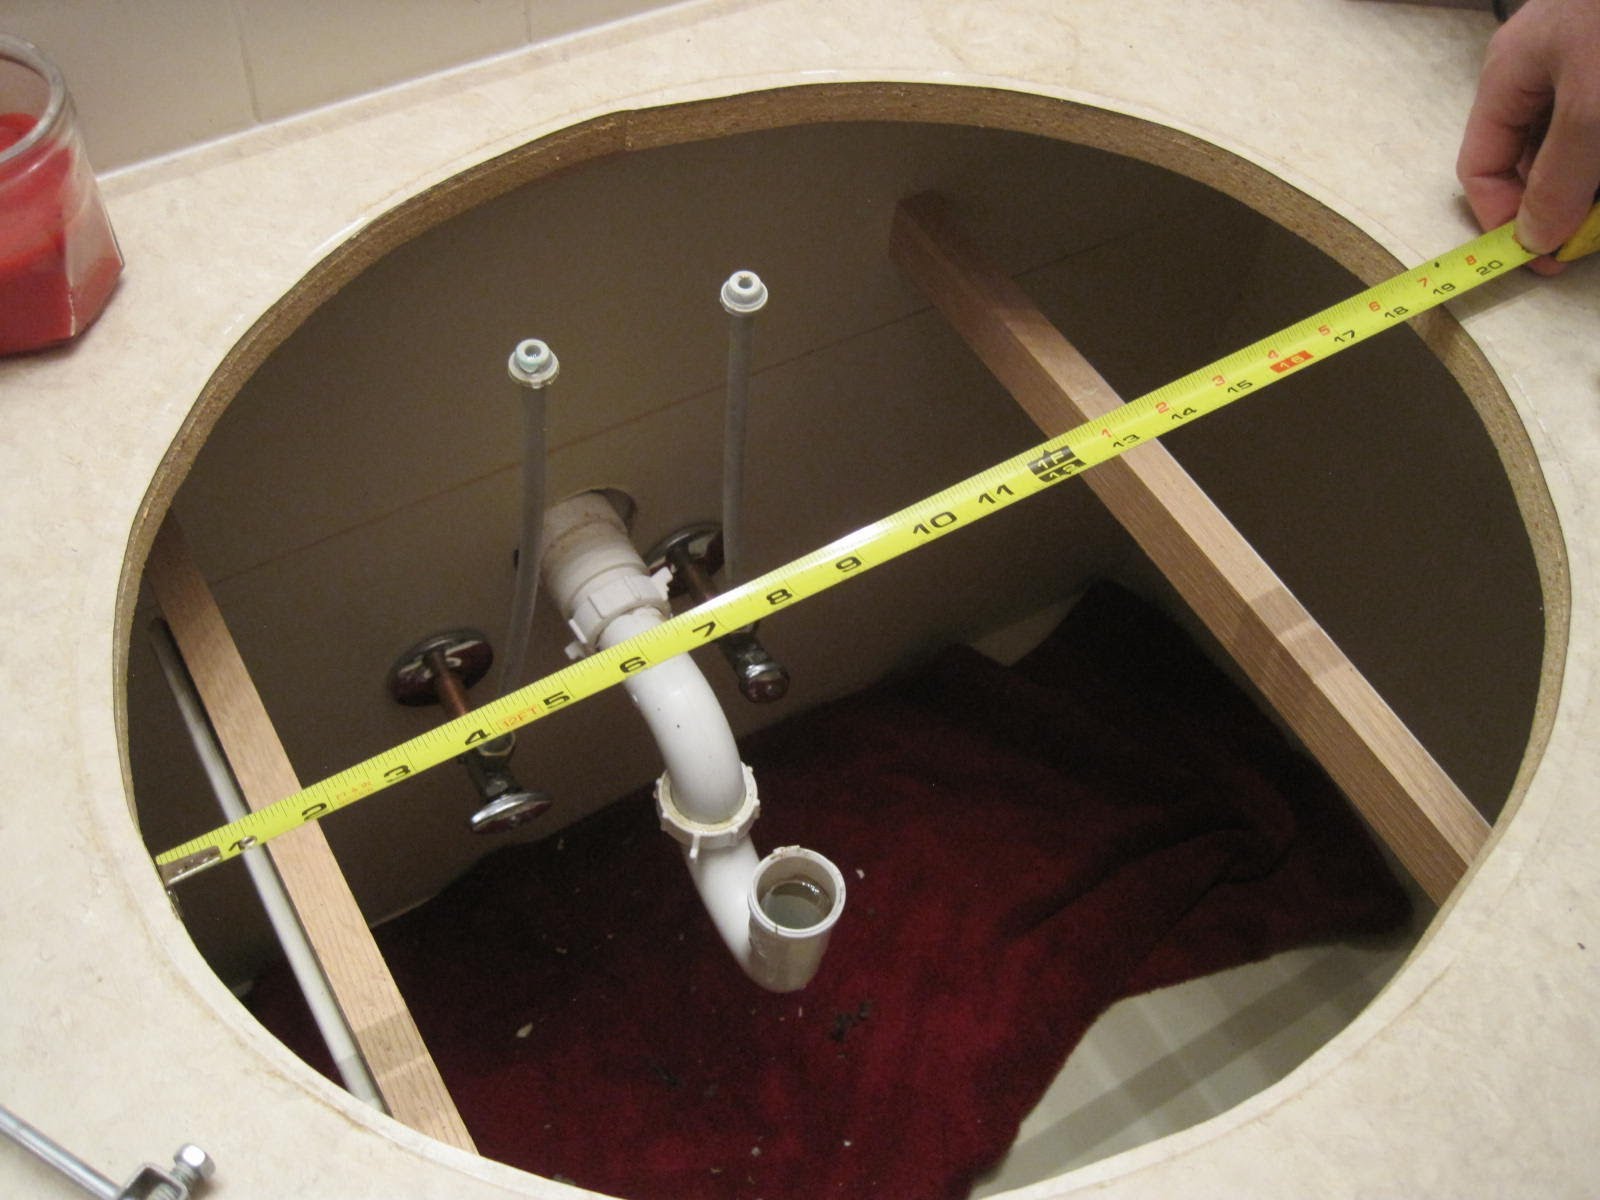
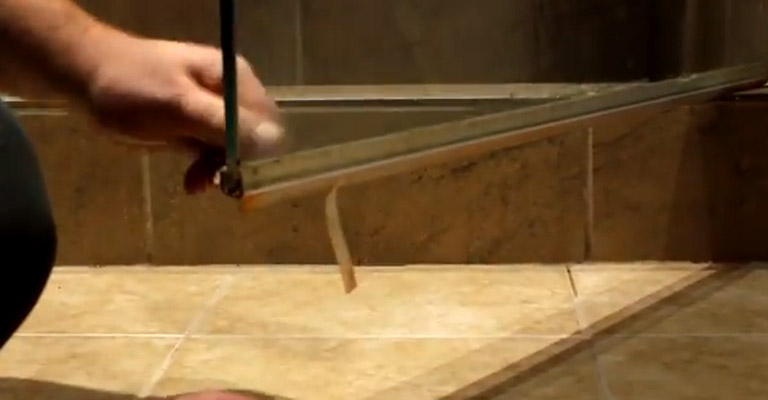
If you notice water pooling around your sink or a musty smell coming from your bathroom, it's a sign that your sink seal needs to be replaced. This is a relatively simple and inexpensive fix that can save you from more significant and more costly repairs down the line. The first step is to remove the old seal by gently scraping it off with a putty knife. Next, thoroughly clean and dry the area before applying a new seal. You can find sink seal kits at your local hardware store, and they usually come with detailed instructions on how to apply the seal correctly.
The bathroom sink seal is a small but vital component of your sink. It is a rubber or silicone ring that sits between the sink and the countertop, ensuring a watertight seal. Over time, the seal can become worn or damaged due to constant exposure to water, soap, and cleaning products, causing leaks and compromising the integrity of your sink's design.
Replacing the Sink Seal
If you notice water pooling around your sink or a musty smell coming from your bathroom, it's a sign that your sink seal needs to be replaced. This is a relatively simple and inexpensive fix that can save you from more significant and more costly repairs down the line. The first step is to remove the old seal by gently scraping it off with a putty knife. Next, thoroughly clean and dry the area before applying a new seal. You can find sink seal kits at your local hardware store, and they usually come with detailed instructions on how to apply the seal correctly.
Maintaining Your House's Design
 Regular maintenance and upkeep of your bathroom sink seal can go a long way in preserving your house's design. A leaky sink can not only cause water damage but also lead to mold growth, which can compromise the structural integrity of your home and pose health risks to you and your family. By replacing the seal as needed, you can prevent these issues and maintain the overall appearance and functionality of your bathroom.
In Conclusion
 Don't overlook the importance of a well-maintained bathroom sink in your house's design. Keeping an eye on the sink seal and replacing it when necessary can save you from more significant problems and expenses in the long run. With a little effort and attention to detail, you can ensure your bathroom remains a beautiful and functional space for years to come.