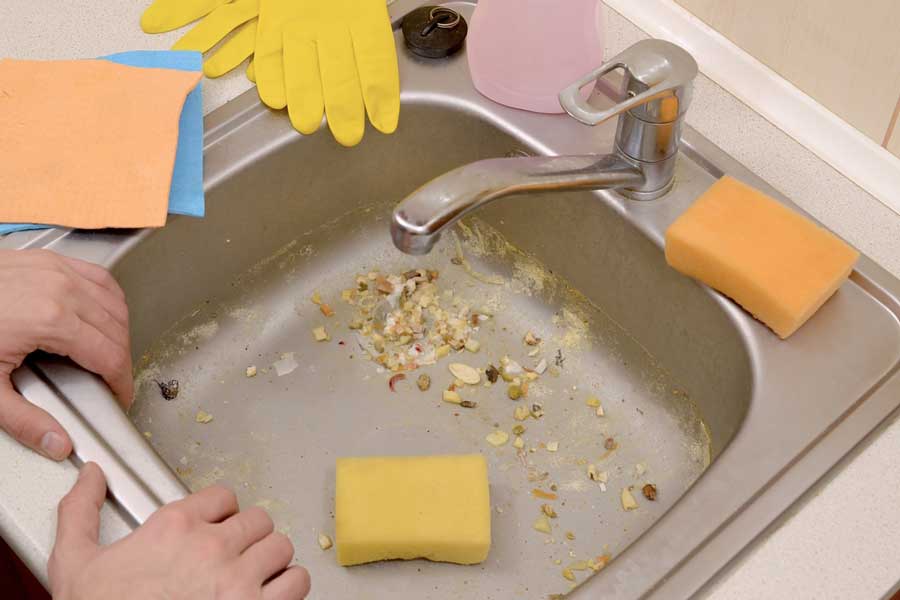
Dealing with a leaky kitchen sink sprayer can be frustrating and inconvenient. Not only does it waste water and increase your utility bill, but it also creates a mess in your kitchen. Fortunately, fixing a leaky kitchen sink sprayer is a relatively simple task that you can do on your own. With the right tools and a little bit of know-how, you can get your sink sprayer back in working order in no time.How to Fix a Leaky Kitchen Sink Sprayer


How to Fix a Leaky Kitchen Sink Sprayer


If your kitchen sink sprayer is leaking, the first step is to identify the source of the leak. The most common cause of a leaking sink sprayer is a damaged or worn out O-ring. This small rubber ring is responsible for creating a tight seal between the sprayer head and the hose. Over time, the O-ring can become cracked or loose, causing water to leak out. To fix this issue, simply replace the O-ring with a new one. You can find O-rings at most hardware stores or home improvement centers.How to Repair a Leaking Kitchen Sink Sprayer


How to Repair a Leaking Kitchen Sink Sprayer


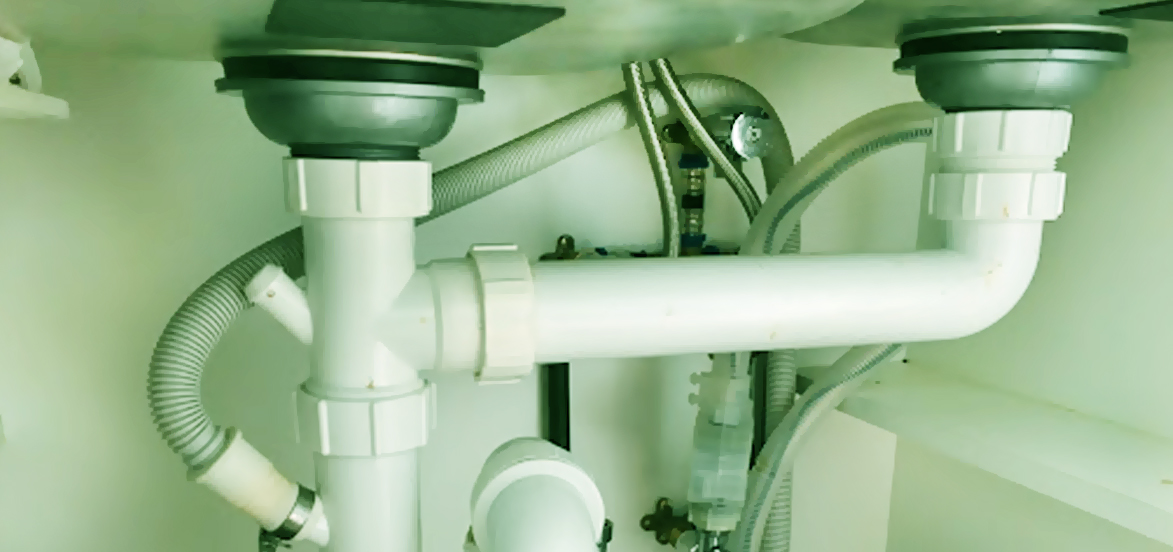
Aside from a faulty O-ring, there are a few other common causes of a leaking kitchen sink sprayer. These include a cracked sprayer head, a damaged hose, or a loose connection between the sprayer and the hose. In some cases, the leak may also be caused by a clog or buildup of mineral deposits in the sprayer head. Before attempting to fix the leak, it's important to determine the root cause so that you can address it properly.Common Causes of a Leaking Kitchen Sink Sprayer


Common Causes of a Leaking Kitchen Sink Sprayer


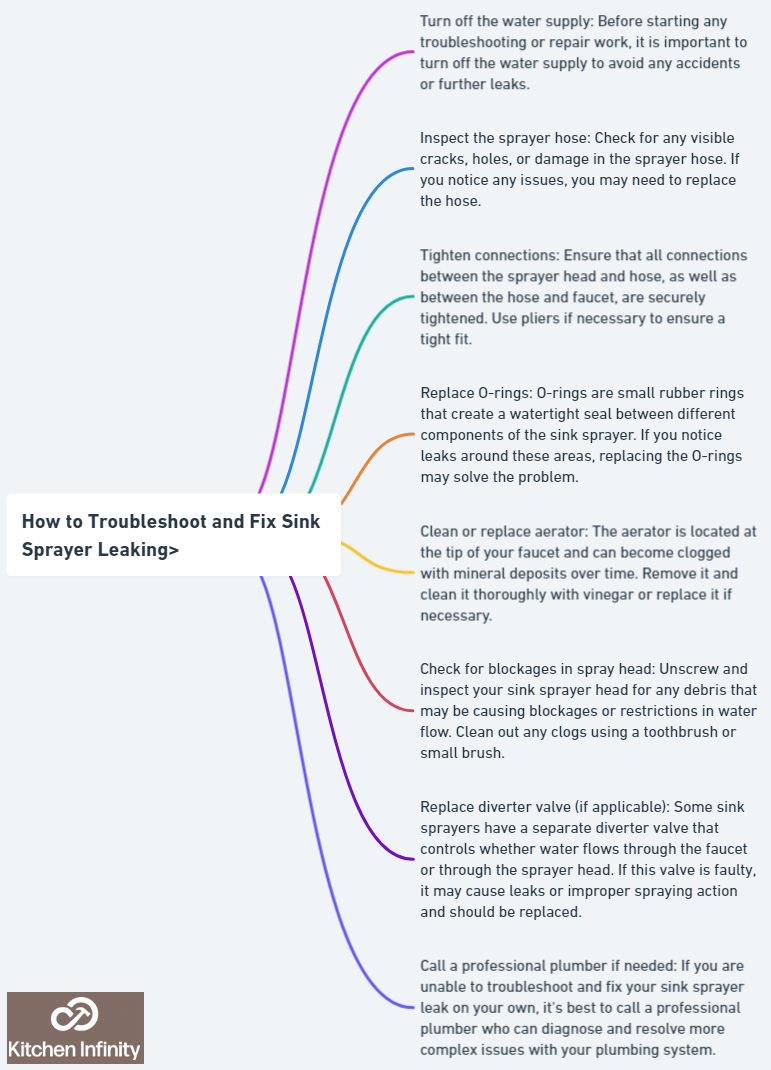
Once you have identified the cause of the leak, it's time to take action. Here are the steps you can follow to stop your kitchen sink sprayer from leaking: Step 1: Turn off the water supply to your sink. This is usually done by turning the handle or knob under the sink in a clockwise direction. Step 2: Detach the sprayer head from the hose by twisting it counterclockwise. If the sprayer head is stuck, you can use pliers to loosen it. Step 3: Inspect the O-ring and replace it if necessary. If the O-ring appears to be in good condition, check the sprayer head and hose for any cracks or damage. If you find any, replace the damaged parts. Step 4: Clean the sprayer head to remove any clogs or mineral deposits. You can soak the head in a mixture of vinegar and water for a few minutes before rinsing it with clean water. Step 5: Reattach the sprayer head to the hose and turn on the water supply. Test the sprayer to see if the leak has been fixed. If not, you may need to tighten the connection between the sprayer and the hose or consult a professional plumber.Steps to Stop a Kitchen Sink Sprayer from Leaking


Steps to Stop a Kitchen Sink Sprayer from Leaking


If you're on a budget or prefer to do things yourself, there are a few DIY solutions you can try to fix a leaking kitchen sink sprayer. These include using plumber's tape to seal the connection between the sprayer and the hose, using a rubber washer to replace a damaged O-ring, or using a plumbing repair kit to fix any cracks or holes in the sprayer head or hose. These solutions are quick, easy, and cost-effective, making them a great option for minor leaks.DIY Solutions for a Leaking Kitchen Sink Sprayer


DIY Solutions for a Leaking Kitchen Sink Sprayer

If your kitchen sink sprayer is beyond repair, you may need to replace it entirely. This is a relatively simple process that can be done in just a few steps: Step 1: Purchase a replacement sprayer head and hose from your local hardware store or home improvement center. Make sure to match the size and style of your current sprayer. Step 2: Turn off the water supply to your sink and detach the old sprayer head and hose using the steps outlined above. Step 3: Install the new sprayer head and hose by attaching them to the sink and tightening the connections with pliers if necessary. Step 4: Turn on the water supply and test the new sprayer to ensure it is working properly. If not, double check the connections and make any necessary adjustments.How to Replace a Leaking Kitchen Sink Sprayer


How to Replace a Leaking Kitchen Sink Sprayer


While some leaks are inevitable, there are a few simple steps you can take to prevent a kitchen sink sprayer from leaking in the first place. These include: Regularly inspecting and cleaning your sink sprayer to prevent clogs and buildup. Replacing the O-ring every 1-2 years to prevent wear and tear. Avoiding using harsh chemicals or abrasive cleaners on your sink sprayer as these can damage the components. Fixing any leaks as soon as they are noticed to prevent further damage and save on water usage.Tips for Preventing a Kitchen Sink Sprayer Leak


Tips for Preventing a Kitchen Sink Sprayer Leak


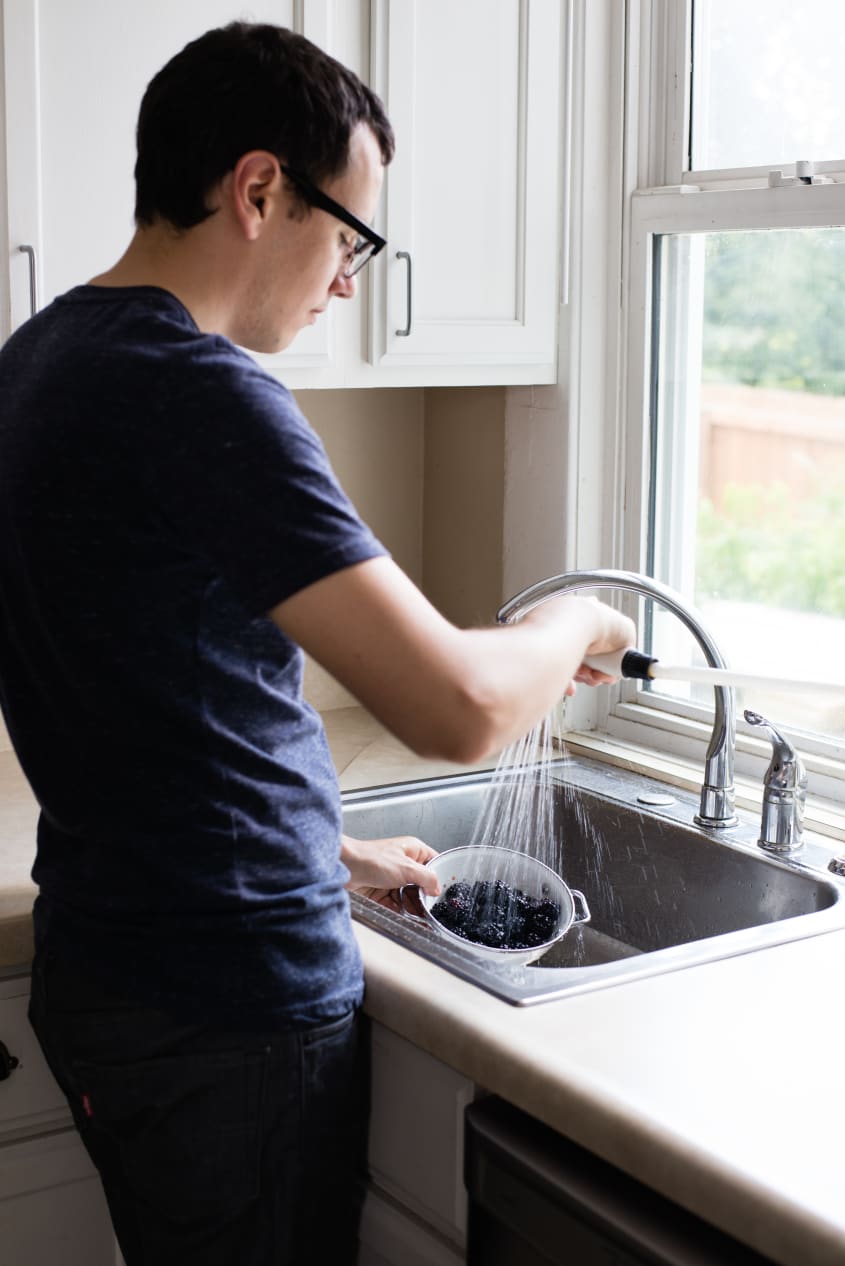
In addition to visible leaks, there are a few other signs that may indicate a problem with your kitchen sink sprayer. These include low water pressure, a sputtering or inconsistent stream of water, or a constantly running sprayer even when it is turned off. If you notice any of these signs, it's important to address the issue promptly to prevent further damage.Signs of a Leaking Kitchen Sink Sprayer


Signs of a Leaking Kitchen Sink Sprayer


While most kitchen sink sprayer leaks can be fixed with DIY solutions, there are some cases where it may be best to consult a professional plumber. If the leak persists or you are unable to identify the cause, it's always a good idea to seek expert help. A professional plumber can diagnose the issue and provide a lasting solution to prevent further leaks.Professional Repair Options for a Leaking Kitchen Sink Sprayer


Professional Repair Options for a Leaking Kitchen Sink Sprayer
If you're still having trouble with a leaking kitchen sink sprayer, here are a few troubleshooting tips you can try: Ensure all connections are tight and secure. Check for any cracks or damage to the sprayer head or hose. Replace the O-ring with a new one, if necessary. Clean the sprayer head to remove any clogs or buildup. Consult a professional plumber if the issue persists. In conclusion, a leaking kitchen sink sprayer may seem like a big problem, but it can usually be fixed with a few simple steps. By following the tips outlined in this article, you can save time, money, and hassle by fixing the issue yourself. Remember to regularly inspect and maintain your sink sprayer to prevent future leaks and keep your kitchen running smoothly.How to Troubleshoot a Leaking Kitchen Sink Sprayer


How to Troubleshoot a Leaking Kitchen Sink Sprayer

The Importance of Fixing a Leak Under a Kitchen Sink Sprayer

The Damage a Leak Can Cause
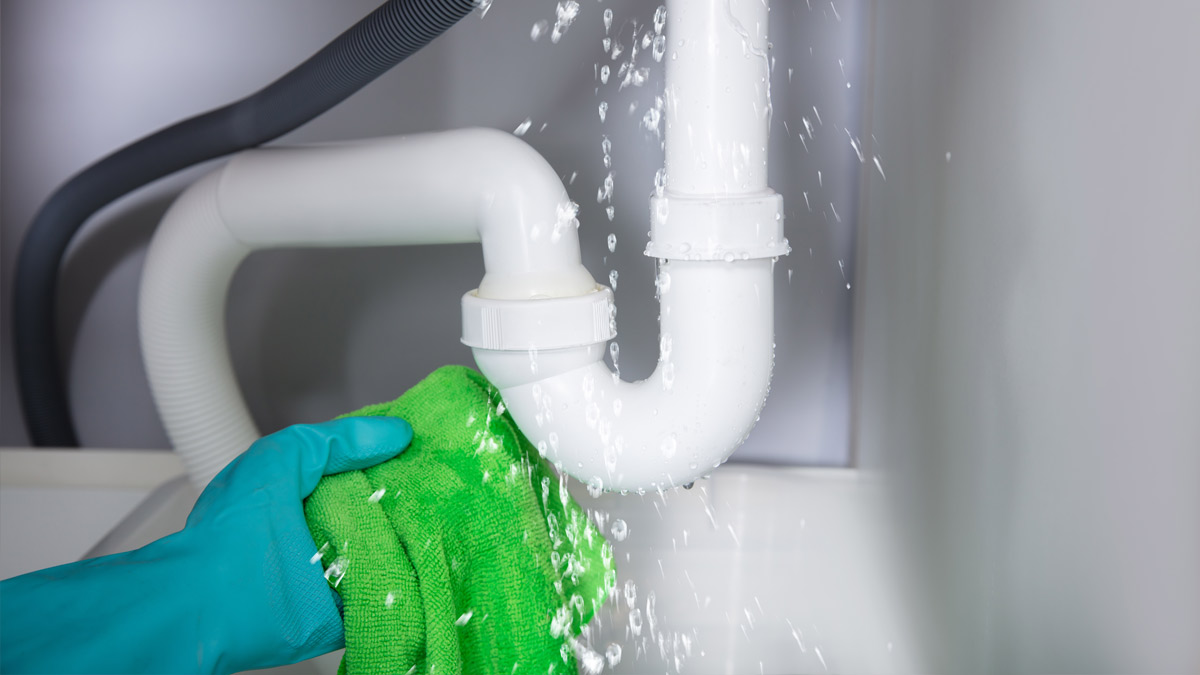
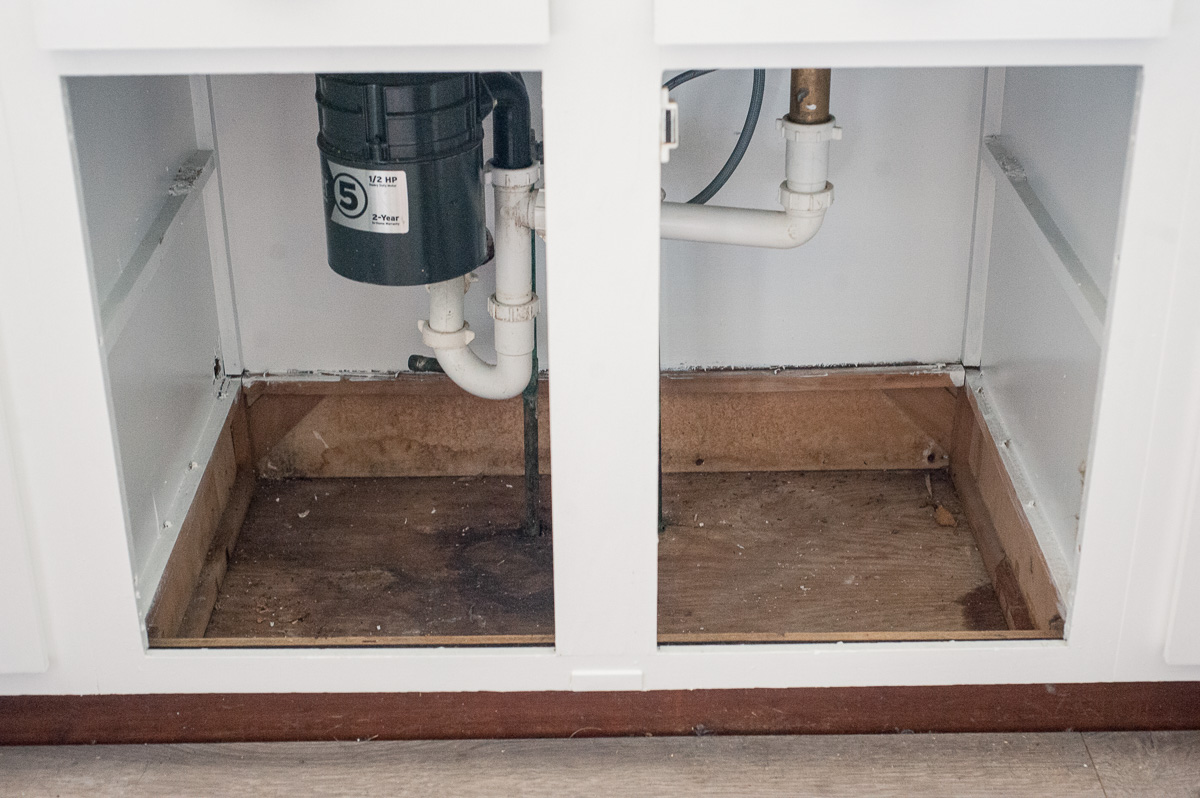
 A leak under the kitchen sink sprayer may seem like a minor inconvenience, but it can lead to major problems if left untreated. Not only can it cause damage to your kitchen cabinets and flooring, but it can also lead to mold growth and water damage in your home. This can result in costly repairs and potential health hazards for you and your family. That's why it's crucial to address any leaks in your kitchen sink sprayer as soon as possible.
The Causes of a Leak
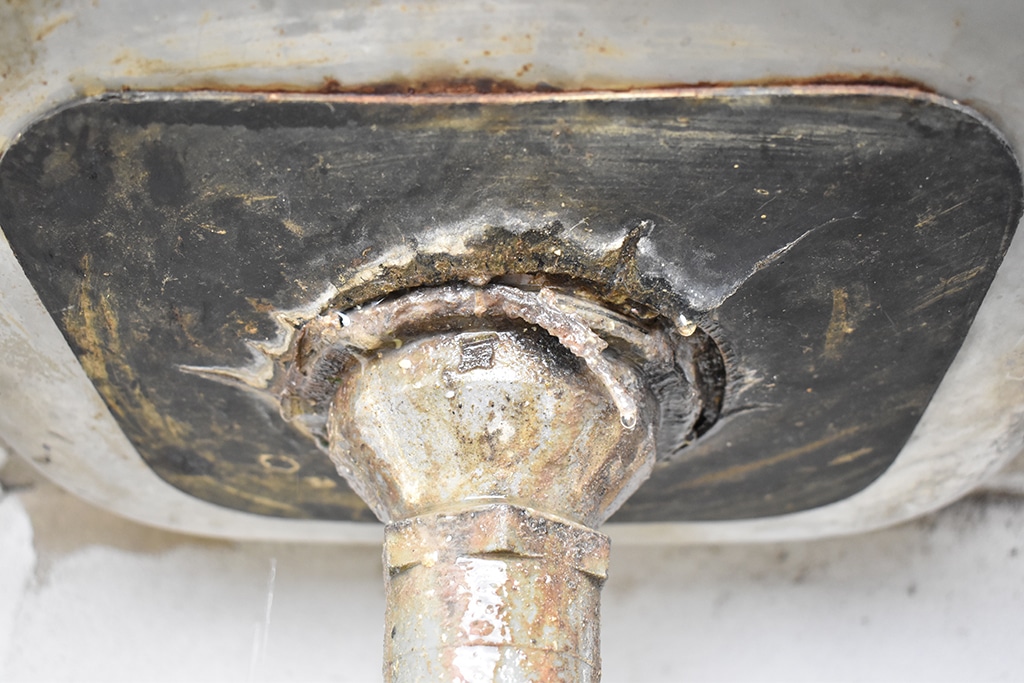
 There are various reasons why your kitchen sink sprayer may be leaking. It could be due to a worn out or faulty O-ring, loose connections, or a cracked sprayer hose. Over time, these components can deteriorate, causing water to leak out. Additionally, hard water can also cause mineral buildup in the sprayer, leading to leaks. It's important to identify the root cause of the leak before attempting any repairs.
The Benefits of Fixing the Leak
 Aside from preventing further damage to your home, fixing a leak under the kitchen sink sprayer can also save you money in the long run. A constant leak can lead to an increase in your water bill, and it can also cause damage to other kitchen fixtures. By fixing the leak, you'll not only prevent further expenses, but you'll also improve the functionality of your kitchen sink.
How to Fix the Leak
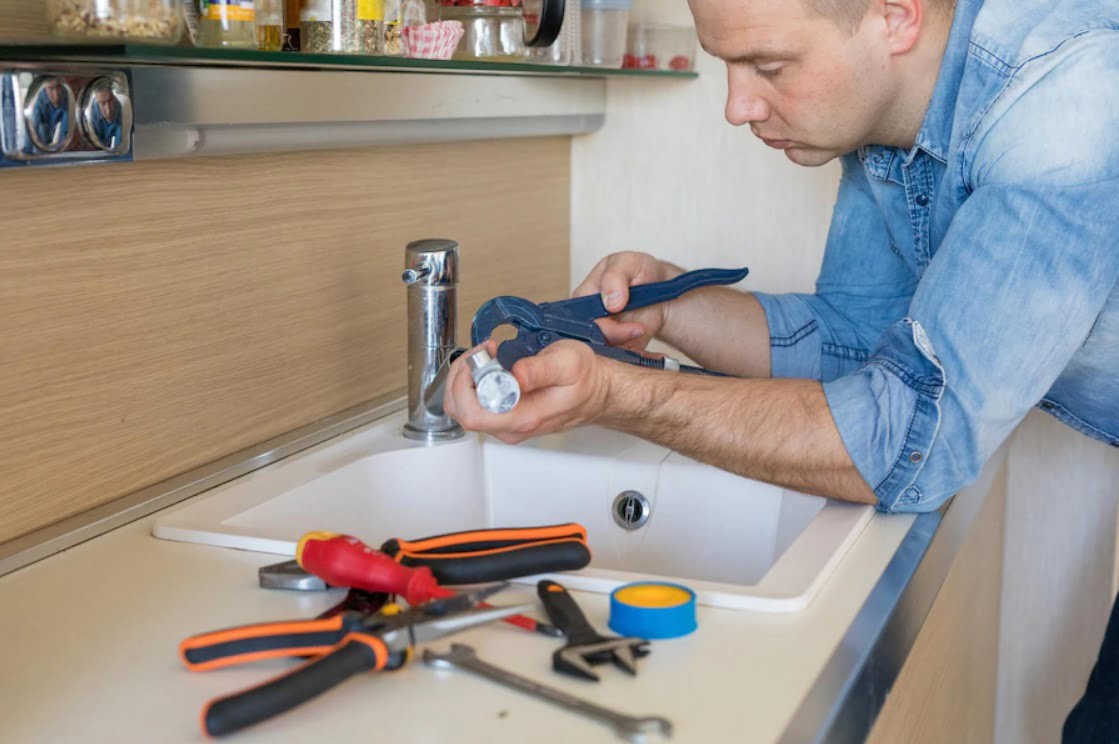
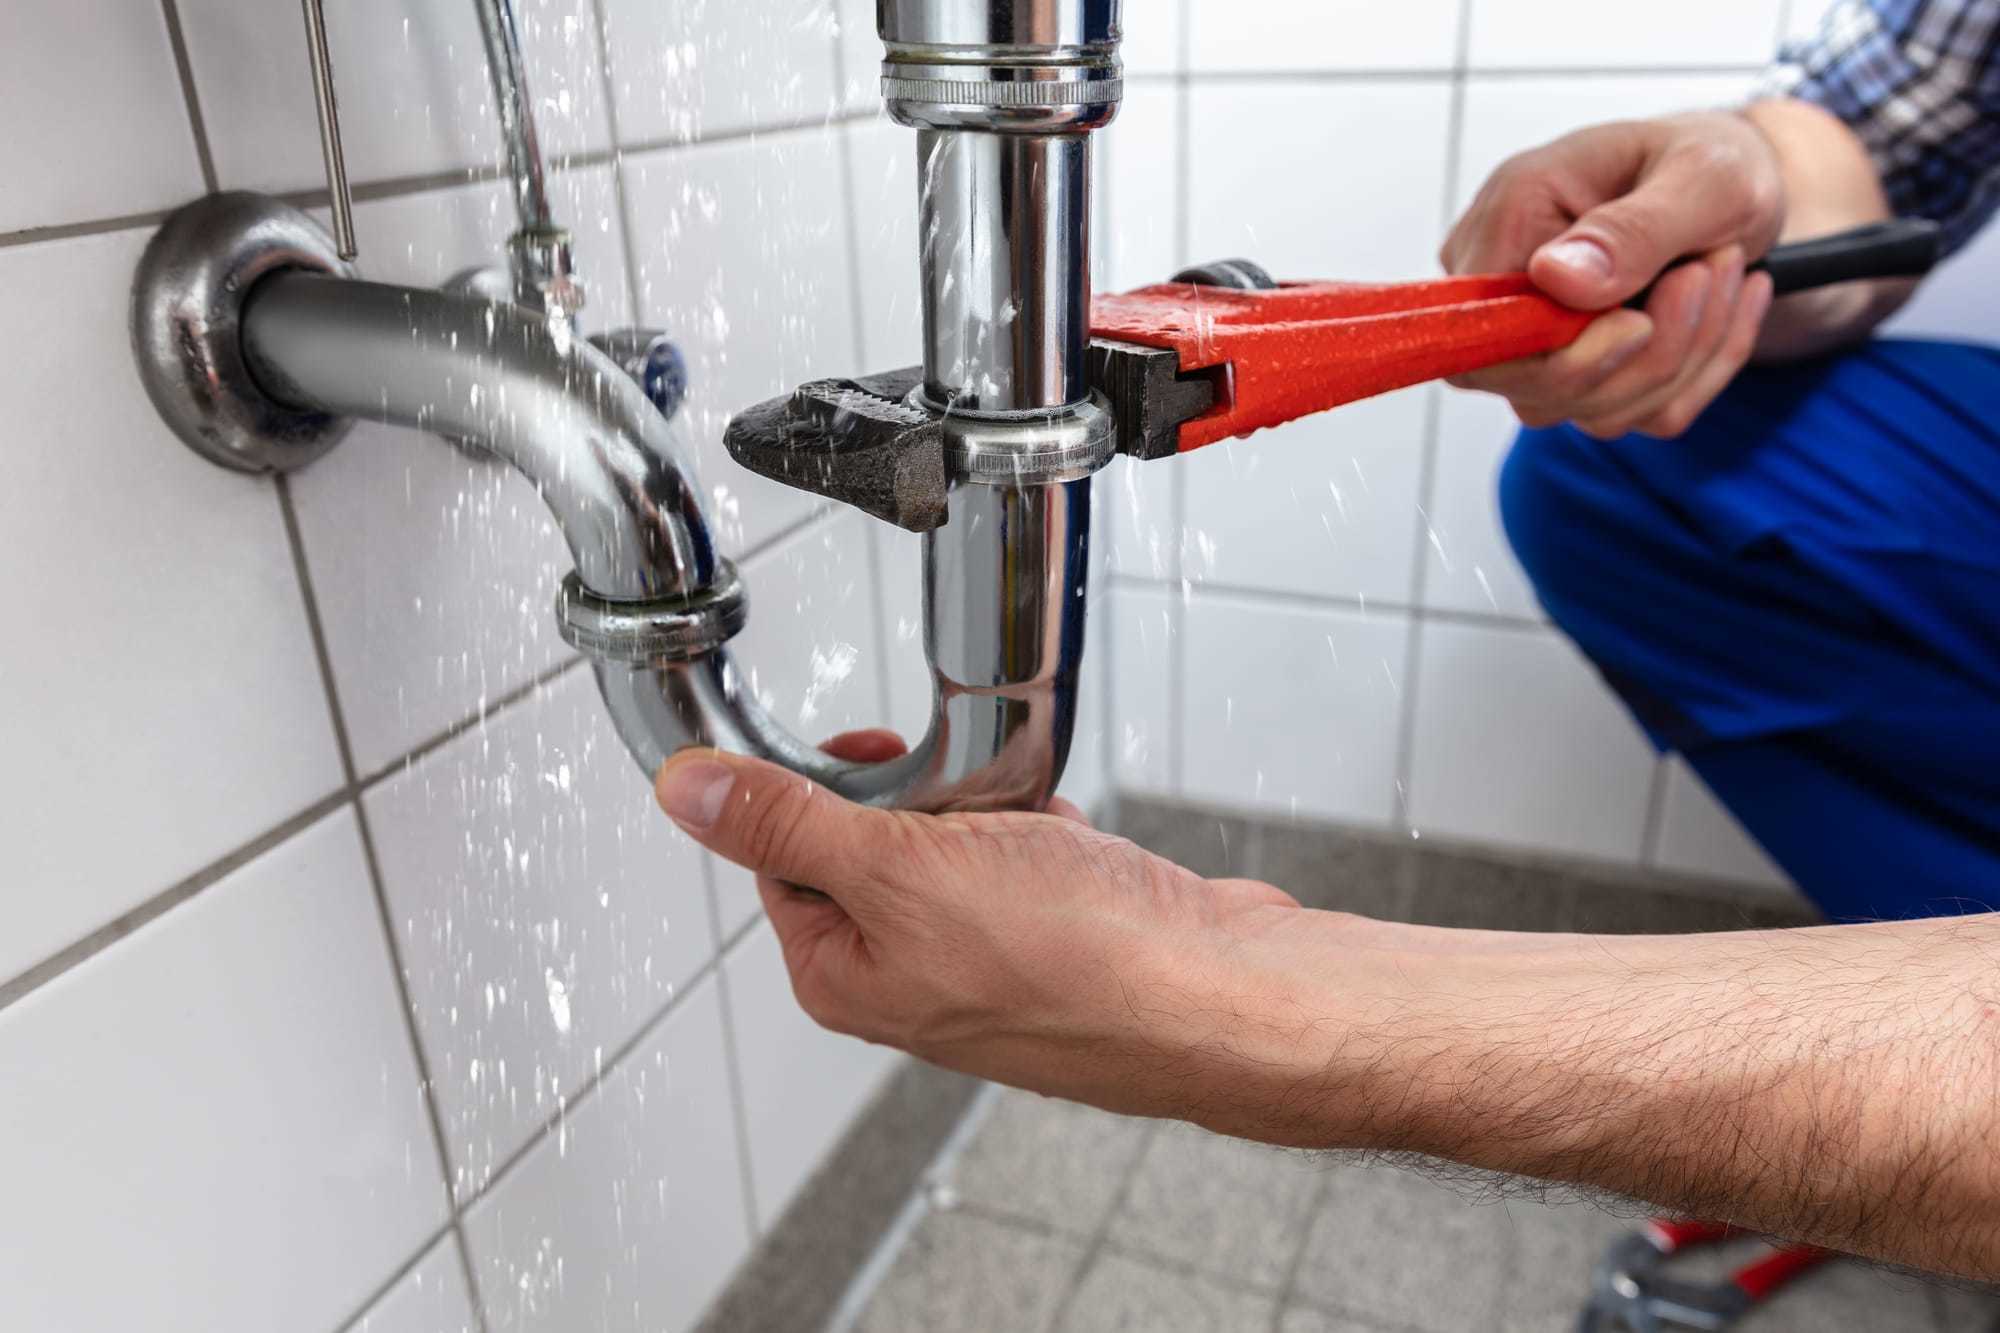 Fixing a leak under the kitchen sink sprayer may seem like a daunting task, but it can be a simple DIY project. Start by turning off the water supply to your sink and emptying out the cabinet below. Then, identify the source of the leak and replace any worn-out or damaged parts. If you're unsure of how to fix the leak, it's best to call a professional plumber to ensure the job is done correctly.
Preventing Future Leaks
 To avoid dealing with a leak under your kitchen sink sprayer in the future, it's important to perform regular maintenance. This includes checking for any loose connections or cracks, cleaning out mineral buildup, and replacing any worn-out parts. Additionally, investing in a high-quality sprayer can also prevent future leaks and save you from potential headaches.
Fixing a leak under the kitchen sink sprayer is not only necessary for the aesthetics of your kitchen, but it's also crucial for the safety and functionality of your home. By addressing any leaks promptly and performing regular maintenance, you can avoid costly repairs and ensure your kitchen sink works efficiently for years to come. Don't ignore a leaky kitchen sink sprayer - take action and fix it today.
To avoid dealing with a leak under your kitchen sink sprayer in the future, it's important to perform regular maintenance. This includes checking for any loose connections or cracks, cleaning out mineral buildup, and replacing any worn-out parts. Additionally, investing in a high-quality sprayer can also prevent future leaks and save you from potential headaches.
Fixing a leak under the kitchen sink sprayer is not only necessary for the aesthetics of your kitchen, but it's also crucial for the safety and functionality of your home. By addressing any leaks promptly and performing regular maintenance, you can avoid costly repairs and ensure your kitchen sink works efficiently for years to come. Don't ignore a leaky kitchen sink sprayer - take action and fix it today.