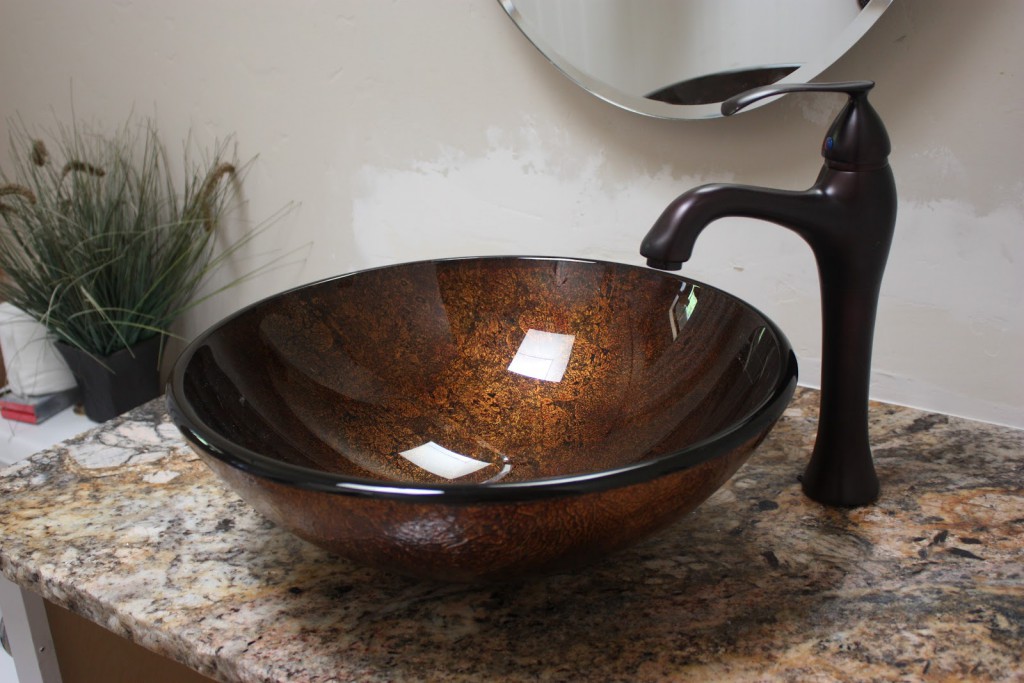
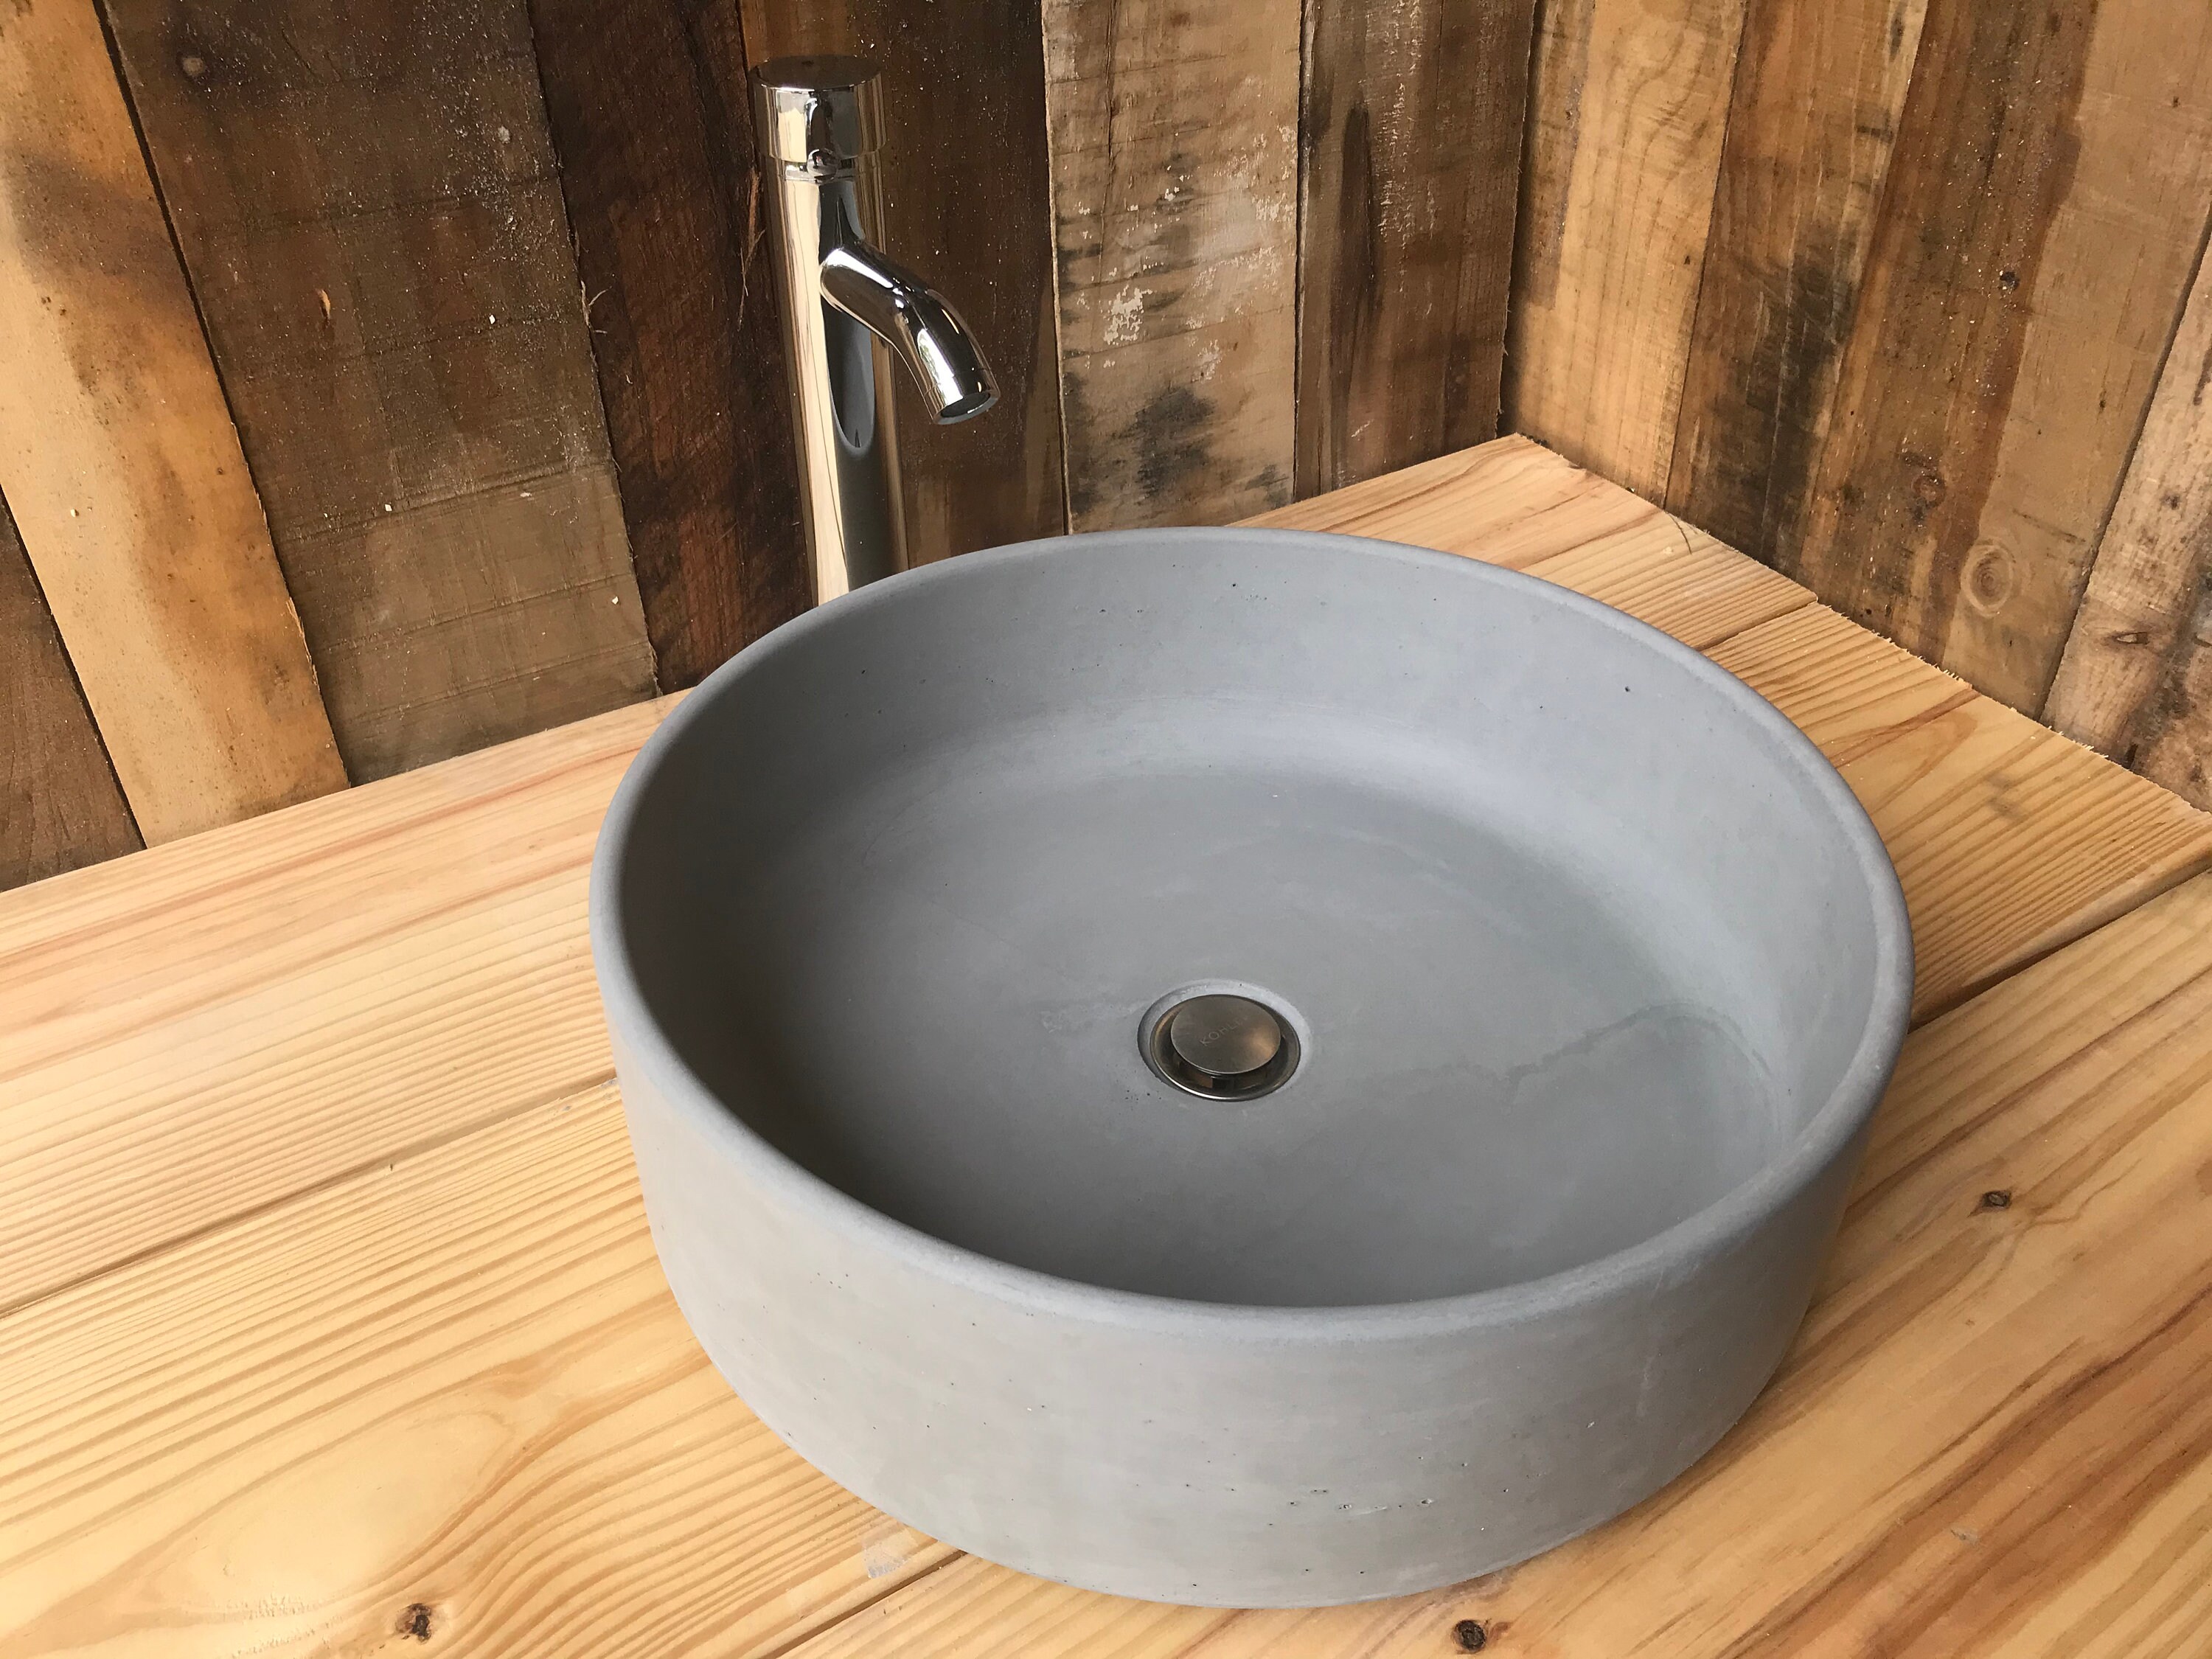
Are you tired of your old, dull bathroom sink? Upgrade it with a DIY bathroom sink epoxy bowl in top! This simple and affordable solution can transform the look of your bathroom and provide numerous benefits. Let's take a closer look at why you should consider using a DIY bathroom sink epoxy bowl in top.1. The Benefits of Using DIY Bathroom Sink Epoxy Bowl in Top


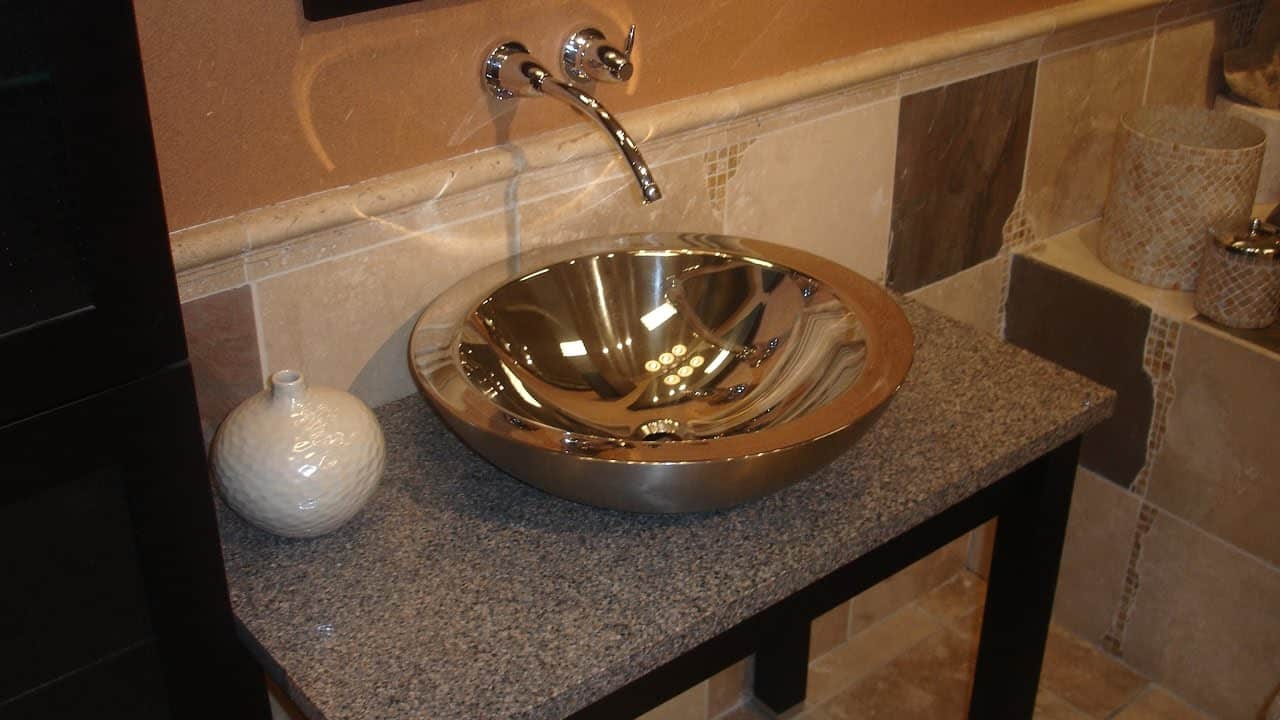
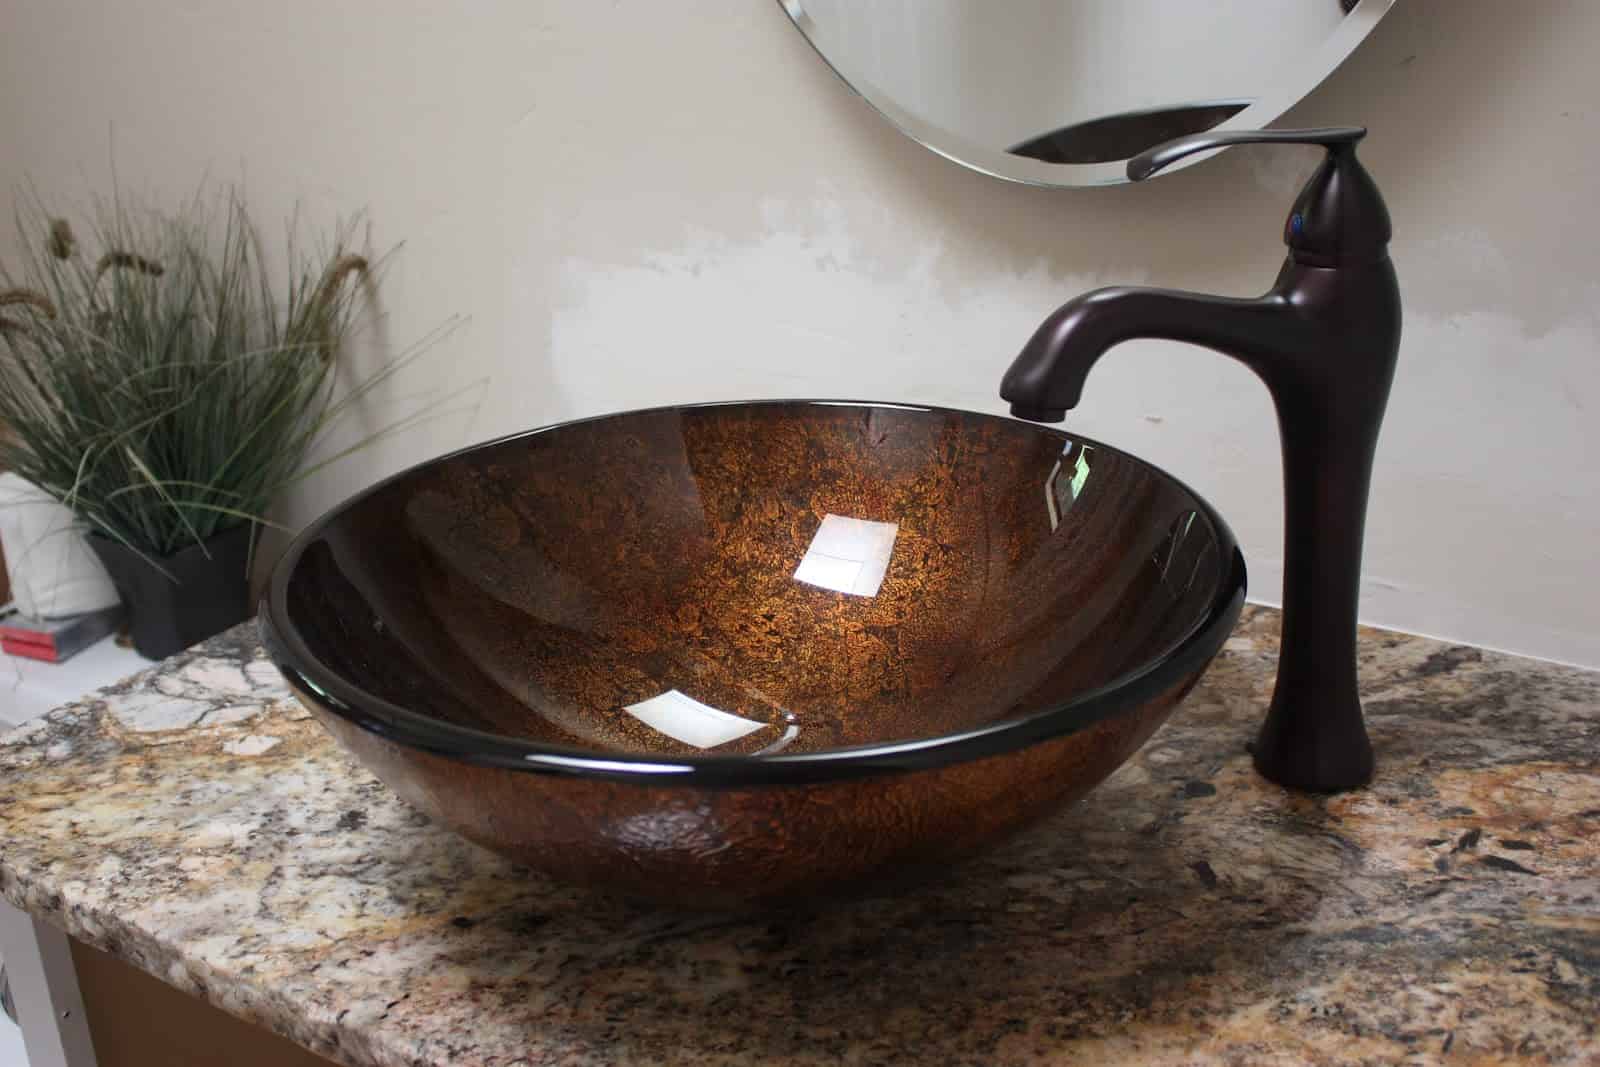
diy bathroom sink epoxy bowl in top


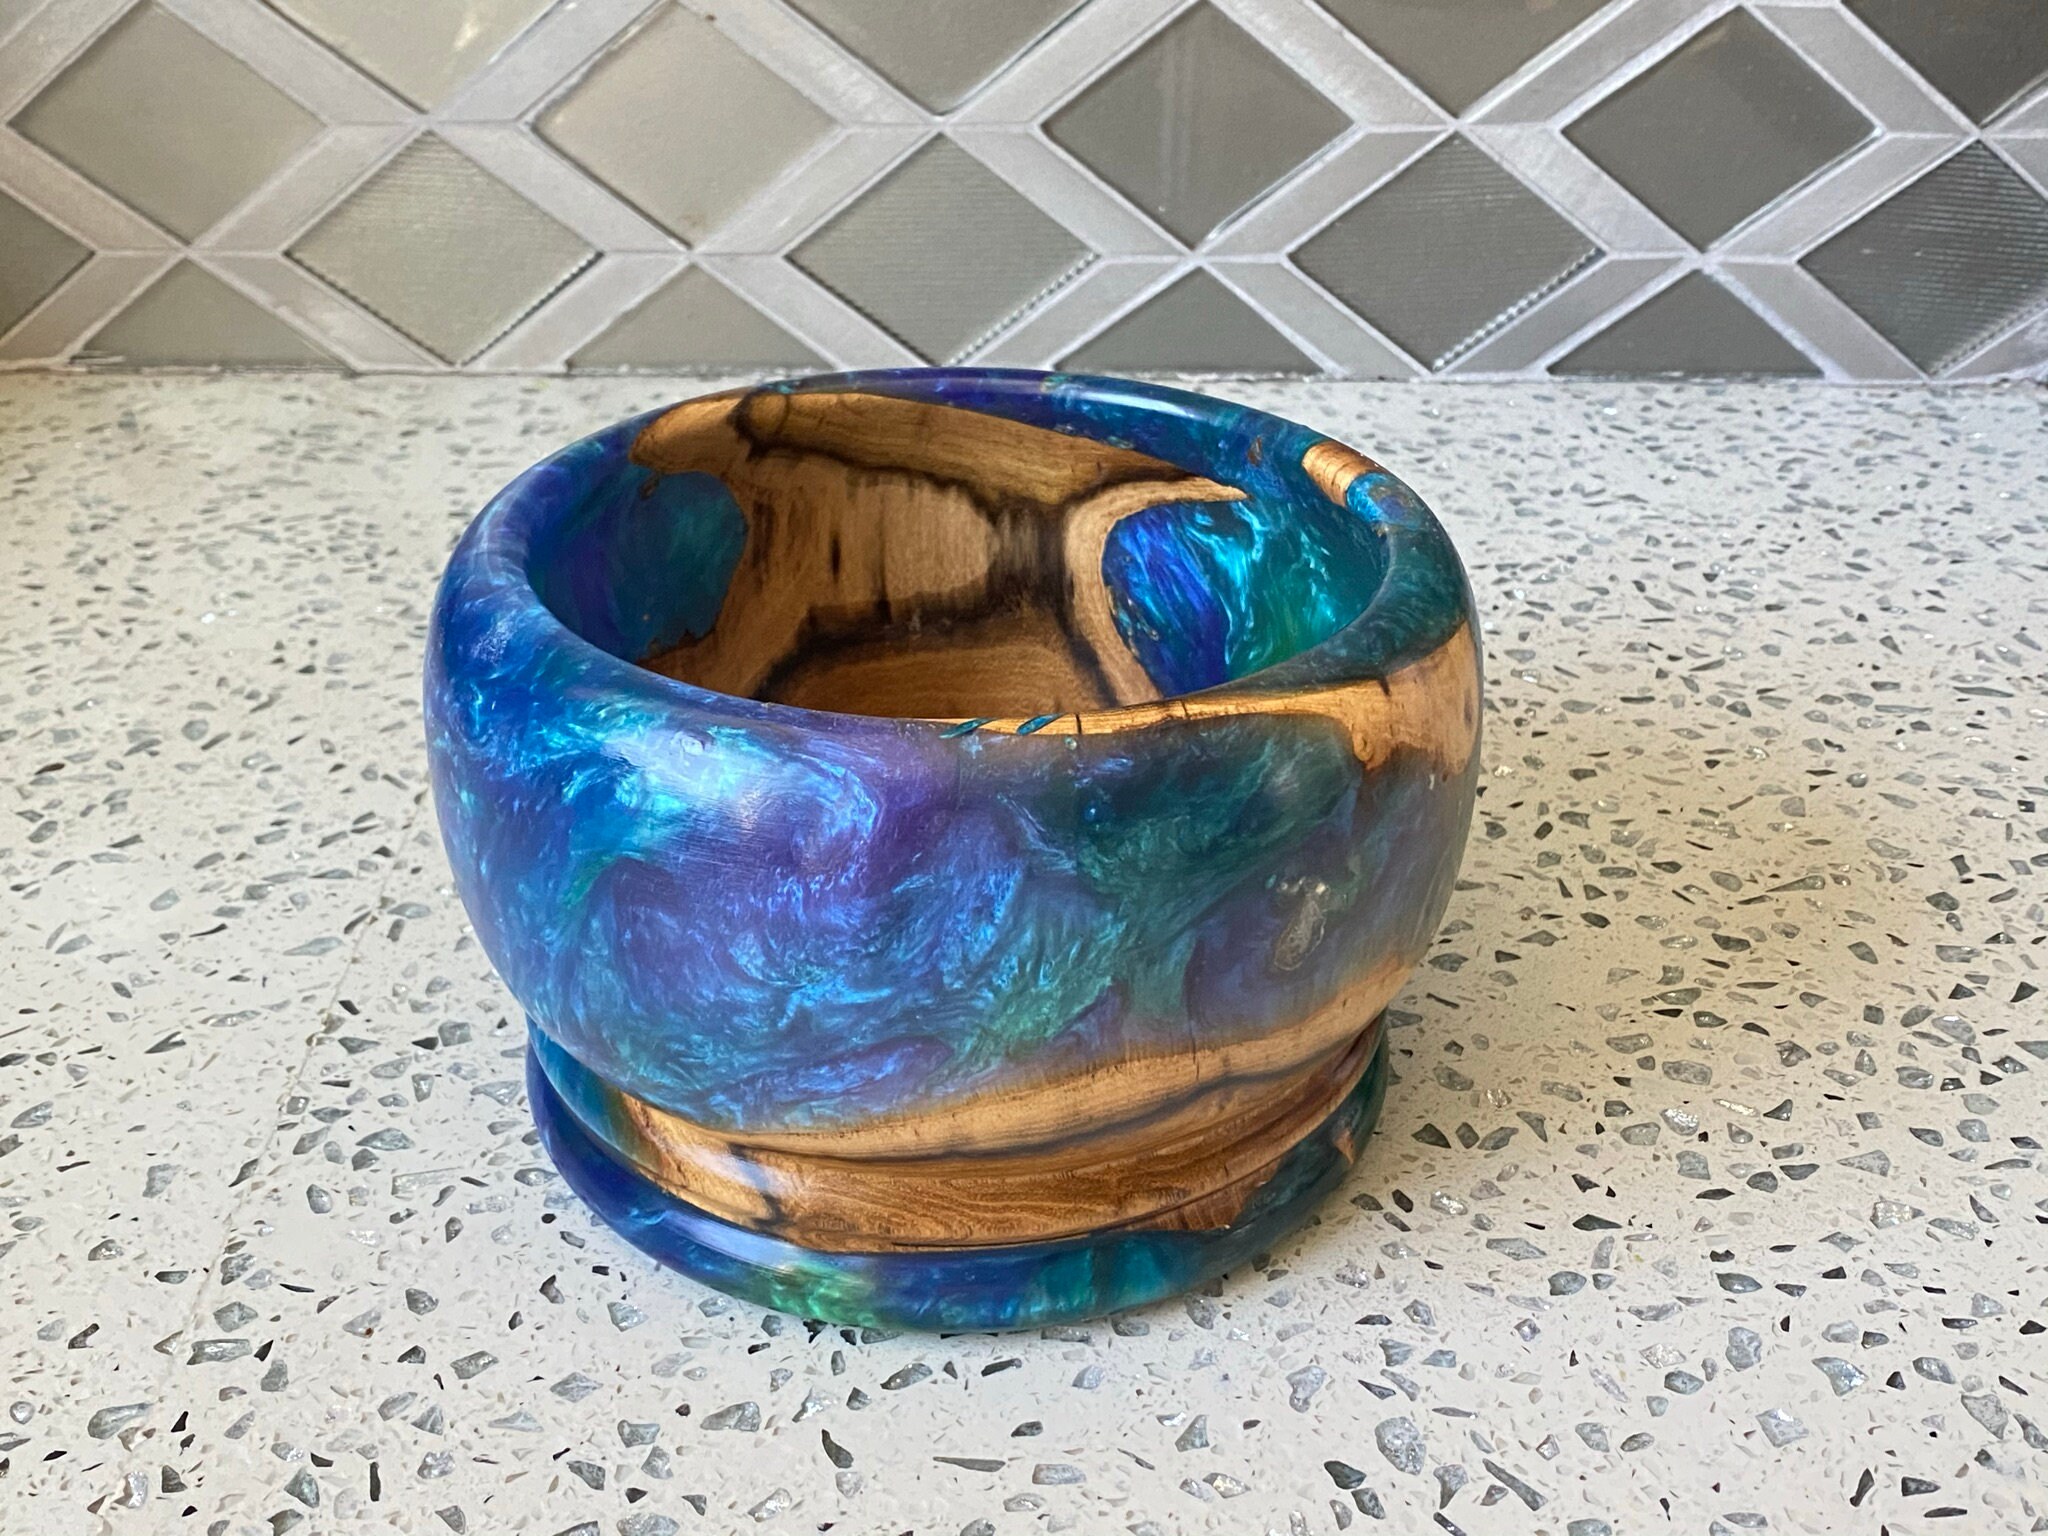
One of the biggest advantages of using a DIY bathroom sink epoxy bowl in top is the easy installation process. You don't need to hire a professional or have any special skills to do it yourself. With just a few simple steps, you can have a new and improved bathroom sink in no time.2. Easy Installation Process


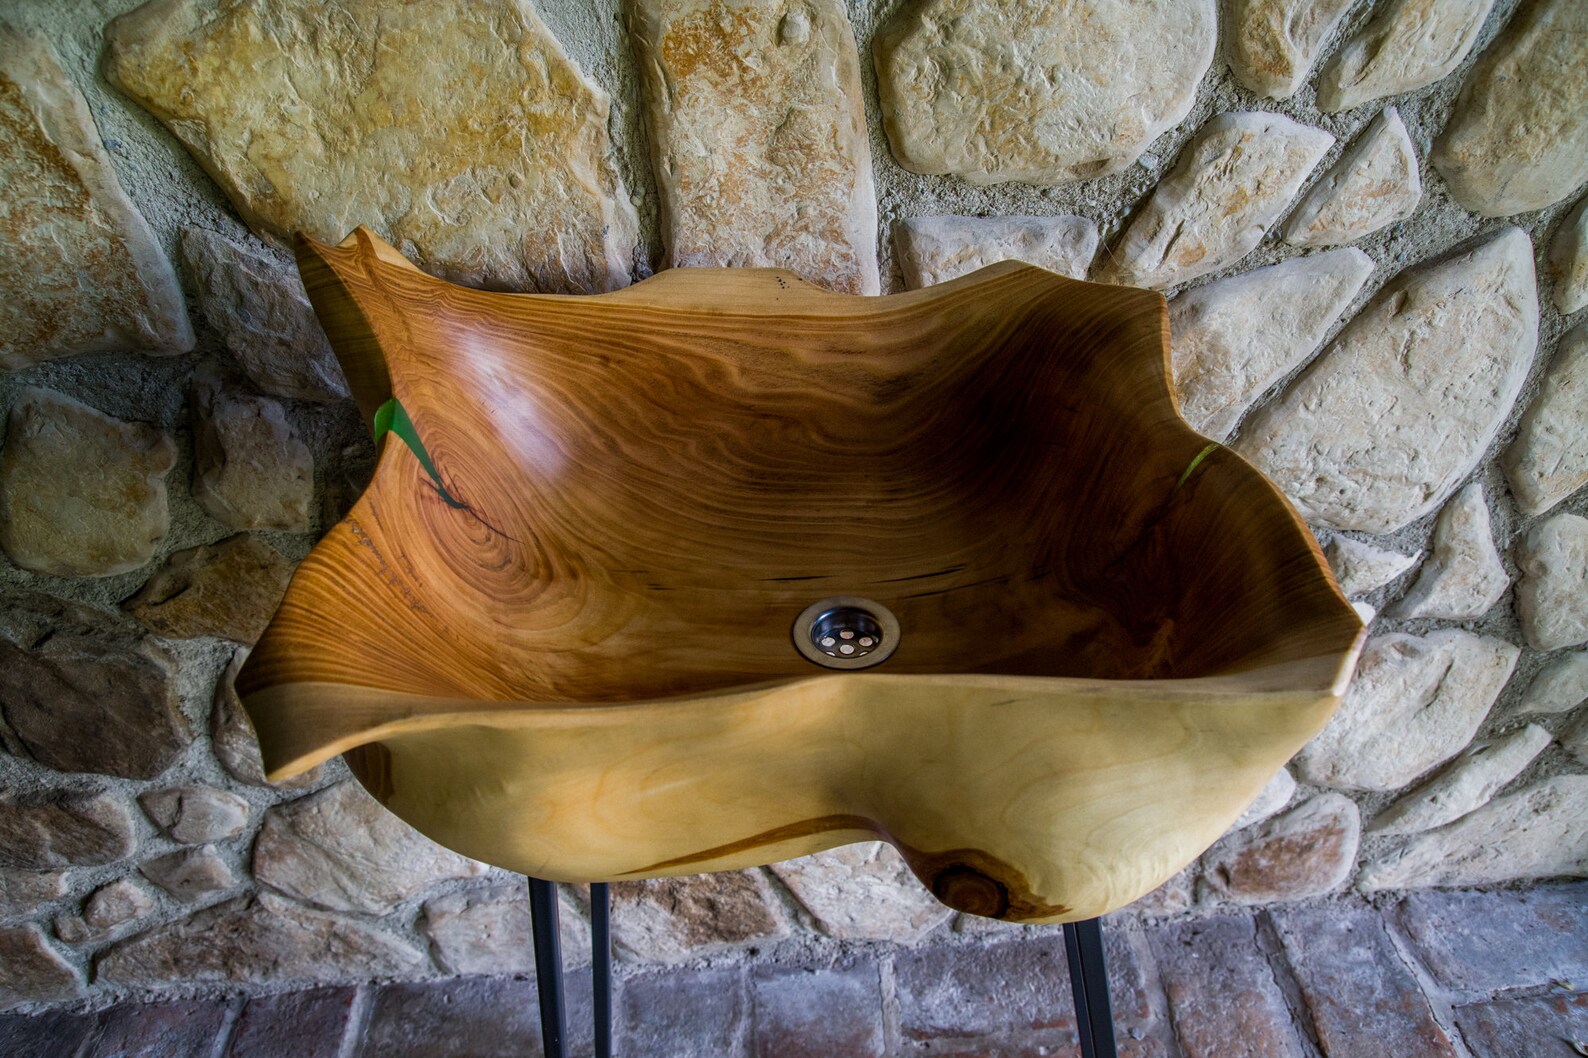
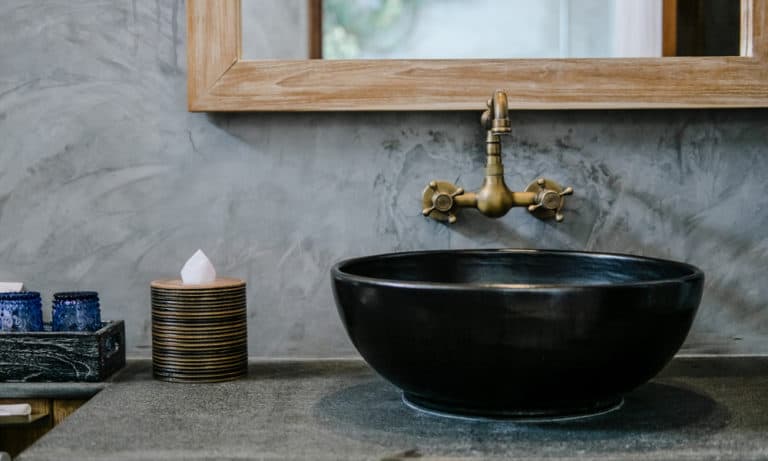
diy bathroom sink epoxy bowl


If you're on a tight budget, a DIY bathroom sink epoxy bowl in top is the perfect solution for you. Compared to buying a new sink or hiring a professional to install it, using epoxy can save you a significant amount of money. Plus, you can customize the design to fit your personal style without breaking the bank.3. Budget-Friendly Option


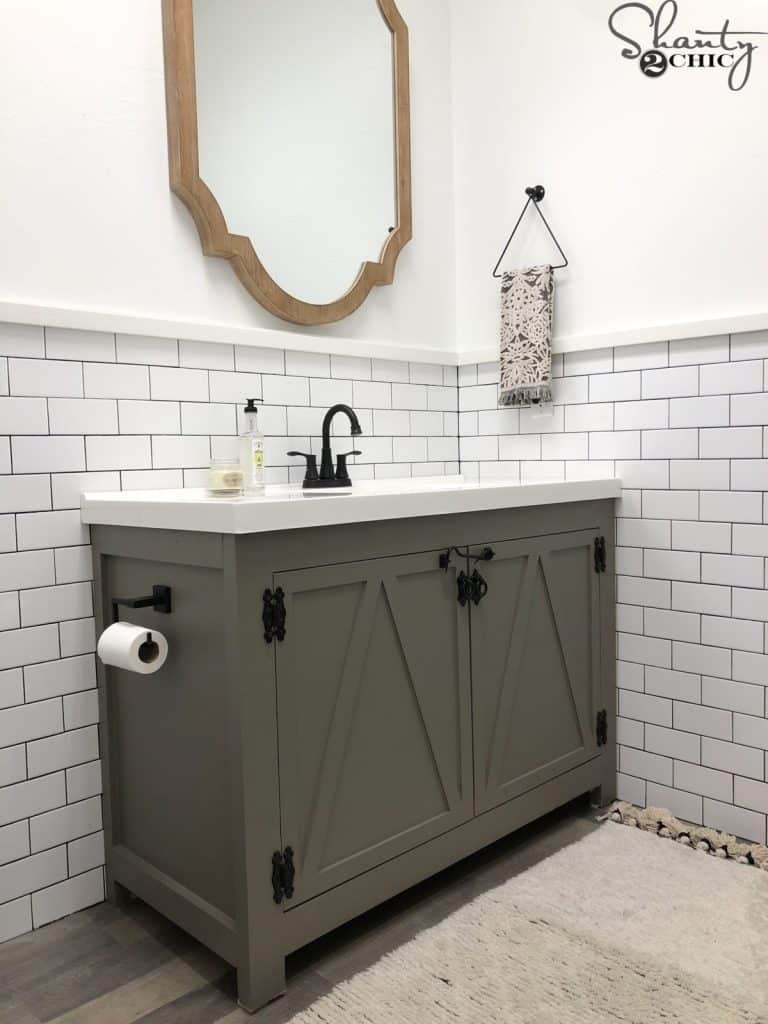
diy bathroom sink epoxy


Don't let the word "DIY" fool you - a bathroom sink epoxy bowl in top is a durable and long-lasting option. Epoxy is a strong and resistant material that can withstand daily wear and tear, making it perfect for a high-traffic area like the bathroom. It's also waterproof, making it perfect for a sink that is constantly exposed to water.4. Durable and Long-Lasting


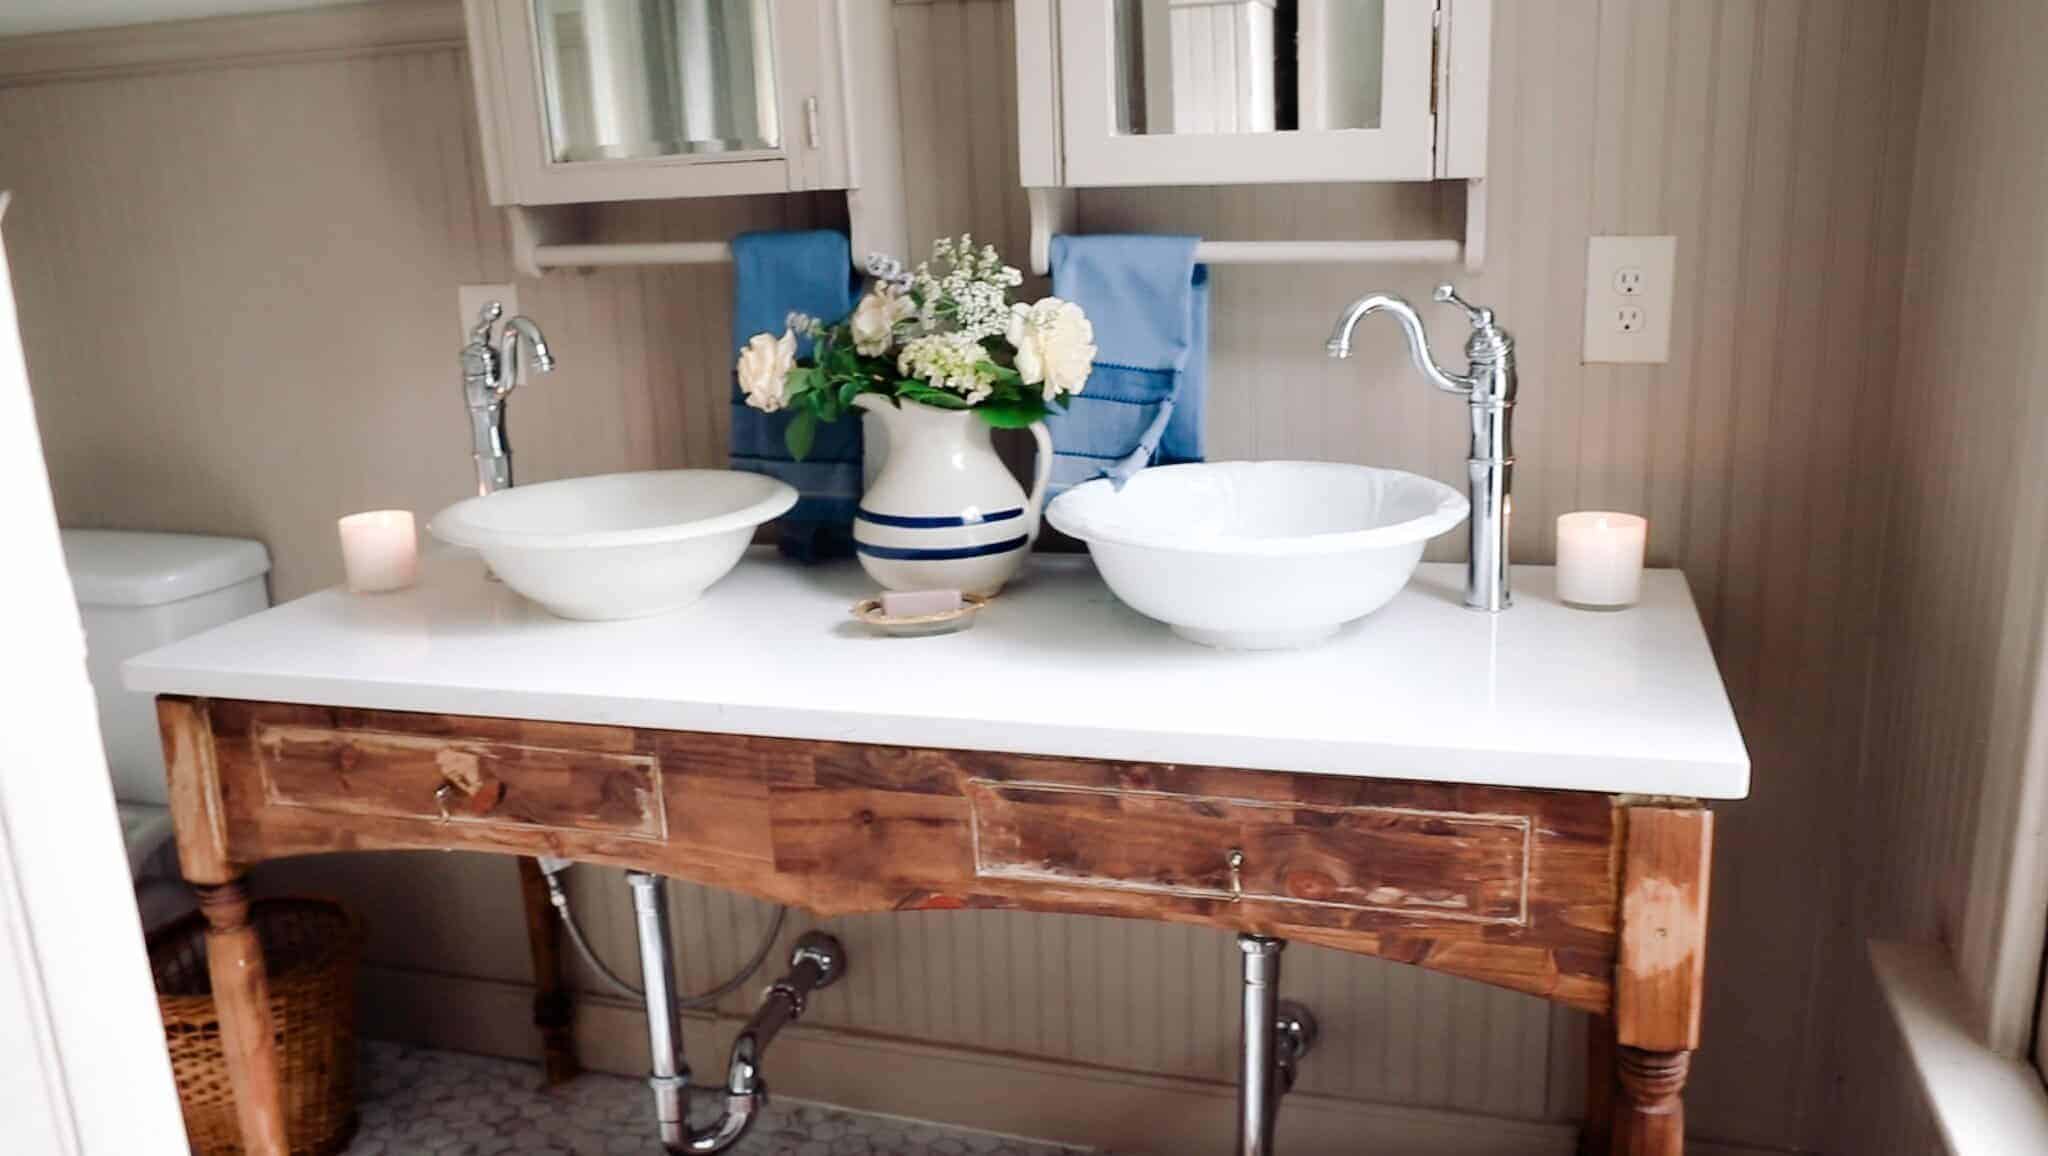
diy bathroom sink bowl


With a DIY bathroom sink epoxy bowl in top, you have endless design options to choose from. You can mix different colors to create a unique pattern or add glitter or other decorative elements for a more personalized touch. This is a great way to add a pop of color and personality to your bathroom.5. Versatile Design Options


diy bathroom sink top


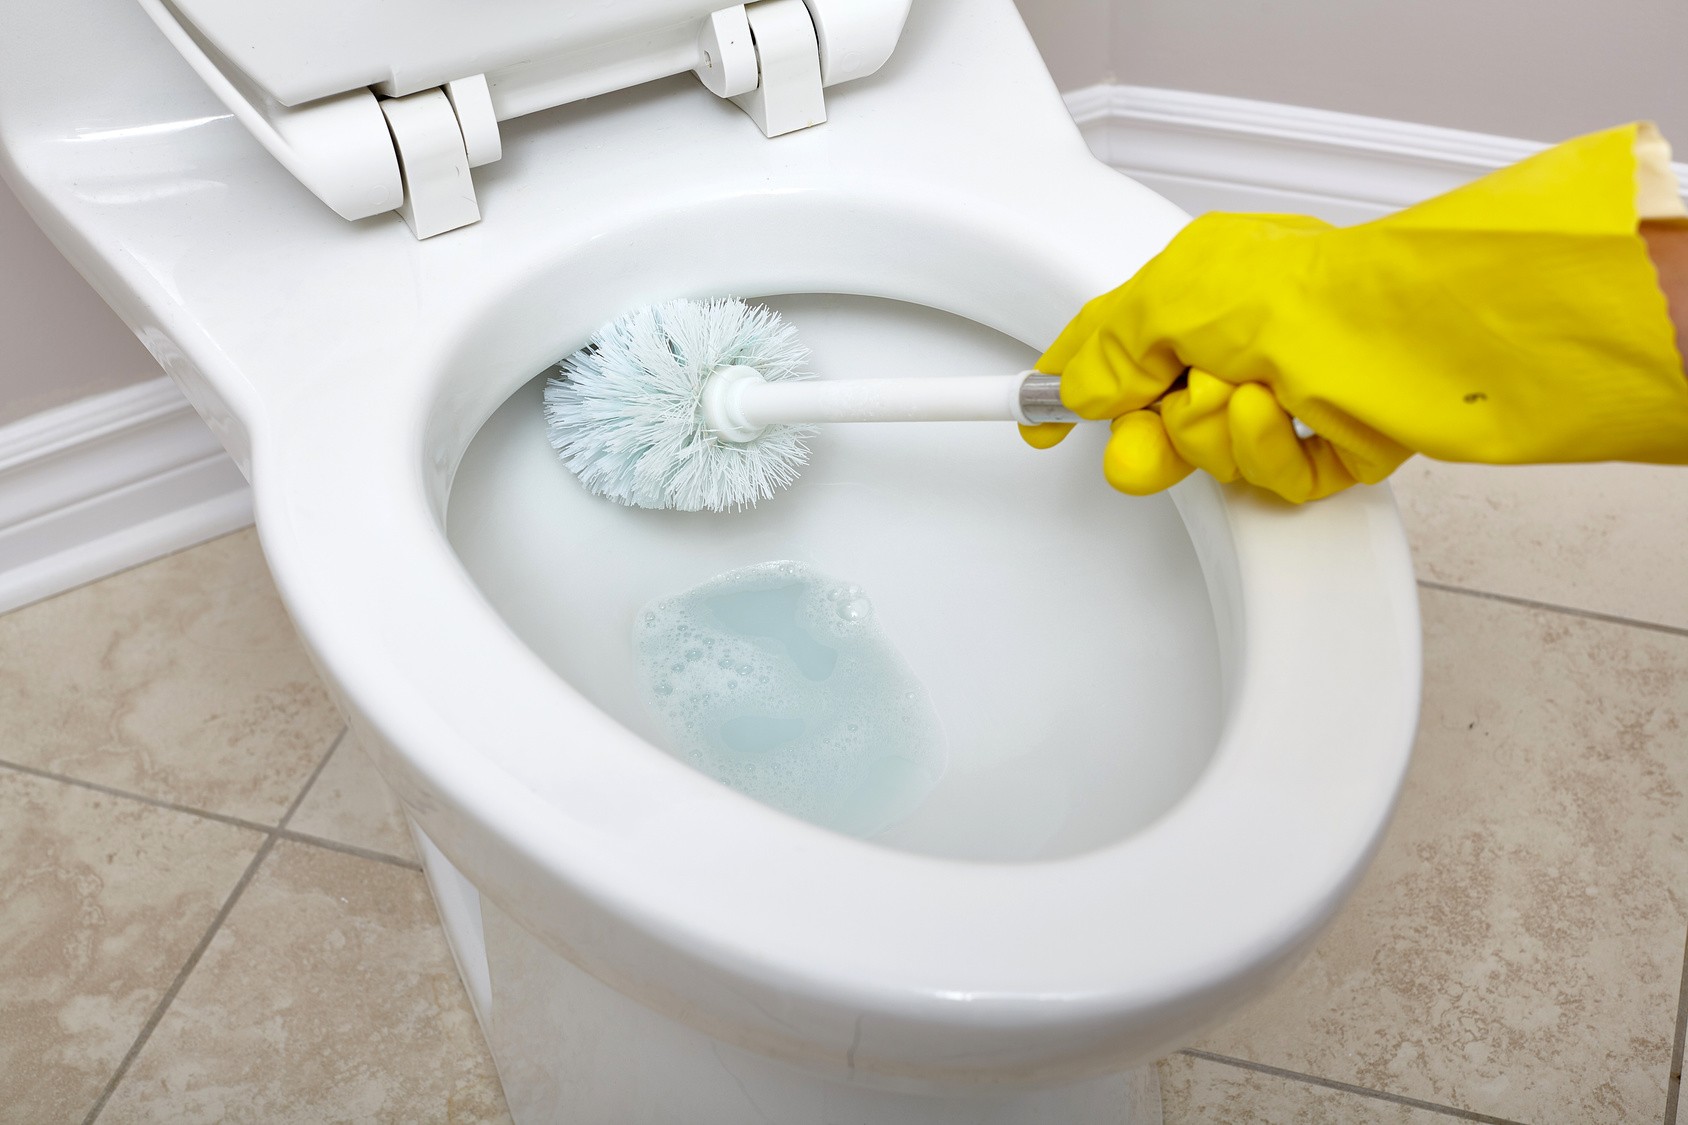
One of the most tedious tasks of having a bathroom sink is the constant cleaning and maintenance it requires. However, with a DIY bathroom sink epoxy bowl in top, cleaning becomes a breeze. Epoxy is a non-porous material, meaning it doesn't absorb dirt or bacteria. This makes it easy to wipe clean and maintain its shiny appearance.6. Easy to Clean and Maintain


diy bathroom epoxy bowl


Another advantage of using epoxy for your bathroom sink is its resistance to stains and scratches. This is especially beneficial if you have kids or tend to be clumsy around the sink. You won't have to worry about leaving behind any marks or scratches that could ruin the appearance of your sink.7. Resistant to Stains and Scratches


diy bathroom epoxy top


Using a DIY bathroom sink epoxy bowl in top is also an eco-friendly option. Instead of throwing away your old sink and contributing to waste, you can simply use epoxy to give it a new look. This is a great way to reduce your carbon footprint and make a small but positive impact on the environment.8. Eco-Friendly Option


diy bathroom bowl top


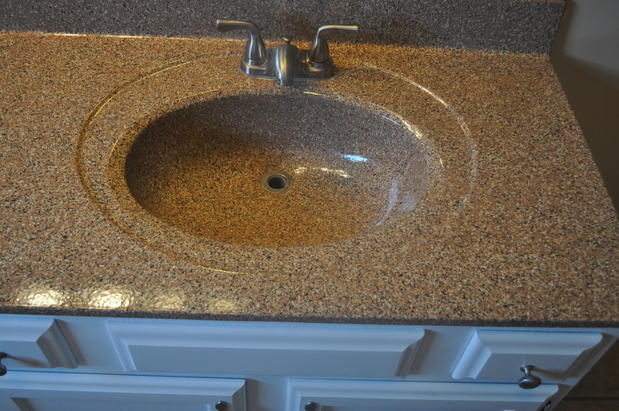
If you're planning on selling your home in the future, a DIY bathroom sink epoxy bowl in top can add value to your property. It's a small but noticeable upgrade that can make a big difference in the overall appearance of your bathroom. Potential buyers will appreciate the modern and stylish look of your sink.9. Adds Value to Your Home


bathroom sink epoxy bowl in top


Lastly, using a DIY bathroom sink epoxy bowl in top can bring a sense of personal satisfaction. You'll be able to see the transformation of your old sink into a new and improved one, all thanks to your own efforts. This small project can give you a sense of accomplishment and satisfaction every time you use your bathroom sink.10. Personal Satisfaction


bathroom sink epoxy bowl

How to Create a Stunning DIY Bathroom Sink Epoxy Bowl in Top

Transform Your Bathroom into a Luxurious Oasis
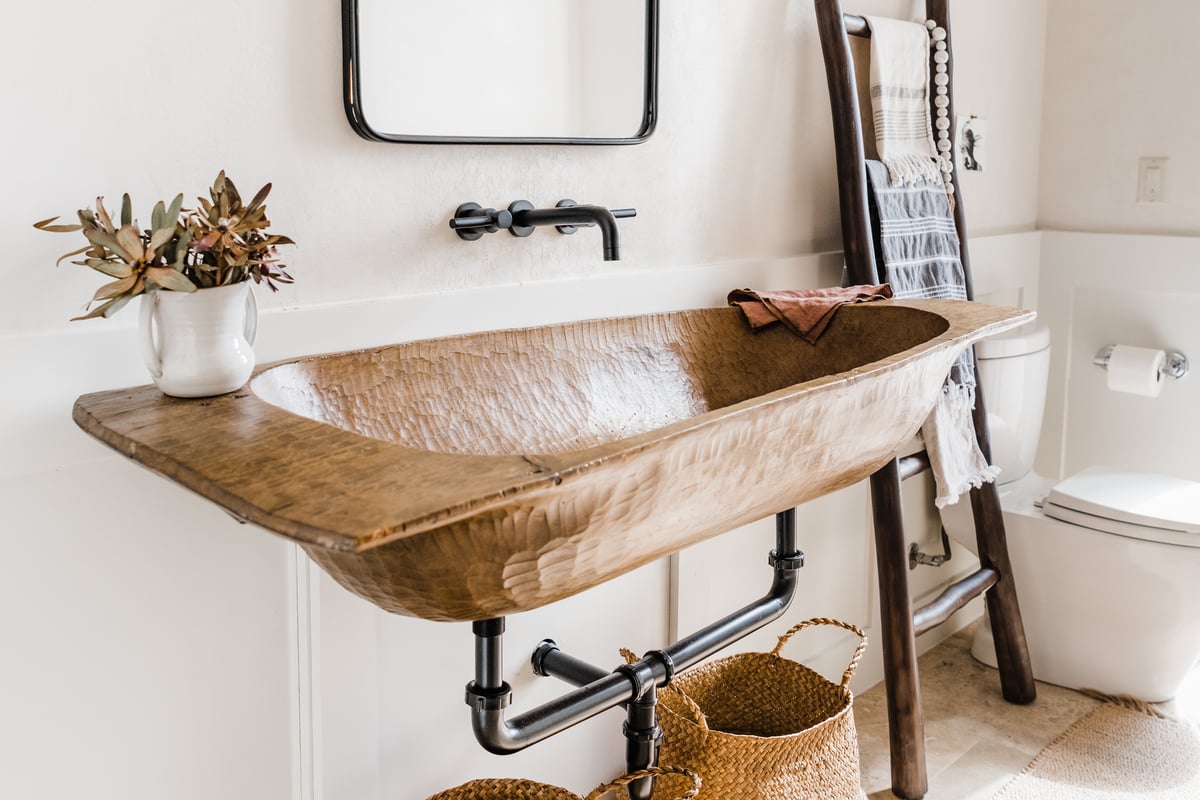
 Are you looking to add a touch of elegance and sophistication to your bathroom design? Look no further than a DIY bathroom sink epoxy bowl in top. This simple and affordable project can instantly upgrade your bathroom and give it a luxurious feel. Not only will it be a stunning addition to your house design, but it will also save you money compared to purchasing a new sink. In this article, we will guide you through the steps of creating your own DIY bathroom sink epoxy bowl in top and make your bathroom the envy of all your guests.
What is Epoxy and Why Should You Use It?
 Epoxy is a type of resin that, when mixed with a hardener, creates a strong and durable material. It is commonly used in household projects such as countertops, flooring, and now, bathroom sinks. Epoxy is a great choice for a bathroom sink as it is resistant to water, heat, and stains. Plus, it is easy to work with and provides a glossy, smooth finish that adds a touch of luxury to any space.
Step-by-Step Guide to Creating Your DIY Bathroom Sink Epoxy Bowl in Top
 Step 1:
Start by prepping your existing sink. Clean it thoroughly and remove any caulk or grout around the edges.
Keyword: Prepping
Step 2:
Measure the dimensions of your sink and cut a piece of plywood to fit on top. This will serve as the base for your epoxy bowl. Sand and paint the plywood to match your bathroom design.
Keywords: Measure, Cut, Sand, Paint
Step 3:
Create a mold for your epoxy bowl using cardboard or foam board. The size and shape of your mold will depend on the design you want for your sink. Make sure to leave a gap between the mold and the plywood base for the epoxy to fill in.
Keywords: Mold, Design, Gap
Step 4:
Mix your epoxy according to the manufacturer's instructions. Be sure to wear gloves and work in a well-ventilated area.
Keywords: Mix, Manufacturer's instructions, Gloves, Well-ventilated
Step 5:
Pour the epoxy into the mold, filling it to the desired height. Use a heat gun or blowtorch to remove any air bubbles.
Keywords: Pour, Desired height, Heat gun, Blowtorch, Air bubbles
Step 6:
Allow the epoxy to cure for at least 24 hours before removing the mold. Once cured, sand down any rough edges and seal the surface with a clear topcoat.
Keywords: Cure, Sand, Rough edges, Seal, Clear topcoat
Step 7:
Install the plywood base with the epoxy bowl on top of your existing sink. Secure it with caulk or adhesive and let it dry completely.
Keywords: Install, Plywood base, Epoxy bowl, Secure, Caulk, Adhesive, Dry completely
Step 1:
Start by prepping your existing sink. Clean it thoroughly and remove any caulk or grout around the edges.
Keyword: Prepping
Step 2:
Measure the dimensions of your sink and cut a piece of plywood to fit on top. This will serve as the base for your epoxy bowl. Sand and paint the plywood to match your bathroom design.
Keywords: Measure, Cut, Sand, Paint
Step 3:
Create a mold for your epoxy bowl using cardboard or foam board. The size and shape of your mold will depend on the design you want for your sink. Make sure to leave a gap between the mold and the plywood base for the epoxy to fill in.
Keywords: Mold, Design, Gap
Step 4:
Mix your epoxy according to the manufacturer's instructions. Be sure to wear gloves and work in a well-ventilated area.
Keywords: Mix, Manufacturer's instructions, Gloves, Well-ventilated
Step 5:
Pour the epoxy into the mold, filling it to the desired height. Use a heat gun or blowtorch to remove any air bubbles.
Keywords: Pour, Desired height, Heat gun, Blowtorch, Air bubbles
Step 6:
Allow the epoxy to cure for at least 24 hours before removing the mold. Once cured, sand down any rough edges and seal the surface with a clear topcoat.
Keywords: Cure, Sand, Rough edges, Seal, Clear topcoat
Step 7:
Install the plywood base with the epoxy bowl on top of your existing sink. Secure it with caulk or adhesive and let it dry completely.
Keywords: Install, Plywood base, Epoxy bowl, Secure, Caulk, Adhesive, Dry completely
Final Thoughts
 By following these simple steps, you can create a beautiful and unique DIY bathroom sink epoxy bowl in top that will elevate your bathroom design. Remember to get creative with your design and have fun with this project. With a little bit of time and effort, you can transform your bathroom into a luxurious oasis that reflects your personal style and adds value to your home.