Attaching a kitchen sink to a countertop may seem like a daunting task, but with the right tools and techniques, it can be a simple and straightforward process. In this article, we will guide you through the steps to properly attach a kitchen sink to your countertop, whether you are installing a new sink or fixing a loose one.How to Attach a Kitchen Sink to a Countertop


How to Attach a Kitchen Sink to a Countertop

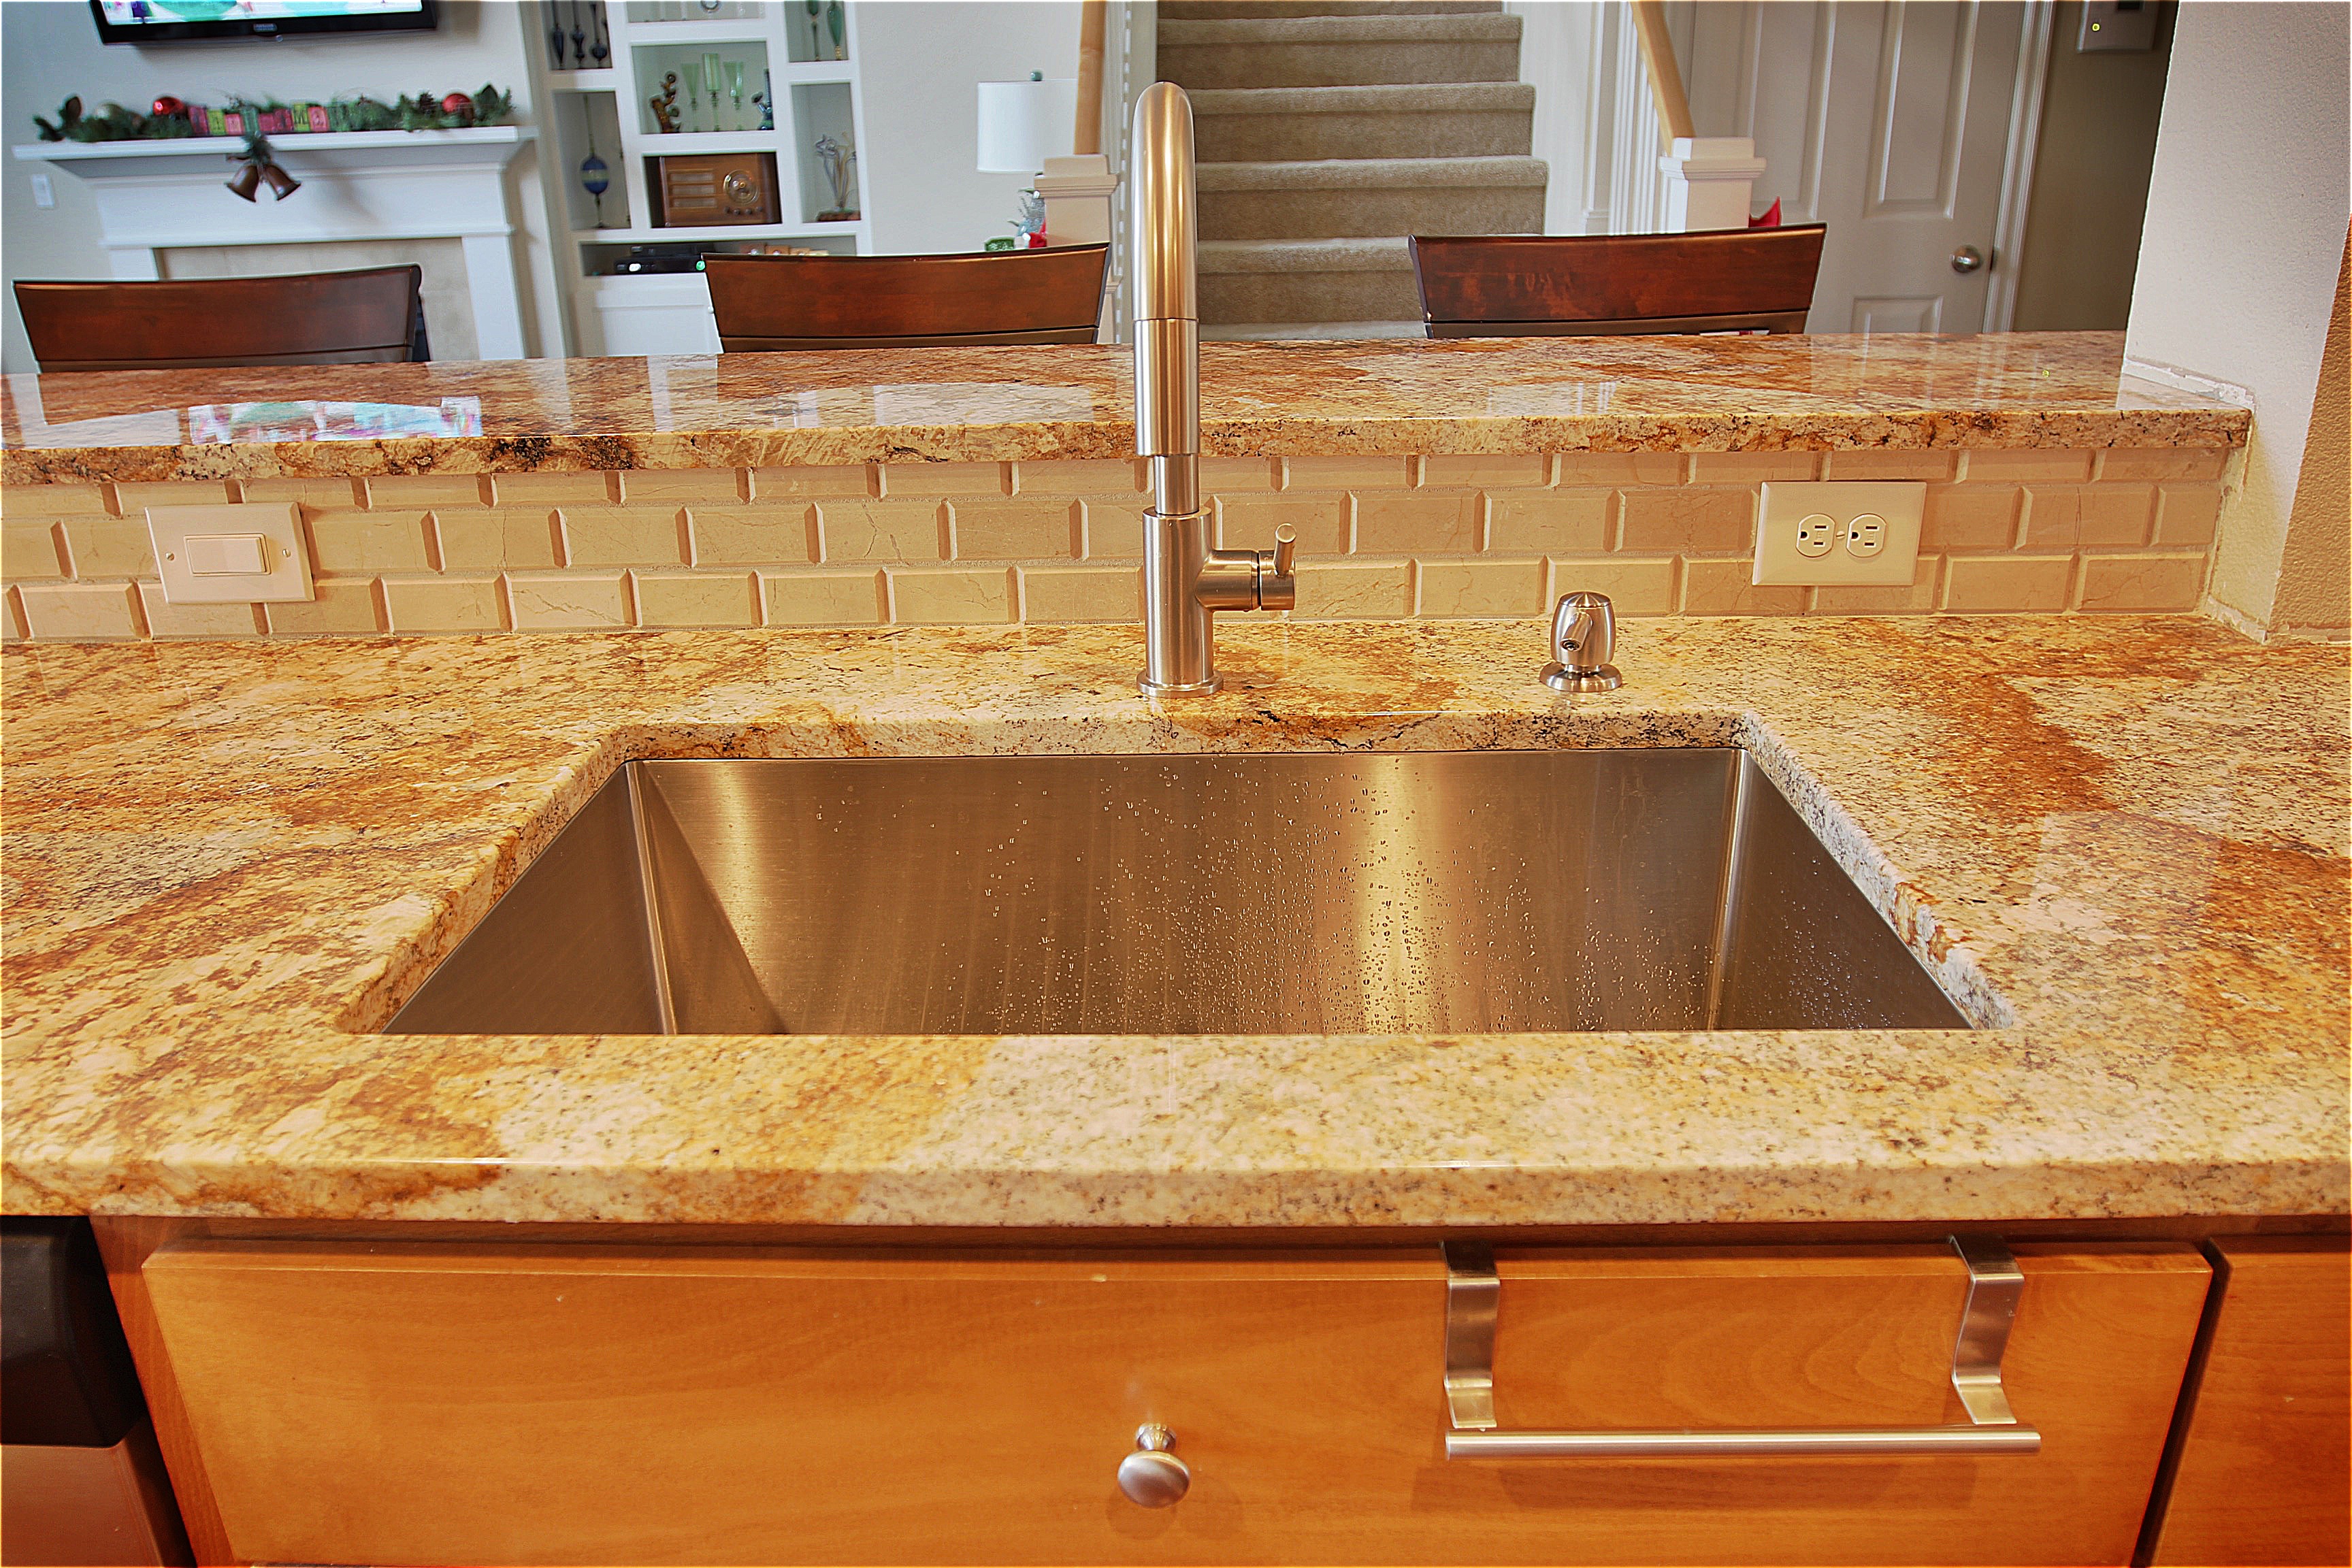


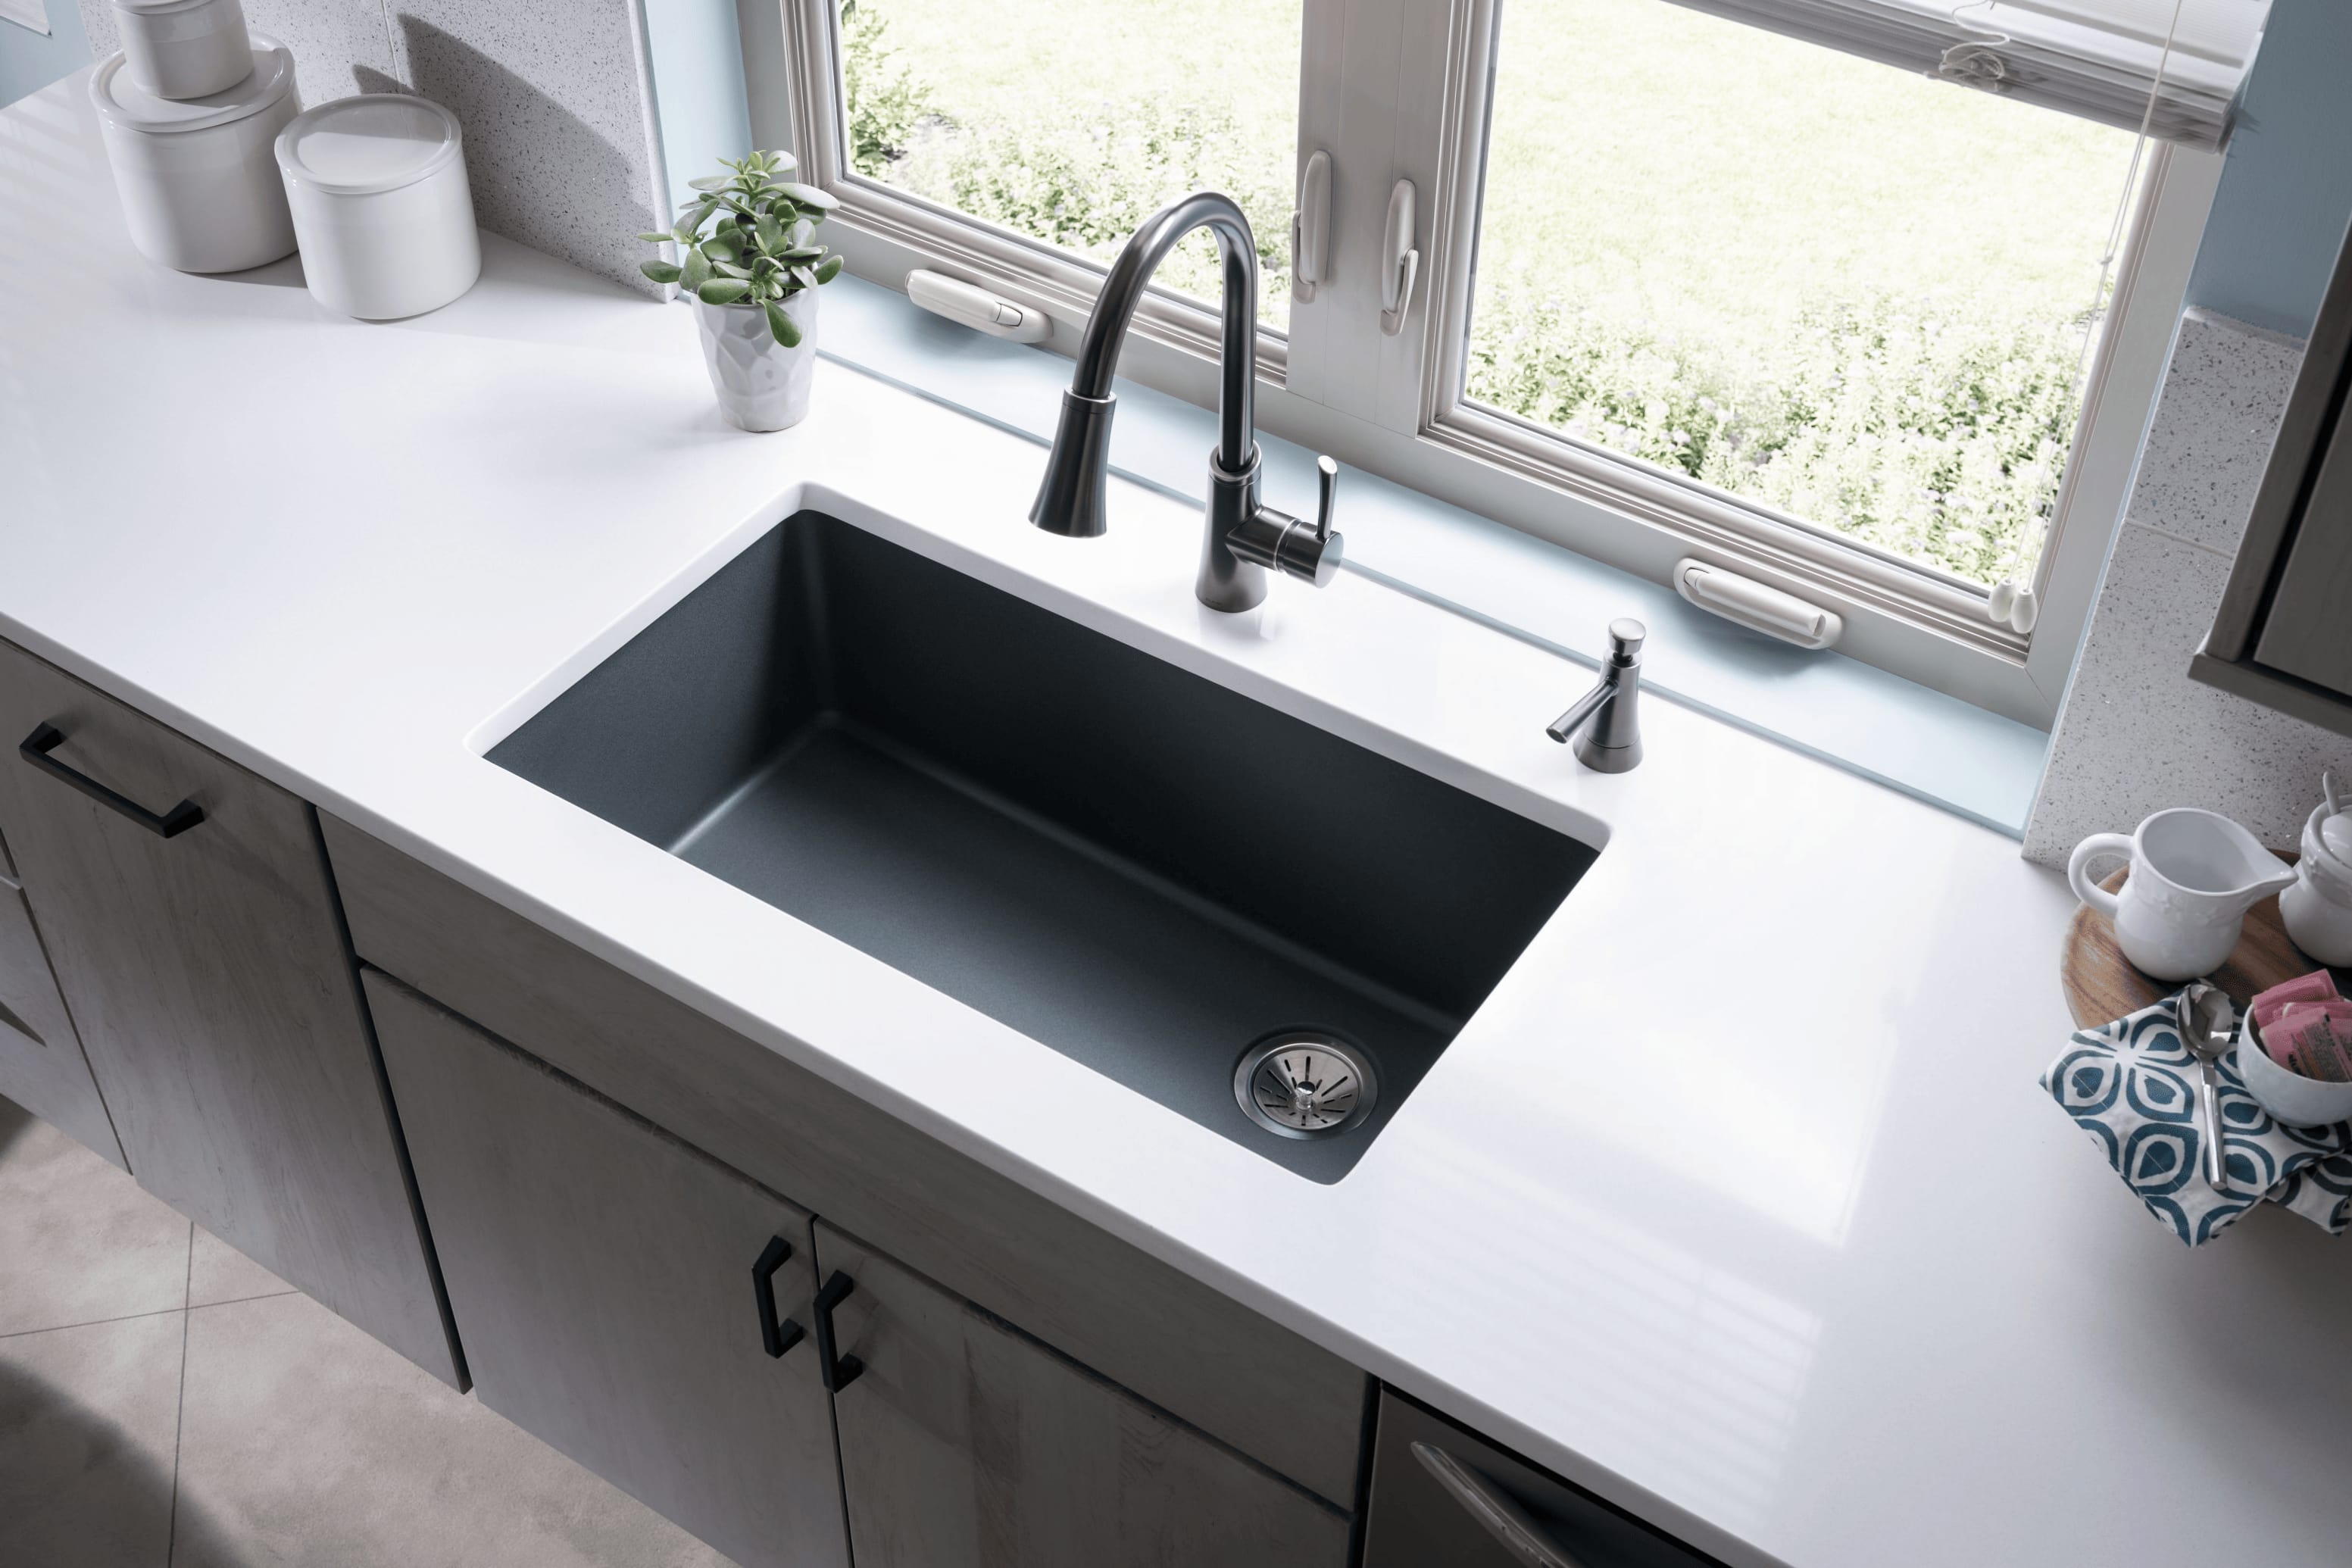
If you are installing a new kitchen sink in a brand new countertop, the process will be much easier as you will have a clean and flat surface to work with. The first step is to measure and mark the exact location of your sink on the countertop. Make sure to leave enough space for the sink's edges and clips. Next, use a jigsaw to carefully cut out the marked area on the countertop. This can be a delicate process, so take your time and refer to the sink's installation instructions for any specific guidelines. Once the hole is cut, place the sink into the hole and check for a proper fit. If everything looks good, you can move on to attaching the sink to the countertop.How to Install a Kitchen Sink in a New Countertop


How to Install a Kitchen Sink in a New Countertop
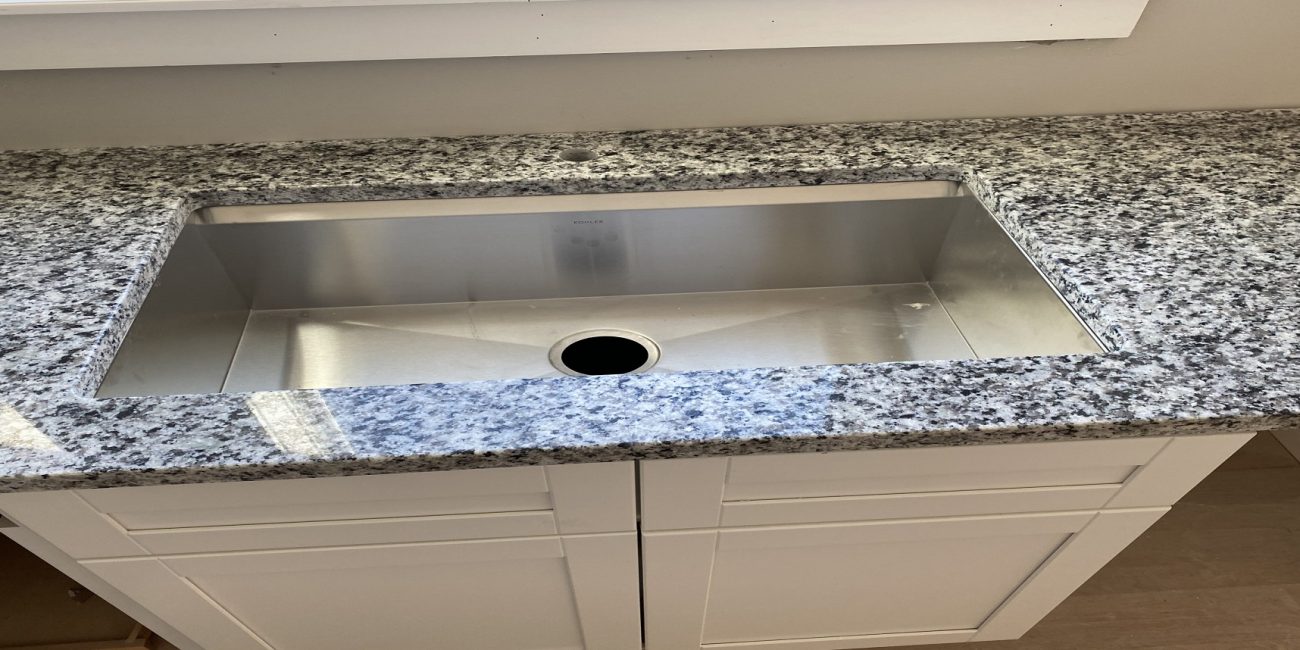


If you are a DIY enthusiast, installing a kitchen sink in a countertop can be a fulfilling project. To start, you will need a few basic tools and materials, including a drill, silicone adhesive, and sink clips. Begin by placing a bead of silicone adhesive around the edge of the sink hole on the underside of the countertop. This will help create a watertight seal and prevent any water from leaking into the cabinet below. Next, carefully place the sink into the hole, making sure it is aligned properly. Once the sink is in place, use a drill to secure the sink clips around the edge of the sink. These clips will help hold the sink firmly in place. Finally, wipe away any excess adhesive and allow it to dry completely before using the sink.DIY: How to Install a Kitchen Sink in a Countertop


DIY: How to Install a Kitchen Sink in a Countertop


To help you visualize the process, here is a step-by-step guide for attaching a kitchen sink to a countertop: 1. Measure and mark the location of the sink on the countertop. 2. Use a jigsaw to cut out the marked area on the countertop. 3. Place the sink into the hole and check for a proper fit. 4. Apply silicone adhesive around the edge of the sink hole. 5. Carefully place the sink into the hole. 6. Secure sink clips around the edge of the sink using a drill. 7. Wipe away any excess adhesive and allow it to dry completely.Step-by-Step Guide for Attaching a Kitchen Sink to a Countertop


Step-by-Step Guide for Attaching a Kitchen Sink to a Countertop


:no_upscale()/cdn.vox-cdn.com/uploads/chorus_asset/file/19495086/drain_0.jpg)

Before you start attaching your kitchen sink to the countertop, make sure you have the following tools and materials: - Jigsaw - Drill - Silicone adhesive - Sink clips - Wrench or pliers (if needed for tightening the clips)Tools and Materials Needed for Attaching a Kitchen Sink to a Countertop


Tools and Materials Needed for Attaching a Kitchen Sink to a Countertop


To ensure your kitchen sink stays securely attached to the countertop, here are some tips to keep in mind: - Use a good quality silicone adhesive to create a strong, watertight seal. - Check the sink's alignment before securing it in place. - Tighten the sink clips evenly to avoid any gaps between the sink and countertop. - Follow the manufacturer's instructions for any specific guidelines.Tips for a Secure and Long-Lasting Attachment of a Kitchen Sink to a Countertop


Tips for a Secure and Long-Lasting Attachment of a Kitchen Sink to a Countertop


While attaching a kitchen sink to a countertop may seem like a simple task, there are some common mistakes that can lead to a loose or improperly installed sink. These include: - Not using enough adhesive to create a solid seal. - Not checking the sink's alignment before securing it in place. - Uneven tightening of the sink clips. - Not following the manufacturer's instructions. By avoiding these mistakes, you can ensure a secure and long-lasting attachment of your kitchen sink to the countertop.Common Mistakes to Avoid When Attaching a Kitchen Sink to a Countertop


Common Mistakes to Avoid When Attaching a Kitchen Sink to a Countertop


If you have a loose kitchen sink, it is important to address the issue as soon as possible to prevent any further damage. To fix a loose sink, you will need to remove it and reattach it using new adhesive and clips. Start by turning off the water supply and disconnecting the plumbing. Then, remove the sink clips and carefully lift the sink out of the hole. Clean the area and apply new silicone adhesive before reinstalling the sink. Make sure to tighten the clips evenly and allow the adhesive to dry before using the sink again.How to Fix a Loose Kitchen Sink Attached to a Countertop


How to Fix a Loose Kitchen Sink Attached to a Countertop


While the above method is the most common way to attach a kitchen sink to a countertop, there are a few alternative methods you can consider: - Some sinks come with a mounting frame that can be attached to the countertop with screws. - Undermount sinks are installed from beneath the countertop, making the attachment process slightly different. Before attempting any alternative method, make sure to thoroughly read the sink's installation instructions and follow them carefully.Alternative Methods for Attaching a Kitchen Sink to a Countertop


Alternative Methods for Attaching a Kitchen Sink to a Countertop


Deciding whether to hire a professional or tackle the installation yourself is a personal choice that depends on your skills and budget. Here are some pros and cons to consider: Professional Installation: Pros: Experienced and knowledgeable, can fix any issues quickly, may offer a warranty or guarantee Cons: Can be expensive, may have to schedule an appointment, may have to wait for parts to be ordered if something goes wrong DIY: Pros: Can save money, can be a fulfilling project, allows for more control over the installation process Cons: Requires time and effort, may not have the same level of expertise as a professional, may need to purchase tools and materials Overall, attaching a kitchen sink to a countertop can be a manageable DIY project for those with some basic skills, but it is always a good idea to consult a professional if you have any doubts or concerns. With the right tools and techniques, you can have a secure and functional kitchen sink that will last for years to come.Professional Installation vs. DIY: Pros and Cons for Attaching a Kitchen Sink to a Countertop


Professional Installation vs. DIY: Pros and Cons for Attaching a Kitchen Sink to a Countertop


Properly Attaching a Kitchen Sink to a Counter for a Sturdy and Functional Design

Why is Proper Installation Important?
 When designing or renovating a kitchen, the sink is often one of the most used and essential fixtures. It is where we wash dishes, prepare food, and even fill up water glasses. Therefore, it is crucial to ensure that the sink is securely attached to the counter to avoid any accidents or damage. A properly installed kitchen sink can also enhance the overall look and functionality of the kitchen.
Step 1: Preparing the Sink
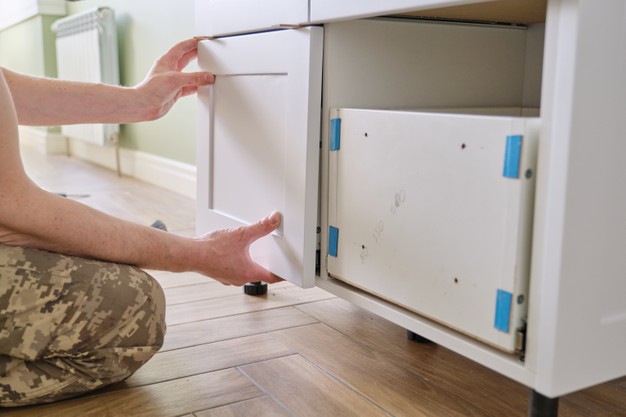
 Before attaching the sink to the counter, it is essential to prepare the sink properly. This includes attaching any necessary brackets or clips to the sink and ensuring that the sink is clean and free of any debris.
Clean and debris-free
sinks not only provide a better seal but also prevent any damage to the countertop.
Before attaching the sink to the counter, it is essential to prepare the sink properly. This includes attaching any necessary brackets or clips to the sink and ensuring that the sink is clean and free of any debris.
Clean and debris-free
sinks not only provide a better seal but also prevent any damage to the countertop.
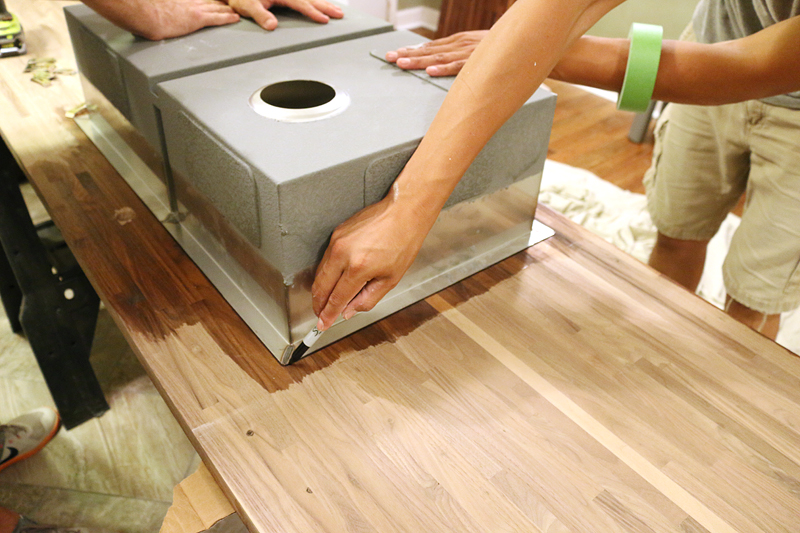
Step 2: Marking the Countertop
 Once the sink is ready, the next step is to mark the countertop where the sink will be placed. Use a pencil to trace the outline of the sink on the counter. This will serve as a guide for the next step and ensure that the sink is placed correctly.
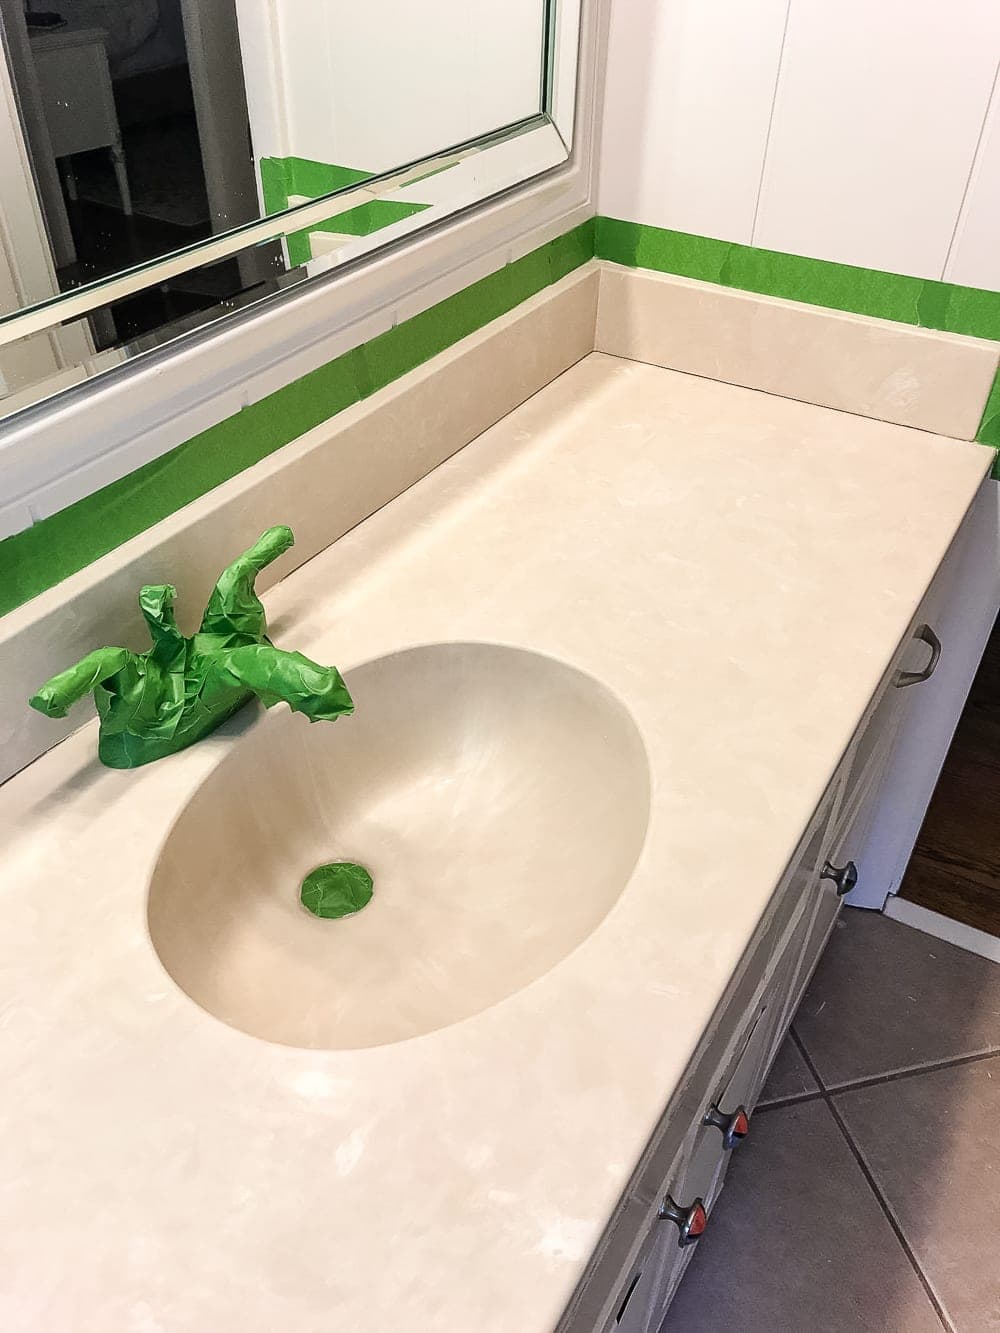
Step 3: Applying Adhesive
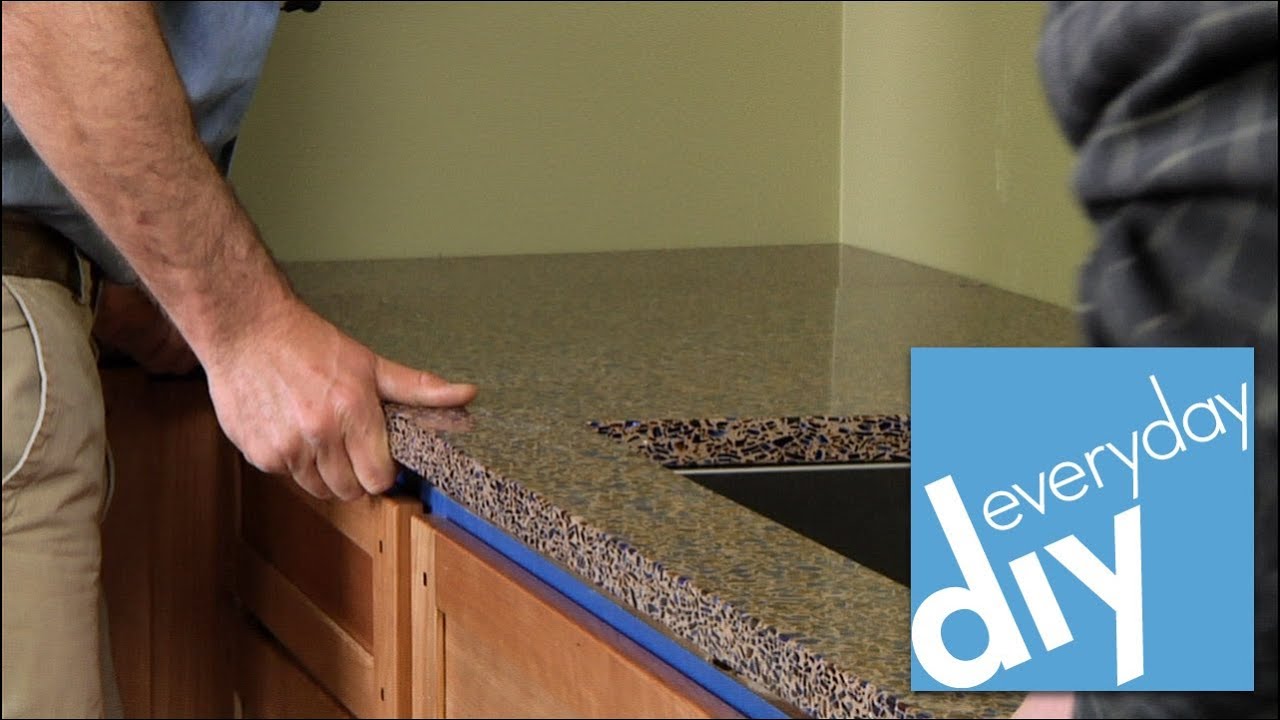
 Using a
waterproof adhesive
, apply a thin layer around the edge of the sink cutout on the countertop. Make sure to follow the manufacturer's instructions for the adhesive and use a caulk gun for an even application. This adhesive will help create a strong bond between the sink and counter.
Using a
waterproof adhesive
, apply a thin layer around the edge of the sink cutout on the countertop. Make sure to follow the manufacturer's instructions for the adhesive and use a caulk gun for an even application. This adhesive will help create a strong bond between the sink and counter.
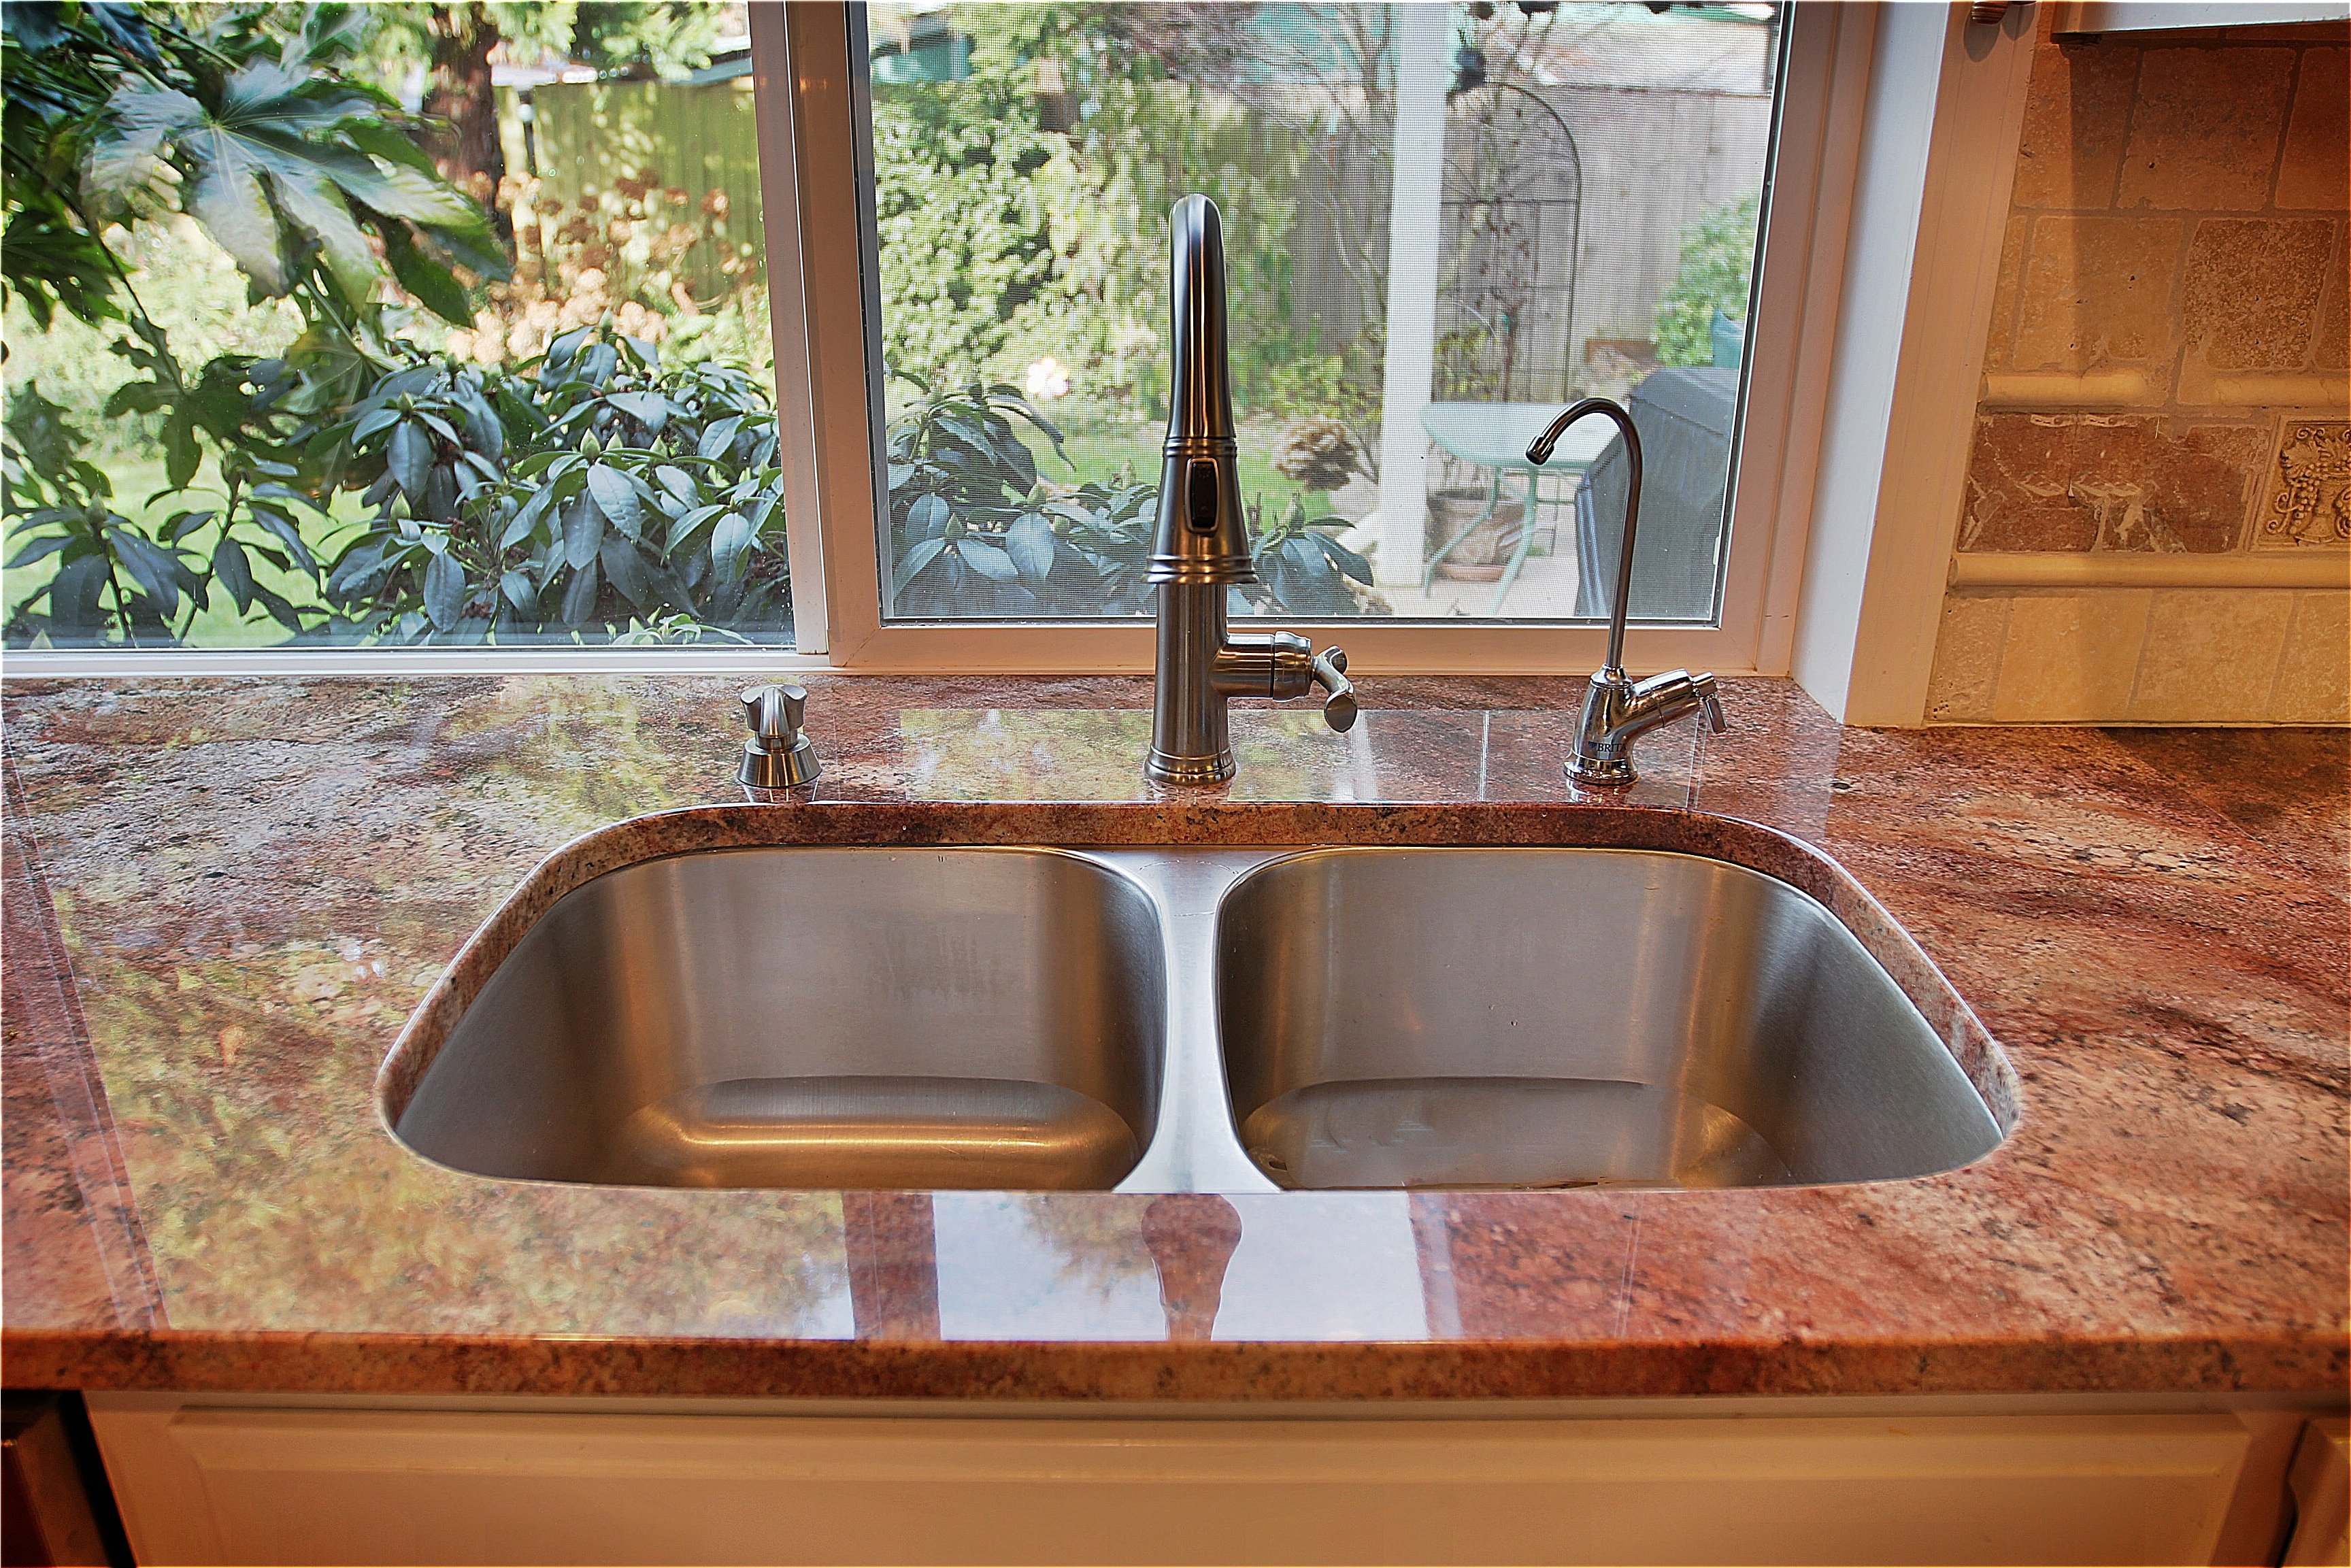
Step 4: Installing the Sink
 Carefully place the sink into the cutout, making sure it aligns with the markings on the countertop. Press down firmly to ensure the sink is attached securely.
TIP: Have someone assist you during this step to ensure the sink is placed correctly and evenly.
Carefully place the sink into the cutout, making sure it aligns with the markings on the countertop. Press down firmly to ensure the sink is attached securely.
TIP: Have someone assist you during this step to ensure the sink is placed correctly and evenly.
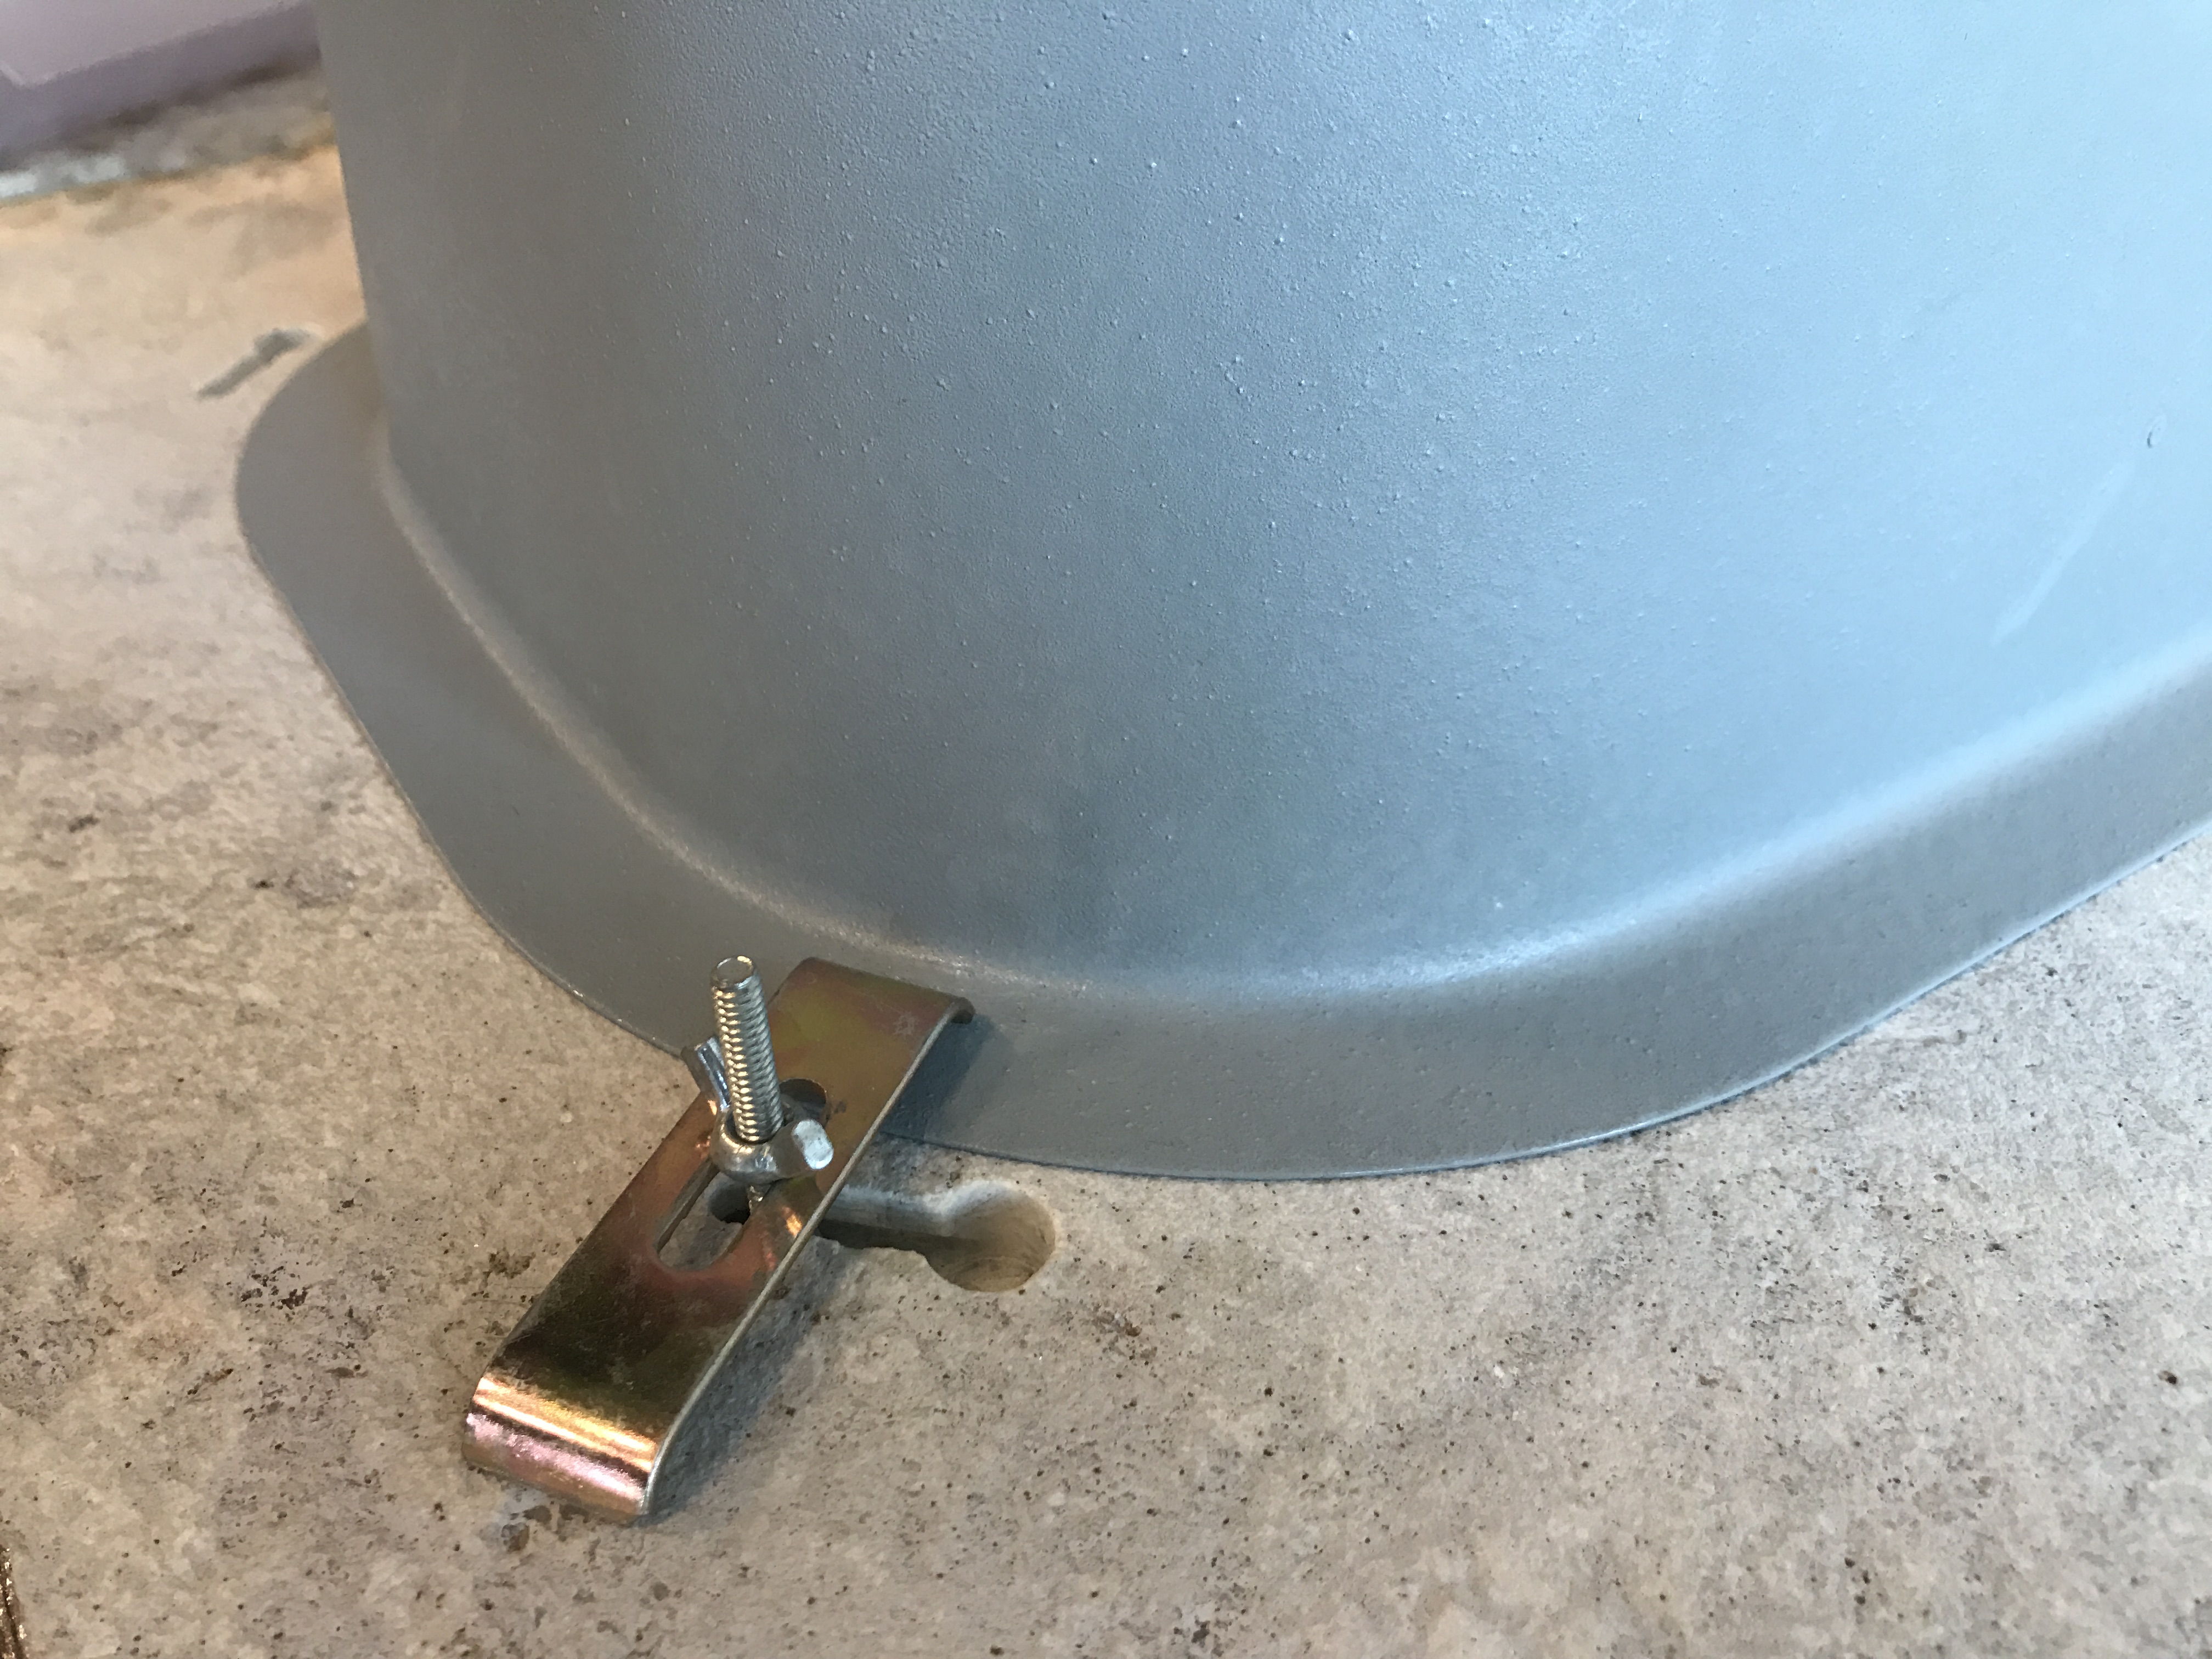
Step 5: Securing the Sink
 After the sink is in place, secure it to the countertop using the appropriate brackets or clips. These will help keep the sink in place while the adhesive dries. Make sure to tighten the brackets or clips securely, without over-tightening them.
Step 6: Cleaning Up
 Once the sink is securely attached, clean up any excess adhesive using a damp cloth. Allow the adhesive to dry completely before using the sink.
Final Thoughts
 Properly attaching a kitchen sink to a counter is crucial for a sturdy and functional design. It not only ensures the safety of those using the sink but also enhances the overall look and functionality of the kitchen. By following these steps and using the appropriate materials, you can achieve a professional and long-lasting installation.