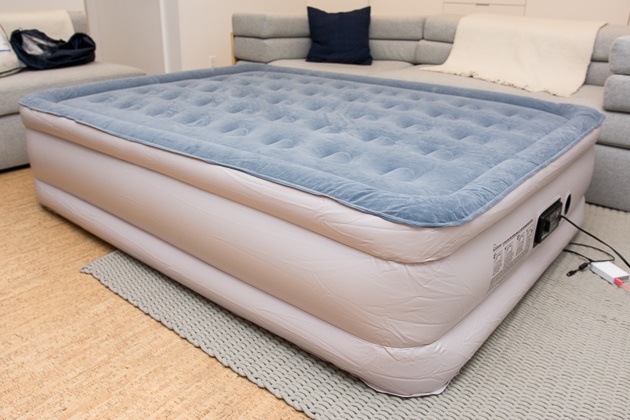
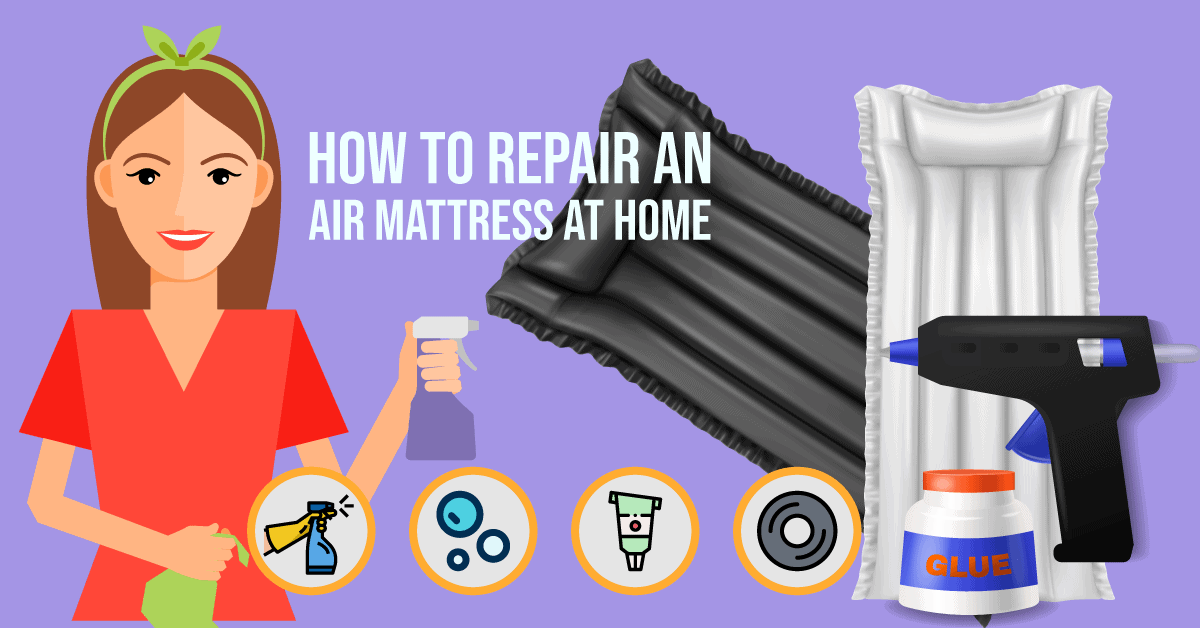
Having a tear in your air mattress can be a major inconvenience, especially if you rely on it for a comfortable night's sleep. But fear not, repairing a tear in your air mattress is actually a fairly simple process. With the right tools and techniques, you can have your air mattress looking and feeling as good as new in no time.How to Repair a Tear in an Air Mattress


How to Repair a Tear in an Air Mattress


Before you start the repair process, it's important to have the right tools on hand. A good air mattress tear repair kit should include a patch or adhesive, a sealant, and a patching tool. You can purchase a pre-made repair kit or gather these items separately. Just make sure the adhesive and sealant are compatible with the material of your air mattress.Air Mattress Tear Repair Kit

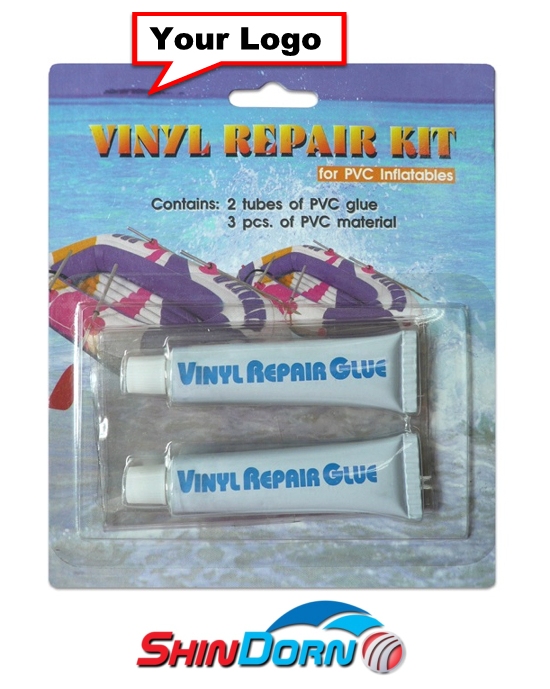

Air Mattress Tear Repair Kit


If you don't have a repair kit handy, you can still fix a tear in your air mattress with items you may already have at home. Duct tape, super glue, and even a bicycle tire patch kit can work in a pinch. Just be aware that these DIY solutions may not be as effective in the long run.DIY Air Mattress Tear Repair


DIY Air Mattress Tear Repair


If you need a quick fix and don't want to wait for adhesive or sealant to dry, you can try using a hot glue gun. This method can be effective for smaller tears, but may not hold up as well for larger tears or tears in high-stress areas of the mattress.Quick and Easy Air Mattress Tear Repair


Quick and Easy Air Mattress Tear Repair


When it comes to repairing a tear in your air mattress, some products are better than others. Look for patch kits specifically designed for air mattresses, as they will have a stronger adhesive and sealant that is compatible with the material. You can also opt for a heavy-duty adhesive or sealant, such as Gorilla Glue or Flex Tape.Best Products for Air Mattress Tear Repair

Best Products for Air Mattress Tear Repair

:max_bytes(150000):strip_icc()/aerobed-opti-comfort-queen-air-mattress-with-headboard-93c9f99d65ee4cce88edf90b9411b1cd.jpg)
Repairing a tear in an air mattress can be tricky, but there are some tips and tricks that can make the process easier. First, make sure to clean and dry the area around the tear before applying any adhesive or sealant. This will ensure a stronger bond. Also, consider reinforcing the repair with a second layer of adhesive or sealant for added strength.Air Mattress Tear Repair Tips and Tricks

Air Mattress Tear Repair Tips and Tricks

If you're not confident in your ability to repair a tear in your air mattress on your own, or if the tear is too large or in a difficult spot, you can always seek out professional repair services. Many mattress stores and camping supply companies offer air mattress repair services, or you can look for a local upholstery or repair shop that specializes in fixing outdoor gear.Professional Air Mattress Tear Repair Services


Professional Air Mattress Tear Repair Services
/Primary_Images-a885ad380d8b4cf693e1a2489fed2b51.jpg)
There are several common causes of tears in air mattresses, including sharp objects, over-inflation, and wear and tear from repeated use. To repair a tear caused by a sharp object, you'll want to patch the tear with a strong adhesive and sealant. For tears caused by over-inflation, you may need to release some air from the mattress to relieve the pressure and then repair the tear. And for general wear and tear, you'll want to reinforce the tear with multiple layers of adhesive or sealant.Common Causes of Air Mattress Tears and How to Repair Them


Common Causes of Air Mattress Tears and How to Repair Them


Of course, the best way to deal with air mattress tears is to prevent them from happening in the first place. To prevent tears, make sure to place your air mattress on a flat, clean surface, and avoid setting it up near sharp objects or rough surfaces. Use a protective cover or sheet to add an extra layer of protection, and avoid over-inflating the mattress.How to Prevent Air Mattress Tears and the Need for Repair


How to Prevent Air Mattress Tears and the Need for Repair


If you're ready to repair a tear in your air mattress, follow these simple steps:Air Mattress Tear Repair: Step-by-Step Guide


Air Mattress Tear Repair: Step-by-Step Guide


How to Repair a Tear in Your Air Mattress: A Comprehensive Guide

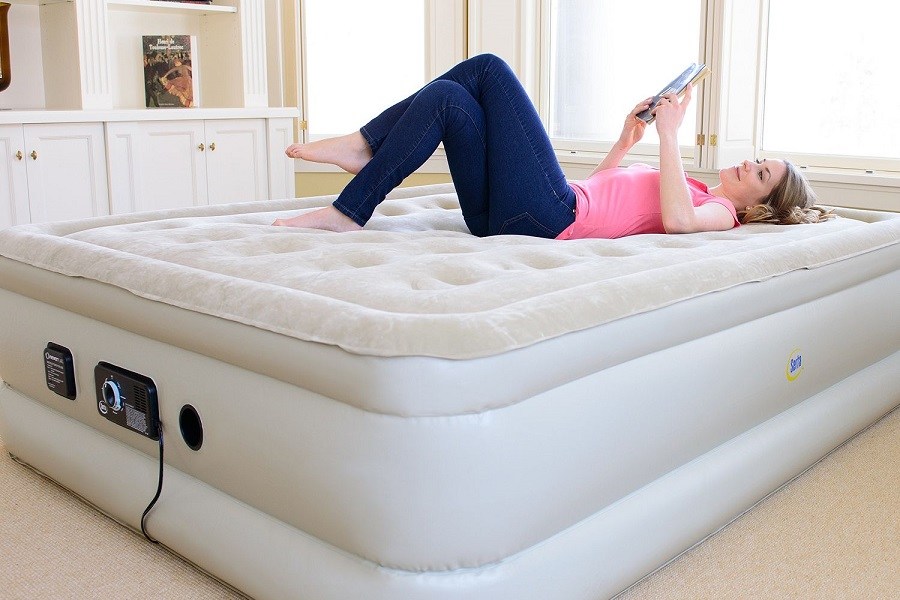
The Importance of a Good Night's Sleep
 Getting a good night's sleep is crucial for our overall health and well-being. The quality of our sleep can be greatly affected by the comfort and support of our bed, including our
air mattress
. However, even the best air mattresses can experience wear and tear over time, leading to
tears
and
holes
that can disrupt our sleep and leave us with a deflated mattress.
Getting a good night's sleep is crucial for our overall health and well-being. The quality of our sleep can be greatly affected by the comfort and support of our bed, including our
air mattress
. However, even the best air mattresses can experience wear and tear over time, leading to
tears
and
holes
that can disrupt our sleep and leave us with a deflated mattress.
The Solution: Repairing Your Air Mattress Tear
 Fortunately, repairing a
tear
in your air mattress is a relatively simple process that can save you from having to purchase a new one. Here is a step-by-step guide on how to effectively repair your
air mattress tear
and restore it to its former comfort and functionality.
Fortunately, repairing a
tear
in your air mattress is a relatively simple process that can save you from having to purchase a new one. Here is a step-by-step guide on how to effectively repair your
air mattress tear
and restore it to its former comfort and functionality.
Step 1: Identify the Location of the Tear
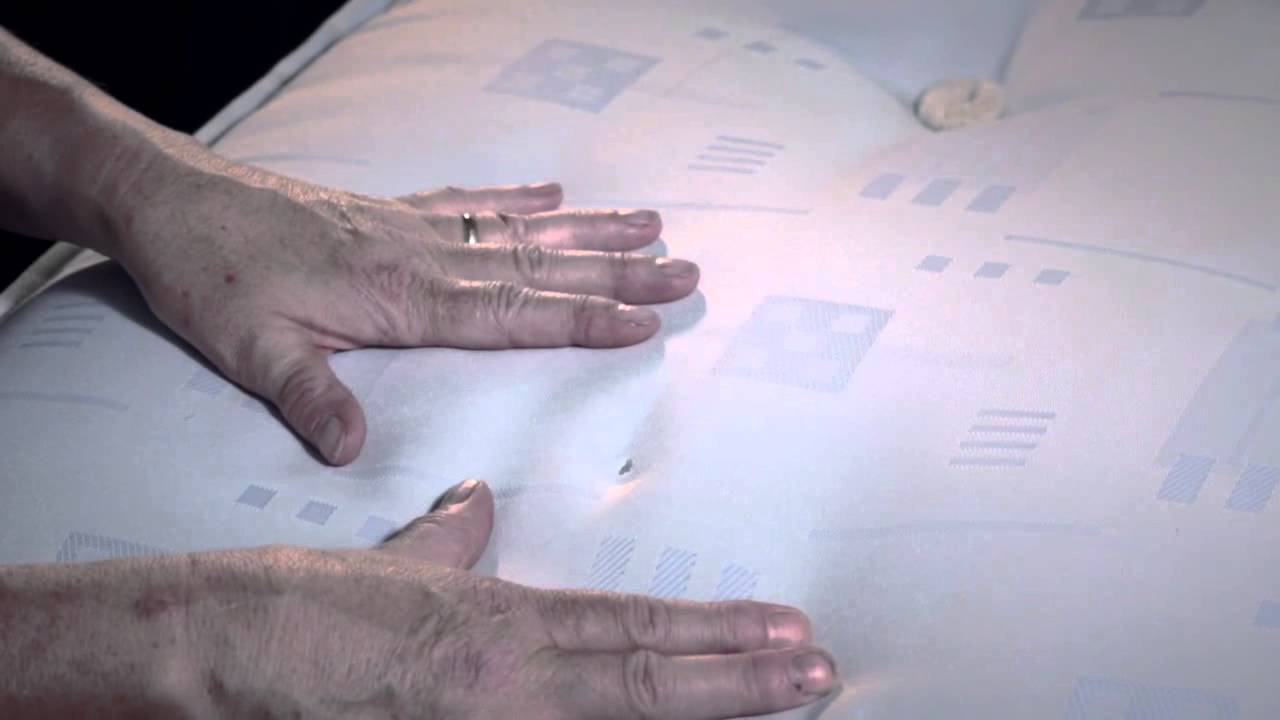 The first step in repairing your air mattress tear is to locate the
tear
or
hole
. This can usually be found by inflating the mattress and listening for any hissing sounds or feeling for any air escaping.
The first step in repairing your air mattress tear is to locate the
tear
or
hole
. This can usually be found by inflating the mattress and listening for any hissing sounds or feeling for any air escaping.
Step 2: Clean and Dry the Affected Area
 Before attempting to repair the tear, it is important to ensure that the area is clean and dry. Use a mild detergent and warm water to gently clean the area, then dry it thoroughly with a towel.
Step 3: Prepare Your Repair Kit
 To effectively repair your air mattress tear, you will need a repair kit specifically designed for this purpose. Most kits include a patch, adhesive, and instructions on how to use them.
Step 4: Apply the Patch
 Using the adhesive provided in your repair kit, carefully apply the patch over the tear or hole. Be sure to press down firmly and smooth out any air bubbles. Allow the adhesive to dry completely before moving on to the next step.
Step 5: Reinforce the Patch
 For added durability, it is recommended to reinforce the patch with additional adhesive. This will help to prevent the tear from reoccurring and prolong the life of your air mattress.
Step 6: Test the Repair
 Once the adhesive has dried, inflate the mattress and check for any signs of air escaping. If the repair was successful, your air mattress should hold air without any issues.
Conclusion
 With these simple steps, you can easily repair a tear in your air mattress and enjoy a comfortable and restful night's sleep once again. By taking care of your air mattress and addressing any tears or holes as soon as they occur, you can extend its lifespan and save yourself the hassle and expense of purchasing a new one. Follow these tips and you'll be sleeping soundly in no time!