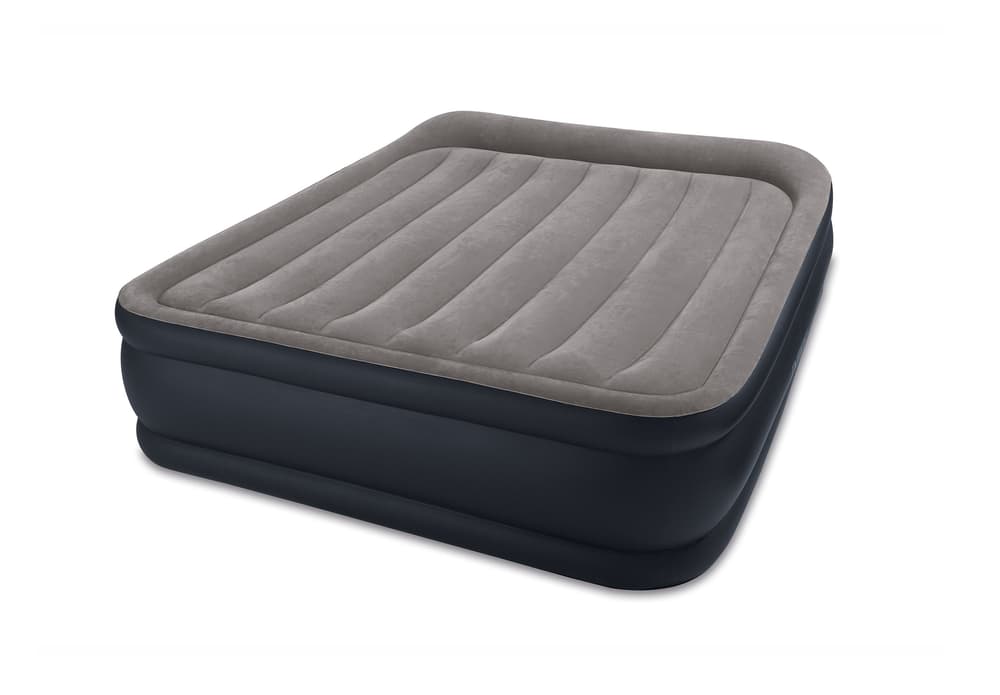
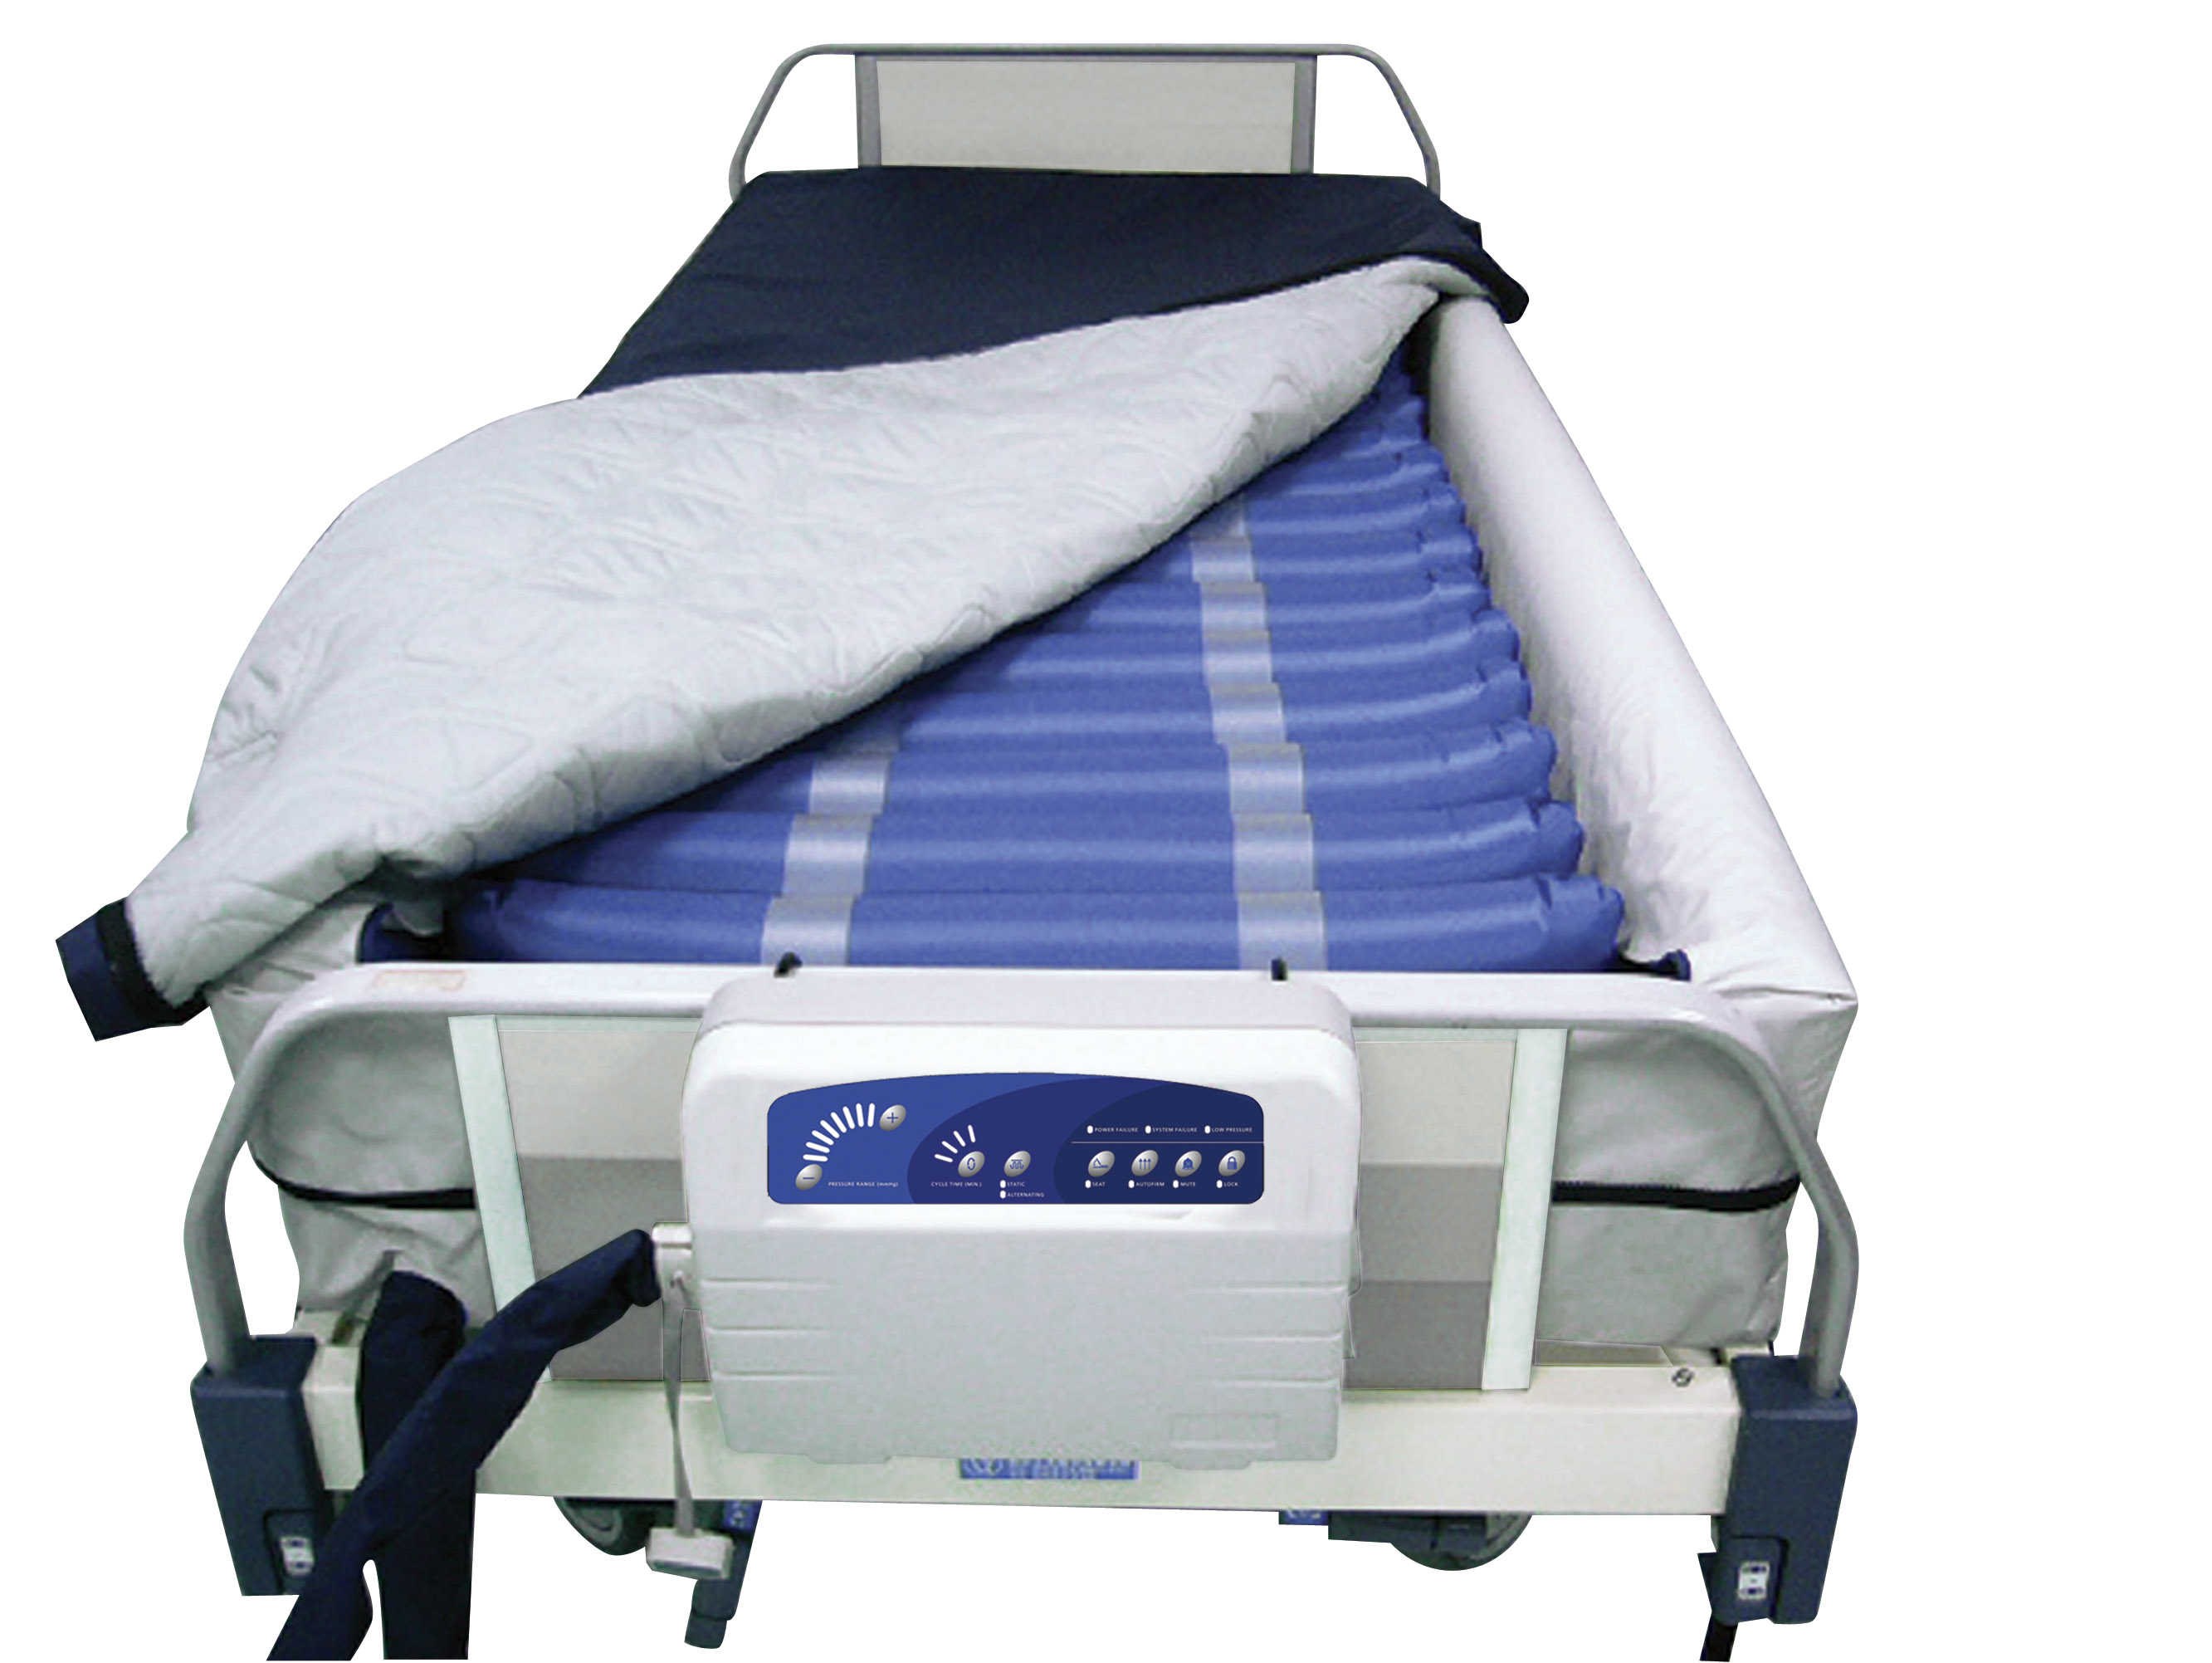
Air mattresses are a convenient and comfortable alternative to traditional beds, whether for camping or accommodating guests. But, just like any inflatable product, they can develop leaks over time. A slow leak in an air mattress can be frustrating, but with a little detective work, you can easily locate and fix the problem. Here are 10 methods to help you find a slow leak in your air mattress.How to Find a Slow Leak in an Air Mattress


How to Find a Slow Leak in an Air Mattress


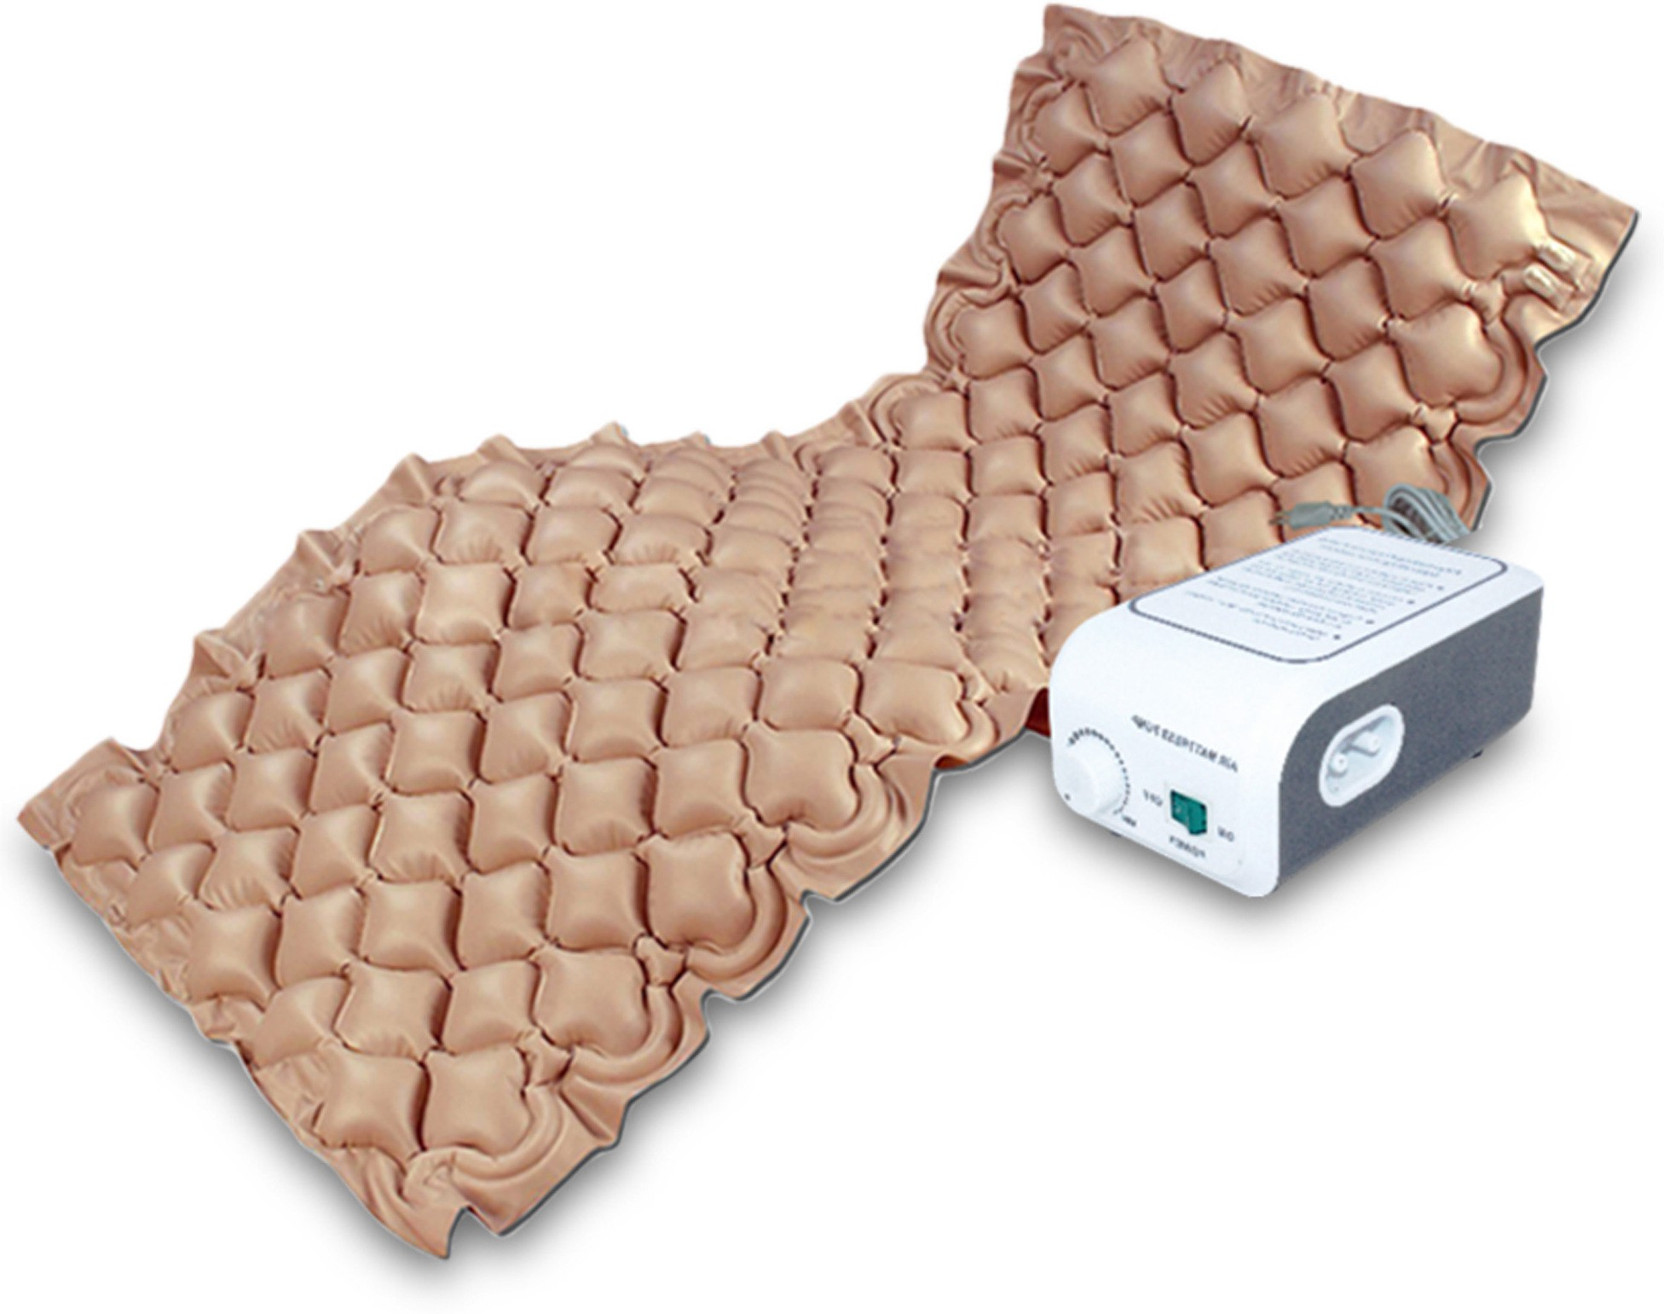
Before you start your search for the leak, it's important to have the right tools on hand. These include a spray bottle filled with water, a sponge, a towel, and some dish soap. You can also use a bathtub or a large container filled with water for a more thorough leak detection process.How to Locate a Slow Leak in an Air Mattress


How to Locate a Slow Leak in an Air Mattress


The first step in finding a slow leak is to inflate your air mattress to its maximum capacity. This will make it easier to spot any changes in air pressure. Next, use the spray bottle to mist the surface of the mattress with water. Look for any bubbles forming on the surface, which indicates a leak. If you don't see any bubbles, move on to the next step.Steps to Finding a Slow Leak in an Air Mattress


Steps to Finding a Slow Leak in an Air Mattress


If you didn't find any bubbles on the surface of the air mattress, it's time to check the seams and valves. Apply a small amount of dish soap to the seams and valves and look for any bubbles forming. If you see bubbles, you have found the source of the leak. If not, move on to the next method.Identifying a Slow Leak in an Air Mattress

Identifying a Slow Leak in an Air Mattress

If you still can't find the leak, try using a sponge to dab the surface of the mattress. The sponge will absorb any moisture coming from the leak, making it easier to pinpoint the exact location. You can also try listening for a hissing sound, as air escaping from a small hole can be hard to see but easier to hear.Tips for Finding a Slow Leak in an Air Mattress

Tips for Finding a Slow Leak in an Air Mattress
If the above methods don't work, you can try submerging the air mattress in water. Fill a bathtub or large container with water and submerge the mattress, making sure to keep the valve above water. Look for bubbles escaping from the mattress, which indicates a leak. Once you locate the leak, mark it with a piece of tape or a pen.Methods for Detecting a Slow Leak in an Air Mattress


Methods for Detecting a Slow Leak in an Air Mattress


If you don't have access to a bathtub or large container, you can still use water to find the leak. Fill a spray bottle with water and mist the mattress, focusing on the areas where the leak is most likely to occur, such as the seams and valves. Again, look for bubbles forming on the surface.Using Water to Find a Slow Leak in an Air Mattress

Using Water to Find a Slow Leak in an Air Mattress

Once you have located the leak, it's time to patch it up. Most air mattresses come with a repair kit that includes patches and adhesive. Follow the instructions on the kit to patch the hole. If you don't have a repair kit, you can use duct tape or a bicycle tire patch as a temporary fix.How to Patch a Slow Leak in an Air Mattress


How to Patch a Slow Leak in an Air Mattress


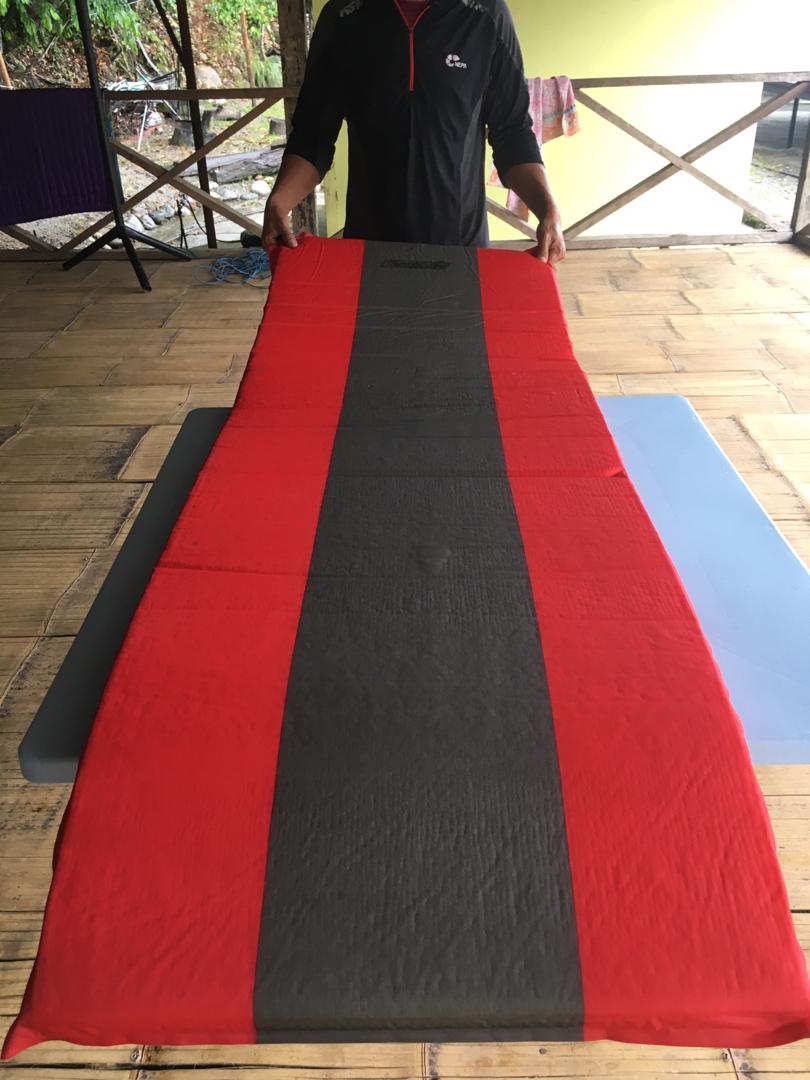
While it's not always possible to prevent leaks in air mattresses, there are some steps you can take to minimize the risk. Always place a protective sheet or blanket under your air mattress to prevent it from coming into contact with any sharp objects. Avoid overinflating your mattress, as this can put extra strain on the seams and valves.Preventing Slow Leaks in Air Mattresses


Preventing Slow Leaks in Air Mattresses


Sometimes, no matter how careful you are, an air mattress can develop a slow leak. Some common causes include damage from pets or children, regular wear and tear, and punctures from sharp objects. By regularly checking your air mattress for leaks and taking preventive measures, you can prolong its lifespan and ensure a good night's sleep for years to come.Common Causes of Slow Leaks in Air Mattresses


Common Causes of Slow Leaks in Air Mattresses


Finding and Fixing Slow Leaks in Your Air Mattress

Don't Let a Slow Leak Ruin Your Comfortable Night's Sleep
 If you've ever woken up in the middle of the night to find your air mattress slowly deflating beneath you, you know how frustrating and uncomfortable it can be. Not only does a slow leak make for a restless night's sleep, but it also means constantly having to re-inflate your mattress.
But fear not, as there are easy and effective ways to find and fix a slow leak in your air mattress. With a few simple tools and a bit of patience, you can be well on your way to a more comfortable and uninterrupted sleep.
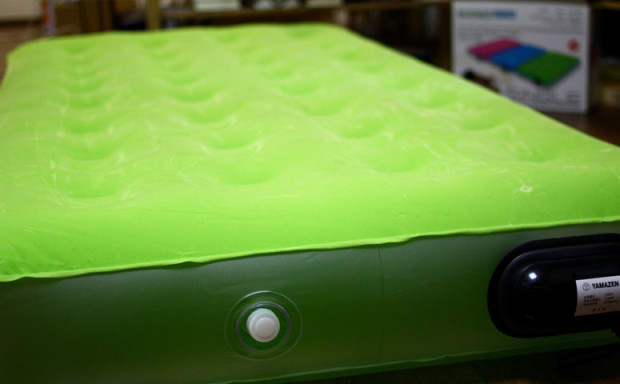
Step 1: Identify the Source of the Leak
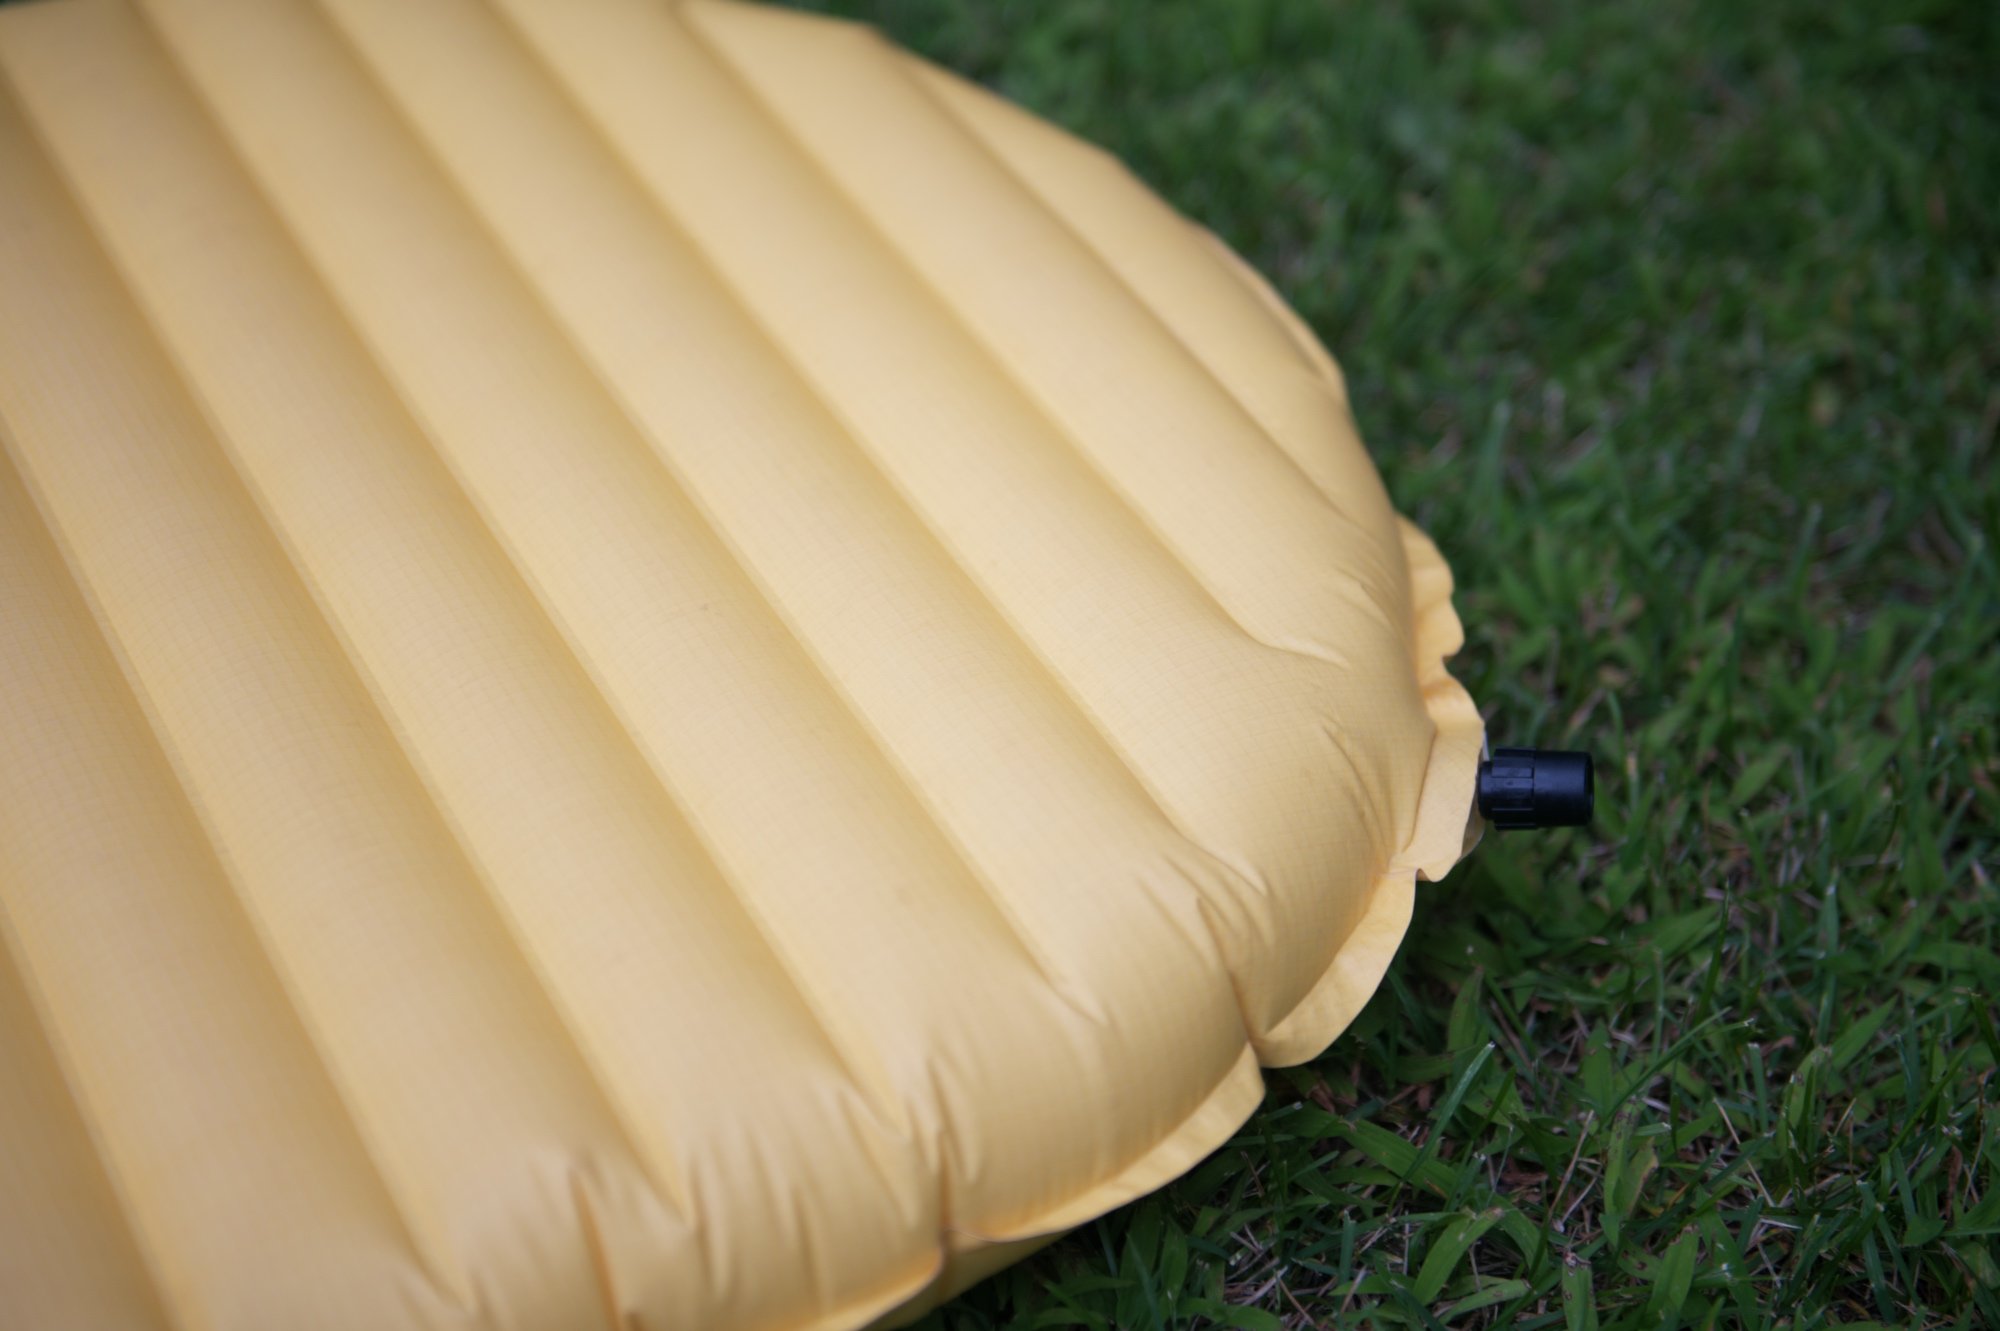
The first step in fixing any problem is identifying the root cause. In this case, it's important to pinpoint where exactly the leak is coming from. The most common areas for air mattress leaks are the seams, the valve, or a puncture in the material.
To determine where the leak is located, inflate your air mattress to its maximum capacity and use your hand or a cloth to feel along the surface for any escaping air.
Mark the area with a small piece of tape or a washable marker
so you can easily find it again.
If you've ever woken up in the middle of the night to find your air mattress slowly deflating beneath you, you know how frustrating and uncomfortable it can be. Not only does a slow leak make for a restless night's sleep, but it also means constantly having to re-inflate your mattress.
But fear not, as there are easy and effective ways to find and fix a slow leak in your air mattress. With a few simple tools and a bit of patience, you can be well on your way to a more comfortable and uninterrupted sleep.
Step 1: Identify the Source of the Leak
The first step in fixing any problem is identifying the root cause. In this case, it's important to pinpoint where exactly the leak is coming from. The most common areas for air mattress leaks are the seams, the valve, or a puncture in the material.
To determine where the leak is located, inflate your air mattress to its maximum capacity and use your hand or a cloth to feel along the surface for any escaping air.
Mark the area with a small piece of tape or a washable marker
so you can easily find it again.
Step 2: Patching the Leak
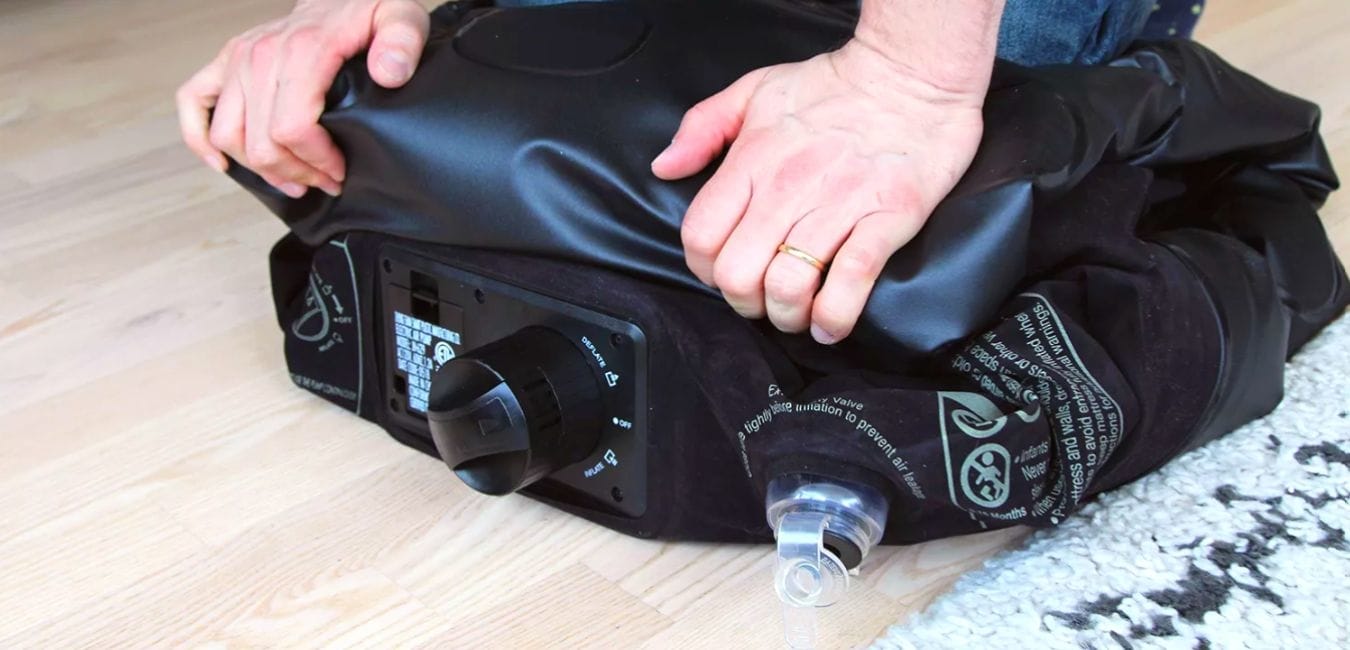
 Once you've located the leak, it's time to patch it up. If the leak is coming from the valve, you may be able to simply tighten it to stop the air from escaping. For leaks in the seams or material, there are a few different options to choose from.
Using a Patch Kit:
Most air mattresses come with a patch kit that includes a patch and adhesive. Simply clean and dry the area around the leak, apply the adhesive, and place the patch over the hole. Press firmly and let it dry according to the instructions.
Using a Bike Tire Patch:
Another option is to use a bike tire patch, which can be found at most hardware or sporting goods stores. Follow the same steps as using a patch kit, but make sure to use a patch specifically designed for vinyl or rubber materials.
Using Duct Tape:
If you're in a pinch and don't have access to a patch kit or bike tire patch,
duct tape can also be a temporary fix
. Clean and dry the area around the leak, then apply a small piece of duct tape over it. While this may not be the most aesthetically pleasing solution, it can help stop the leak until you can properly patch it.
Once you've located the leak, it's time to patch it up. If the leak is coming from the valve, you may be able to simply tighten it to stop the air from escaping. For leaks in the seams or material, there are a few different options to choose from.
Using a Patch Kit:
Most air mattresses come with a patch kit that includes a patch and adhesive. Simply clean and dry the area around the leak, apply the adhesive, and place the patch over the hole. Press firmly and let it dry according to the instructions.
Using a Bike Tire Patch:
Another option is to use a bike tire patch, which can be found at most hardware or sporting goods stores. Follow the same steps as using a patch kit, but make sure to use a patch specifically designed for vinyl or rubber materials.
Using Duct Tape:
If you're in a pinch and don't have access to a patch kit or bike tire patch,
duct tape can also be a temporary fix
. Clean and dry the area around the leak, then apply a small piece of duct tape over it. While this may not be the most aesthetically pleasing solution, it can help stop the leak until you can properly patch it.
Step 3: Prevention is Key
 While fixing a slow leak in your air mattress is a simple task,
prevention is always better than a cure
. To avoid future leaks, make sure to properly inflate and deflate your mattress, avoid over-inflating, and be careful when moving or storing it. Additionally,
regularly checking and patching any small holes or tears can help prevent larger leaks from occurring
.
In conclusion, discovering and repairing a slow leak in your air mattress doesn't have to be a daunting task. By following these simple steps and taking preventative measures, you can ensure a comfortable and uninterrupted night's sleep on your air mattress.
While fixing a slow leak in your air mattress is a simple task,
prevention is always better than a cure
. To avoid future leaks, make sure to properly inflate and deflate your mattress, avoid over-inflating, and be careful when moving or storing it. Additionally,
regularly checking and patching any small holes or tears can help prevent larger leaks from occurring
.
In conclusion, discovering and repairing a slow leak in your air mattress doesn't have to be a daunting task. By following these simple steps and taking preventative measures, you can ensure a comfortable and uninterrupted night's sleep on your air mattress.